 17
17
Cooler Master HAF 500 Case Review
Thermal Stress Test »Review System
| System Parts for Case Reviews | |
|---|---|
| Processor: | ATX: Intel Core i5-11600K mATX/ITX: Intel Core i5-10600K Provided by: Intel |
| Motherboards: | ATX: Gigabyte Z590 AORUS PRO AX ITX: Gigabyte Z590I Vision D Provided by: Gigabyte mATX: ASRock B560M Steel Legend Provided by: ASRock |
| Graphics Card: | Gigabyte Radeon RX 6600 Eagle Provided by: Gigabyte ZOTAC GAMING GeForce RTX 3060 Ti Twin Edge OC Provided by: Zotac |
| Memory: | 16 GB XPG SPECTRIX D50 3200 MHz 16 GB XPG SPECTRIX D60G DDR4 3000 MHz 16 GB XPG GAMMIX D20 DDR4 3200 MHz Provided by: ADATA |
| HDD: | Toshiba MG08ADA400E 7200 RPM SATA III Provided by: Toshiba |
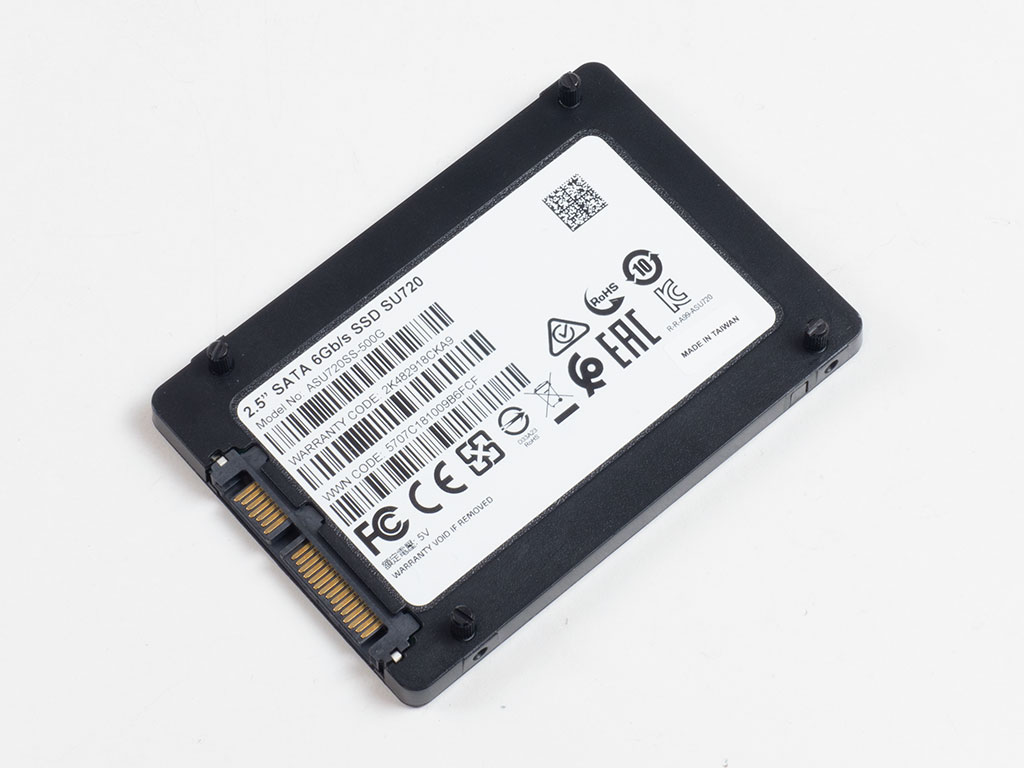
| SSD: | ATX:XPG SPECTRIX S20G 500 GB mATX: XPG GAMMIX S50 Lite 1 TB ITX: ADATA Falcon 512 GB ADATA Ultimate SU800 512 GB ADATA Ultimate SU720 500 GB Provided by: ADATA |
| Power Supply: | Cooler Master MWE Gold 850 - V2 (Full Modular) Provided by: Cooler Master |
| Cooling: | Cooler Master MasterLiquid PL240 Flux Provided by: Cooler Master! |
Assembly
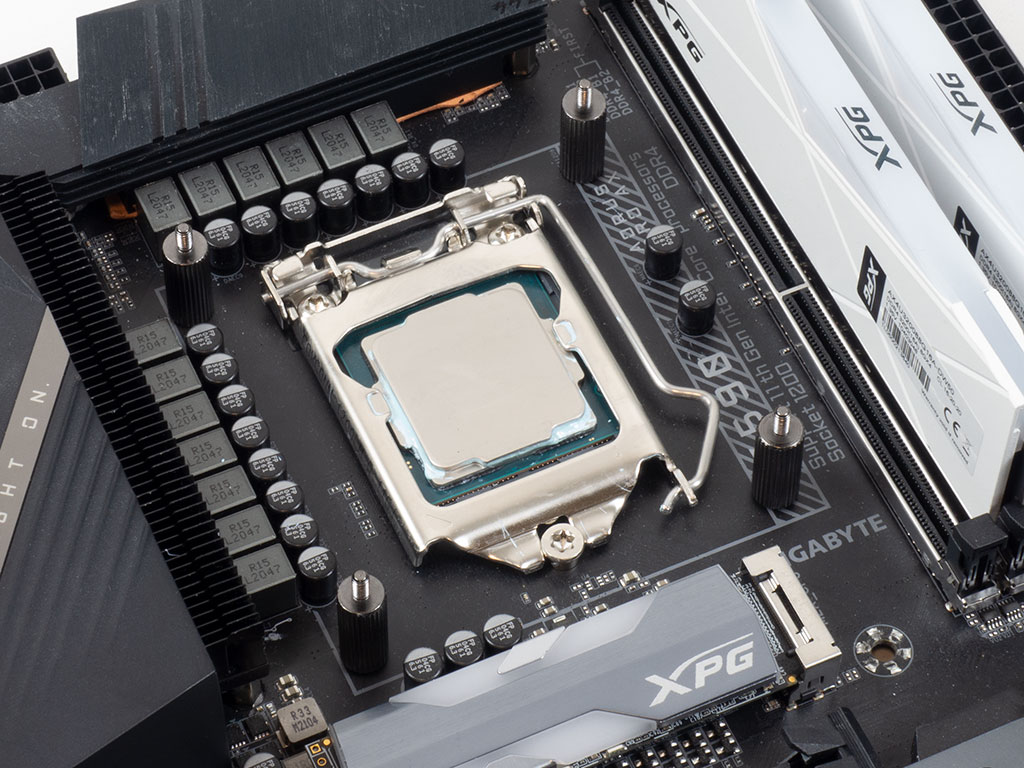

As we will be using the Cooler Master AIO, one has to first prepare the motherboard by simply securing the mounting plate using four tall double-ended spacer screws. Installing the board inside the Cooler Master HAF 500 is done by traditional means, with the use of spacers and screws. There is loads of space alongside the top and front edges, which should make connecting everything possible. On the bottom edge is a central opening for the cables as well, giving you a little wiggle room, which is important as it makes removing the PSU cover easier.
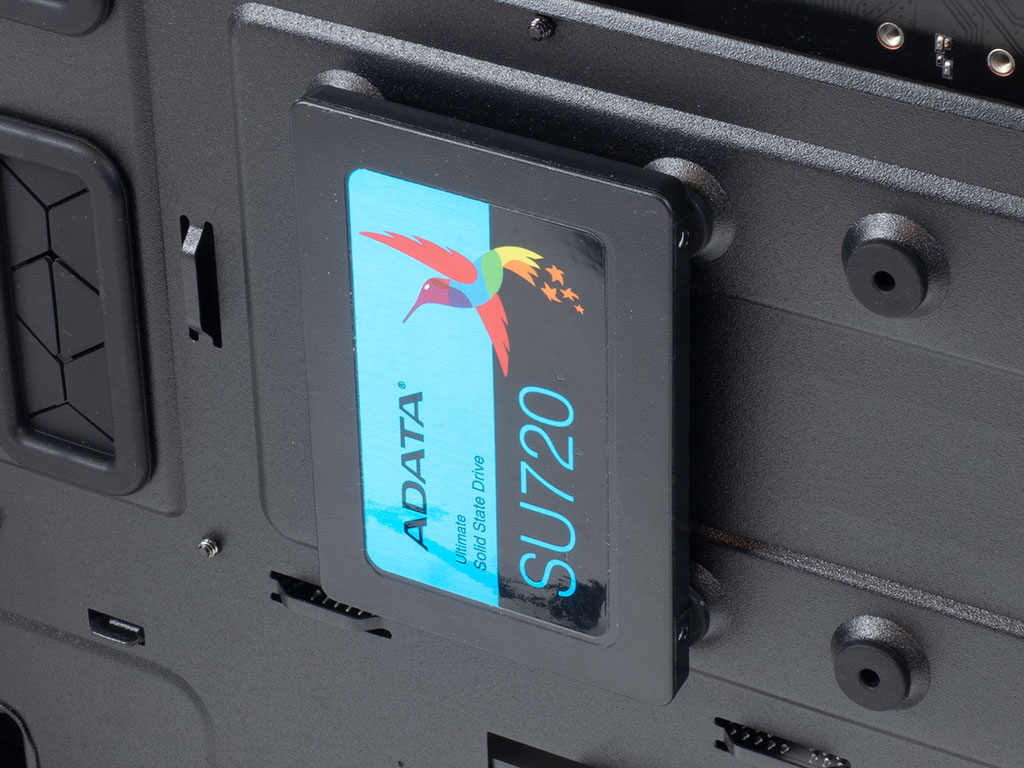
The SSD utilizes the four thin pin screws and may then be pushed into one of two spots on the motherboard tray. This means you need no tools and the drive can be added at any point during assembly.

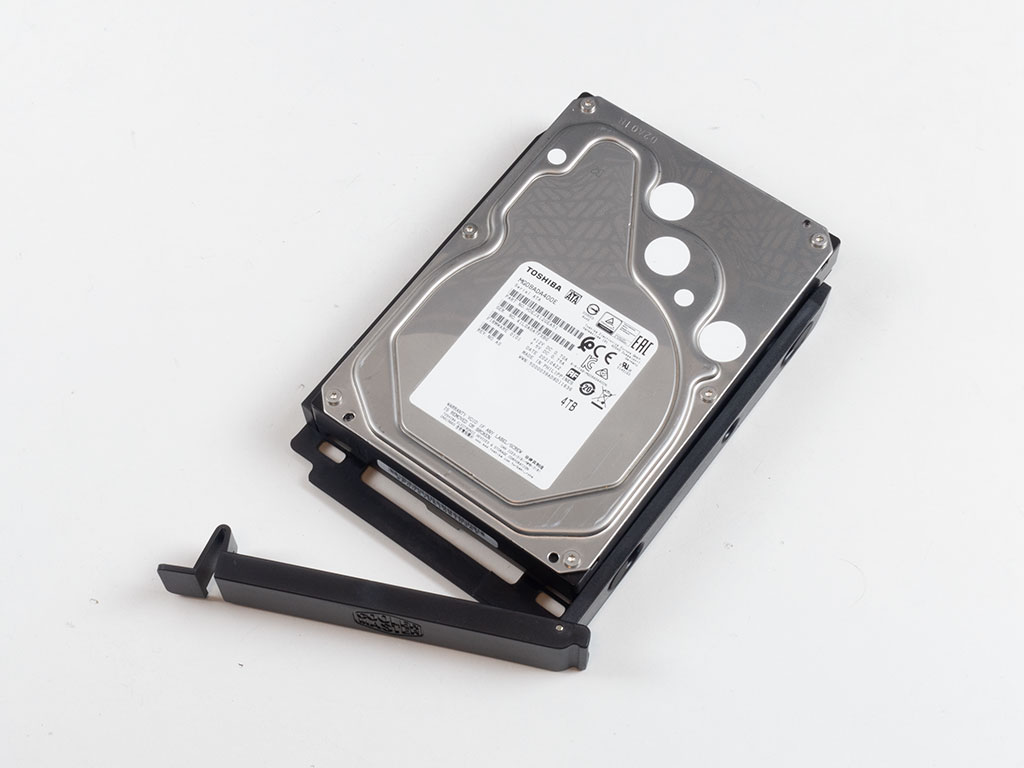
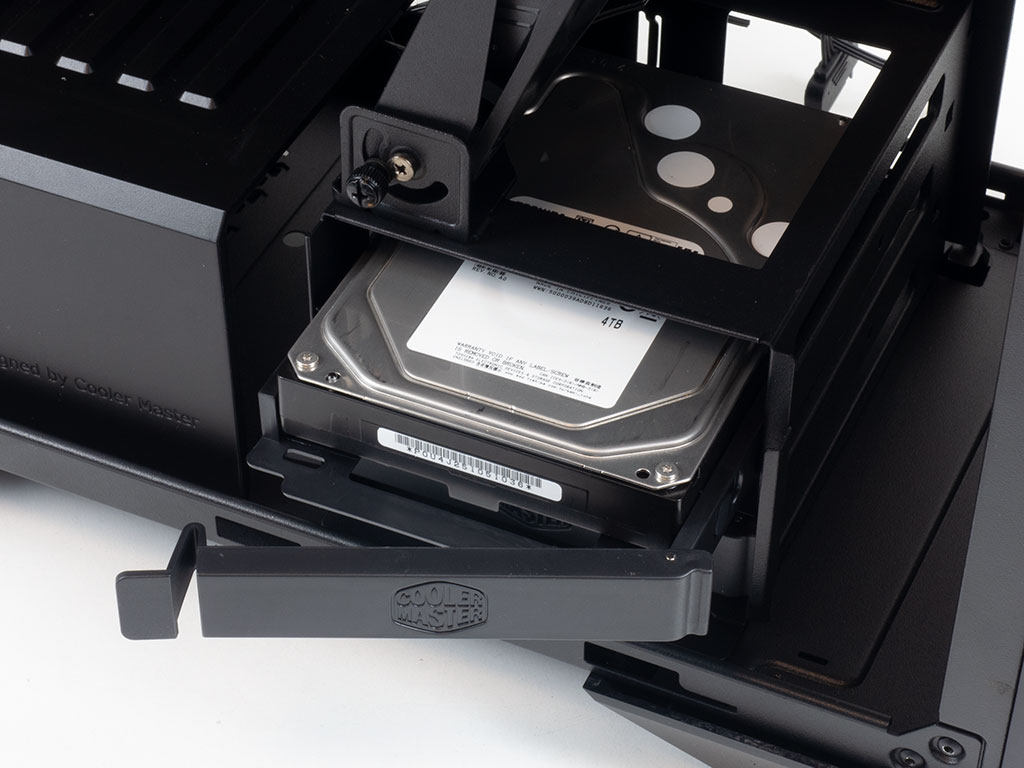
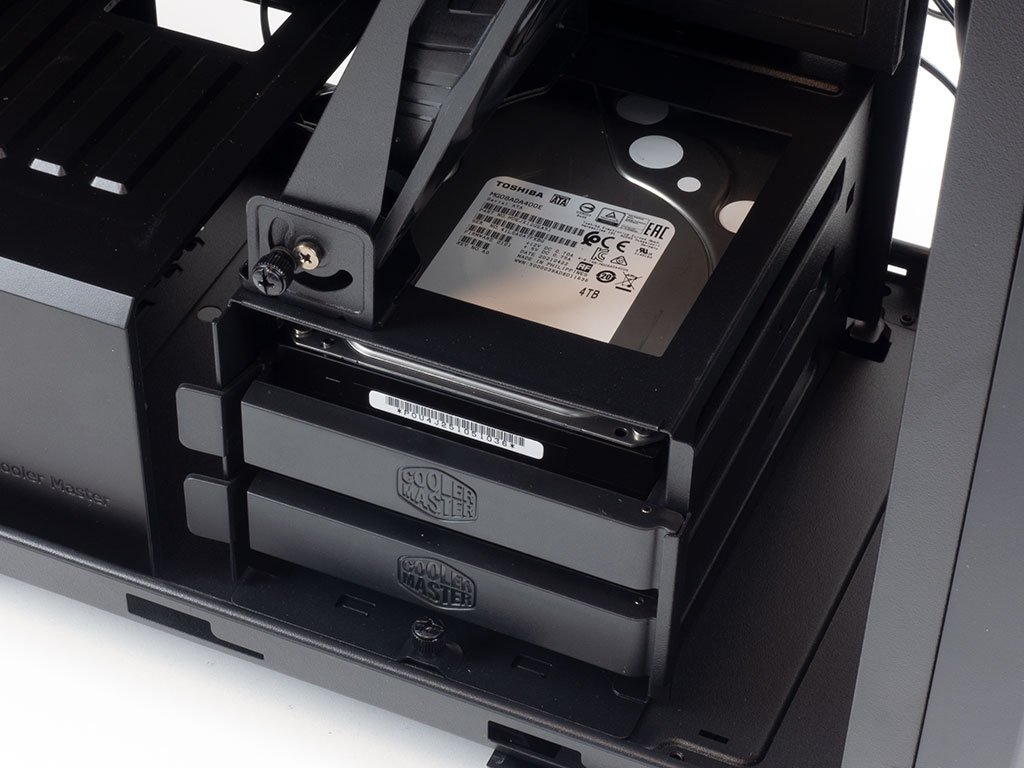
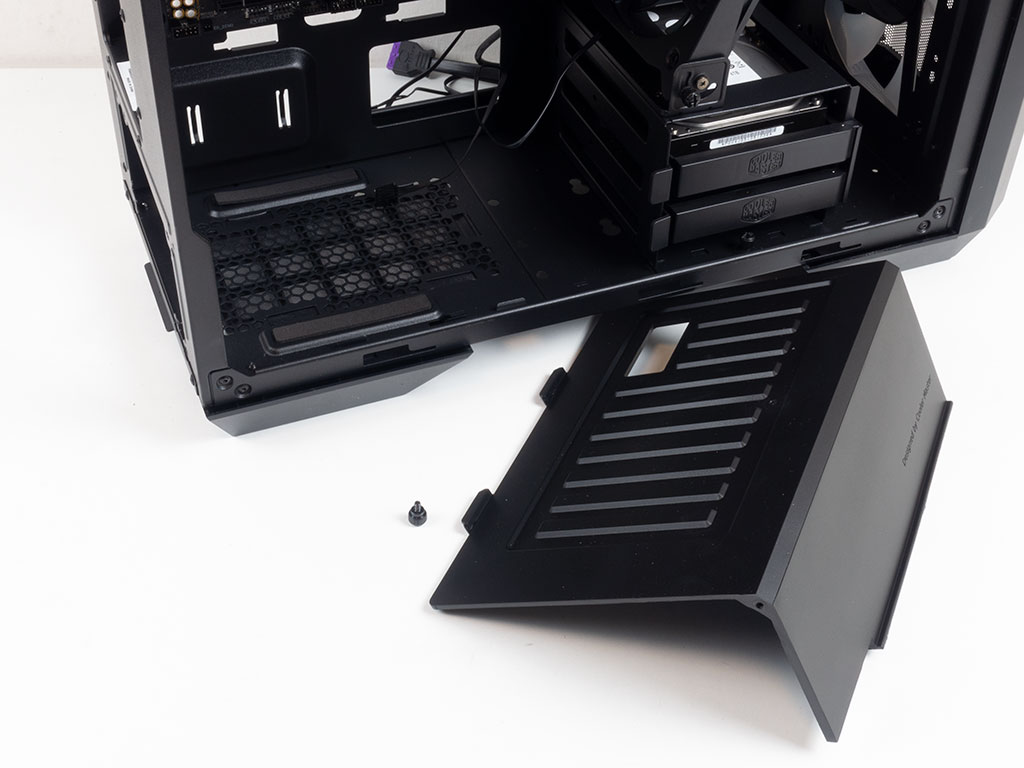
To install the 3.5" drives, simply pull any of the trays out and fill them with the storage device—no screws or tools are needed. Once filled, push the tray into place and swing the front cover closed until it snaps into place onto the cage. This setup pretty much hides the whole drive from view, which makes the lack of a shroud less of an issue, but you will still see it when the internal SickleFlow fan is raised in the final setup. Cooler Master should have left the top of the HDD cage solid instead.

Installing a power supply is done by traditional means as soon as you have removed the shroud. Simply screw it down and route the cables before putting the cover back on. As you can see, there is plenty of space, so you should not have to worry about utilizing longer PSUs of higher capacity.
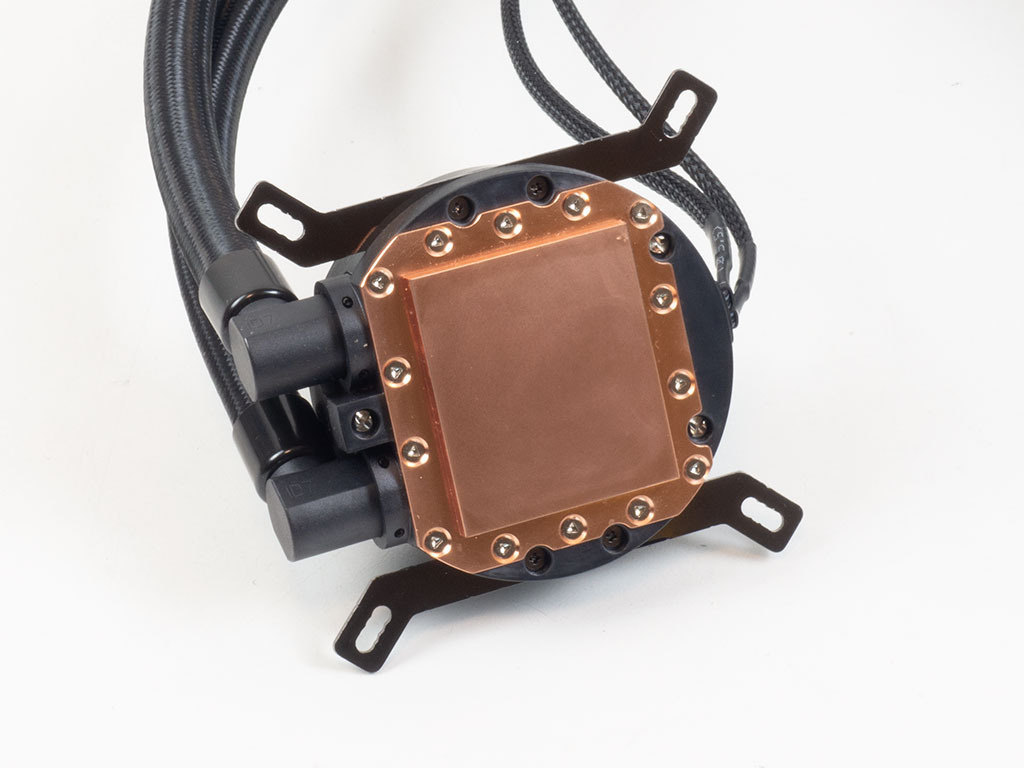
To prepare the AIO, add the right mounting brackets—in our case the Intel ones. The radiator may easily be attached to the ceiling outside of the confines of the case, so you won't have to worry about the hefty AIO base bouncing around next to any delicate internal components in the process.
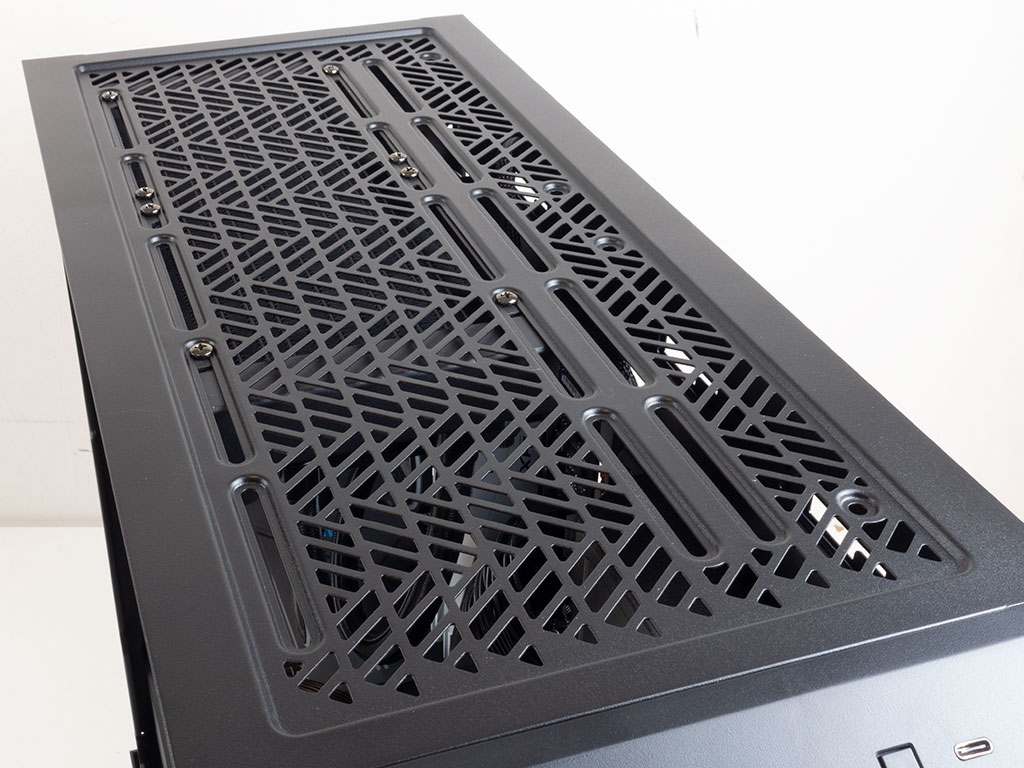

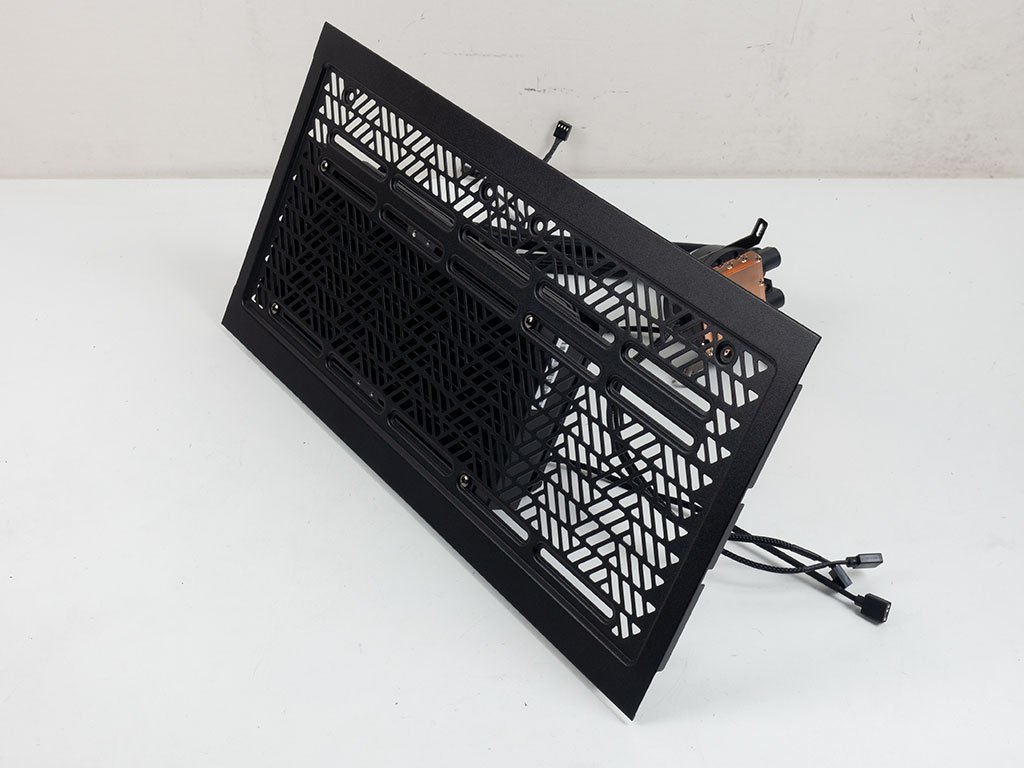
Once in place, you may simply put the ceiling back onto the Cooler Master HAF 500. Once everything is secured, there is clearly loads of space, so even a 280 mm unit should still give you access to the connectors at the top edge of the motherboard, while 360 mm variants have plenty of wiggle room as well.
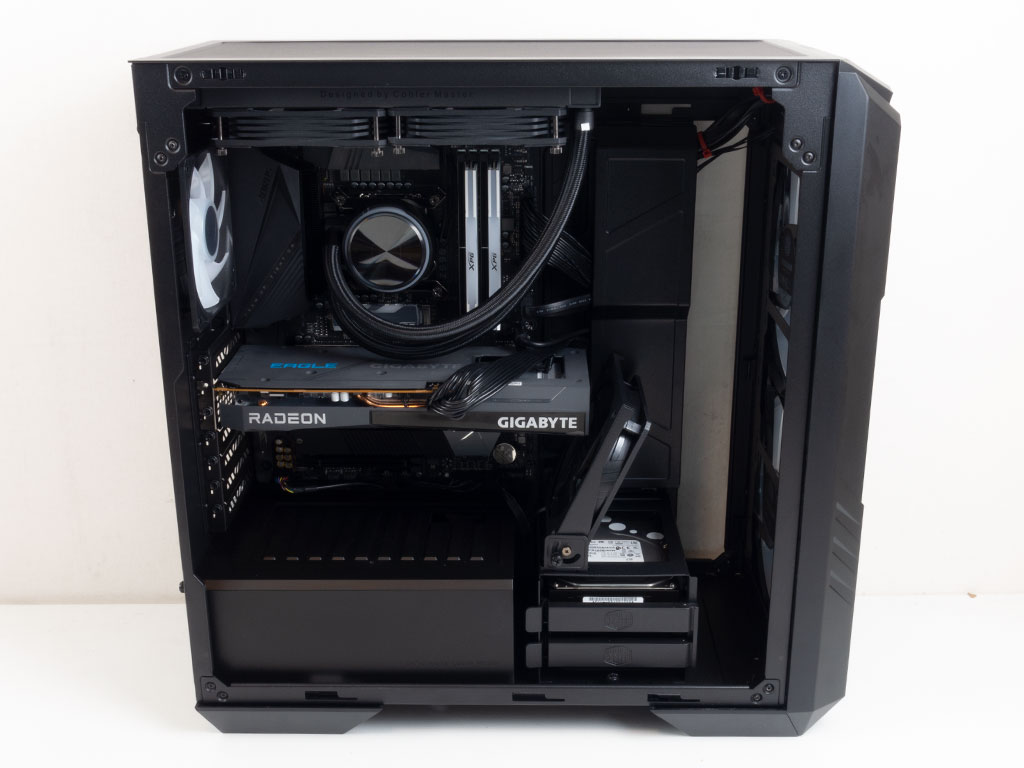
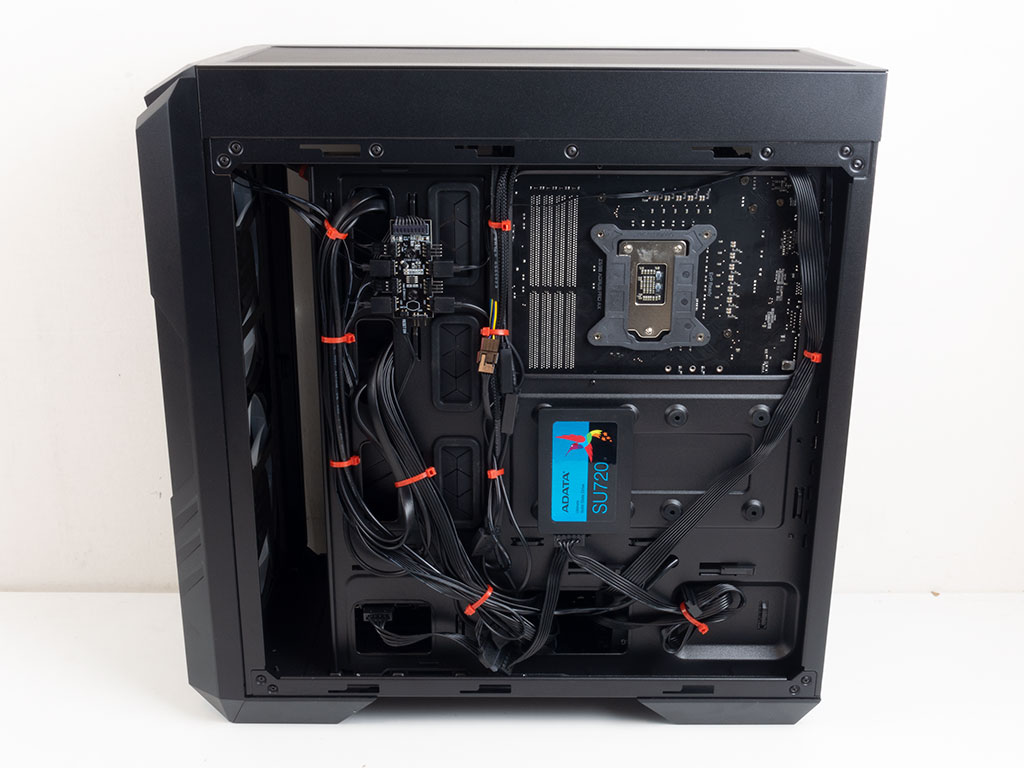
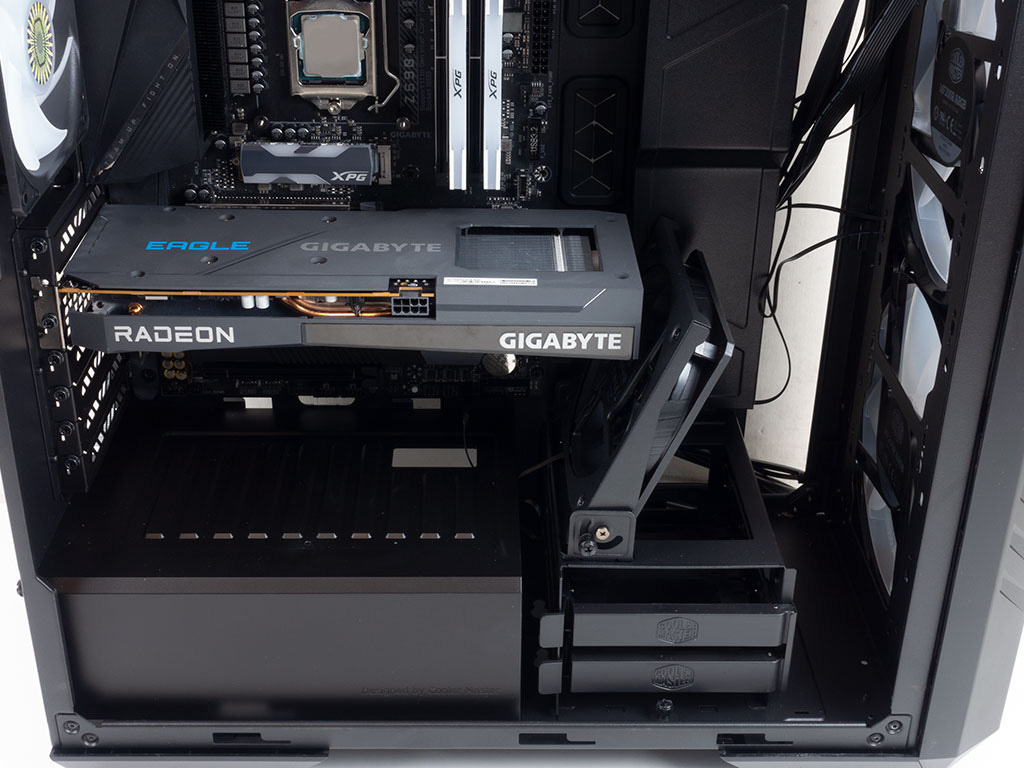
With everything installed, the Cooler Master HAF 500 makes a nice and clean impression. As you can see, the SickleFlow fan for the GPU is angled to blow across the downward-facing side of the graphics card at a flat angle. The interior of the case essentially has no visible cables with the exception of the necessary GPU PCIe leads one could probably route better than we did. Everything behind the motherboard tray can be routed cleanly without losing access to the cable-routing holes. In essence, the HAF 500 has four vertical cable lines that can be held in place with zip ties easily, which results in all that cleanliness.
Finished Looks
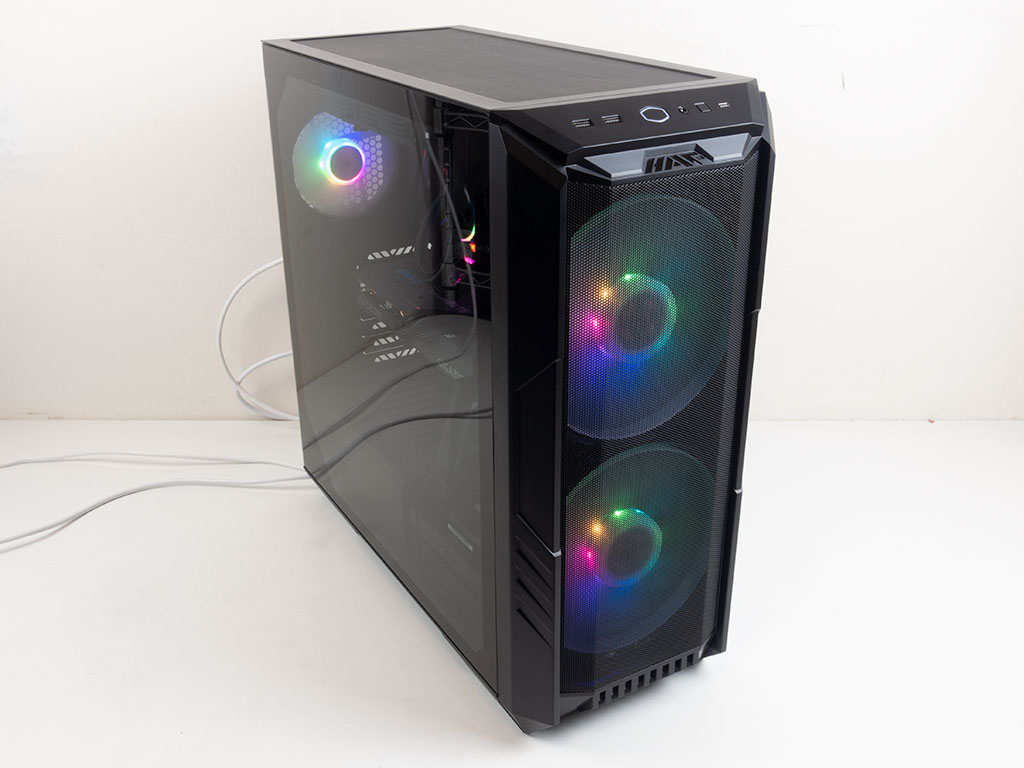
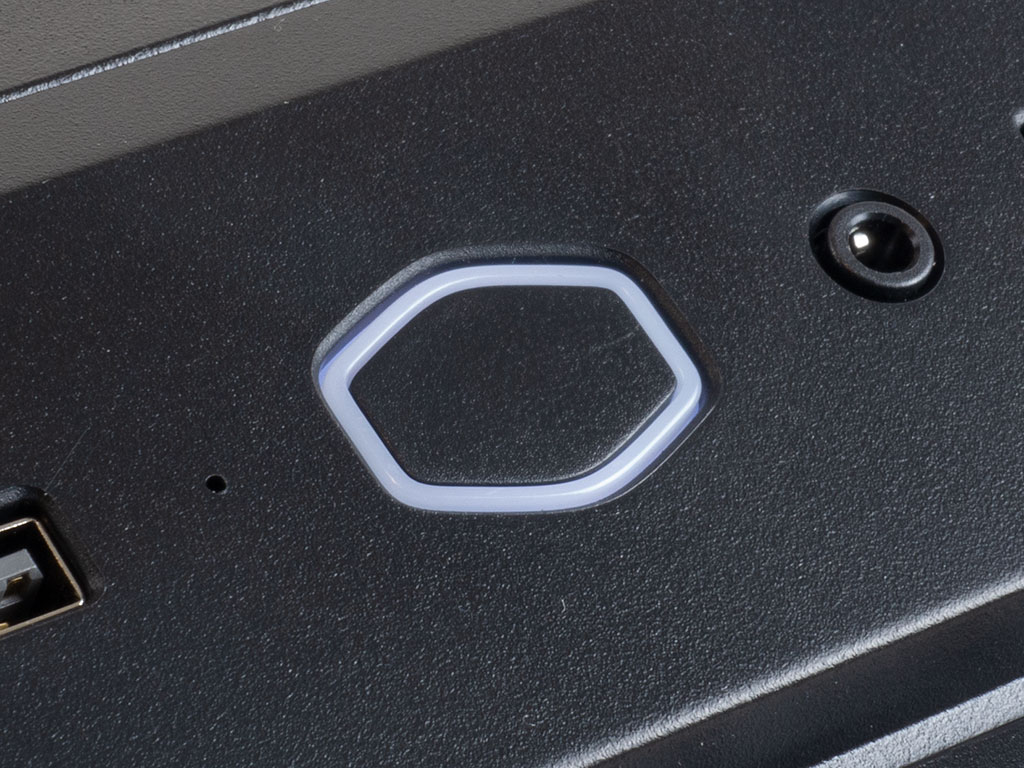
Once turned on, the HAF 500 with its ARGB elements looks quite timeless. It instantly reminds anyone who has seen any of the previous generation of what this series stands for. Just like other Cooler Master cases, the power button lights up white when the system is turned on.

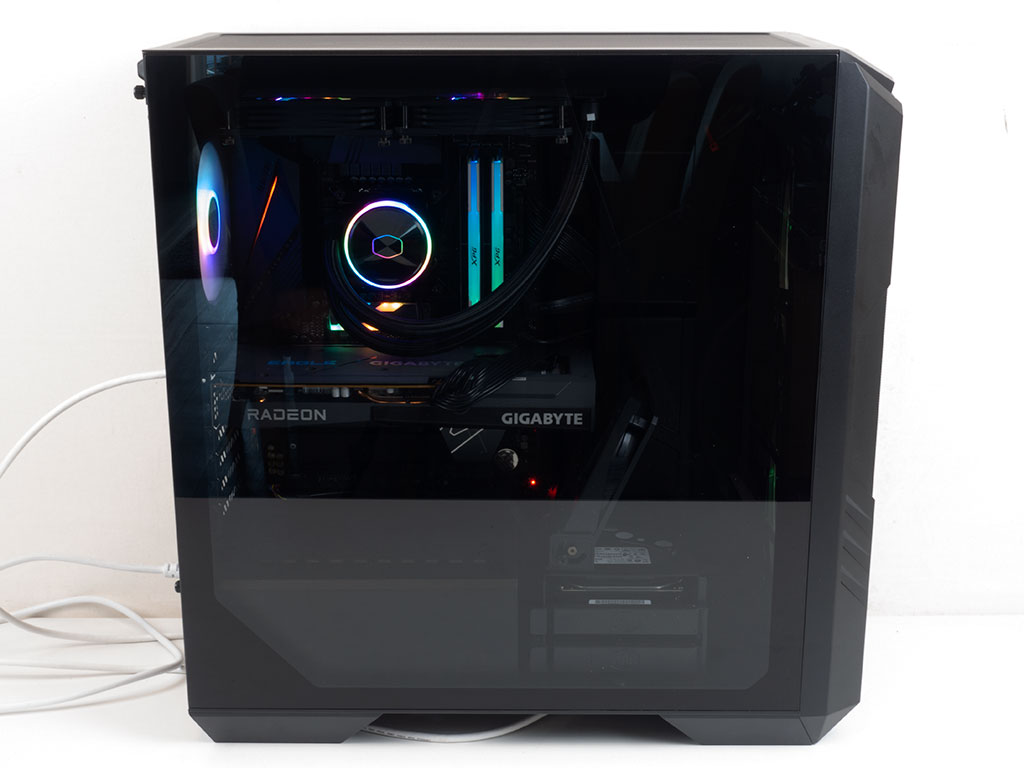

Looking at the front, you can clearly see the fans and ARGB LEDs in the center. One could argue that the fans could really use a sticker on them for additional cleanliness since the metal spools inside are visible. As it is only lightly tinted, the glass panel still gives you plenty of visibility for your hardware, and is illuminated gently by both the fans in the front and the ARGB-equipped one in the rear.
Mar 11th, 2025 14:24 EDT
change timezone
Latest GPU Drivers
New Forum Posts
- As we live the age of game remakes, which game you would like to see to have a remake? (365)
- Post your Old CDs, from back in the day thread. (39)
- USB hard disk box capacity limits (16)
- Silent Hill Series Discussion/Speculation thread (0)
- Nvidia's GPU market share hits 90% in Q4 2024 (gets closer to full monopoly) (840)
- The TPU Darkroom - Digital SLR and Photography Club (4073)
- RTX 5090 ridiculous price! (203)
- The TPU UK Clubhouse (25867)
- RX 9070 availability (179)
- Yellow boxes in limit reasons, what do they mean? (1)
Popular Reviews
- Sapphire Radeon RX 9070 XT Nitro+ Review - Beating NVIDIA
- XFX Radeon RX 9070 XT Mercury OC Magnetic Air Review
- AMD Ryzen 9 9950X3D Review - Great for Gaming and Productivity
- ASUS Radeon RX 9070 TUF OC Review
- MSI MAG B850 Tomahawk Max Wi-Fi Review
- NVIDIA GeForce RTX 5070 Founders Edition Review
- Corsair Vengeance RGB CUDIMM DDR5-8800 48 GB CL42 Review
- AMD Ryzen 7 9800X3D Review - The Best Gaming Processor
- ASUS GeForce RTX 5070 Ti TUF OC Review
- MSI GeForce RTX 5070 Ti Gaming Trio OC+ Review
Controversial News Posts
- NVIDIA GeForce RTX 50 Cards Spotted with Missing ROPs, NVIDIA Confirms the Issue, Multiple Vendors Affected (513)
- AMD Radeon RX 9070 and 9070 XT Listed On Amazon - One Buyer Snags a Unit (261)
- AMD RDNA 4 and Radeon RX 9070 Series Unveiled: $549 & $599 (260)
- AMD Mentions Sub-$700 Pricing for Radeon RX 9070 GPU Series, Looks Like NV Minus $50 Again (248)
- NVIDIA Investigates GeForce RTX 50 Series "Blackwell" Black Screen and BSOD Issues (244)
- AMD Radeon RX 9070 and 9070 XT Official Performance Metrics Leaked, +42% 4K Performance Over Radeon RX 7900 GRE (195)
- AMD Radeon RX 9070-series Pricing Leaks Courtesy of MicroCenter (158)
- AMD Radeon RX 9070 XT Could Get a 32 GB GDDR6 Upgrade (100)