 5
5
Cooler Master HAF Stacker Review
A Closer Look - Inside The Big Chassis »A Closer Look - Outside
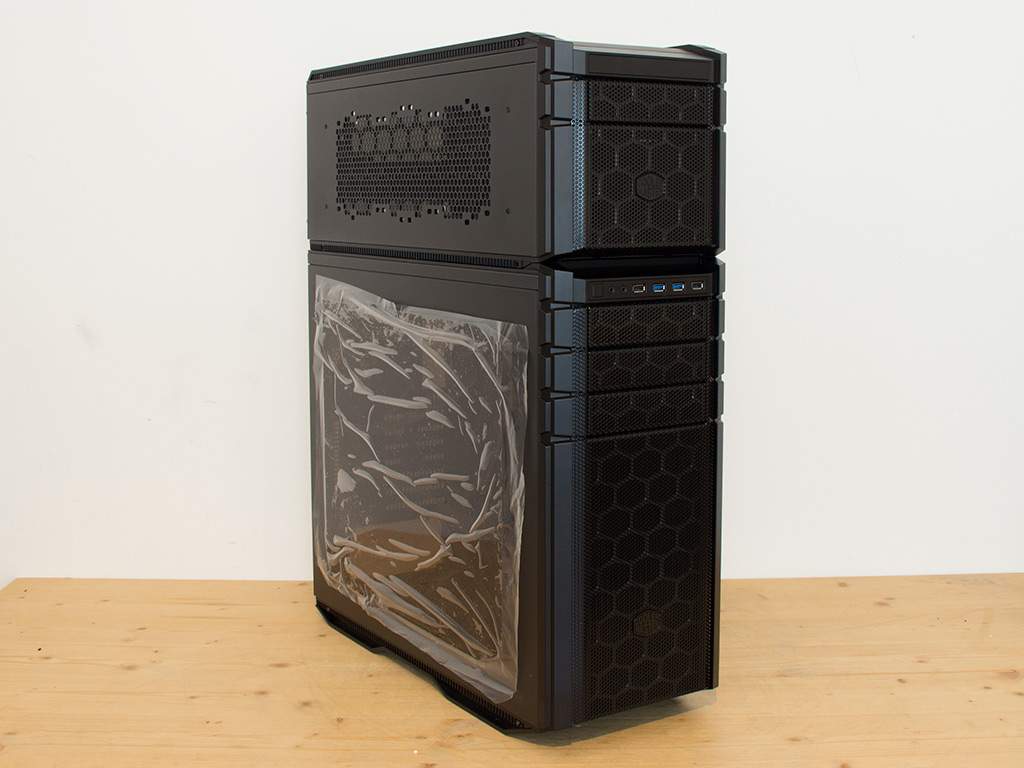
The HAF Stacker is actually quite menacing because of its size. While it does have the same flair as previous HAF cases, the design elements have evolved, which means it does not look much like previous HAF units. As you can see, its unique selling point - as the name implies - is the ability to stack each element on top of the other. While Cooler Master advertises the HAF Stacker with the smaller chassis on top of the larger chassis on the package, you may also opt to switch the order around.

You simply have to remove some screws holding the two cases together to do so. One can, once those are gone, slide the top chassis toward the back to pull the two apart. At this point, you will need to prepare the case that was previously on top by removing the top cover. This is also done by sliding it back after removing the screws holding it in place.
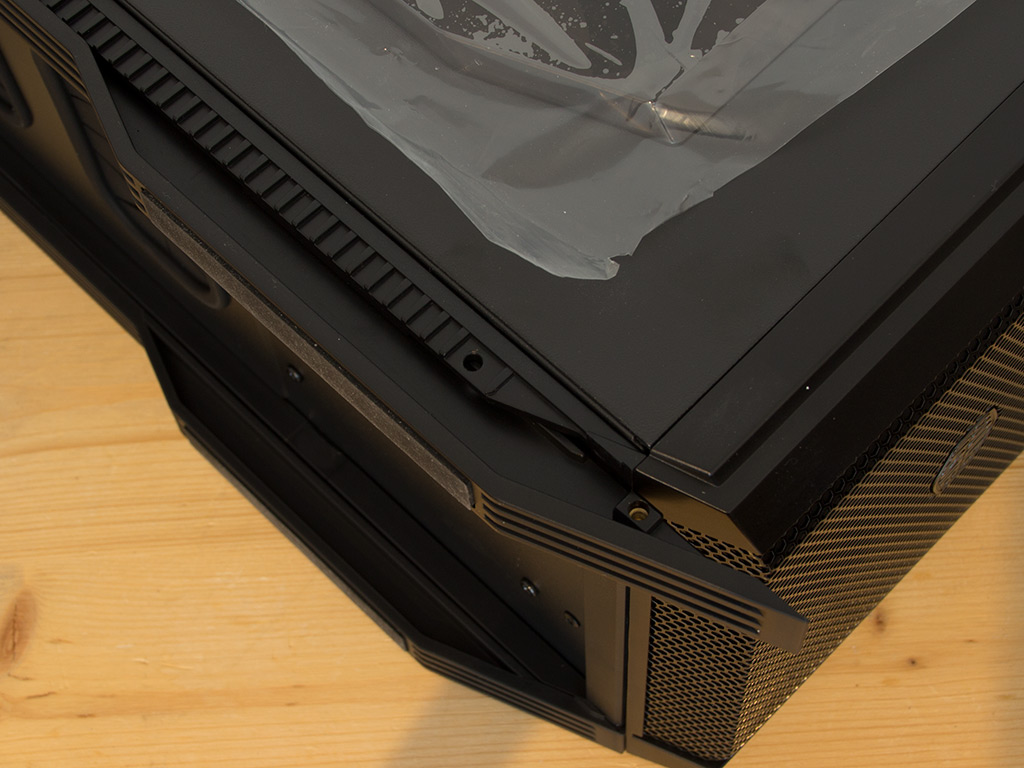
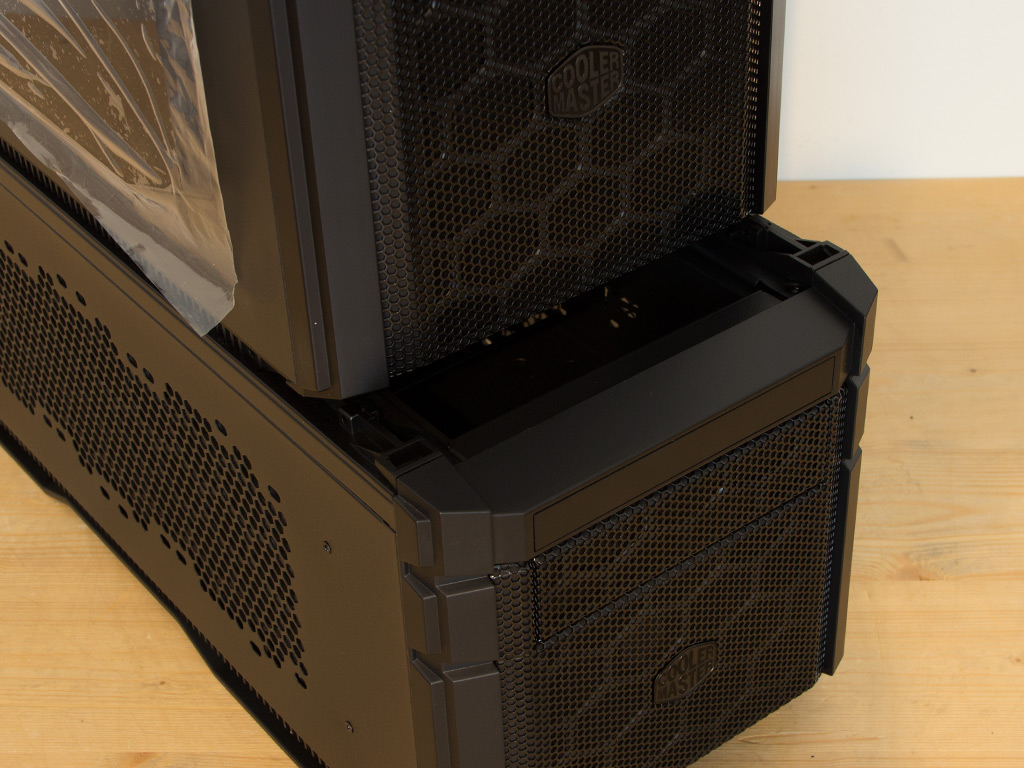
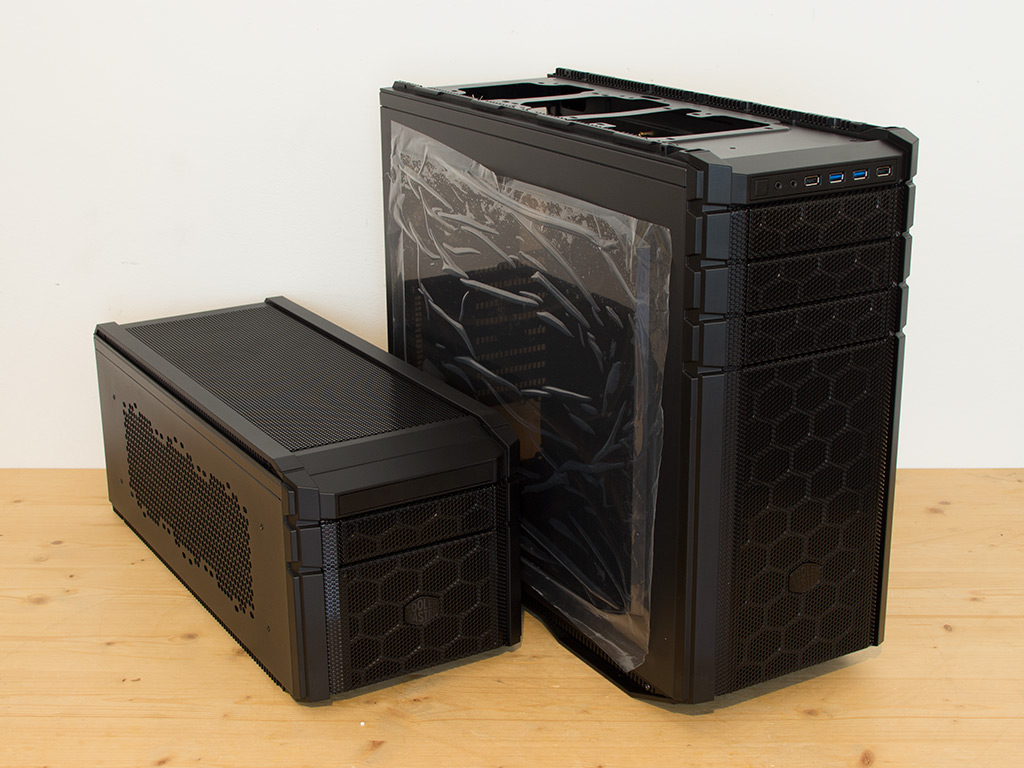
You have to slide the feet off the bottom of the chassis once the cover is gone to place them under the other compartment. Once again, the same screws and the sliding mechanism are involved. With the feet now on the bottom of the other enclosure, you are free to slide the larger compartment on on top of the smaller chassis before securing everything properly with the screws.
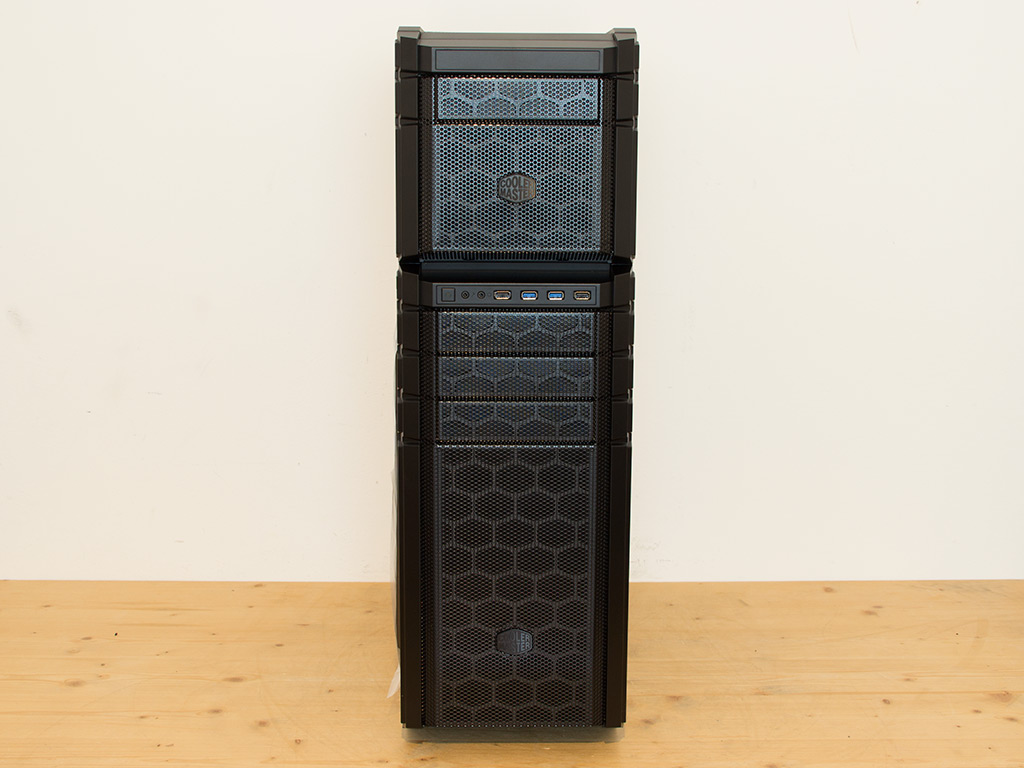
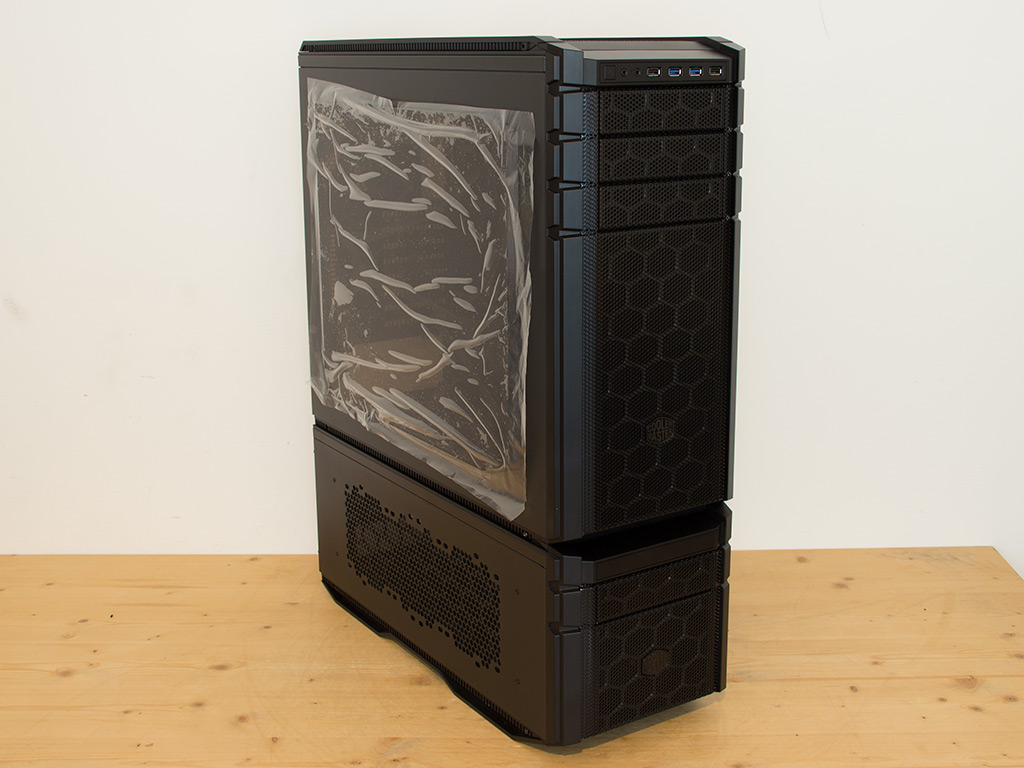
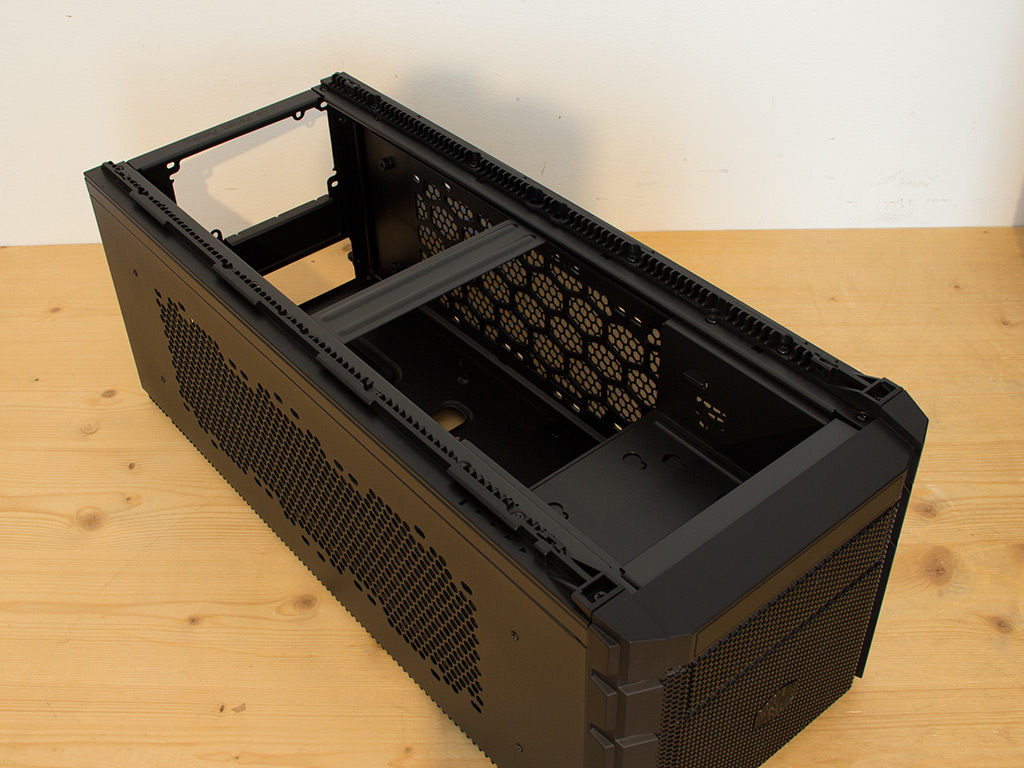
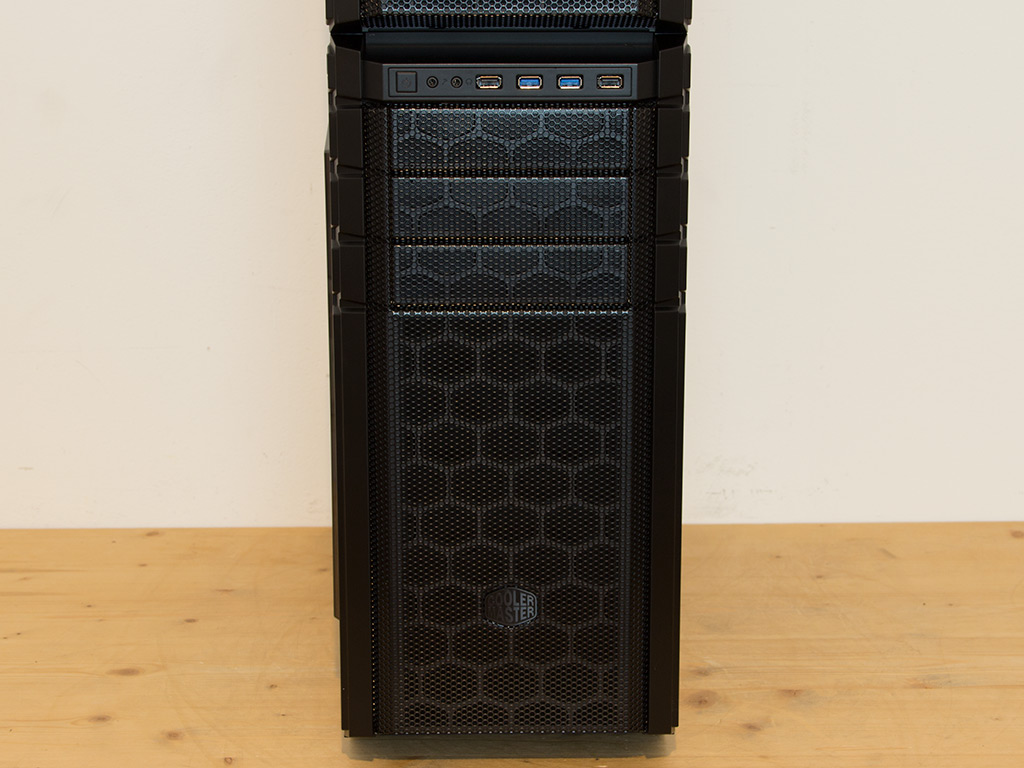
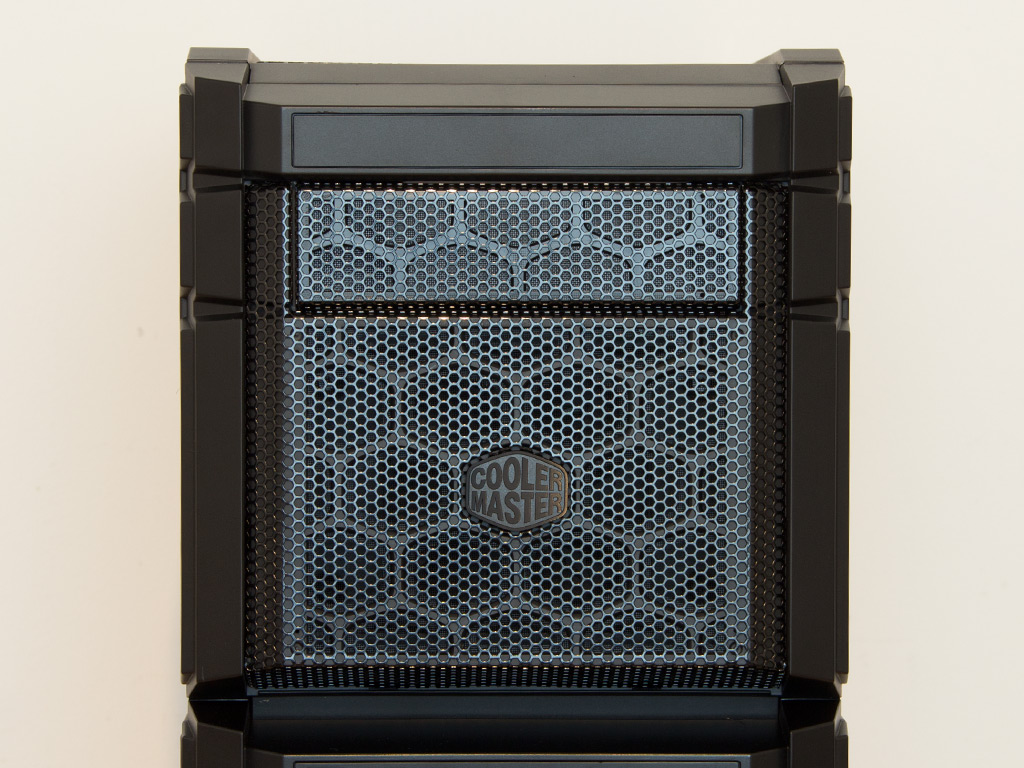
For this review, we will keep the smaller compartment on top as that is the order of other cases with two compartments. Cooler Master has once again used metal mesh and plastic to construct the front of a HAF unit. The HAF Stacker does look a bit slimmer as many of the bulky design elements have disappeared. Turning the chassis around, it becomes apparent that you can install a fully sized ATX board into the large case. The smaller one on top can hold a mini-ITX board.
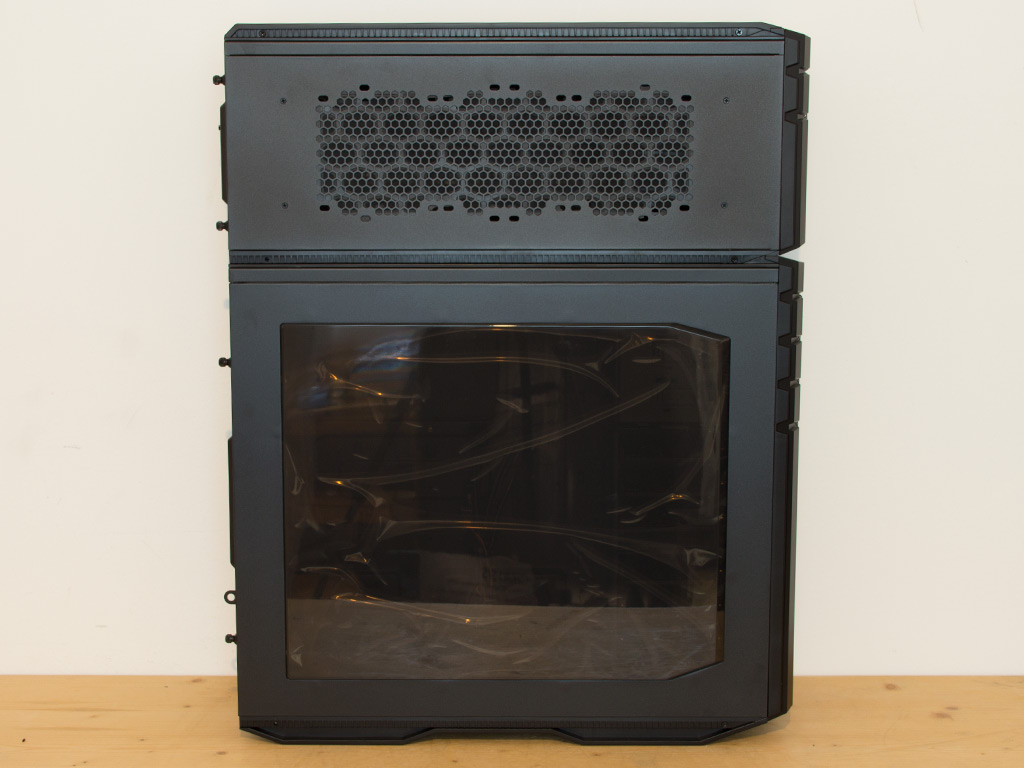
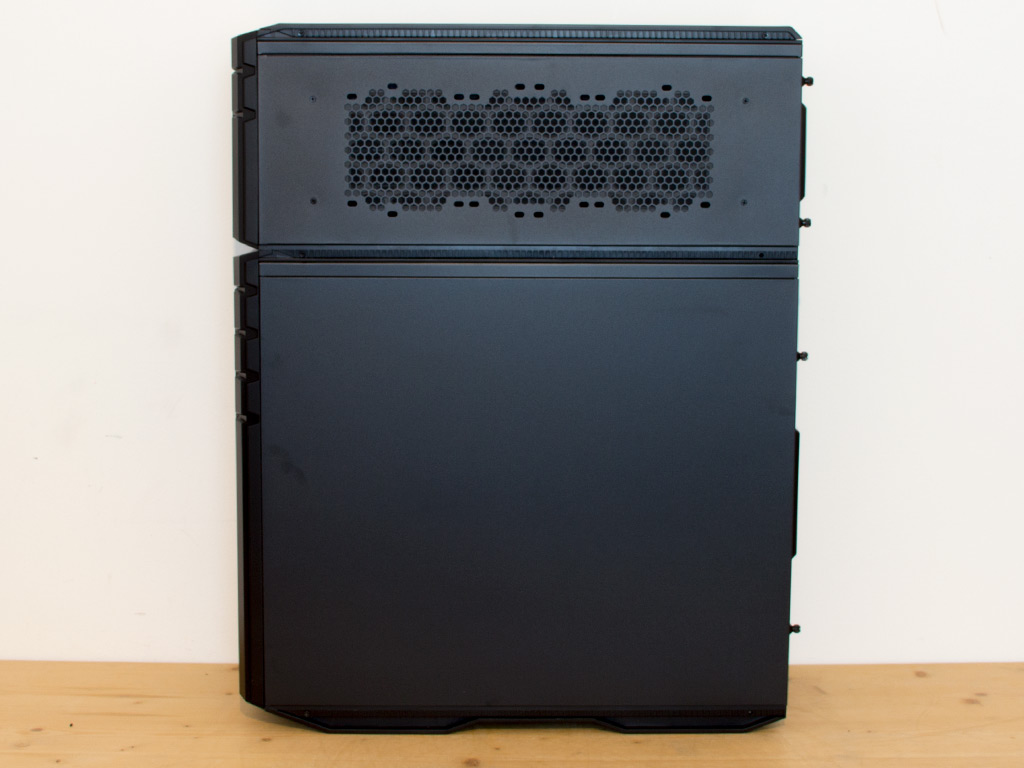
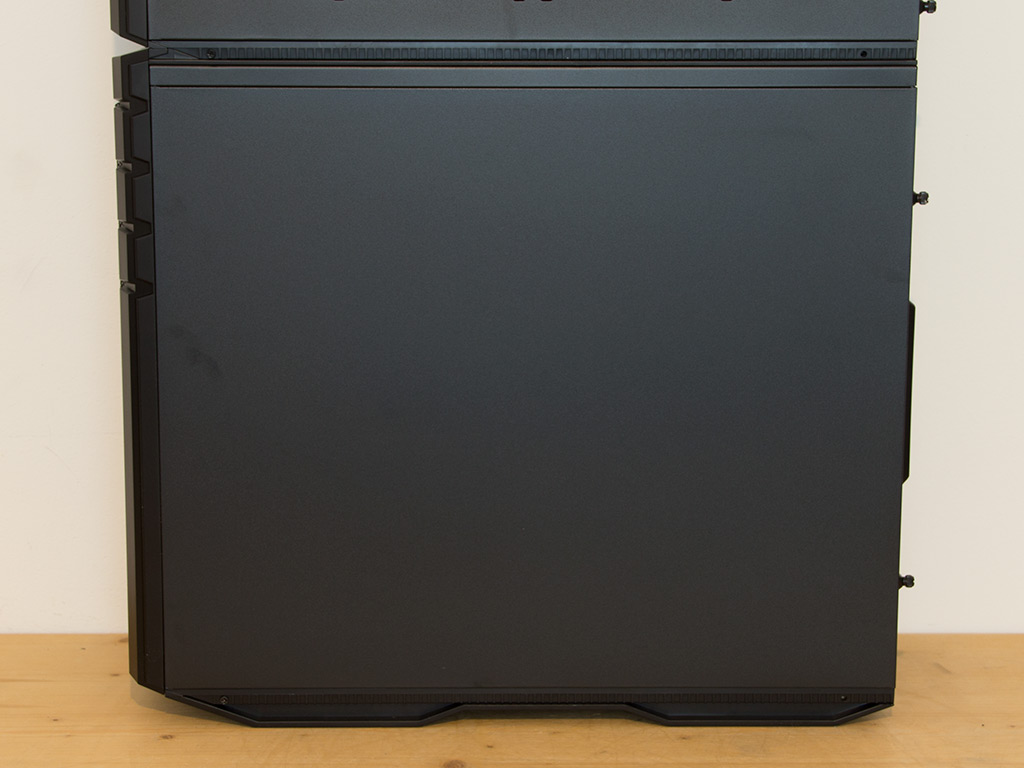
A large window on the big chassis gives you an unobstructed view of the interior. It comes with a slight tint that goes with the chassis' overall design. The tinted window also makes sure only a few imperfections within your system stand out immediately. The other side panel is completely solid, and both smaller panels on top come with air vents and dust filters.
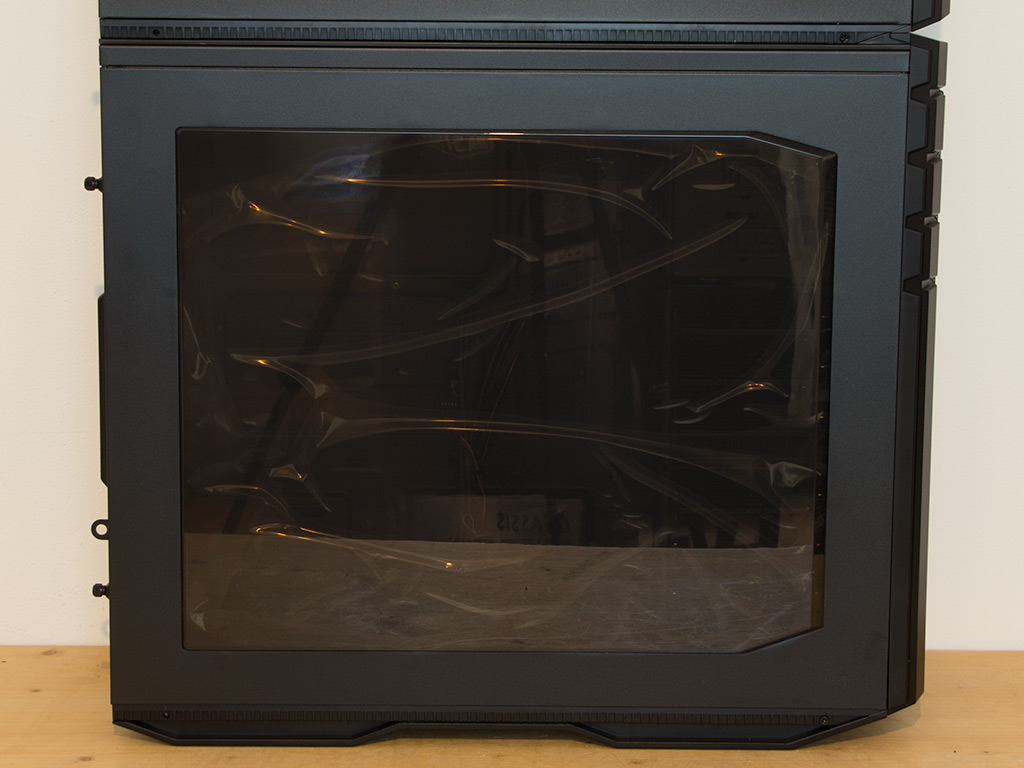
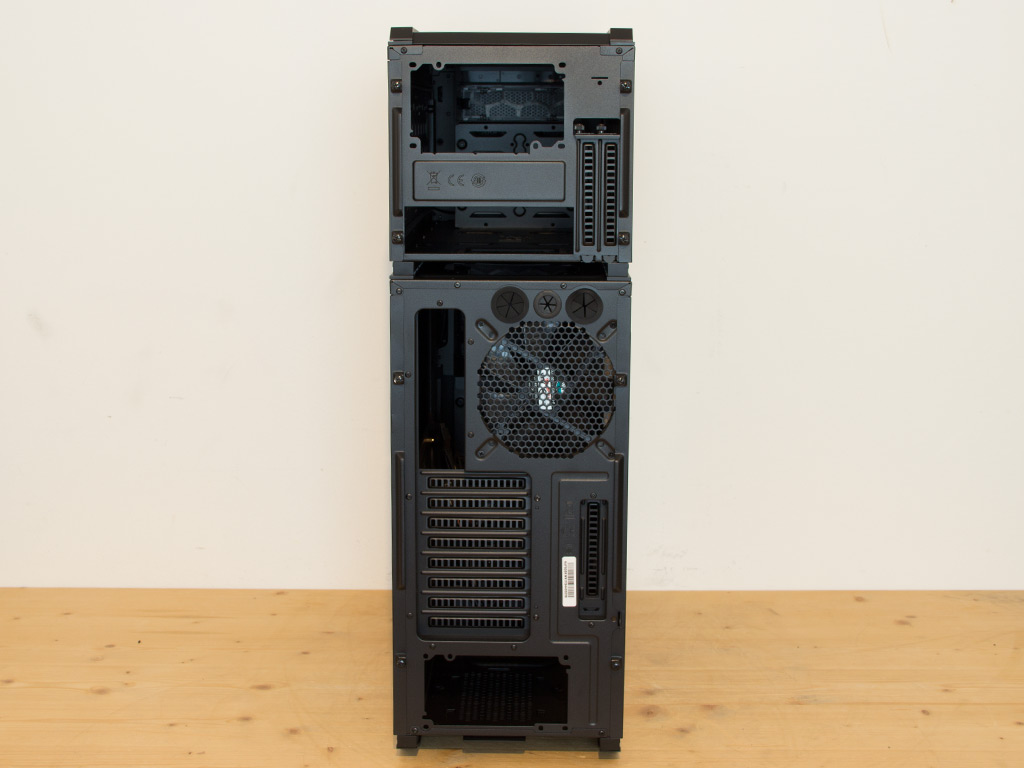
Look at just the bottom chassis on its own and it becomes apparent that it is essentially a full ATX case with an open top and bottom. All the elements are where you would expect them to be, including the bottom-mounted PSU bay. The side window extrudes slightly and Cooler Master managed to install it in such a way as not to show any rivets or screws.
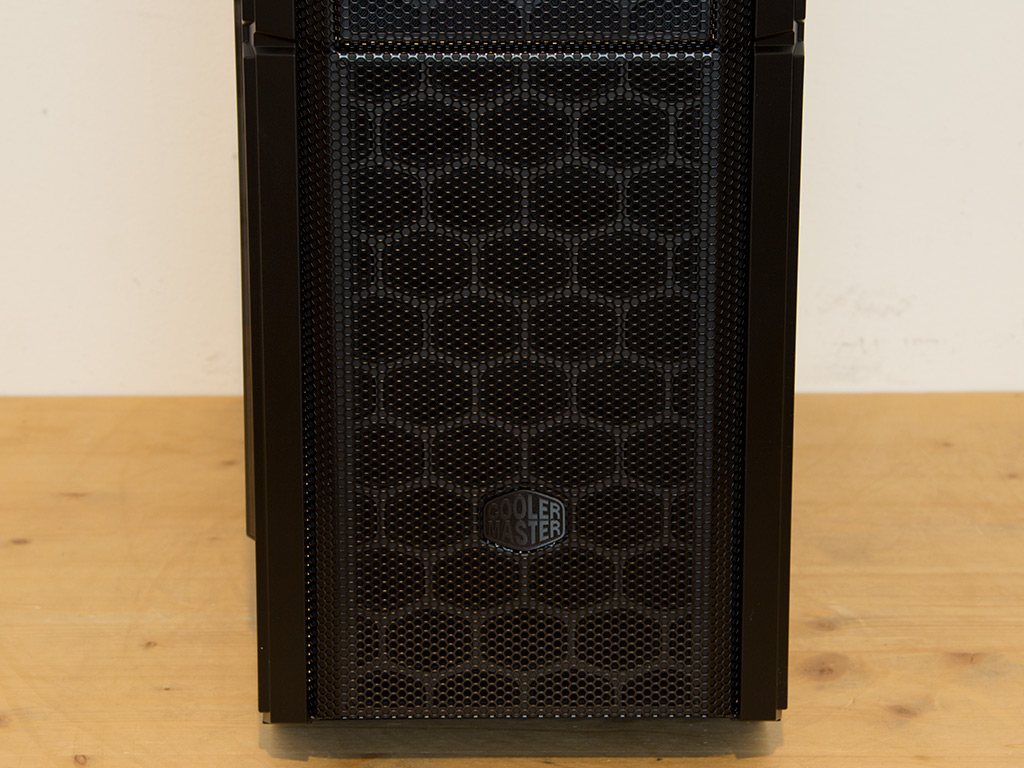
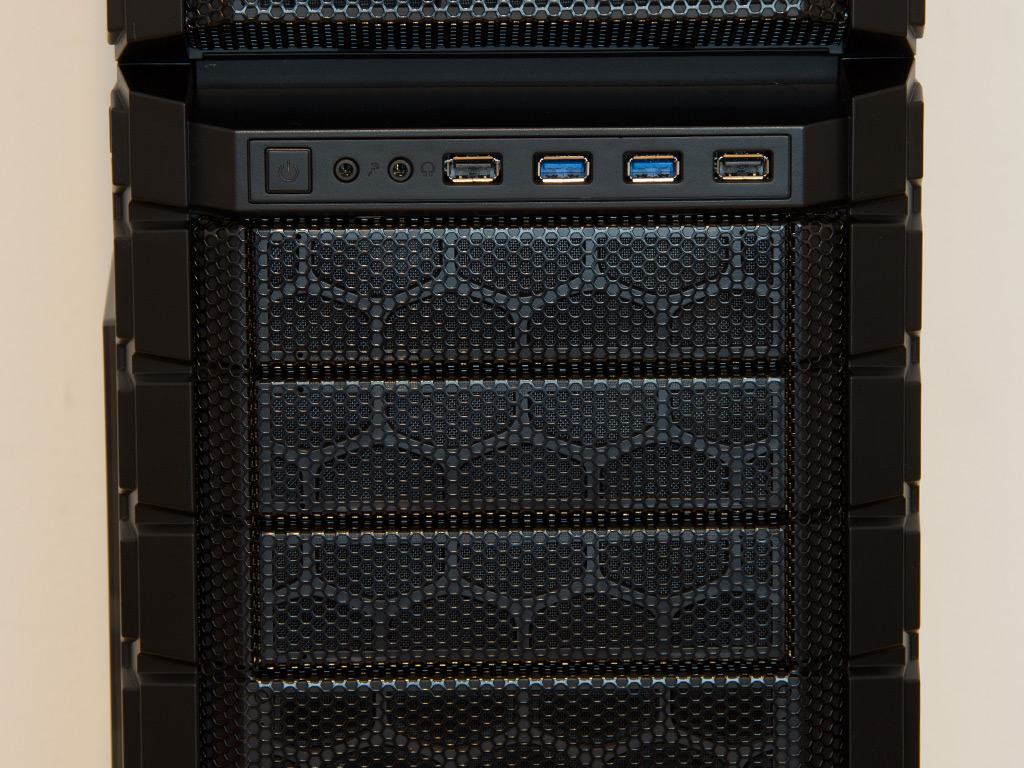
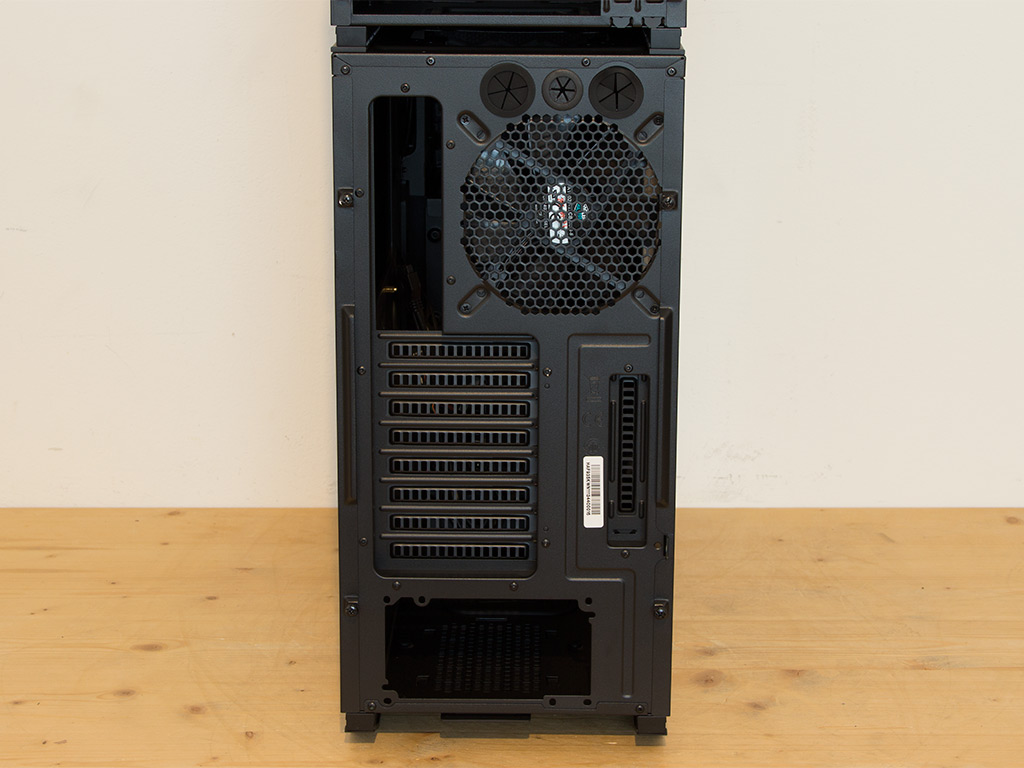
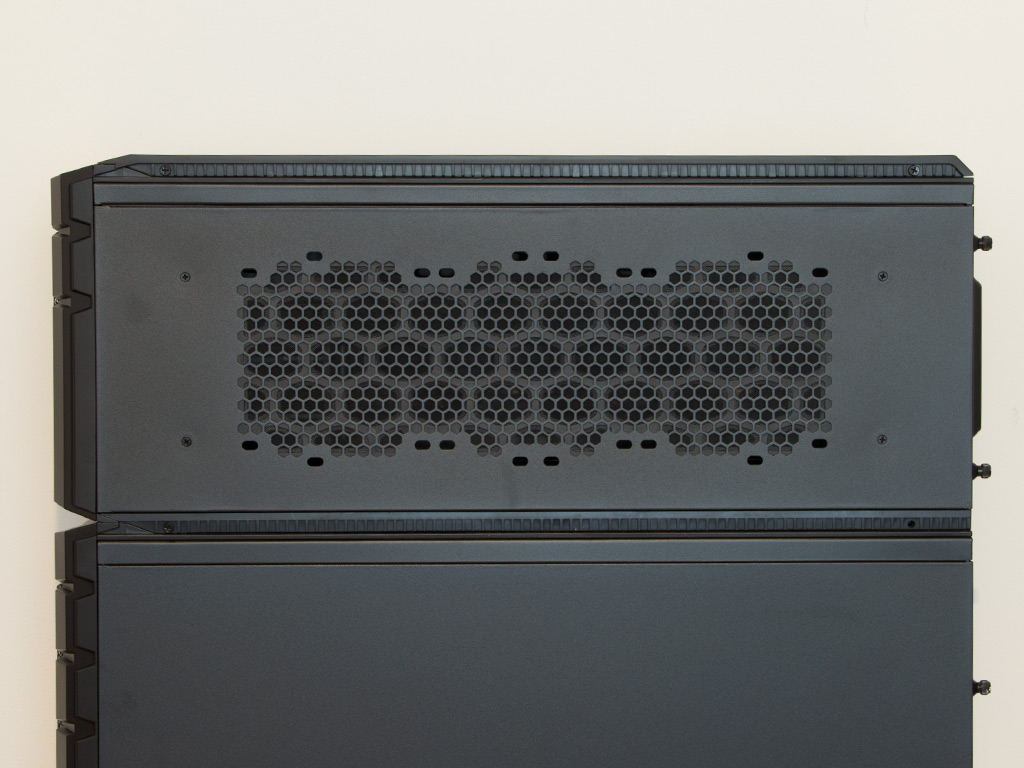
The bottom half of the larger chassis' front is essentially made out of a metal mesh with a dust filter behind it. You may install fans behind the mesh for additional cooling performance. Above that are the three 5.25" drive bays with a metal mesh cover each. There is unfortunately no 3.5" bay and Cooler Master does not include an adapter to transform a larger bay into such a small bay. In the very top of the larger enclosure is a good set of I/O that consists of two USB 3.0, two USB 2.0, and the usual audio in- and outputs. The power and reset buttons can be found above those.
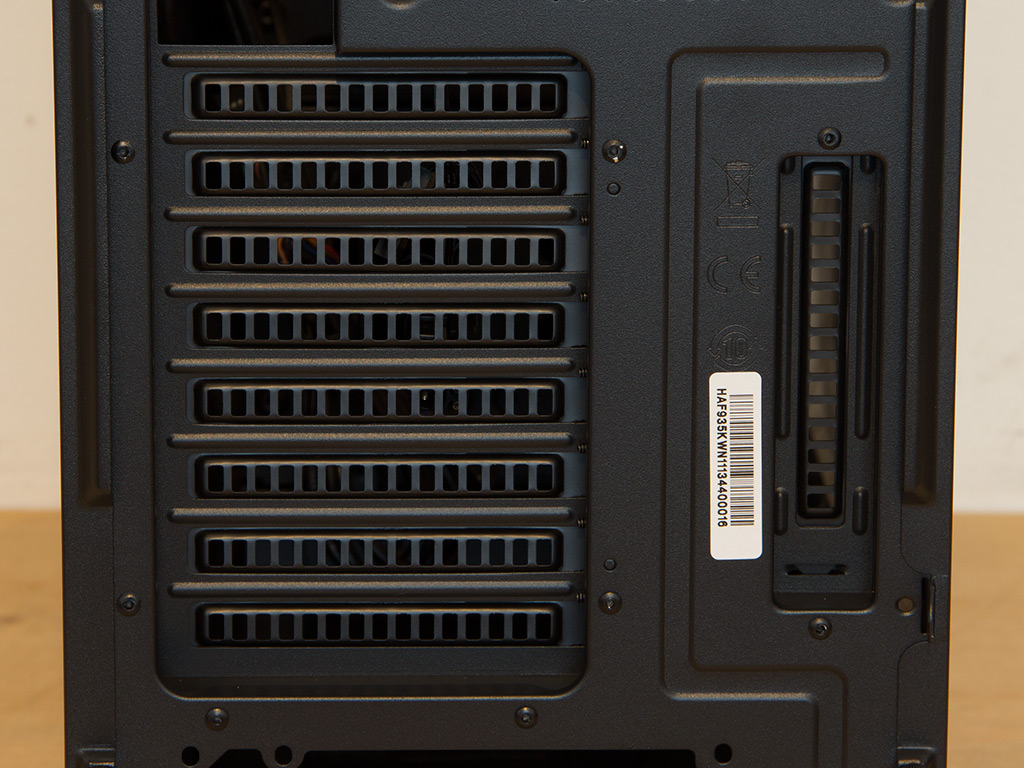
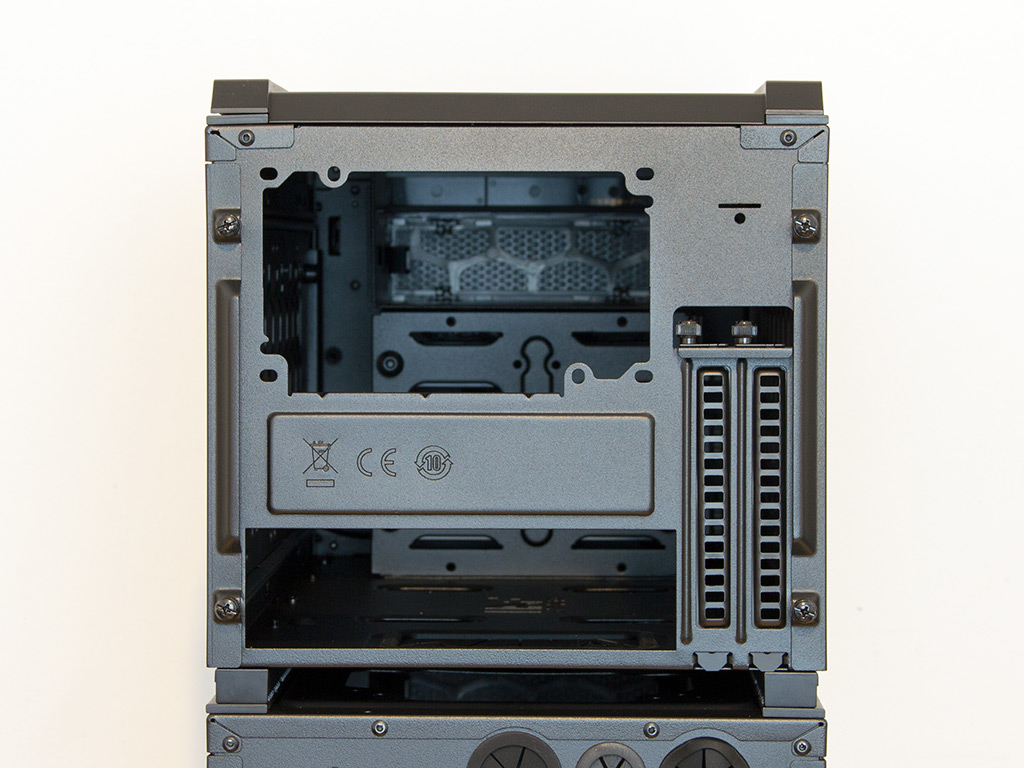
The rear of the lower compartment looks very traditional. You have the PSU bay with two sets of mounting holes, which allows you to install the unit with the fan facing down- or upward. Above that are the 8 + 1 expansion slots. Each of these is protected by a removable and reusable cover. In the very top are a 140 mm exhaust fan and two openings through which you can route water-cooling out the back of the case.
Now on to the small chassis on top of the big one. It obviously looks just like the bigger chassis in terms of design, but only features a single 5.25" drive bay. There are, interestingly enough, no buttons or I/O elements anywhere, which is strange as many will use this chassis to hold a secondary system. Cooler Master realized their error and is offering a set of I/O as an optional accessory, so users who want to use the HAF Stacker in such a way can.
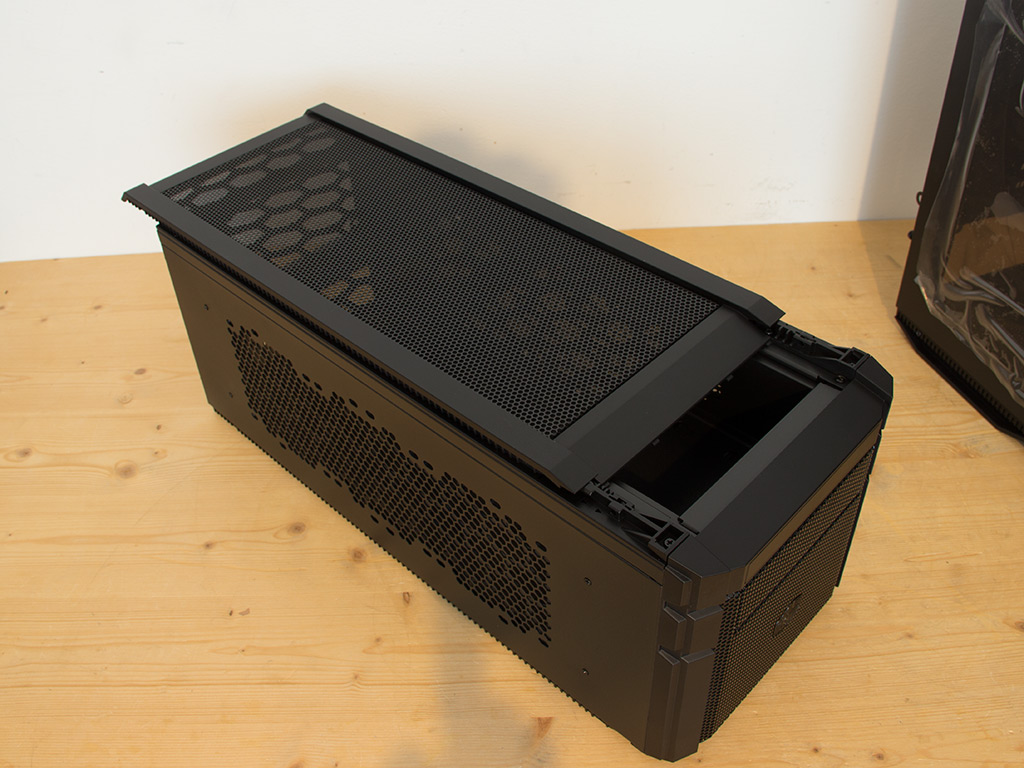
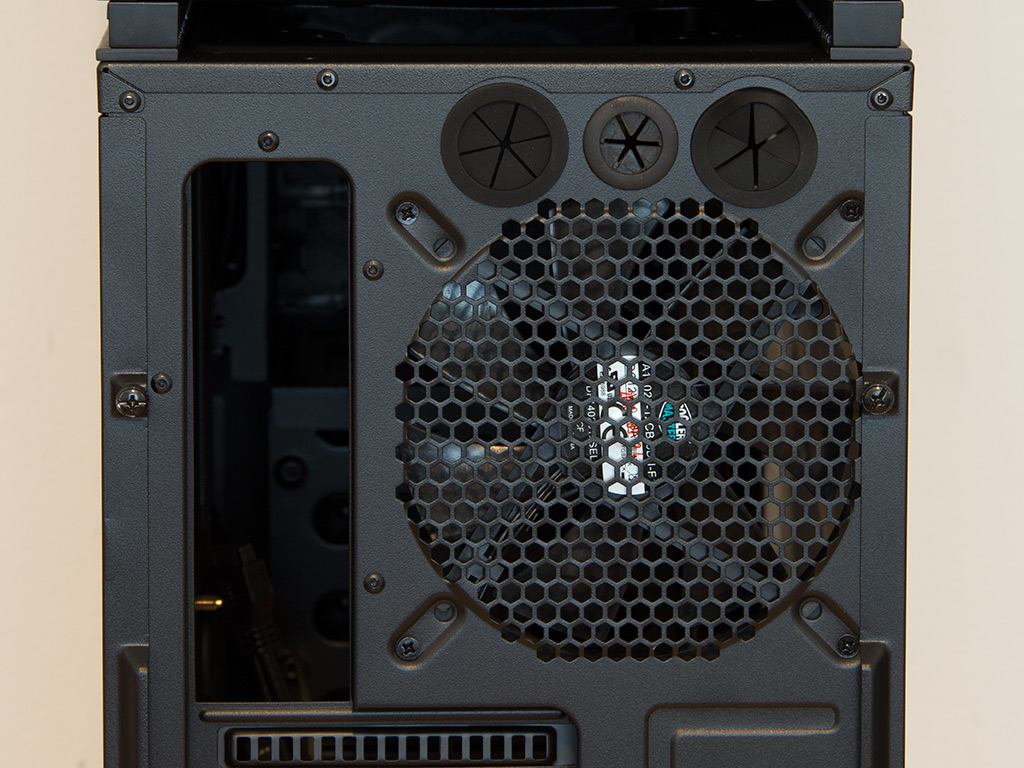
The rear of the smaller chassis looks very much like that of any traditional Mini-ITX case. It does come with two motherboard-expansion slots, which means that you can install a powerful graphics card for a secondary gaming rig, like a steam box, into the chassis.
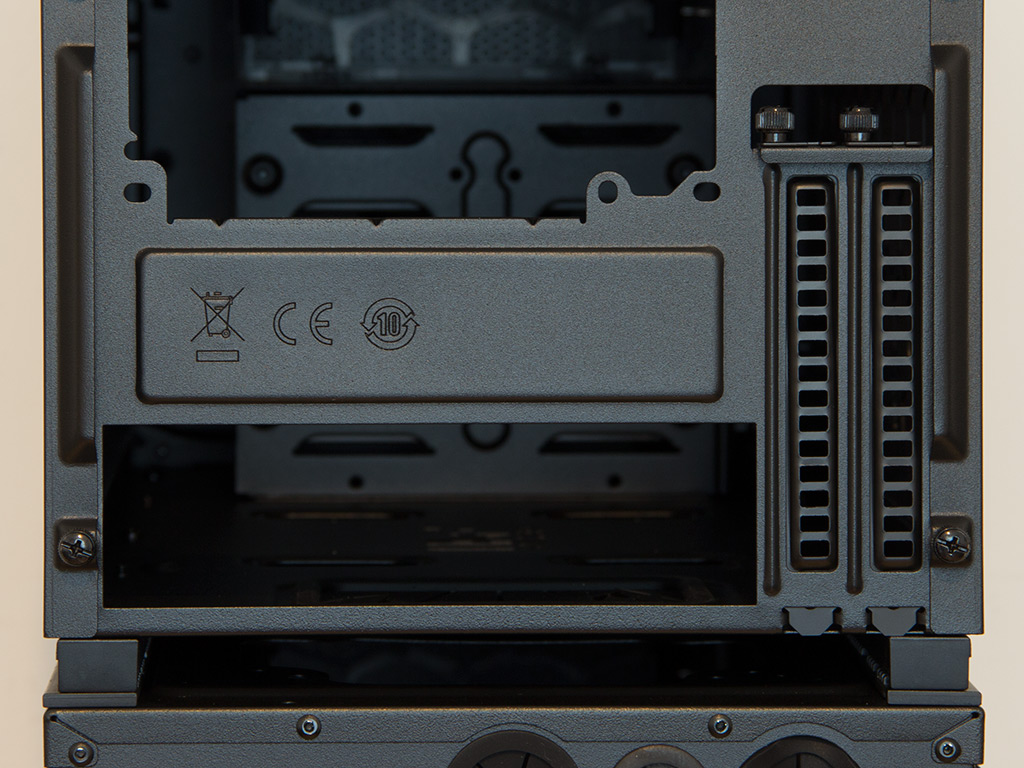
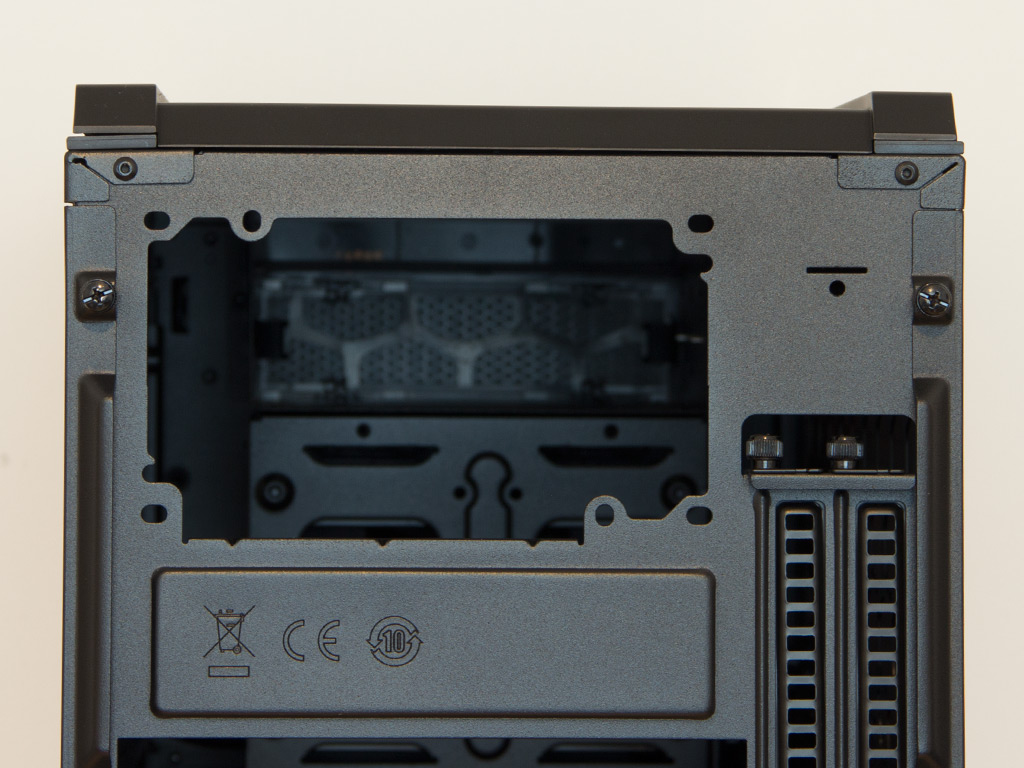
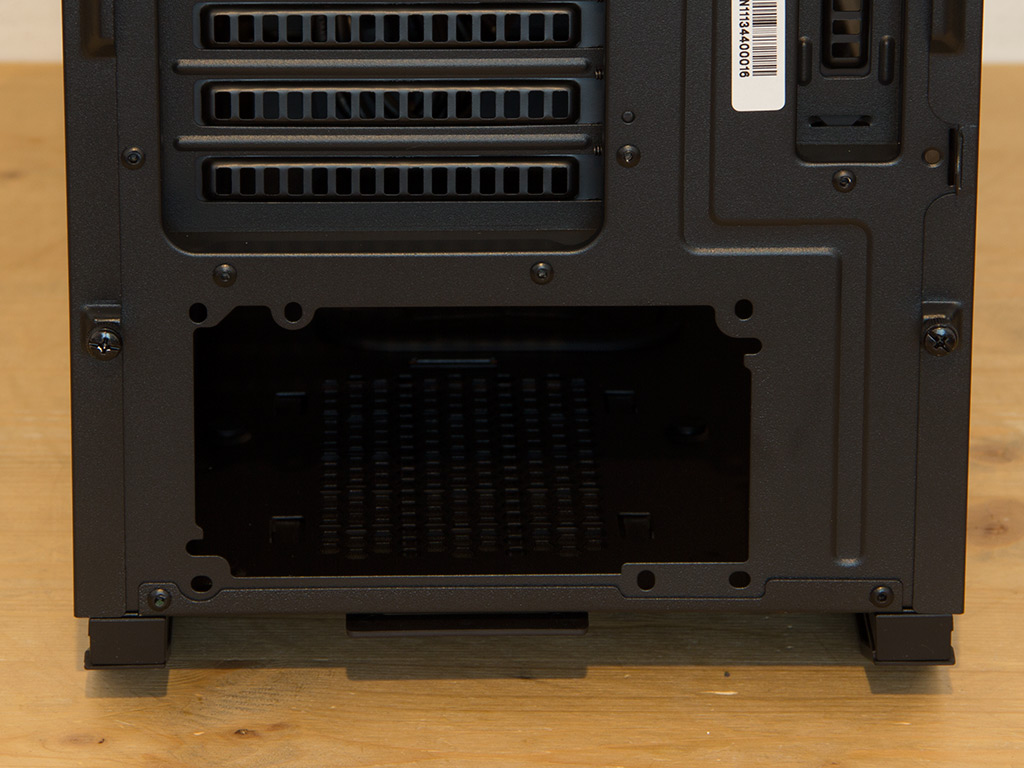
Besides the two expansion-slot covers, there is also the cutout for the motherboard backplate of the Mini-ITX unit. Above that is a fully sized PSU bay, which, once again, comes with two sets of mounting holes for you to install a power supply with the fan facing up- or downward.

Both sides of the smaller chassis come with air vents and mounts for either fans or 280 / 360 mm radiators, which is good as you may use the chassis for all your water-cooling equipment to keep the other enclosure as clean as possible.
Jan 6th, 2025 07:58 EST
change timezone
Latest GPU Drivers
New Forum Posts
- [2025] Will you use Windows 10 LTSC or Windows 11? (37)
- Has anyone here compared RTX4060 to B580 on a low-end CPU & disabled REBAR? (7)
- Compatible rams with z690? (11)
- Are game requirements and VRAM usage a joke today? (601)
- 3D Printer Club (361)
- What's your latest tech purchase? (22799)
- Unigine Superposition GPU Benchmark (1080P Extreme) (386)
- nvidia gpu market share takes over 90% in Q4 2024 (Get's closer to full monopoly) (348)
- Post your Cinebench R23 Score (3040)
- Anime Nation (12927)
Popular Reviews
- DDR5 Thermal Testing & Analysis
- SCYROX V8 Review
- Klevv Genuine G560 2 TB Review
- ASUS ROG Falchion Ace HFX Hall Effect Keyboard Review
- AMD Ryzen 7 9800X3D Review - The Best Gaming Processor
- INTUAURA Lakeview In-Ear Monitors Review - The Power of DSP!
- GPU Test System Update for 2025
- Intel Arc B580 Review - Excellent Value
- Arrow Lake Retested with Latest 24H2 Updates and 0x114 Microcode
- HIFIMAN Arya Unveiled Headphones Review - The Next Best?
Controversial News Posts
- AMD Radeon RX 9070 XT Alleged Benchmark Leaks, Underwhelming Performance (204)
- NVIDIA GeForce RTX 5090 Features 575 W TDP, RTX 5080 Carries 360 W TDP (197)
- Potential RTX 5090 and RTX 5080 Pricing in China Leaks (173)
- 32 GB NVIDIA RTX 5090 To Lead the Charge As 5060 Ti Gets 16 GB Upgrade and 5060 Still Stuck With Last-Gen VRAM Spec (173)
- AMD Radeon RX 9070 XT Boosts up to 3.10 GHz, Board Power Can Reach up to 330W (167)
- NVIDIA GeForce RTX 5070 Ti Leak Tips More VRAM, Cores, and Power Draw (161)
- NVIDIA GeForce RTX 5070 and RTX 5070 Ti Final Specifications Seemingly Confirmed (152)
- AMD Radeon "RDNA 4" RX 9000 Series Will Feature Regular 6/8-Pin PCI Express Power Connectors (133)