 5
5
Cooler Master HAF Stacker Review
A Closer Look - Inside The Small Chassis »A Closer Look - The Big Chassis
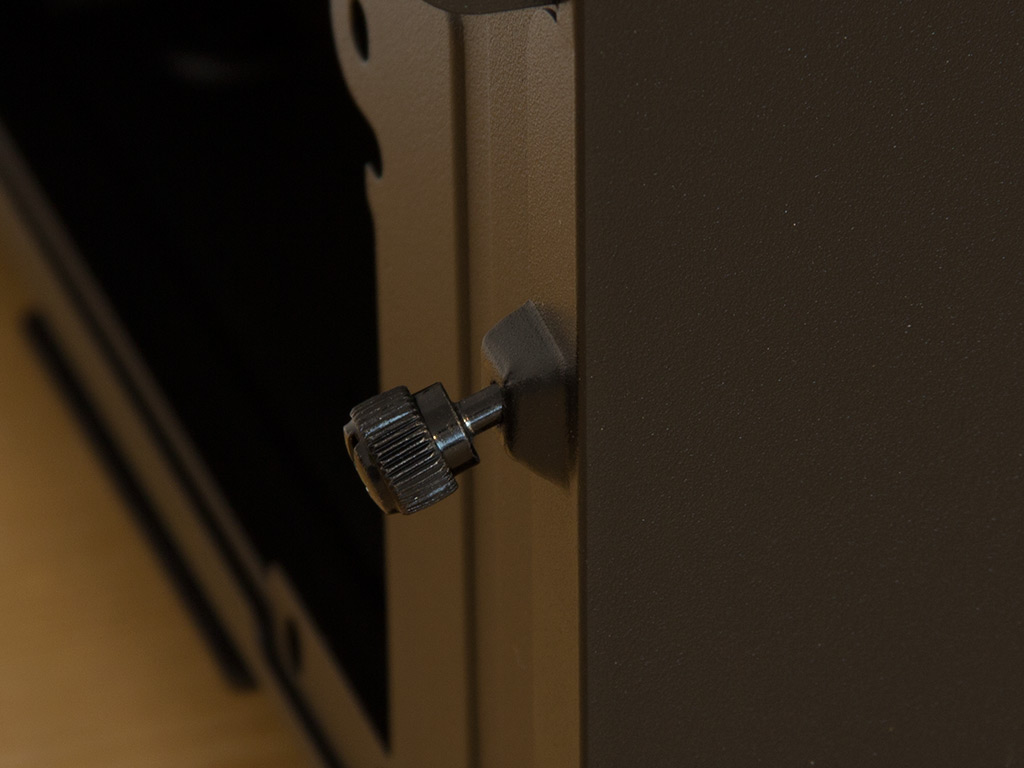
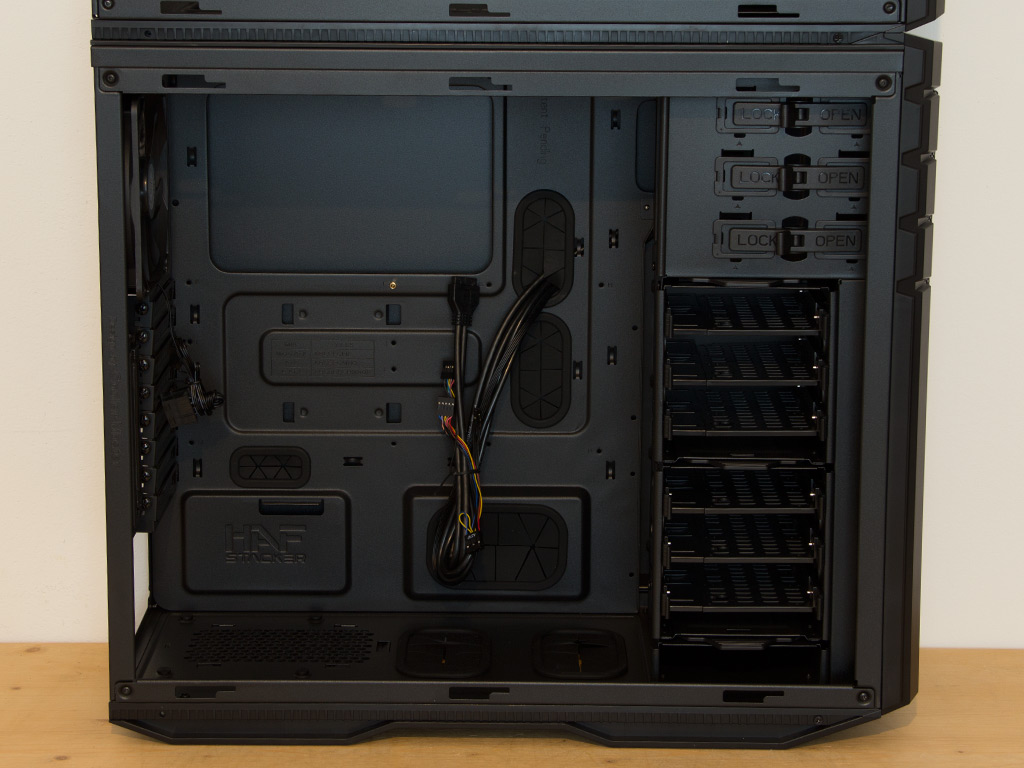
Simply unscrew the thumbscrews to access the chassis' interior. The screws are pinned to the chassis, so you can't misplace them, and the interior of the HAF Stacker is, to go with the rest of the design, all-black. The layout is actually quite traditional, with the hard-drive bays in the front and the rest of the system in the back. Turning the chassis around, you will find numerous grommet-covered holes, including a large opening under the CPU area of the motherboard, for easy cable routing.

There is only around 20 mm of room between the motherboard tray and the side panel. While cable routing should still be possible, you will really have to squeeze things you will really have to squeeze the side panel on once the system has been assembled. There is also a spot to install a 2.5" SSD onto the back. A simple but functional implementation, it requires you to sink screws into the side of the drive.
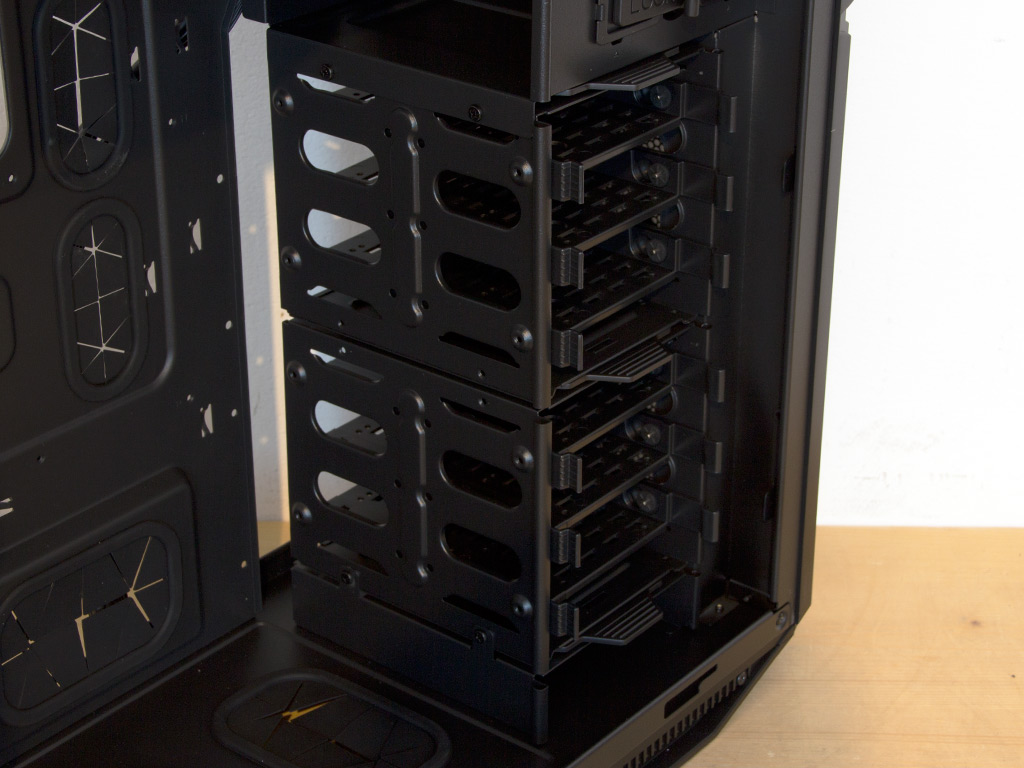
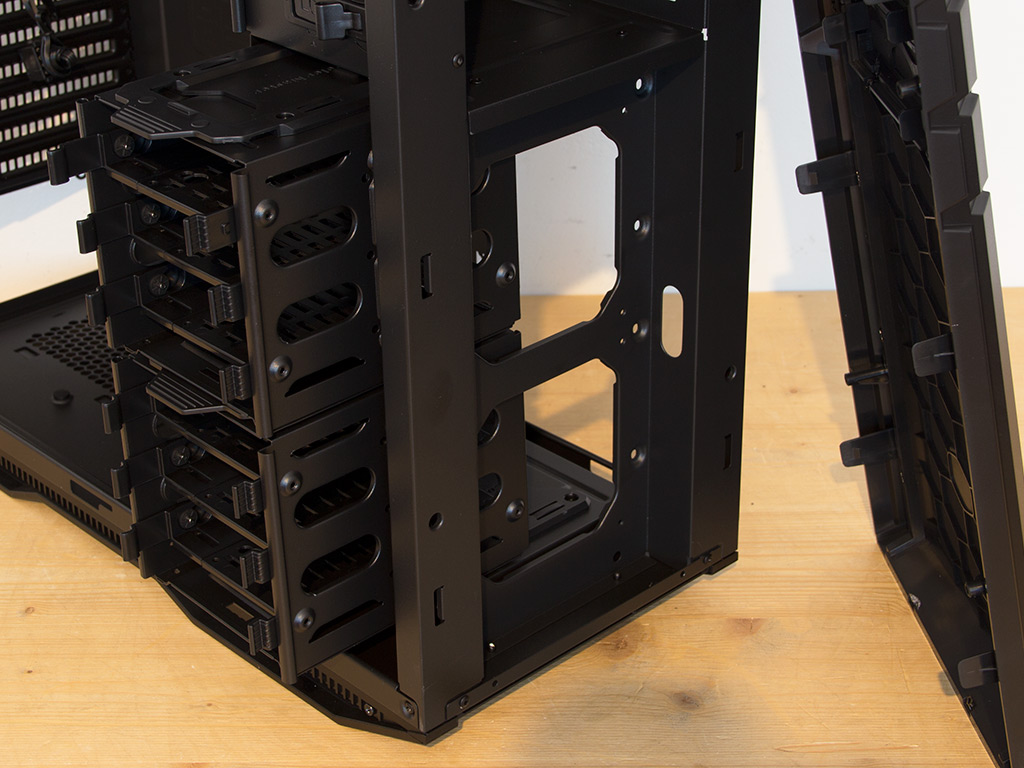
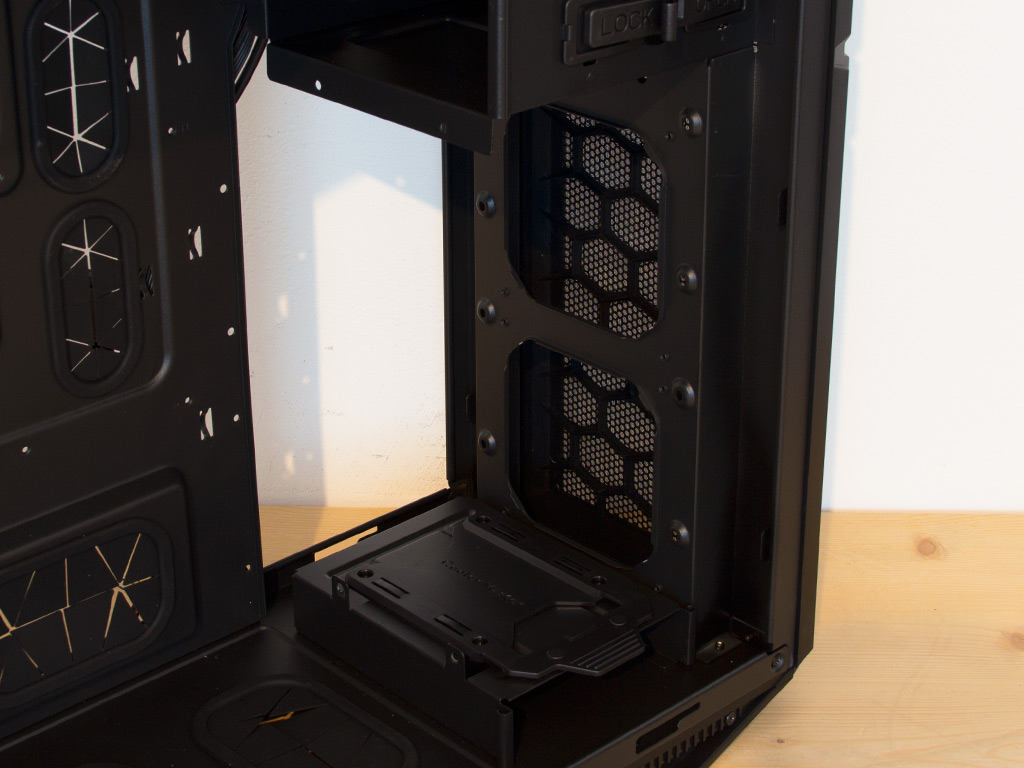
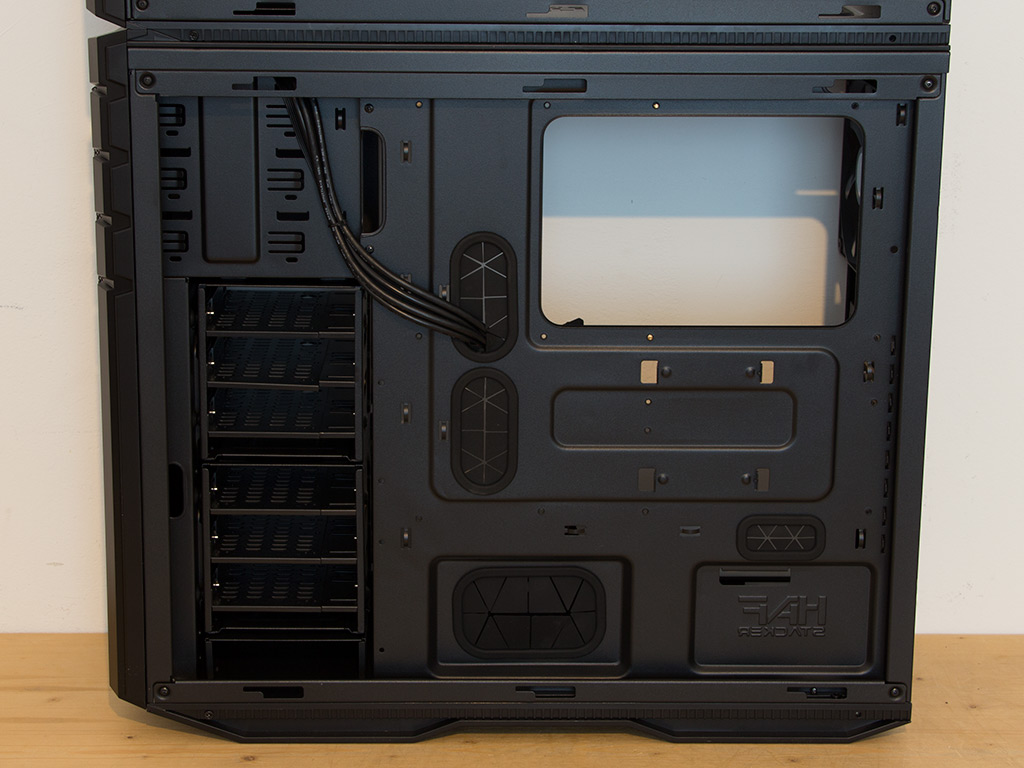
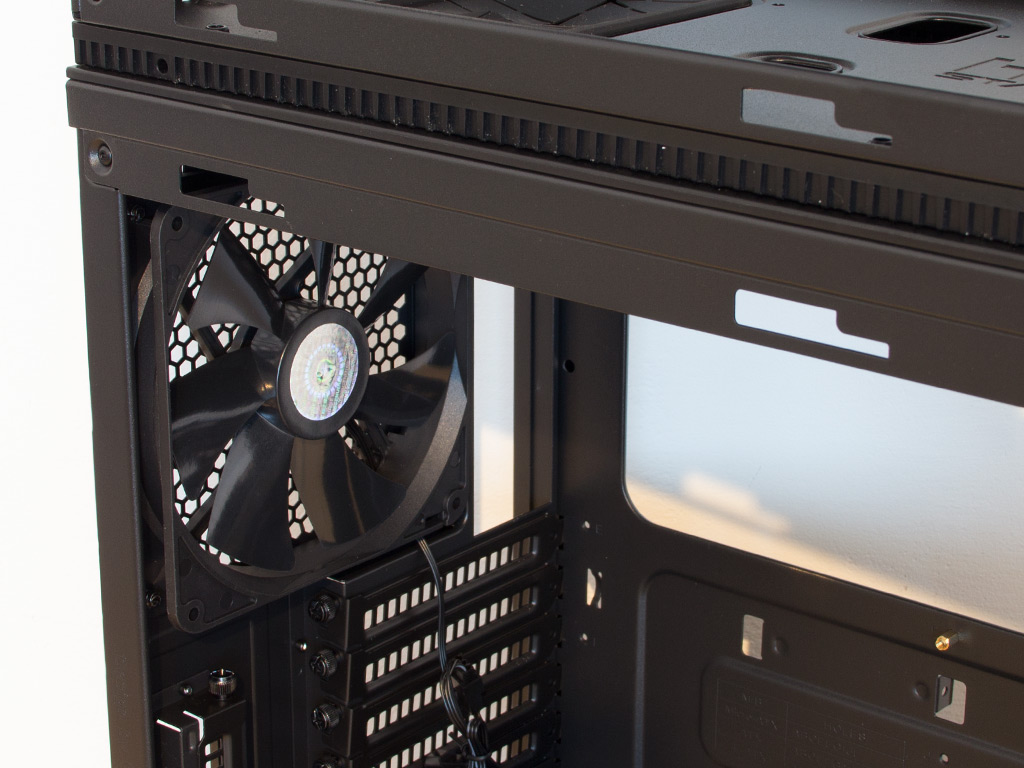
The HAF Stacker ships with six hard-drive bays, which come grouped into two cages. You have to pull the front cover off to remove them, which reveals two 120 mm fan placement possibilities. You can pull the fans out once the screws are gone to clear the entire front of any obstacles, which allows for another radiator of up to 240 mm to be placed there.
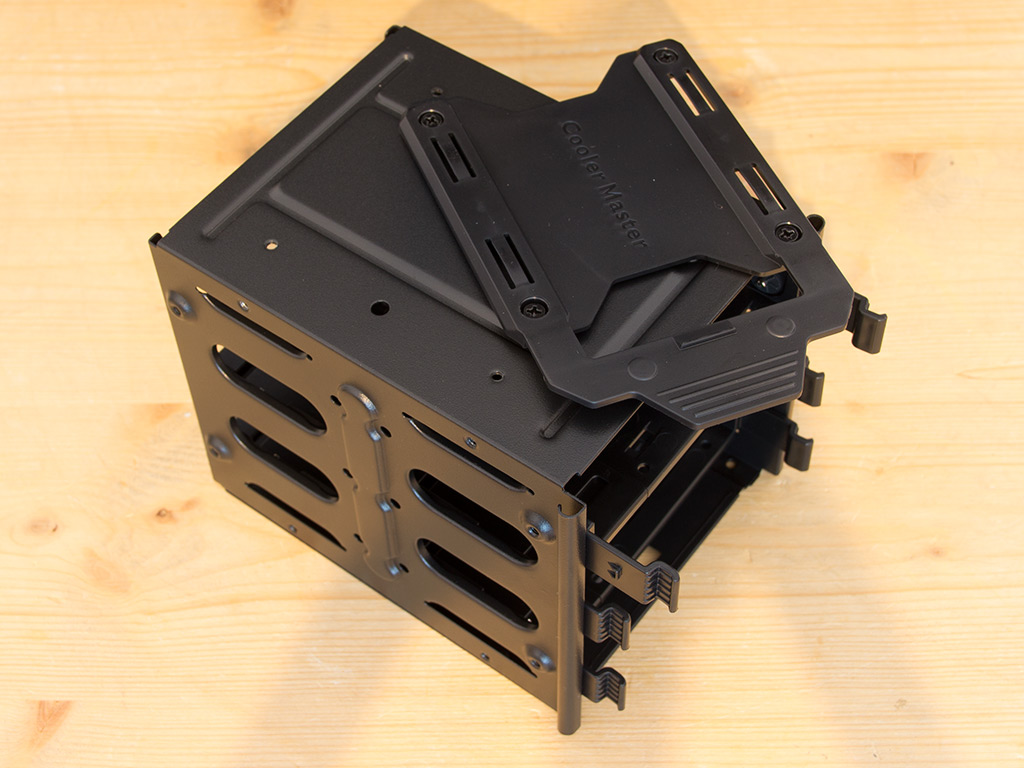
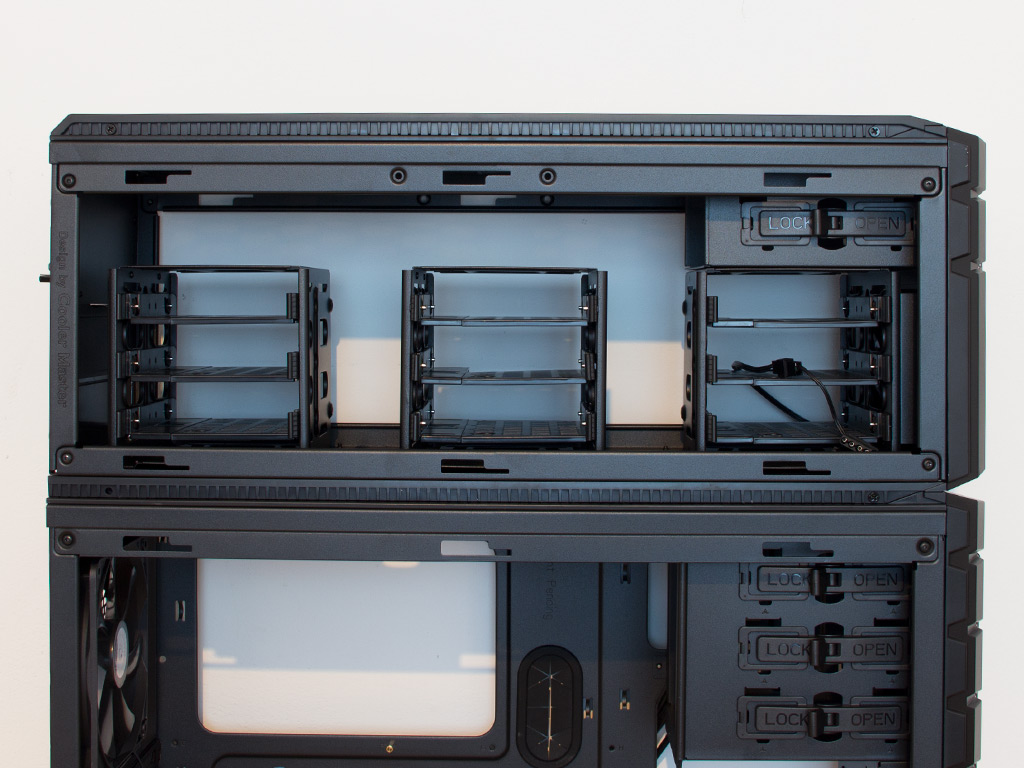
Once the hard-drive cages are removed, you may disassemble them to place them into the smaller chassis, which allows you to use the smaller enclosure for a secondary system, your water-cooling loop, or a bunch of hard drives.
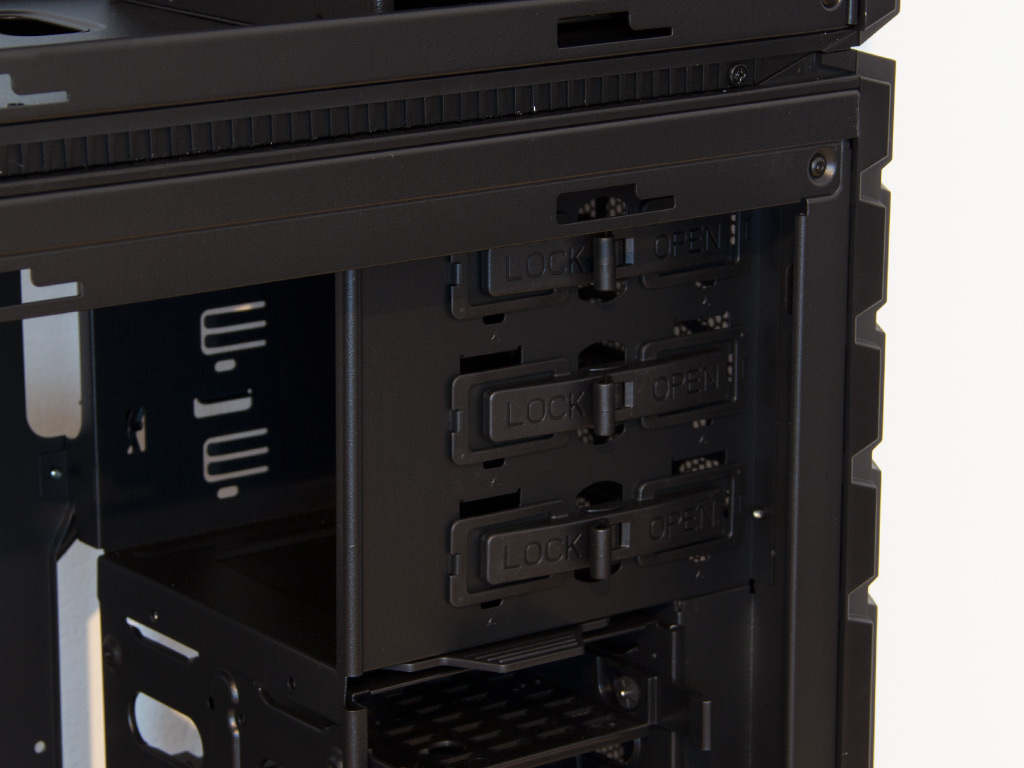
Each 5.25" drive bay comes with the plastic locks to hold its drive in place. We have come across these in the HAF XM already and know that they work, but you may still want to sink a single screw into your ODD to pin it down properly.
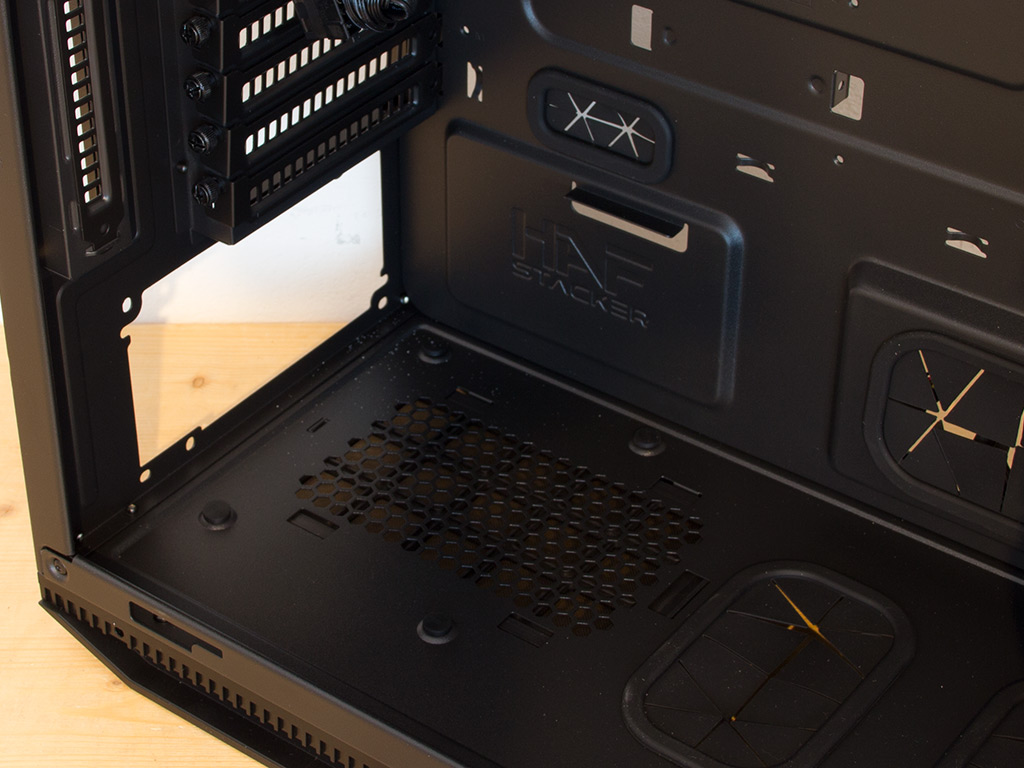
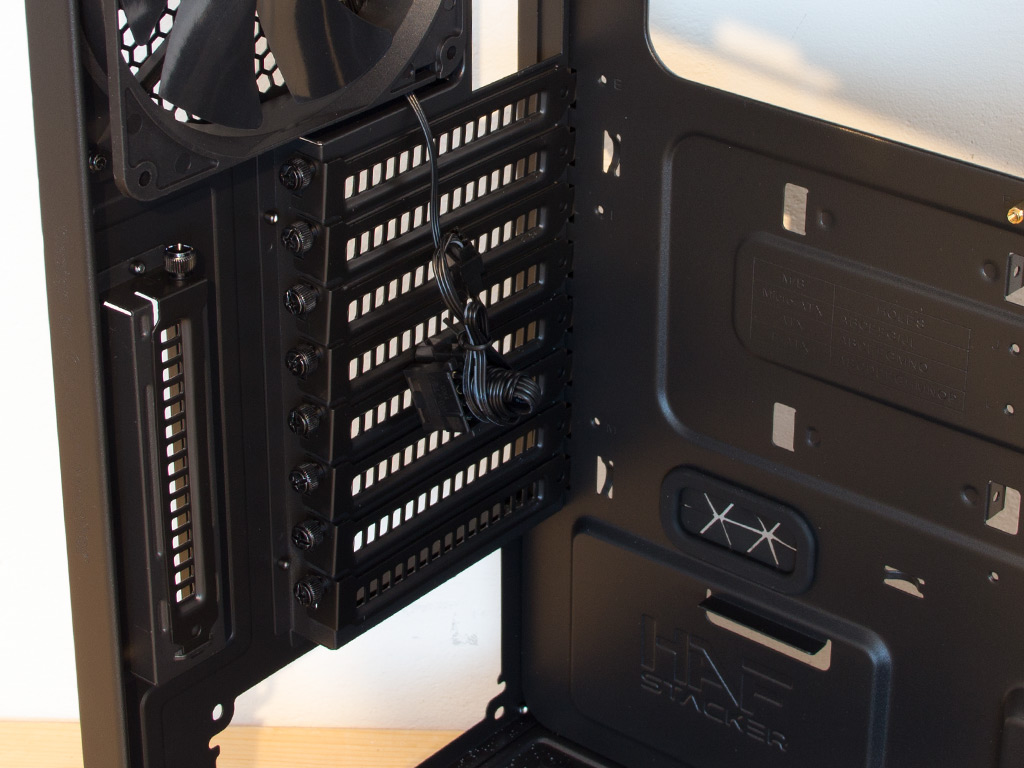
Everything in the rear of the larger chassis is quite traditional. The PSU bay in the bottom features an air vent with a dust filter, so you may install your PUS with the fan facing downward. Above that are the 8 + 1 motherboard-expansion slots. Each expansion slot comes with a cover that is held in place by a thumbscrew. The aforementioned 140 mm exhaust fan which pushes hot air out the back of the case can be found at the very top.
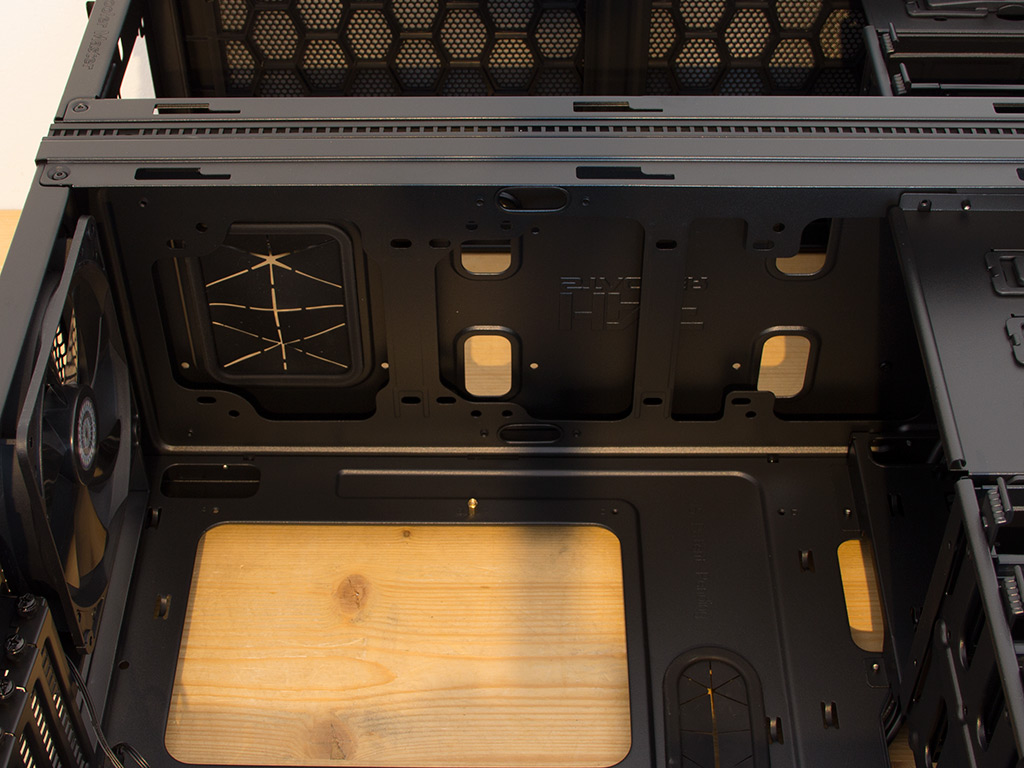
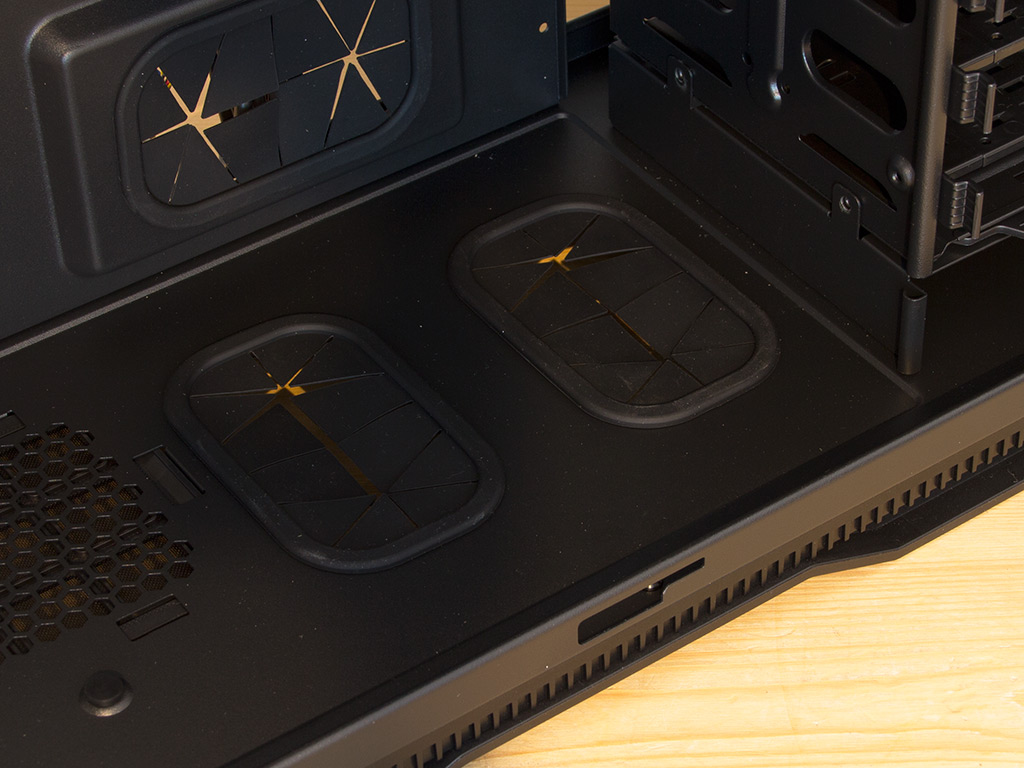
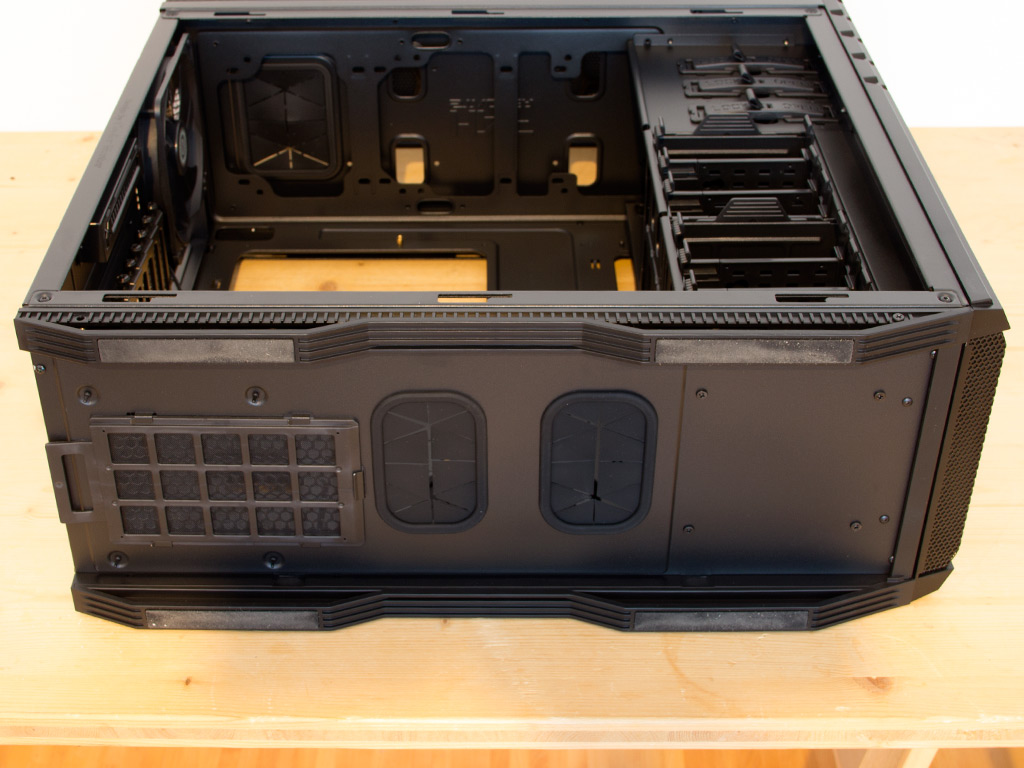
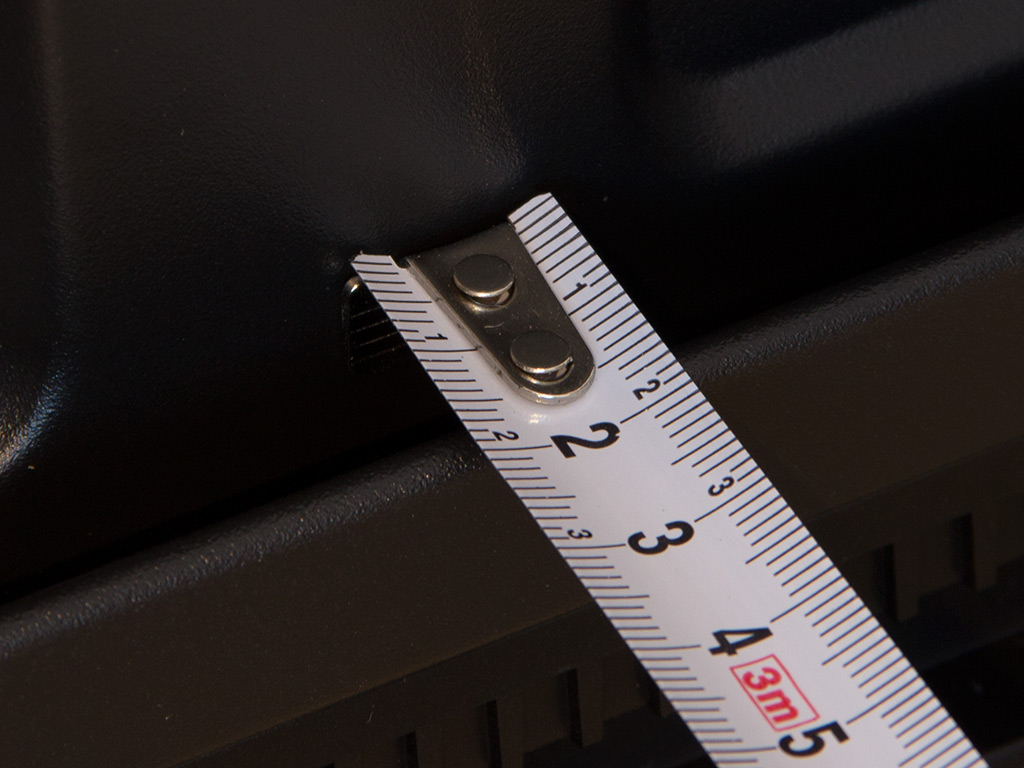
There to easily route cables into the smaller chassis on top or vice versa, numerous holes have been put into the ceiling of the large chassis. The underside comes with holes as well, but they have been configured differently - tipping the larger HAF Stacker chassis on its side allows you to take a closer look at those holes and the PSU bay's removable dust filter.

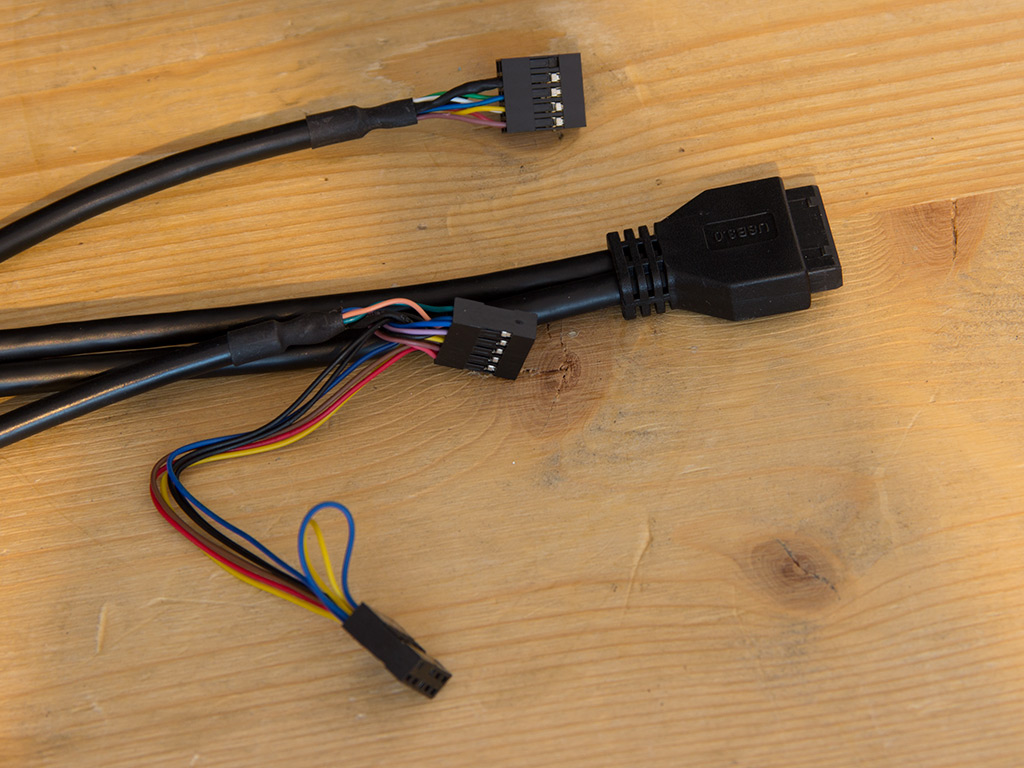
Every cables is sleeved black, and I did not find any leads for a reset button or HDD activity LED. All the I/O cables are also of the default variety, so you should easily be able to connect everything to a modern motherboard.
Mar 11th, 2025 03:30 EDT
change timezone
Latest GPU Drivers
New Forum Posts
- RX 9000 series GPU Owners Club (42)
- What is a good real price for the RTX 5090? (25)
- Nvidia's GPU market share hits 90% in Q4 2024 (gets closer to full monopoly) (812)
- CPU downclocks under any loads but it doesn't hit any limits (3)
- Post your Old CDs, from back in the day thread. (6)
- Cant read/flash bios of Asus RX 6700 TUF with amdvbflash (0)
- Zen6 is almost here ? (46)
- As we live the age of game remakes, which game you would like to see to have a remake? (363)
- Dell Precision 5820 H950EF-00 Power Supply output (0)
- 7900XT Artifacting? Or something else? (6)
Popular Reviews
- Sapphire Radeon RX 9070 XT Nitro+ Review - Beating NVIDIA
- XFX Radeon RX 9070 XT Mercury OC Magnetic Air Review
- ASUS Radeon RX 9070 TUF OC Review
- MSI MAG B850 Tomahawk Max Wi-Fi Review
- NVIDIA GeForce RTX 5070 Founders Edition Review
- Corsair Vengeance RGB CUDIMM DDR5-8800 48 GB CL42 Review
- AMD Ryzen 7 9800X3D Review - The Best Gaming Processor
- ASUS GeForce RTX 5070 Ti TUF OC Review
- MSI GeForce RTX 5070 Ti Gaming Trio OC+ Review
- MSI GeForce RTX 5070 Ti Ventus 3X OC Review
Controversial News Posts
- NVIDIA GeForce RTX 50 Cards Spotted with Missing ROPs, NVIDIA Confirms the Issue, Multiple Vendors Affected (513)
- AMD Plans Aggressive Price Competition with Radeon RX 9000 Series (277)
- AMD Radeon RX 9070 and 9070 XT Listed On Amazon - One Buyer Snags a Unit (261)
- AMD RDNA 4 and Radeon RX 9070 Series Unveiled: $549 & $599 (260)
- AMD Mentions Sub-$700 Pricing for Radeon RX 9070 GPU Series, Looks Like NV Minus $50 Again (248)
- NVIDIA Investigates GeForce RTX 50 Series "Blackwell" Black Screen and BSOD Issues (244)
- AMD Radeon RX 9070 and 9070 XT Official Performance Metrics Leaked, +42% 4K Performance Over Radeon RX 7900 GRE (195)
- AMD Radeon RX 9070-series Pricing Leaks Courtesy of MicroCenter (158)