 5
5
Cooler Master HAF Stacker Review
Value & Conclusion »Assembly
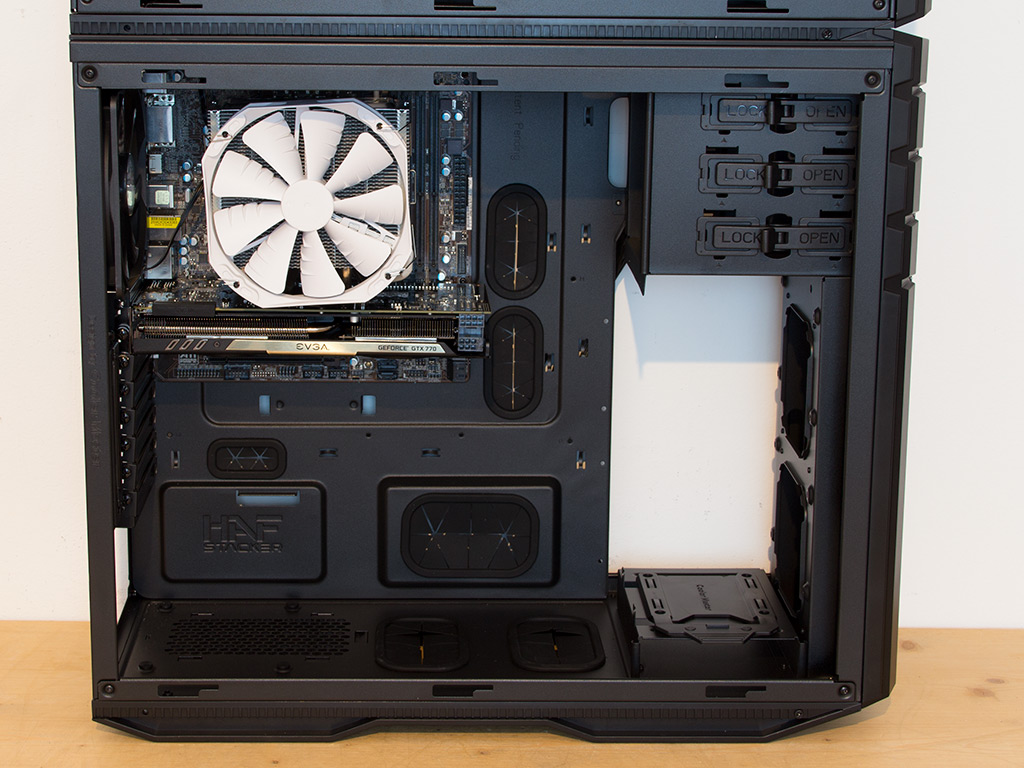
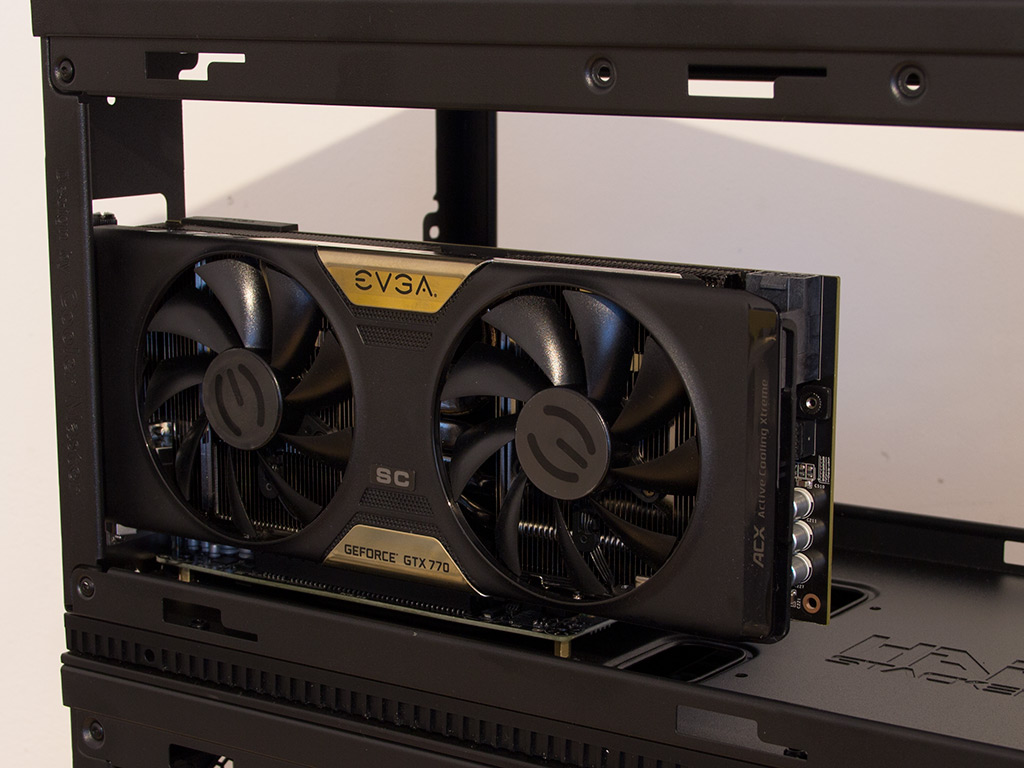
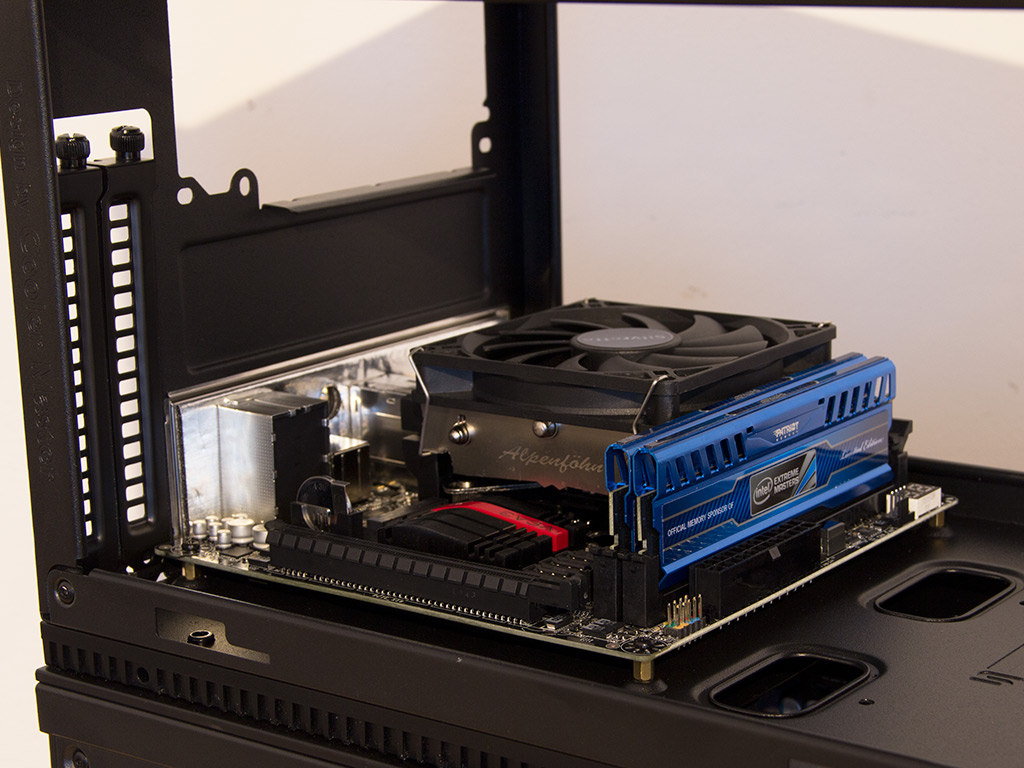
Installing the motherboard into the larger chassis shows that there is loads of free space within the case, so you should have no issues at all with even an eATX motherboard. The chassis on top can easily fit a Mini-ITX board, but you will have to watch the CPU cooler's height as the PSU will sit right above it. The arrangement of motherboard-expansion slots and the fact that the chassis is very long allows you to also easily install full-length graphics cards.
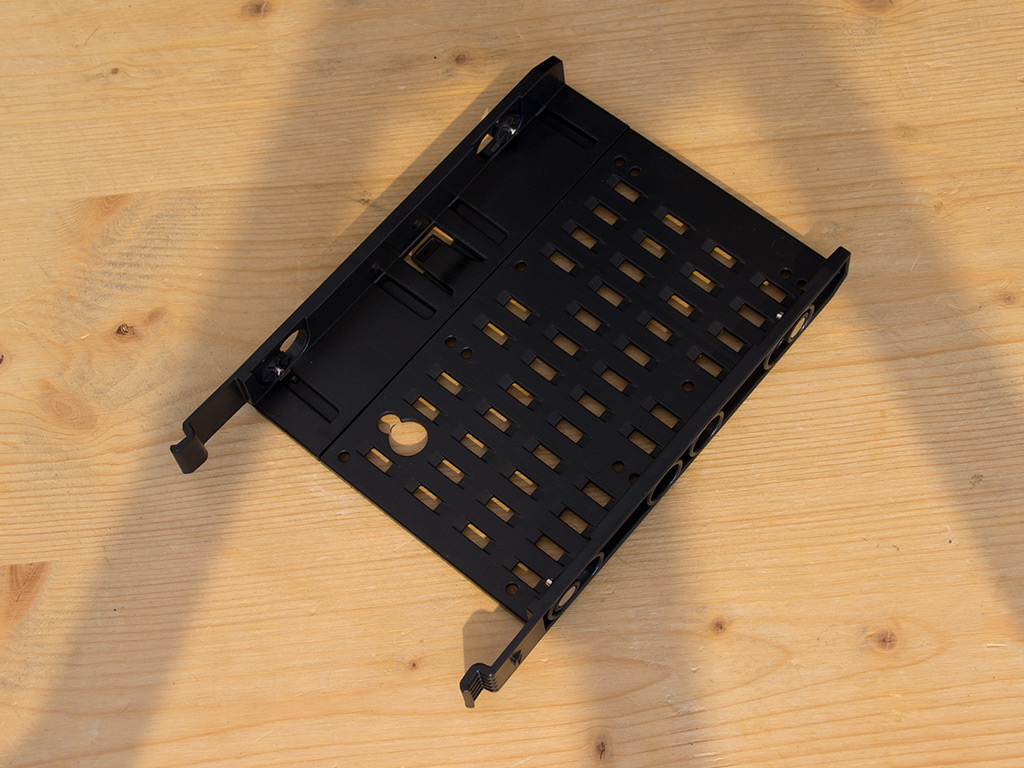
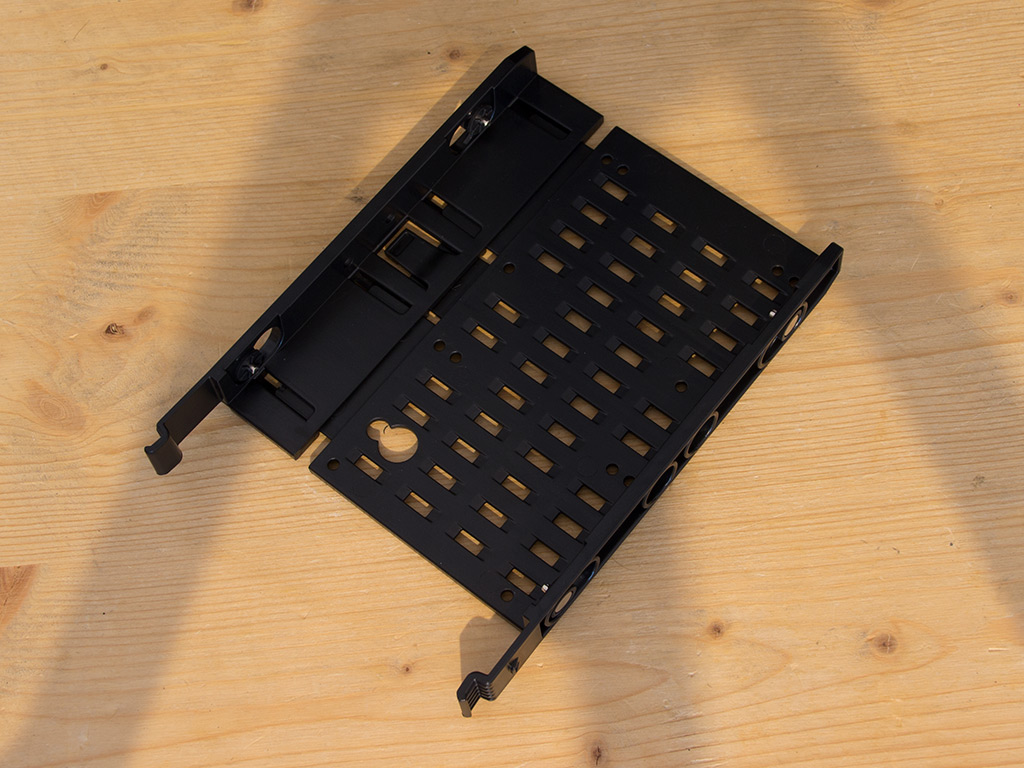
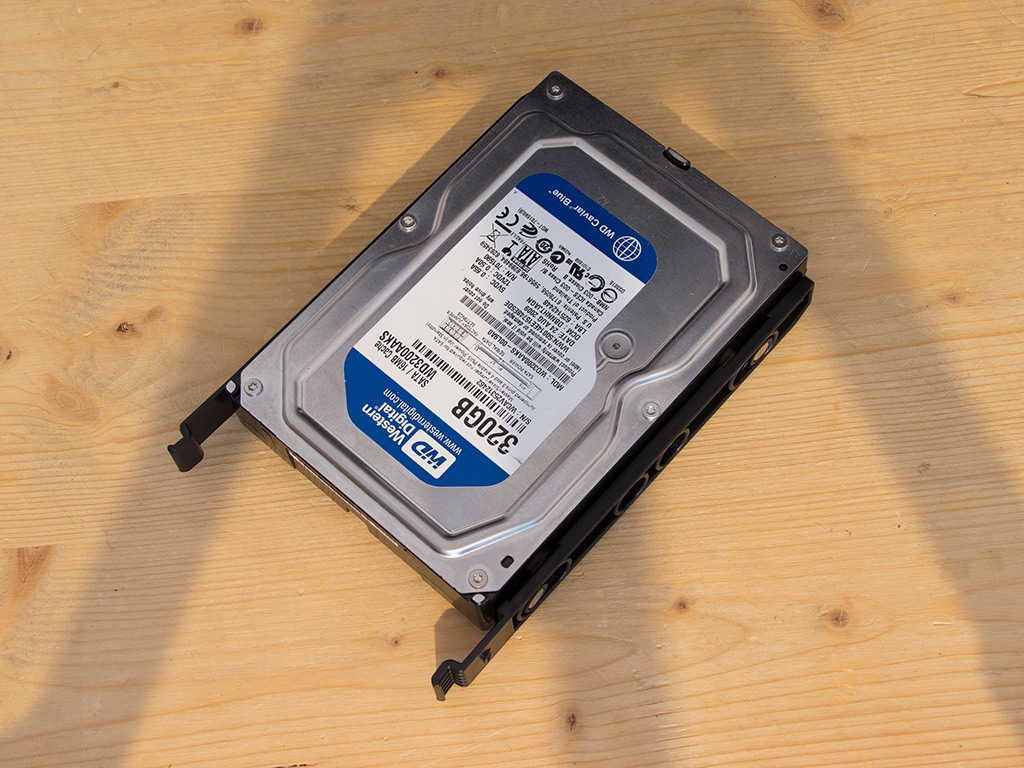
Installing a 3.5" hard drive does not require any tools. Simply pick the plastic tray of your choice, slide it apart and put the drive into place before squeezing things together again.
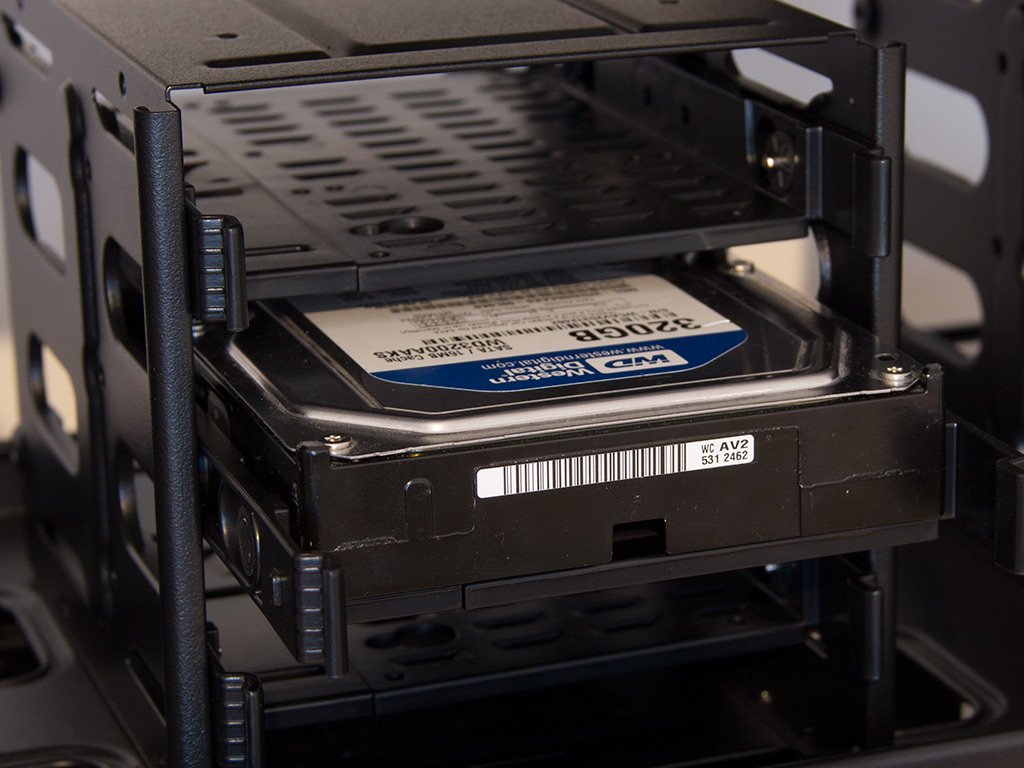
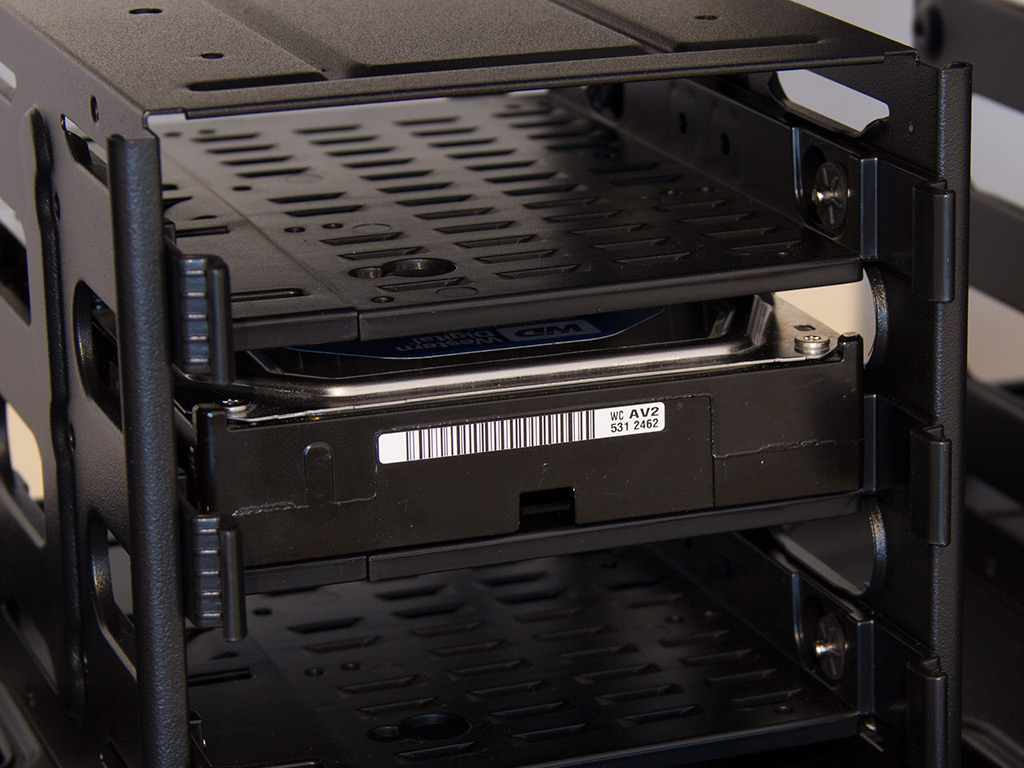
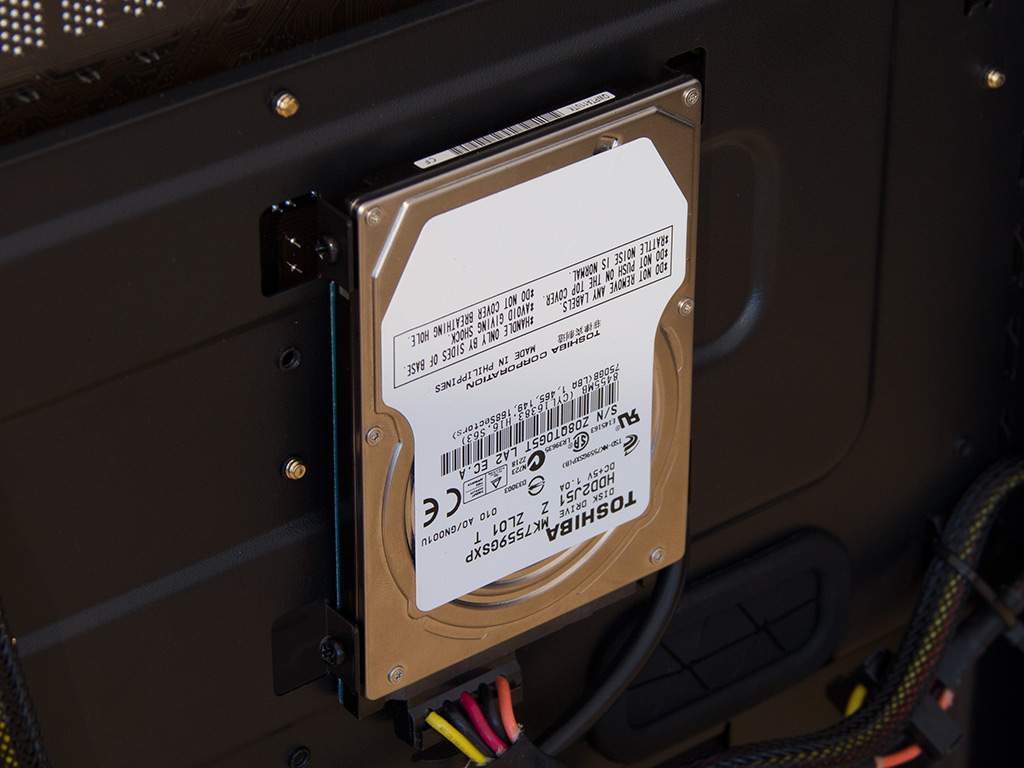
Once filled, slide the drive back into the spot you chose. The spot for 2.5'' drives behind the motherboard tray is simple and functional, but requires the use of small screws and a screwdriver.
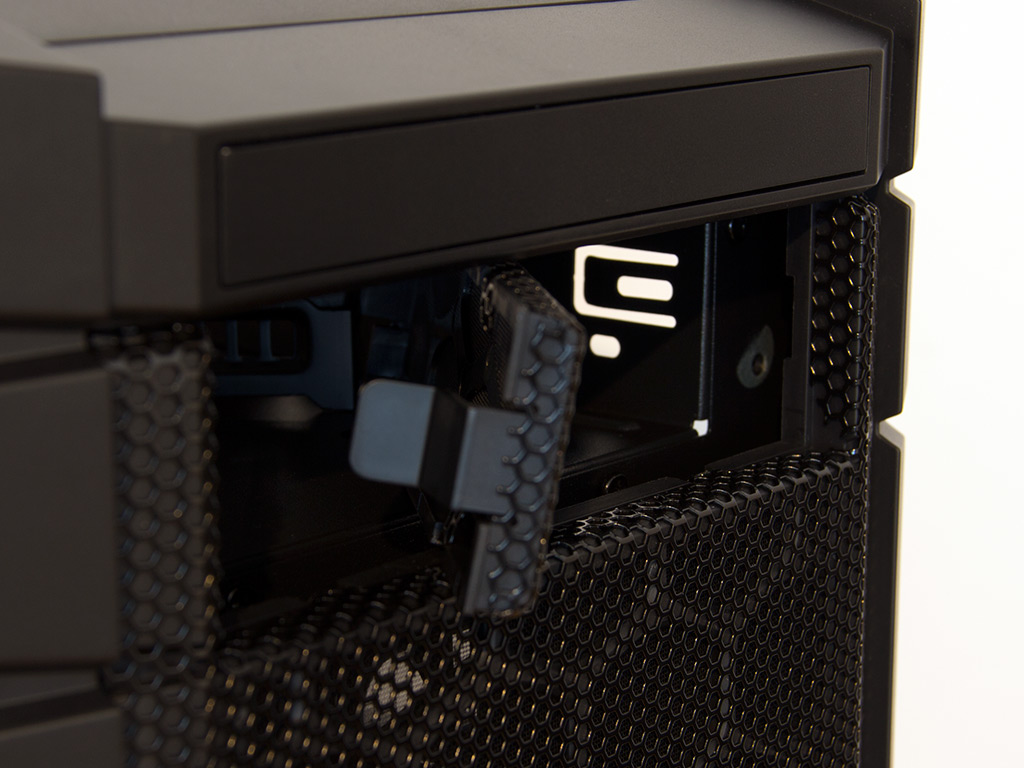
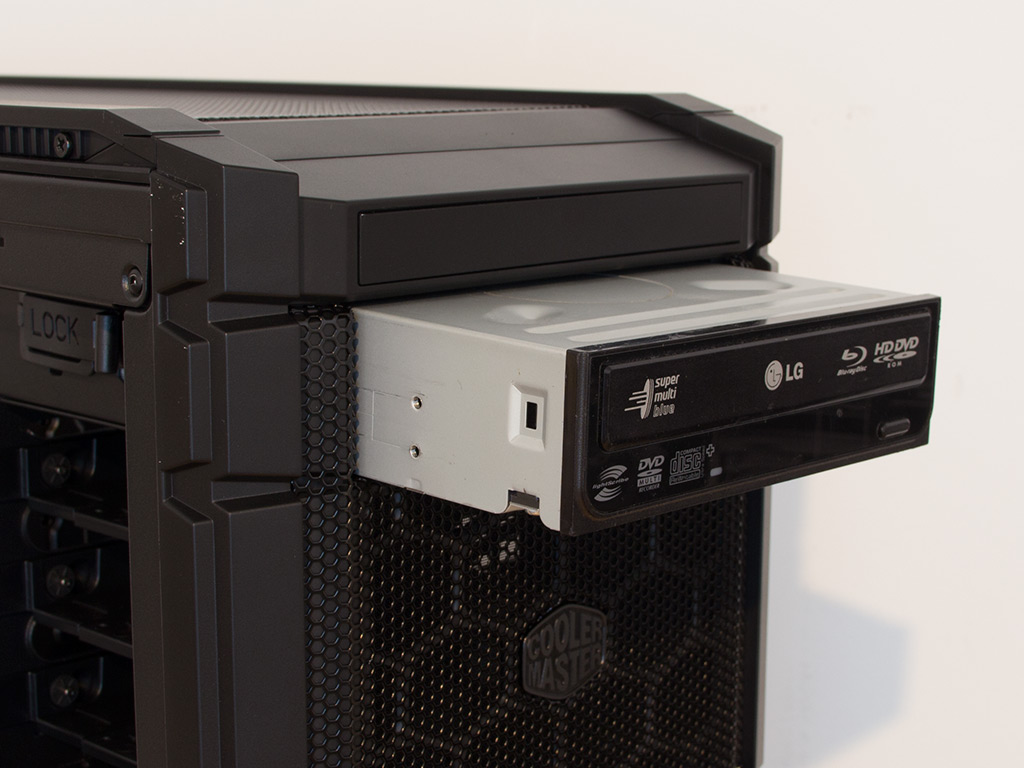

Installing the ODD is, once again, done without tools. Just pop out the cover, slide the drive into place, and flip the switch to secure it properly. While the lock does its job, it does not hold nearly as well as with traditional screws. It would then be a good idea to sink at least a single screw into the drive.
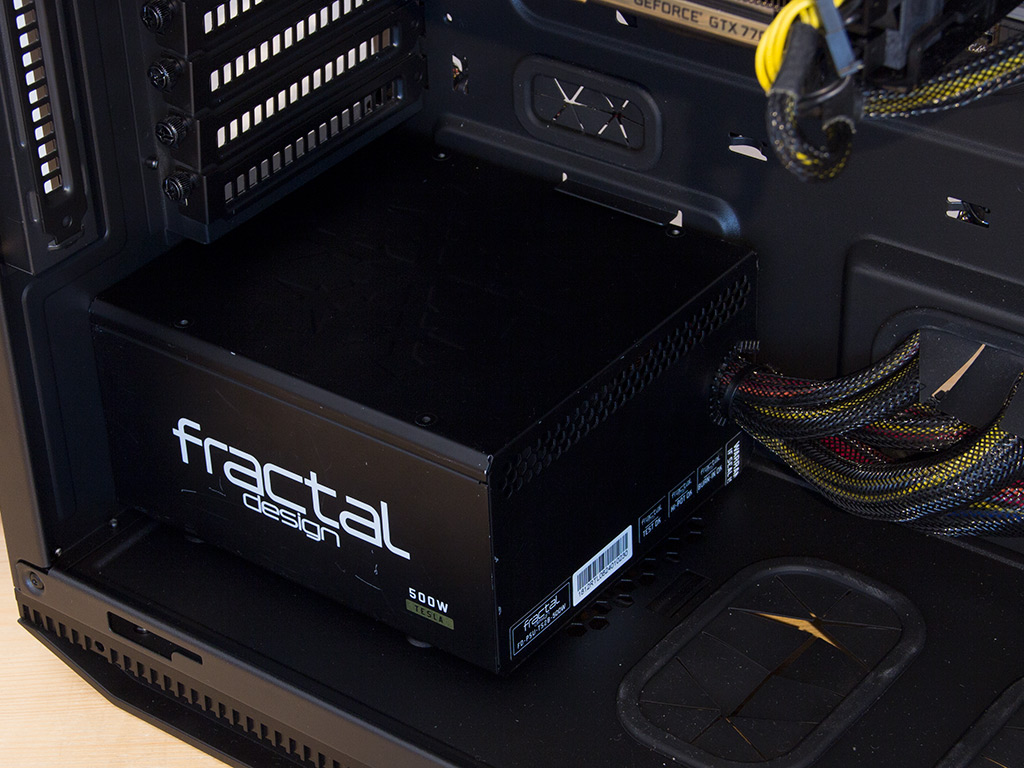
Installing a power supply is done by traditional means, with the use of included screws. That's it, guys and gals. There is nothing else to see here - keep on moving.

With everything installed into the larger chassis, the HAF Stacker offers a ton of room, so you will not have to worry about whether your configuration will fit within the confines of this case.
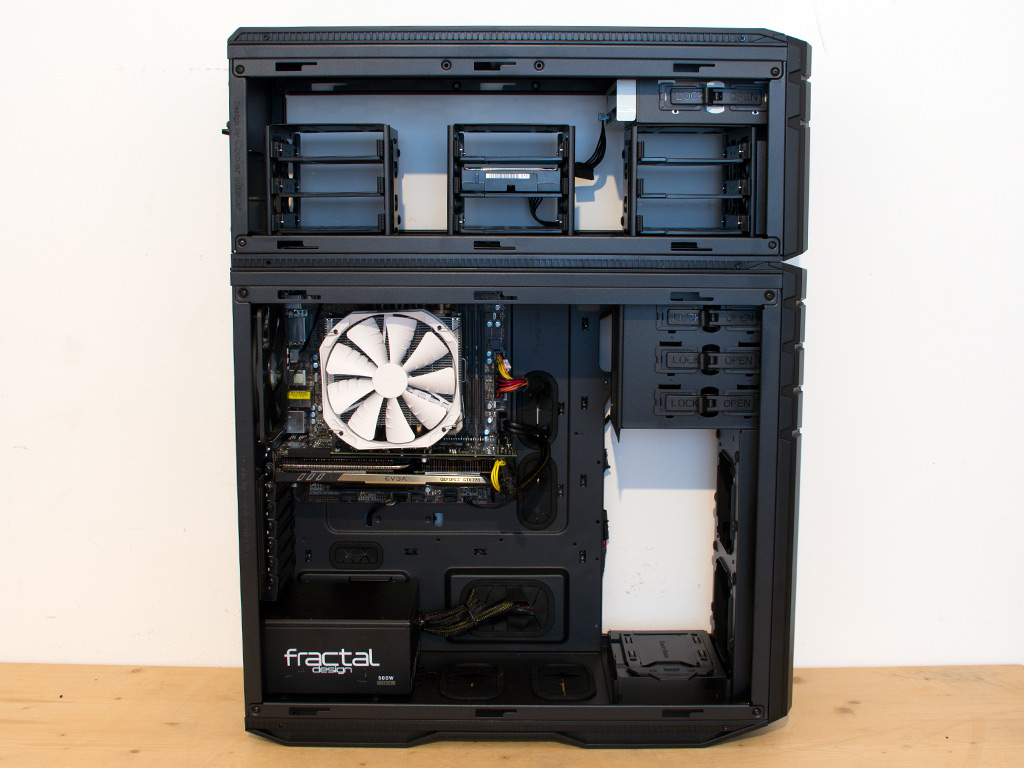

To show you another possible configuration, all hard-drive cages where moved into the top compartment for these last shots, which would leave you with all the space you would need to plant a large radiator into the front of the chassis, for example.
Finished Looks

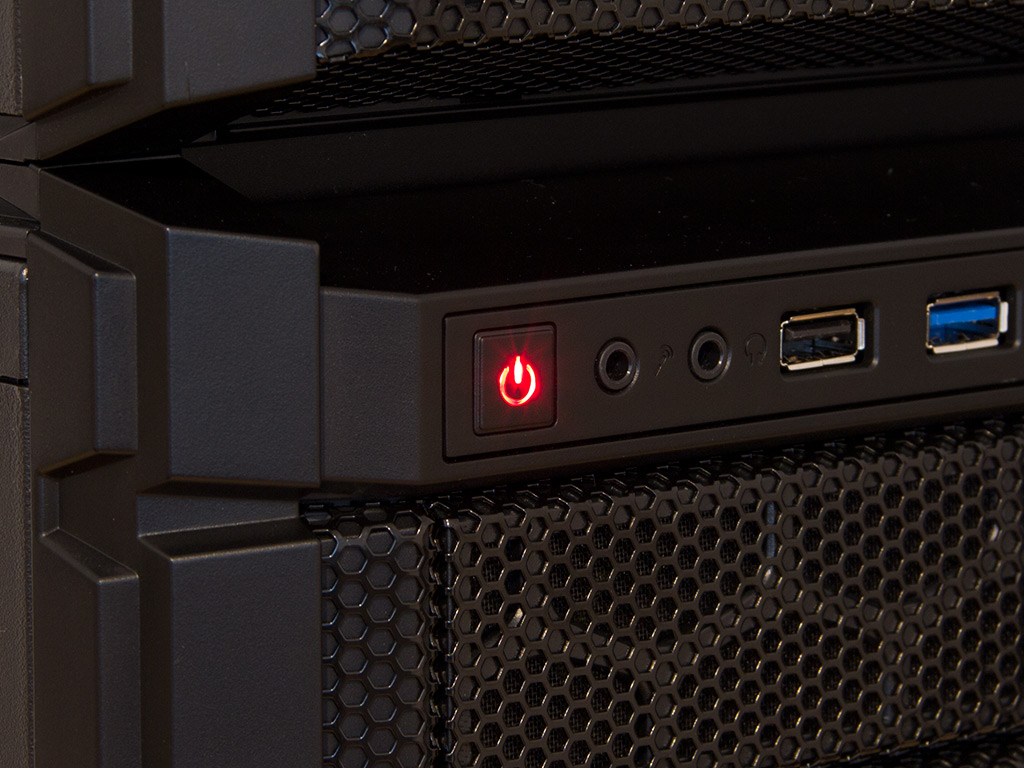
With everything in place, the massive HAF Stacker chassis looks great. As you can see, I installed the optical drive into the drive bay at the very top, while the rest of the system rests inside the larger unit. A red LED lights up behind the power button as soon as you turn the entire system on.
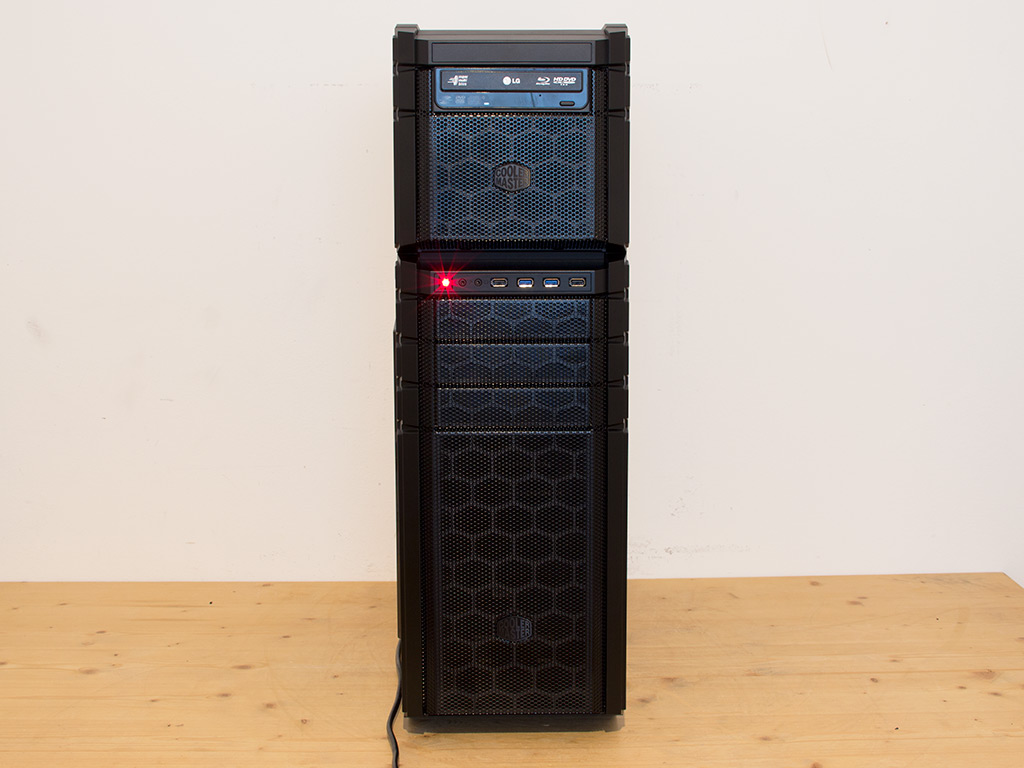
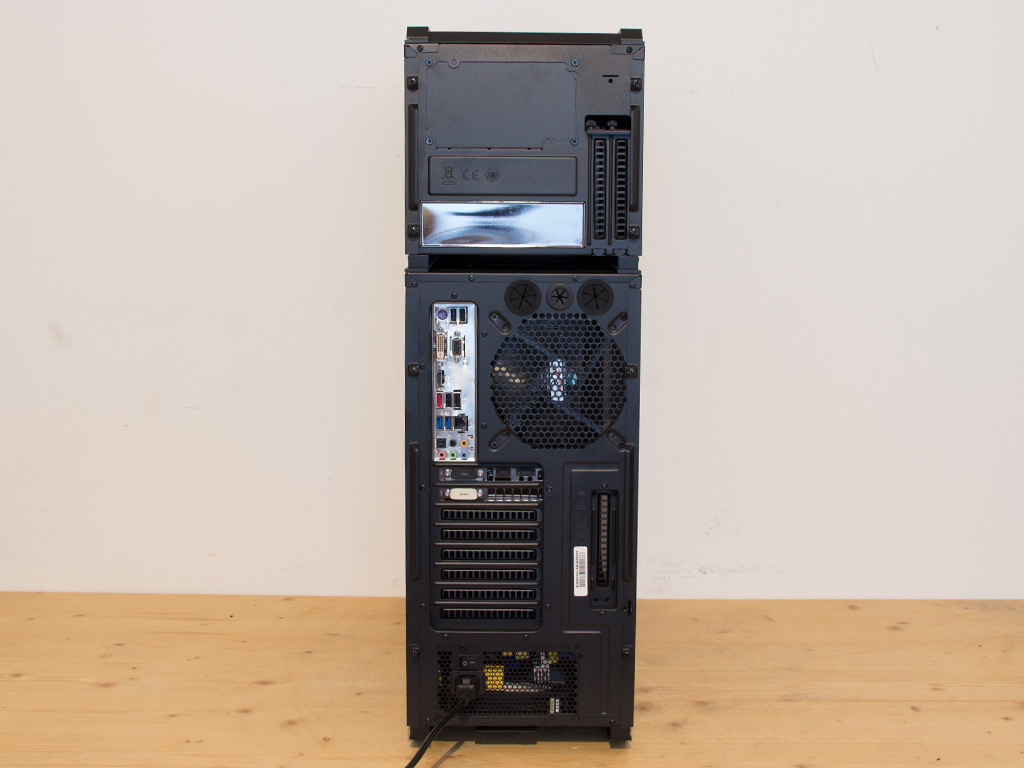
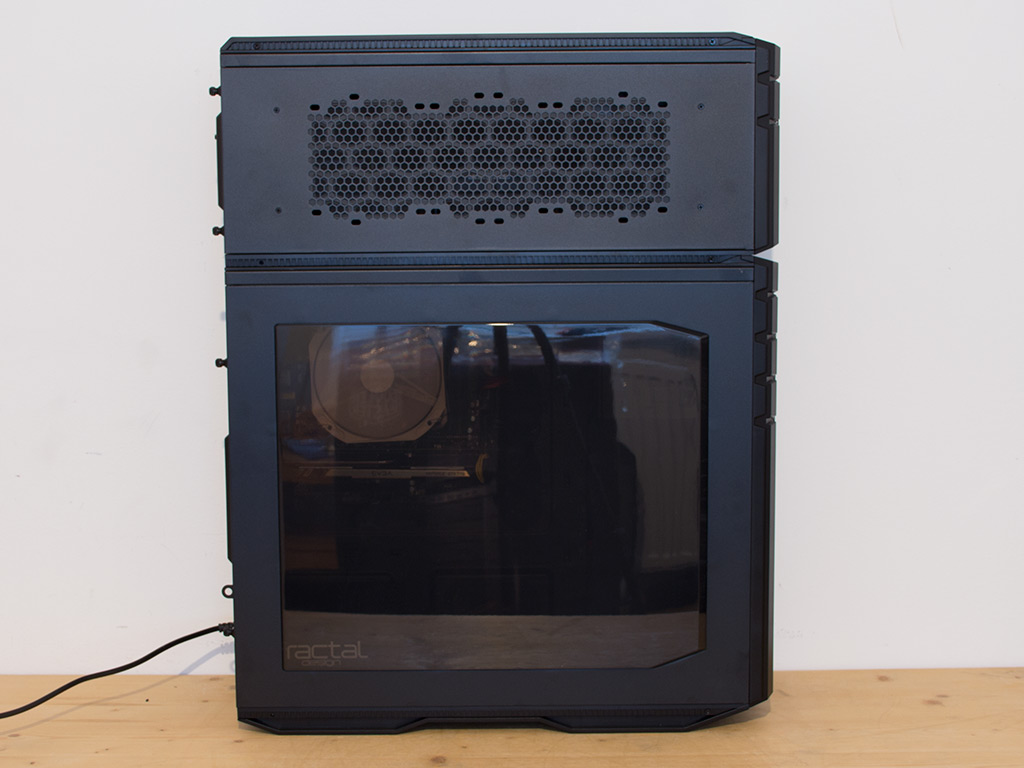
The front does look a bit empty, as I could have stuffed a lot more hardware into the chassis. Previous owners of a HAF series case will note the lack of fans in the front and the missing red glow of the LEDs the cooling units usually come equipped with. Everything in the rear is where it should be, and I made a point of covering the openings in the top up with the parts CoolerMaster provides to that purpose. Last but not least, the large, tinted window gives you an idea of what makes the system tick. But you will not see much without interior lighting.
Mar 11th, 2025 03:26 EDT
change timezone
Latest GPU Drivers
New Forum Posts
- RX 9000 series GPU Owners Club (42)
- What is a good real price for the RTX 5090? (25)
- Nvidia's GPU market share hits 90% in Q4 2024 (gets closer to full monopoly) (812)
- CPU downclocks under any loads but it doesn't hit any limits (3)
- Post your Old CDs, from back in the day thread. (6)
- Cant read/flash bios of Asus RX 6700 TUF with amdvbflash (0)
- Zen6 is almost here ? (46)
- As we live the age of game remakes, which game you would like to see to have a remake? (363)
- Dell Precision 5820 H950EF-00 Power Supply output (0)
- 7900XT Artifacting? Or something else? (6)
Popular Reviews
- Sapphire Radeon RX 9070 XT Nitro+ Review - Beating NVIDIA
- XFX Radeon RX 9070 XT Mercury OC Magnetic Air Review
- ASUS Radeon RX 9070 TUF OC Review
- MSI MAG B850 Tomahawk Max Wi-Fi Review
- NVIDIA GeForce RTX 5070 Founders Edition Review
- Corsair Vengeance RGB CUDIMM DDR5-8800 48 GB CL42 Review
- AMD Ryzen 7 9800X3D Review - The Best Gaming Processor
- ASUS GeForce RTX 5070 Ti TUF OC Review
- MSI GeForce RTX 5070 Ti Gaming Trio OC+ Review
- MSI GeForce RTX 5070 Ti Ventus 3X OC Review
Controversial News Posts
- NVIDIA GeForce RTX 50 Cards Spotted with Missing ROPs, NVIDIA Confirms the Issue, Multiple Vendors Affected (513)
- AMD Plans Aggressive Price Competition with Radeon RX 9000 Series (277)
- AMD Radeon RX 9070 and 9070 XT Listed On Amazon - One Buyer Snags a Unit (261)
- AMD RDNA 4 and Radeon RX 9070 Series Unveiled: $549 & $599 (260)
- AMD Mentions Sub-$700 Pricing for Radeon RX 9070 GPU Series, Looks Like NV Minus $50 Again (248)
- NVIDIA Investigates GeForce RTX 50 Series "Blackwell" Black Screen and BSOD Issues (244)
- AMD Radeon RX 9070 and 9070 XT Official Performance Metrics Leaked, +42% 4K Performance Over Radeon RX 7900 GRE (195)
- AMD Radeon RX 9070-series Pricing Leaks Courtesy of MicroCenter (158)