 6
6
Corsair Carbide 400Q Review
Value & Conclusion »Test System
| System Parts for Case Reviews | |
|---|---|
| Processor: | Intel Core i5-6600K |
| Motherboards: | ATX: Fatal1ty Z170 Gaming K6+ mATX: ASRock Z170M Pro4S mini-ITX: ASRock Z170M-ITX/ac Provided by: ASRock |
| Graphic Card: | Long: NVIDIA GeForce GTX 280 OEM Short: HIS Radeon 5350 HD |
| Memory: | KLEVV Cras 8GB (2x4GB) DDR4 @ 3200MHz 16-18-18 @ 1.35V Provided by: Essencore |
| HDD: | Western Digital 320 GB 7200 RPM |
| SSD: | Crucial MX100 256GB SATA 6Gbps Provided by: Crucial |
| Power Supply: | Seasonic Platinum Series 660W ATX 2.3 Provided by: Seasonic |
| Cooling: | Air Cooling Mini-ITX: Thermalright AXP-100R Air Cooling mATX: Thermalright Macho 90 Air Cooling ATX: Thermalright Macho 120 Provided by: PC-COOLING.de |
Assembly
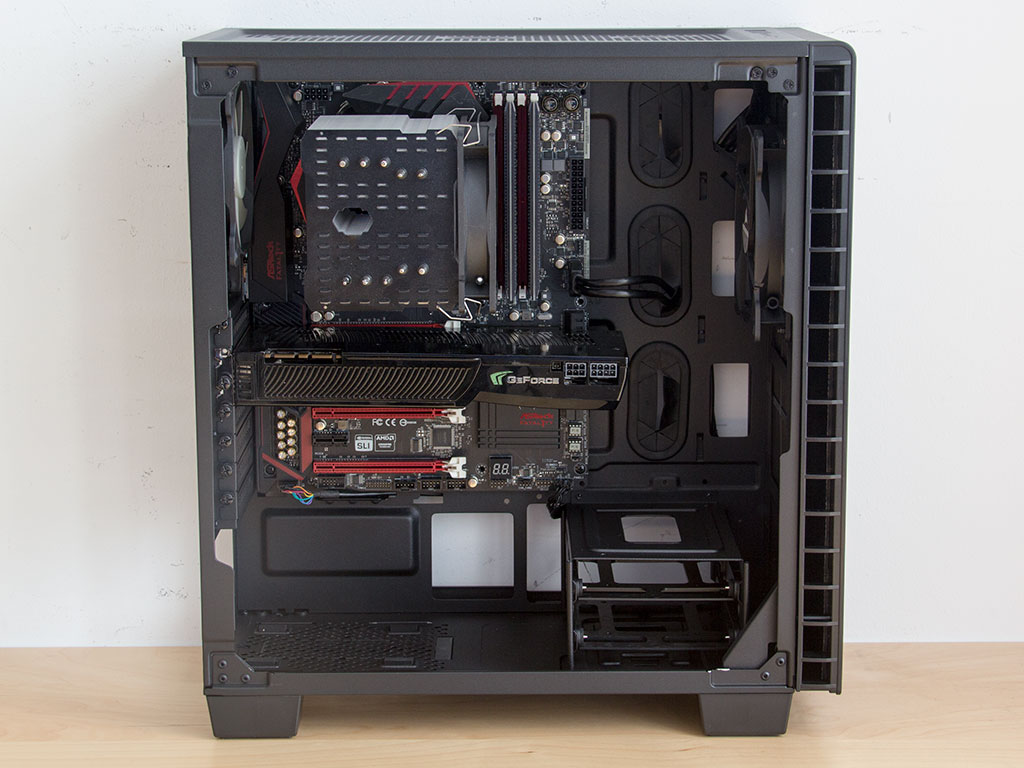
Installing the motherboard is done by traditional means, with spacers and screws. There is plenty of space for both a large CPU cooler and GPUs as Corsair mentions compatibility with 140 mm tower units or 370 mm graphics cards.
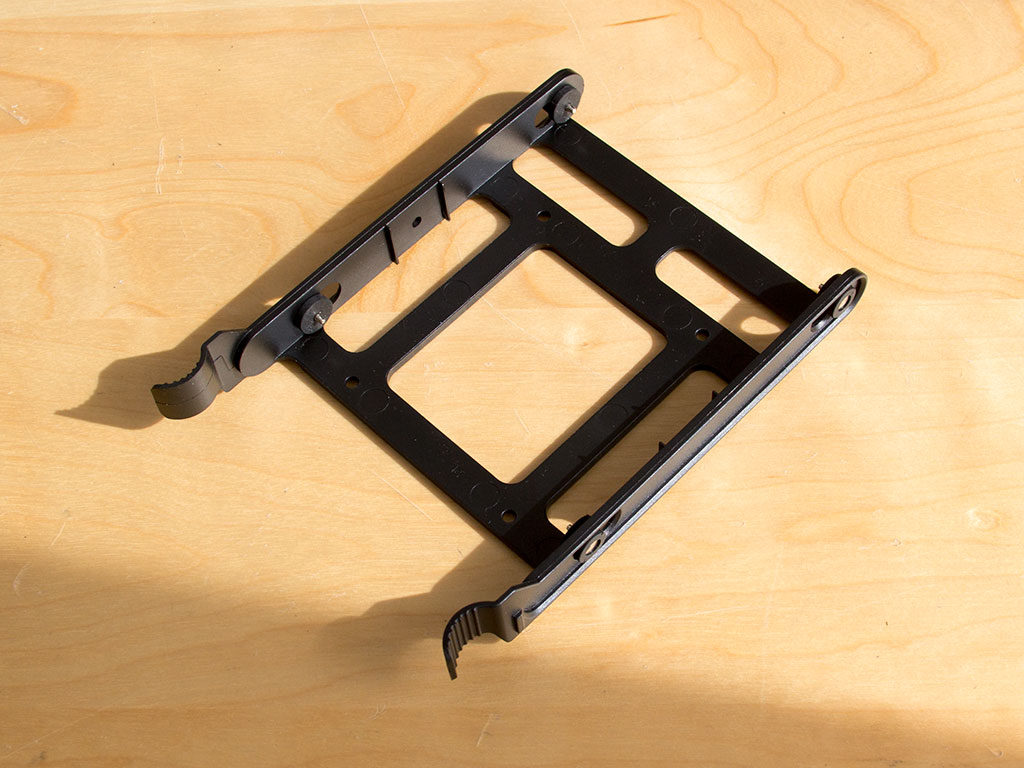
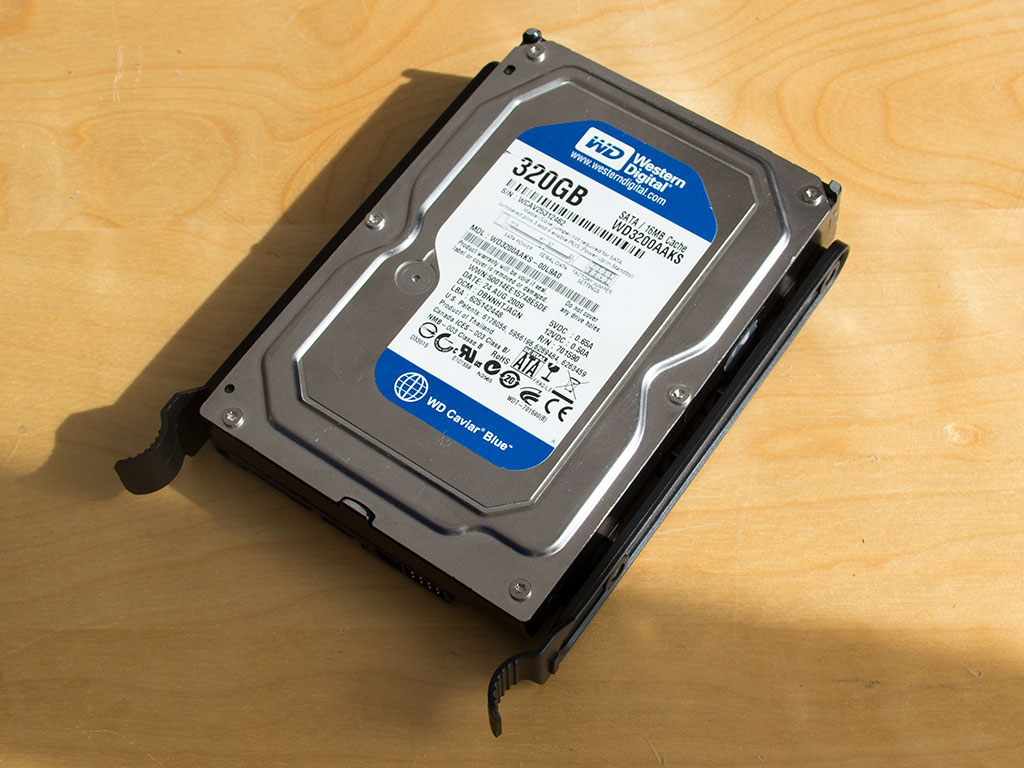
Adding a traditional 3.5" drive is done via this plastic tray. It comes with metal pins for tool-less assembly and also features holes for a 2.5" drive.
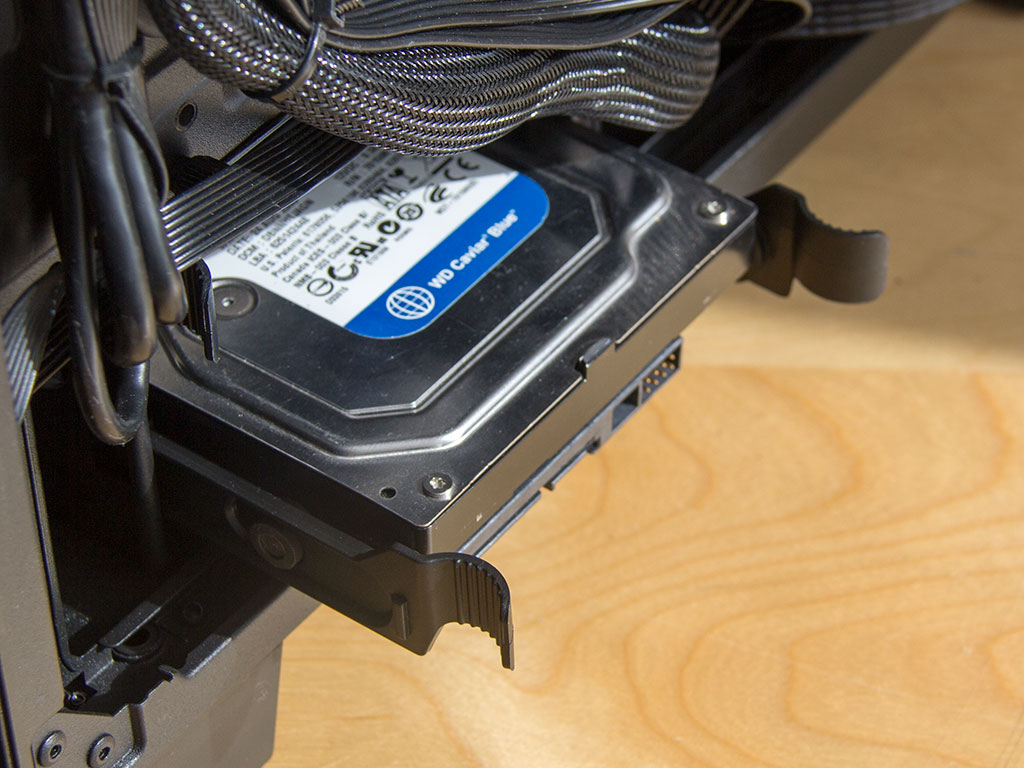

Once filled, simply slide the tray into one of the bays of your choice. While this will be more than enough for most, a small fraction may find only having two 3.5" bays to be an issue, especially as there are no 5.25" bases to re-purpose within the Carbide 400Q.
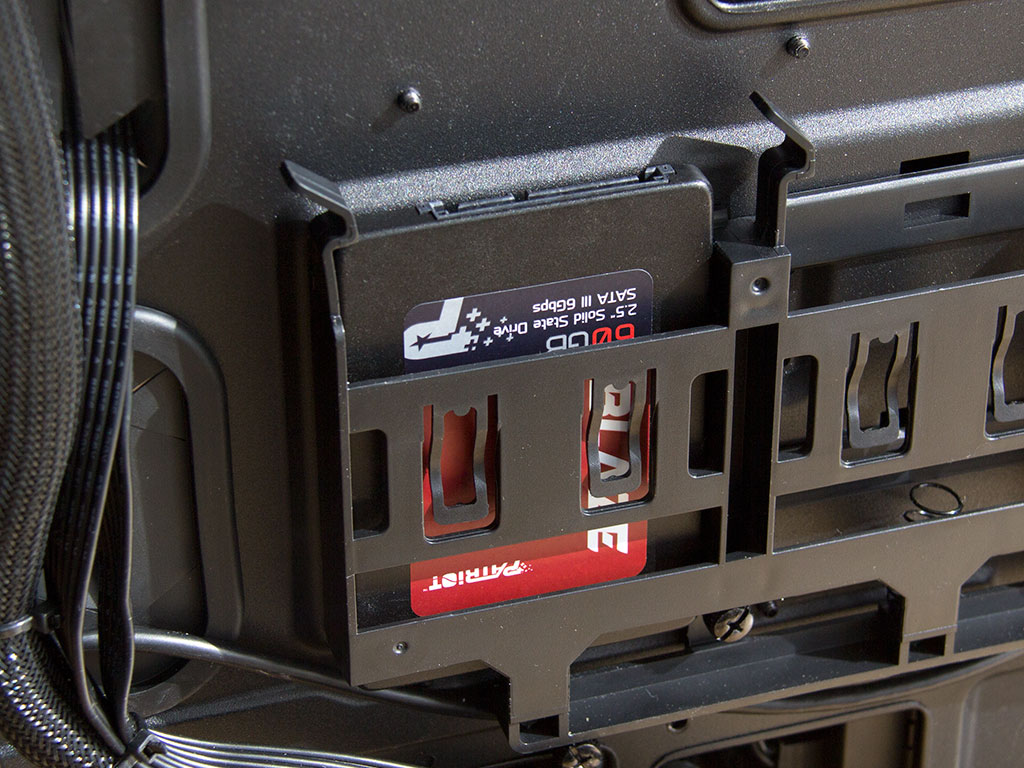
Adding an SSD is simply done by sliding the unit into one of three slots. There is no need for any tools or screws. The spring within these plastic trays not only helps with holding such a drive in place, but also allows for its easy removal.
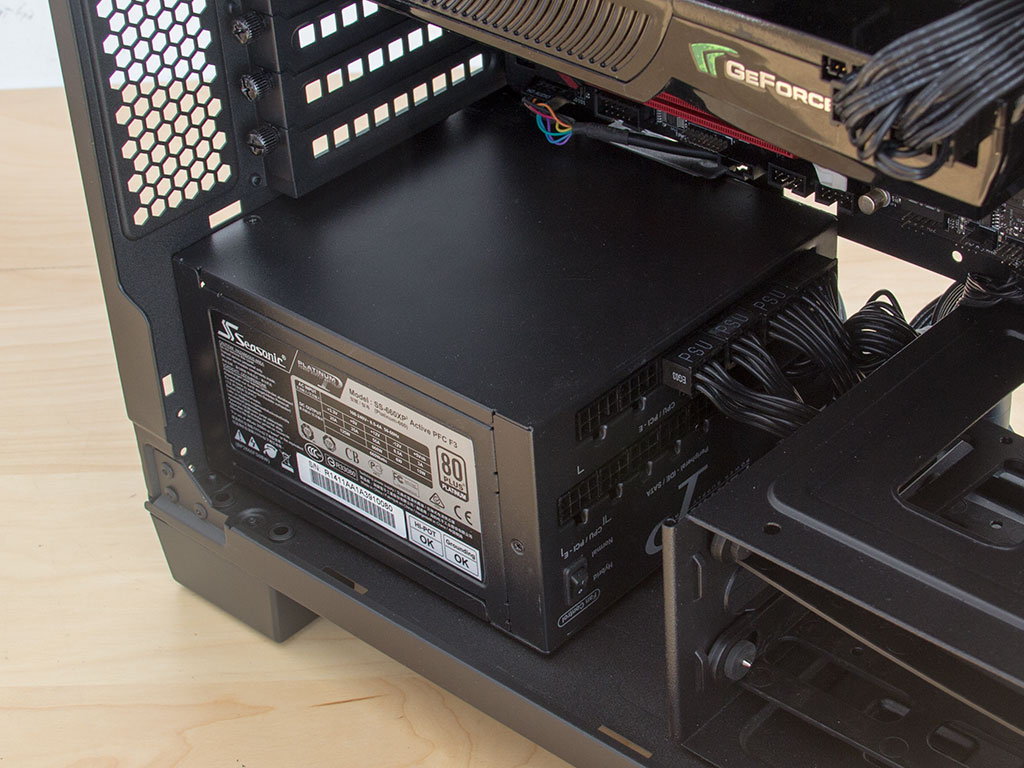
Installing the PSU is done by traditional means, but you should consider the fact that a PSU can be no longer than 200 mm. If the unit is longer, you will have to sacrifice the 3.5" hard-drive cage to make room.
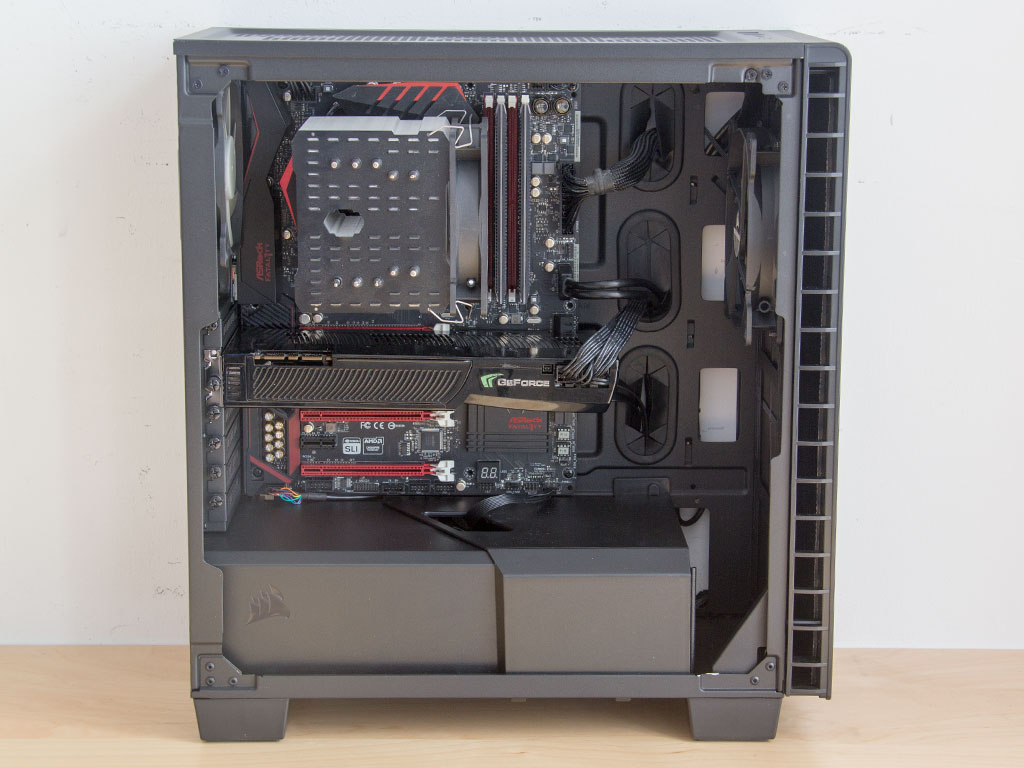
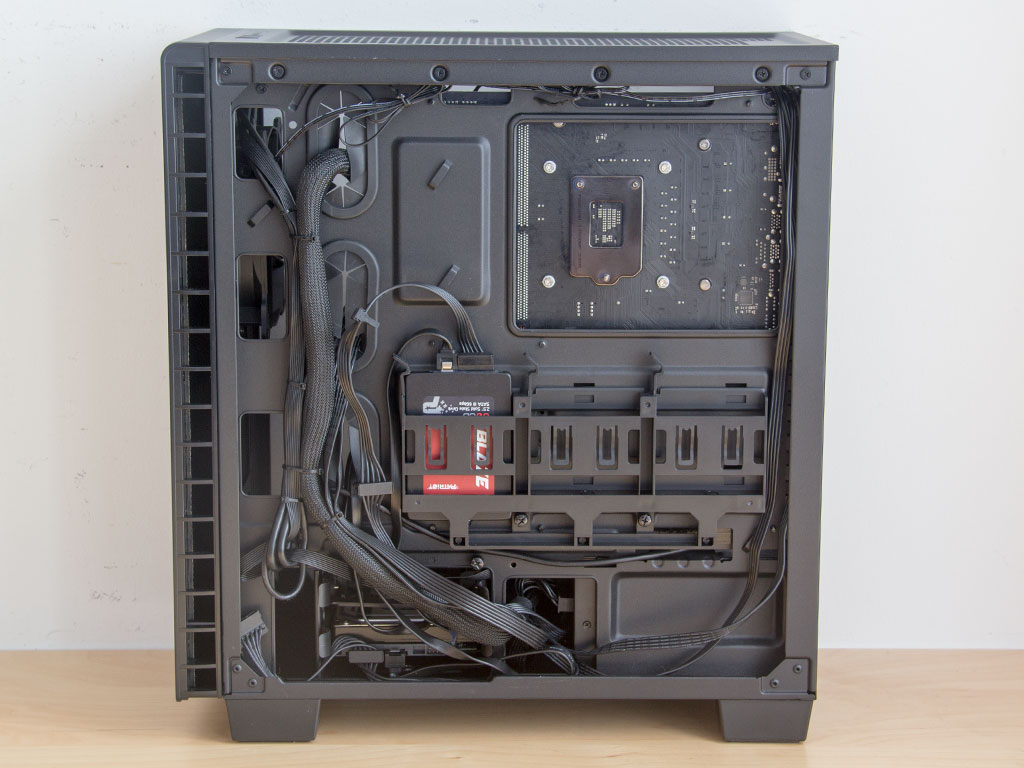
With everything installed, the Corsair Carbide 400Q looks extremely clean when viewed from its main side, while all the cable-routing is done behind the scenes. The numerous cable hooks also make keeping this area incredibly clean possible.
Finished Looks
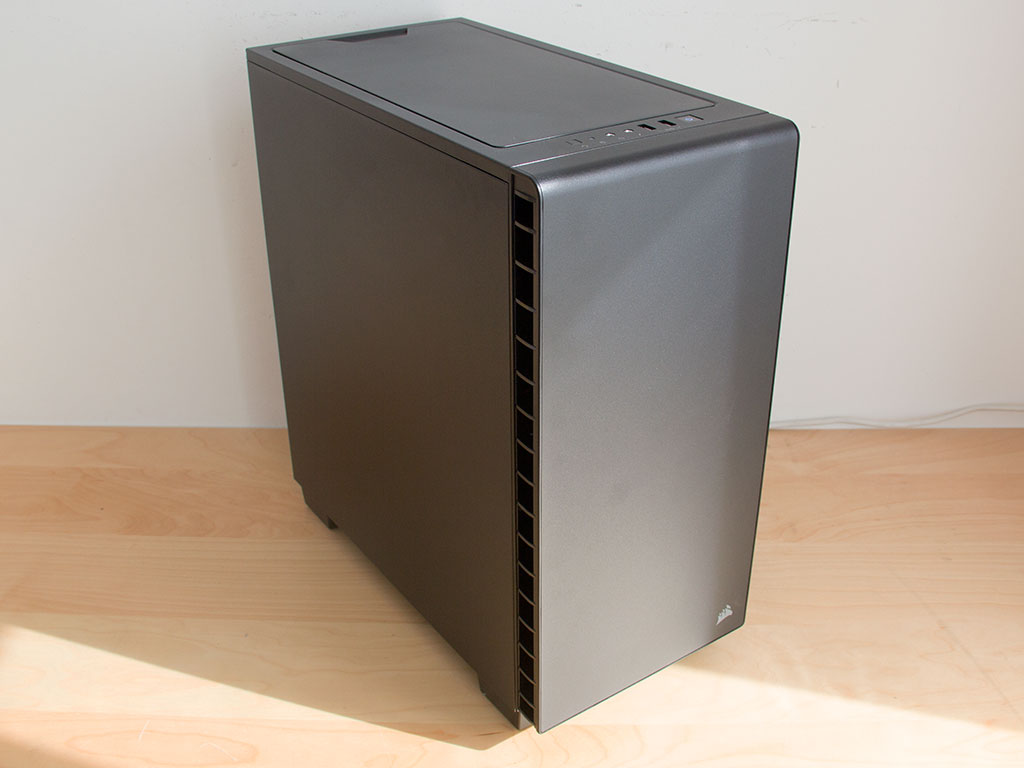
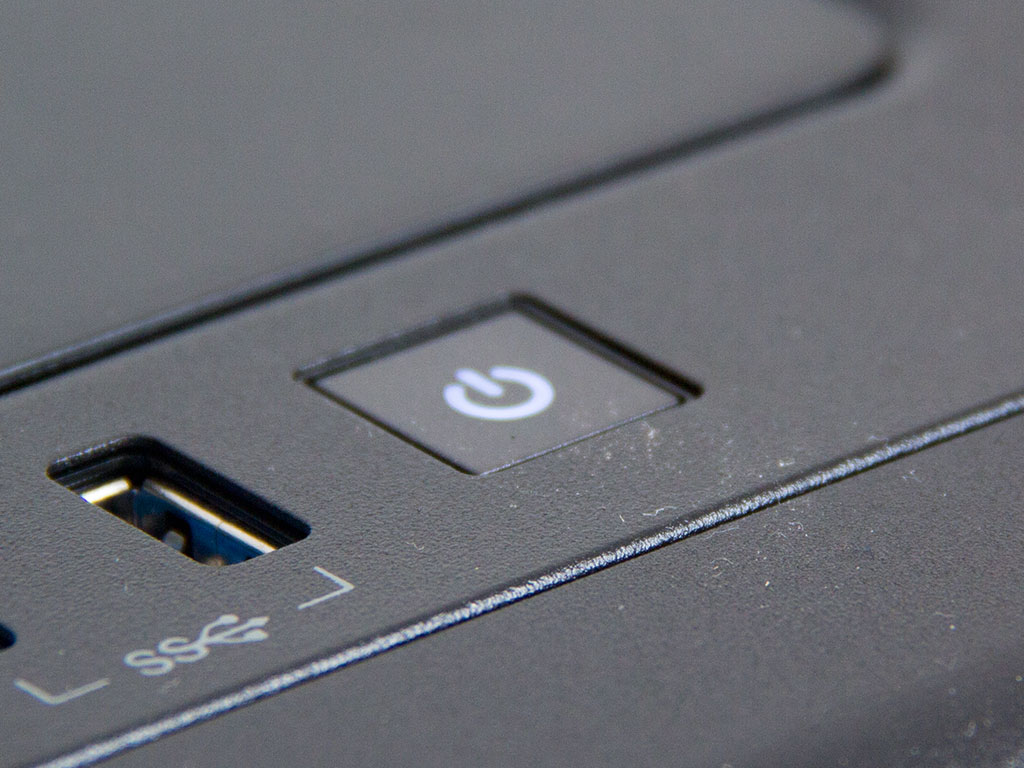
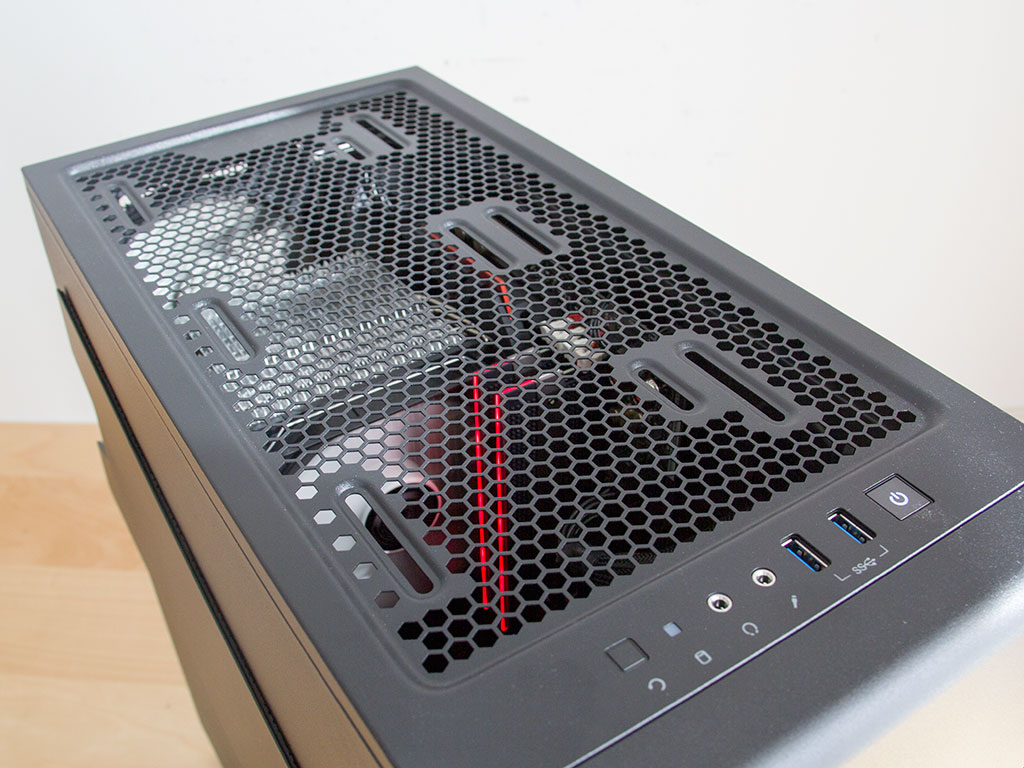
Once everything is back in place, the Carbide 400Q makes a very cool impression. A white LED underneath its power button also lets you know that the system is up and running. You can clearly see the components by taking a peek underneath the solid top cover. The first generation Corsair cases had the issue that sound and dust could pass through freely as they featured a similar mounting possibility for fans or radiators in the ceiling. Thus, it is nice to see that Corsair has taken steps to ensure the 400Q's quiet operation.
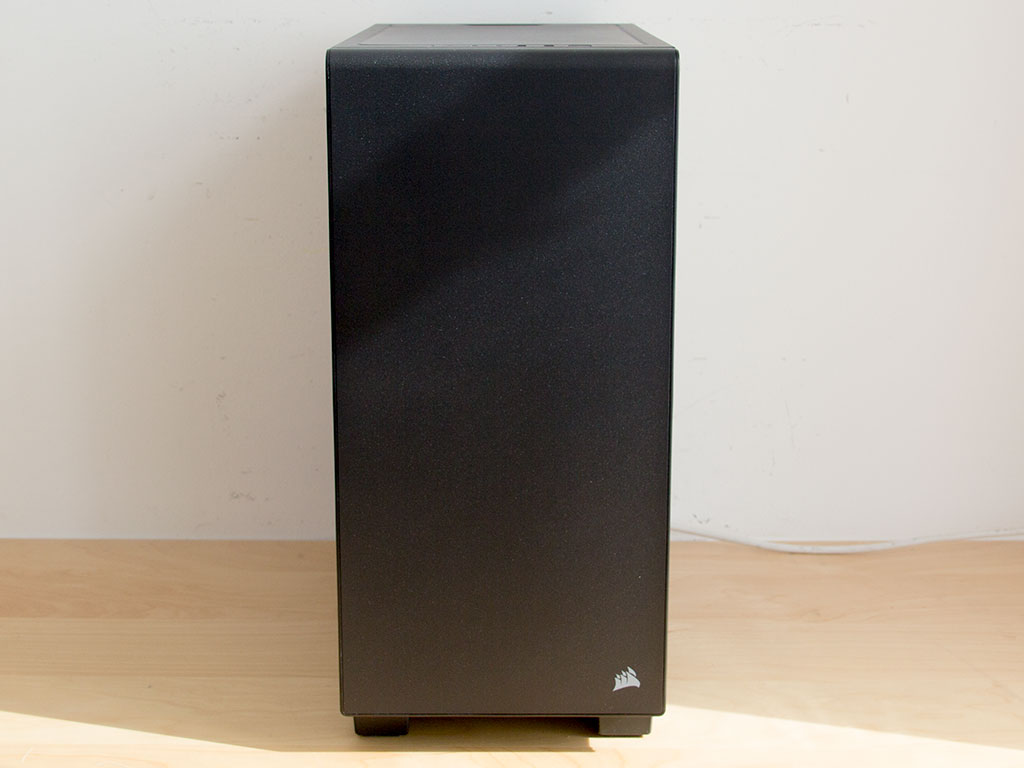
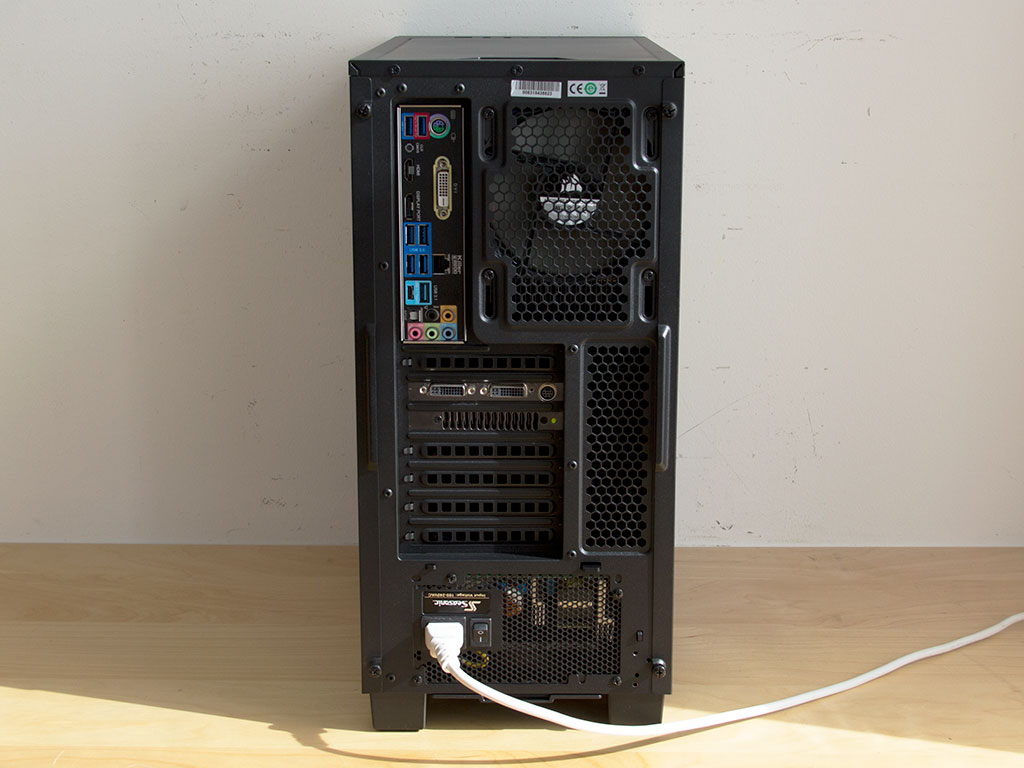
Look at its front and there is nothing to be seen that could give you a hint of whether there is hardware inside, or that it is up and running. In the rear, everything is where you would expect it to be considering the chassis's layout is actually quite traditional.
Apr 4th, 2025 12:28 EDT
change timezone
Latest GPU Drivers
New Forum Posts
- 5070 cards available below £550 in in the UK (35)
- EK Quantum Velocity intel to amd conversion (2)
- Will I need an PSU upgrade (23)
- Help me pick a UPS (59)
- Recommended PhysX card for 5xxx series? [Is vRAM relevant?] (227)
- RX 9000 series GPU Owners Club (154)
- The TPU UK Clubhouse (26054)
- Will you buy a RTX 5090? (463)
- What's your latest tech purchase? (23471)
- What do you do for a living? (484)
Popular Reviews
- DDR5 CUDIMM Explained & Benched - The New Memory Standard
- PowerColor Radeon RX 9070 Hellhound Review
- Corsair RM750x Shift 750 W Review
- Sapphire Radeon RX 9070 XT Pulse Review
- Pwnage Trinity CF Review
- Sapphire Radeon RX 9070 XT Nitro+ Review - Beating NVIDIA
- Upcoming Hardware Launches 2025 (Updated Apr 2025)
- SilverStone Lucid 04 Review
- Palit GeForce RTX 5070 GamingPro OC Review
- AMD Ryzen 7 9800X3D Review - The Best Gaming Processor
Controversial News Posts
- MSI Doesn't Plan Radeon RX 9000 Series GPUs, Skips AMD RDNA 4 Generation Entirely (146)
- Microsoft Introduces Copilot for Gaming (124)
- AMD Radeon RX 9070 XT Reportedly Outperforms RTX 5080 Through Undervolting (119)
- NVIDIA Reportedly Prepares GeForce RTX 5060 and RTX 5060 Ti Unveil Tomorrow (115)
- Over 200,000 Sold Radeon RX 9070 and RX 9070 XT GPUs? AMD Says No Number was Given (100)
- NVIDIA GeForce RTX 5050, RTX 5060, and RTX 5060 Ti Specifications Leak (96)
- Retailers Anticipate Increased Radeon RX 9070 Series Prices, After Initial Shipments of "MSRP" Models (90)
- Nintendo Switch 2 Launches June 5 at $449.99 with New Hardware and Games (90)