 8
8
CORSAIR Hydro X Series XH303i RGB PRO Water Cooling Kit Review
Hydro XD3 Pump/Reservoir Combo »Hydro XC7 RGB PRO CPU Block (Part 2)
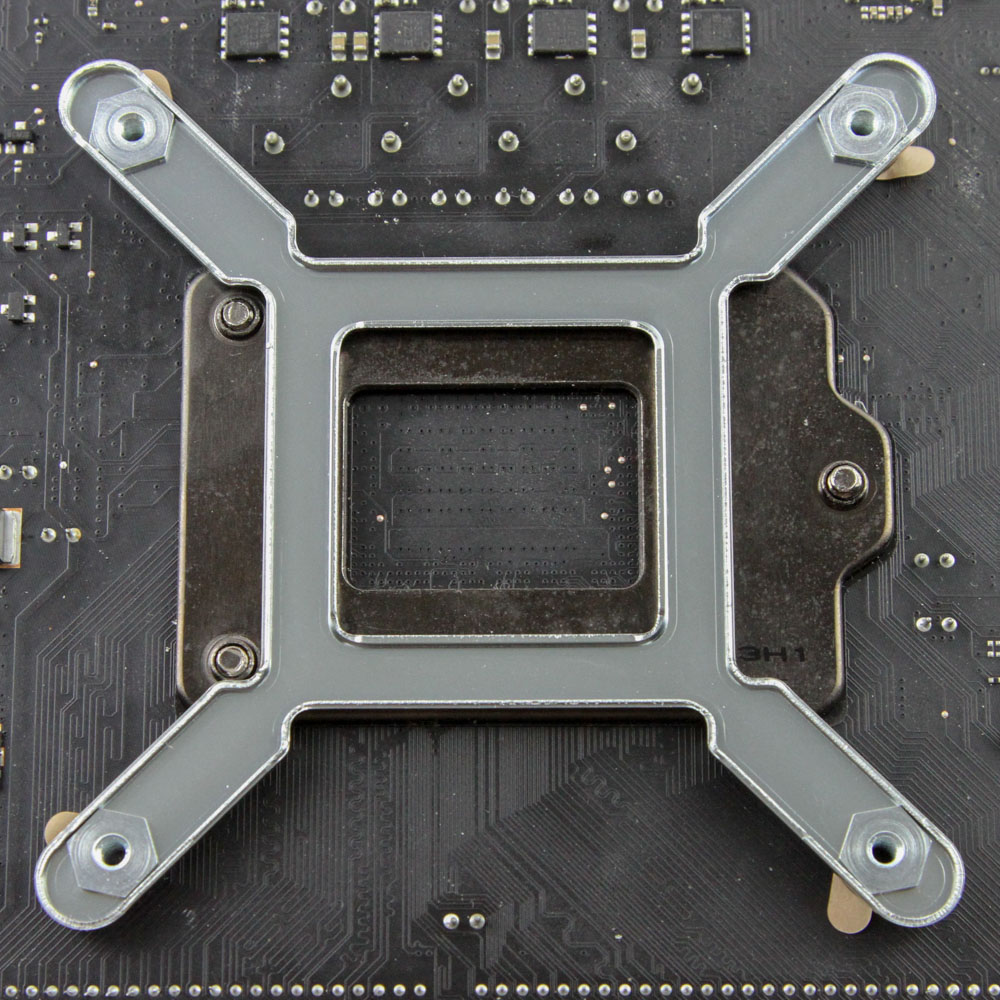

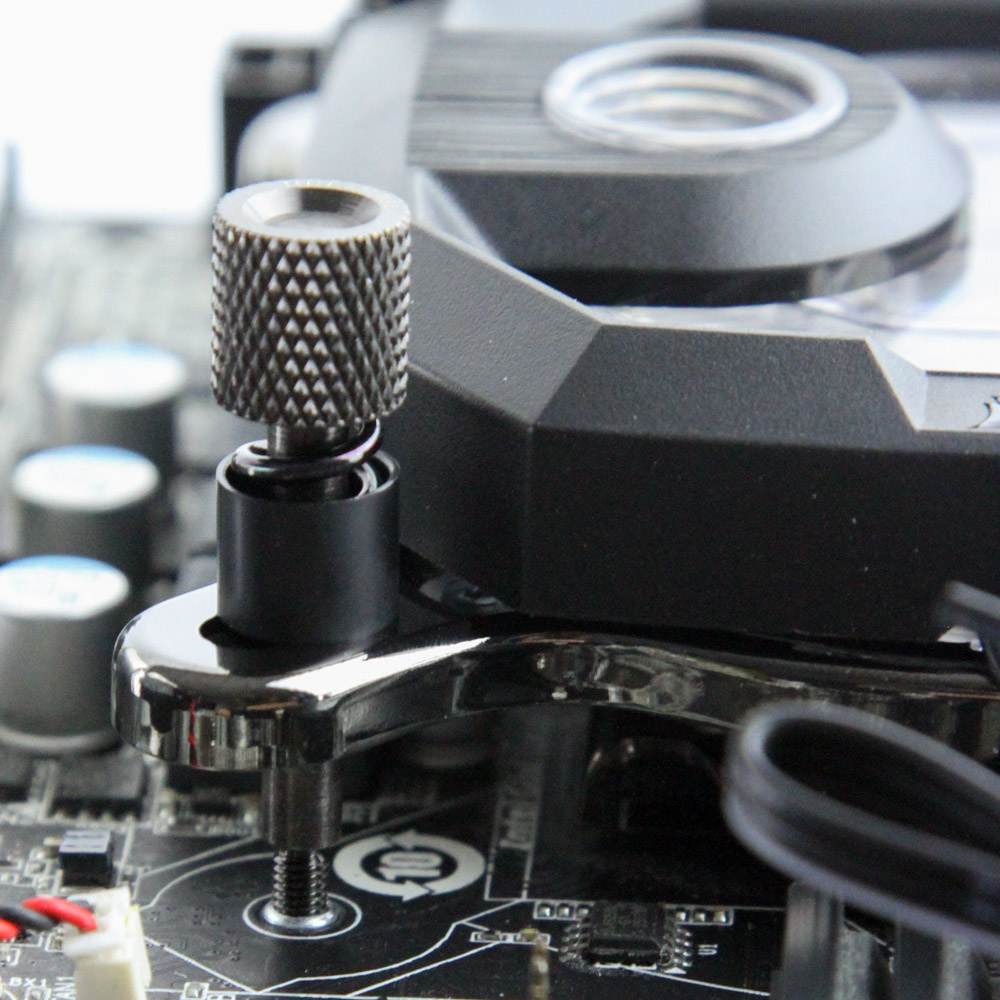
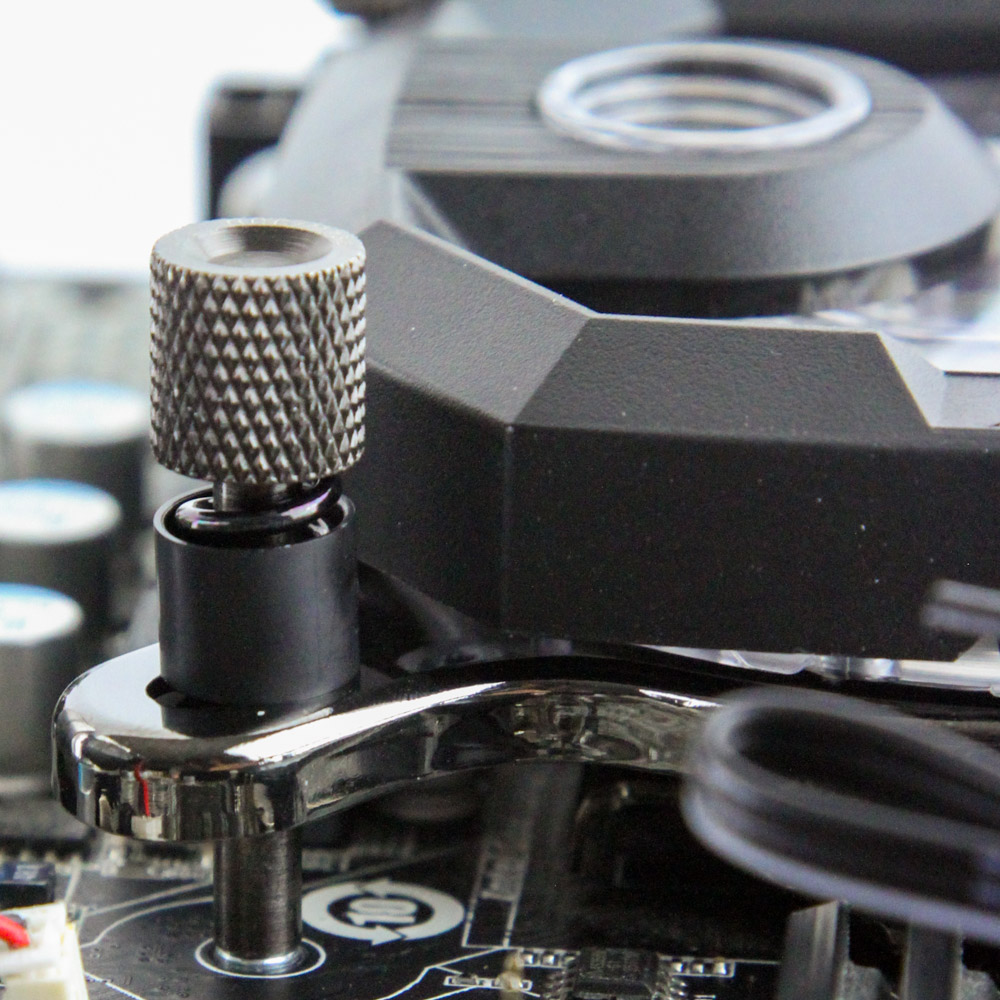


Installing the CORSAIR XC7 RGB PRO CPU block is on the easier side of things no matter which platform you are on, and here I am demonstrating it on Intel's older LGA 115x platform, with an eventual dedicated review planned for handling LGA 1700 as well as AMD's AM4 platform. The included manual does detail the process for first-time users well. Begin with the placement of the backplate on the underside of the motherboard and add the spacer between the metal backplate and motherboard. With that done, line the four threaded inserts up with the cooler mounting holes around the CPU such that all four jut in and remain in-line with the PCB on the front. Assuming you have the pre-installed thermal paste still on the cold plate, simply align the pre-installed thumb screws on the CPU block with these inserts and install the block by tightening the posts in a diagonal manner until you simply run out of thread. The process should take no more than a few minutes, and once done, be sure to connect the LED cable to the provided CORSAIR Commander PRO if you wish to use the integrated RGB lighting, which, as seen previously, would in turn take an internal USB 2.0 header and SATA connection for power and control.

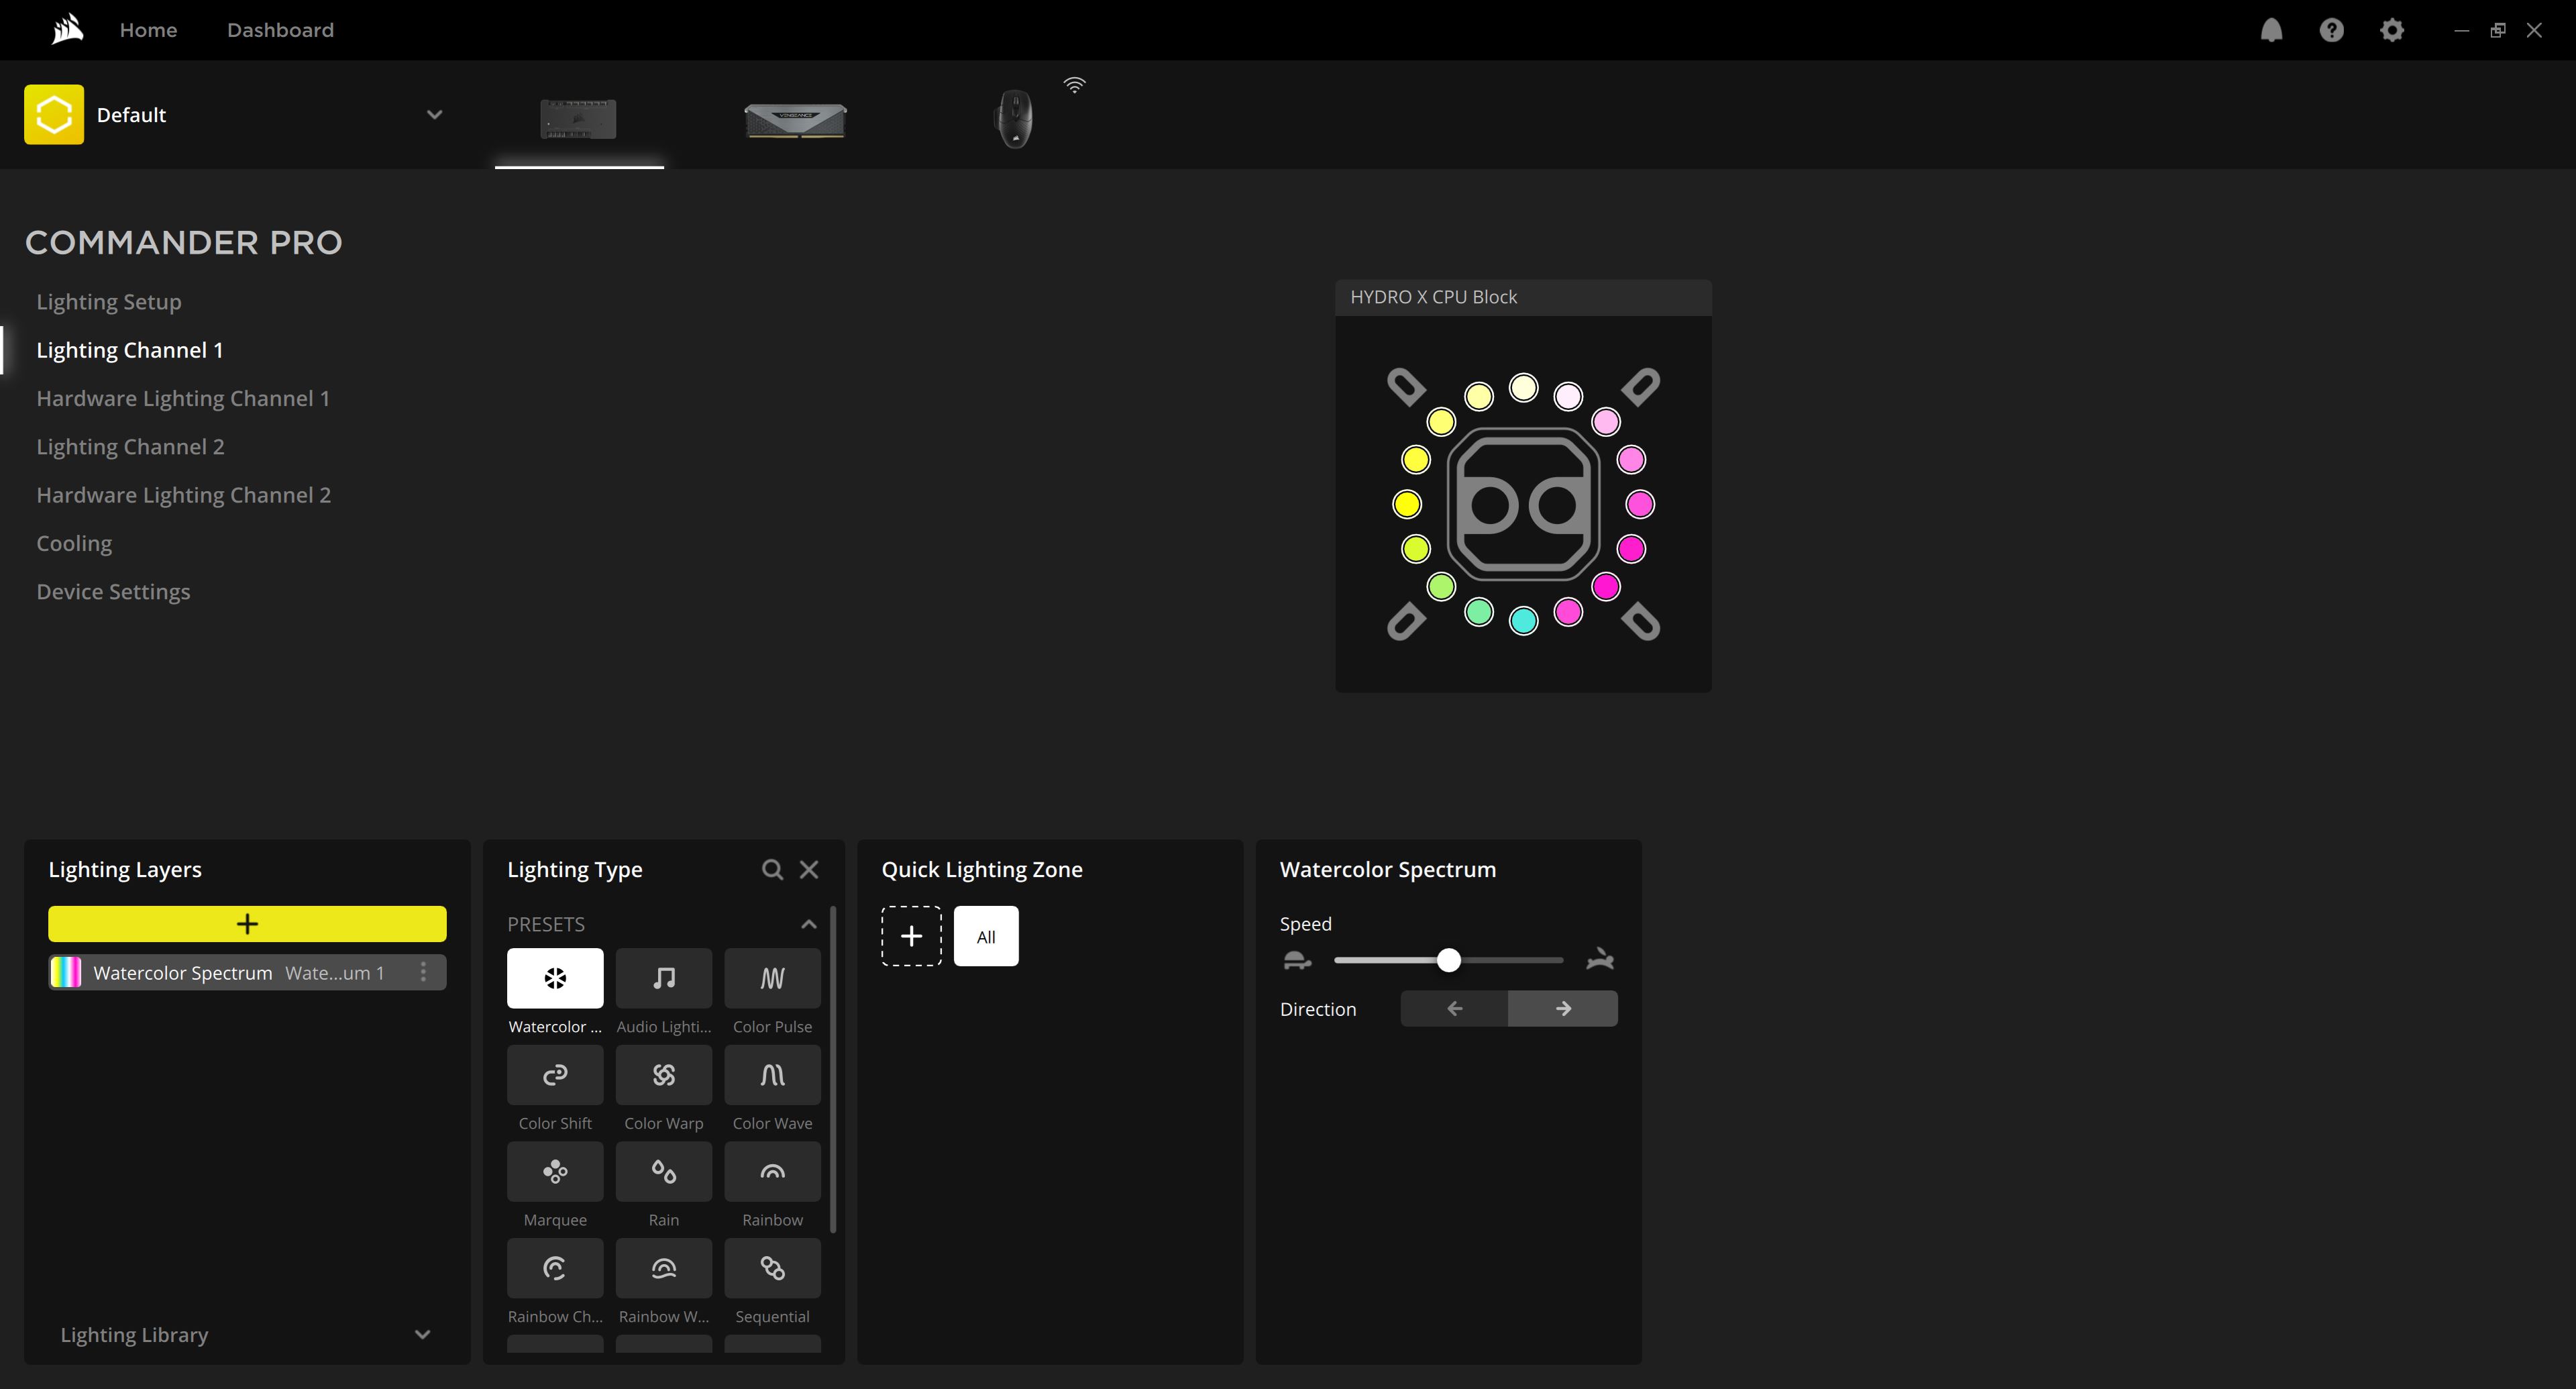
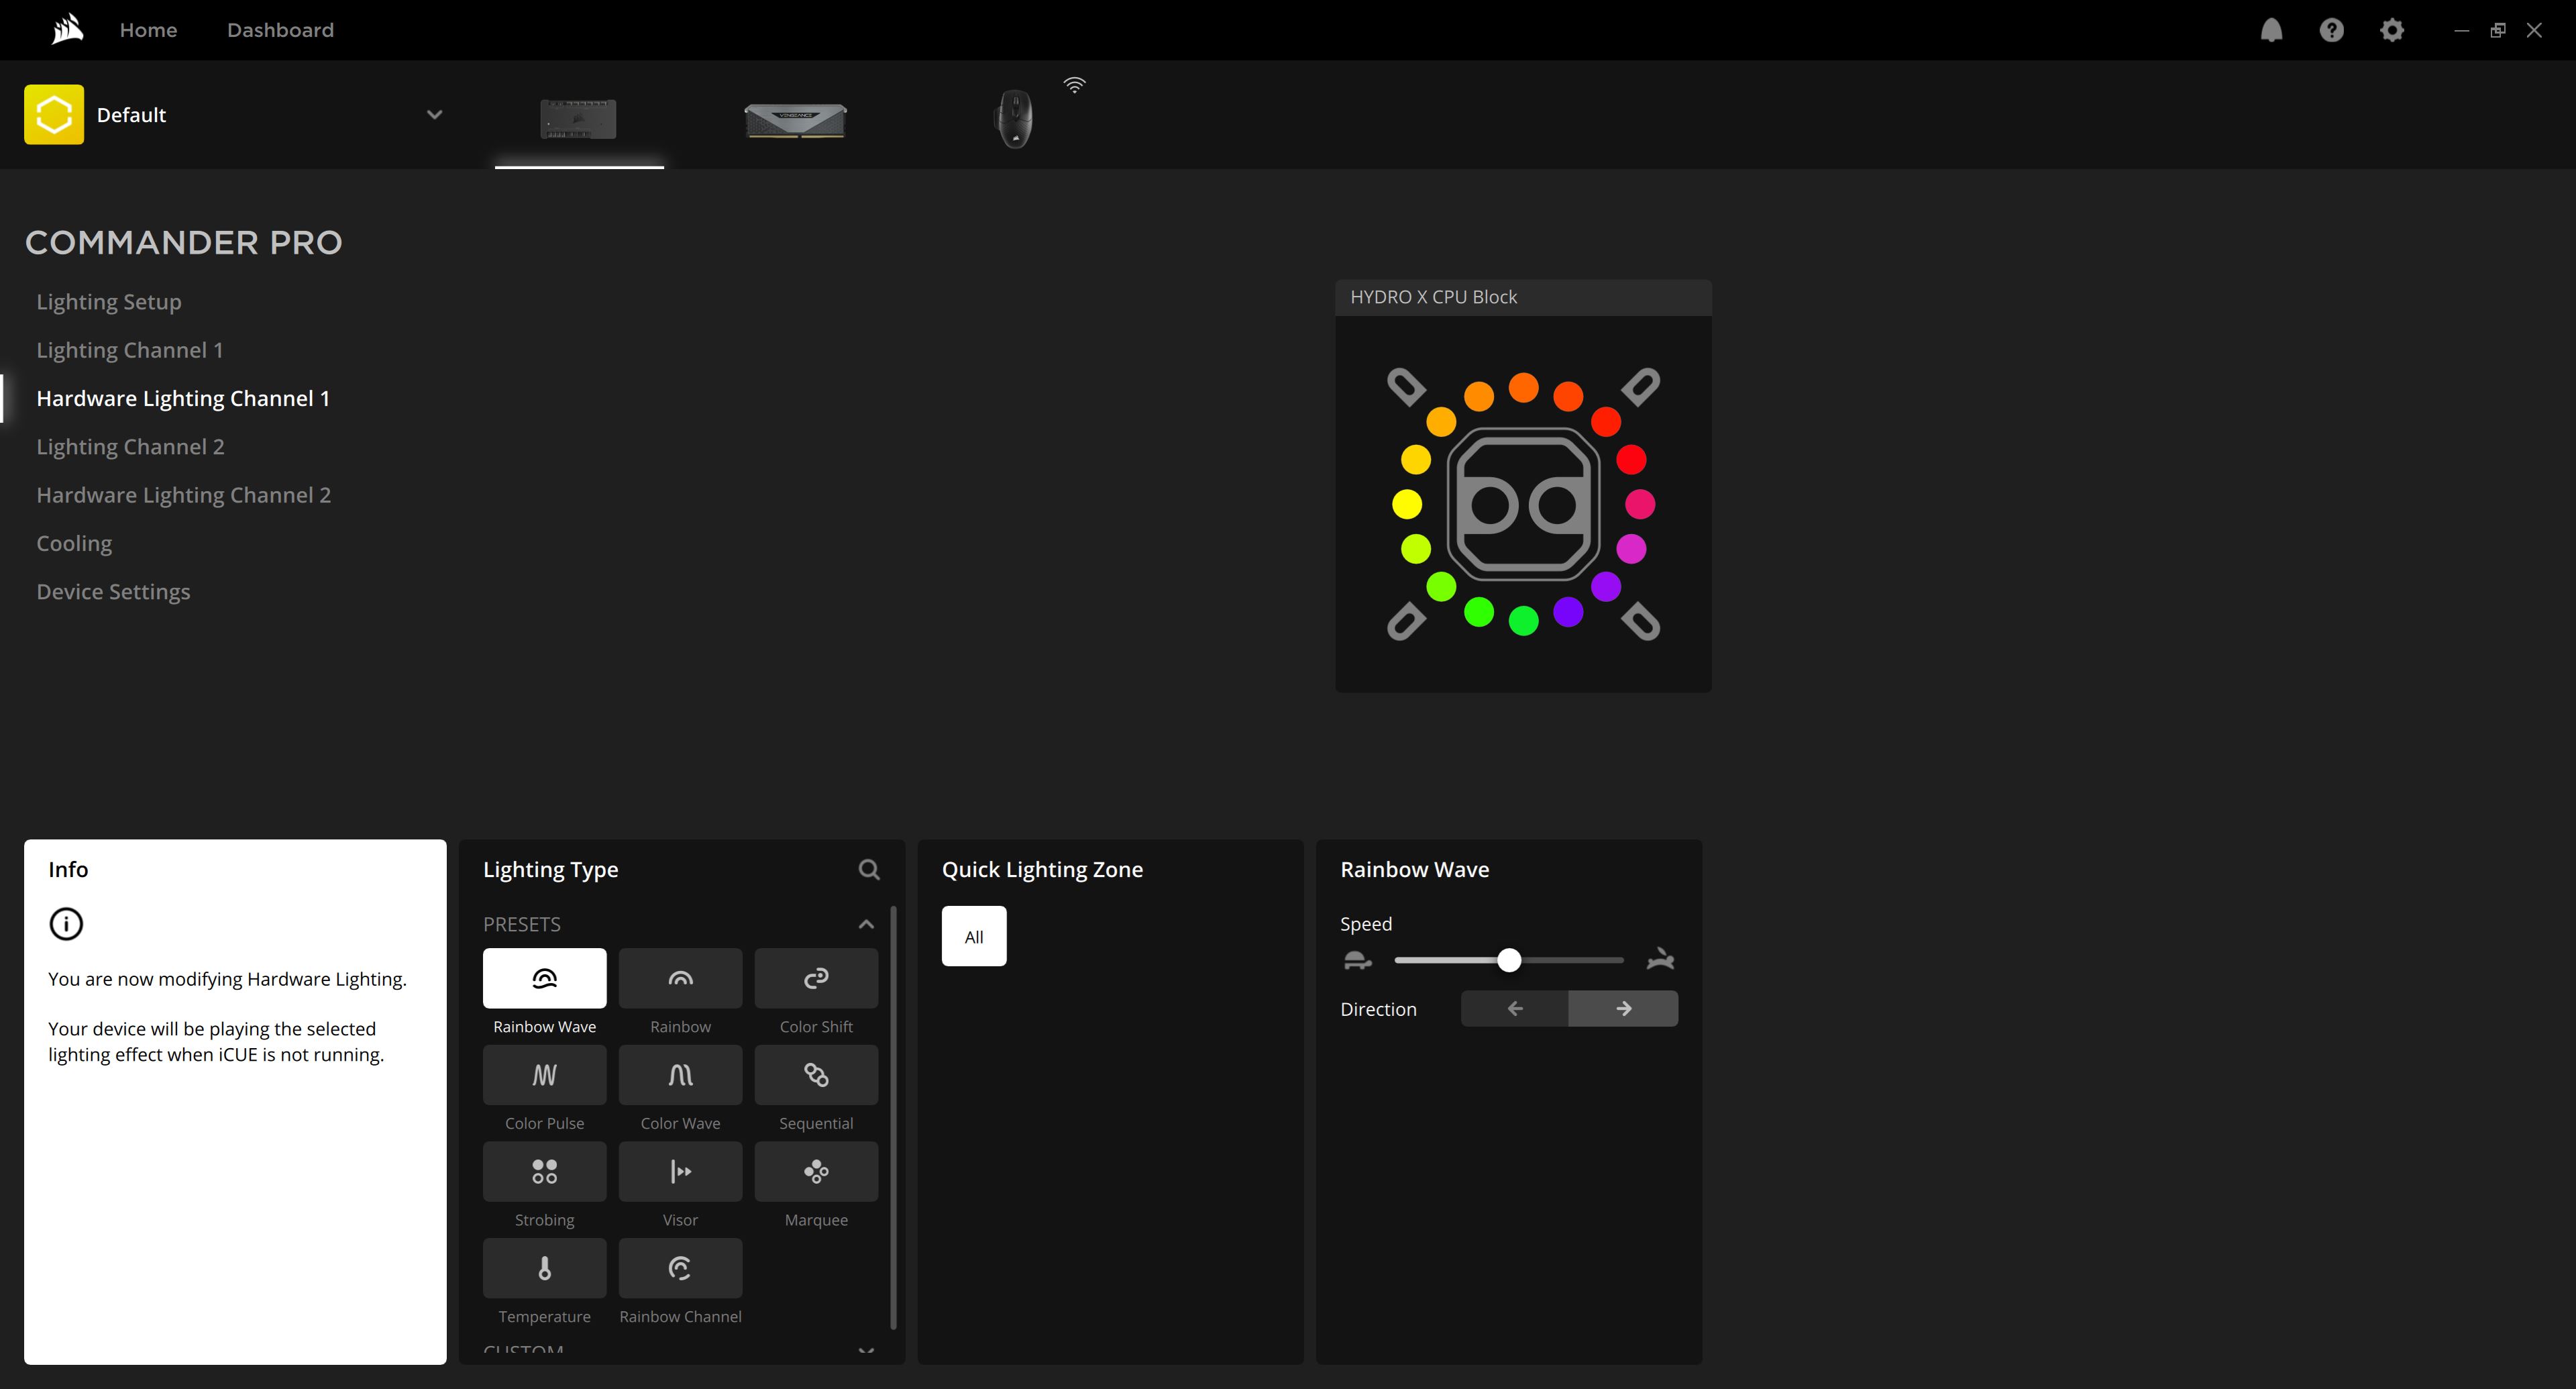
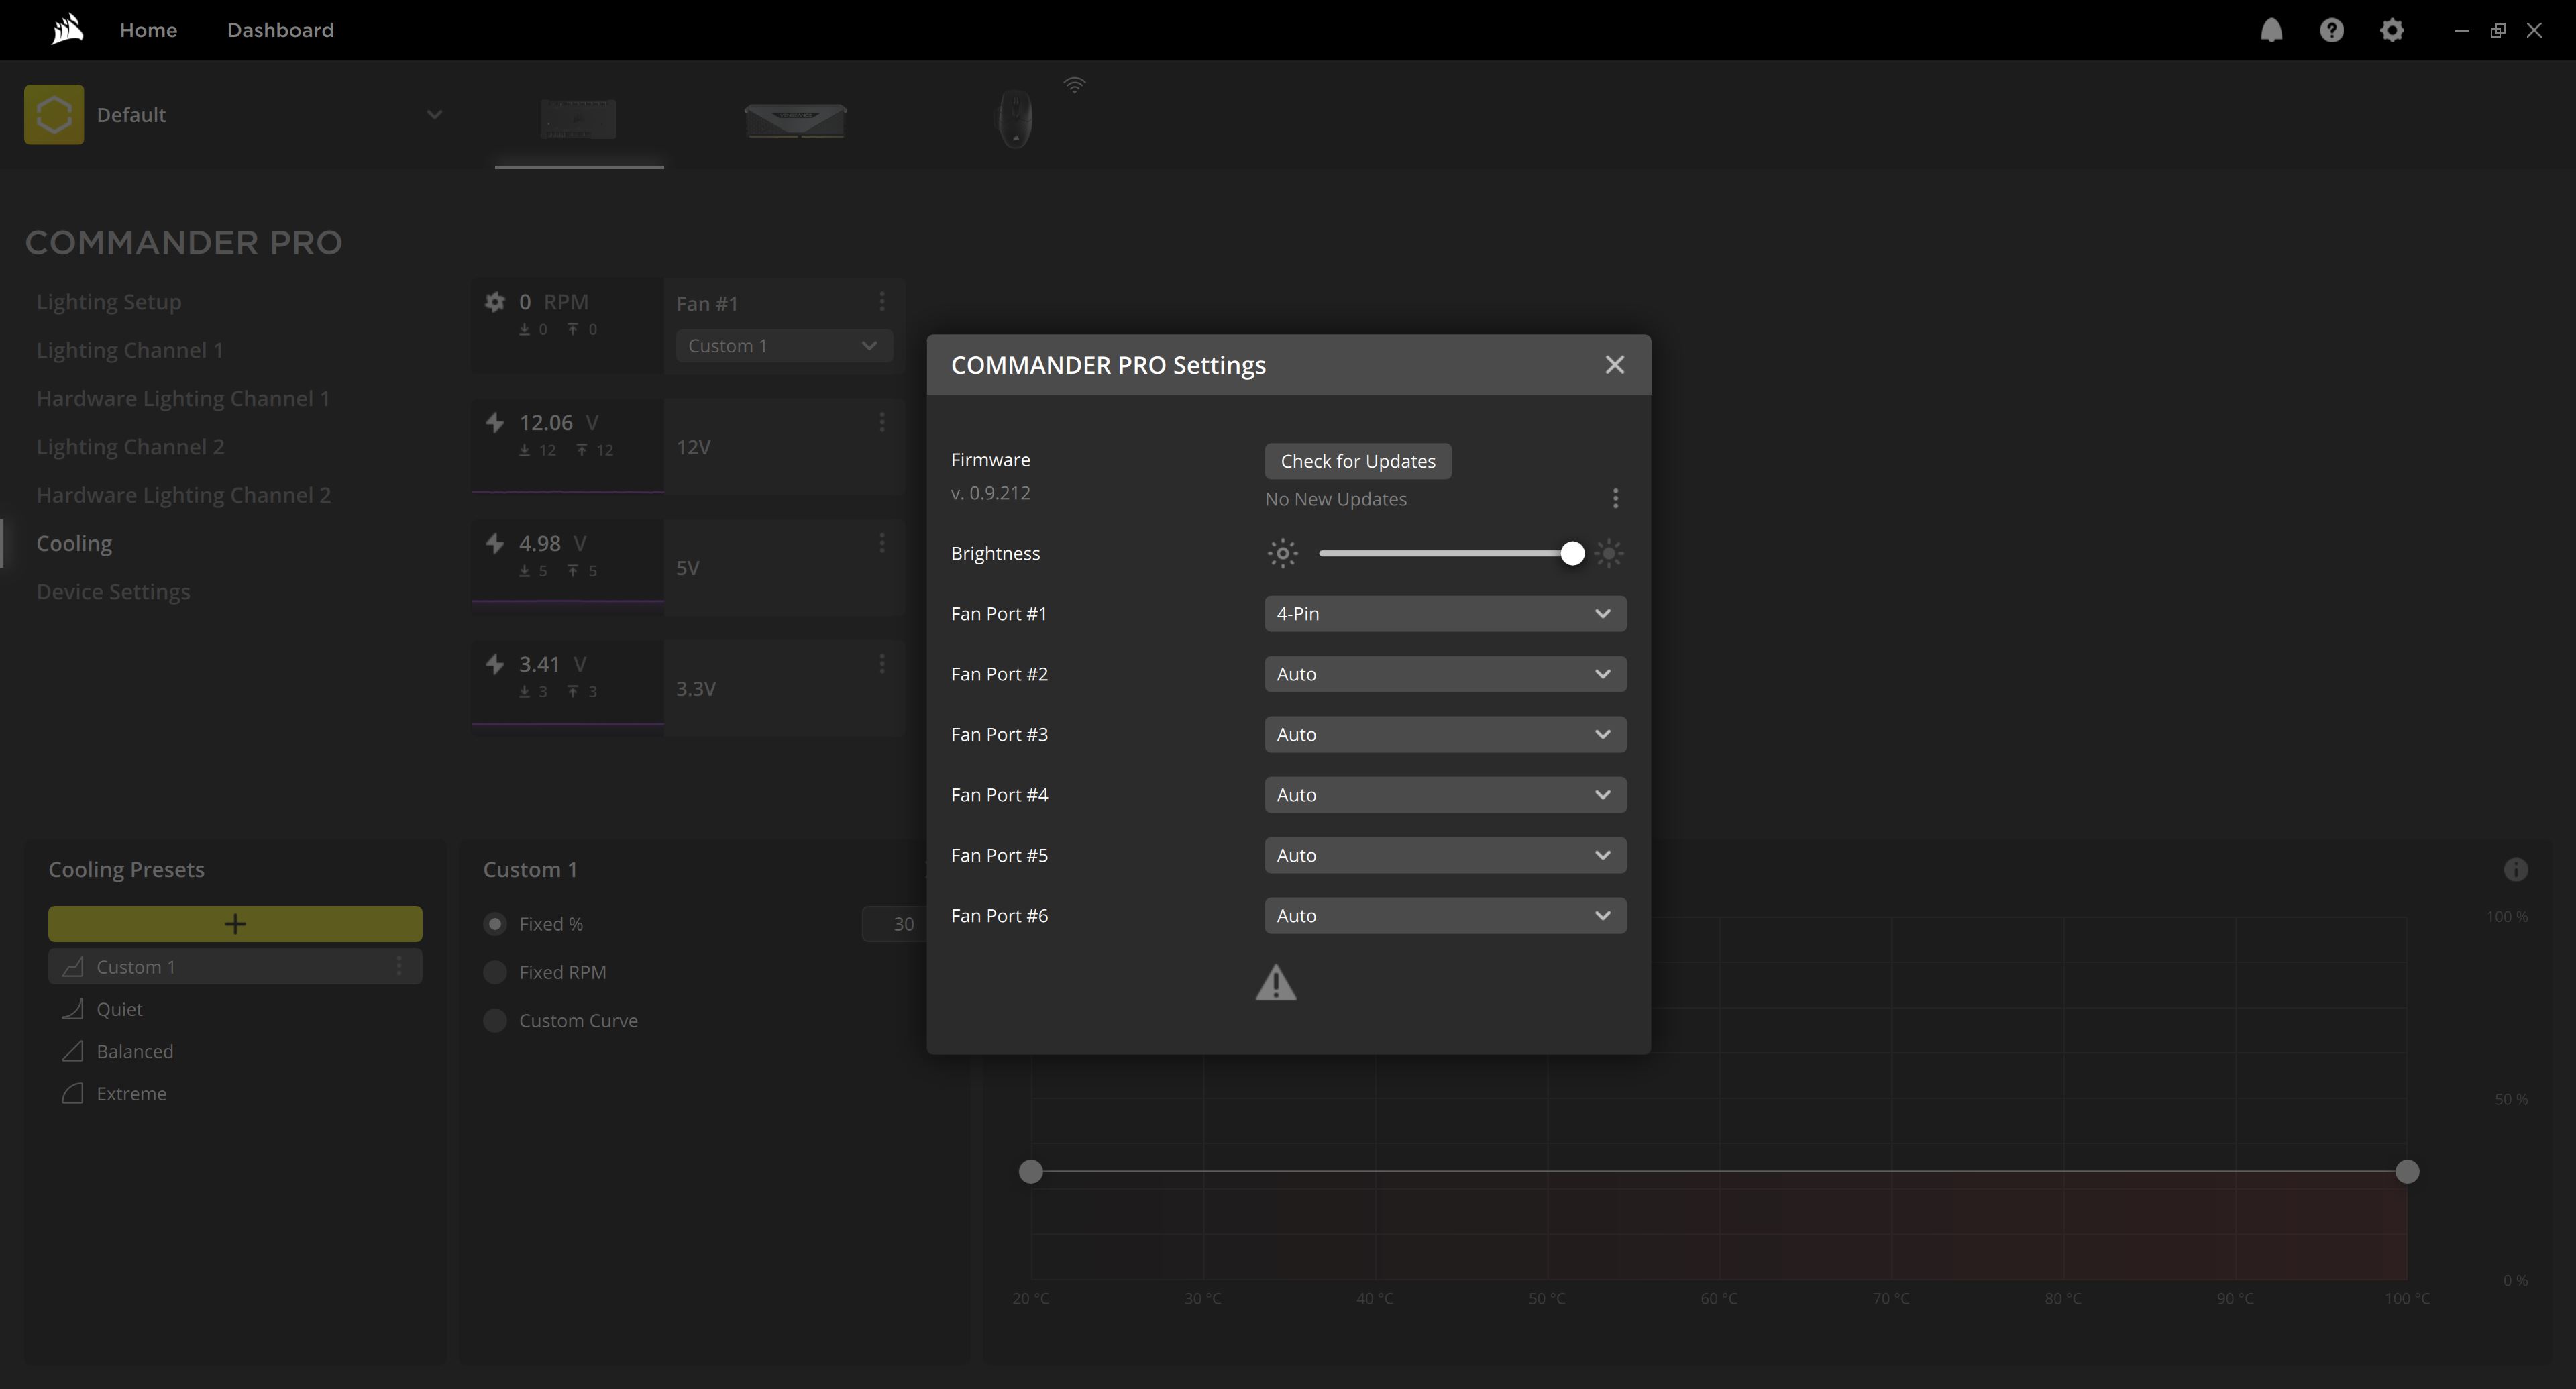
The Commander PRO will automatically be recognized by CORSAIR's iCUE software suite, which I have in version 4.22.203, the latest at the time of testing. You will manually have to set the lighting channels to the connected Hydro XC7 RGB block. Note that the XC7 RGB PRO is not separately mentioned here, which may potentially confuse newcomers to the CORSAIR ecosystem, but the older XC7 and XC9 have the same 16 ARGB LED configuration, and the various lighting effects will look and work exactly the same. You may now play around with the various software and hardware profiles and associated lighting effects, of which there are several static, dynamic, and reactive effects, too. Use the spare LED channel for the fans connected to the RGB hub since those are 8-LED fans that are best identified separately from this 16-RGB block, and the Hydro XD3 pump/reservoir combo can be daisy-chained with the XC7 RGB PRO because it has the same 16 RGB LEDs in a circular layout. If you expand the loop to include a CORSAIR GPU block, for example, you might be able to get away with both blocks and the pump/reservoir combo on the same channel, too.


Here is a look at the Hydro XC7 RGB PRO CPU block lit up by itself, first in a multi-color static mode that shows how bright it gets and how much light is spread outward and then set to all white (256/256/256 on the R/G/B channels) to test for color fidelity. Finally, there is a video which shows the rainbow wave dynamic effect, with smooth transitions making for a light show that may be coordinated with the rest of the lit-up components in this kit, including the Hydro XD3 pump/reservoir combo and SP120 RGB ELITE fans.


I tested the CORSAIR Hydro XC7 RGB PRO separately as a CPU block in an identical manner as previously described for both liquid flow resriction and thermal performance on the Intel Core i9-9900K. The pressure drop across the CPU block has increased over the older XC7 and even CORSAIR Hydro XC9 owing to the much larger number of micro-fins and the larger cold plate contact area, which improves thermal performance too, even on the Core i9-9900K the XC7 RGB PRO isn't necessarily optimized for. The larger die CPUs on Alder Lake and Ryzen platforms will be revealing, so look out for our eventual separate review of that CPU block there. But this remains an impressive performance increase over the previous-generation block nonetheless.
Feb 23rd, 2025 23:19 EST
change timezone
Latest GPU Drivers
New Forum Posts
- is a 650w gold power supply enough for a amd 7 7700x OR 7 5700x and a msi geforce rtx 4070 super 12go gaming x slim ? (3)
- New fans (3)
- CUDIMM OC Progress (2)
- It's happening again, melting 12v high pwr connectors (896)
- Nvidia's GPU market share hits 90% in Q4 2024 (gets closer to full monopoly) (530)
- Monitor Battle! Help me choose between two contenders (41)
- Dell Workstation Owners Club (3282)
- SLI is really not Dead if you Have a SLI rig (83)
- EFI partition too small, can't update Windows 11 on laptop (12)
- 9800 x3d overheating what is the stock voltage (5)
Popular Reviews
- ASUS GeForce RTX 5070 Ti TUF OC Review
- MSI GeForce RTX 5070 Ti Ventus 3X OC Review
- darkFlash DY470 Review
- MSI GeForce RTX 5070 Ti Vanguard SOC Review
- MSI GeForce RTX 5070 Ti Gaming Trio OC+ Review
- Galax GeForce RTX 5070 Ti 1-Click OC White Review
- Palit GeForce RTX 5070 Ti GameRock OC Review
- Fantech Aria II Pro Review
- Gigabyte GeForce RTX 5090 Gaming OC Review
- AMD Ryzen 7 9800X3D Review - The Best Gaming Processor
Controversial News Posts
- NVIDIA GeForce RTX 5090 Spotted with Missing ROPs, NVIDIA Confirms the Issue, Multiple Vendors Affected, RTX 5070 Ti, Too (449)
- AMD Radeon 9070 XT Rumored to Outpace RTX 5070 Ti by Almost 15% (304)
- AMD Plans Aggressive Price Competition with Radeon RX 9000 Series (271)
- AMD Radeon RX 9070 and 9070 XT Listed On Amazon - One Buyer Snags a Unit (247)
- Edward Snowden Lashes Out at NVIDIA Over GeForce RTX 50 Pricing And Value (241)
- AMD Denies Radeon RX 9070 XT $899 USD Starting Price Point Rumors (239)
- NVIDIA Investigates GeForce RTX 50 Series "Blackwell" Black Screen and BSOD Issues (226)
- New Leak Reveals NVIDIA RTX 5080 Is Slower Than RTX 4090 (215)