 20
20
CORSAIR Hydro X Series XG7 RGB 10-SERIES GPU Water Block Review
Liquid Flow Restriction »Installation
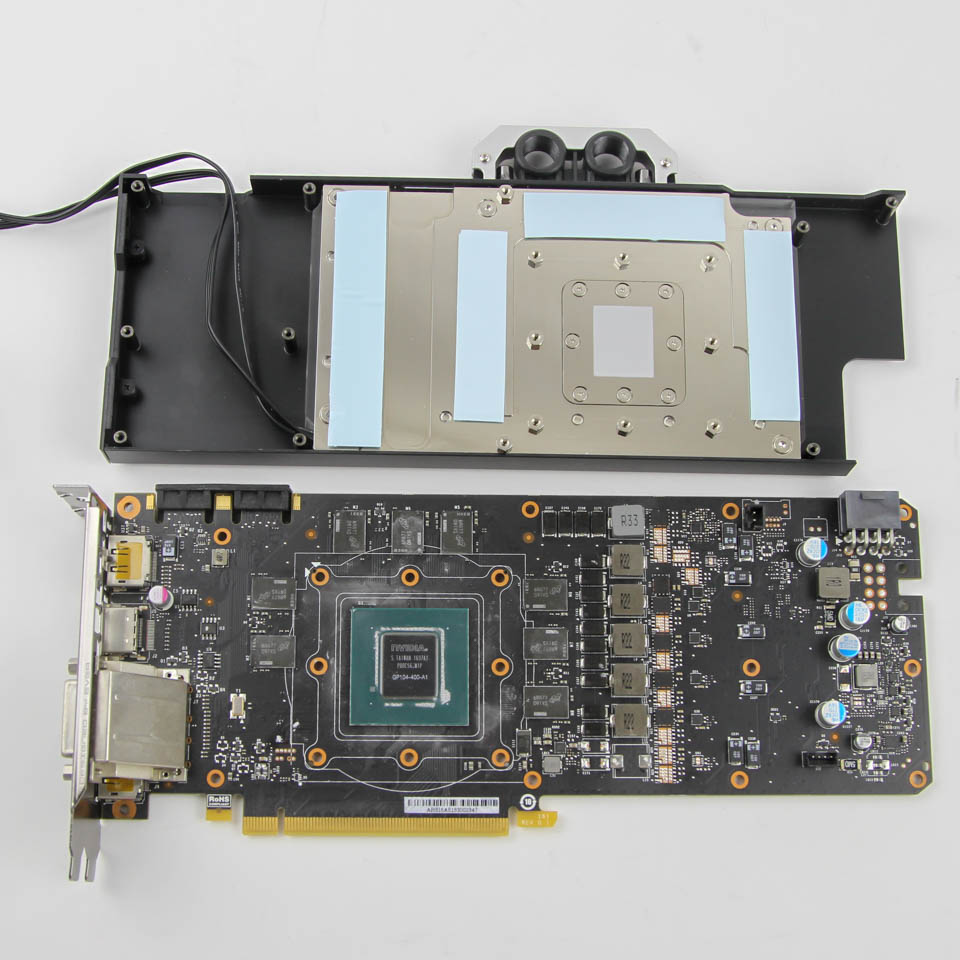
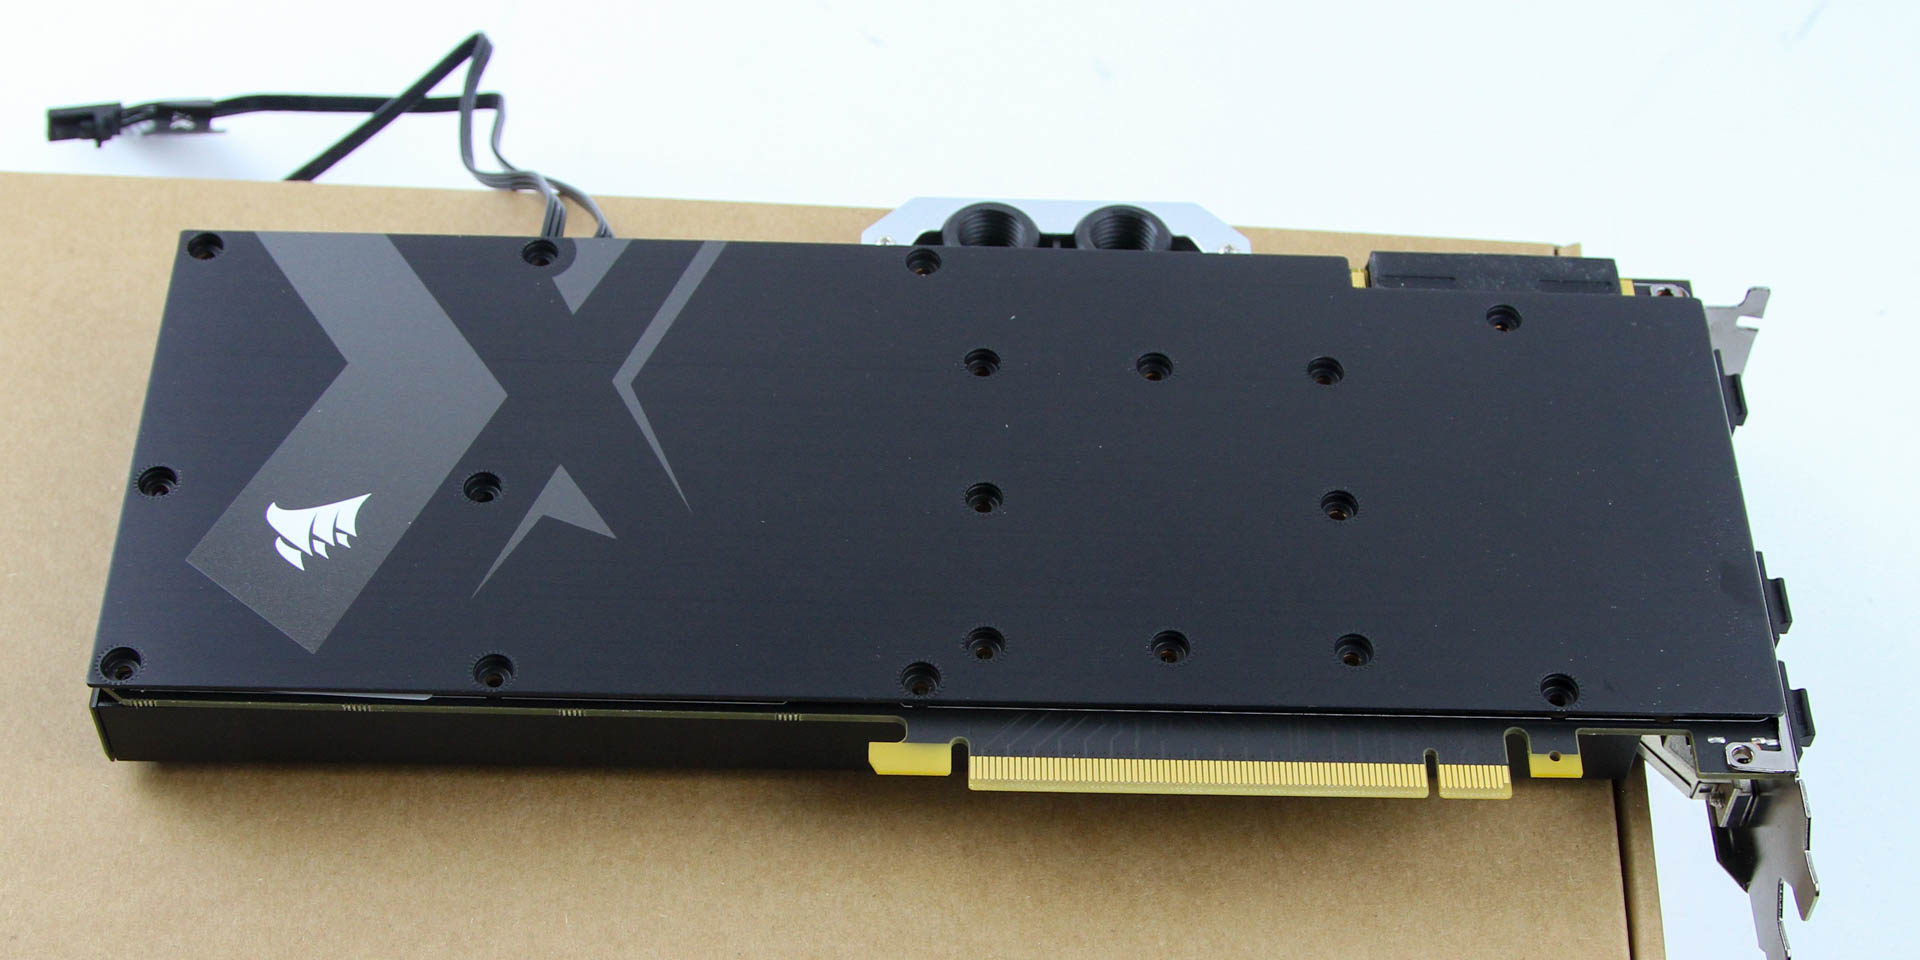
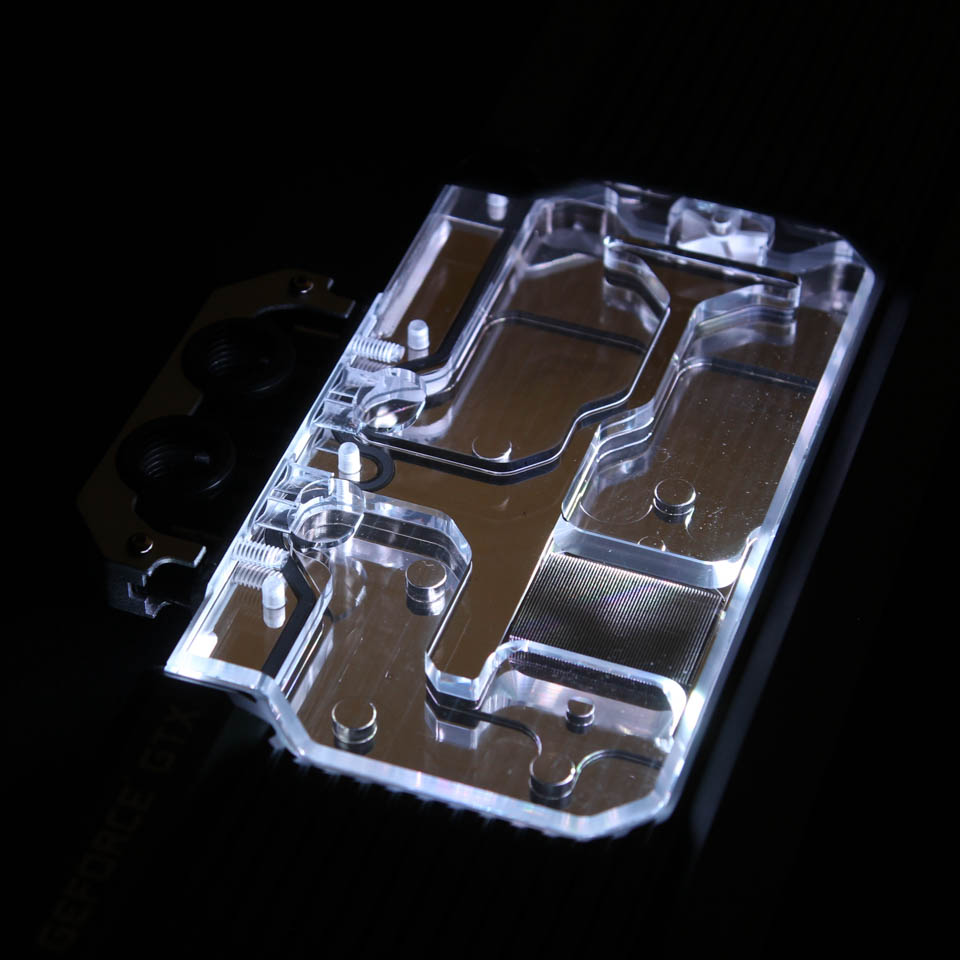
Installation of the CORSAIR XG7 GPU water block is a piece of cake as long as you have a compatible GPU. For this 10-series block, this includes a vast list of reference PCB editions of the NVIDIA GTX 1070/1070 Ti/1080/1080 Ti as listed in the compatibility tab on the product page. The pre-applied thermal pads and thermal paste go a long way in making the process easy on even the first-time enthusiast. Begin with the removal of the stock cooler, which is outside of the purview of this article, and place the block over the card. Flip the assembly over carefully on a box such that the card's own I/O section hands out and does not cause an issue in the block mating with the card. Place the backplate over and align it with the holes in the PCB that in turn match the standoffs in the block, and remove any covers off SLI fingers as applicable. Now, simply screw in the block-card-backplate sandwich, beginning loosely around the GPU core and moving outwards before coming back around to tighten them all. You may have to use a screw with the provided locking nut depending on the PCB design, as in my case.
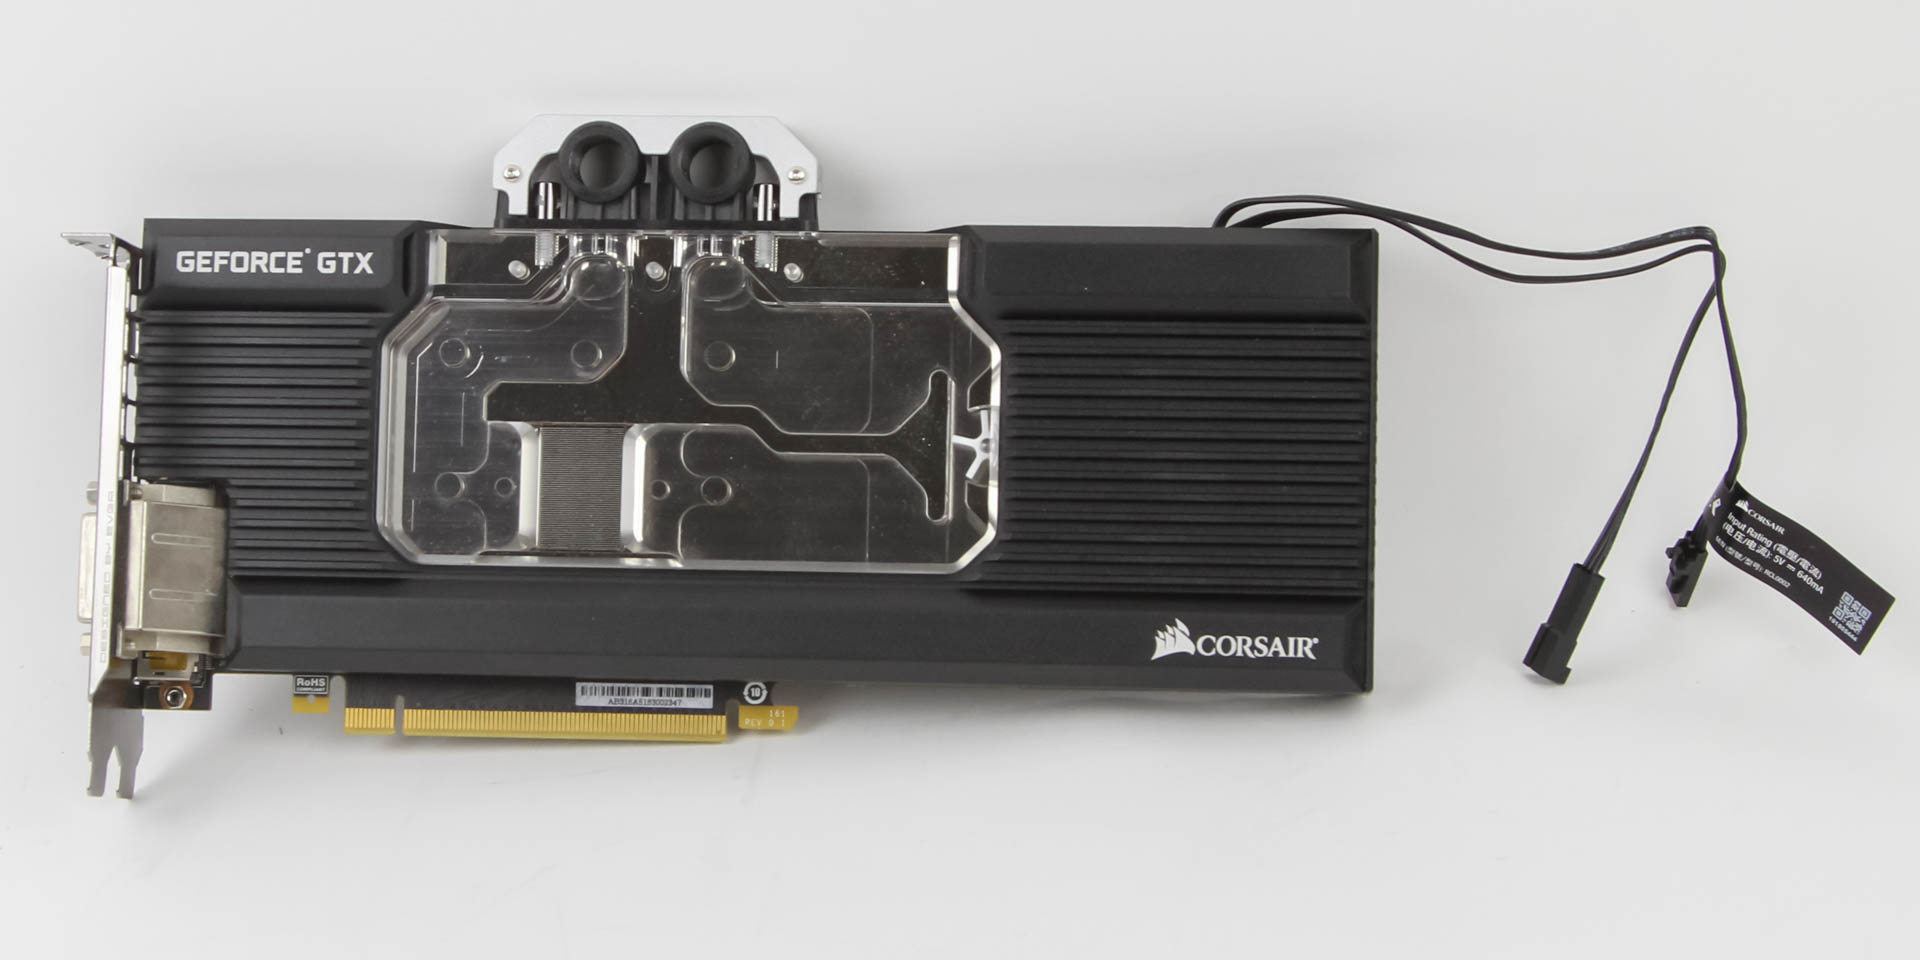
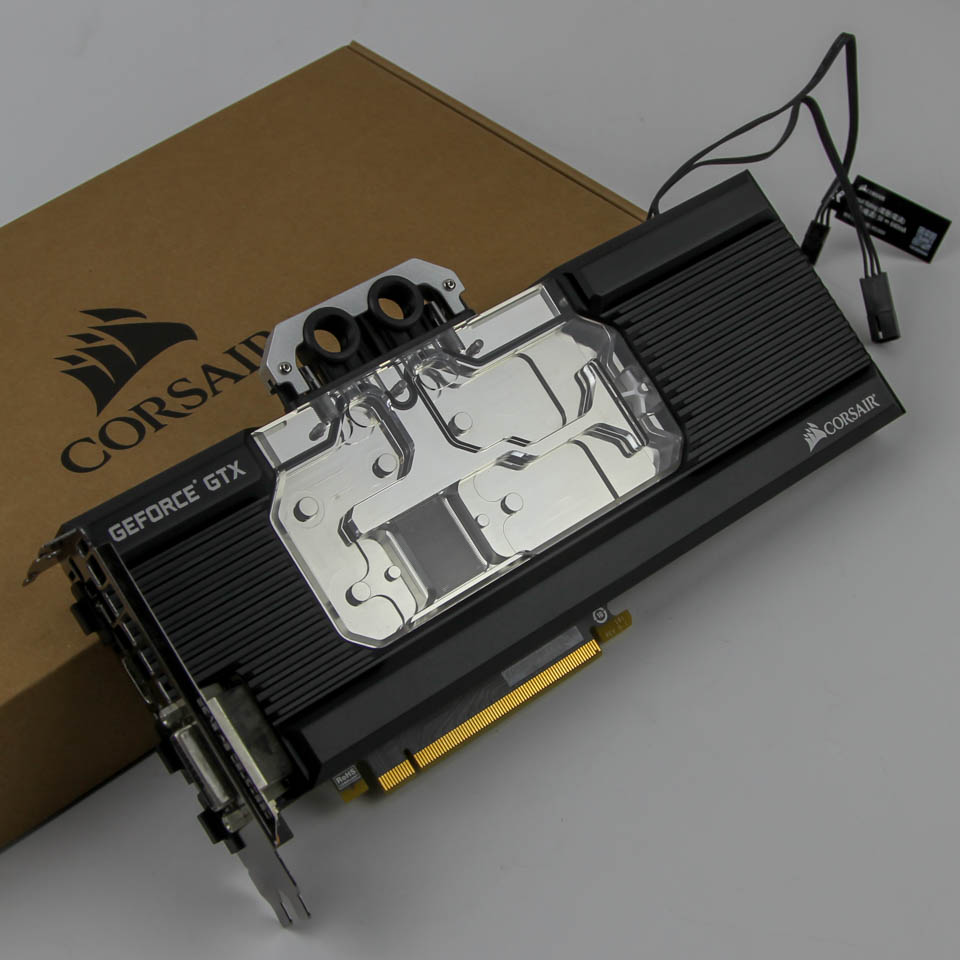

When doing so, take care to also have the requisite cable(s) out of the way so they don't block any of the screws or get squished by PCB components. Now, simply connect the cable to a compatible LED controller and plug this into your system to then plumb into the loop of your design. The finished looks are seen above, and the relatively cleaner design tickles my specific fancy.
Lighting
Here's the light show that greets you when the cable is connected and powered on. It is a rainbow wave lighting effect that does a good job of showcasing the individually addressable nature of the 16 RGB LEDs, and we can also see how and where the light comes through the block.
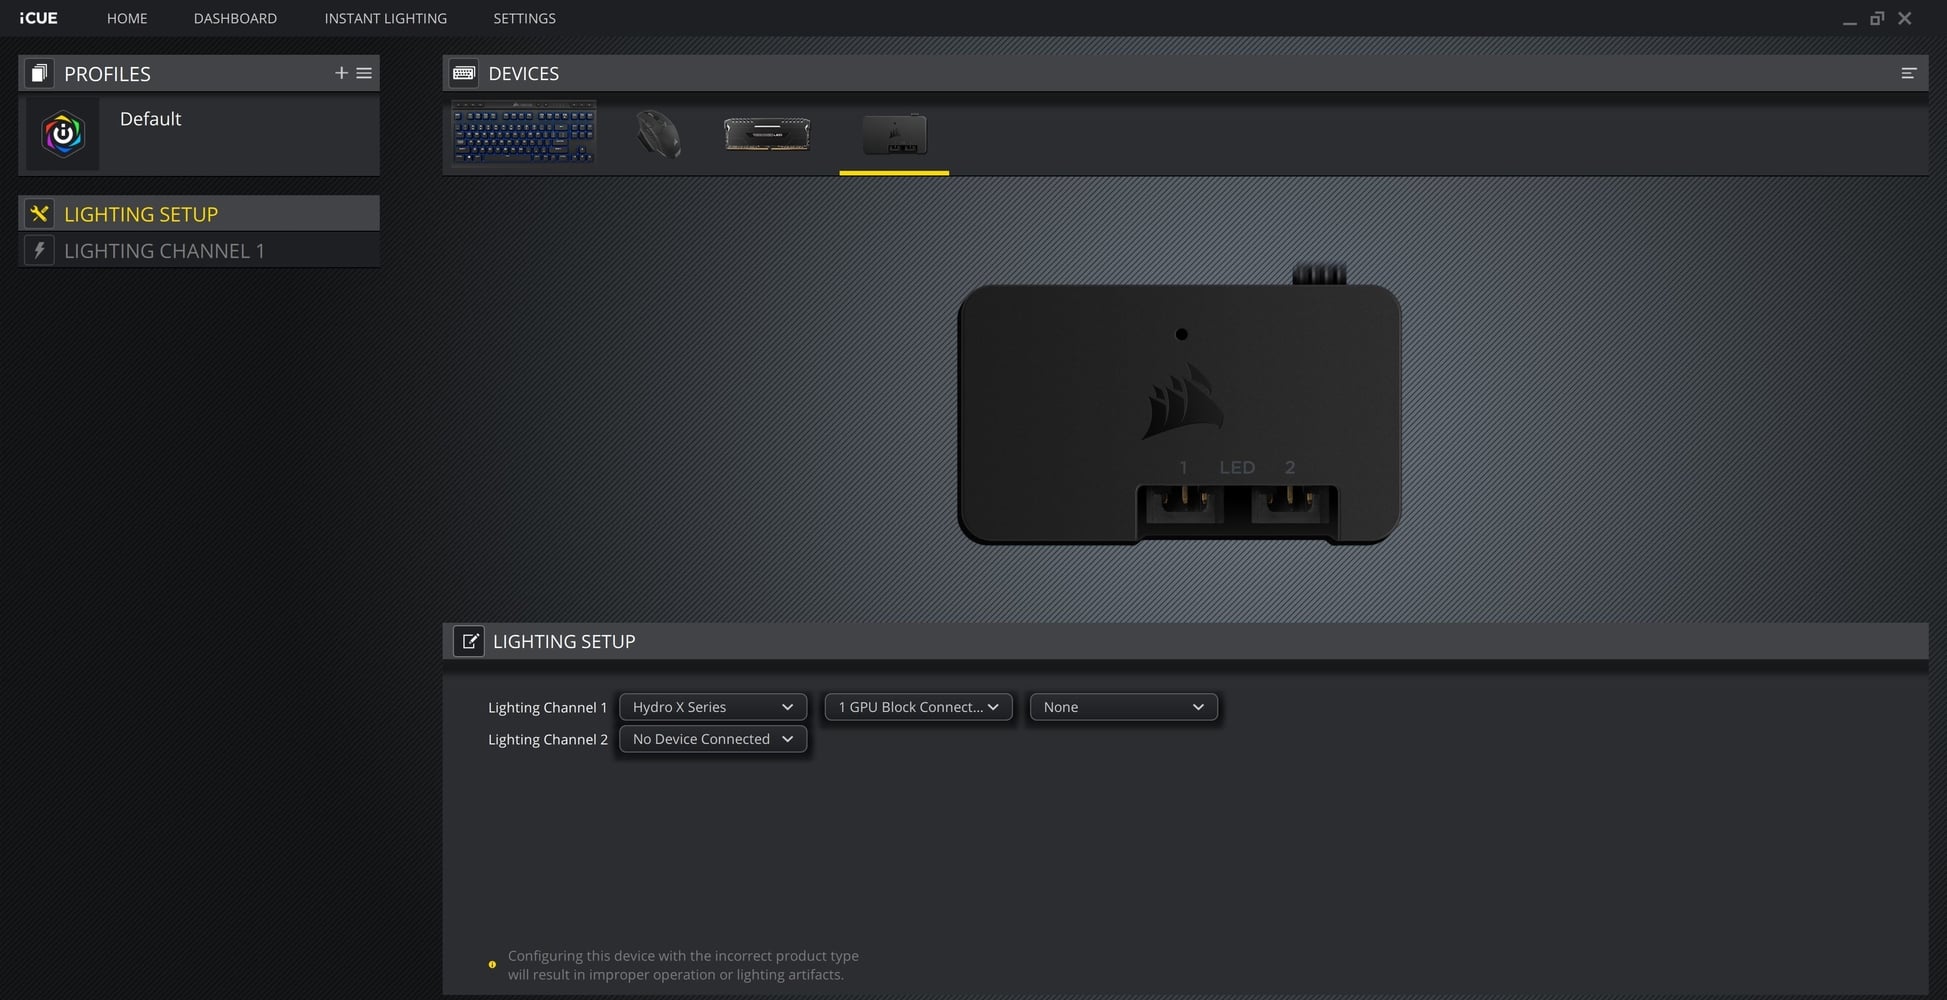
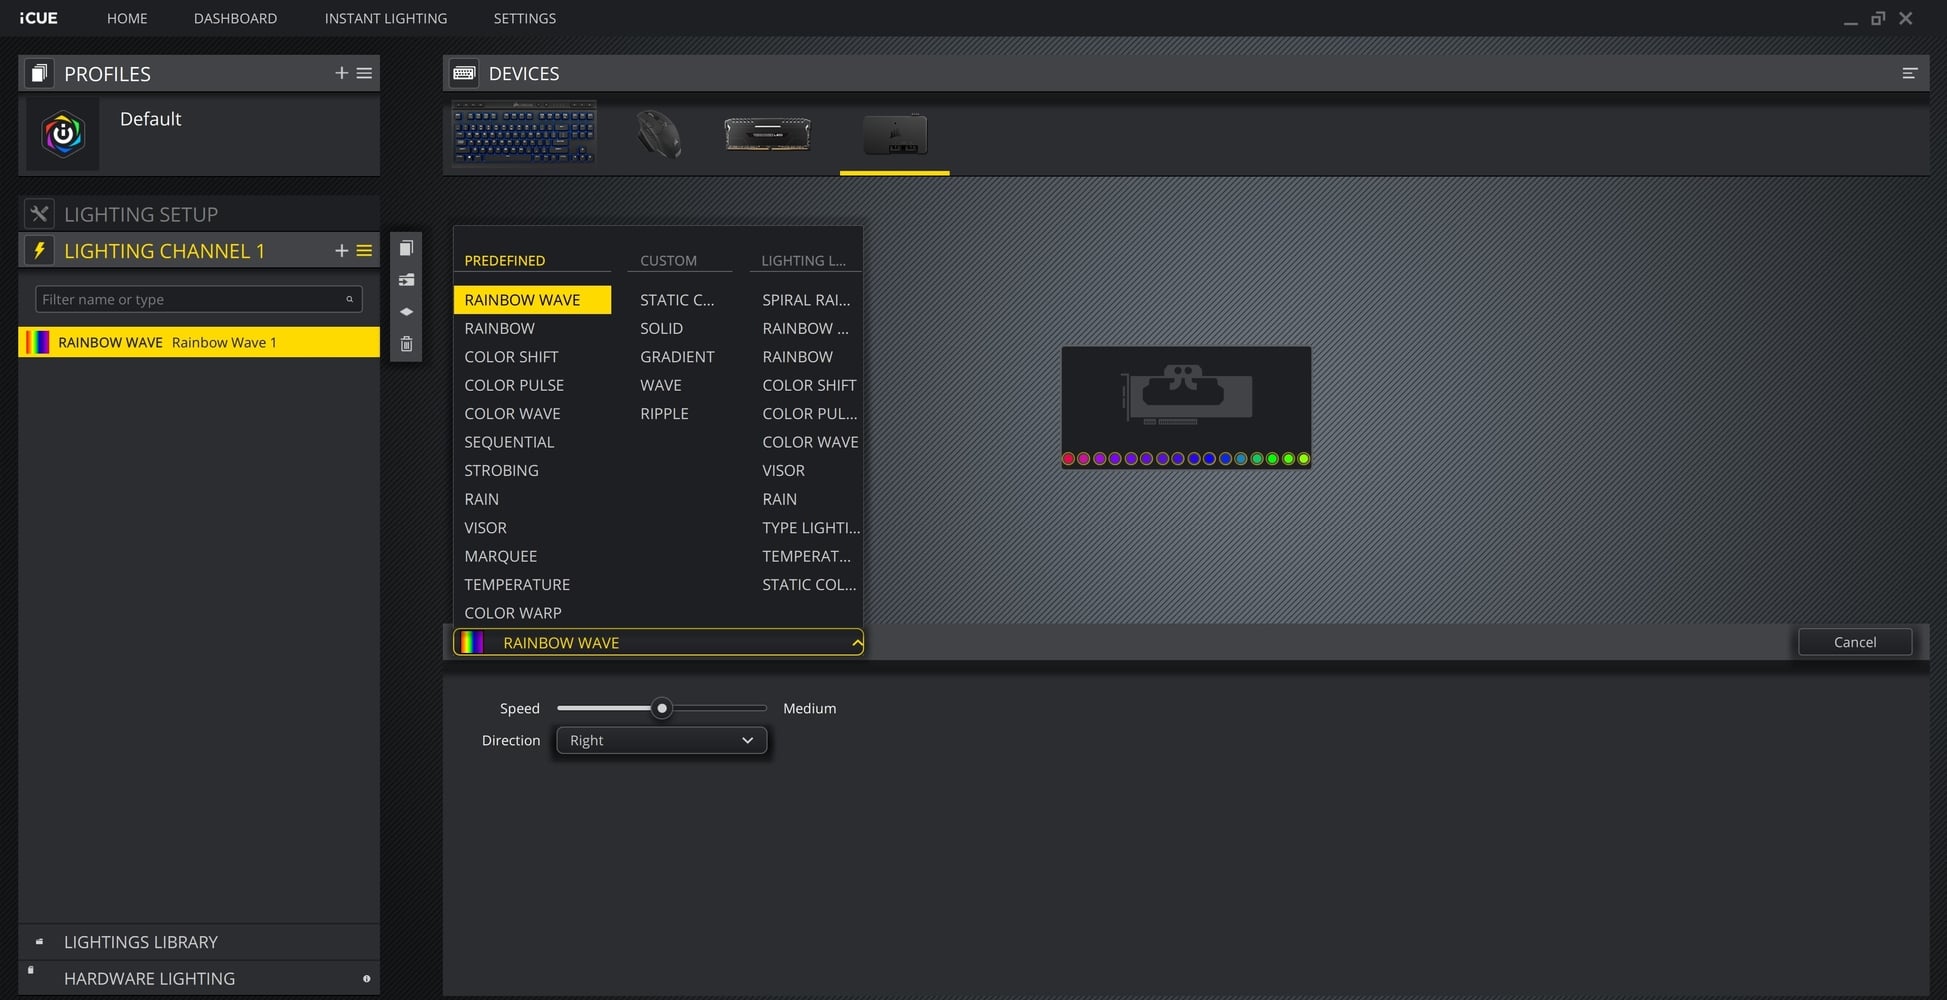
I will go over iCUE as it pertains to the Hydro X series in the final build article, but it works as expected provided you let the driver know what exactly is connected to the device. I used a Lighting Node PRO here, which has two channels, and a drop-down list allows for the Hydro X GPU block to be chosen. I did not have anything connected to the pass-through cable, which was thus left blank, and an on-screen render helps visualize the various lighting effects that are immediately reflected in the block.
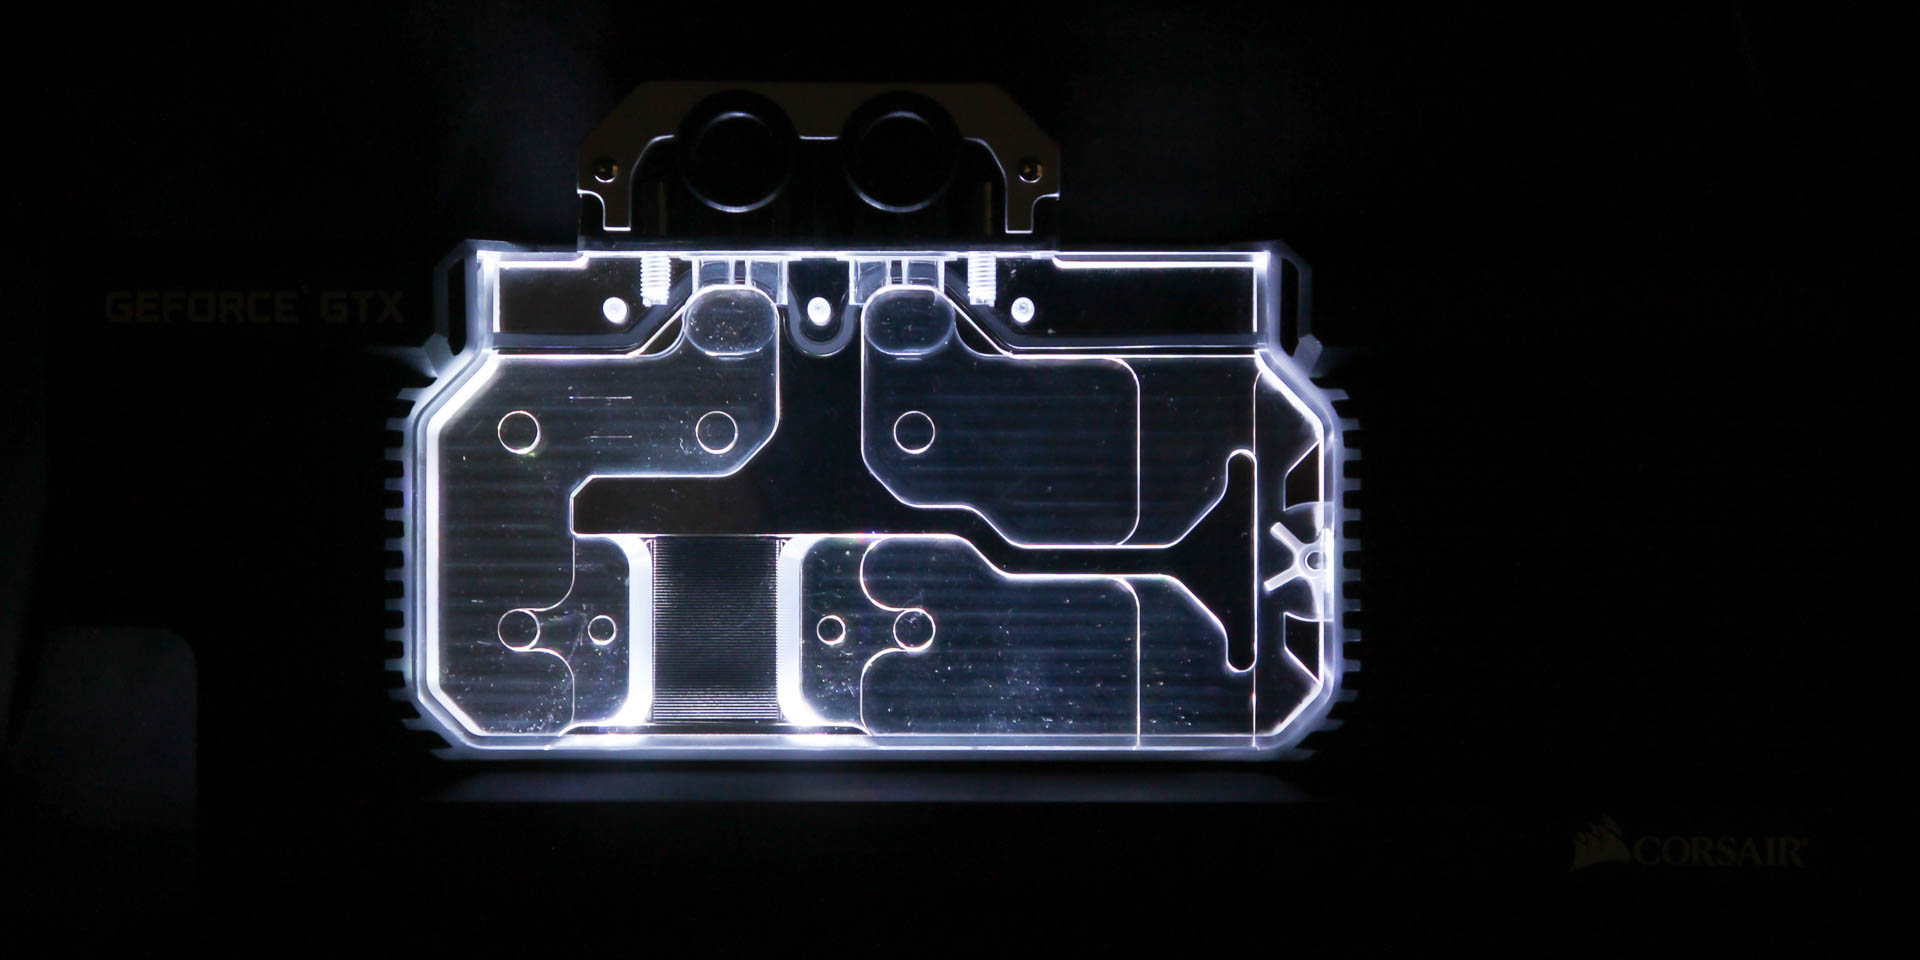
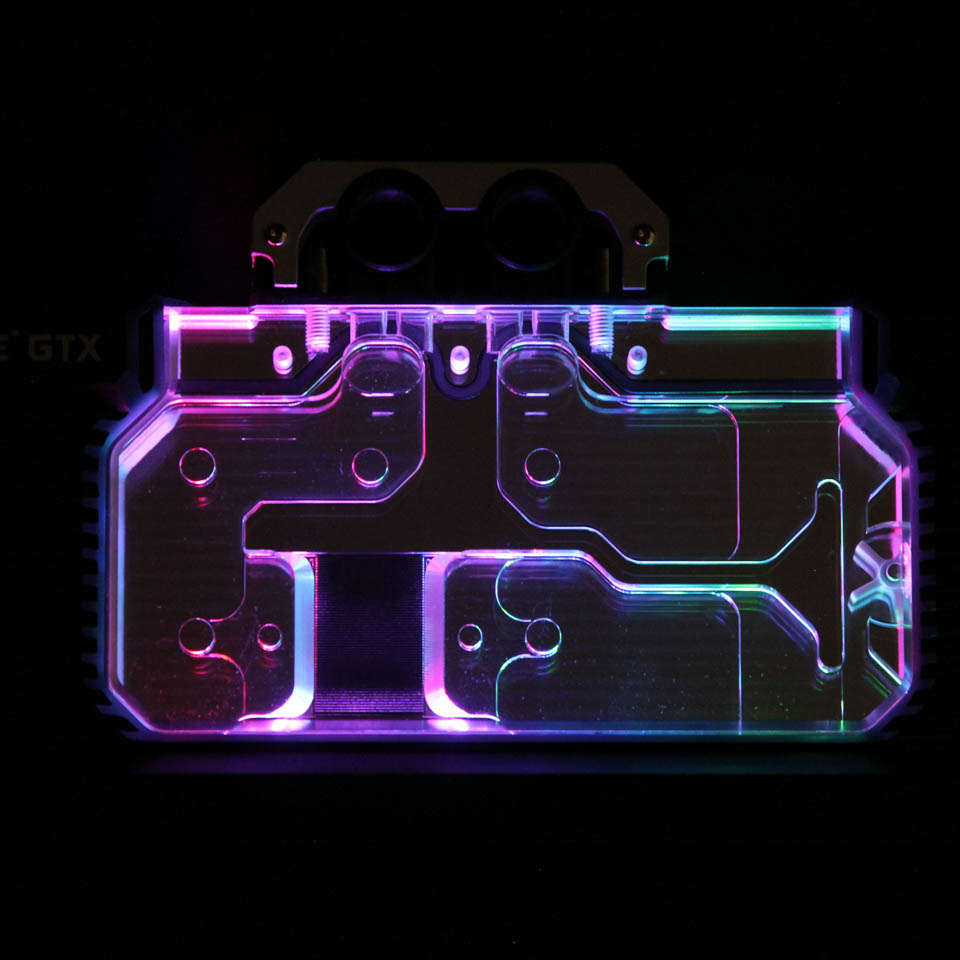
Here is a look at some of the various lighting options, be it static or dynamic. I was impressed with the fairly-true-to-color white these LEDs were able to reproduce, and the upward-facing LEDs with the light diffusion from the acrylic and redirection from the aluminium make for smooth lighting without harsh, discrete light sources visible when seen straight through or even at most angles inside a case. As with anything compatible with iCUE, lighting can be configured to match with other products collectively.
Jul 5th, 2025 23:22 CDT
change timezone
Latest GPU Drivers
New Forum Posts
- Help Watercooling my PC (8)
- Will you buy a RTX 5090? (627)
- RX 9000 series GPU Owners Club (1128)
- 9800x3d temps (3)
- Last game you purchased? (862)
- TPU's Rosetta Milestones and Daily Pie Thread (2375)
- What are you playing? (23897)
- Folding Pie and Milestones!! (9607)
- Do you game on a handheld console? (98)
- TPU's Nostalgic Hardware Club (20486)
Popular Reviews
- NVIDIA GeForce RTX 5050 8 GB Review
- Fractal Design Scape Review - Debut Done Right
- Crucial T710 2 TB Review - Record-Breaking Gen 5
- ASUS ROG Crosshair X870E Extreme Review
- Sapphire Radeon RX 9060 XT Pulse OC 16 GB Review - An Excellent Choice
- PowerColor ALPHYN AM10 Review
- Upcoming Hardware Launches 2025 (Updated May 2025)
- AMD Ryzen 7 9800X3D Review - The Best Gaming Processor
- Sapphire Radeon RX 9070 XT Nitro+ Review - Beating NVIDIA
- NVIDIA GeForce RTX 5060 8 GB Review
TPU on YouTube
Controversial News Posts
- Intel's Core Ultra 7 265K and 265KF CPUs Dip Below $250 (288)
- NVIDIA Grabs Market Share, AMD Loses Ground, and Intel Disappears in Latest dGPU Update (212)
- Some Intel Nova Lake CPUs Rumored to Challenge AMD's 3D V-Cache in Desktop Gaming (140)
- NVIDIA GeForce RTX 5080 SUPER Could Feature 24 GB Memory, Increased Power Limits (115)
- Microsoft Partners with AMD for Next-gen Xbox Hardware (105)
- NVIDIA Launches GeForce RTX 5050 for Desktops and Laptops, Starts at $249 (105)
- AMD Radeon RX 9070 XT Gains 9% Performance at 1440p with Latest Driver, Beats RTX 5070 Ti (102)
- Intel "Nova Lake‑S" Series: Seven SKUs, Up to 52 Cores and 150 W TDP (100)