 21
21
Corsair iCUE 4000D RGB Airflow Review
Assembly & Finished Looks »A Closer Look - Inside


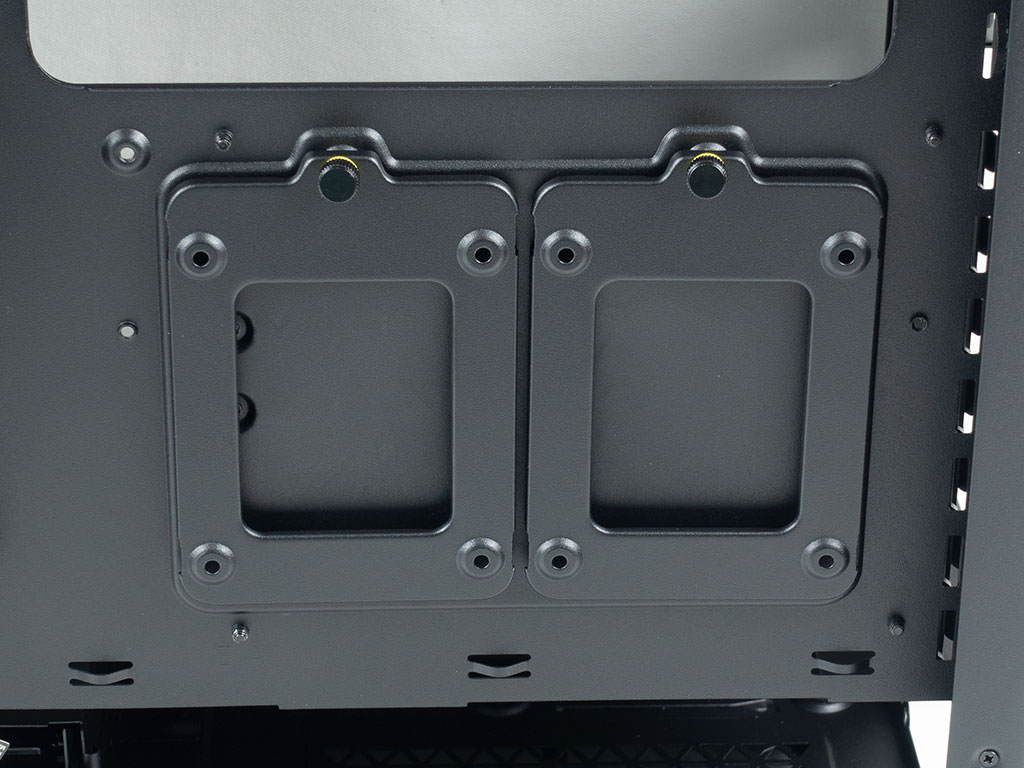
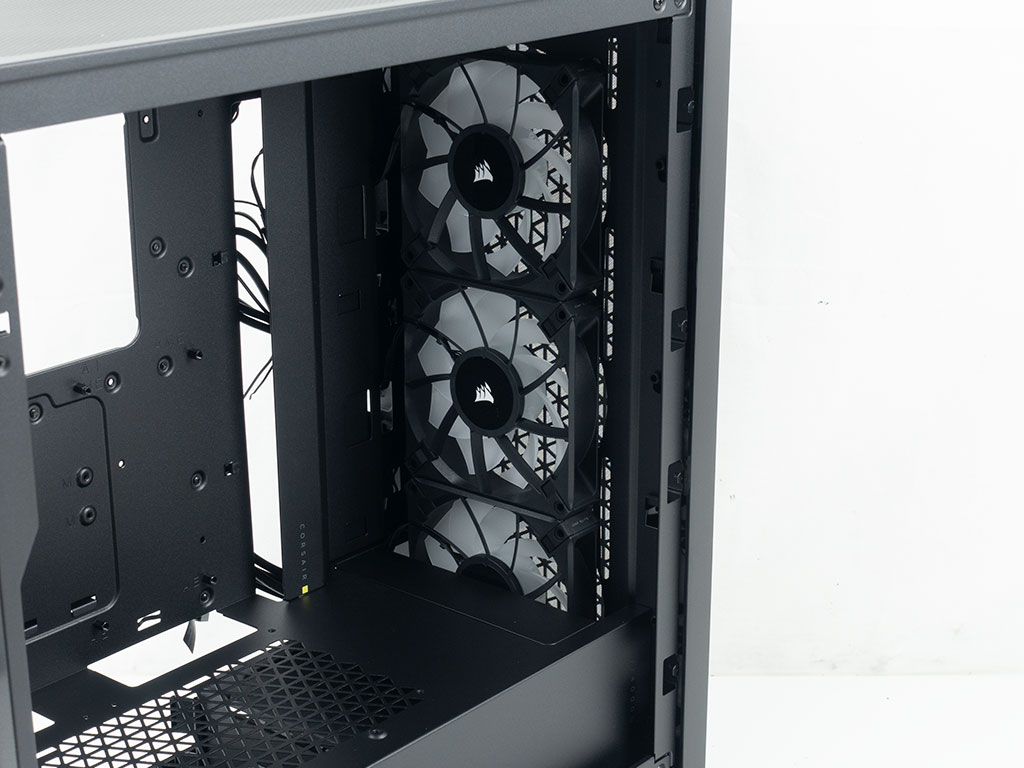
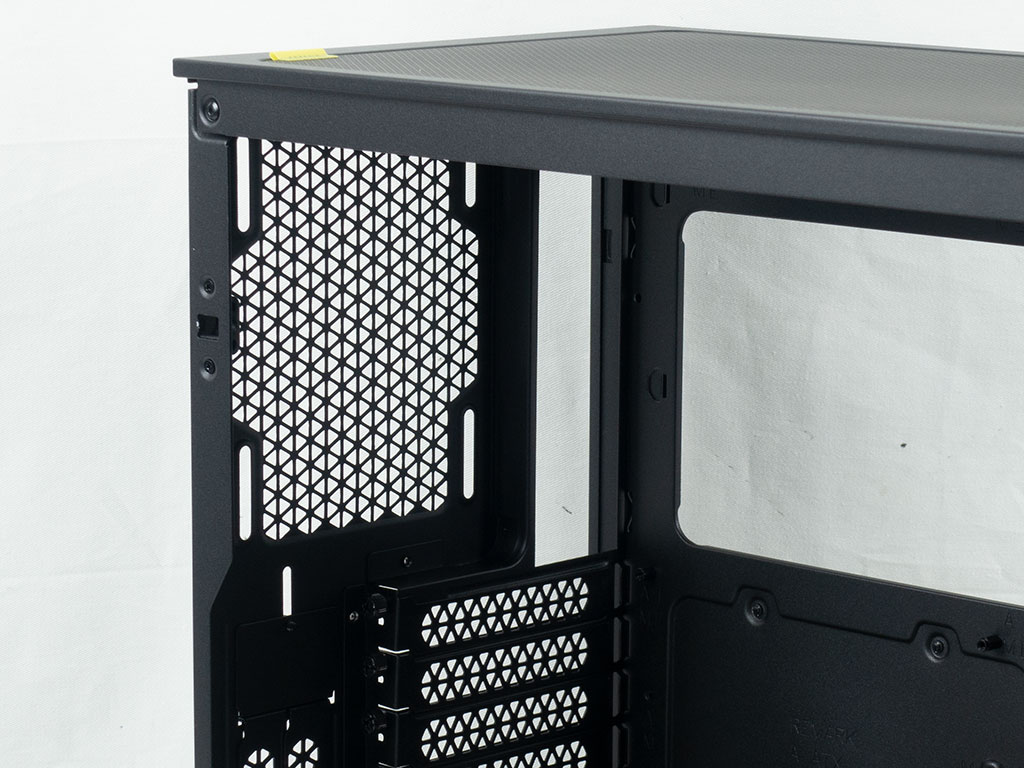
To access the interior, simply remove the thumb screws and pull the panels off the case. Corsair has included push pins on each side, so the panel holds in place nicely even with the screws detached. Overall, this implementation is excellent and feels solid. On the interior, things look quite traditional for a modern chassis with a metal shroud on the bottom. You may install your 2.5" HDD plates here to show off your SSD, but those are fitted behind the motherboard tray by default. I am not sure if Corsair sells these separately for those who want to add more storage. There are also two fairly large cable-routing openings in the shroud, which could have been cut much smaller to keep things as clean as possible. Two subtle updates to the original 4000D series is that the shroud may now hold two 120 mm fans and Corsair has added a plastic cover on the opening for the front radiator. This makes the shroud look much cleaner if you opt to just use intake fans instead of liquid cooling.
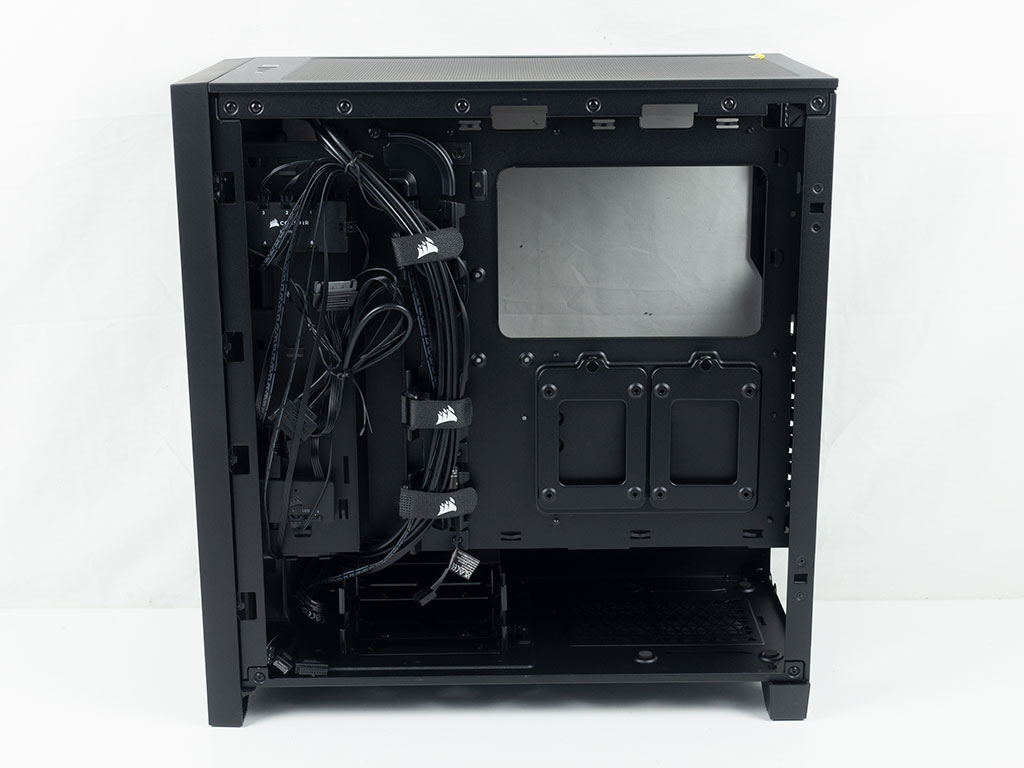

The other side of the case does offer a few elements that stand out. For one, the screw holding each of the two 2.5" trays in place comes with a yellow accent. There is also a cable channel with three of the wide Velcro Strips built right in, so you should be able to keep things pretty clean for the most part. Corsair has also placed the controllers around their iCUE enabled AF120 Elite RGB fans in this section, which seems like a very good choice. While this functionality adds numerous leads, Corsair has attempted to clean things up a little so you won't have to deal with it all when cable managing your build.
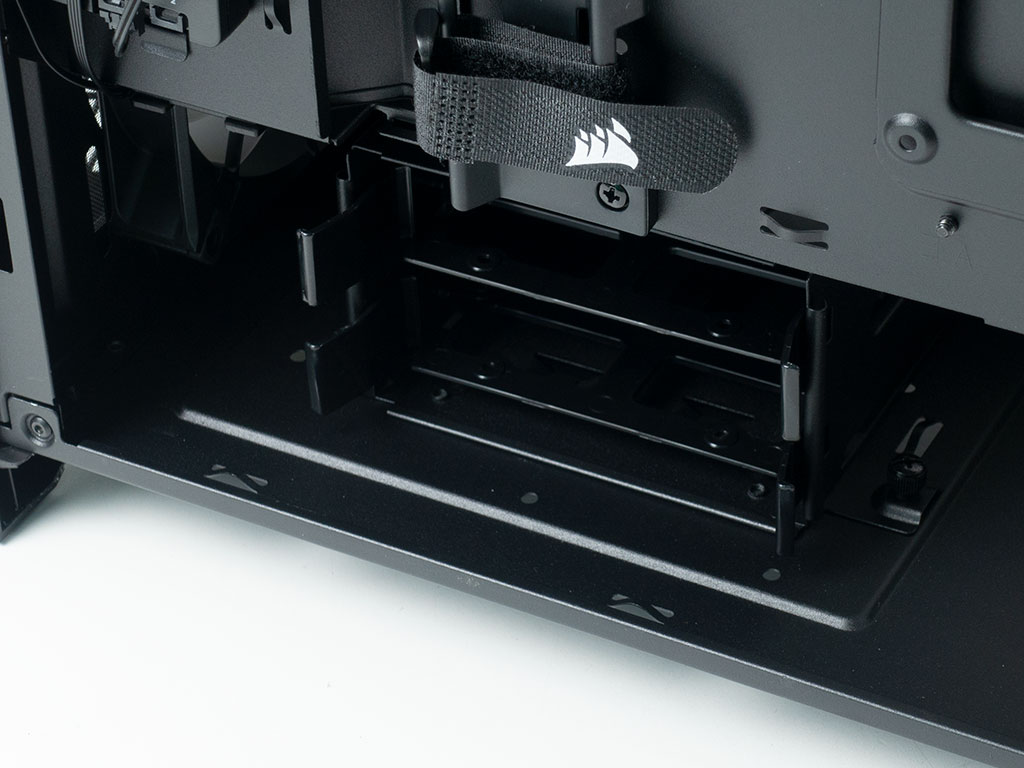
Looking at the front, you will find a cage with two 3.5" trays which may also hold 2.5" drives. This brings the total storage placement possibilities to four. The area above that is meant for intake cooling or your radiator setup. Corsair also includes a cable-routing cover which comes with a little branding and a yellow square just for kicks.
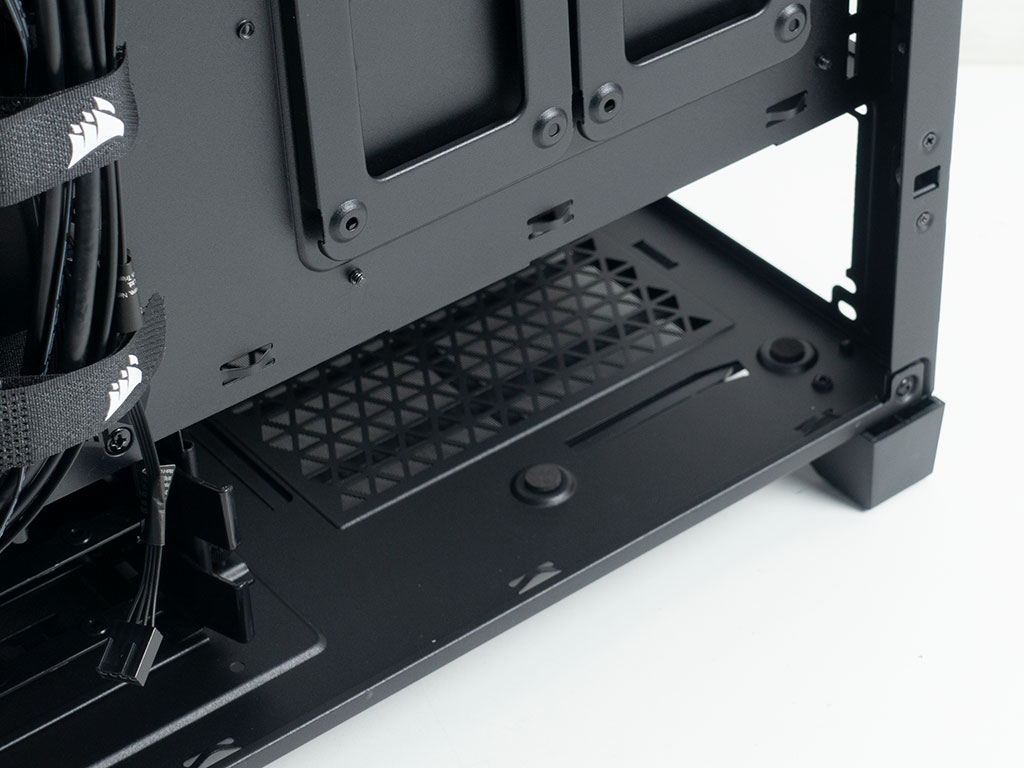
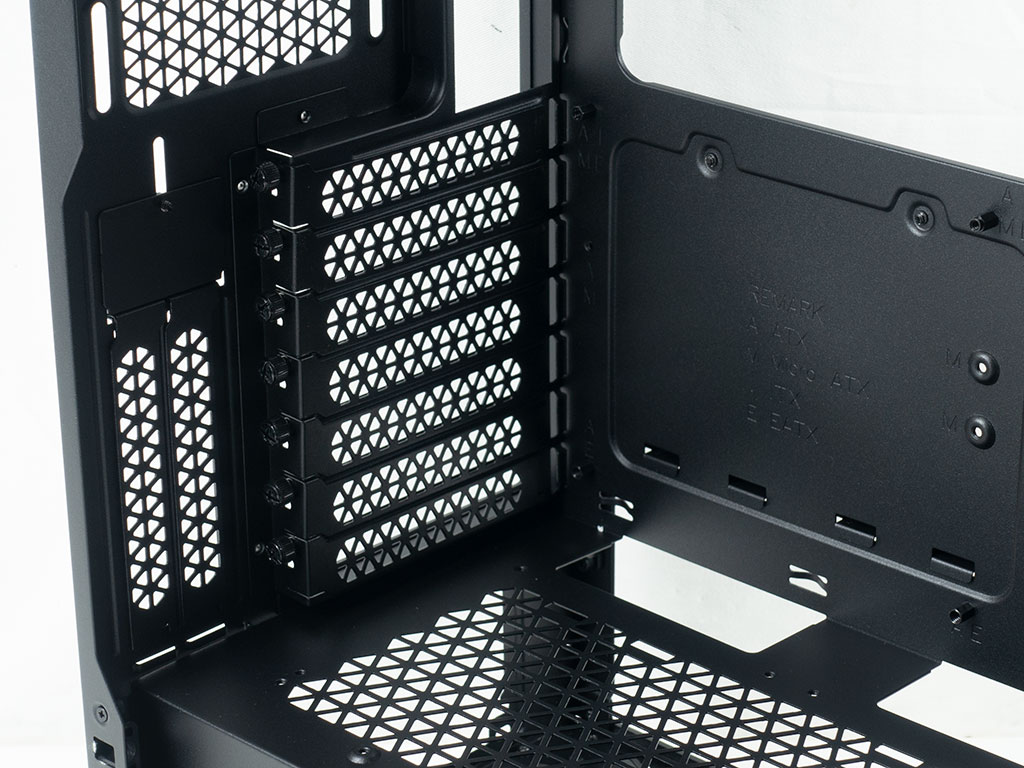
Underneath the shroud, the PSU bay is standard fare with foam sections for the PSU to rest upon. Above that are the expansion slots with their individual thumb screw, each, which is nice to see in a case of this price point. In the very top, there is that mounting location for a 120 mm exhaust fan. Interestingly enough, Corsair does not mention any radiator compatibility when it comes to this mounting position - say for a 120 mm unit.
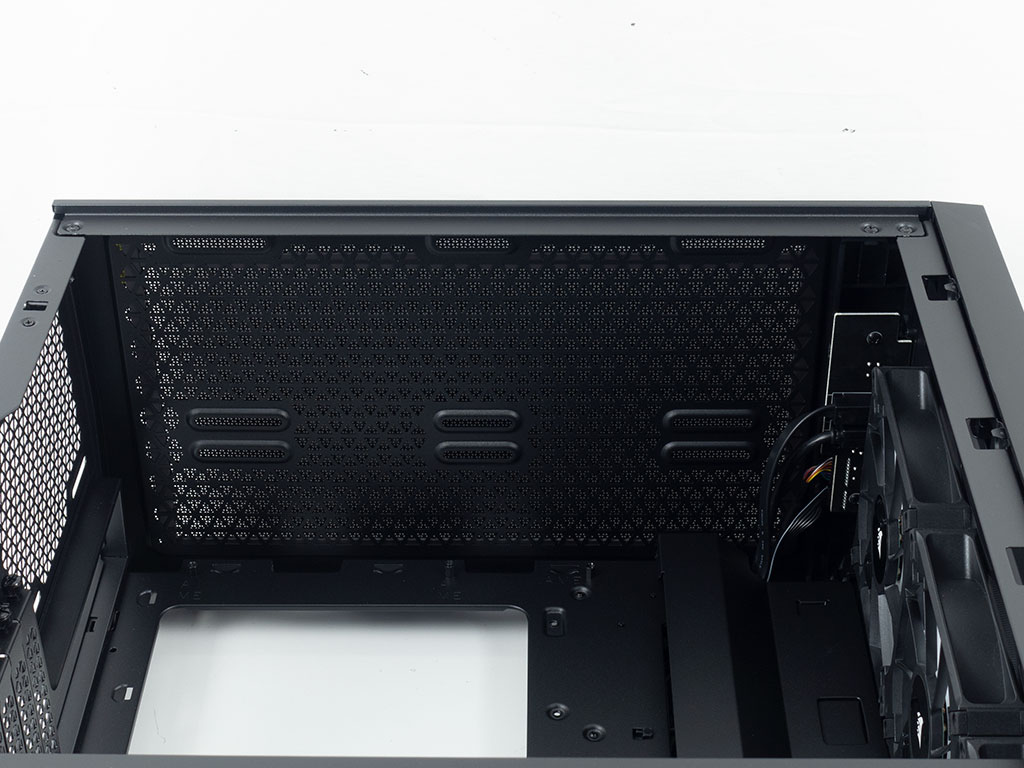
The opening in the ceiling for air or liquid cooling is well positioned, as it is as far removed from the motherboard as possible, which avoids any component collisions during assembly. Corsair also uses a solid PCB for their I/O, which speaks to the quality of the chassis as well.
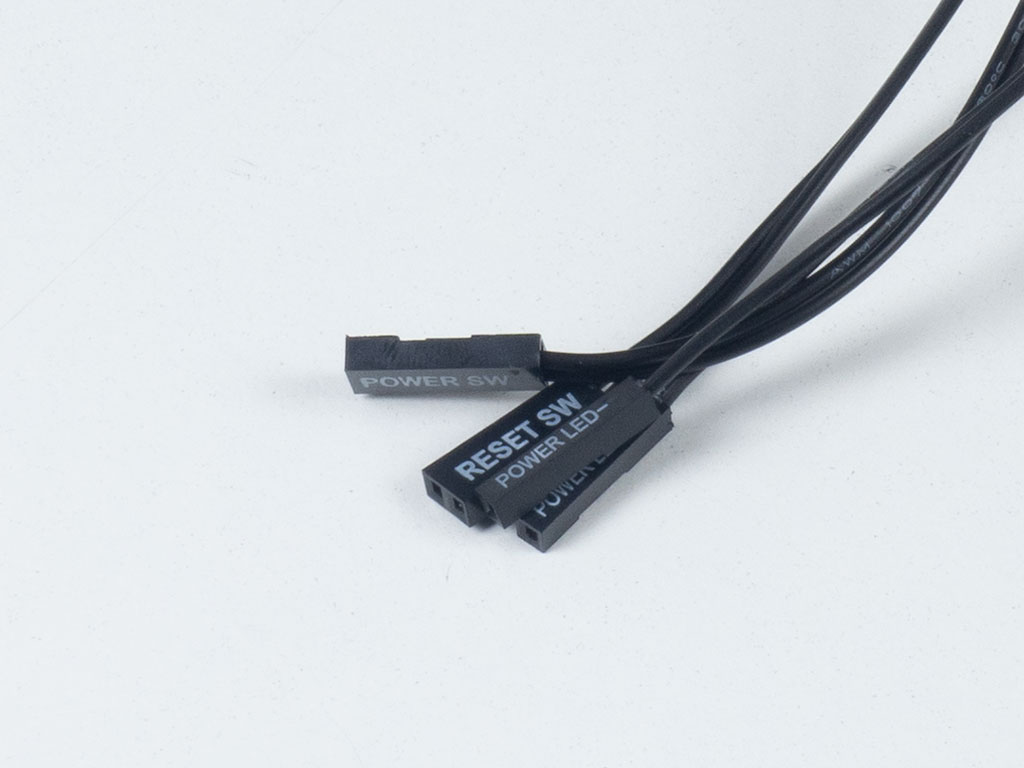
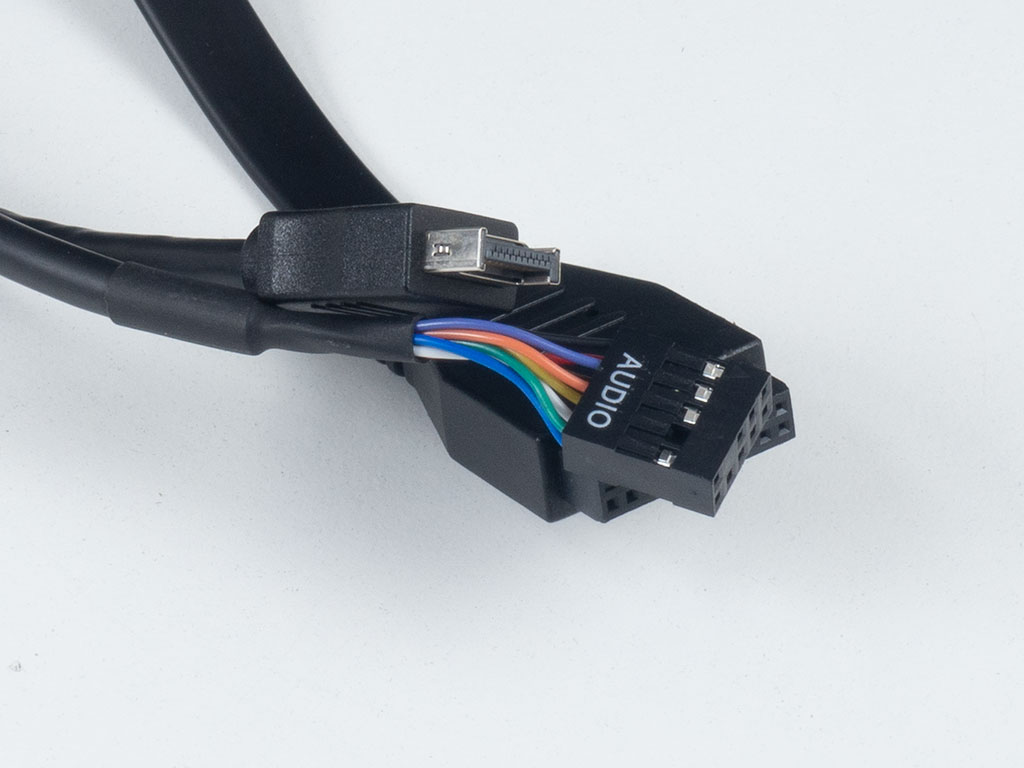
All the cables within the Corsair iCUE 4000D RGB Airflow are black and mostly what you would expect. The USB 3.0 cable is flat, which makes routing it so much easier. There is no HDD activity LED though, which is rather unfortunate as it is usually a good indicator of whether your system is frozen or just working really hard.
Jul 3rd, 2025 04:16 CDT
change timezone
Latest GPU Drivers
New Forum Posts
- What would you buy? (45)
- HP Zbook 15 G2 GPU Upgrade (8)
- TPU's Nostalgic Hardware Club (20469)
- Your PC ATM (35484)
- What's your latest tech purchase? (24190)
- Gigabyte graphic cards - TIM gel SLIPPAGE problem (107)
- How reliable is Windows 11 Defender "Full" scan? (29)
- New build airflow question (4)
- NVIDIA App (42)
- The TPU UK Clubhouse (26547)
Popular Reviews
- ASUS ROG Crosshair X870E Extreme Review
- Crucial T710 2 TB Review - Record-Breaking Gen 5
- PowerColor ALPHYN AM10 Review
- Sapphire Radeon RX 9060 XT Pulse OC 16 GB Review - An Excellent Choice
- Upcoming Hardware Launches 2025 (Updated May 2025)
- AMD Ryzen 7 9800X3D Review - The Best Gaming Processor
- AVerMedia CamStream 4K Review
- Sapphire Radeon RX 9070 XT Nitro+ Review - Beating NVIDIA
- NVIDIA GeForce RTX 5060 8 GB Review
- AMD Ryzen 9 9950X3D Review - Great for Gaming and Productivity
TPU on YouTube
Controversial News Posts
- Intel's Core Ultra 7 265K and 265KF CPUs Dip Below $250 (288)
- NVIDIA Grabs Market Share, AMD Loses Ground, and Intel Disappears in Latest dGPU Update (212)
- Some Intel Nova Lake CPUs Rumored to Challenge AMD's 3D V-Cache in Desktop Gaming (140)
- NVIDIA GeForce RTX 5080 SUPER Could Feature 24 GB Memory, Increased Power Limits (115)
- NVIDIA Launches GeForce RTX 5050 for Desktops and Laptops, Starts at $249 (105)
- Microsoft Partners with AMD for Next-gen Xbox Hardware (105)
- Intel "Nova Lake‑S" Series: Seven SKUs, Up to 52 Cores and 150 W TDP (100)
- NVIDIA DLSS Transformer Cuts VRAM Usage by 20% (96)