 8
8
Cougar Panzer G Review
Assembly & Finished Looks »A Closer Look - Inside


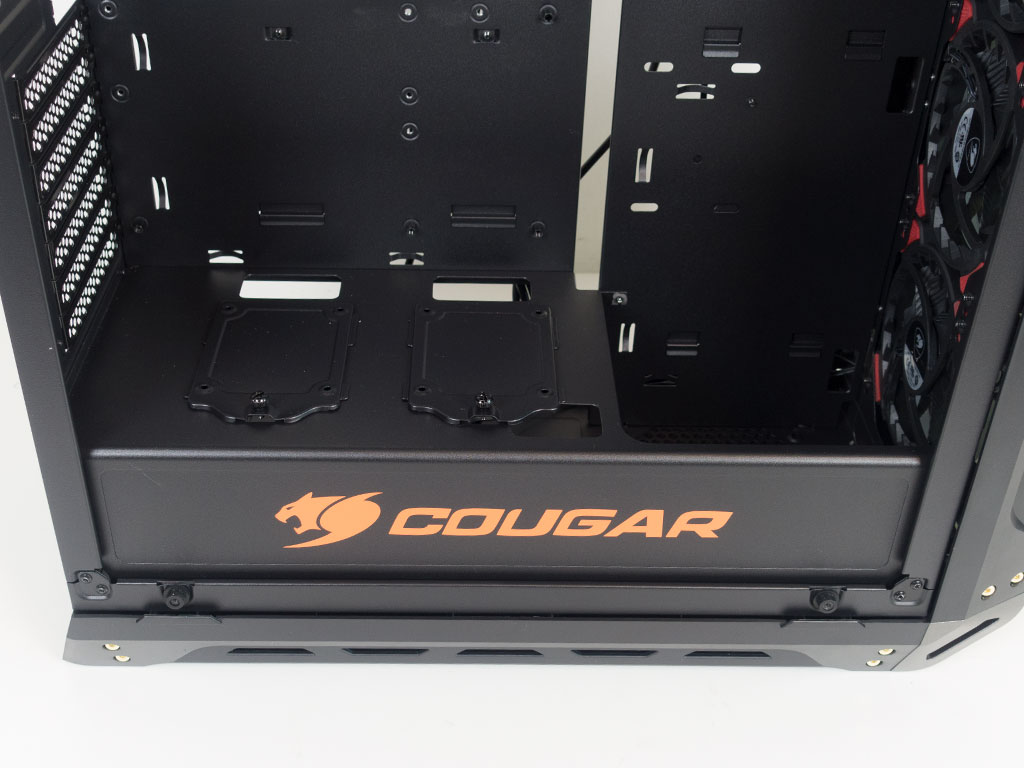
You have to remove the four thumbscrews holding each glass side panel in place to access the interior. Once released, flip the panels down to pull them away from the metal frame. Everything inside the Cougar Panzer G is black except for the large orange brand logo quite prominently placed on the shroud. The layout is quite simple as there are no traditional drive bays—not even for internal storage units. Instead, Cougar has chosen to make the space available for either air or liquid cooling. There are some drive trays on the backside of the motherboard tray, with a fairly large opening to allow for access to the CPU cooler's backplate.
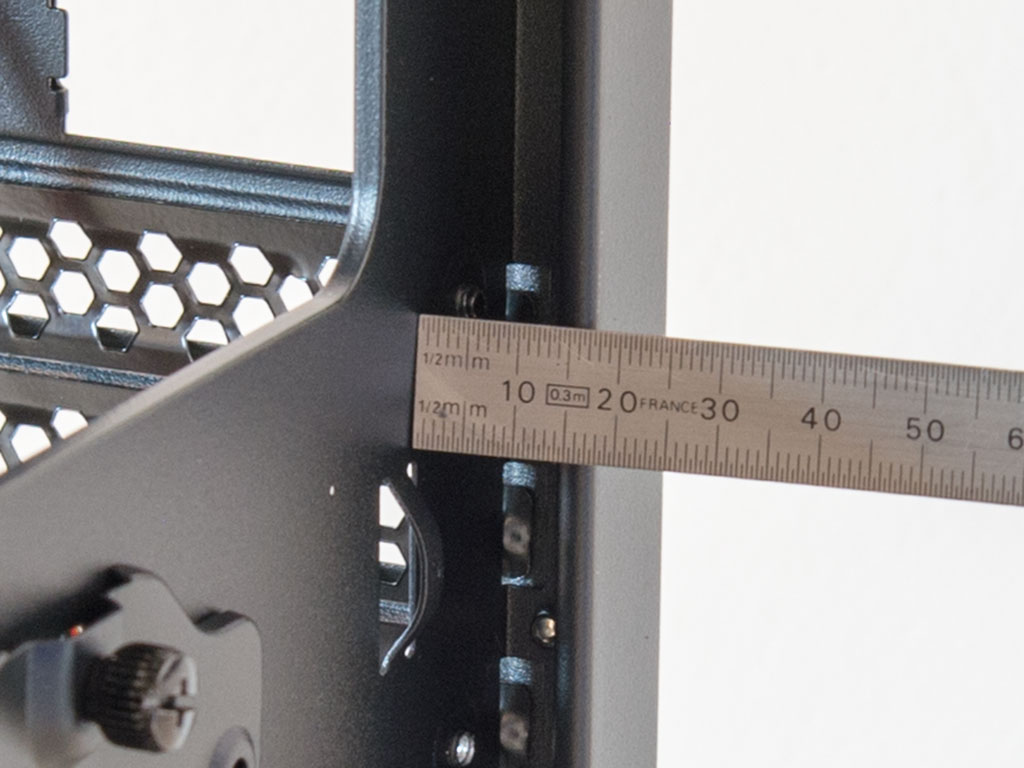
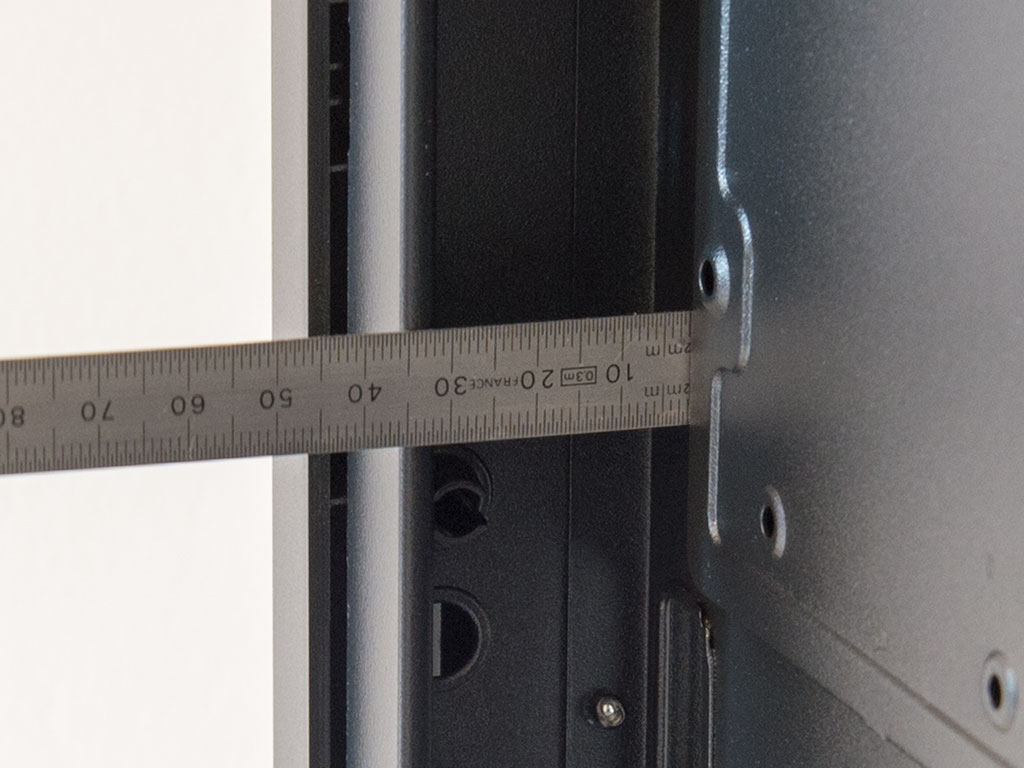
The motherboard tray itself allows for 16 mm of space, which is not a lot, but enough to route more compact cables, while the front part of the chassis clocks in at 35 mm. Odds are this is where you secure most of the larger leads.

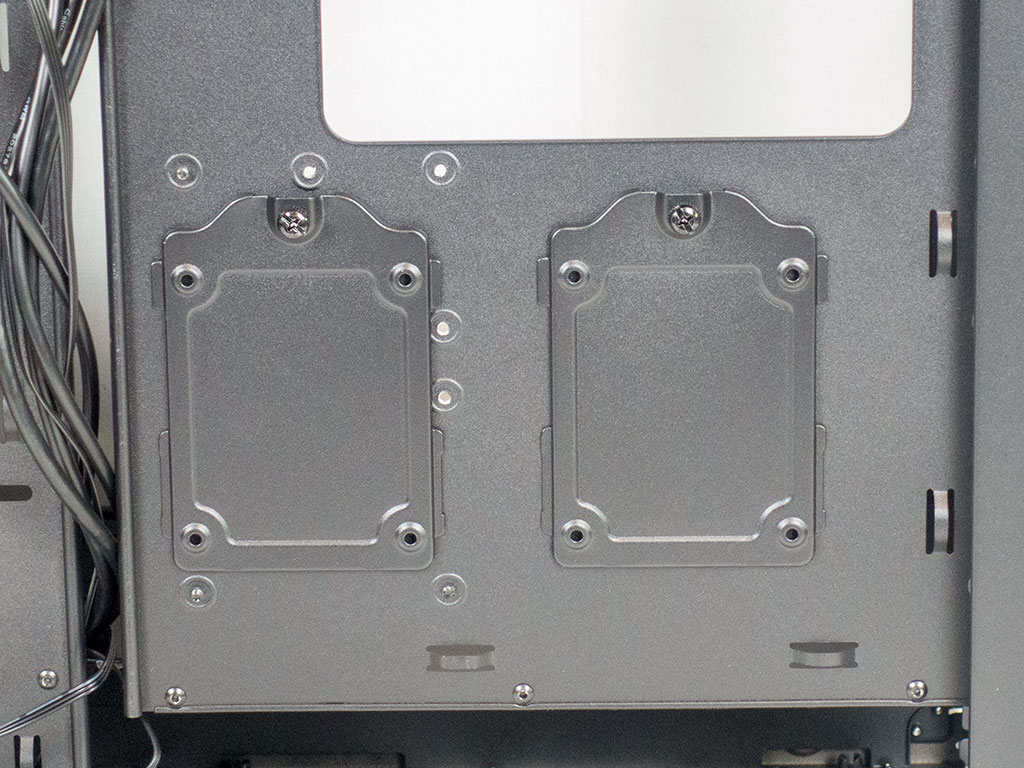
Cougar has basically left enough room in those areas to allow for the right type of drives to be installed. You will find two 3.5" HDD mounting trays in the front, where there is more space, while the two 2.5" drive variants have been placed on the motherboard tray itself as you have about 20 mm less headroom here.
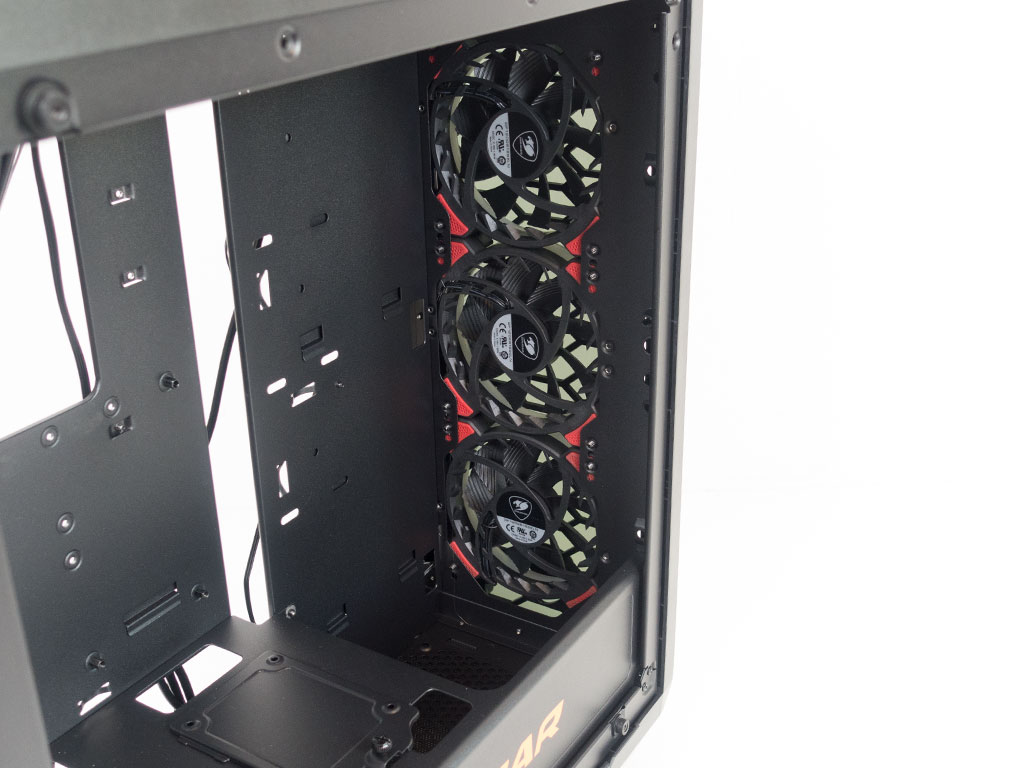
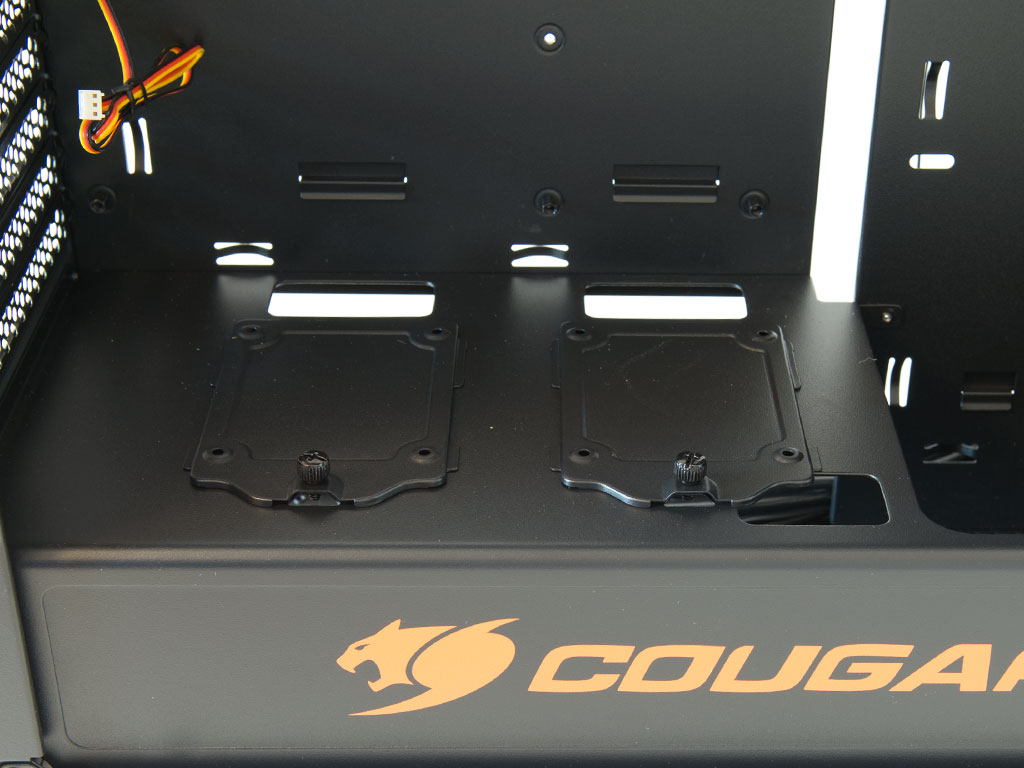
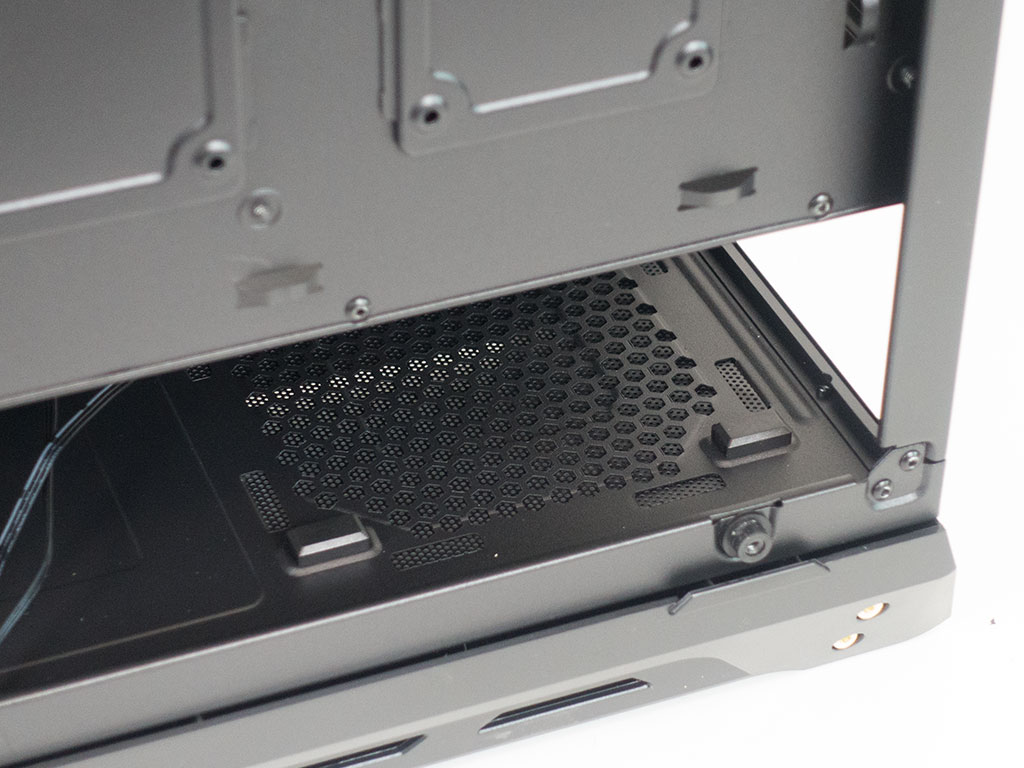
Looking at the front, you can see that the entire space there is intended for cooling. There is a large opening in the shroud, which means you can use the full height of the chassis here for the largest-possible radiators. While this opening is great, it is a bit too large. Instead, Cougar could have made it a bit more compact and added an additional 2.5" hard-drive plate, or placed cutouts to mount a pump on to the regained surface area. Talking about hard drives, you will find two mounting trays for SSDs on top of the shroud, which brings the total number for such storage units within the Cougar Panzer to four.
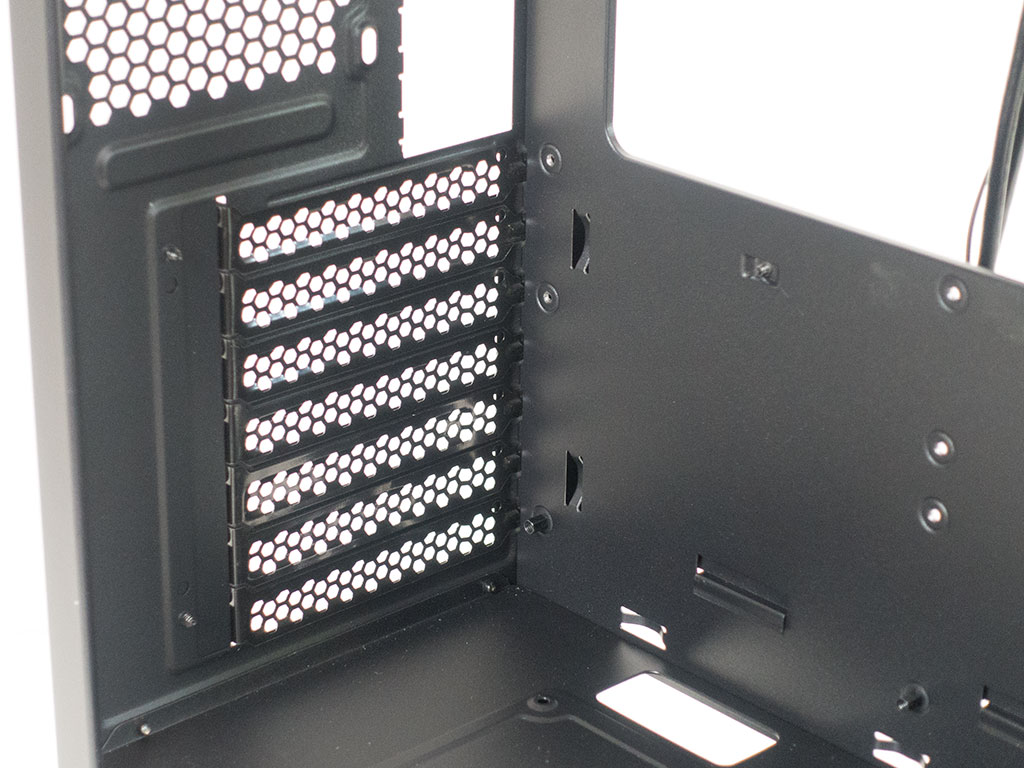
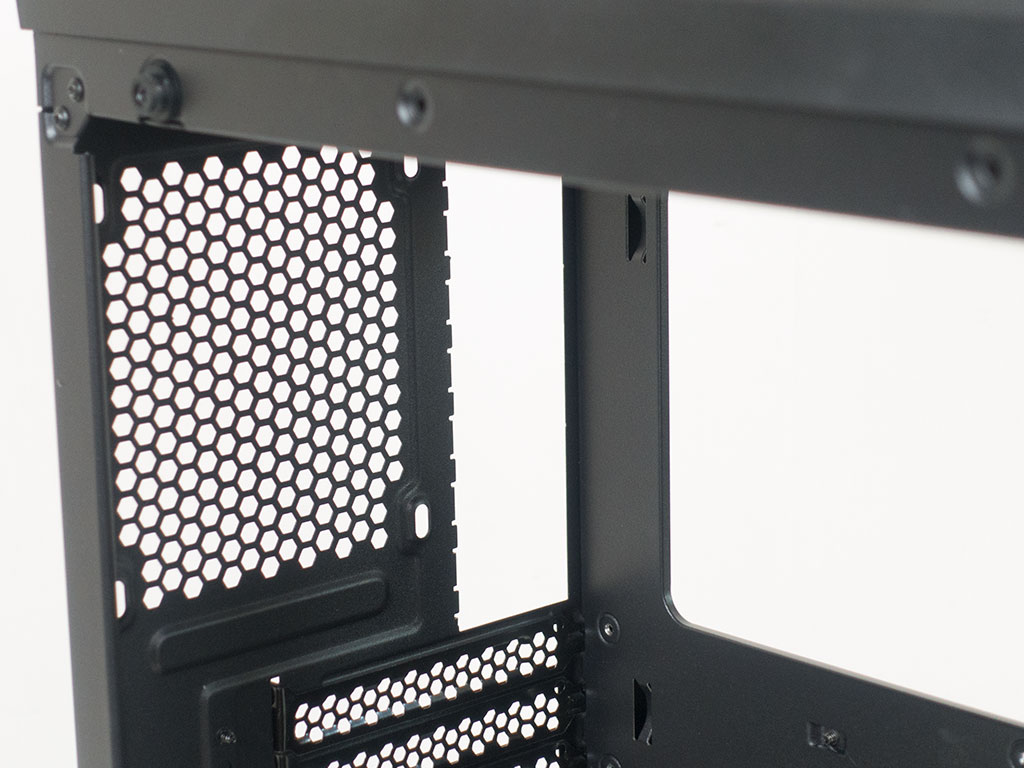
In the rear, starting underneath the shroud, the PSU bay itself is pretty standard with its rubber mounts on which the power supply will rest once pushed into the chassis. Above that are the aforementioned expansion slots for the motherboard. As you can see, there is a metal plate holding all seven of these in place, but they do come with individual screws to make sure things won't fall apart as soon as you remove the plate. The exhaust fan in the very top is quite standard, being all black and having the usual seven blades and OEM-colored cables. It would have been nice to see a more intricate unit or even a second unit in the front.
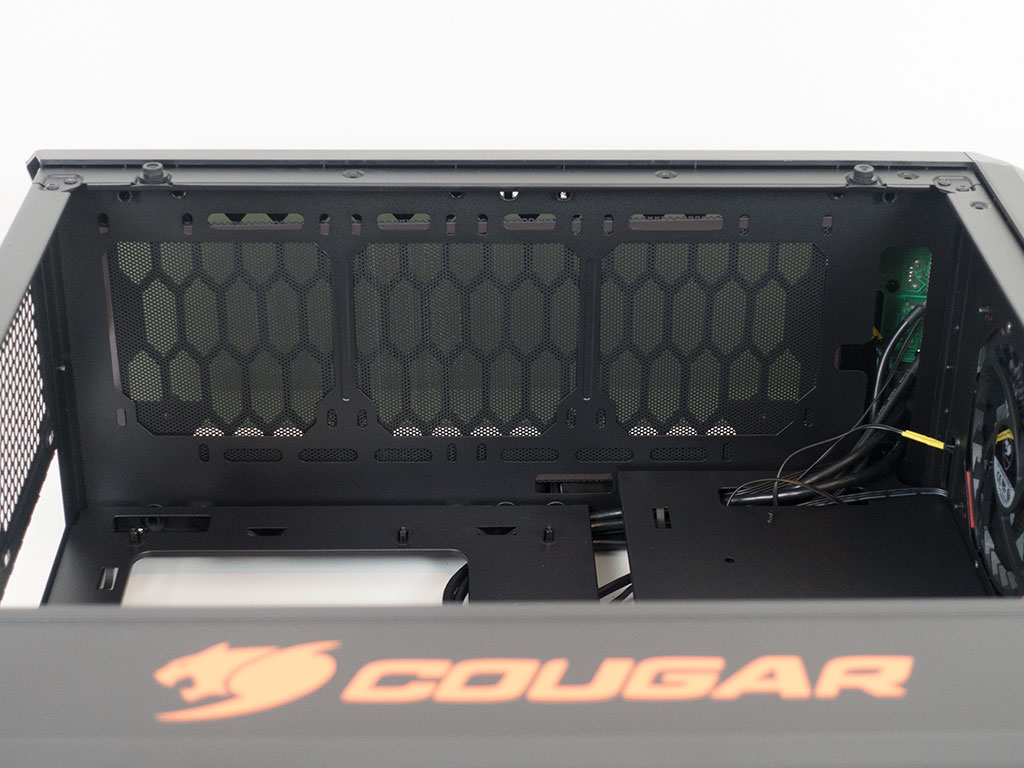
Looking at the top, things are quite simple from this angle as well since all the space is for cooling. You can see the green PCB for the upward-facing I/O in the above image as well.
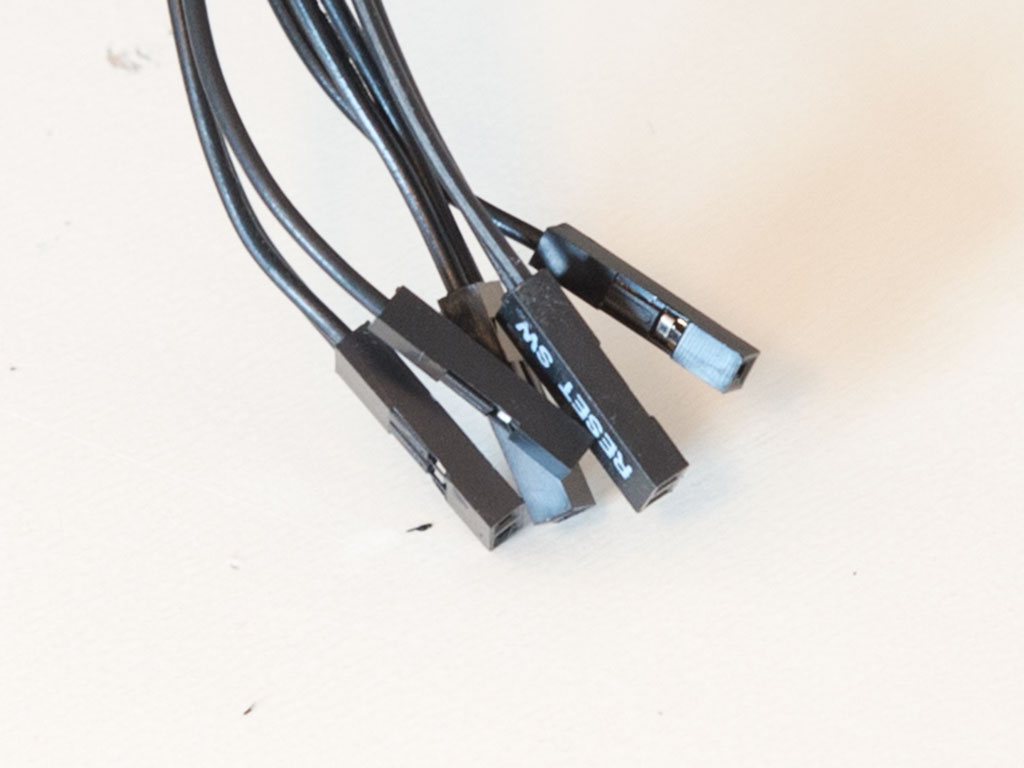
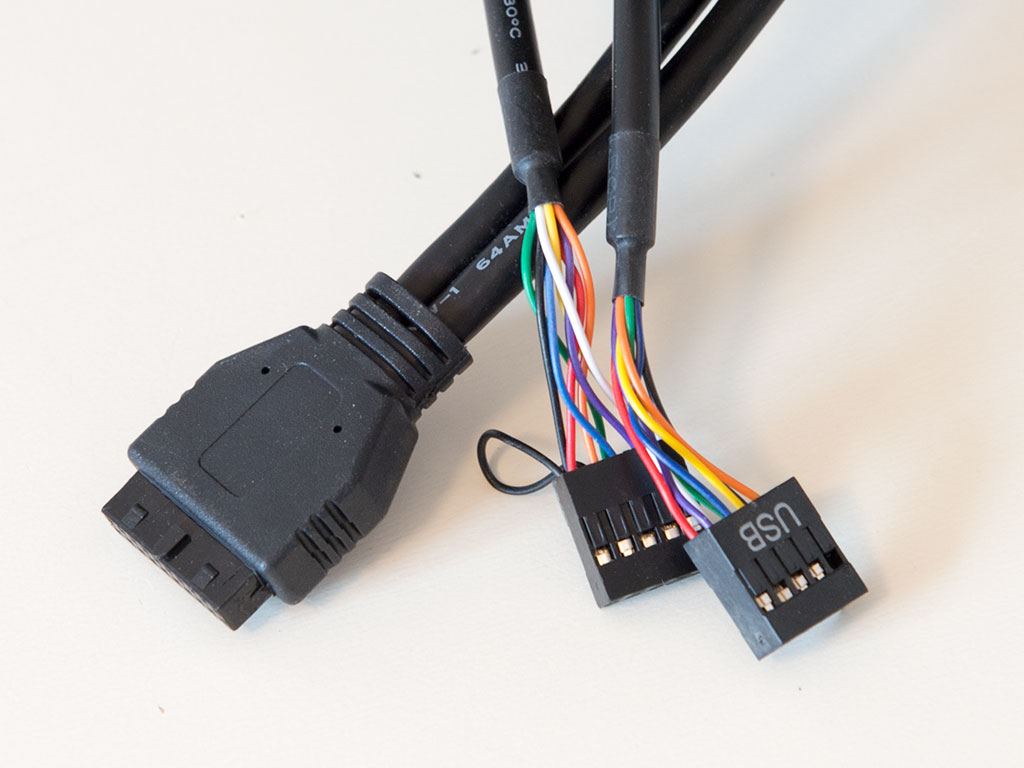
All the cables within the Cougar Panzer G are of the default variety and sleeved black to go with the interior paint job. No surprises here, so let's keep on moving.
May 4th, 2025 11:59 EDT
change timezone
Latest GPU Drivers
New Forum Posts
- Are the 8 GB cards worth it? (822)
- Best USB 3 hub chipsets (5)
- Request for advice [Big Build] (43)
- PSU chirping sound (7)
- Windows 11 General Discussion (6016)
- Dream Monitor Ideas (168)
- Last game you purchased? (800)
- Free Games Thread (4659)
- 5070 Ti power limit questions (79)
- Half Life 3 soon ? (4)
Popular Reviews
- Clair Obscur: Expedition 33 Performance Benchmark Review - 33 GPUs Tested
- ASUS ROG Maximus Z890 Hero Review
- ASUS Radeon RX 9070 XT TUF OC Review
- Montech HS02 PRO Review
- NVIDIA GeForce RTX 5060 Ti 8 GB Review - So Many Compromises
- ASUS GeForce RTX 5090 Astral Liquid OC Review - The Most Expensive GPU I've Ever Tested
- Seasonic Vertex GX 850 W Review
- Upcoming Hardware Launches 2025 (Updated Apr 2025)
- ASRock Radeon RX 9070 XT Taichi OC Review - Excellent Cooling
- Team Group GC Pro 2 TB Review
Controversial News Posts
- AMD Radeon RX 9060 XT to Roll Out 8 GB GDDR6 Edition, Despite Rumors (129)
- NVIDIA Sends MSRP Numbers to Partners: GeForce RTX 5060 Ti 8 GB at $379, RTX 5060 Ti 16 GB at $429 (128)
- NVIDIA Launches GeForce RTX 5060 Series, Beginning with RTX 5060 Ti This Week (115)
- Nintendo Confirms That Switch 2 Joy-Cons Will Not Utilize Hall Effect Stick Technology (105)
- NVIDIA PhysX and Flow Made Fully Open-Source (95)
- Sony Increases the PS5 Pricing in EMEA and ANZ by Around 25 Percent (84)
- Parts of NVIDIA GeForce RTX 50 Series GPU PCB Reach Over 100°C: Report (78)
- Intel "Bartlett Lake-S" Gaming CPU is Possible, More Hints Appear for a 12 P-Core SKU (77)