 8
8
Cougar Panzer G Review
Value & Conclusion »Test System
| System Parts for Case Reviews | |
|---|---|
| Processor: | Intel Core i7-8600K |
| Motherboards: | ATX: MSI Z370 GAMING PRO CARBON AC MATX: Z370M GAMING PRO CARBON Mini-ITX: MSI Z370i GAMING PRO CARBON Provided by: MSI |
| Graphics Card: | Long: NVIDIA GeForce GTX 280 OEM Short: HIS Radeon 5350 HD |
| Memory: | 16 GB XPG Dazzle DDR4 2800 MHz CL17-17-17 1.25 V 32 GB GB XPG SPECTRIX D40 3000 MHz. CL16-18-18 1.35 V 16 GB XPG GAMMIX D10 DDR4 2400 MHz CL16-16-16 1.20 V Provided by: ADATA |
| HDD: | Western Digital 320 GB 7200 RPM |
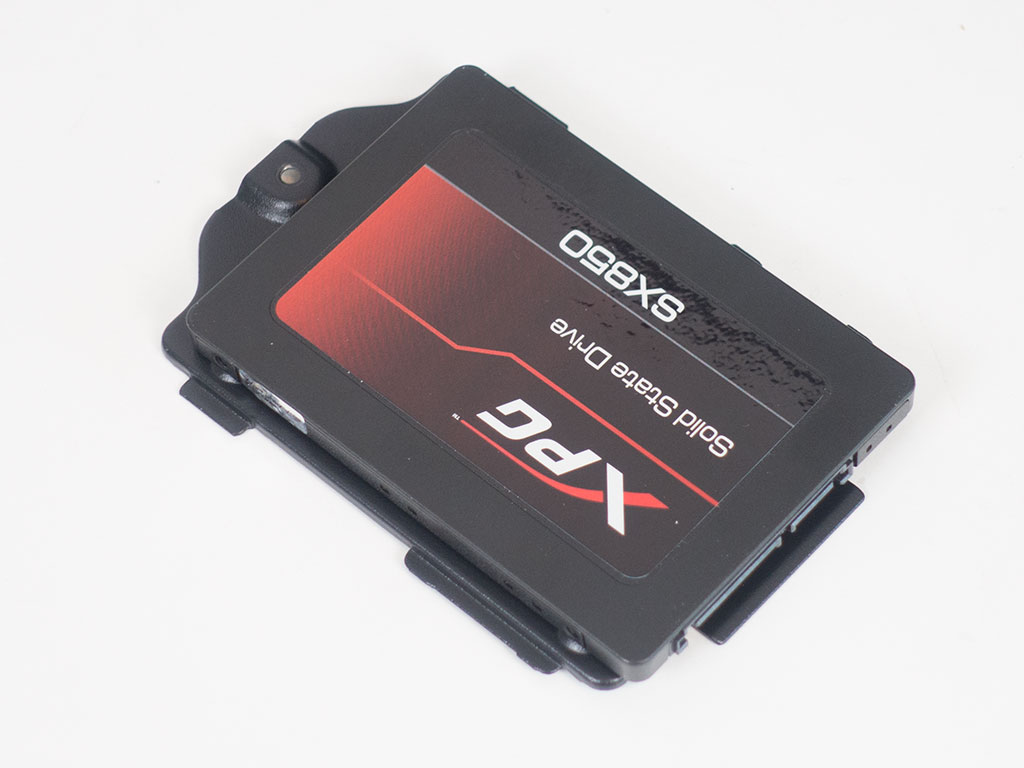
| SSD: | ADATA XPG SX950 256 GB ADATA Ultimate SU800 3D 256 GB ADATA Ultimate SU700 240 GB Provided by: ADATA |
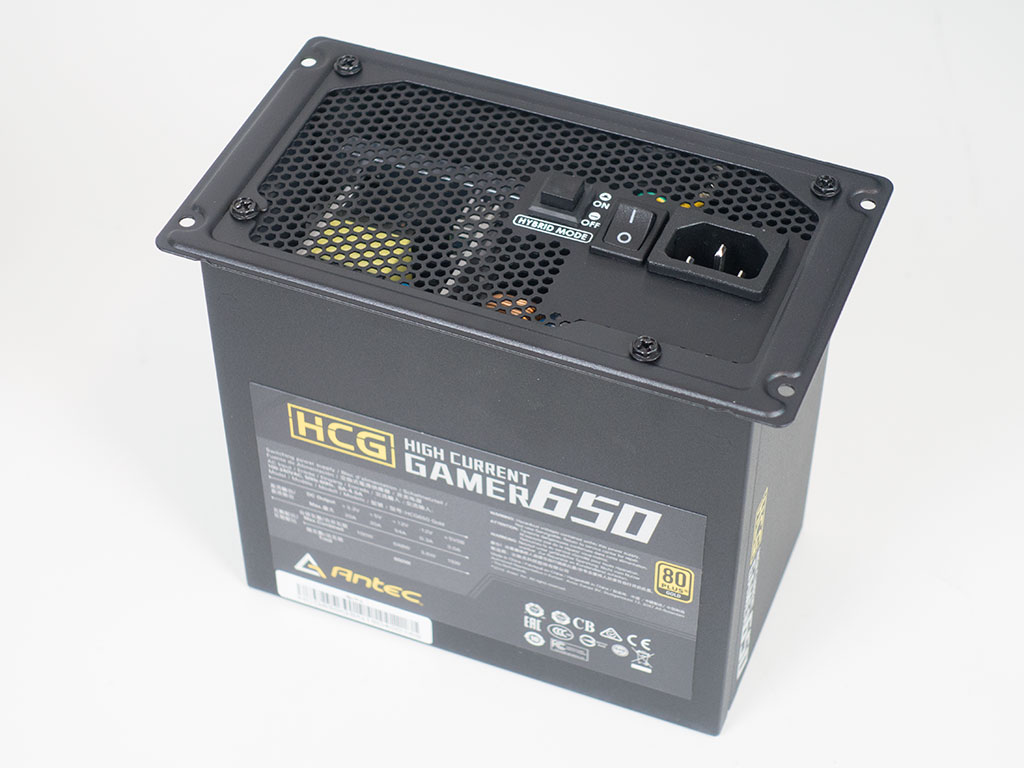
| Power Supply: | Antec High Current Gamer 650 W Antec High Current Gamer 750 W Provided by: Antec |
| Cooling: | be quiet! Pure Rock be quiet! Pure Slim be quiet! Shadow Rock 2 be quiet! Shadow Rock LP Provided by: be quiet! |
Assembly
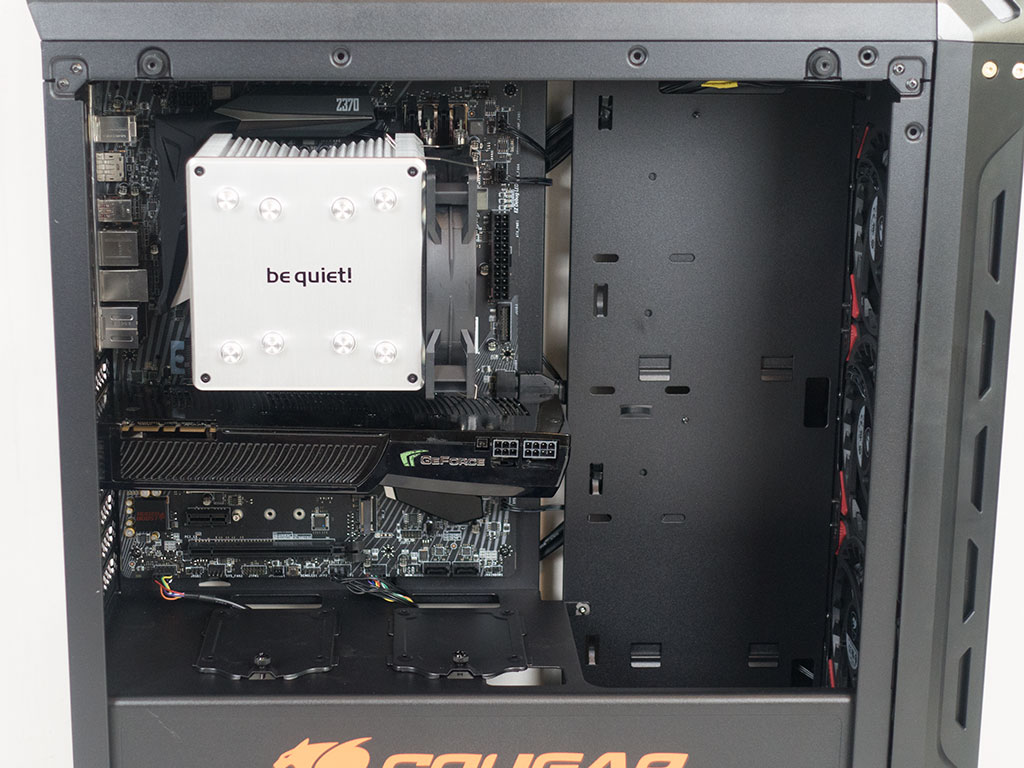
Installing the motherboard is done by traditional means, with the use of spacers and screws. There is loads of space above and to the right of the board, which should allow you to easily route and connect any cables.
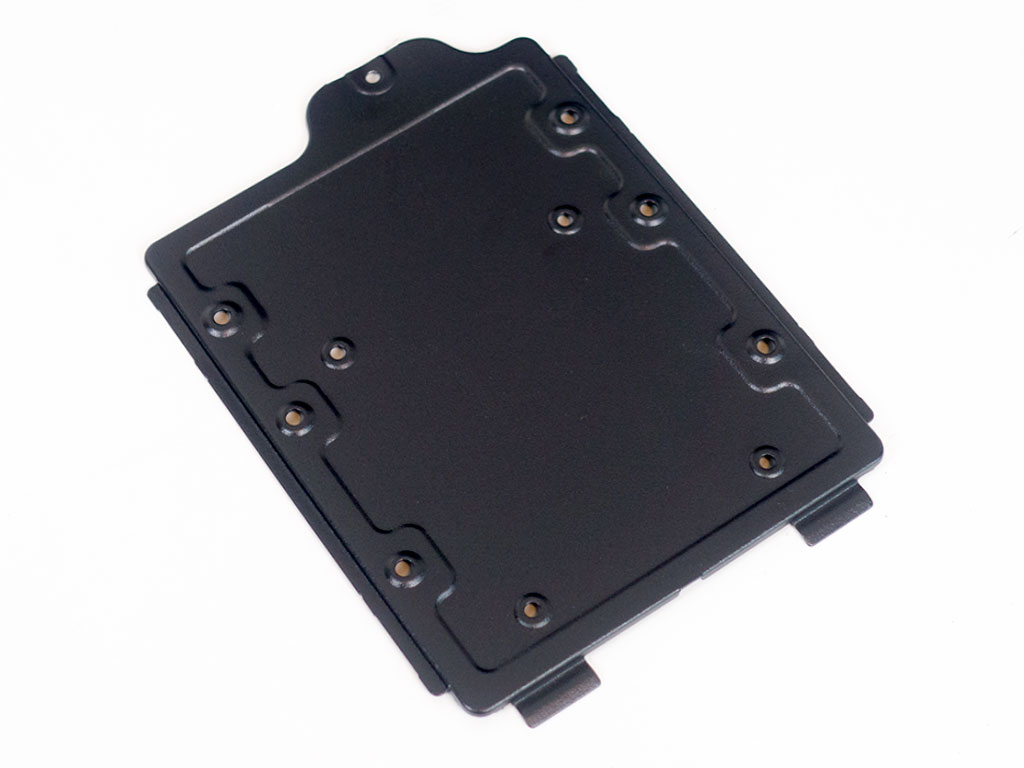
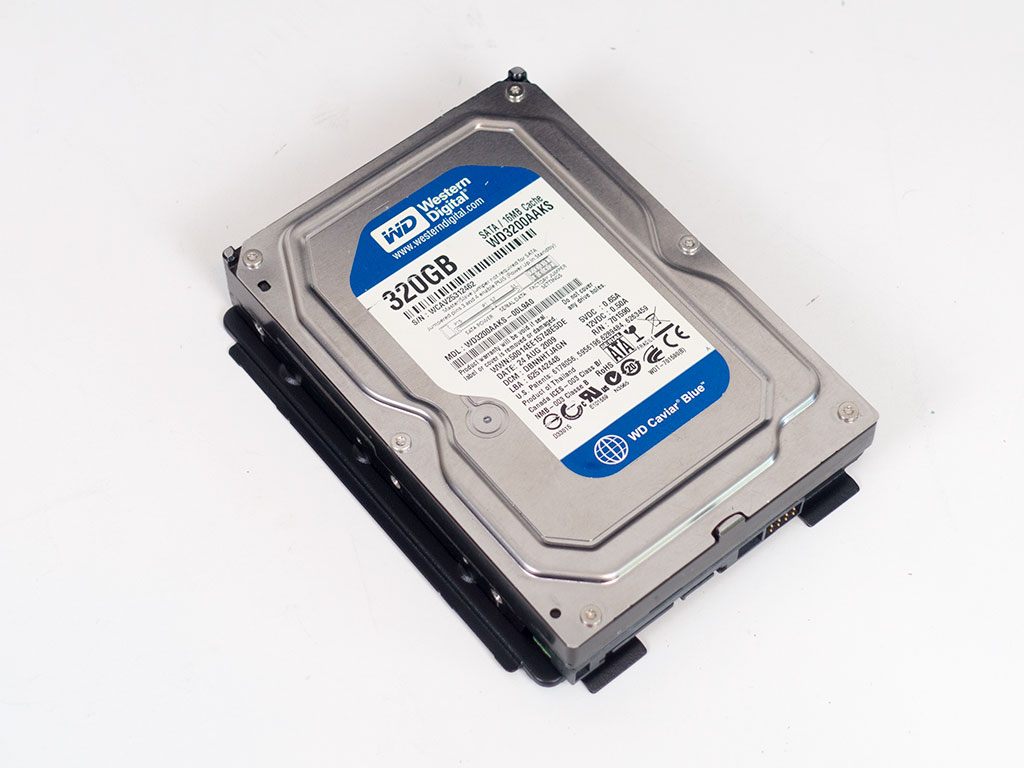
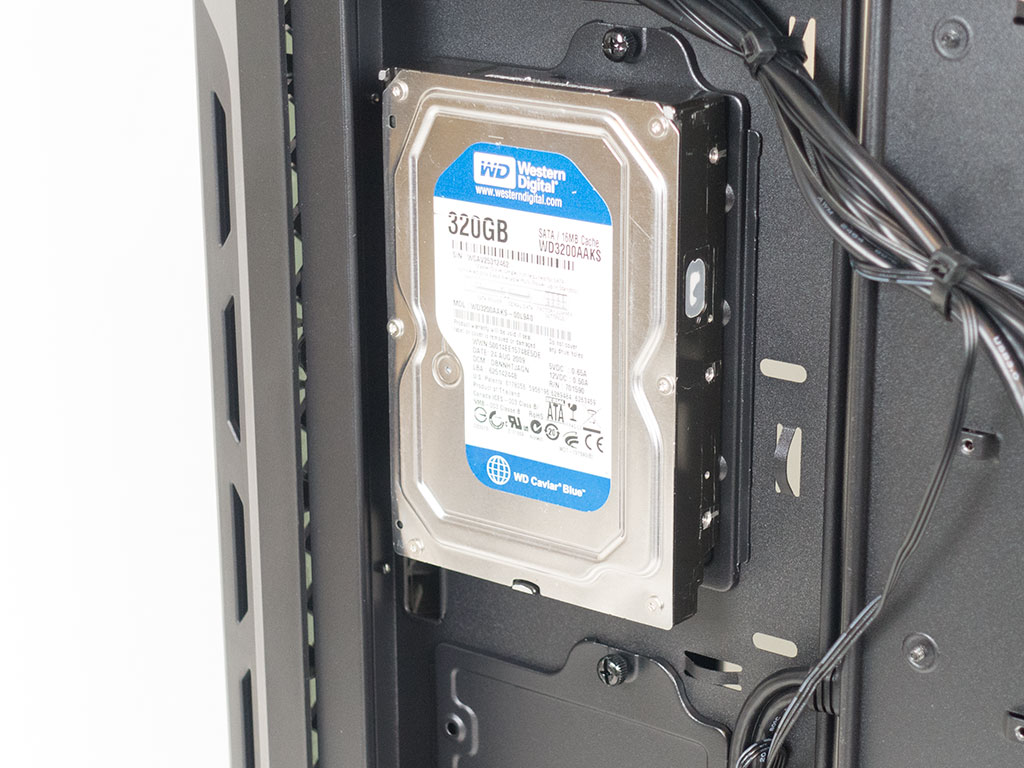
The 3.5" hard-drive plates also allow for you to install 2.5" drives instead because of additional mounting holes. For the sake of this review, we will place the larger variant on here, which is secured with traditional screws. The tray itself is held in place with hooks and a thumbscrew.


Things are identical when it comes to the smaller 2.5" trays. Simply place your drive on one, secure it with the provided screws, and put it back into one of four mounting points by pinning it down with the thumbscrew.
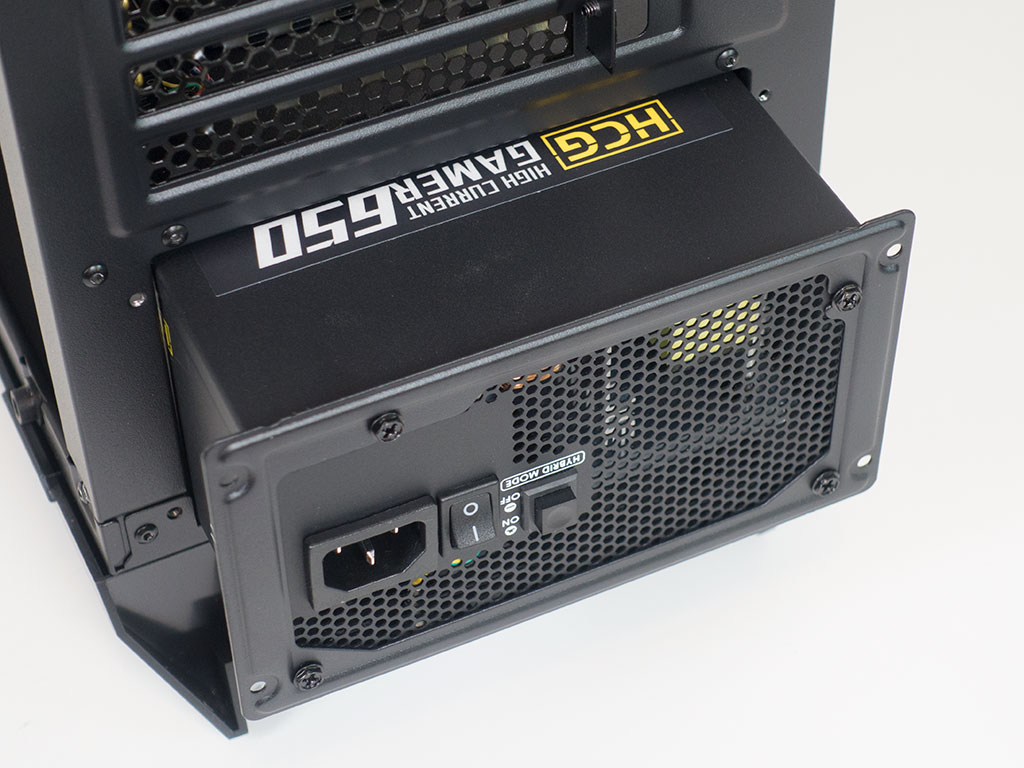

To add a power supply, you first have to attach the frame to the PSU to then slide everything into place. I suggest keeping the screws holding the frame a bit loose to make sure you can align things properly once the unit is inserted all the way. Both the frame on the PSU and the mounting inside the case require traditional screws and a screwdriver. Once installed, it becomes apparent that there is plenty of space for any PSU you can dig up, regardless of length.
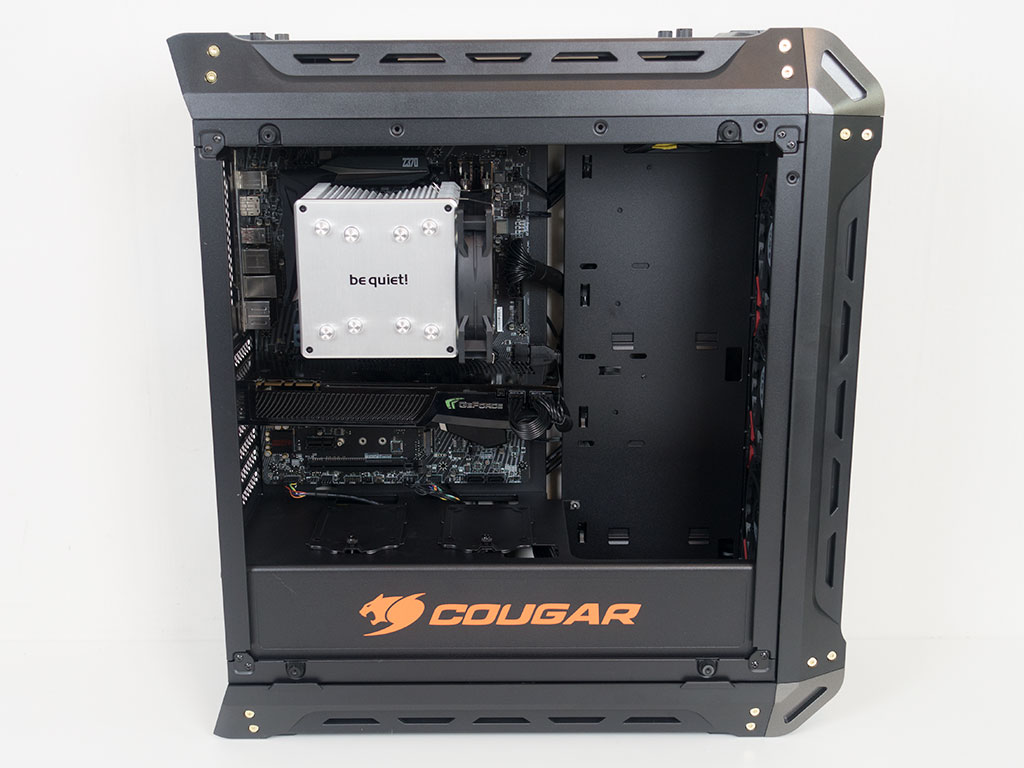

With everything installed, the Cougar Panzer G makes a really clean impression on the interior. Thanks to the offset plate towards the front of the chassis, all the cables can easily be hidden. Cable routing is extremely clean even behind these plates—you can definitely show it off through the glass side panel without worry.
Finished Looks
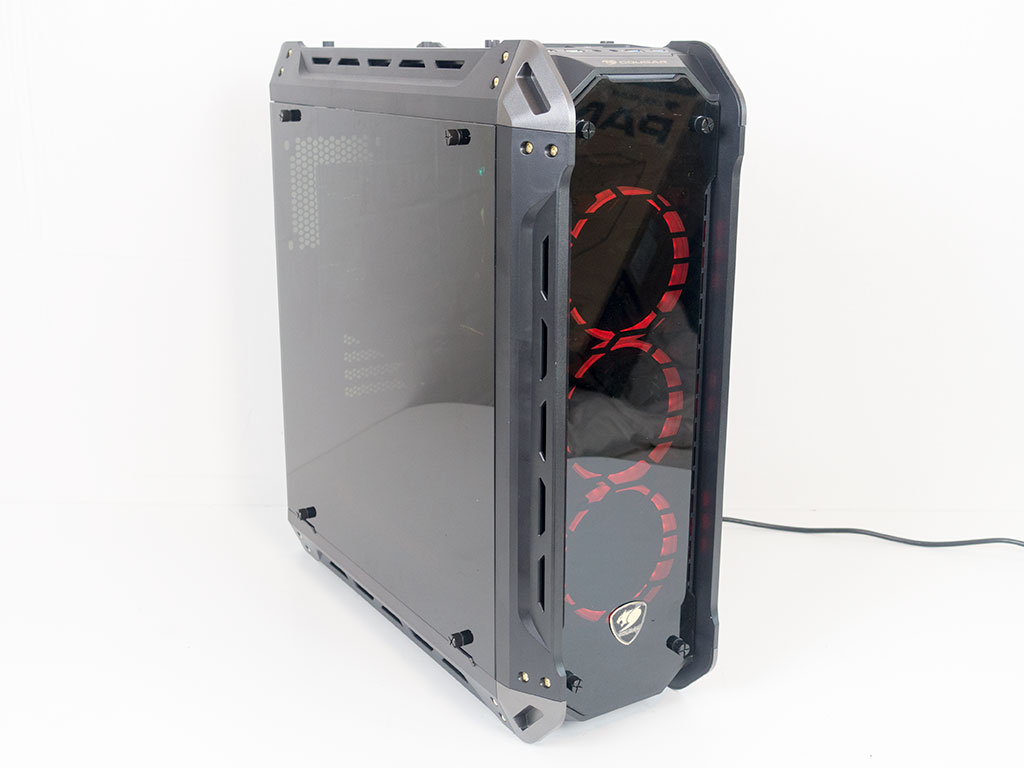

With the side panels in place, you can see some of the hardware when the system is turned off. As soon as the system is on, the three LED rings of the front fan give the case a cool look behind the tinted front glass panel.
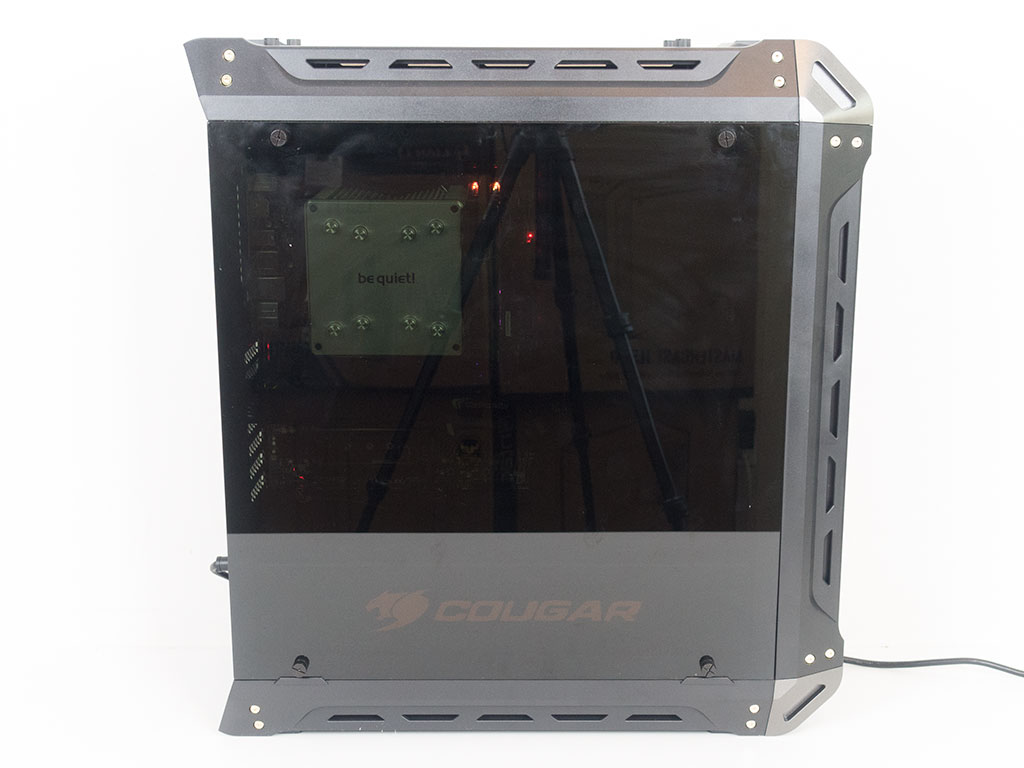

You can see the hardware behind the tinted window in a well-lit room if you look closely. In darker environments, any type of lighting within the chassis should allow you to show things off much better.
Jan 15th, 2025 17:51 EST
change timezone
Latest GPU Drivers
New Forum Posts
- Are people planning an upgrade? (320)
- Ryzen 7600 ram 64gb vs 2 /4 channel,vs higher speed (16)
- TECHPOWERUP HWBOT Contest Submissions List (17)
- X299 Owners Club (165)
- New rtx 5070 (46)
- New Ryzen 7 9700X, RTX 4080, 9700X build - EXPO not working (52)
- 666W VBios 4090 for Science (12)
- USB-C JBOD box (6)
- Microcenter GPU Stock status (3)
- 3D Vapour chamber in new NVidia RTX 5000 cards - what is it? (28)
Popular Reviews
- NVIDIA GeForce RTX 50 Technical Deep Dive
- AMD Ryzen 7 9800X3D Review - The Best Gaming Processor
- ThieAudio Origin In-Ear Monitors Review - Basshead Love
- ASUS ROG Strix B860-A Gaming Wi-Fi Review
- LAMZU Maya X Review
- ASUS ROG Strix B850-F Gaming WiFi Review
- GPU Test System Update for 2025
- Upcoming Hardware Launches 2024 (Updated Nov 2024)
- Arrow Lake Retested with Latest 24H2 Updates and 0x114 Microcode
- Quick Look: Huion Kamvas 16 (Gen 3) Graphics Tablet
Controversial News Posts
- NVIDIA 2025 International CES Keynote: Liveblog (468)
- AMD Debuts Radeon RX 9070 XT and RX 9070 Powered by RDNA 4, and FSR 4 (348)
- NVIDIA GeForce RTX 5090 Features 575 W TDP, RTX 5080 Carries 360 W TDP (212)
- AMD Radeon RX 9070 XT Alleged Benchmark Leaks, Underwhelming Performance (204)
- 32 GB NVIDIA RTX 5090 To Lead the Charge As 5060 Ti Gets 16 GB Upgrade and 5060 Still Stuck With Last-Gen VRAM Spec (174)
- Potential RTX 5090 and RTX 5080 Pricing in China Leaks (173)
- AMD Radeon RX 9070 XT Boosts up to 3.10 GHz, Board Power Can Reach up to 330W (167)
- AMD Radeon RX 9070 XT Tested in Cyberpunk 2077 and Black Myth: Wukong (166)