 7
7
Cougar Spike Review
Assembly & Finished Looks »A Closer Look - Inside
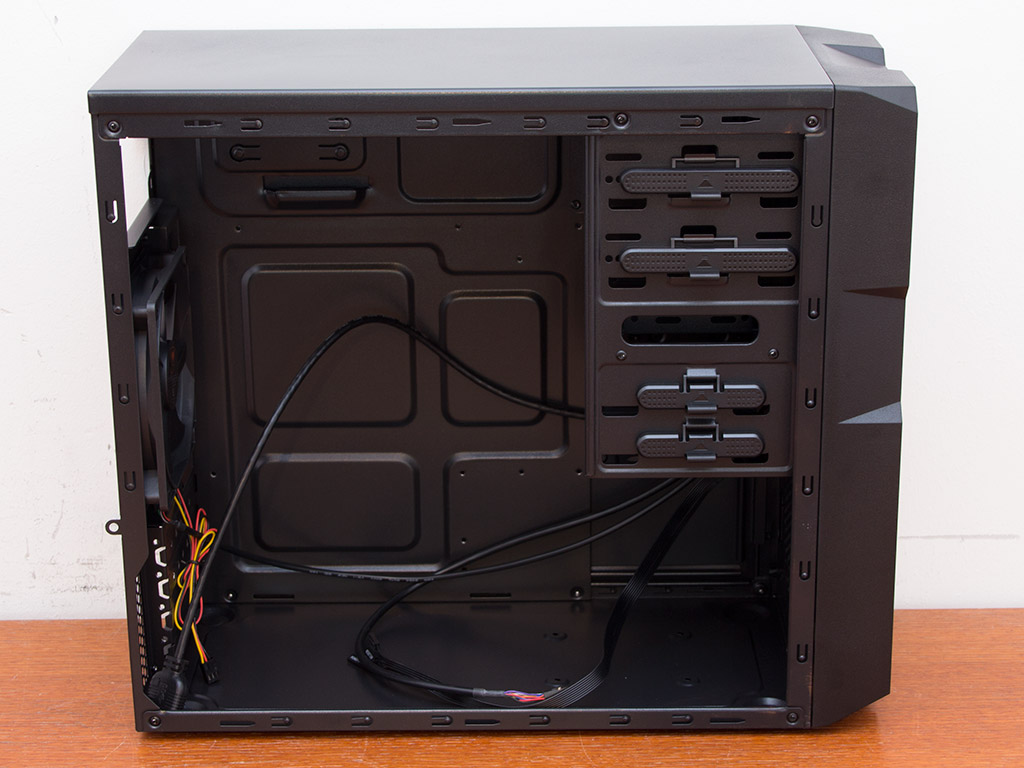
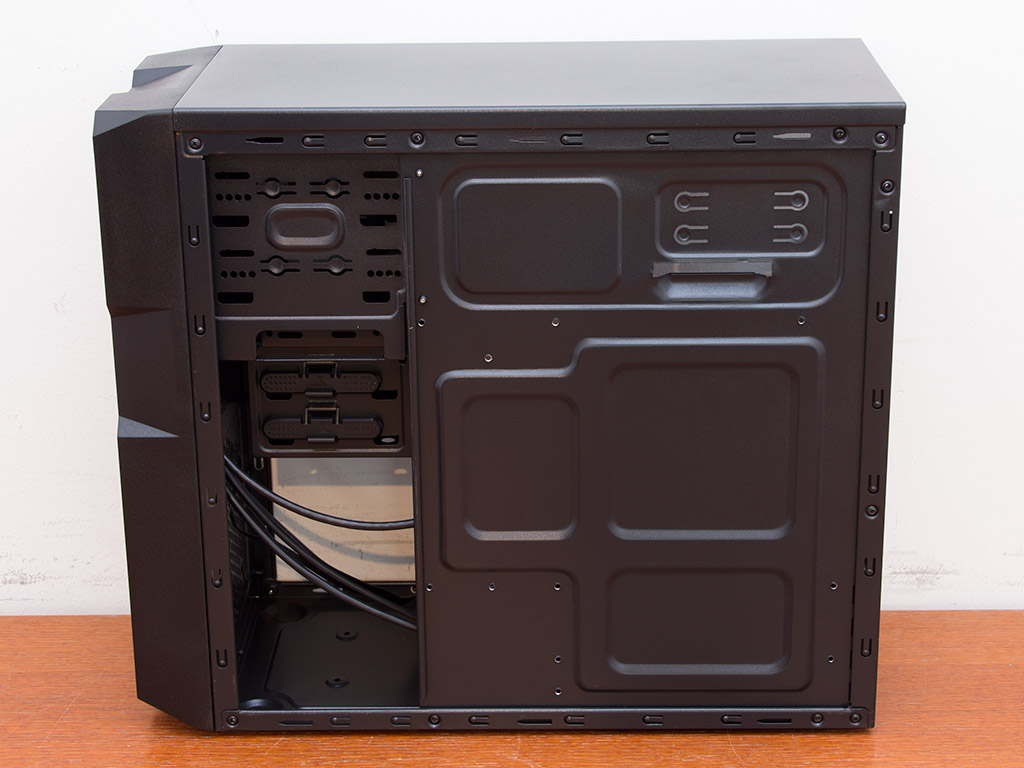
To gain access to the interior of the Cougar Spike, simply remove the thumbscrews holding each side panel in place. As with most modern cases, the interior is painted black as well, featuring a simple layout due to the compact size and low price of the case. Turning the chassis around, there are two aspects that one will notice right away. One is the lack of space behind the motherboard tray, so there is no possibility to hide any cables. The second is the fact that there is no opening in the tray itself, so you will not be able to access the underside of a CPU cooler, which will force you to take things apart completely if you want to install a different cooling unit.
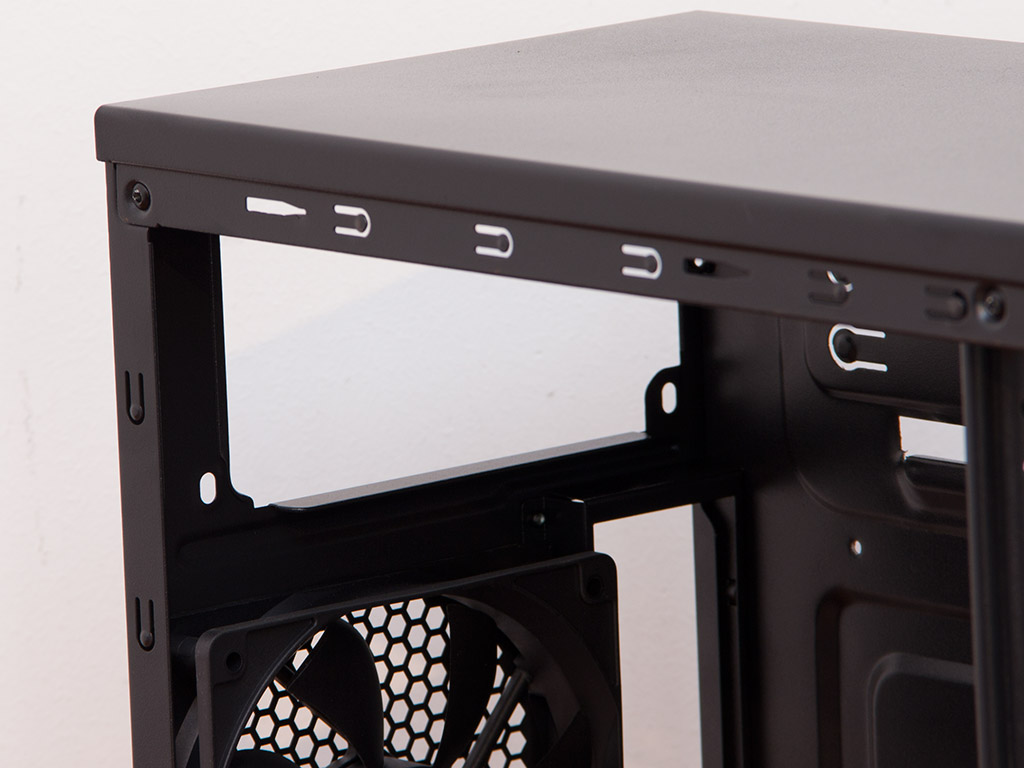
In terms of layout, the reason why the PSU bay is located in the top is quite simple: such a placement allows you to use the space below the drive bays for long and thus powerful graphics cards in a case of this size. This is also the reason why Cougar can call the Spike a compact gaming chassis. Lastly, a firm pull on the front reveals the aforementioned 120 mm fan placement.
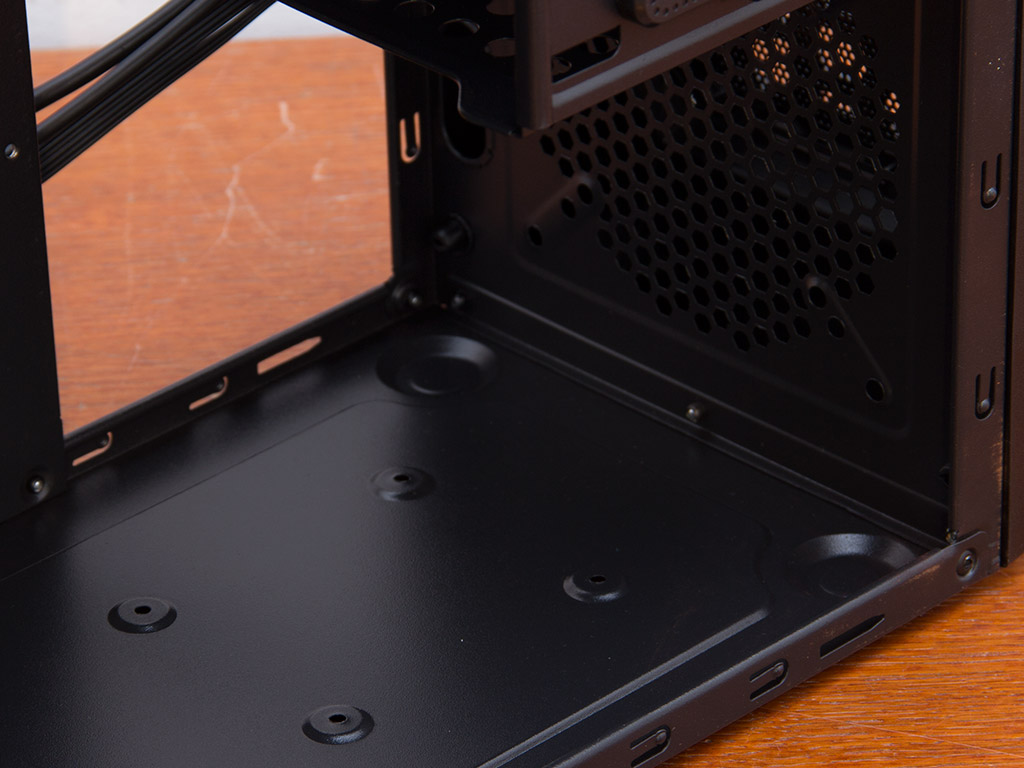
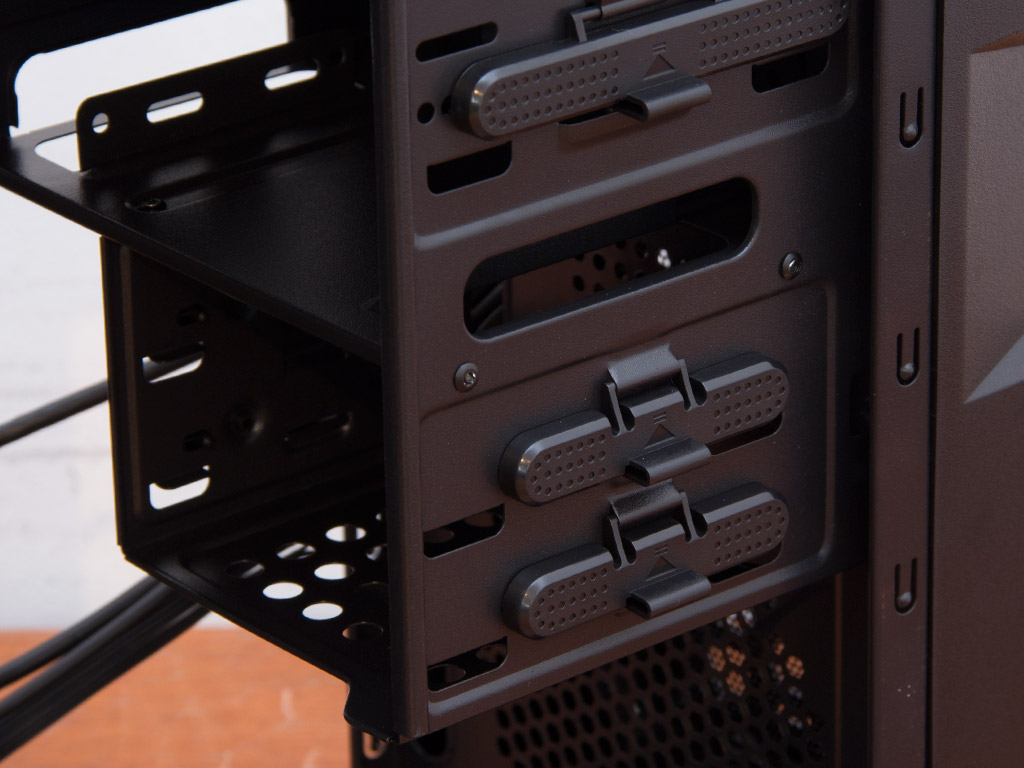

In the bottom of the front, four little bumps with holes denote where one could install the 2.5" hard drive. Even though the front of the chassis is quite thick, the frame of the case is constructed in such a way that a cooling unit there will have to be placed within the frame, not between the metal and the front of the Spike. Above that are the two internal 3.5" hard drive bays that feature plastic clips to hold the drives in place. These are, while a good marketing gimmick, woefully inadequate. They will not hold anything properly. Luckily, one can easily remove them. In the very top, you will find the external drive bays using the same type of plastic-lock. The 3.5" variant is the exception as it requires the use of normal screws.
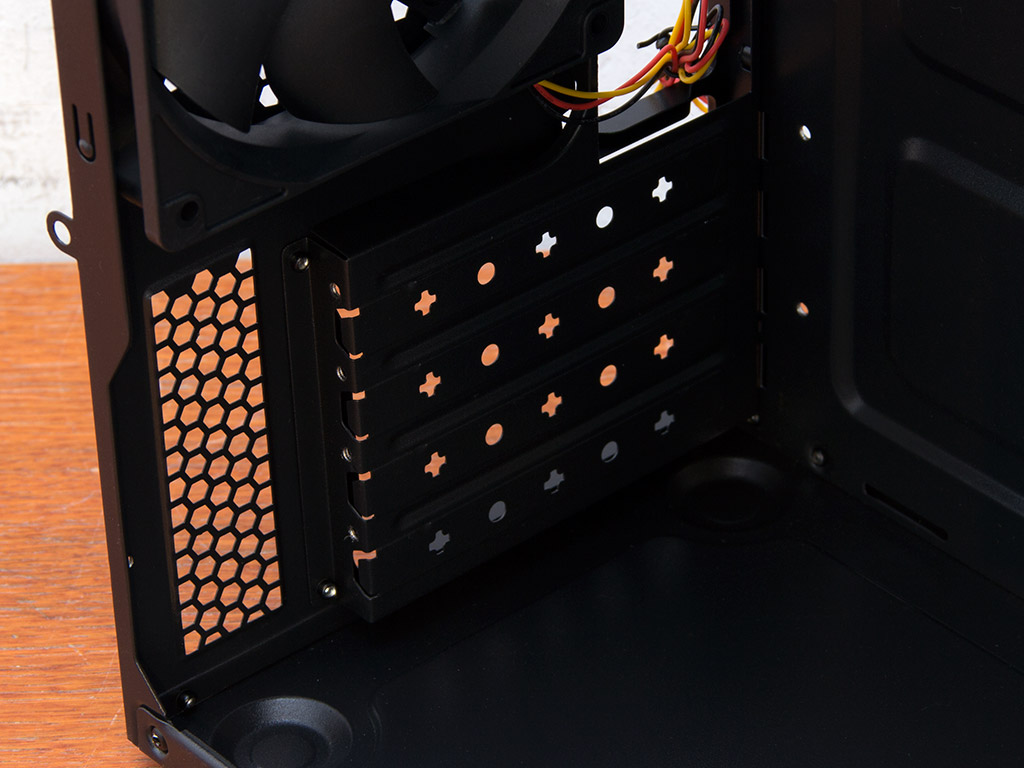
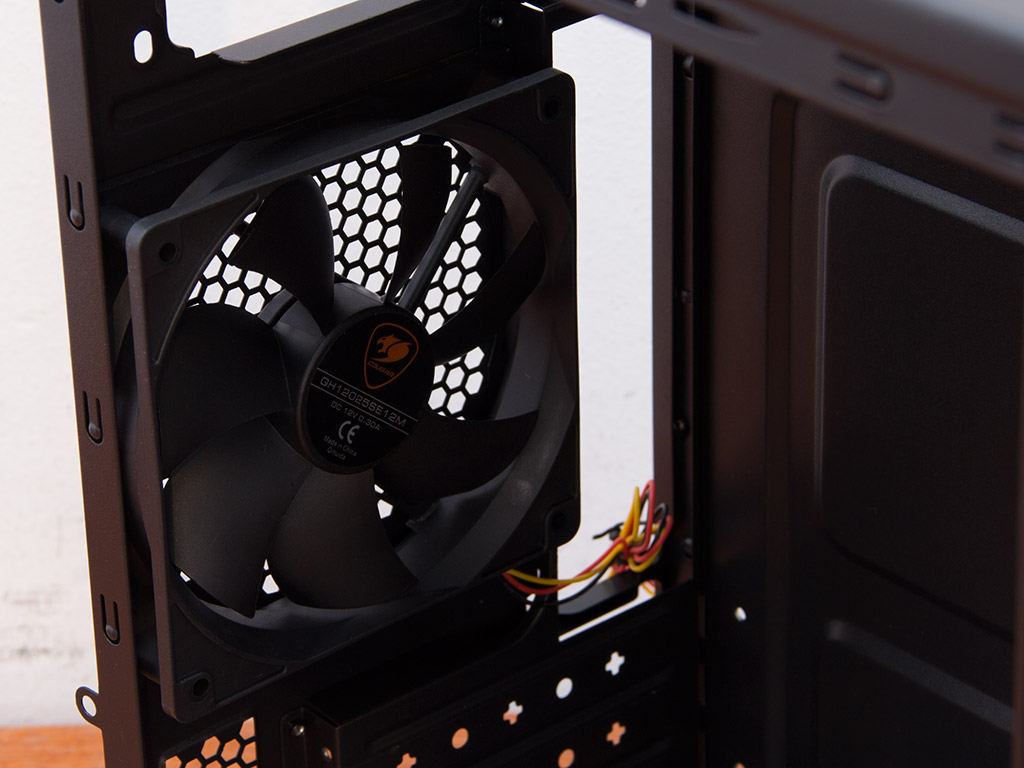
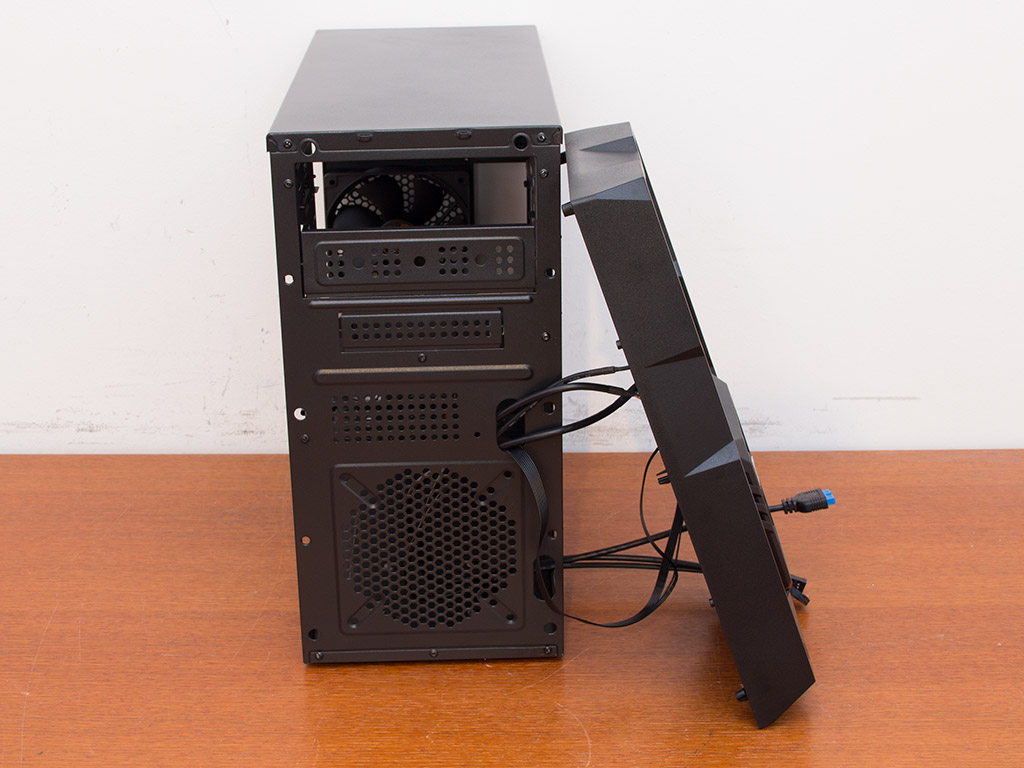
Turning our focus towards the rear of the chassis, the bottom is taken up by the four motherboard expansion slots. The rear exhaust fan comes with black cables and a 3-pin motherboard connector, while the PSU bay is pretty standard. There are no holes to route water cooling tubes out the back of the case.
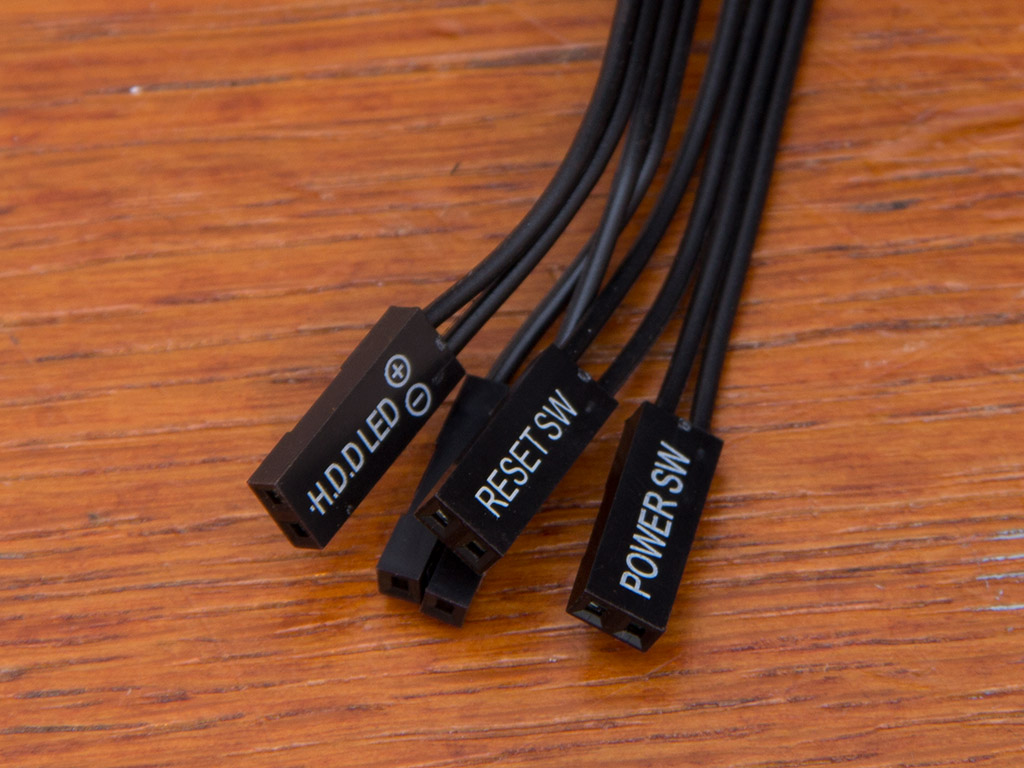
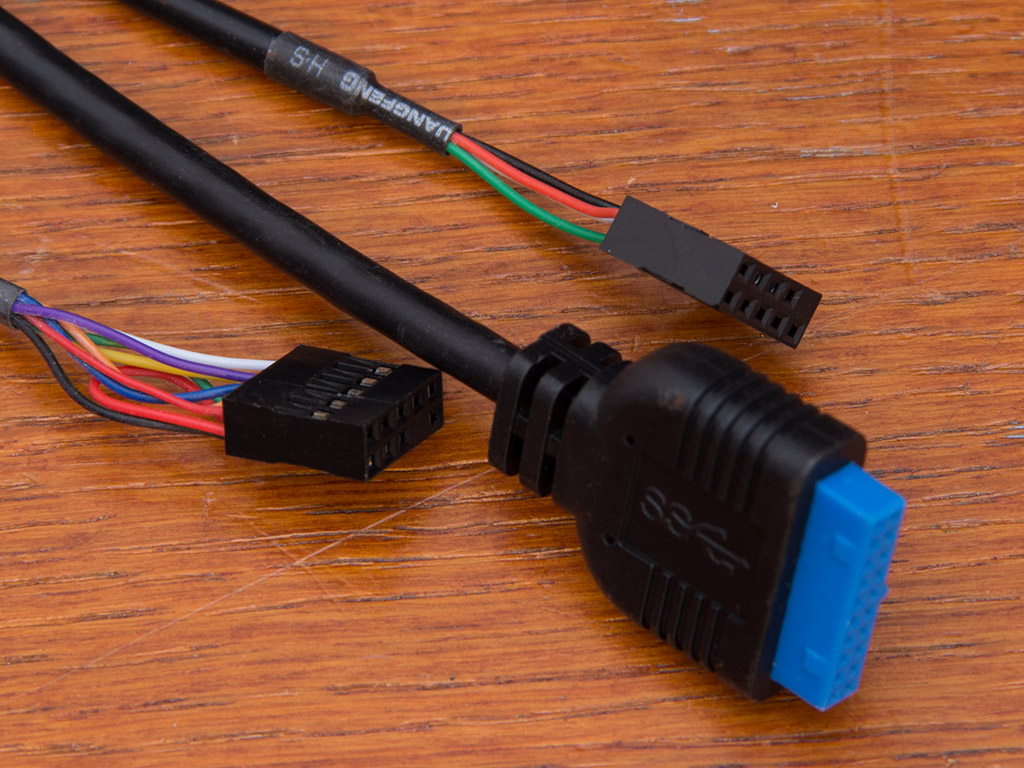
A nice touch are the all black cables within the Cougar Spike. They all come with the standard connectors, so you should be able to connect them to any modern motherboard. The use of full USB 2.0- and 3.0 connectors will have you fill up a full array of pins of each type instead of powering two of each plug.
Jul 2nd, 2025 23:48 CDT
change timezone
Latest GPU Drivers
New Forum Posts
- Will you buy a RTX 5090? (589)
- NVIDIA App (36)
- AMD RX 7000 series GPU Owners' Club (1327)
- What's your latest tech purchase? (24189)
- RDNA 4 Fine Wine? (HUB Vid) (41)
- GravityMark v1.89 GPU Benchmark (308)
- Good time in the year to buy a new PC (5)
- The Official Thermal Interface Material thread (1767)
- What Windows is overall the best to you and why? (262)
- Nvidia drivers (6)
Popular Reviews
- ASUS ROG Crosshair X870E Extreme Review
- Crucial T710 2 TB Review - Record-Breaking Gen 5
- Sapphire Radeon RX 9060 XT Pulse OC 16 GB Review - An Excellent Choice
- PowerColor ALPHYN AM10 Review
- Upcoming Hardware Launches 2025 (Updated May 2025)
- AMD Ryzen 7 9800X3D Review - The Best Gaming Processor
- AVerMedia CamStream 4K Review
- Sapphire Radeon RX 9070 XT Nitro+ Review - Beating NVIDIA
- NVIDIA GeForce RTX 5060 8 GB Review
- AMD Ryzen 9 9950X3D Review - Great for Gaming and Productivity
TPU on YouTube
Controversial News Posts
- Intel's Core Ultra 7 265K and 265KF CPUs Dip Below $250 (288)
- NVIDIA Grabs Market Share, AMD Loses Ground, and Intel Disappears in Latest dGPU Update (212)
- Some Intel Nova Lake CPUs Rumored to Challenge AMD's 3D V-Cache in Desktop Gaming (140)
- NVIDIA GeForce RTX 5080 SUPER Could Feature 24 GB Memory, Increased Power Limits (114)
- NVIDIA Launches GeForce RTX 5050 for Desktops and Laptops, Starts at $249 (105)
- Microsoft Partners with AMD for Next-gen Xbox Hardware (105)
- Intel "Nova Lake‑S" Series: Seven SKUs, Up to 52 Cores and 150 W TDP (100)
- NVIDIA DLSS Transformer Cuts VRAM Usage by 20% (96)