 6
6
Cubitek Tattoo Fire Review
Assembly & Finished Looks »A Closer Look - Inside
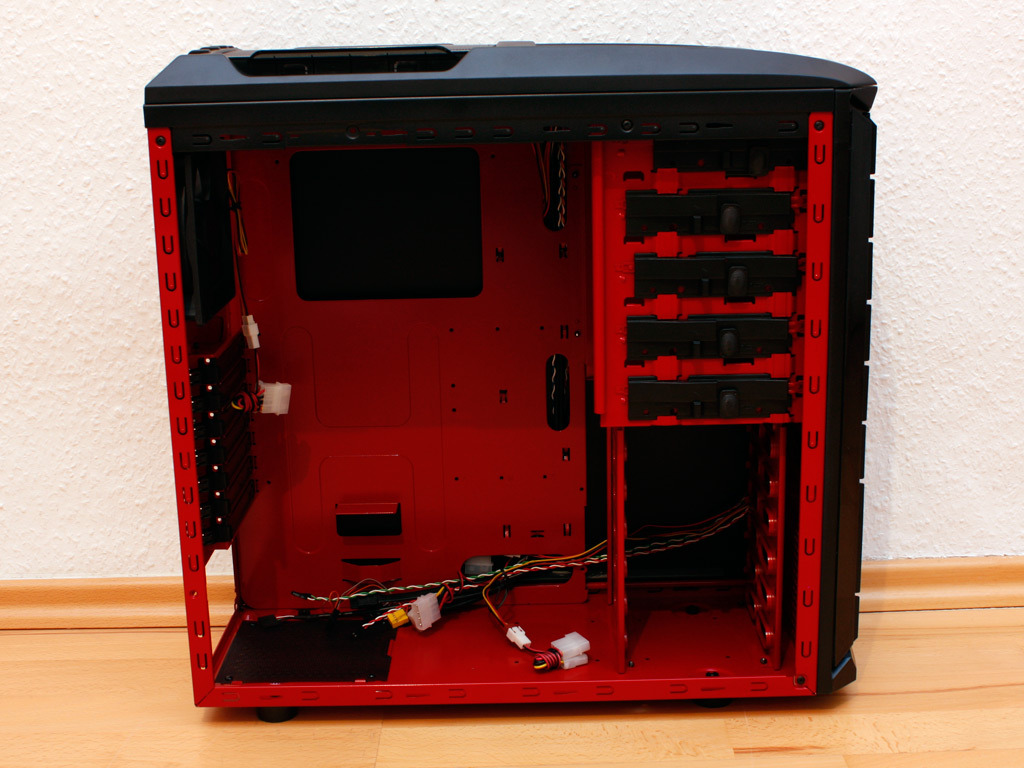
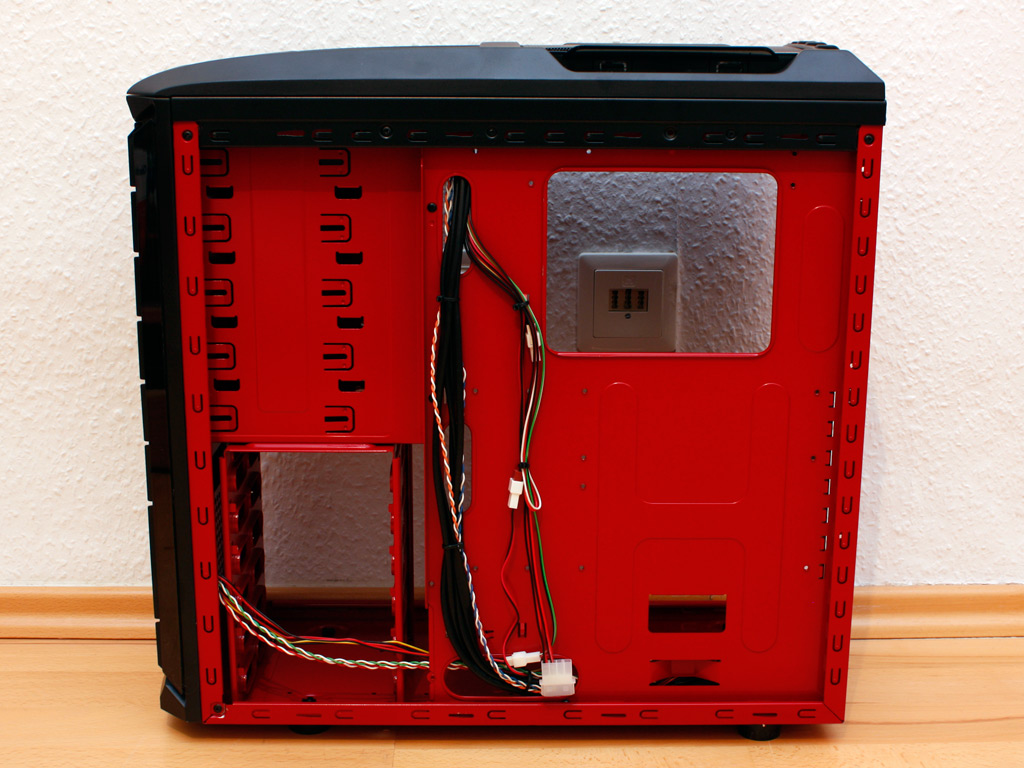
To gain access to the interior of the chassis, simply remove the pair of black thumb screws holding each side panel in place. As I mentioned before, the interior paint job is of excellent, shiny and smooth quality. If you look at the general layout of the interior it becomes apparent that Cubitek has just taken an available frame and added a few features instead of going all out and designing their own. While this is usually not a big deal, but according to the manufacturer, the maximum length of graphic cards that will fit is limited to 285 mm - less than some of the high end cards out there. On top of that the cable routing possibilities are very limited, as there are only two openings in the motherboard tray besides the one for the CPU cooler backplate. It would have been good to see a bit more functionality in this regard as the large window will not allow you to leave any cables lying around.

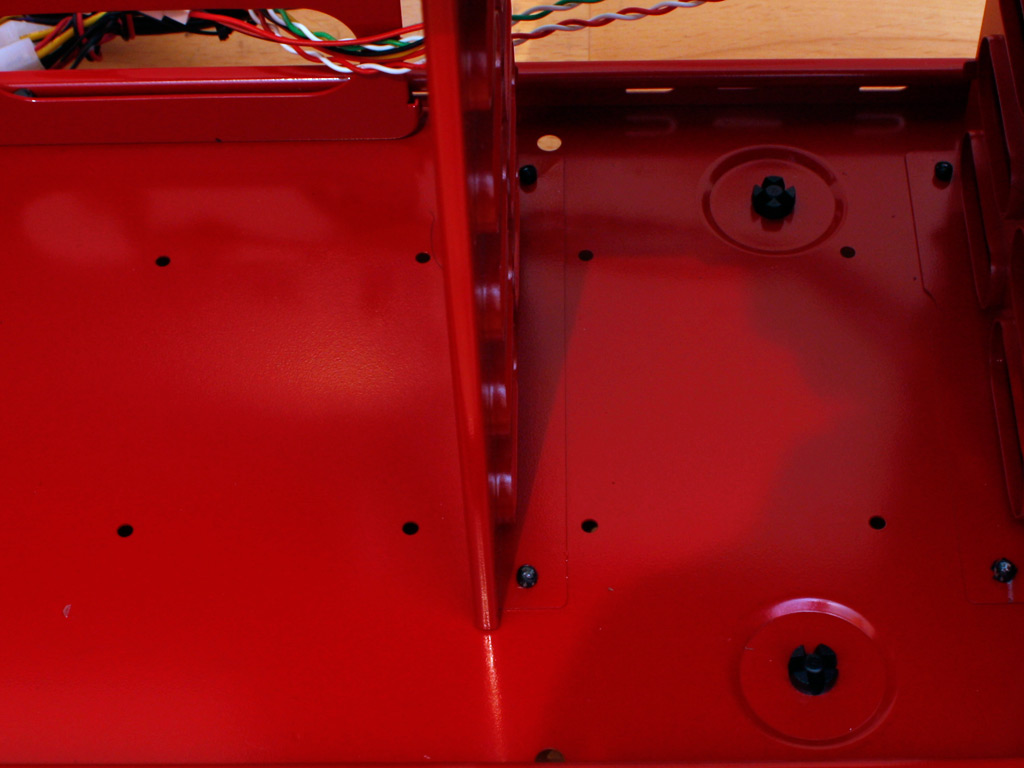
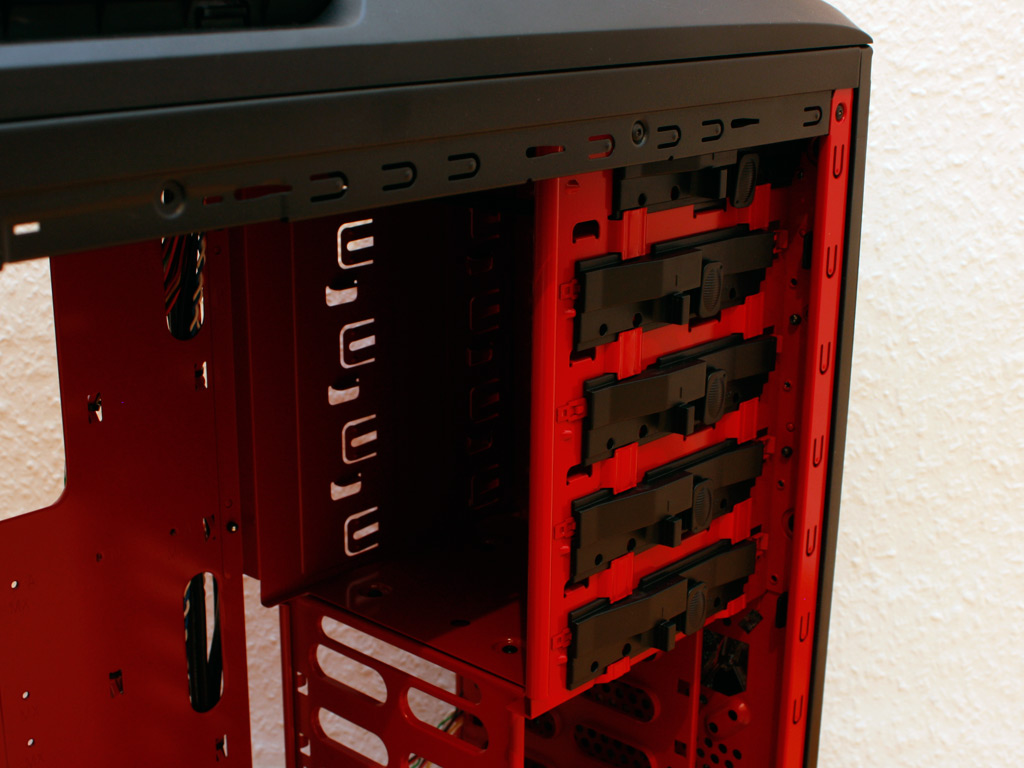
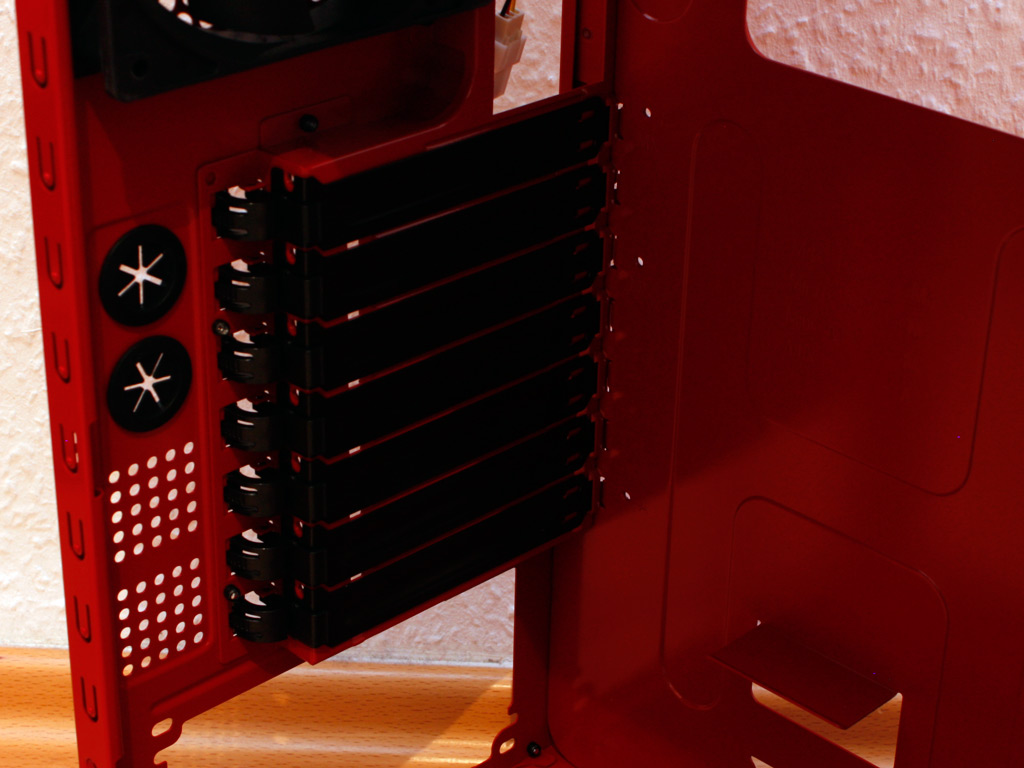
There are eight holes on the floor of the chassis, which make up two 2.5 inch bays. This is the simplest possible implementation of such functionality and I would have welcomed a more elaborate design change for such storage devices. Above that are five 3.5 inch bays. These employ the same rail system we have seen on many many cases in the past years. While these work well, they are simply outdated as you are forced to install the drive with the connectors facing the window - adding to the cable mess in the end. The external drive bays come with sliding looks which are also nothing new in our books. These do work somewhat well though and you are still able to use screws to secure any loose drives.
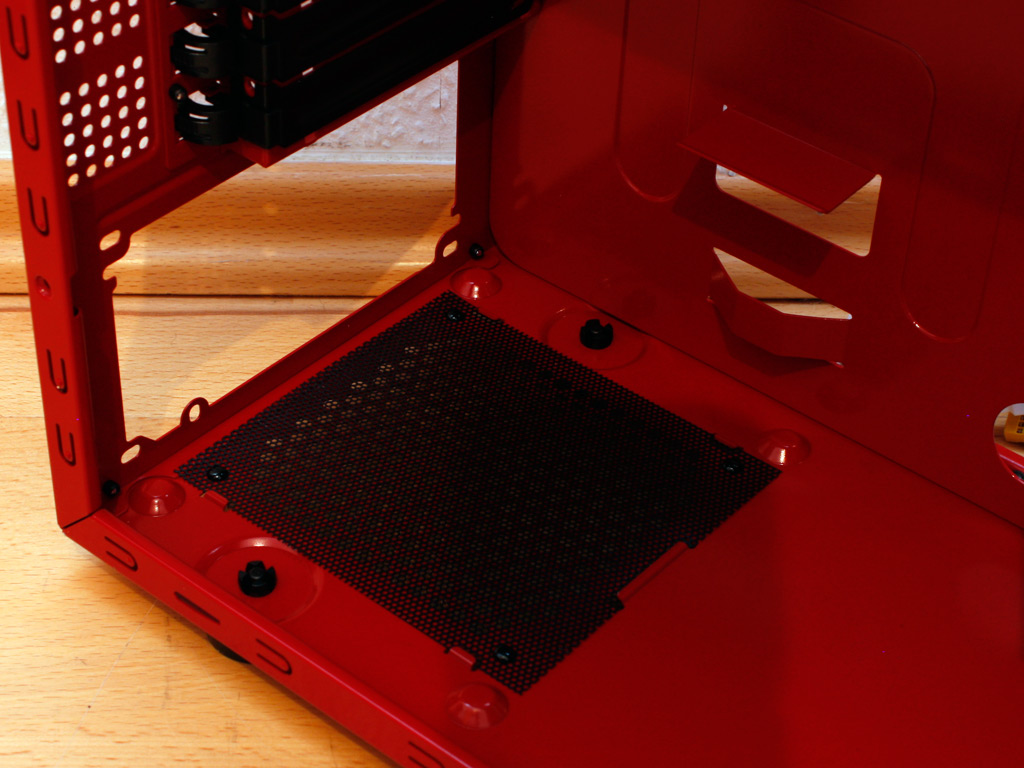
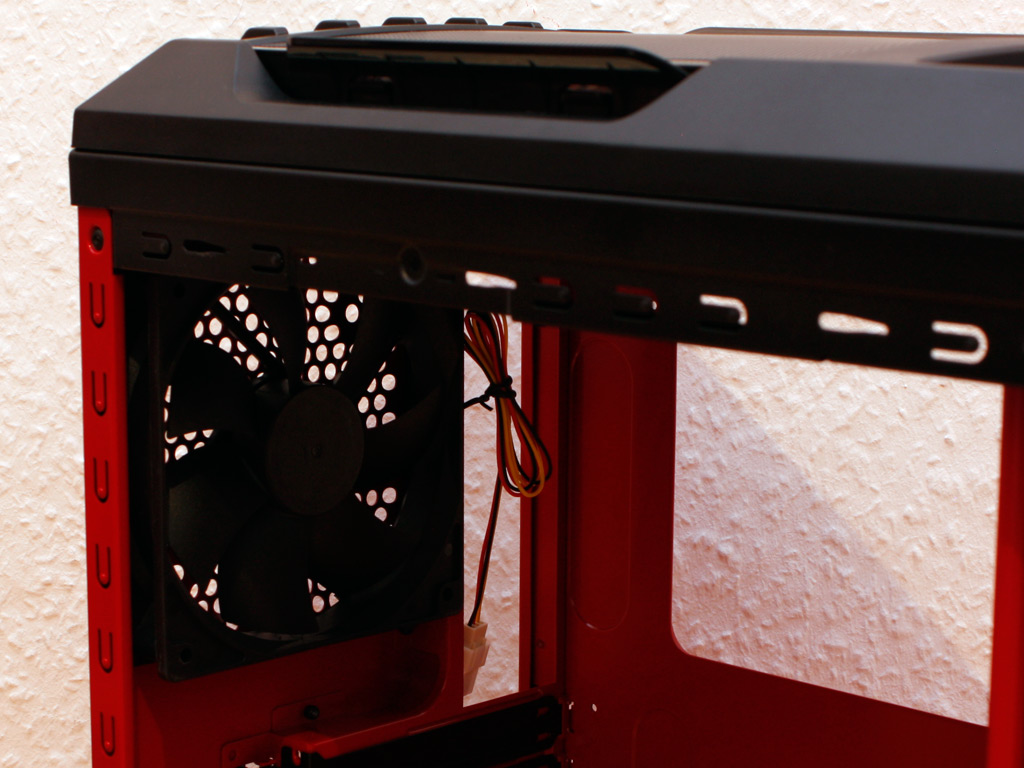
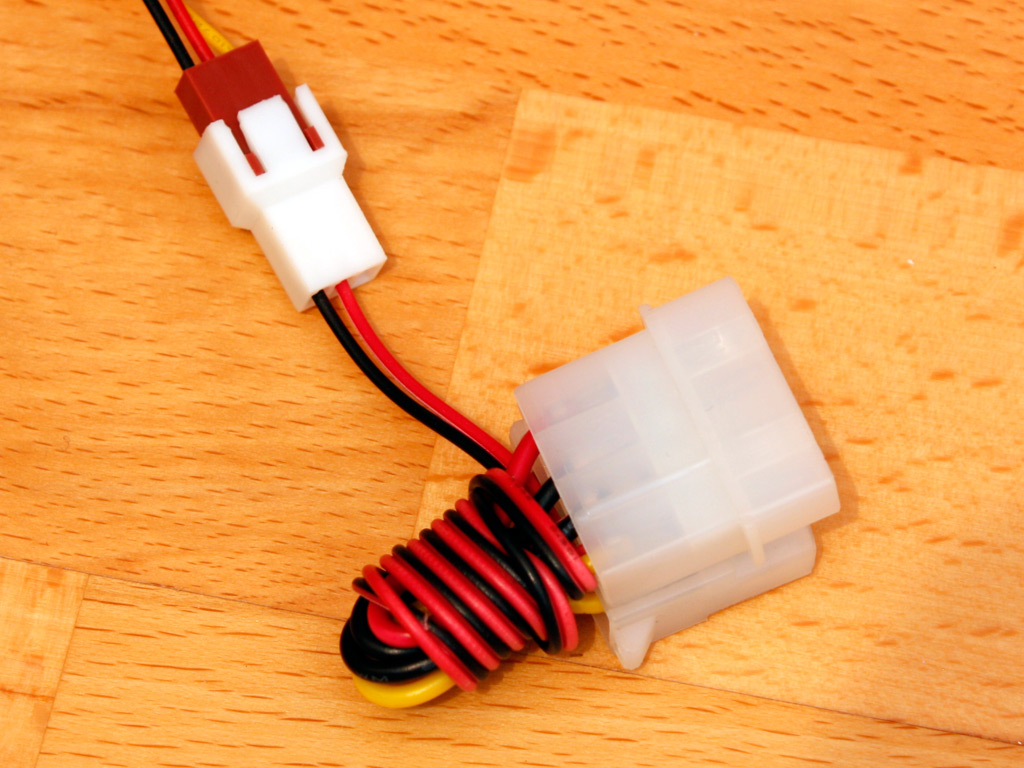
Turning our focus to the rear interior, the PSU bay has a metal mesh sheet on the bottom which should stop most of the dust from entering your power supply, but will give way to the fine dirt. It would have been nice to see a real dust filter in this area. The seven expansion slots utilize plastic clips - another system we have seen in other cases before. While I would not condone such a "feature" in a 30 or 35 Euro chassis, it is simply not necessary in a case of this price range. It would have been better to have simple screws or thumb screws as these plastic clips simply do not have the strength to hold anything properly and will wear out sooner than later. In the very top is the rear fan, which is black and pulls air out of the chassis. All cooling units come equipped with a 3 pin header attached to a Molex adapter, so you are free to choose how to connect within your system.
Feb 25th, 2025 13:26 EST
change timezone
Latest GPU Drivers
New Forum Posts
- Weird electrical vibration on left side of laptop. (20)
- RDNA4 Prediction Time Part Deux!!! (51)
- What's your latest tech purchase? (23208)
- What are you playing? (23026)
- What local LLM-s you use? (65)
- Have you got pie today? (16601)
- atx 12v vs eps 12v (7)
- ThrottleStop overwriting per-core clock configuration (1)
- Milestones (13995)
- can i connect a sata3 ssd 120GB to dell latitude c600 (29)
Popular Reviews
- ASUS GeForce RTX 5070 Ti TUF OC Review
- Corsair Xeneon 34WQHD240-C Review - Pretty In White
- MSI GeForce RTX 5070 Ti Vanguard SOC Review
- MSI GeForce RTX 5070 Ti Ventus 3X OC Review
- MSI GeForce RTX 5070 Ti Gaming Trio OC+ Review
- Corsair Virtuoso MAX Wireless Review
- darkFlash DY470 Review
- AMD Ryzen 7 9800X3D Review - The Best Gaming Processor
- Palit GeForce RTX 5070 Ti GameRock OC Review
- Gigabyte GeForce RTX 5090 Gaming OC Review
Controversial News Posts
- NVIDIA GeForce RTX 50 Cards Spotted with Missing ROPs, NVIDIA Confirms the Issue, Multiple Vendors Affected (491)
- AMD Radeon 9070 XT Rumored to Outpace RTX 5070 Ti by Almost 15% (304)
- AMD Plans Aggressive Price Competition with Radeon RX 9000 Series (272)
- AMD Radeon RX 9070 and 9070 XT Listed On Amazon - One Buyer Snags a Unit (247)
- NVIDIA Investigates GeForce RTX 50 Series "Blackwell" Black Screen and BSOD Issues (242)
- Edward Snowden Lashes Out at NVIDIA Over GeForce RTX 50 Pricing And Value (241)
- AMD Denies Radeon RX 9070 XT $899 USD Starting Price Point Rumors (239)
- AMD Radeon RX 9070 and 9070 XT Official Performance Metrics Leaked, +42% 4K Performance Over Radeon RX 7900 GRE (180)