 21
21
Deepcool Gamer Storm Quadstellar Review
Assembly & Finished Looks »A Closer Look - Inside

To gain access to the interior, you will have to remove the four individual panels held in place by a pair of thumb screws each.
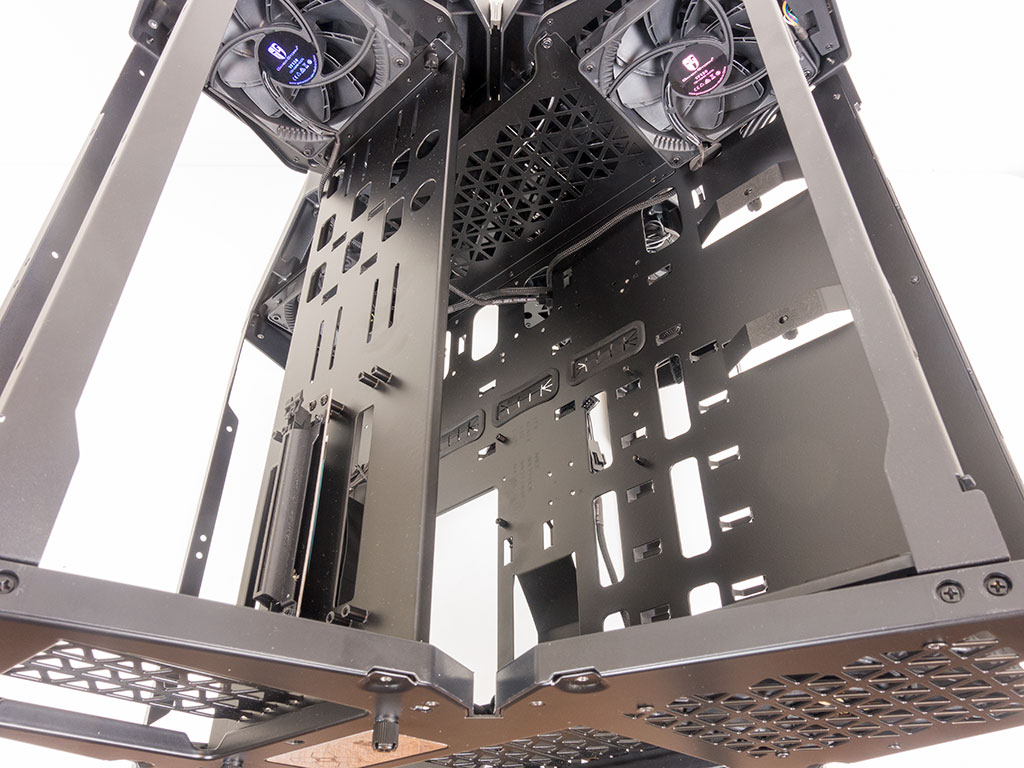
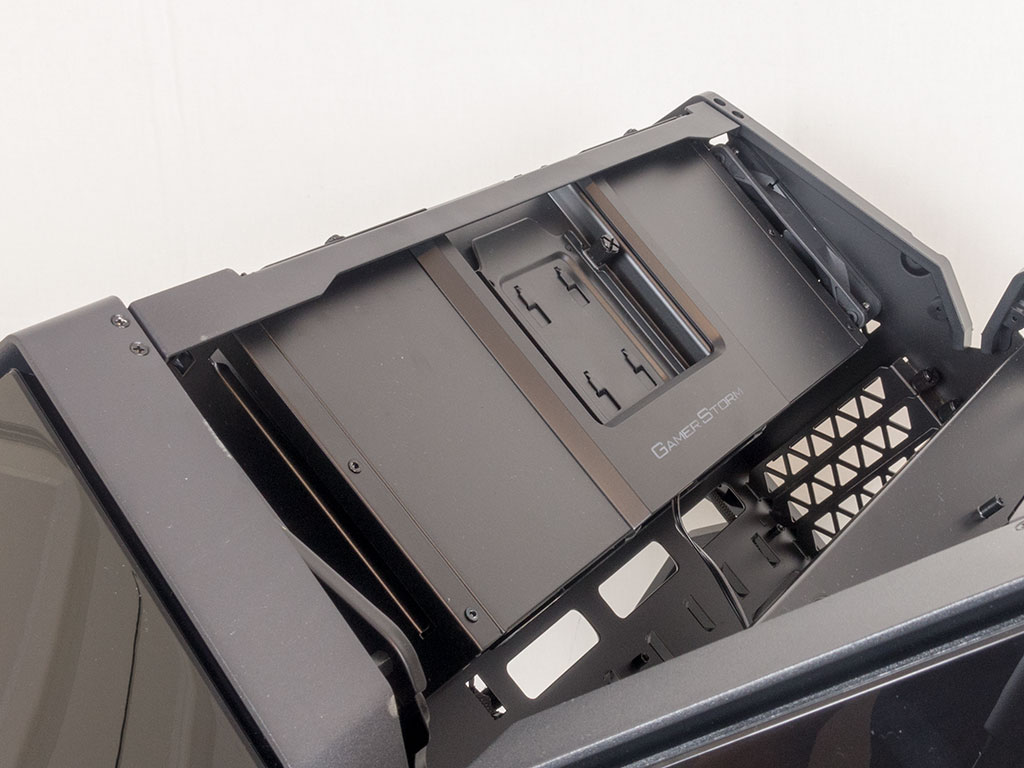
The motherboard tray sits at a 45° angle with a metal plate above it in parallel acting as a base for any installed GPUs. Mind you, there seems to be no reason why you could not simply install a graphics card straight to the motherboard. However, with a chassis like this, why would you?
There are plenty of well-placed openings in the motherboard tray for you to route cables from the various compartments to the right areas of the board.
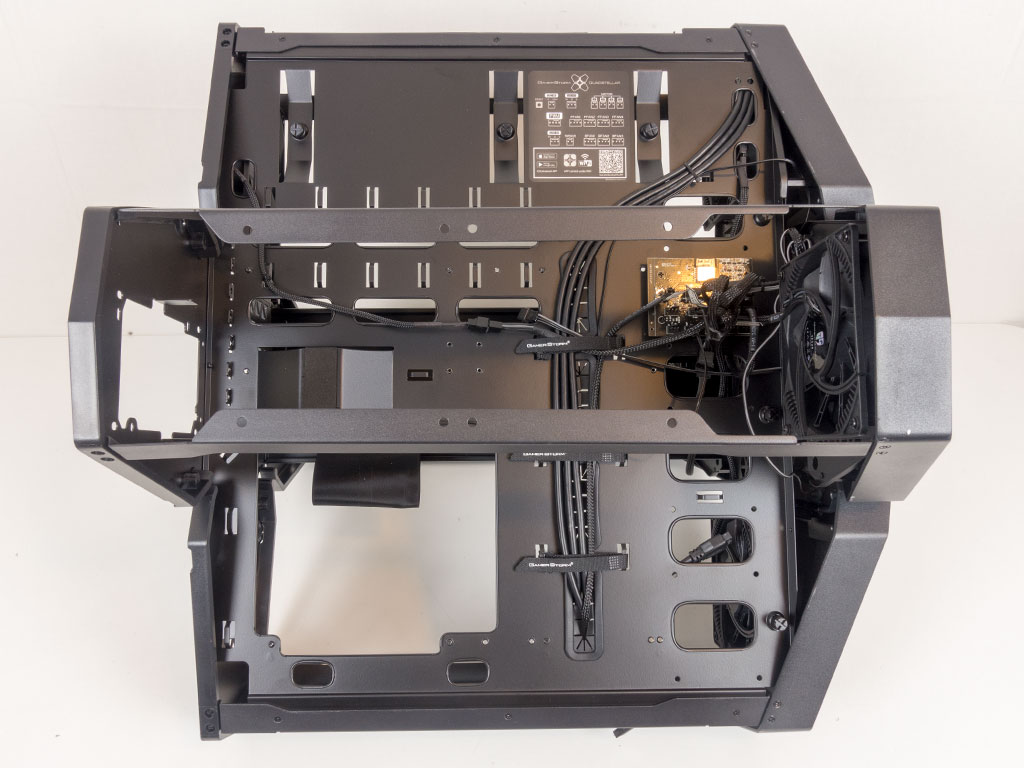


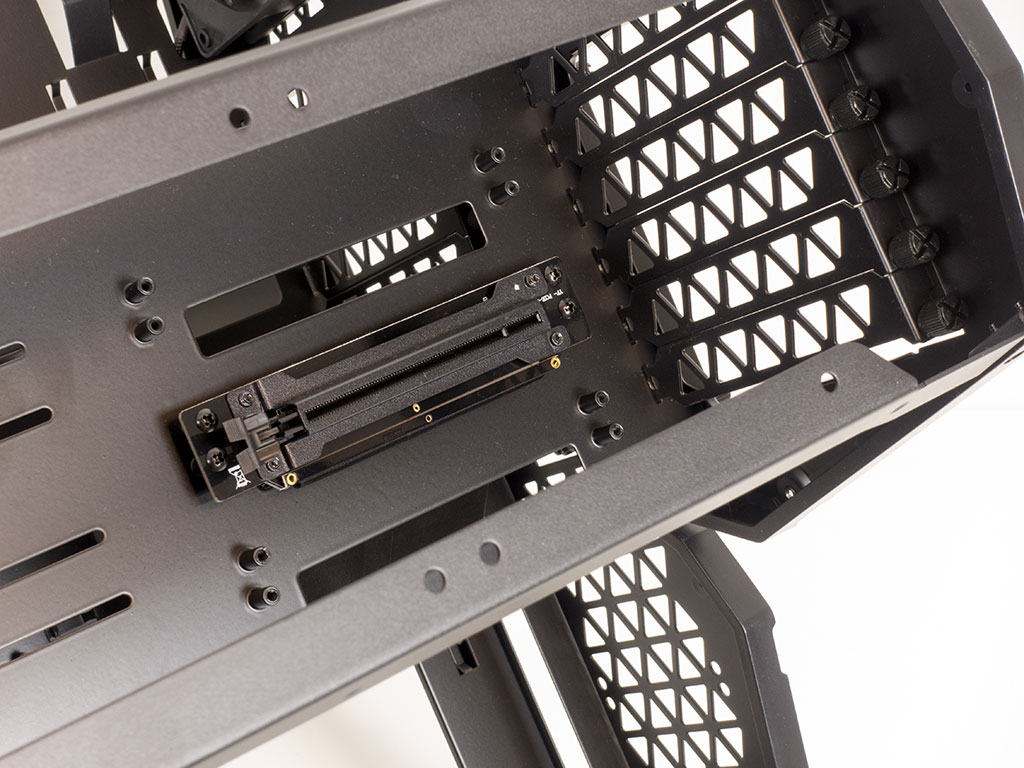
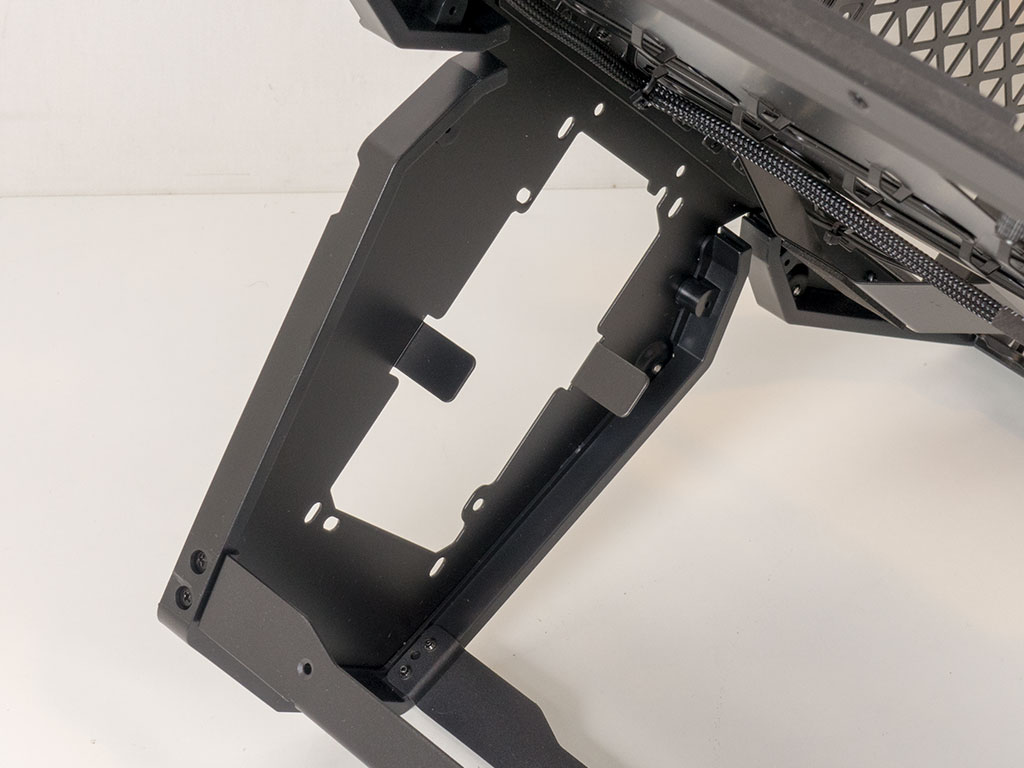
By rotating the Quadstellar 90 degrees on it's side, you can clearly view the underside of the motherboard tray. Here, you will find a sticker to get you started with the unique controller PCB that utilizes your wireless network. This means you technically don't need to go through the computer's operating system to access it and control the lighting and thermal properties of the case. The board itself is tucked away towards the front of the chassis. All leads are pre-wired, which means you can focus on basic component assembly instead.
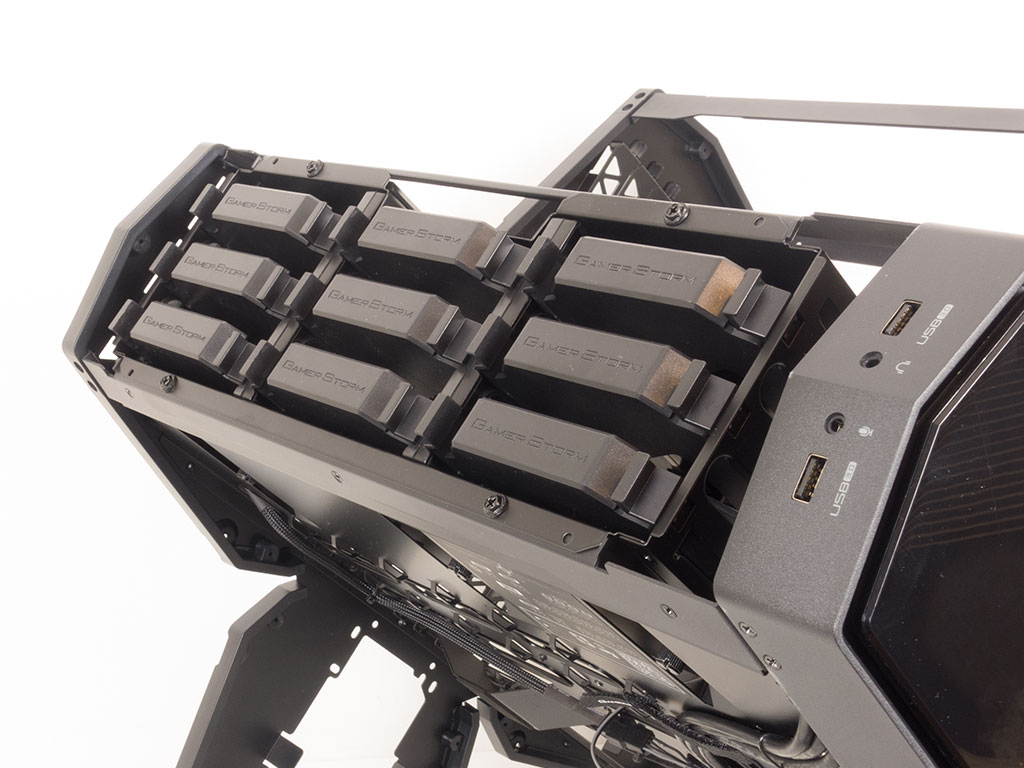

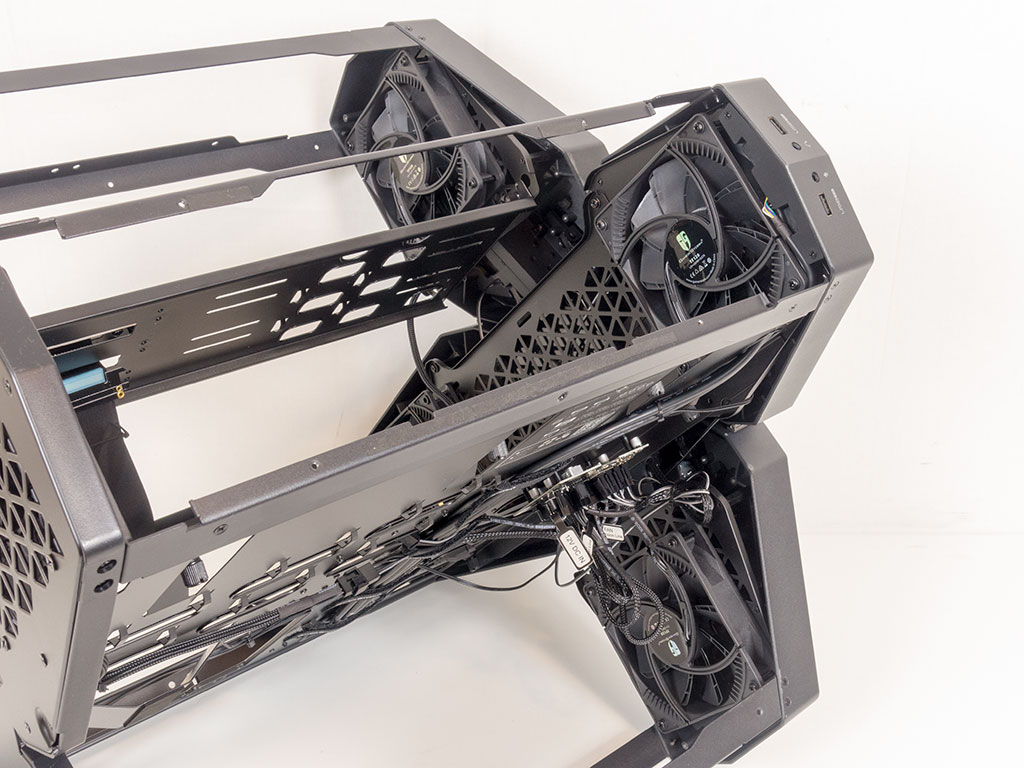
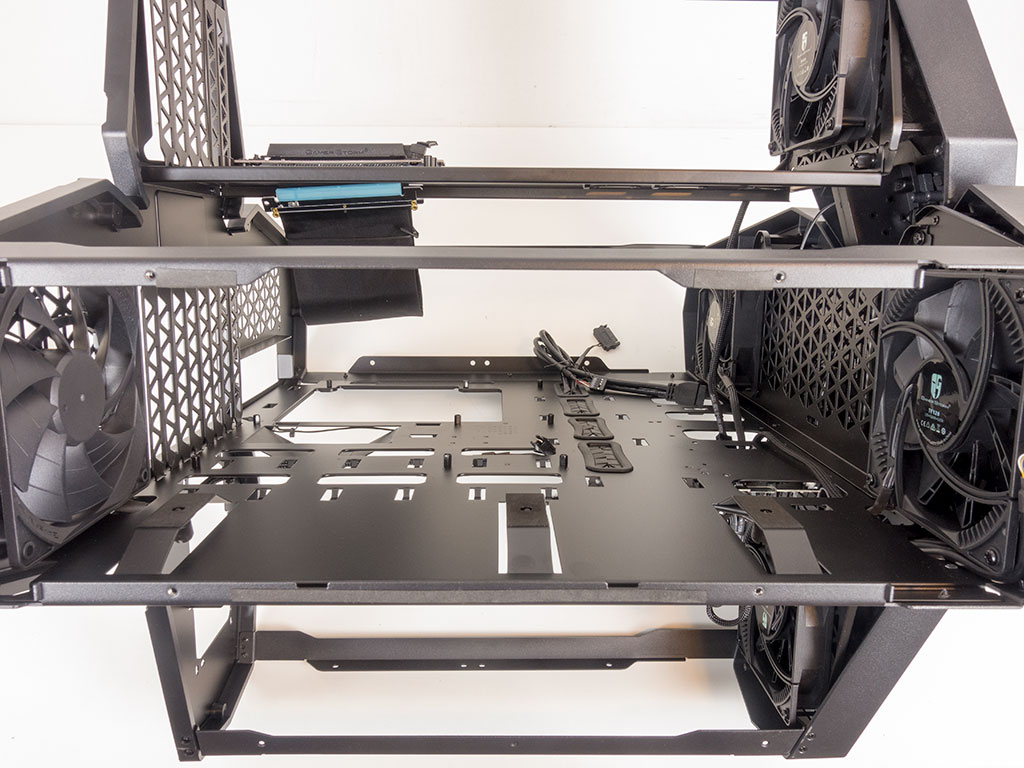
The hard-drive cage takes up the whole space of one top compartment. You may install a total of ten drives, and eight of these bays give you the flexibility to pick between 2.5" and 3.5" drives. The remaining two are intended for SSDs, with one being placed in plain view of the top window with an indirect lighting element around it to properly show it off in the finished build. You may remove the whole cage to allow for better access into the Quadstellar when assembling all the parts, along with an unobstructed view of the four fans in the front, which brings the total number cooling units to five.
In the opposing top compartment of the enclosure is the aforementioned GPU mounting system. Deepcool has also included additional mounting holes above the GPU, which means you could install additional fans here or even move the graphics card down to the motherboard to use the space here for a thick radiator instead.

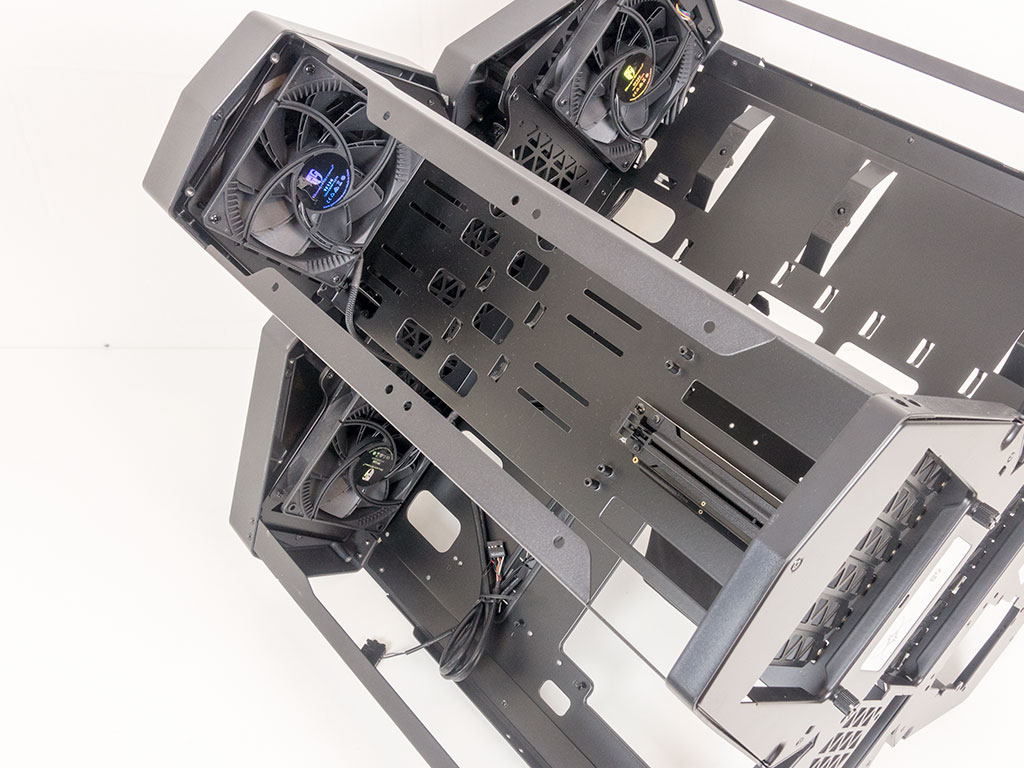
With all the things going on inside the Quadstellar, the PSU bay area suddenly looks quite simple. There are two sets of mounting holes to which you attach the power supply. Naturally, with all the space, you can freely choose the capacity and physical size of the unit for your system.
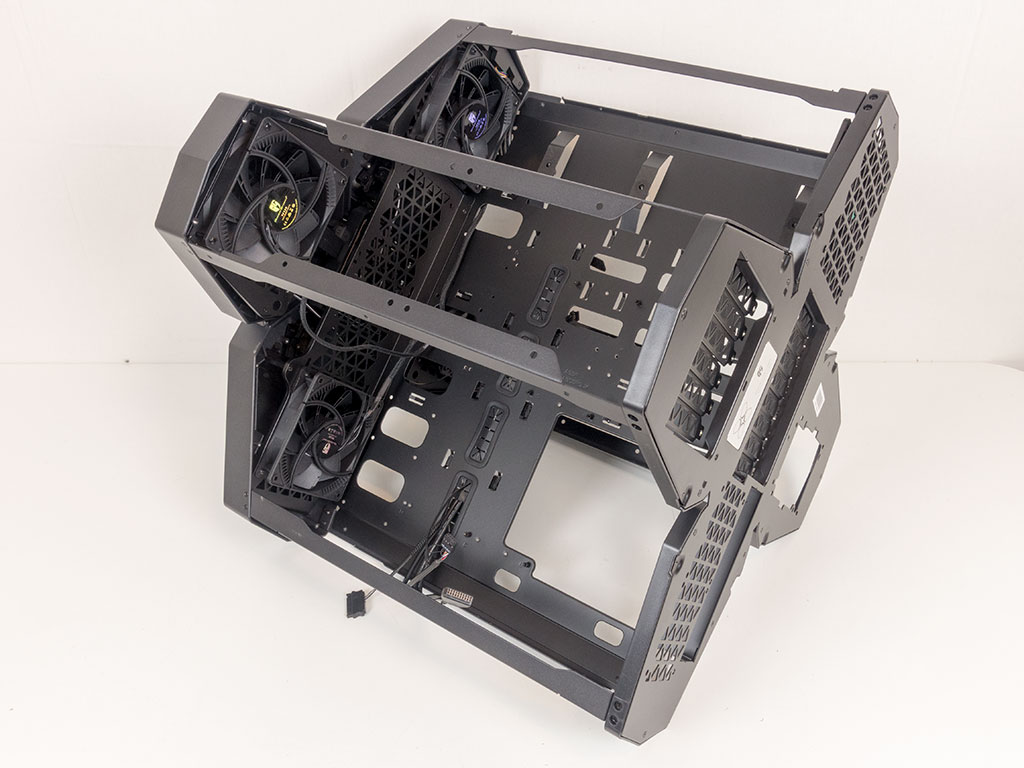

With all the parts removed, you have nearly unobstructed access to the motherboard tray. You may also remove the frame of the top compartment above the board to remove those last barriers if need be. From this angle, you can also see the removable mounting plate that allows you to add a 360 cm radiator in the front of the chassis. All the liquid-cooling possibilities are fairly important as the design of the Quadstellar does restrict you a little bit in terms of the CPU cooler's height should you go for air-cooling.

All the cables within the Deepcool Quadstellar are of the default variety. You will also find a SATA power lead that provides juice to the built-in PCB.
Feb 6th, 2025 15:23 EST
change timezone
Latest GPU Drivers
New Forum Posts
- Post your Monster Hunter Wilds benchmark scores (30)
- RC Clubhouse! (226)
- AMD on a Gsync Monitor? (17)
- Official TECHPOWERUP HWBOT Team Information Thread (27)
- i5-14600k owners can you test 65w pl1 and 100w pl2? (10)
- Free Games Thread (4427)
- S20+ boot looping (7)
- TOXIC AMD Radeon™ RX 6900 XT (39)
- Last game you purchased? (657)
- RX 580 Aorus with wrong vbios (7)
Popular Reviews
- Spider-Man 2 Performance Benchmark Review - 35 GPUs Tested
- Kingdom Come Deliverance II Performance Benchmark Review - 35 GPUs Tested
- Corsair Frame 4000D Review
- NVIDIA GeForce RTX 5080 Founders Edition Review
- Formovie Cinema Edge 4K UST Laser Projector Review
- Gigabyte GeForce RTX 5080 Gaming OC Review
- MSI GeForce RTX 5080 Vanguard SOC Review
- AMD Ryzen 7 9800X3D Review - The Best Gaming Processor
- ASUS GeForce RTX 5080 Astral OC Review
- NVIDIA GeForce RTX 5090 Founders Edition Review - The New Flagship
Controversial News Posts
- NVIDIA 2025 International CES Keynote: Liveblog (470)
- AMD Radeon 9070 XT Rumored to Outpace RTX 5070 Ti by Almost 15% (285)
- AMD is Taking Time with Radeon RX 9000 to Optimize Software and FSR 4 (256)
- AMD Denies Radeon RX 9070 XT $899 USD Starting Price Point Rumors (239)
- Edward Snowden Lashes Out at NVIDIA Over GeForce RTX 50 Pricing And Value (235)
- AMD Radeon RX 9070 XT & RX 9070 Custom Models In Stock at European Stores (226)
- New Leak Reveals NVIDIA RTX 5080 Is Slower Than RTX 4090 (215)
- AMD's Radeon RX 9070 Launch Faces Pricing Hurdles (175)