 3
3
Epomaker Lite Review - 60% Shallow Gasket Mount Keyboard
Software »Disassembly
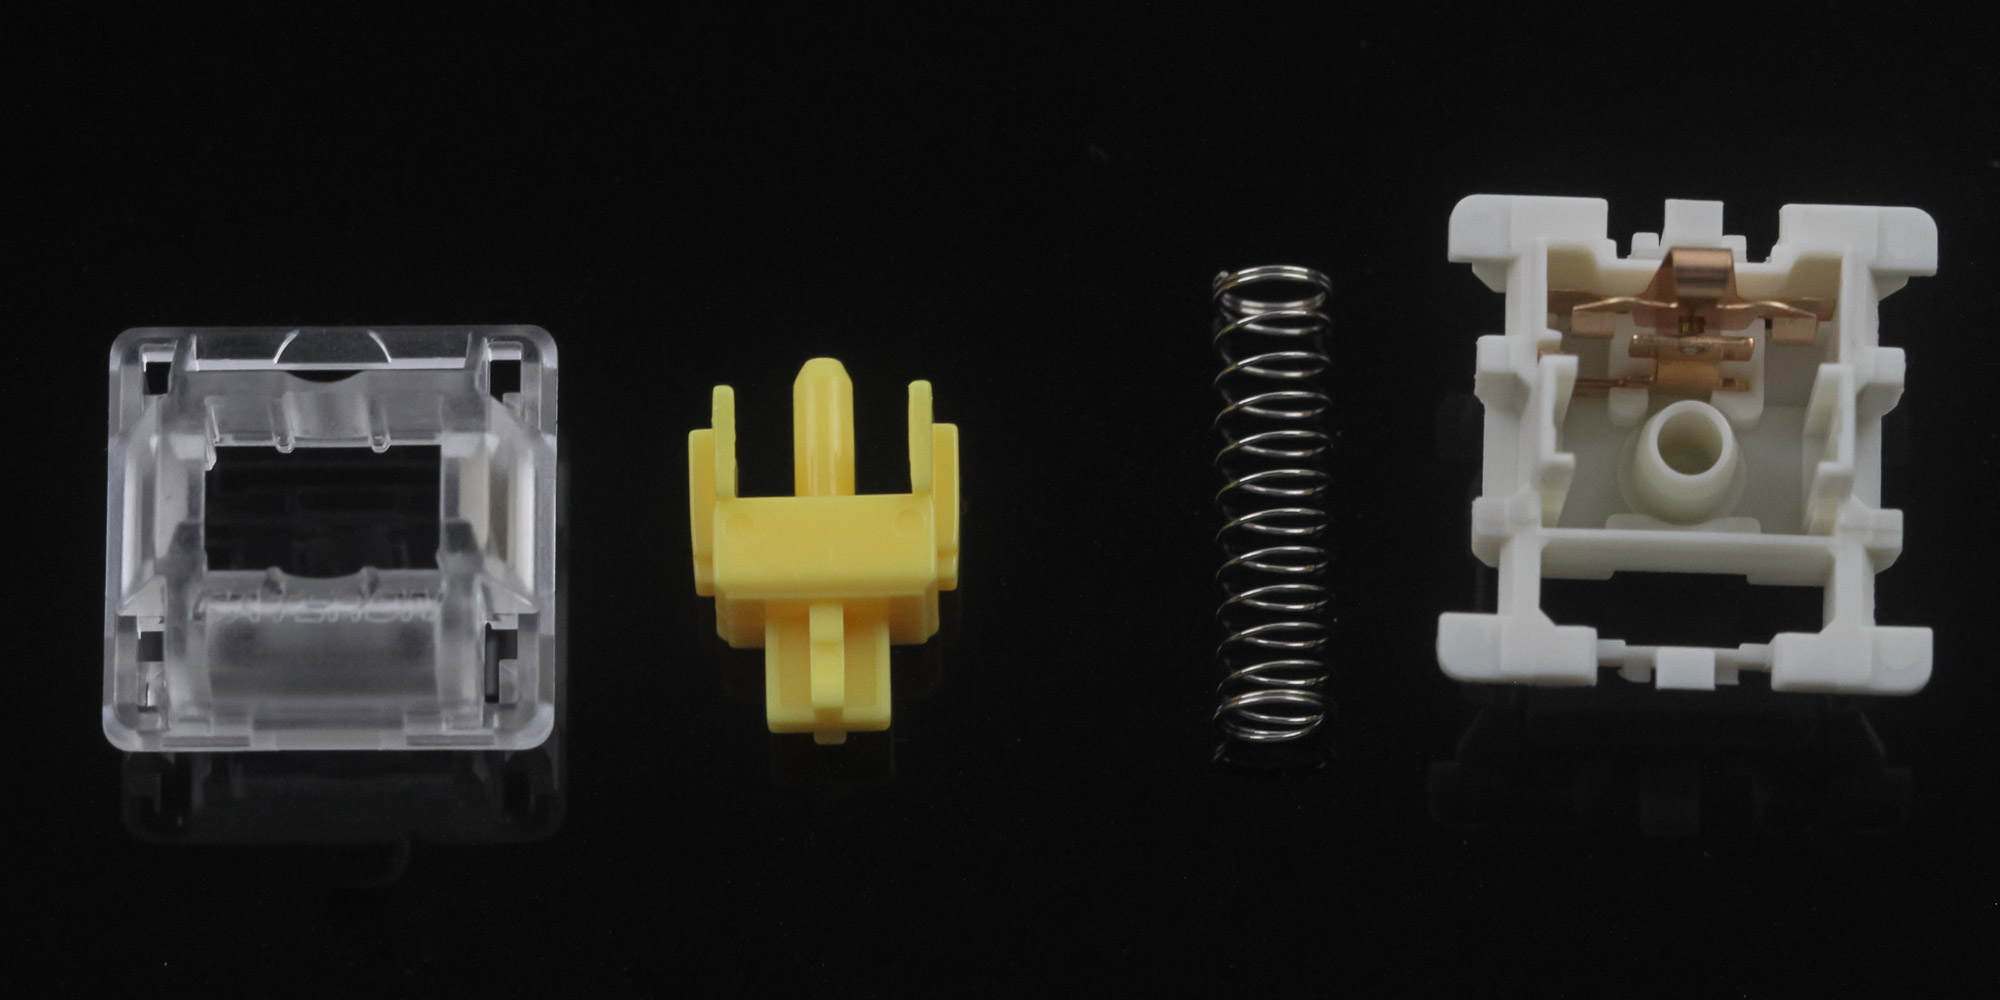
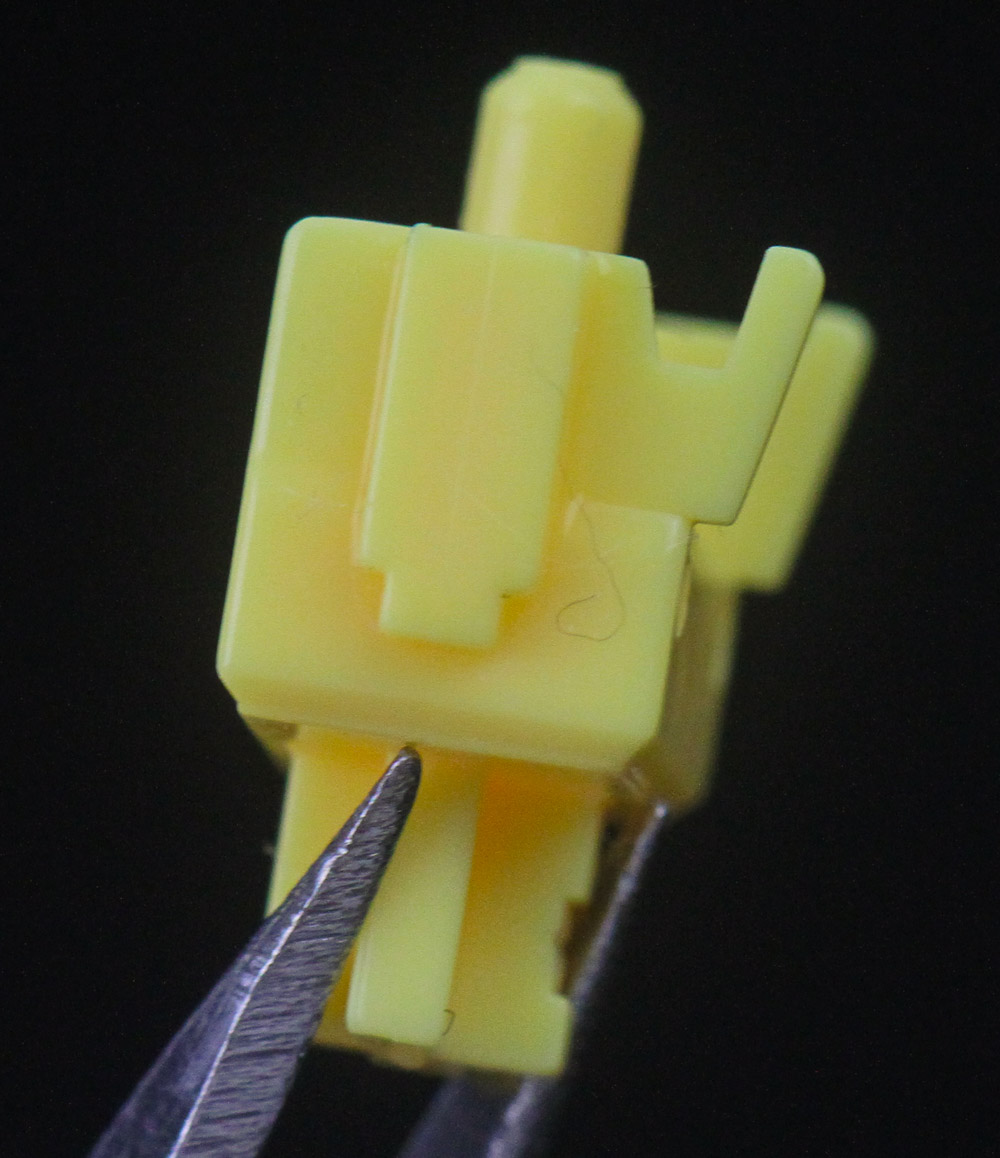
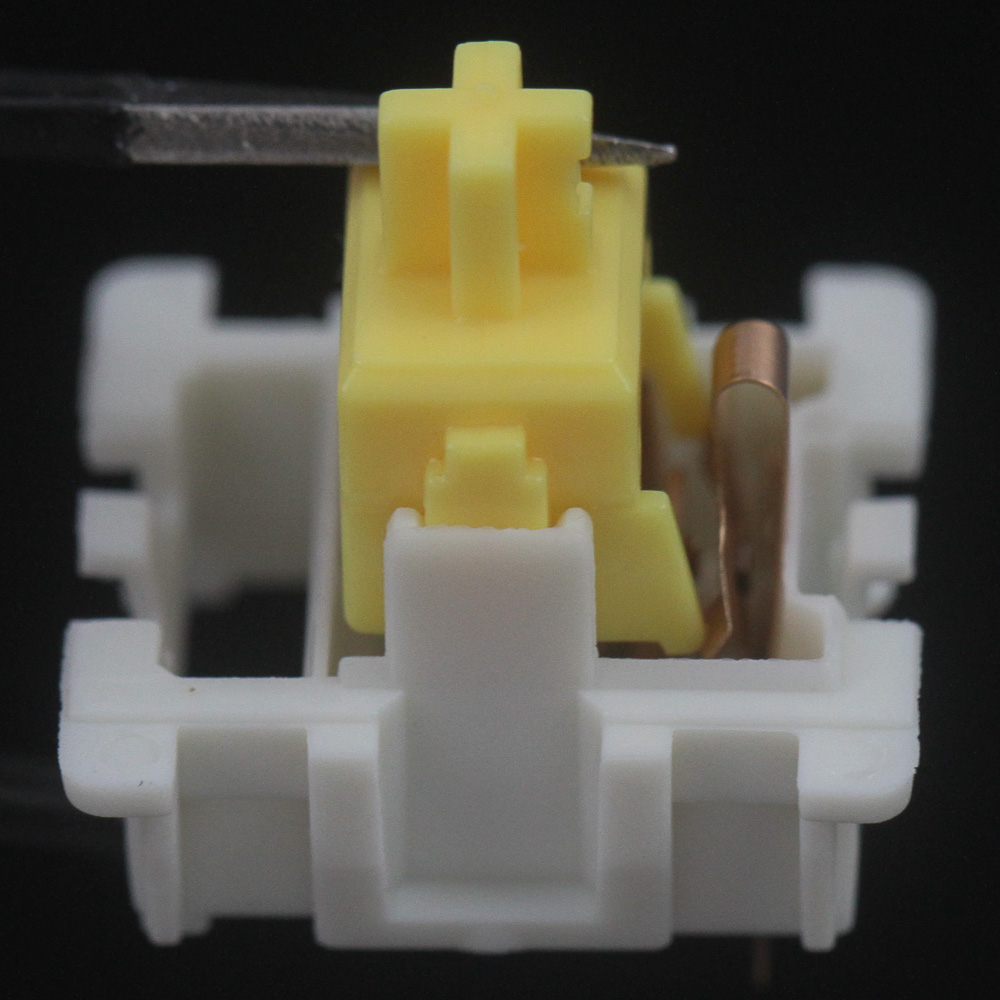
Given the hot-swappable nature of the switches, it only made sense that I take one of the Gateron Pro Yellow switches apart. This is a 3-pin mechanical switch employing the Cherry MX stem design, so we have the usual construction with the top, crosspoint stem/slider, spring, and housing that also has the metal leaf for the actuation mechanism. What makes this Pro version differ from the standard Gateron Yellow (Milky Yellow) is that the stem comes pre-lubed out of the factory, and tolerance for all the moving parts is supposedly tighter. The metal contacts are also supposedly thinly plated with gold, but clearly not to where it makes a difference visually. I did feel the lube slightly on my fingers, and this minimal lube application is the way to go with linear switches. The Epomaker Chocolate mechanical switches also come pre-lubed, so you are guaranteed lubed switches and stabilizers with the mechanical versions of the Epomaker Lite keyboard.
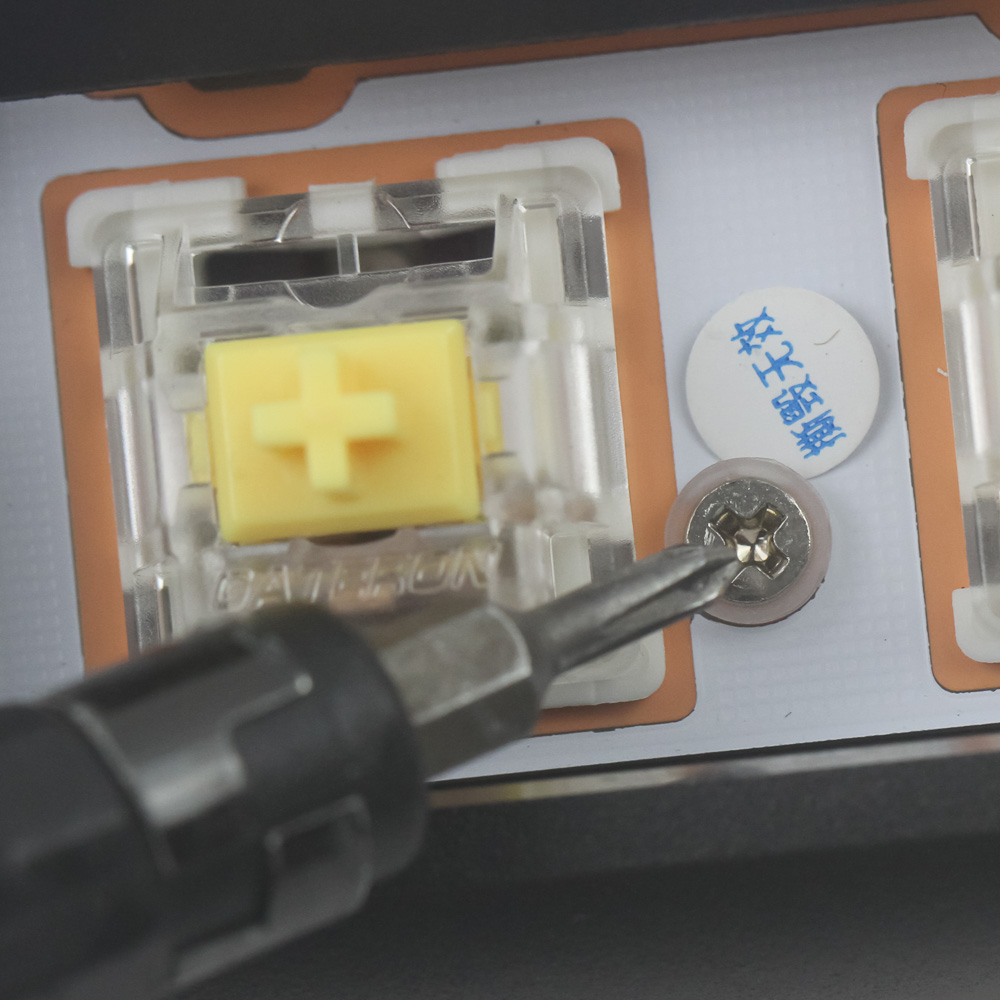

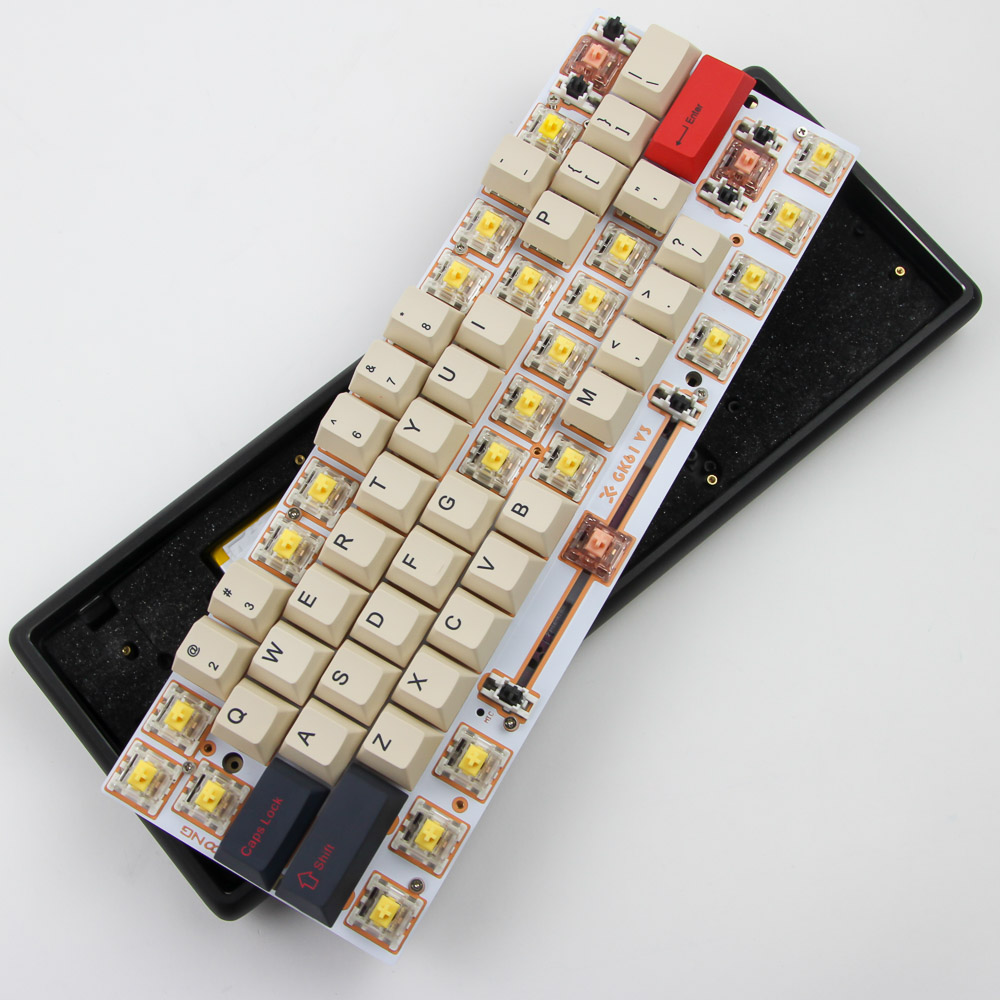
The disassembly process will likely depend on the case you have, with this aluminium version making it easy with a total of 11 Phillips head screws that have to be removed, or at least loosened. As seen above, you will need to remove specific keycaps to access these, as well as a telltale sticker over one. Note that most of these screws have an O-ring underneath the screw head, which dampens any upward-transmitted pressure on the plate. The shorter screws connect the plate to the PCB, with the longer screws going all the way down to the case. At this point, the top piece can be moved up far enough to access and dislodge the internal cable still connecting it to the case.
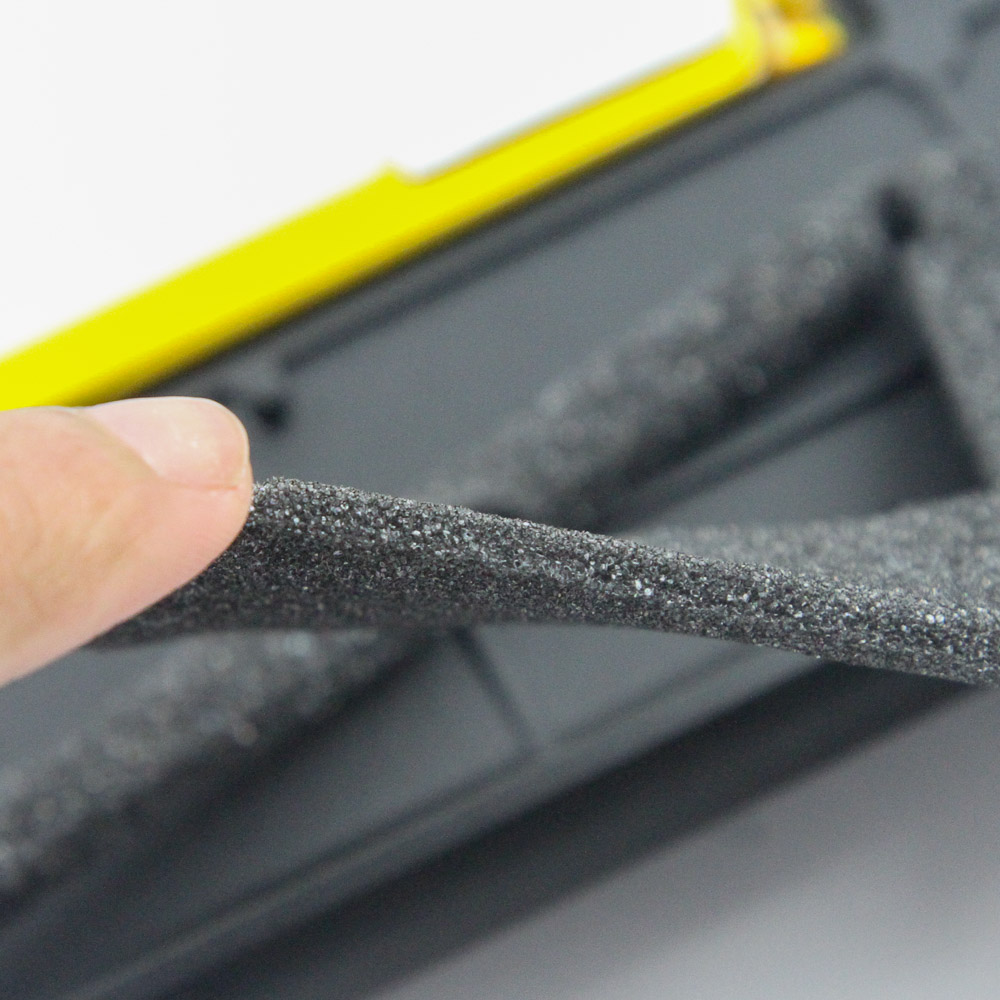
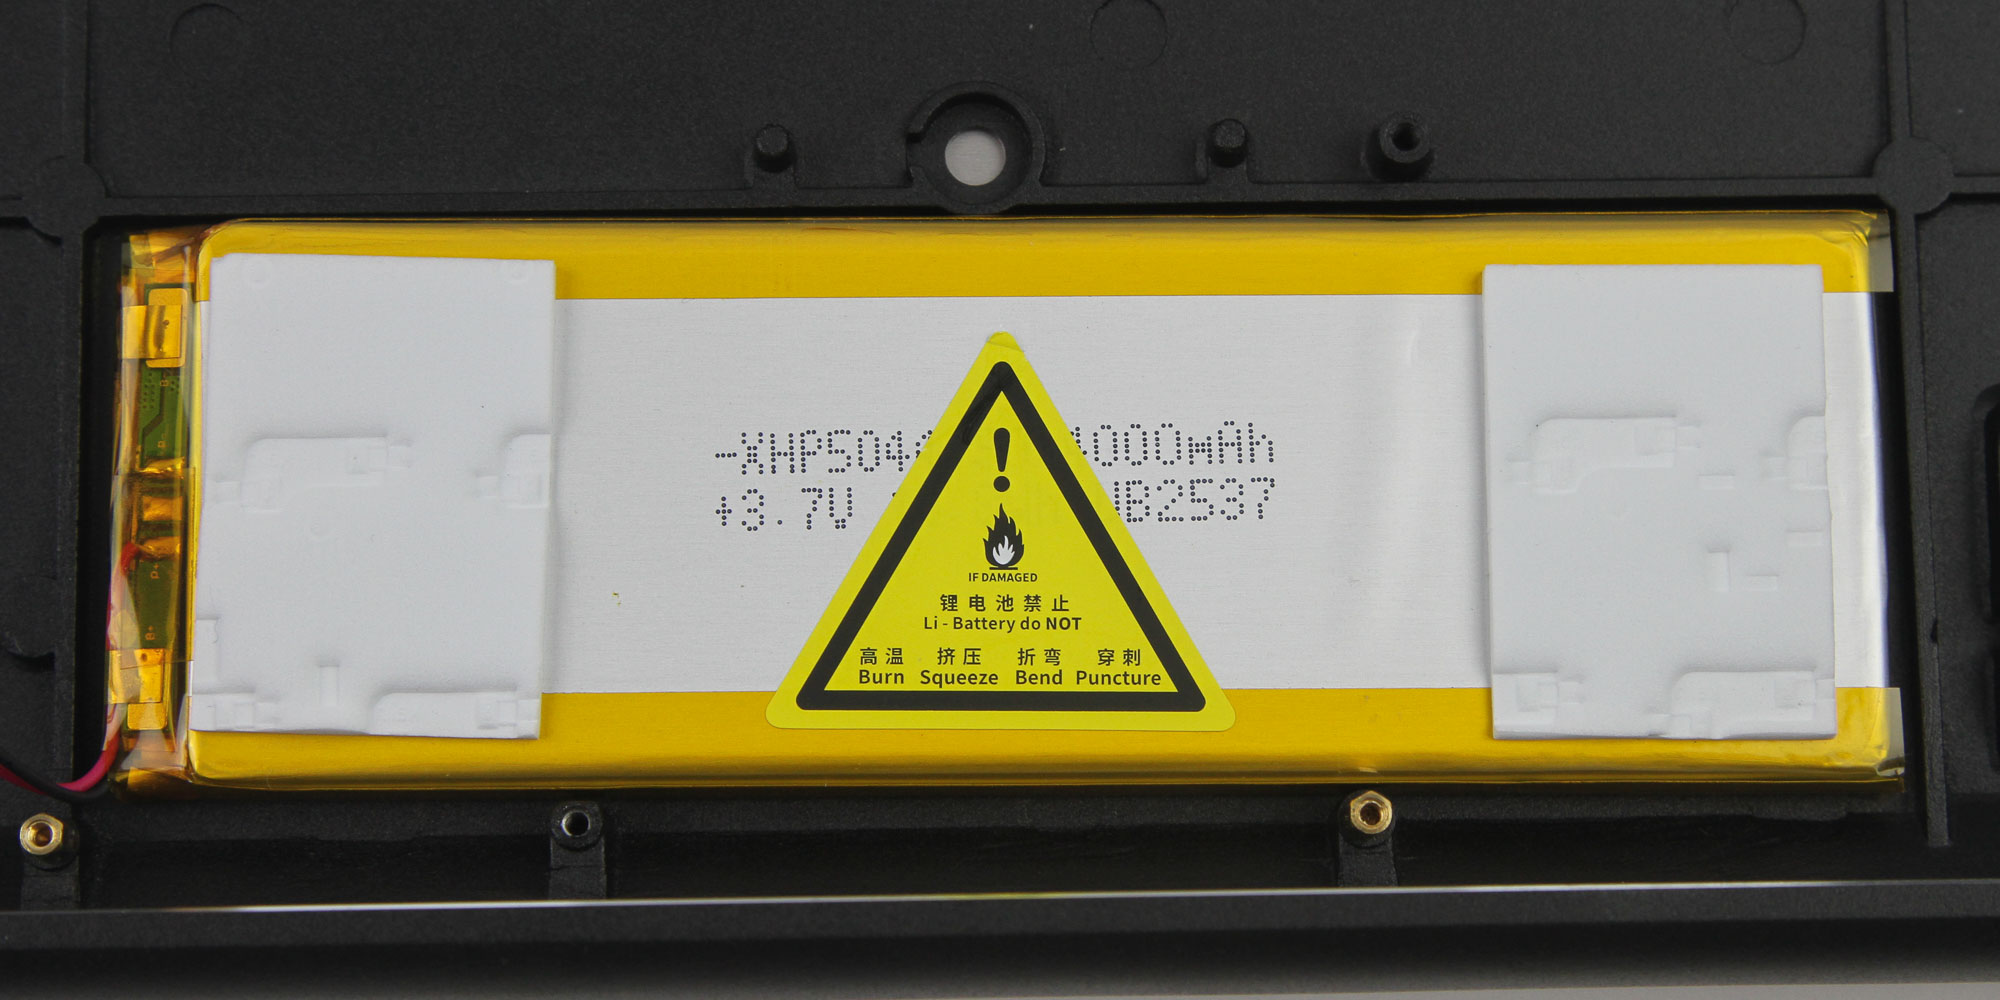
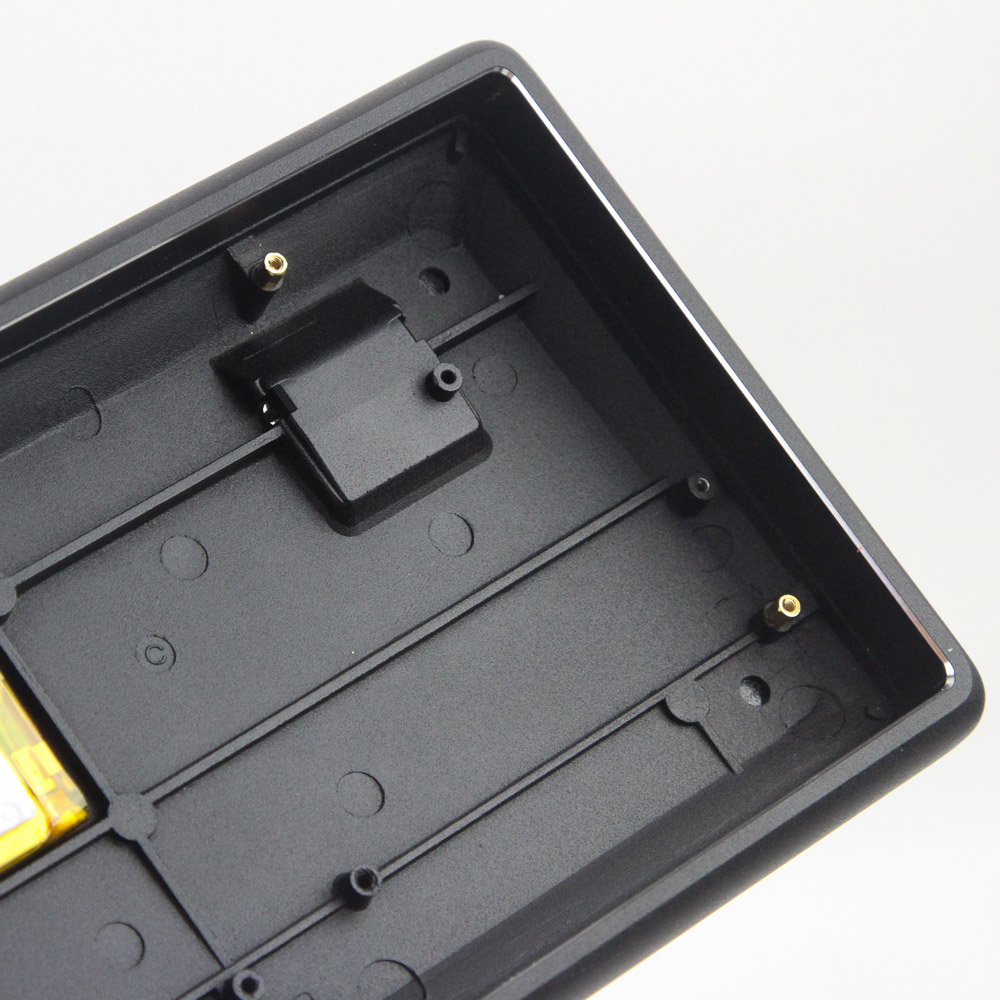
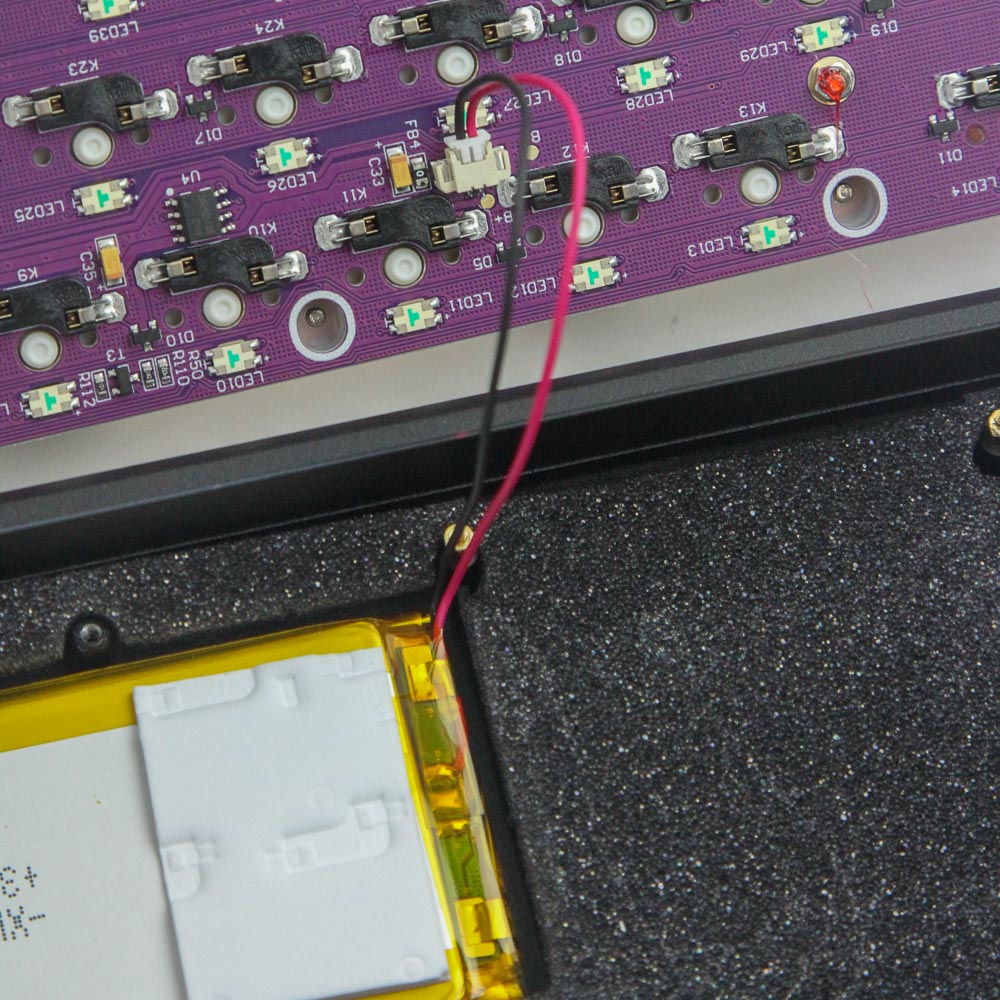
As it turns out, this cable leads from a relatively large 4000 mAh battery placed inside the case to the PCB to power the Epomaker Lite in Bluetooth mode, and all around the battery is thick foam to lower any typing reverberations that would otherwise move into the case itself. We now also see that the Epomaker shallow gasket mount is not at all like the traditional gasket-mount design, especially with the screws going all the way from the plate to the case even with the O-ring dampers in the way.
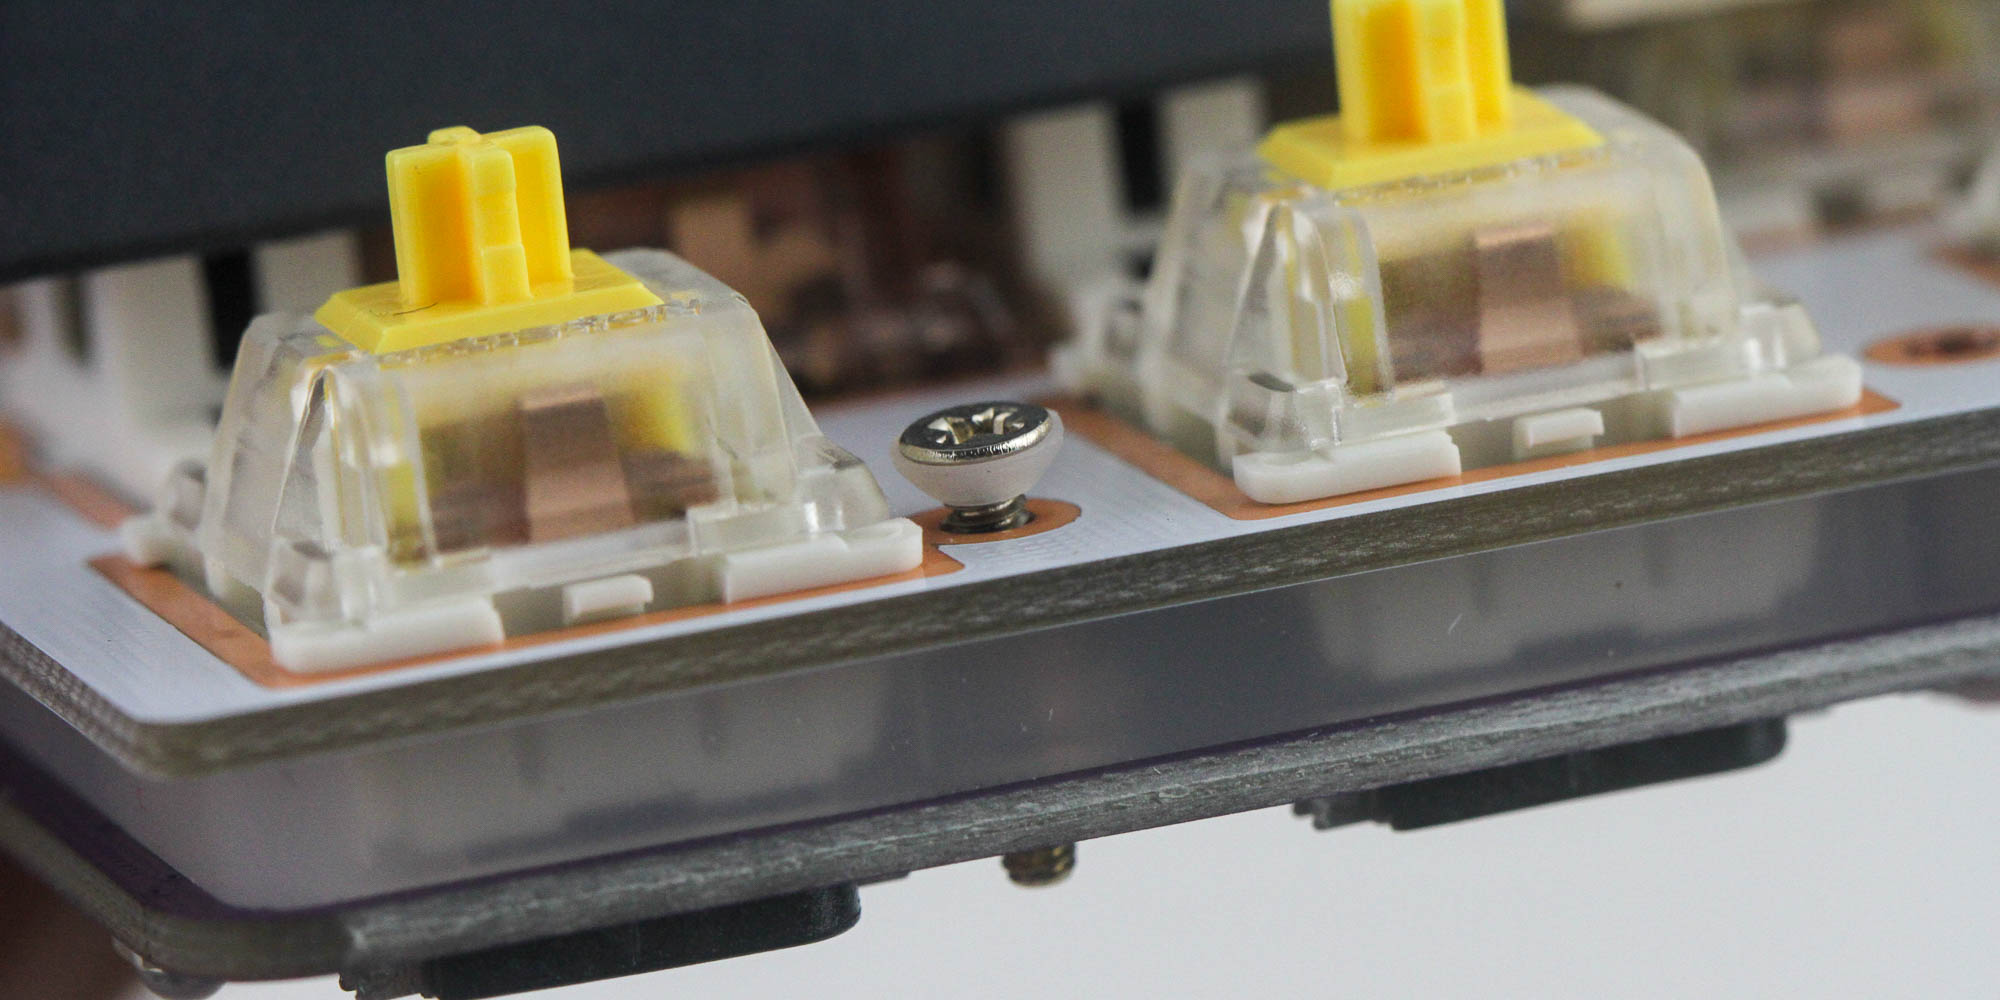

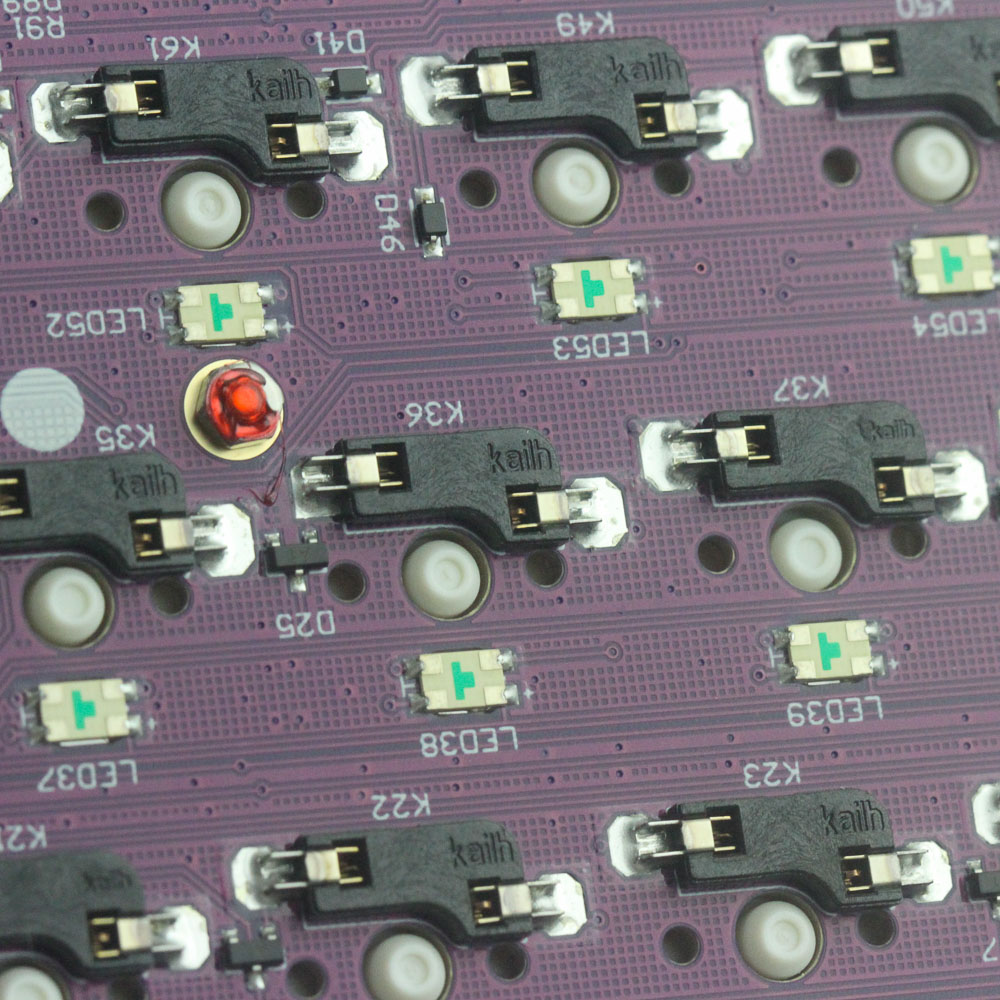
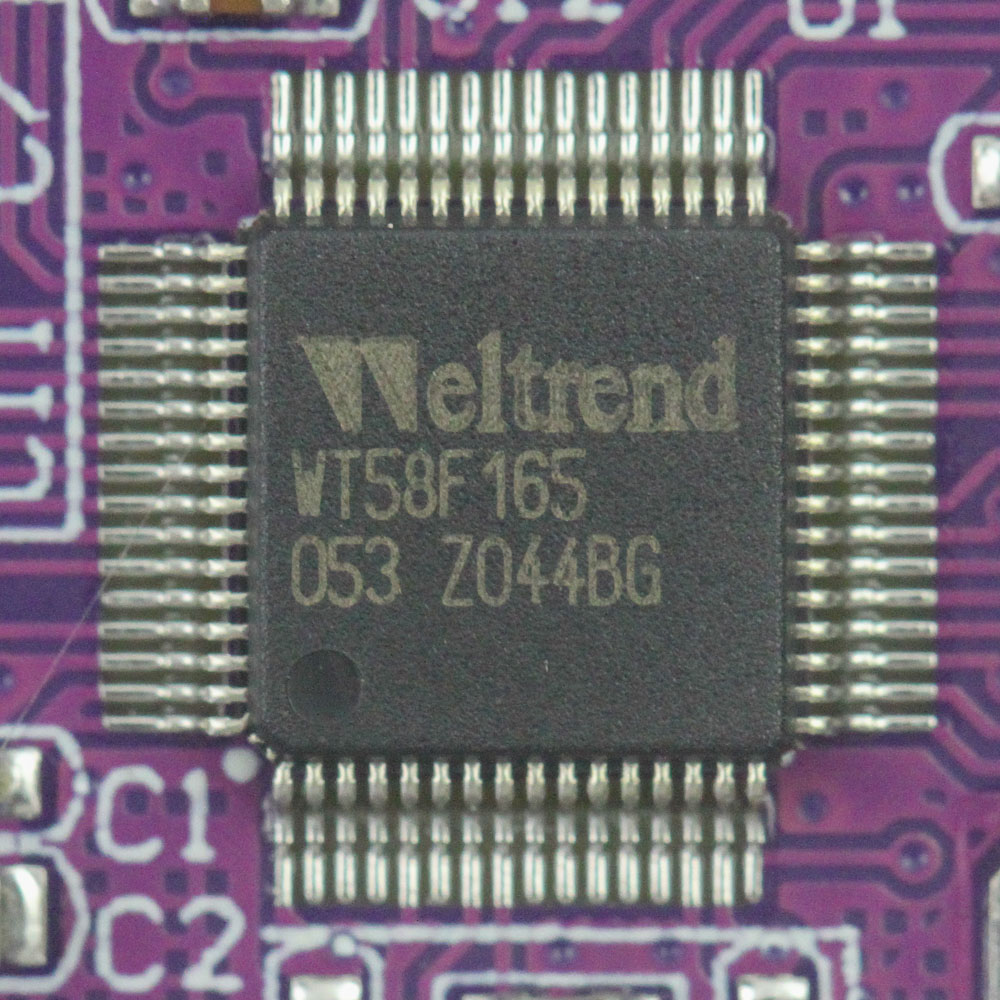
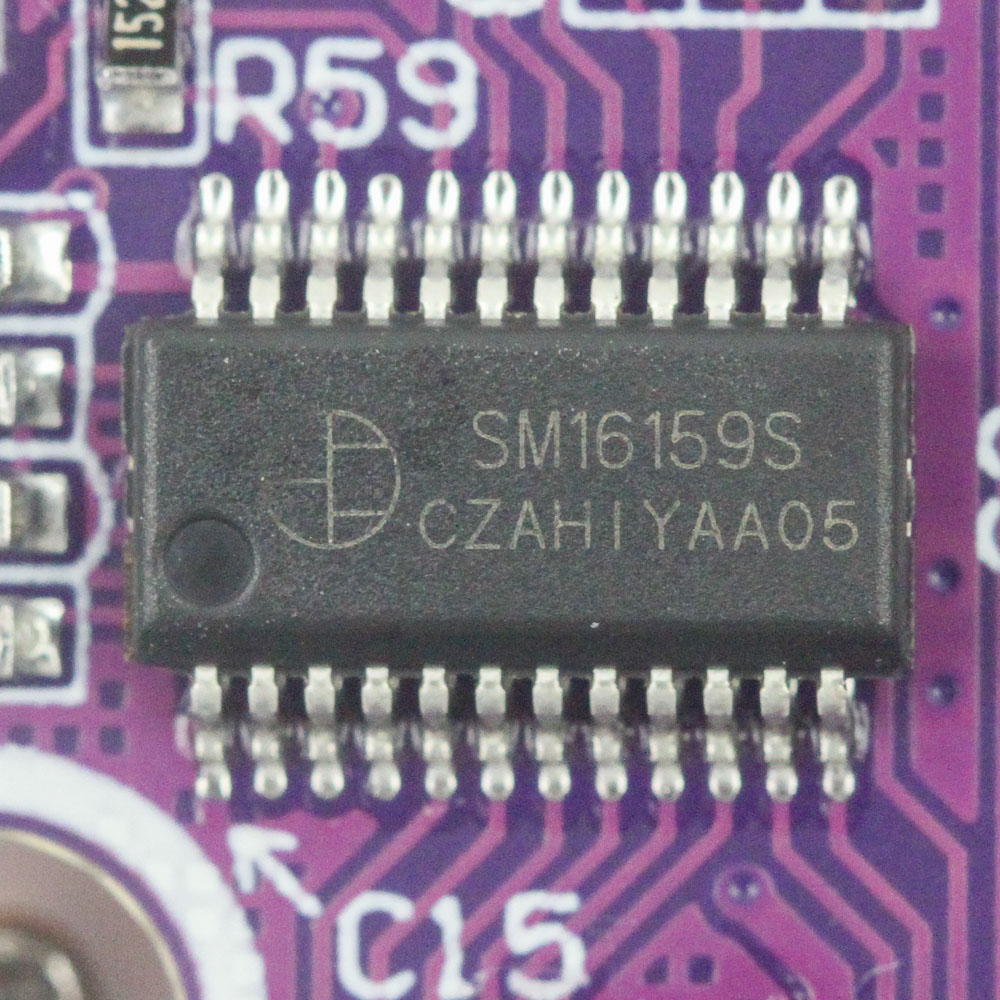
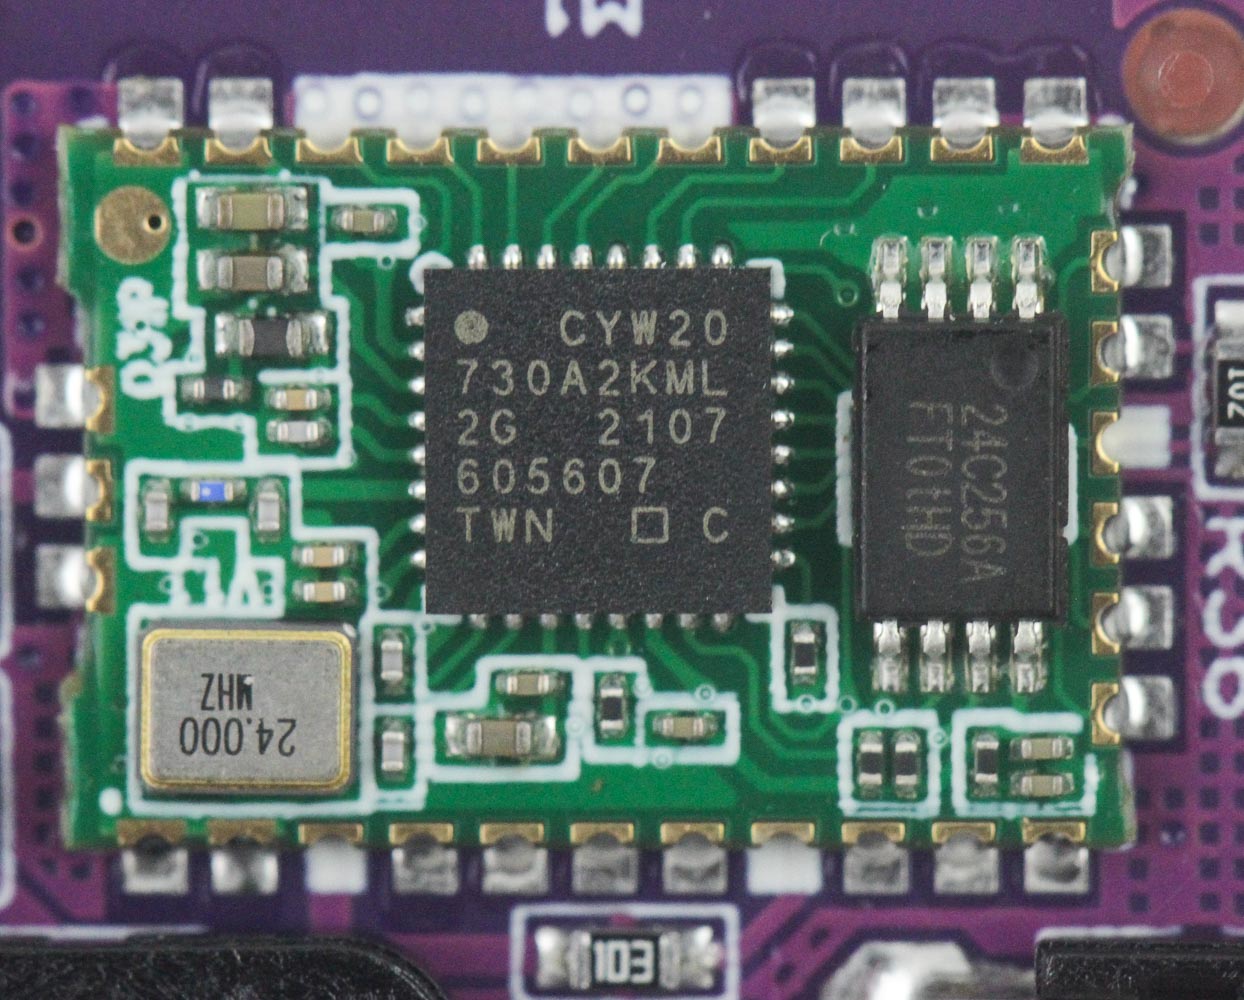
Here's a closer look at the longer screws I mentioned, as well as the associated O-ring. This side view also shows the single silicone sheet between the plate and PCB, which, as with a traditional gasket-mount design, is separate from any individual thin rubber gaskets on the edges, such as what we saw with the Glorious GMMK Pro. On the plus side, this single, large sheet should help even out any uneven typing pressure anyway. So just treat it as an isolating move and not a gasket mount in the usual manner. The PCB itself is an uncommon magenta and uses Kailh 5-pin hot-swap switch sockets. Solder quality is very good throughout; this is clearly a machine-assembled set. Powering the Epomaker Lite is a Weltrend WT58F165 32-bit USB microcontroller for the wired connectivity option. It is based on the RISC microarchitecture with up to 64 KB flash and 8 KB RAM. There are also three separate Shenzhen Sunmoon SM16159 LED drivers to run all the RGB LEDs on the keyboard. Helping out with the Bluetooth connectivity is a Cypress CYW20730 Bluetooth 5.1 transceiver for wireless connectivity. As is the norm these days, all the components, including the switch sockets, SMD RGB LEDs, and capacitors, are soldered to a multi-layered PCB.
Before we move on, be advised that disassembly may void the warranty and that TechPowerUp is not liable for any damages incurred if you decide to go ahead and do so anyway.
Jul 2nd, 2025 23:14 CDT
change timezone
Latest GPU Drivers
New Forum Posts
- Will you buy a RTX 5090? (588)
- AMD RX 7000 series GPU Owners' Club (1327)
- What's your latest tech purchase? (24189)
- RDNA 4 Fine Wine? (HUB Vid) (41)
- GravityMark v1.89 GPU Benchmark (308)
- Good time in the year to buy a new PC (5)
- The Official Thermal Interface Material thread (1767)
- What Windows is overall the best to you and why? (262)
- Nvidia drivers (6)
- How do you view TPU & the internet in general? (With poll) (54)
Popular Reviews
- ASUS ROG Crosshair X870E Extreme Review
- Crucial T710 2 TB Review - Record-Breaking Gen 5
- Sapphire Radeon RX 9060 XT Pulse OC 16 GB Review - An Excellent Choice
- PowerColor ALPHYN AM10 Review
- Upcoming Hardware Launches 2025 (Updated May 2025)
- AMD Ryzen 7 9800X3D Review - The Best Gaming Processor
- AVerMedia CamStream 4K Review
- Sapphire Radeon RX 9070 XT Nitro+ Review - Beating NVIDIA
- NVIDIA GeForce RTX 5060 8 GB Review
- AMD Ryzen 9 9950X3D Review - Great for Gaming and Productivity
TPU on YouTube
Controversial News Posts
- Intel's Core Ultra 7 265K and 265KF CPUs Dip Below $250 (288)
- NVIDIA Grabs Market Share, AMD Loses Ground, and Intel Disappears in Latest dGPU Update (212)
- Some Intel Nova Lake CPUs Rumored to Challenge AMD's 3D V-Cache in Desktop Gaming (140)
- NVIDIA GeForce RTX 5080 SUPER Could Feature 24 GB Memory, Increased Power Limits (114)
- NVIDIA Launches GeForce RTX 5050 for Desktops and Laptops, Starts at $249 (105)
- Microsoft Partners with AMD for Next-gen Xbox Hardware (105)
- Intel "Nova Lake‑S" Series: Seven SKUs, Up to 52 Cores and 150 W TDP (100)
- NVIDIA DLSS Transformer Cuts VRAM Usage by 20% (96)