 12
12
Epomaker NT68 Regular Profile Keyboard Review
Software »Closer Examination


The Epomaker NT68 follows a 65% form factor, and the key layout is different than on the GK68XS we saw before. The backspace key is further in to allow four modifier keys on the right, unlike the three on the GK/SK68. The bottom row is also more cramped with four keys to the left of the space bar and two keys to the right before the arrow keys themselves. The other rows are more or less consistent with expectations for a 65% keyboard, including a shorter R.Shift key for a single bank of keys here, unlike on some other boards we will see soon.
I have the NT68 Regular Profile, which is also different from the low-profile version in that there are two color option with either a black or silver-colored aluminium trim that has a bead-blasted finish. The keycaps are a mix of carbon/gray/red for the black case version or silver/white/red for this silver case version. The bezels are non-existent, and the beveled top and bottom edges add to this effect, making it slightly smaller even in length and width compared to the GK68XS I also have here. There are plenty of secondary and in some cases even tertiary legends aside from the usual ones. This helps easily visualize all the pre-programmed functions that bring back some of the missing functions from a TKL keyboard via layers. The macOS-centric design is all the more obvious, with the top row in particular adopting the same pre-programmed functions as on a MacBook Pro keyboard.
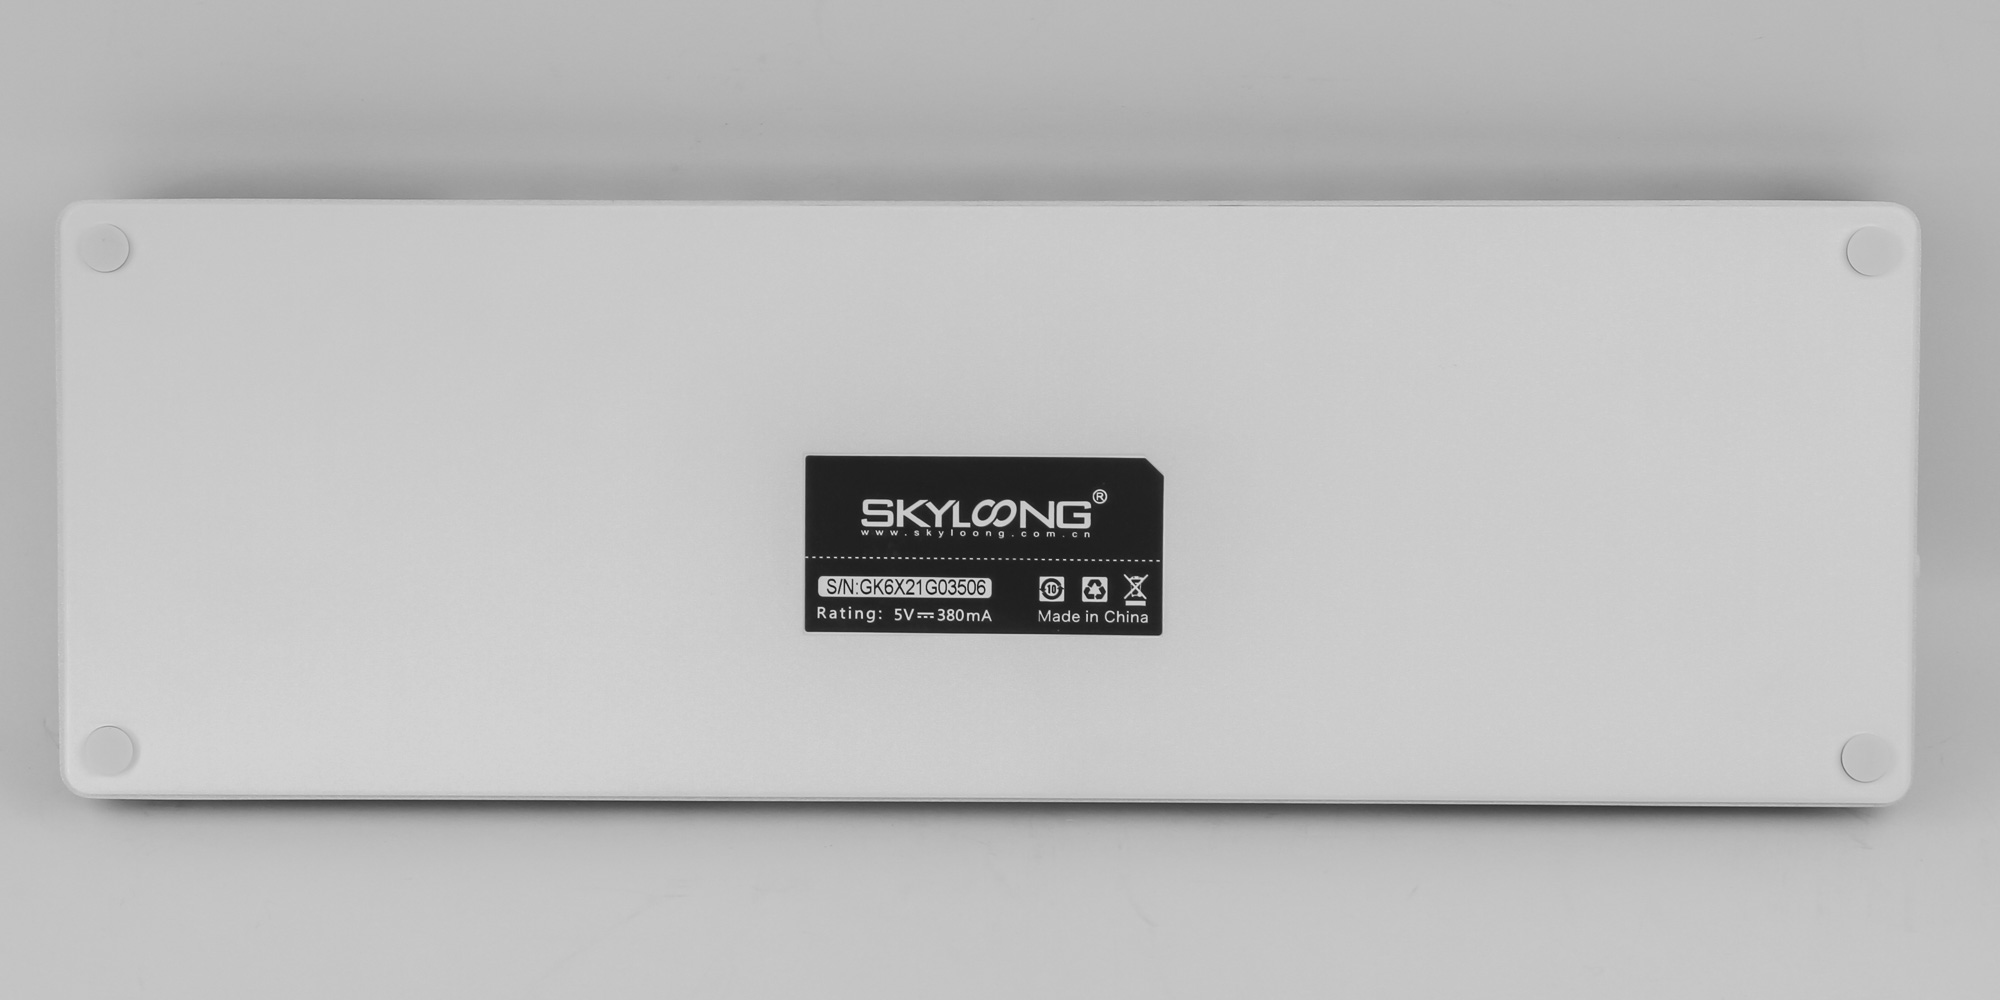
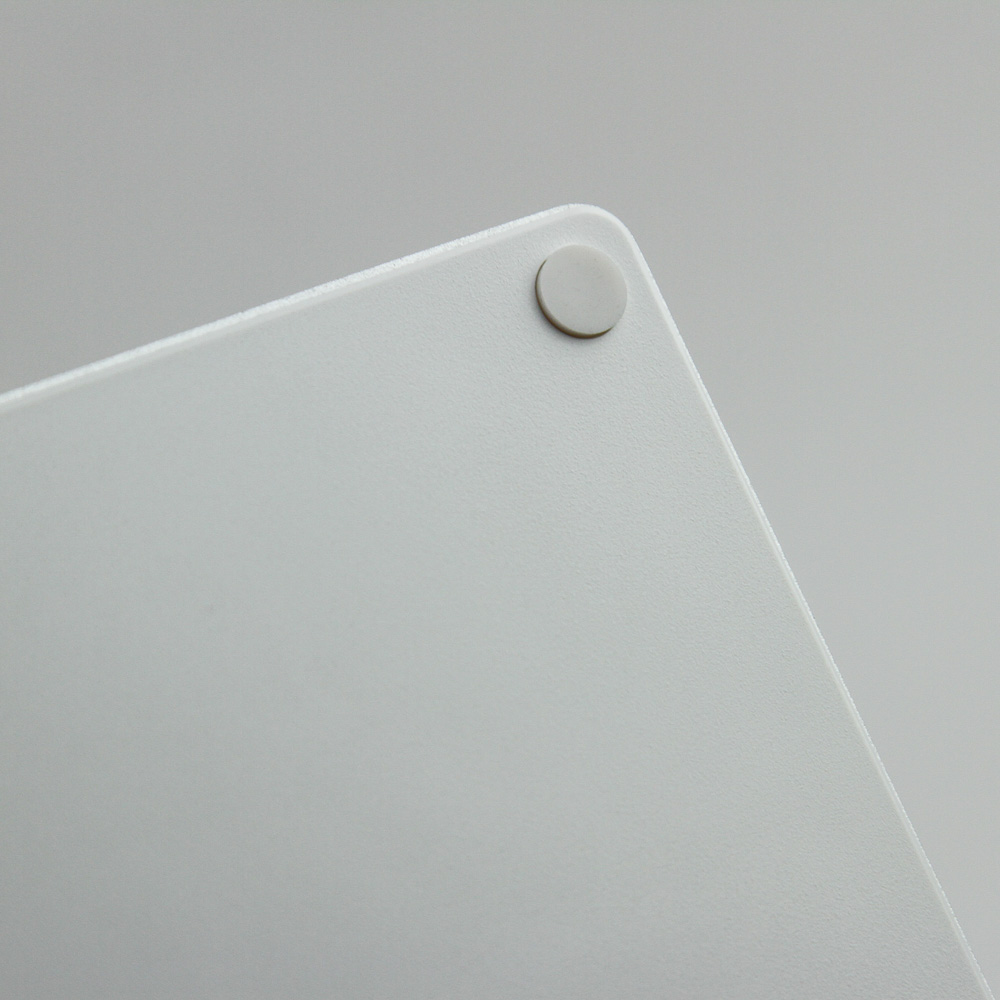
Flipping the keyboard around, we see the usual certification sticker in the middle of the white plastic case, as well as the Skyloong logo, serial number of the unit, and the power draw confirming USB 2.0 will suffice with a maximum of 380 mA needed over the 5 VDC rail. Four small round rubber pads at the corners lift the case up to prevent scratches to the plastic bottom while adding friction against the resting surface.

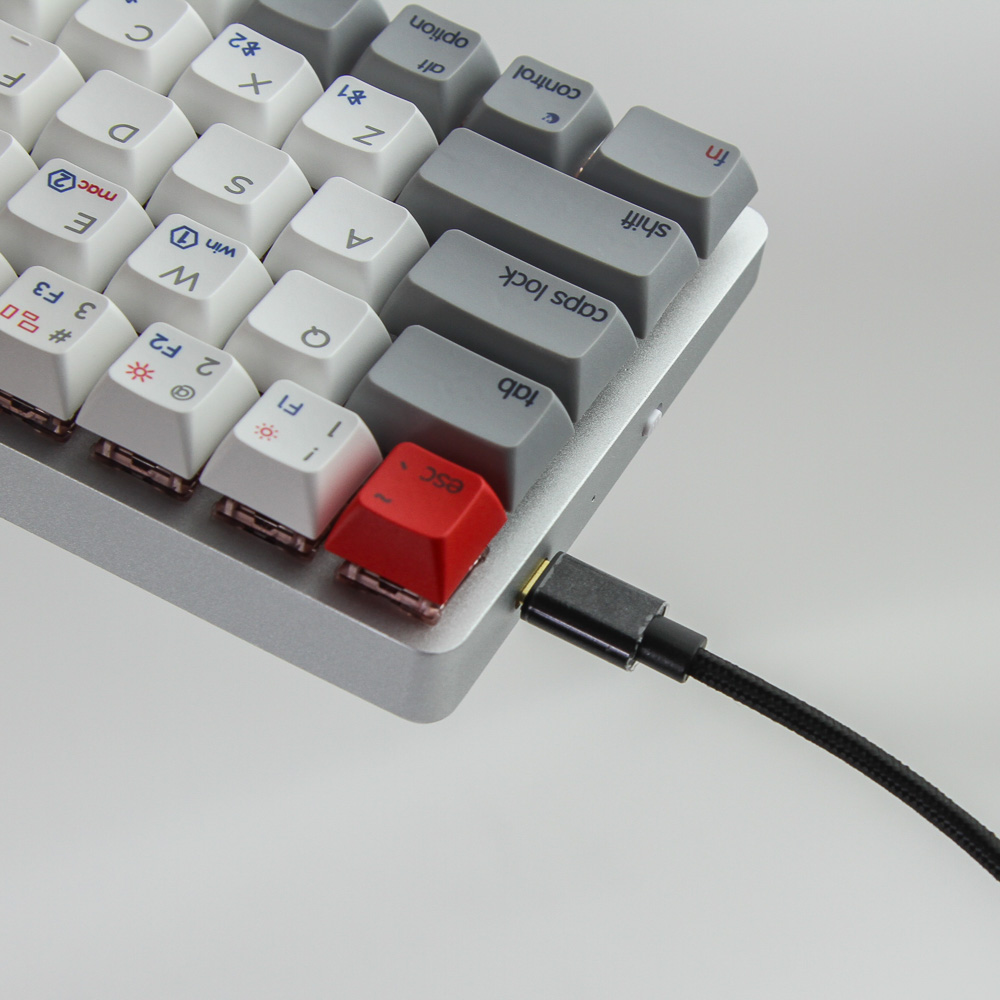
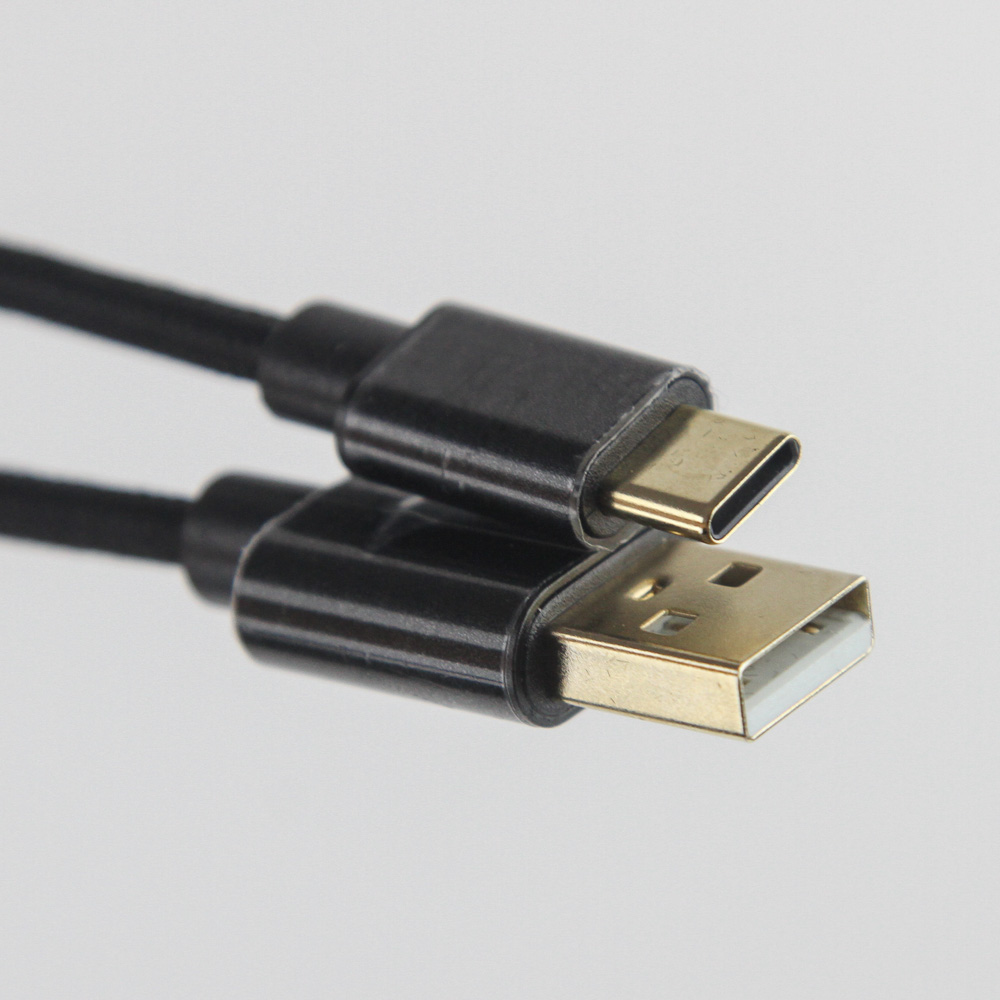
We get hybrid wired/wireless connectivity with the Epomaker NT68, with a Type-C port on the left side where the provided two short cables can be used to plug into a source right below. This is why the port is on the left side and not the usual top. There is also a dedicated slider switch to toggle Bluetooth 5.1 connectivity on/off, which is always nice to see.
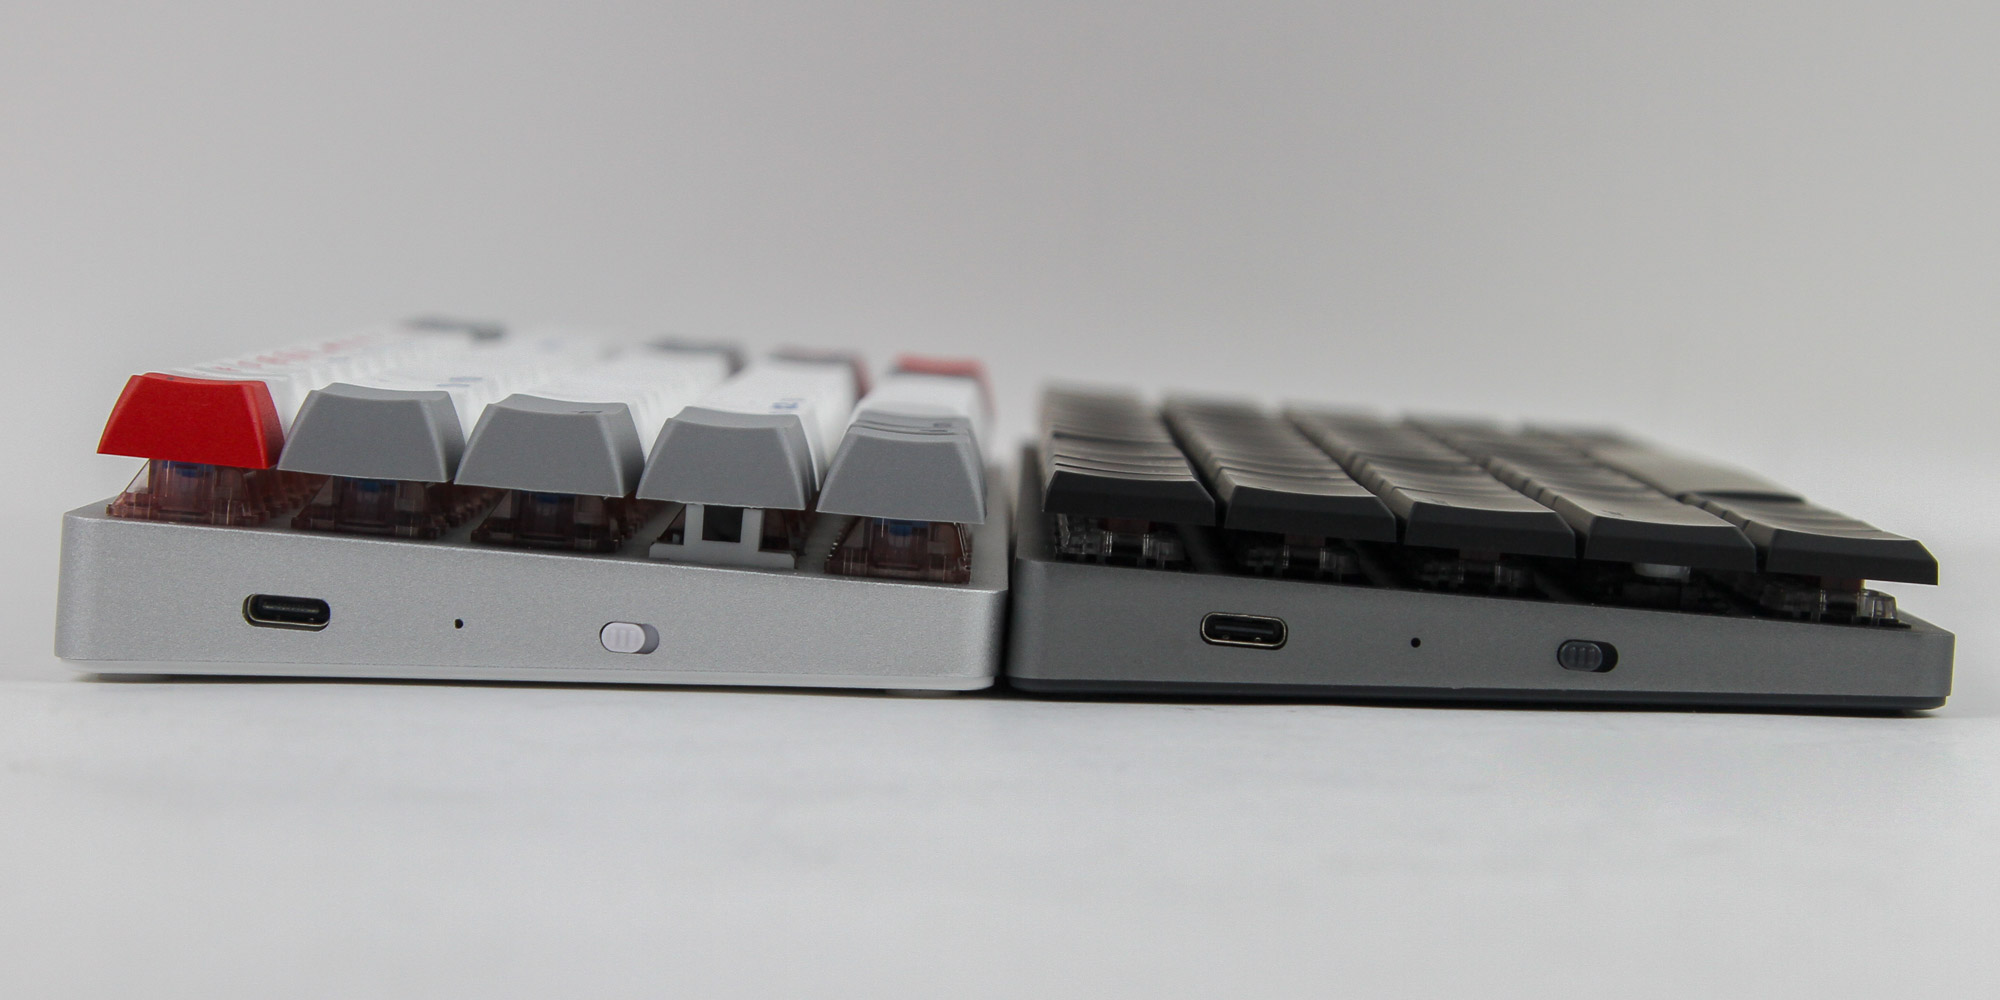

The regular version of the Epomaker NT68 is clearly taller than the low-profile version seen alongside above, but not by much. Note that the buttons on the side appear to be more centrally placed in the low-profile version, and the adoption of the low-profile keycaps also reduces the height of the low-profile version from 35/25 mm here to the 23/18 mm there. The case that comes with the NT68 is not unique on its own; we have seen similar implementations with tablets in particular. It allows for multiple configurations of the keyboard with the case either underneath or as part of a stand, and it thankfully is a far more pleasant experience with this regular version than it was on the low-profile version.


Epomaker also shows off four use cases of the stand with the NT68 regular version, and note that the low-profile version is different, as covered separately. The case on the regular version has three integrated rubber pads to hold mobile devices as in position 1, with the included white rubber pieces from the unboxing section meant to support these devices. They end up being nearly useless since they are not tacky or large enough to do anything. This keyboard series is clearly targeting MacBook users, which I understand given the lucrative market, but it means I don't have anything here to test the NT68 fully in position 3, either.
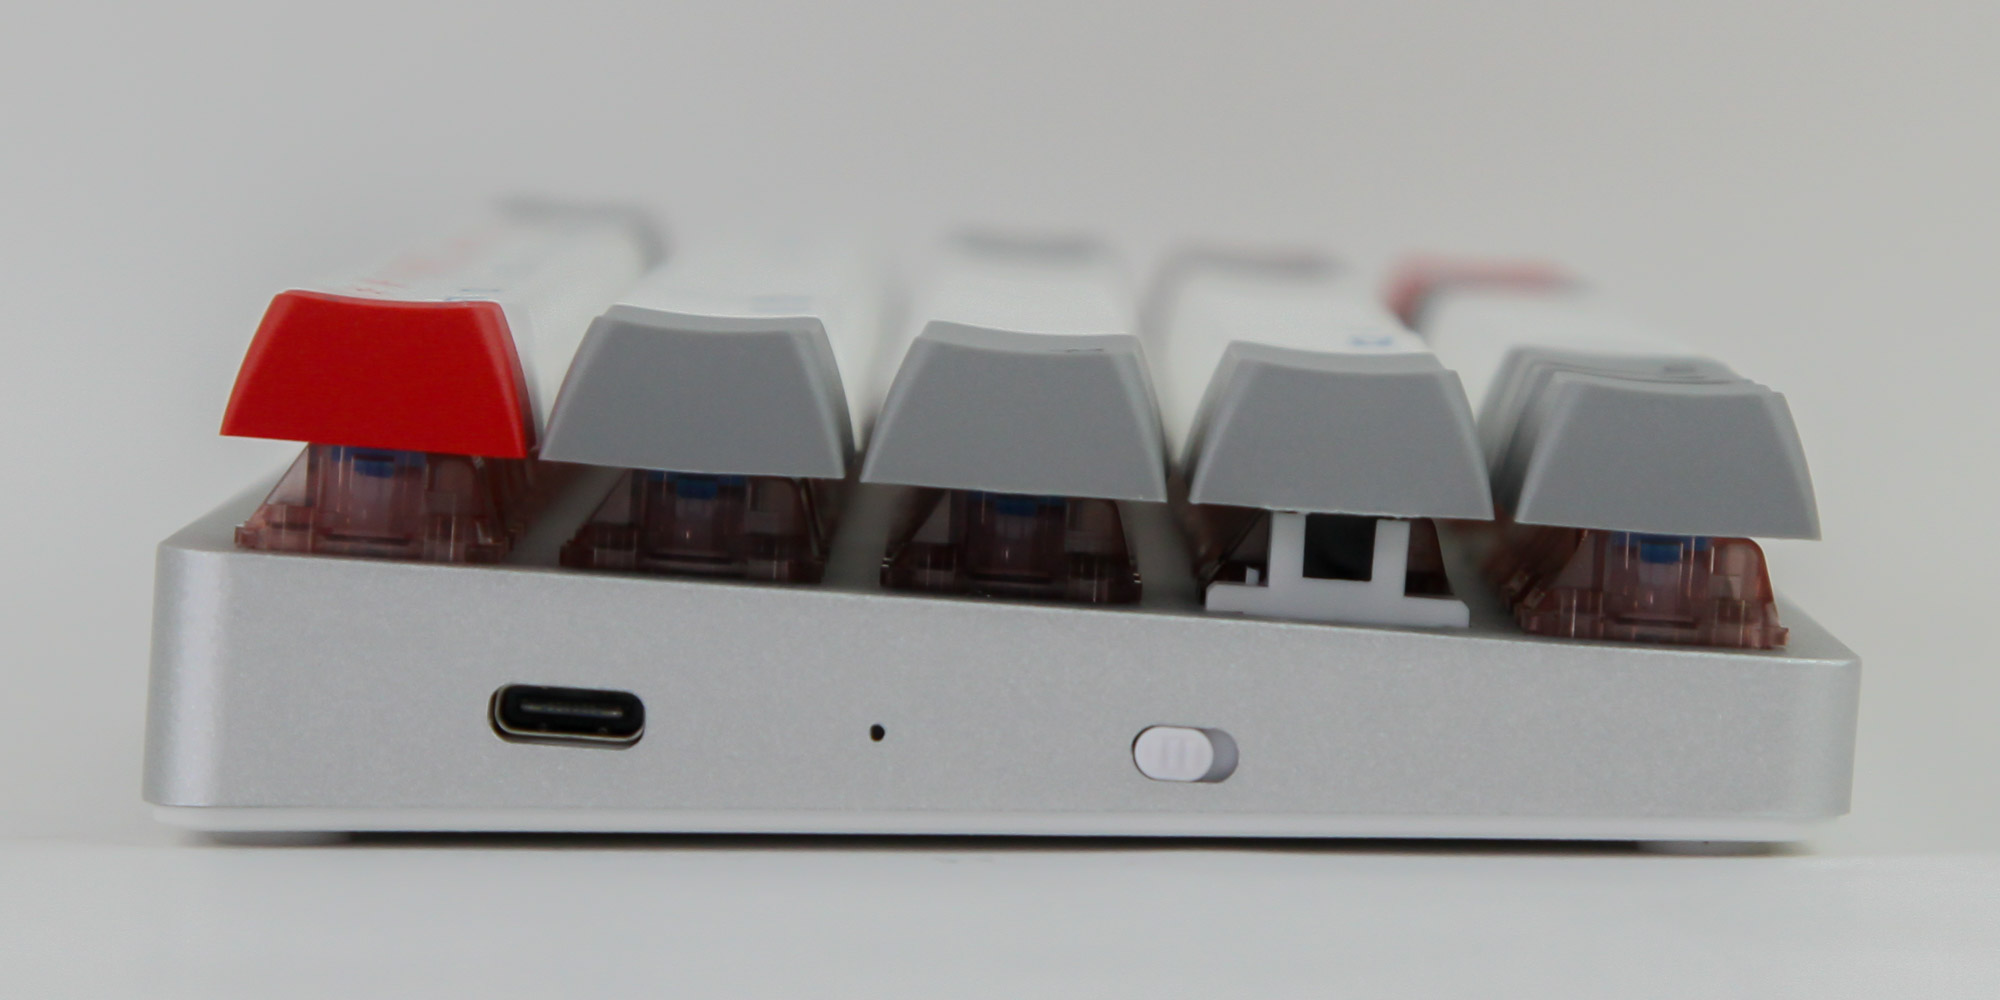

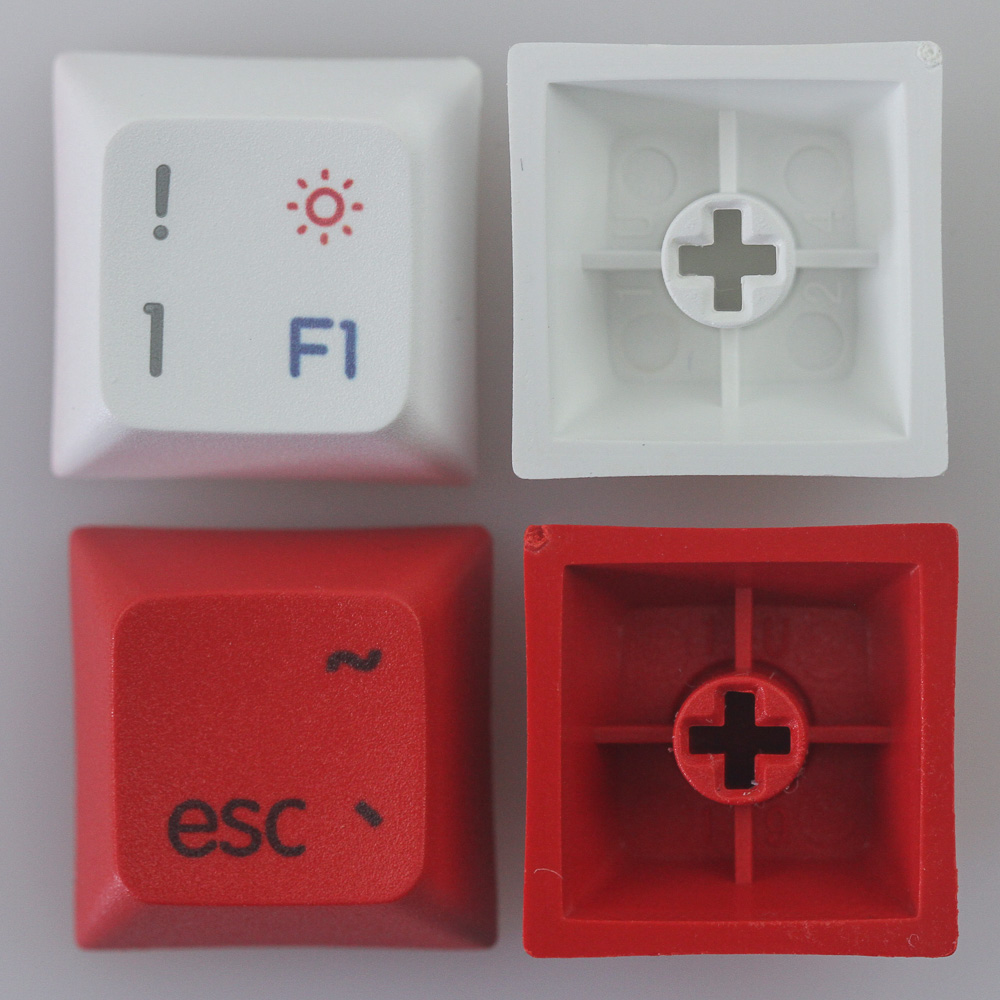
The side view shows that the regular version of the NT68 is still relatively low in profile compared to other full-size mechanical switch keyboards, with the case 16 mm at the top and just 10 mm at the bottom, and the GSA profile PBT keycaps making it 35 and 25 mm respectively. There is the slightest of contouring, which explains the differential height from the top and bottom relative to the case itself, but it is otherwise quite flat on the typing surface, making it harder to distinguish between rows when touch typing. This can, however, aid in using typing layouts other than QWERTY, which is an unexpected bonus. Unlike the low-profile version, the included keycap puller is usable here, even if not the best. The stock keycaps on this regular version are also more durable, with the other two colors also following the same dye-sublimed legends on thick PBT plastic as with the replacement ones in gray we saw before. The legends are still opaque across the board, so any lighting on offer is purely for aesthetics.
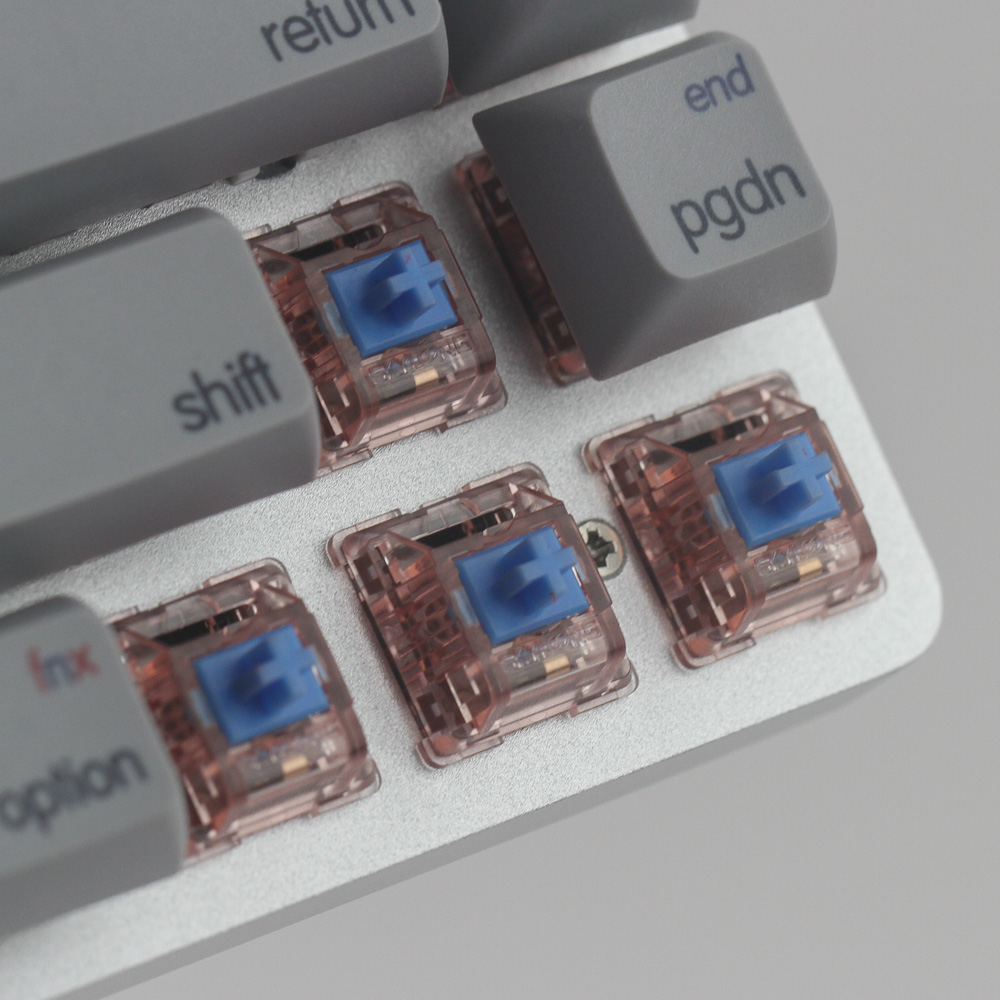
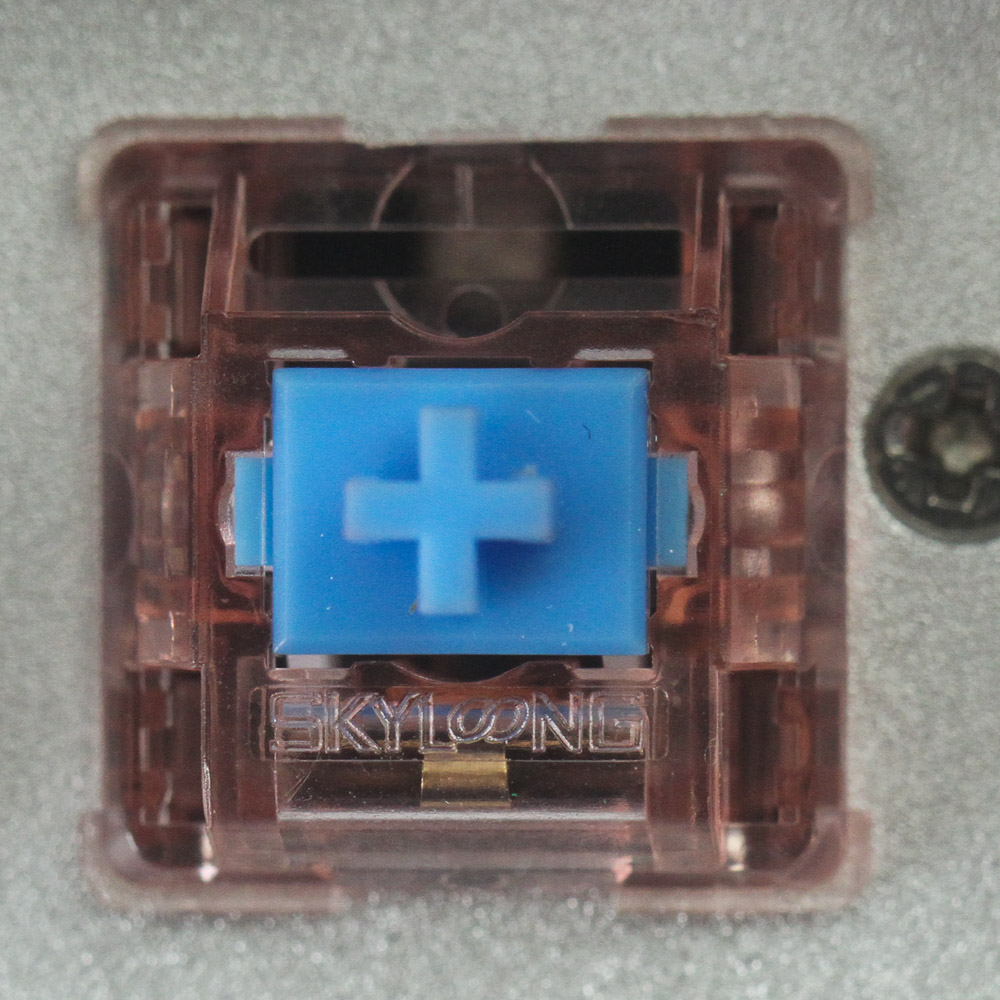

There are far more switch options with the regular NT68 compared to the low-profile one, including four from Gateron and five from the new Epomaker Chocolate series, which are now just referred to as Chocolate switches. Being hot-swappable also means you have plenty other aftermarket switch options. I have the Chocolate Blue switches on my sample. These are characterized by the blue stem placed inside the same light pink housing as on the chocolate optical switches used on my Epomaker AK84S sample from earlier this year. But gone is the GK branding. Instead, we see "Skyloong" printed on the switch housing. This may explain the lack of Epomaker branding for the switches and is another clear sign of Epomaker effectively being a label for Skyloong for these switches and several retail products. The larger keycaps use plate-mounted Cherry-style stabilizers, which come lubed, too. The amount of lube was well-applied across all the stabilizers, albeit with enough disparity to show that this was a manual job.


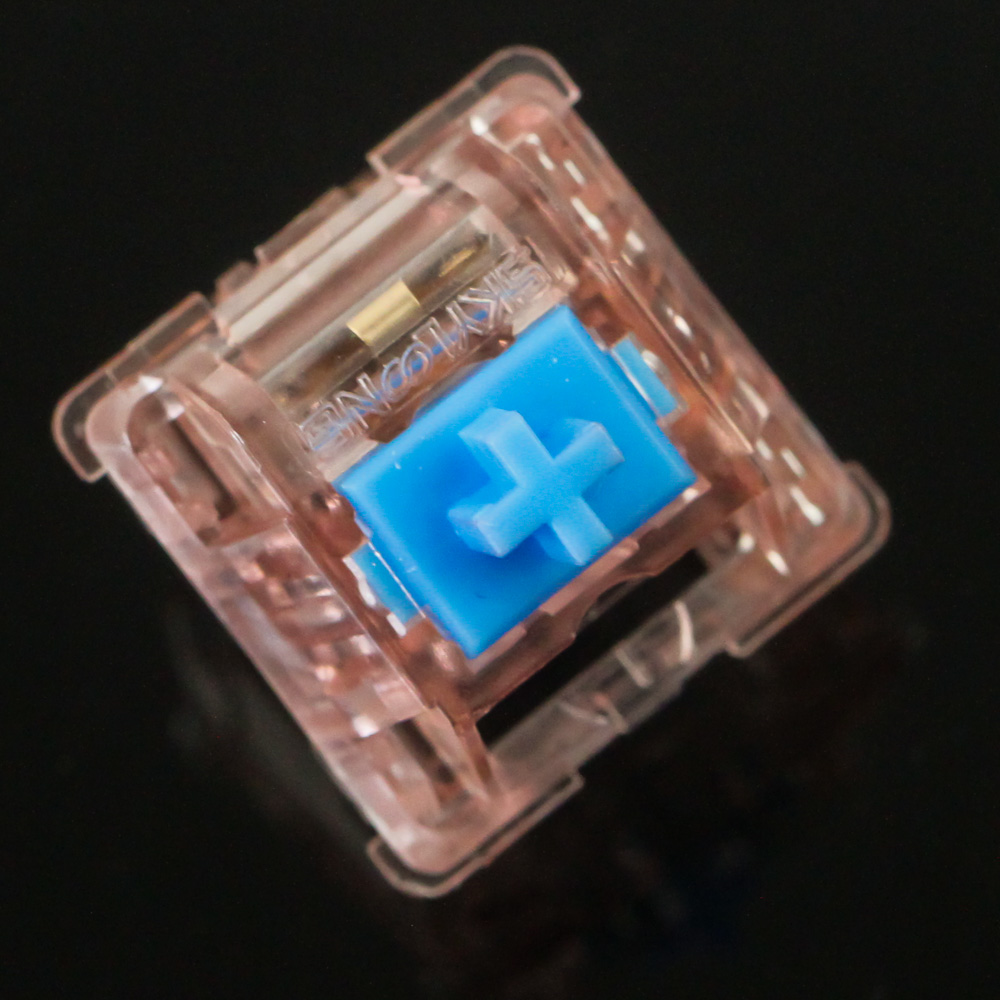

The provided switch remover works as expected in hooking into two notches at the top and bottom of each switch to pull one out for closer examination, which also reveals the 5-pin mechanical switch socket. This means you can use any 3-pin (or clipped 5-pin) mechanical switches conforming to the MX style and form factor on the Epomaker NT68, which is always nice to see. With an example switch removed, we get a closer look at the Chocolate Blue mechanical switch, which is a 3-pin RGB-compatible switch in that the top is translucent and has a diffuser in the bottom housing for light from the SMD RGB LED in the socket below to shine through.


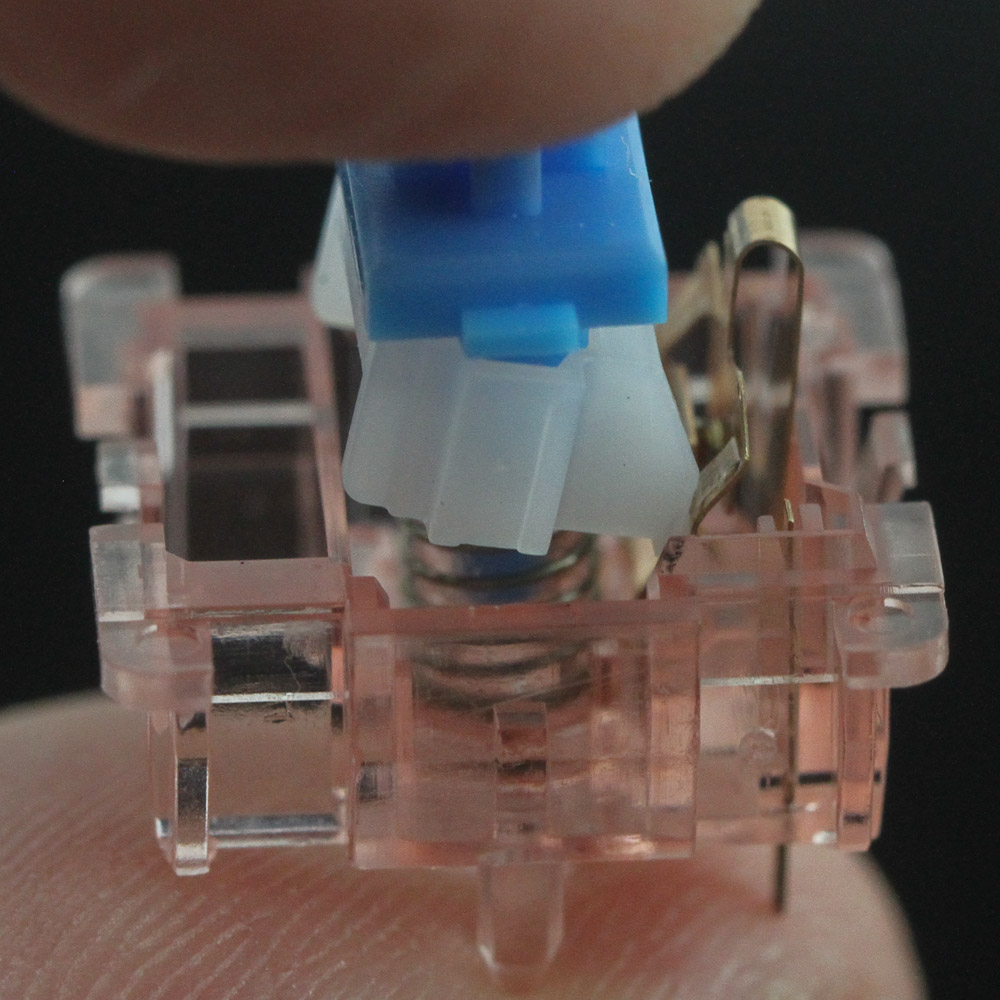
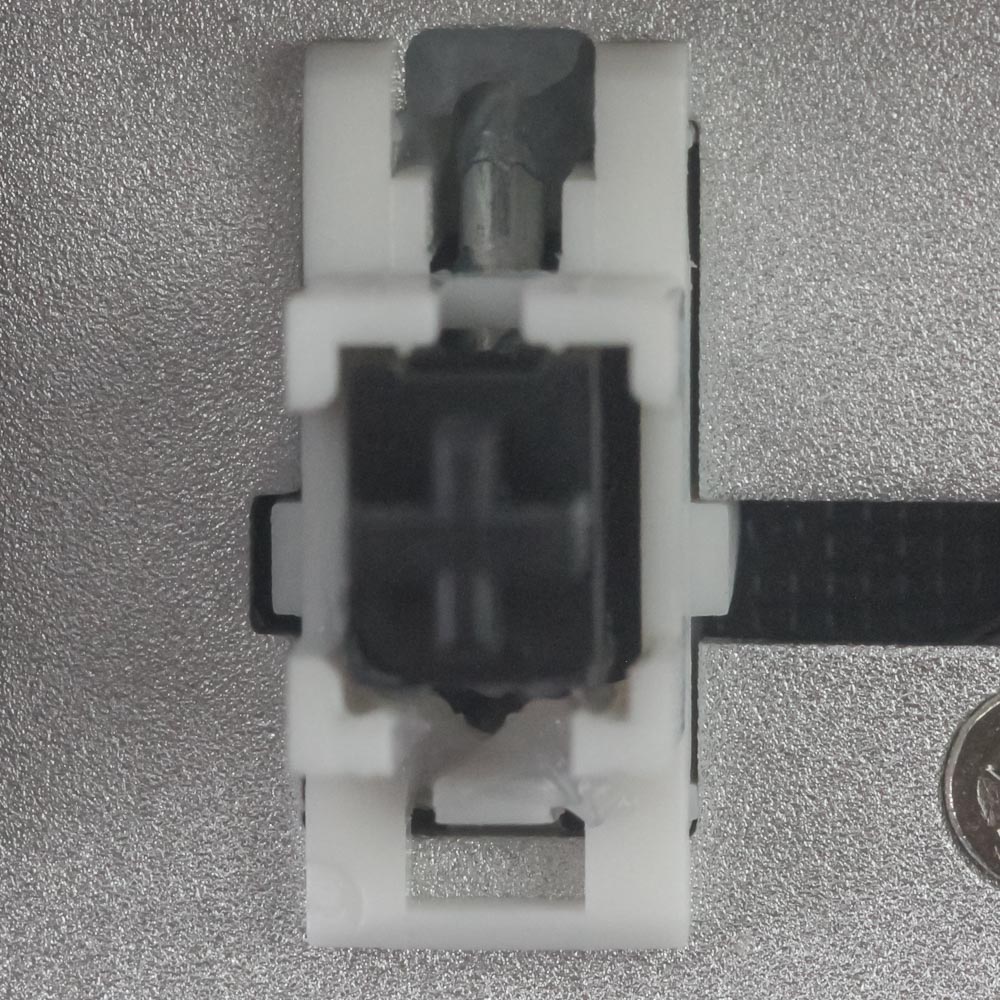
Since the PCB is effectively the same across both NT68 versions, I did not want to repeat the whole disassembly process and refer you to this page for more on what powers these keyboards. The switches are different, so seen above is one example Chocolate Blue mechanical switch taken apart. It looks no different from most MX Blue-style tactile and clicky switches with even a similar white bumper over the slider for the clicky feedback, and as per usual for clicky switches not to affect the feedback, no lube has been applied. The spring is different from the Chocolate optical switches we saw before, going back to the usual native steel color. Actuation is also quite identical to other such tactile and clicky switches, with the bumper and an integrated bump on the slider making contact with one section of a metal leaf placed in the bottom housing, which then gets pressed in to touch the other section and complete the circuit for actuation that is read by the USB microcontroller on the PCB itself.
Mar 4th, 2025 14:02 EST
change timezone
Latest GPU Drivers
New Forum Posts
- AMD Path Tracing Toyshop Demo (11)
- Windows 11 General Discussion (5786)
- 9070 and 9070XT power consumption leaked by HUB (19)
- Easy to open wired mice (16)
- Will I benefit from changing the thermal pad? (6)
- Cryptocoin Value and Market Trend Discussion (1616)
- TPU's Nostalgic Hardware Club (20037)
- WD Black or Gold for Gaming (10TB) (19)
- Original VBIOS "RX 590 GME" requested (8)
- *Severe micro stutters* cyberpunk 2077 Please help (20)
Popular Reviews
- AMD Radeon RX 9070 Series Technical Deep Dive
- NVIDIA GeForce RTX 5070 Founders Edition Review
- EIZO FlexScan EV4340X Review - A Multitasking Powerhouse
- ASUS GeForce RTX 5070 Ti TUF OC Review
- RAWM ES21M Review
- AMD Ryzen 7 9800X3D Review - The Best Gaming Processor
- be quiet! Pure Base 501 DX Review
- MSI GeForce RTX 5070 Ti Vanguard SOC Review
- MSI GeForce RTX 5070 Ti Ventus 3X OC Review
- ASUS ROG Harpe Ace Mini Review
Controversial News Posts
- NVIDIA GeForce RTX 50 Cards Spotted with Missing ROPs, NVIDIA Confirms the Issue, Multiple Vendors Affected (513)
- AMD Plans Aggressive Price Competition with Radeon RX 9000 Series (277)
- AMD Radeon RX 9070 and 9070 XT Listed On Amazon - One Buyer Snags a Unit (260)
- AMD Mentions Sub-$700 Pricing for Radeon RX 9070 GPU Series, Looks Like NV Minus $50 Again (248)
- NVIDIA Investigates GeForce RTX 50 Series "Blackwell" Black Screen and BSOD Issues (244)
- AMD RDNA 4 and Radeon RX 9070 Series Unveiled: $549 & $599 (235)
- AMD Radeon RX 9070 and 9070 XT Official Performance Metrics Leaked, +42% 4K Performance Over Radeon RX 7900 GRE (195)
- AMD Radeon RX 9070-series Pricing Leaks Courtesy of MicroCenter (158)