 14
14
HyperX Alloy Elite Keyboard Review
Disassembly »Closer Examination
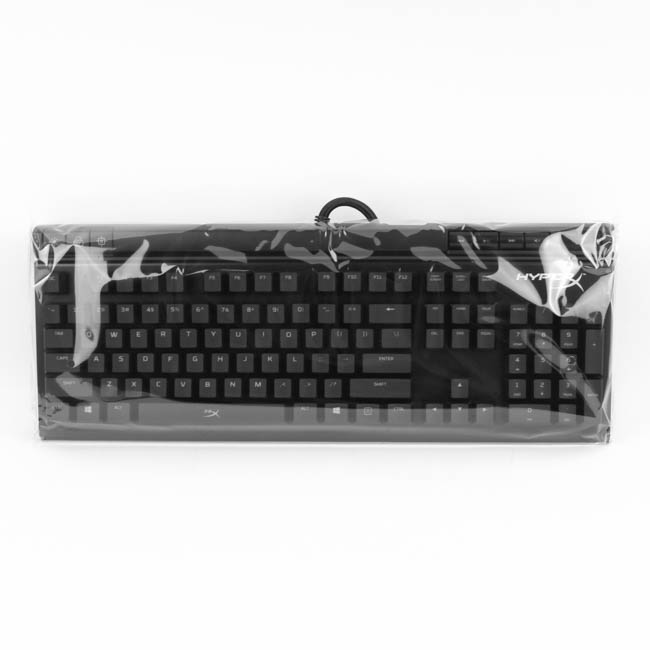
The plastic sheet over the keyboard helps keep it pristine and free of dust, as upon removing the keyboard, we see the stainless steel frame on the front first and foremost. This frame looks great, but it unfortunately does catch dust and fingerprints similar to most other metal-frame keyboards. A quick wipe with a microfiber cloth will help here though.
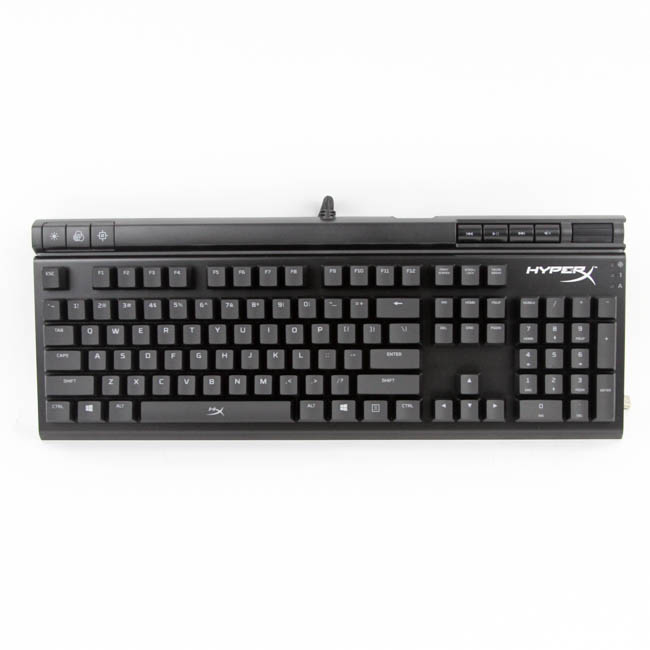
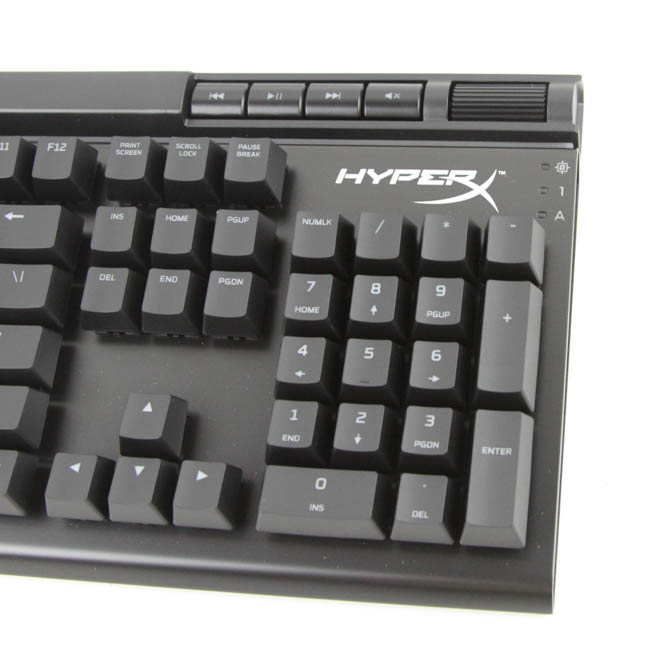
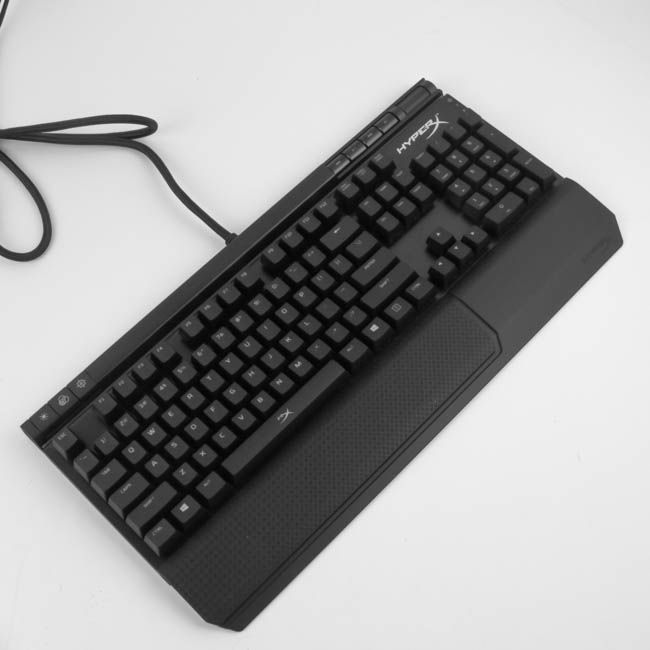
The Alloy Elite is a full-size, larger-than-average form factor keyboard with an entirely black color scheme. There is the HyperX logo in the top-right corner, as seen from the front, and the extra set of dedicated media buttons alongside those is part of the reason you will need to dedicate more space on your desk to this keyboard relative to most others, especially if you plan to use the provided wrist rest as well. As a result of these taking up the space where the indicator LEDs would normally go, HyperX has moved the latter to the side instead. Bezel space outside of these is average in size, but at this point, that is hardly a concern anymore.
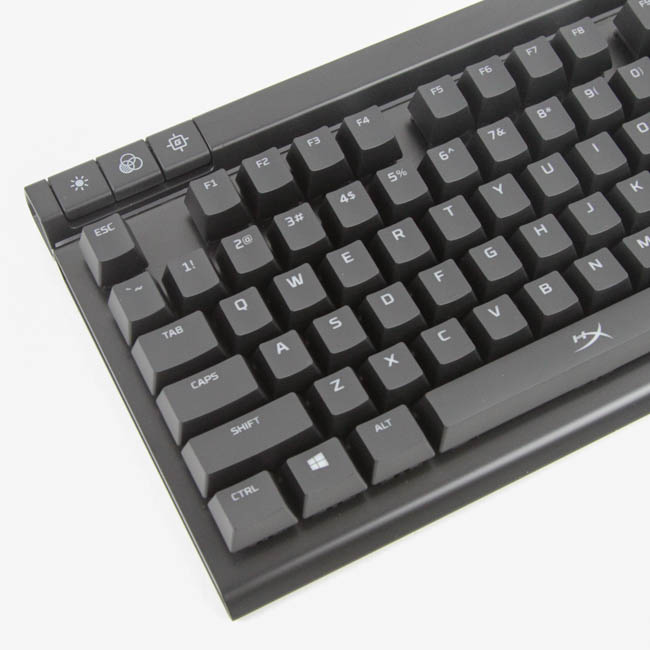
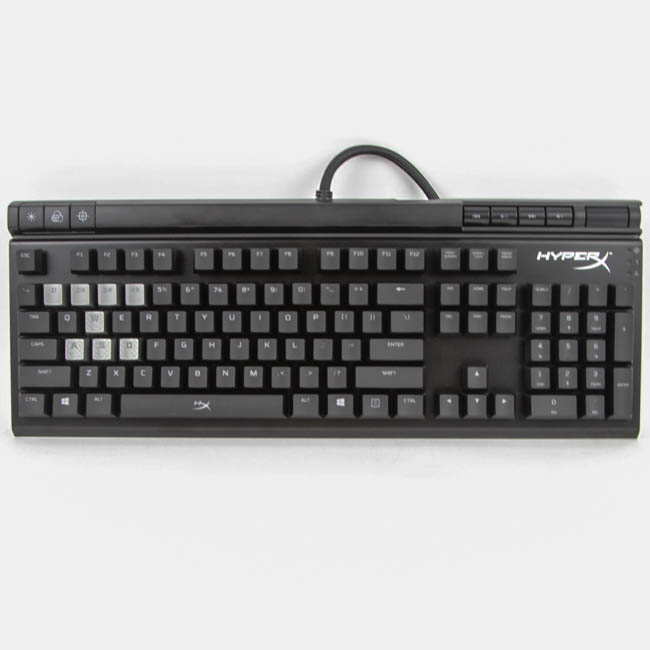
Secondary legends are below the primary ones on the Num Pad and alongside the primary legends in the alphanumeric section. This means LEDs are located on top of the switches, given the non-RGB-backlit nature of the keyboard. The typeface is clean, and there is nothing aggressive in the design to where this comes off as unprofessional if you were to take it to work. There are three more buttons - all membrane switches - in the top-left corner for lighting control, and we will examine these in more detail later.
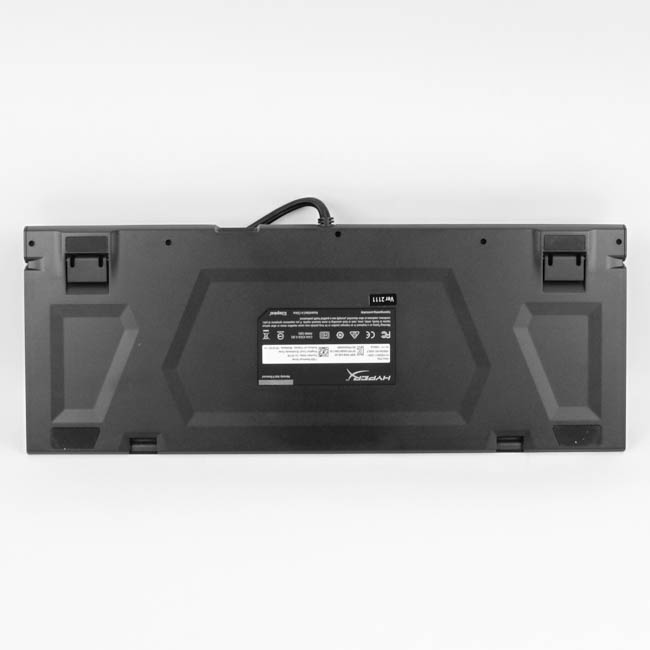

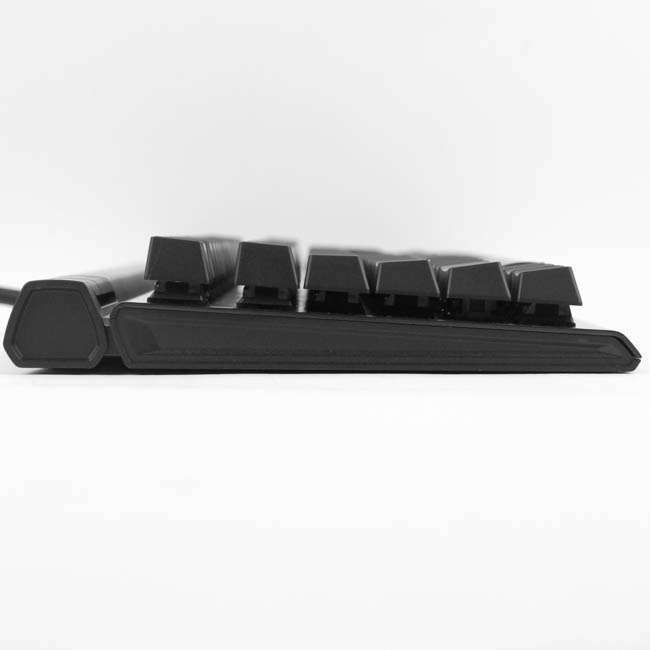
On the back, we see a label in the middle with the company logo, certification stickers, and the unit's serial number. There are cutouts in the ABS plastic case that don't serve any real purpose, so I can only assume it is a design choice. The keyboard has four rubber pads on the corner and, also given its size, is not going to budge at all on your average desk surface, which is nice. The two feet can be raised to elevate the keyboard if need be, and we also see that the feet have very thick pads to prevent scratches and provide more friction for when in use.
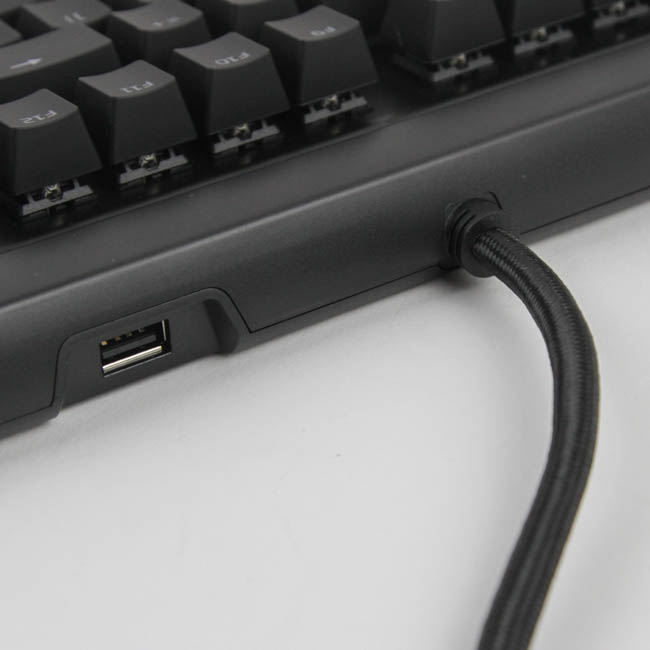
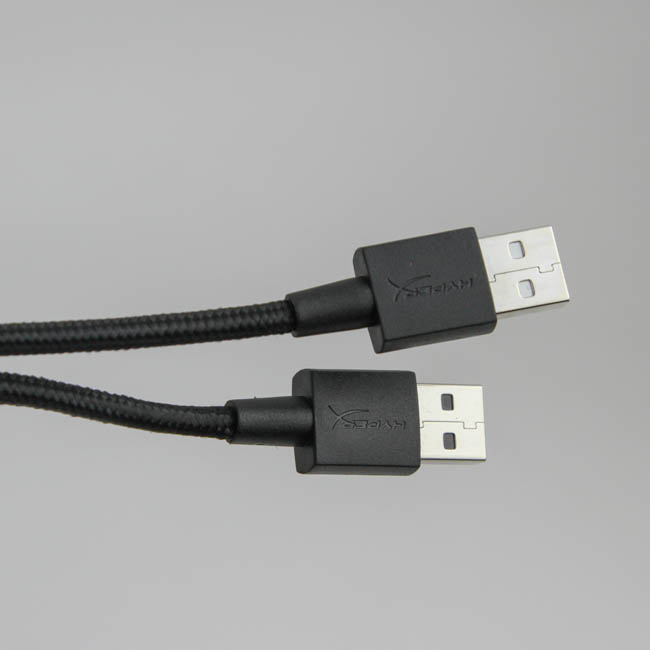
The keyboard's cable is non-detachable and comes out of a cutout in the middle at the top. There are no cable-routing options here unfortunately, which would have helped manage the 6' long, thick, and braided cable in instances where you do not need all that length or have something in the middle blocking the cable's path. The cable terminates in two separate standard male USB Type-A connectors. HyperX should have labelled which one is which since one is for the keyboard itself and the other is a pass-through for the port next to where the cable comes out at the top, as seen above. USB 2.0 will suffice for power and functionality here given the single-color backlighting, and I am also only seeing USB 2.0 functionality with the pass-through port. It will more than suffice for an additional peripheral, but be wary of this limitation if using it with a USB 3.0 device/hub.
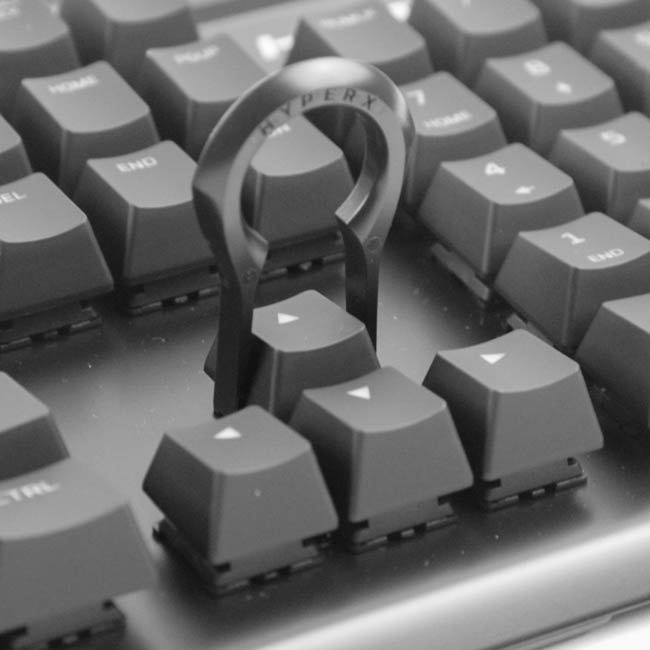

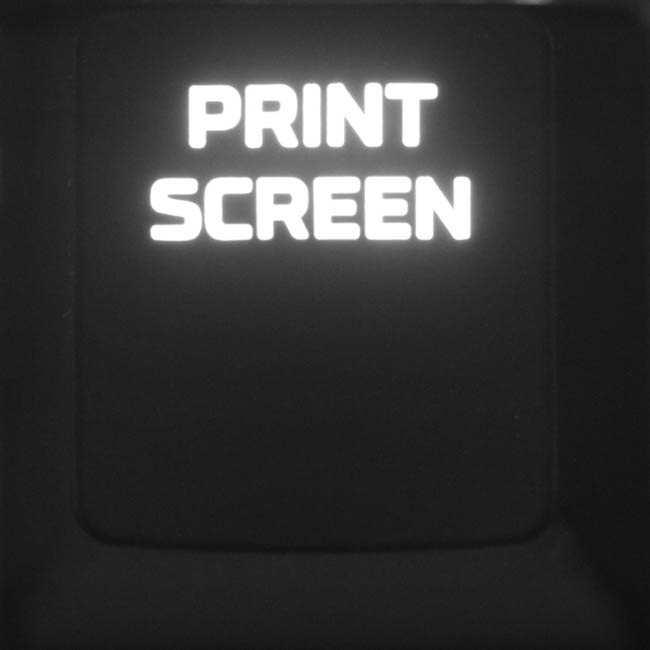
The keycaps follow an OEM profile we associate with Cherry MX and Cherry MX-type switch keyboards, and they are indeed sculpted with a concave top surface and are staggered, which makes it very easy to switch to the HyperX Alloy Elite if you have used a similar keyboard before. The keycaps are made out of ABS plastic (average wall thickness 0.98 mm here), and the legends are laser etched similar to the replacement keycaps we saw before. As expected, backlighting favors the legends at the top, which bodes well for the primary legends and the secondary legends next to them, but leaves the other secondary legends lit up less uniformly. In a keyboard with nothing but red backlighting, the lower brightness on the secondary legends can make them appear orange to the naked eye. We will examine this in more detail in due time. The bottom row is "standard" in that you have a lot of replacement keycap sets to choose from if you so desire.
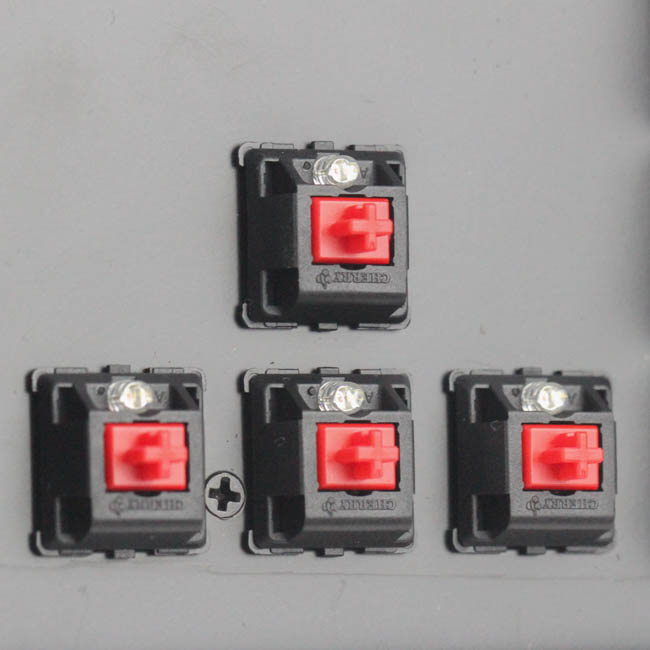
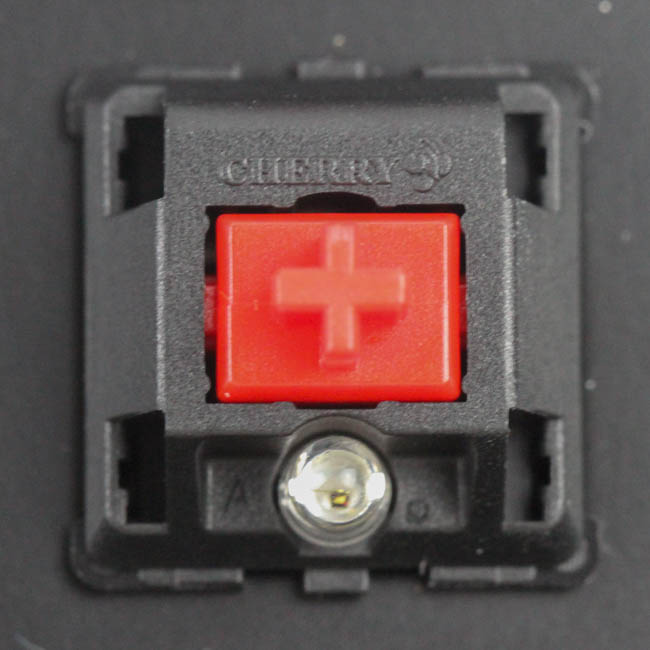
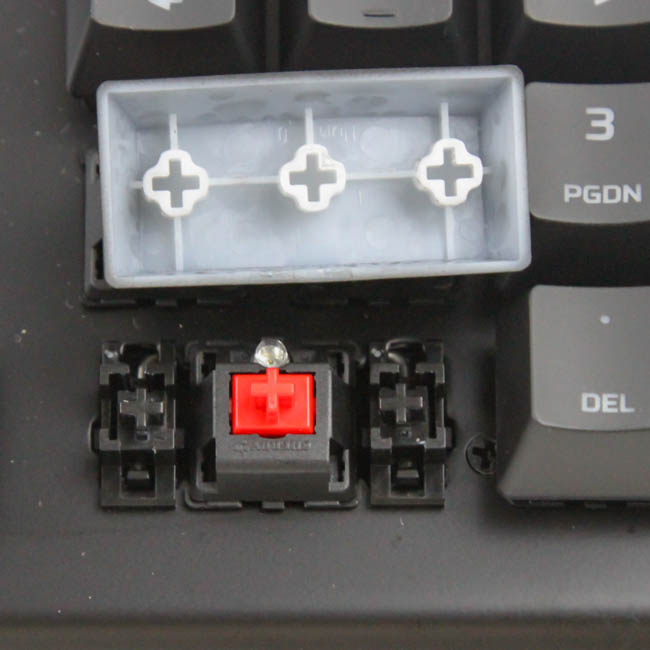
The HyperX Alloy Elite uses Cherry MX switches, and this sample has Cherry MX Red switches. These are not the RGB switch variants and thus use the black, opaque housings. The LEDs are mounted separately and at the top, which is as expected as well. The larger switches have Cherry stabilizers as well, which, along with the floating keycaps, makes removing and installing them easier while also providing an underglow lighting effect. No real concern with light bleed here given the single-color LEDs.
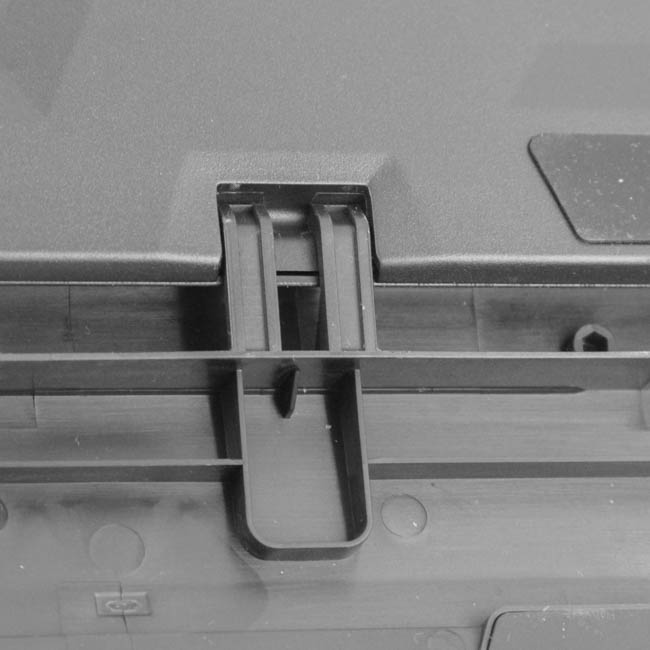

Here is a look at the wrist rest and replacement keycaps in action. The wrist rest simply clips into place in two places at the back and is fairly secure when installed. As with most replacement keycaps, the stems of the switches go in tighter in these than the stock keycaps so be careful when removing them. Use the keycap puller and wiggle them sideways when pulling out to lower the risk of breaking the switch assembly underneath.
Jul 3rd, 2025 03:29 CDT
change timezone
Latest GPU Drivers
New Forum Posts
- What's your latest tech purchase? (24190)
- Your PC ATM (35483)
- Gigabyte graphic cards - TIM gel SLIPPAGE problem (107)
- How reliable is Windows 11 Defender "Full" scan? (29)
- New build airflow question (4)
- NVIDIA App (42)
- The TPU UK Clubhouse (26547)
- Super-slow WiFi (8)
- HP Zbook 15 G2 GPU Upgrade (7)
- Game Soundtracks You Love (1082)
Popular Reviews
- ASUS ROG Crosshair X870E Extreme Review
- Crucial T710 2 TB Review - Record-Breaking Gen 5
- PowerColor ALPHYN AM10 Review
- Sapphire Radeon RX 9060 XT Pulse OC 16 GB Review - An Excellent Choice
- Upcoming Hardware Launches 2025 (Updated May 2025)
- AMD Ryzen 7 9800X3D Review - The Best Gaming Processor
- AVerMedia CamStream 4K Review
- Sapphire Radeon RX 9070 XT Nitro+ Review - Beating NVIDIA
- NVIDIA GeForce RTX 5060 8 GB Review
- AMD Ryzen 9 9950X3D Review - Great for Gaming and Productivity
TPU on YouTube
Controversial News Posts
- Intel's Core Ultra 7 265K and 265KF CPUs Dip Below $250 (288)
- NVIDIA Grabs Market Share, AMD Loses Ground, and Intel Disappears in Latest dGPU Update (212)
- Some Intel Nova Lake CPUs Rumored to Challenge AMD's 3D V-Cache in Desktop Gaming (140)
- NVIDIA GeForce RTX 5080 SUPER Could Feature 24 GB Memory, Increased Power Limits (115)
- NVIDIA Launches GeForce RTX 5050 for Desktops and Laptops, Starts at $249 (105)
- Microsoft Partners with AMD for Next-gen Xbox Hardware (105)
- Intel "Nova Lake‑S" Series: Seven SKUs, Up to 52 Cores and 150 W TDP (100)
- NVIDIA DLSS Transformer Cuts VRAM Usage by 20% (96)