 7
7
In Win BUC Review
Value & Conclusion »Assembly
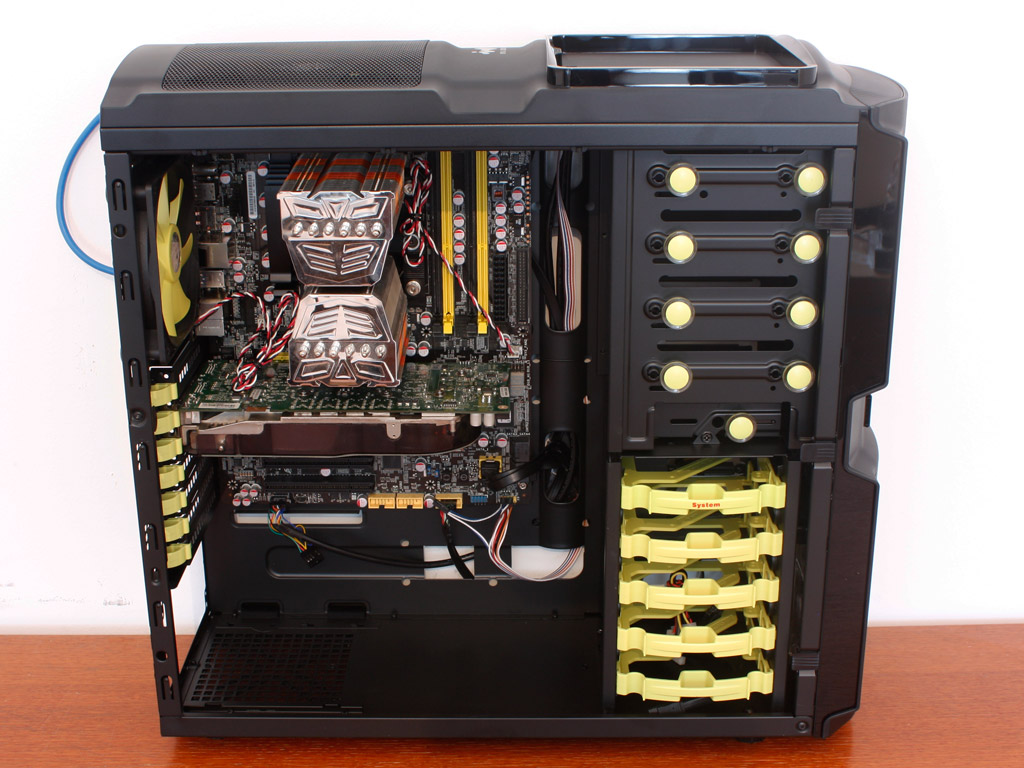
Installing the mainboard is done quickly as you simply secure the board on the little "pyramids" of the mainboard tray. Since the chassis is quite compact, you will have to watch out that your graphics card does not exceed roughly 300 mm in length, but there is plenty of space for the large CPU cooler as long as you don't place a fan in the top spot of the side panel.
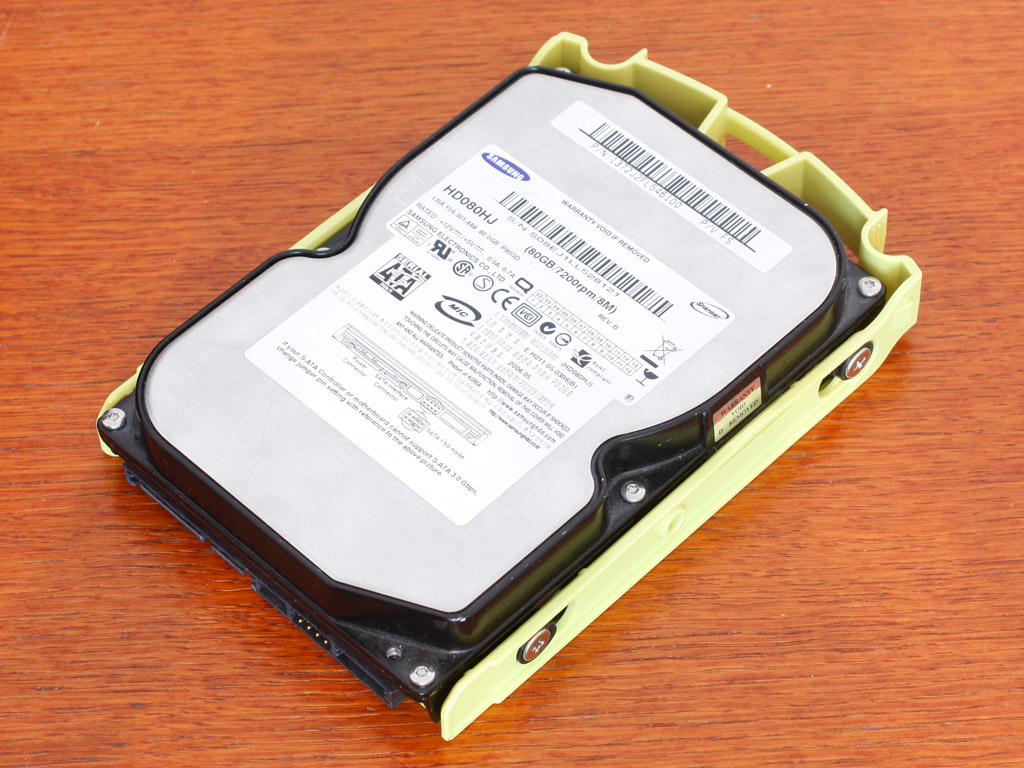
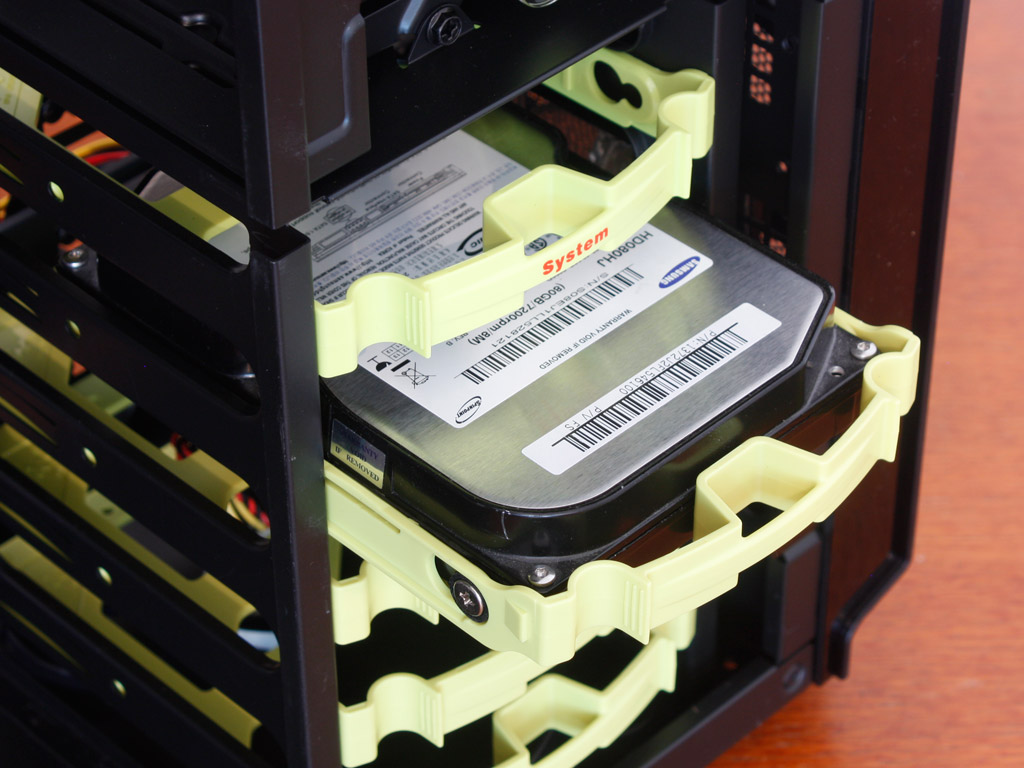
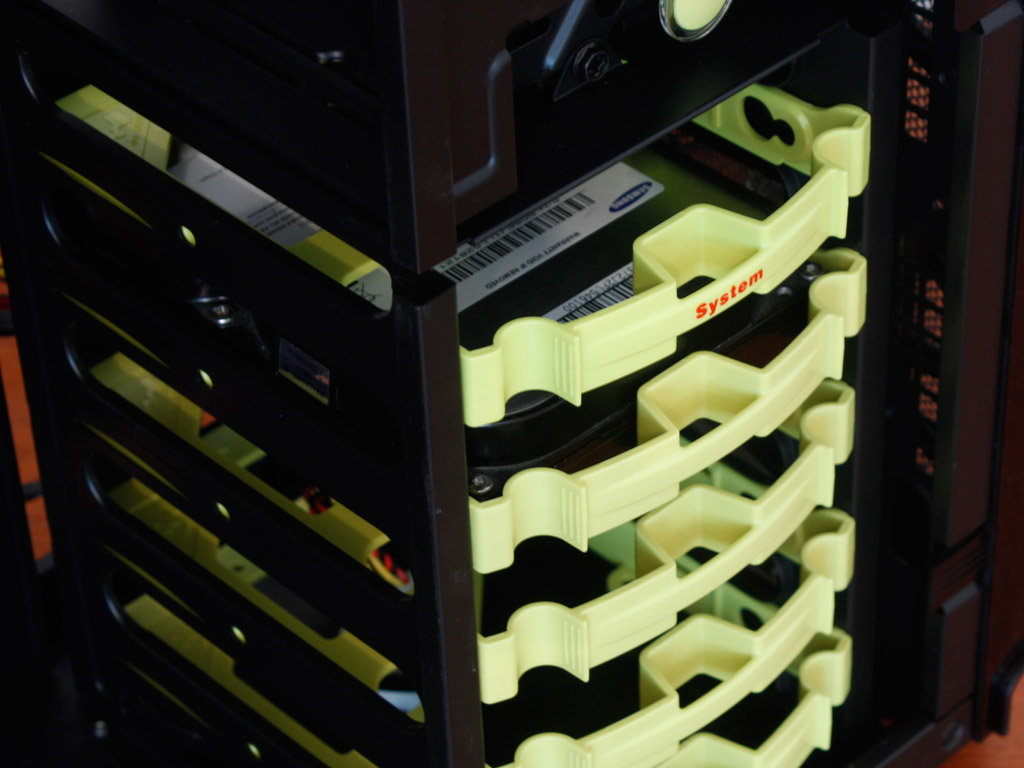
Installing the hard drive means prepping the trays first. They ship bare, so that you need to apply the rubber rings first, then place the drive in the tray and secure it with the special screws. Once done you can slide the unit back into place, which requires a lot of force. Best way to do it, seems to pull the middle portion of the tray so the edges collapse a bit. Upside is - of course - that you won't have to worry about the drives during transportation.
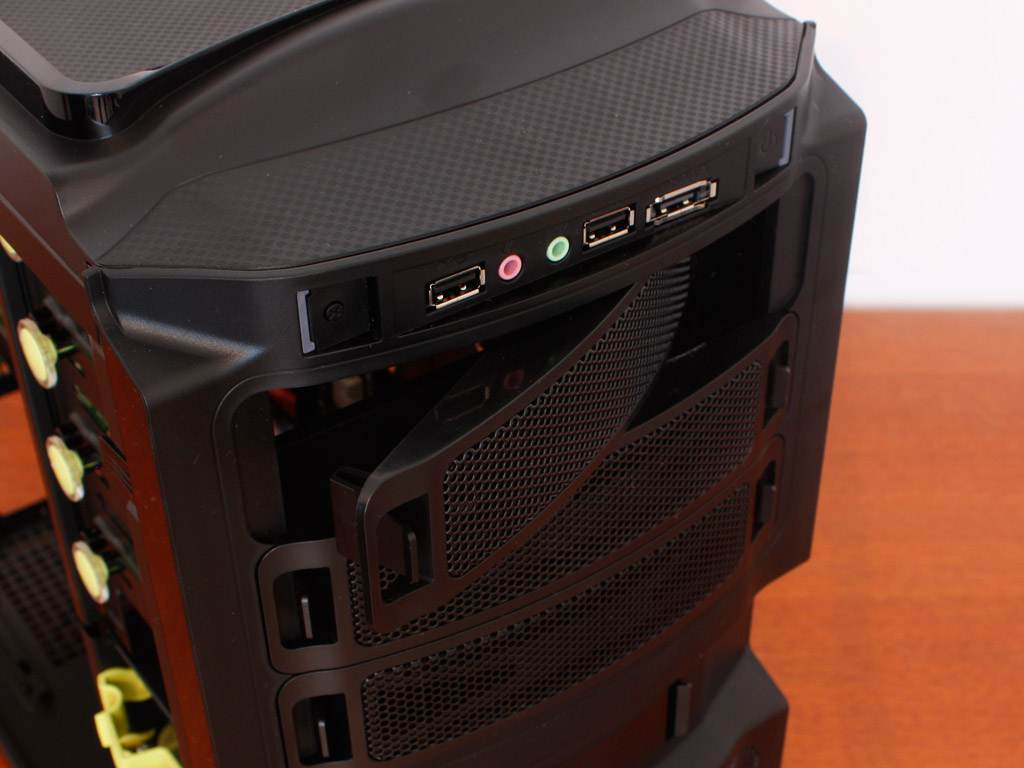
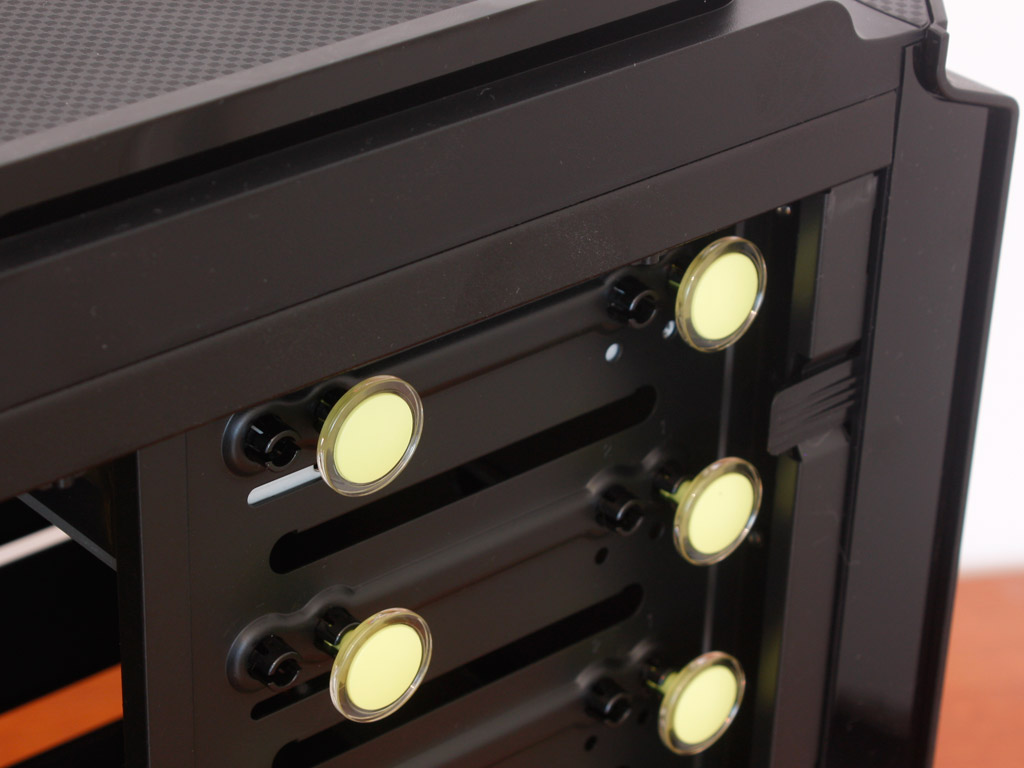
Installing the optical drive is extremely easy and does not require any tools. Simply take off the clipped covers of the desired bay, slide the drive in and push the neon green pins down. This holds the entire drive well enough.
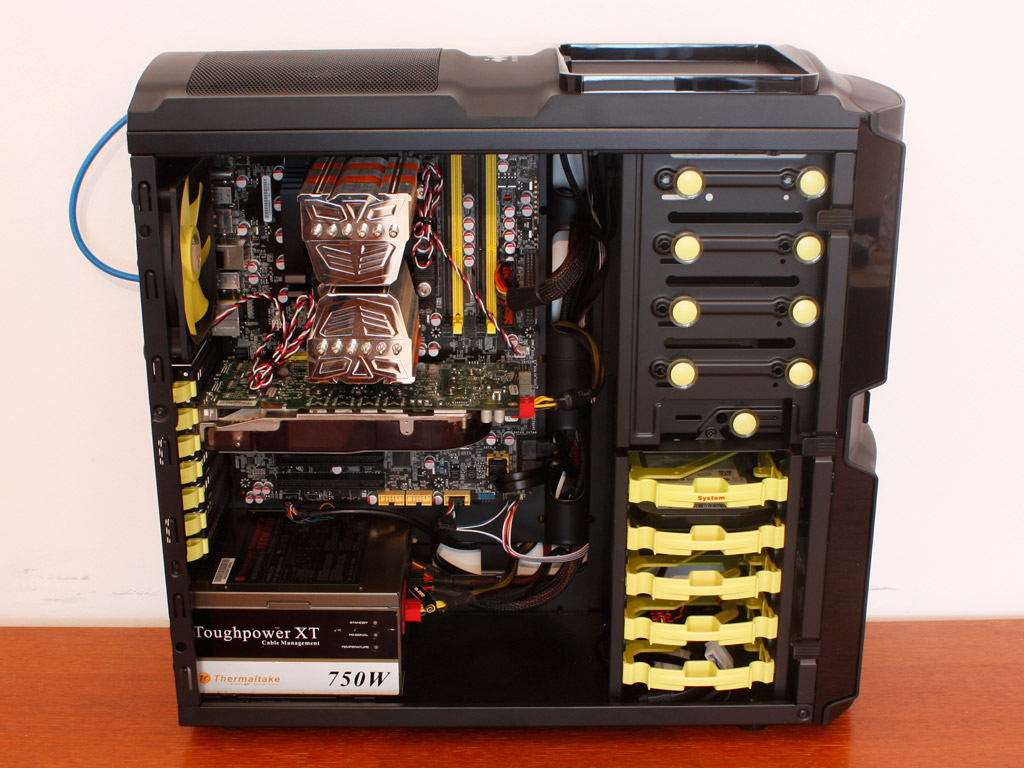
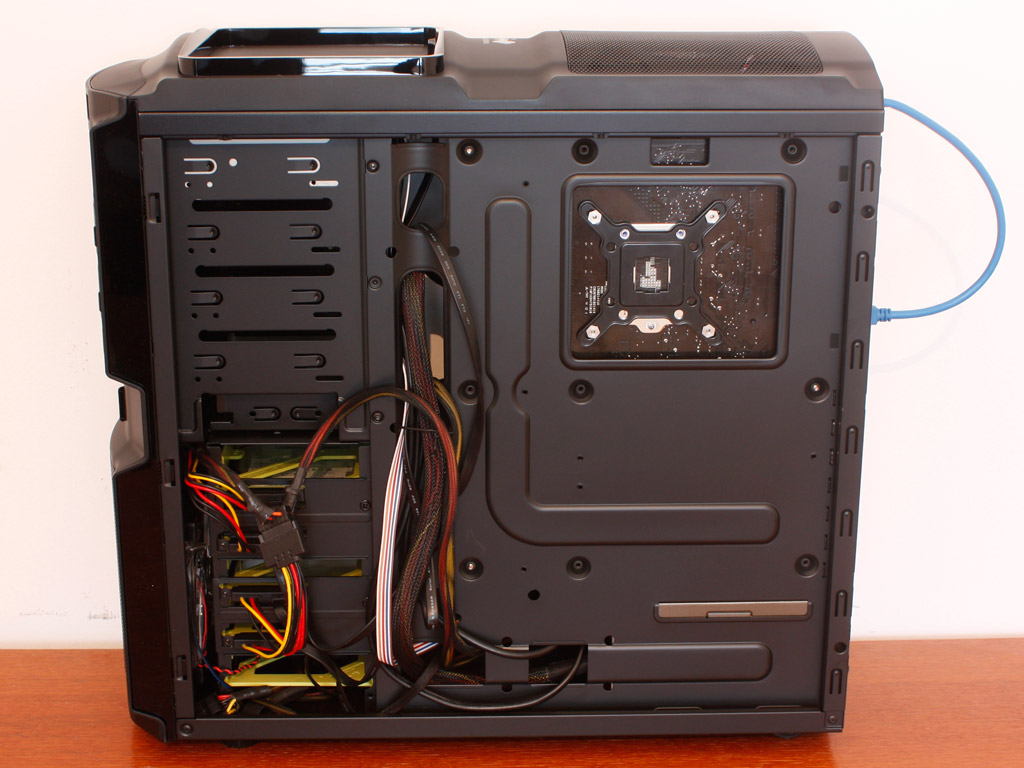
Once everything is installed, the case makes a clean impression. I was able to route and hide the cables nicely but you will have to invest quite a bit of work when filling this compact chassis to the rim.
Finished Looks
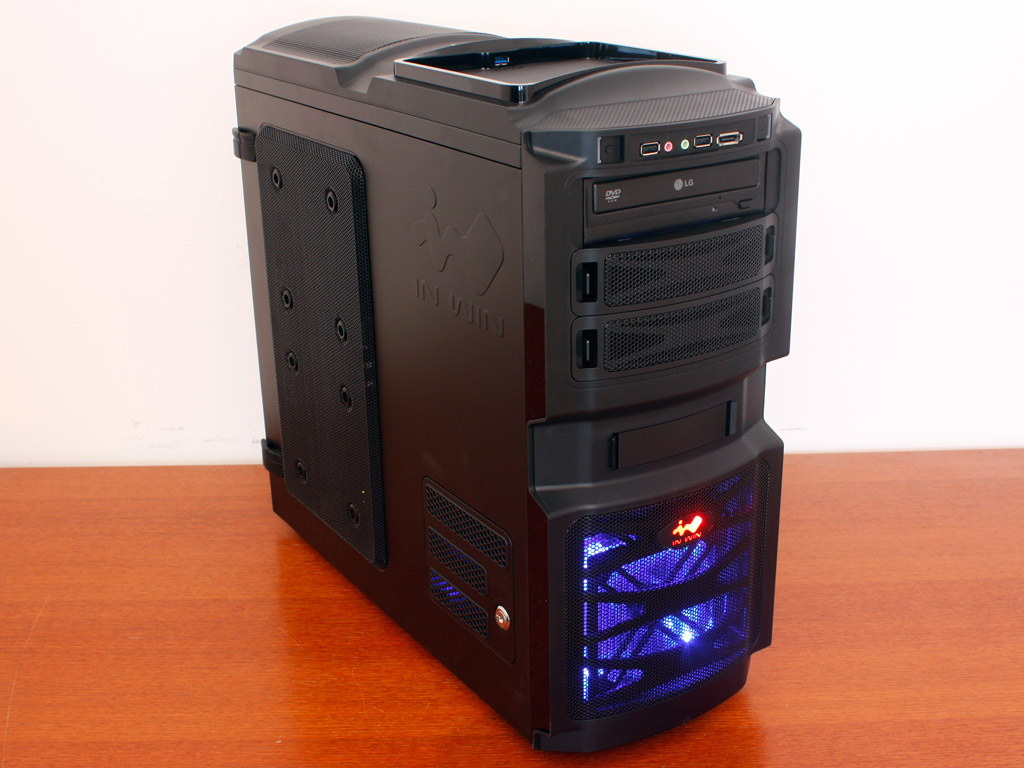
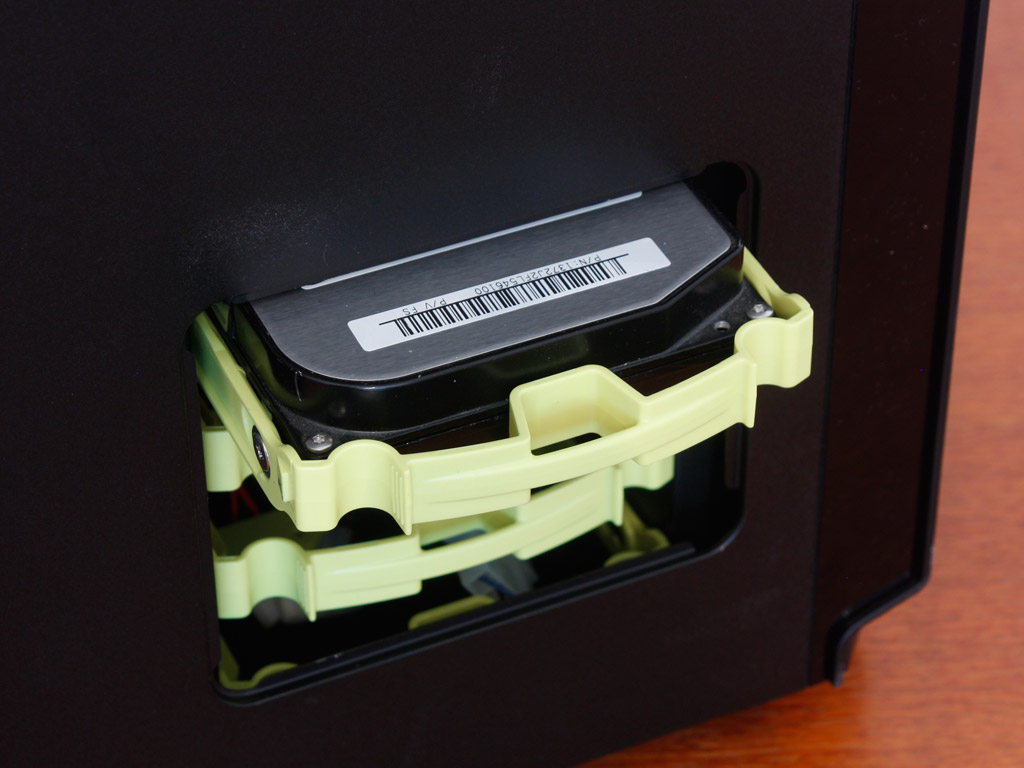
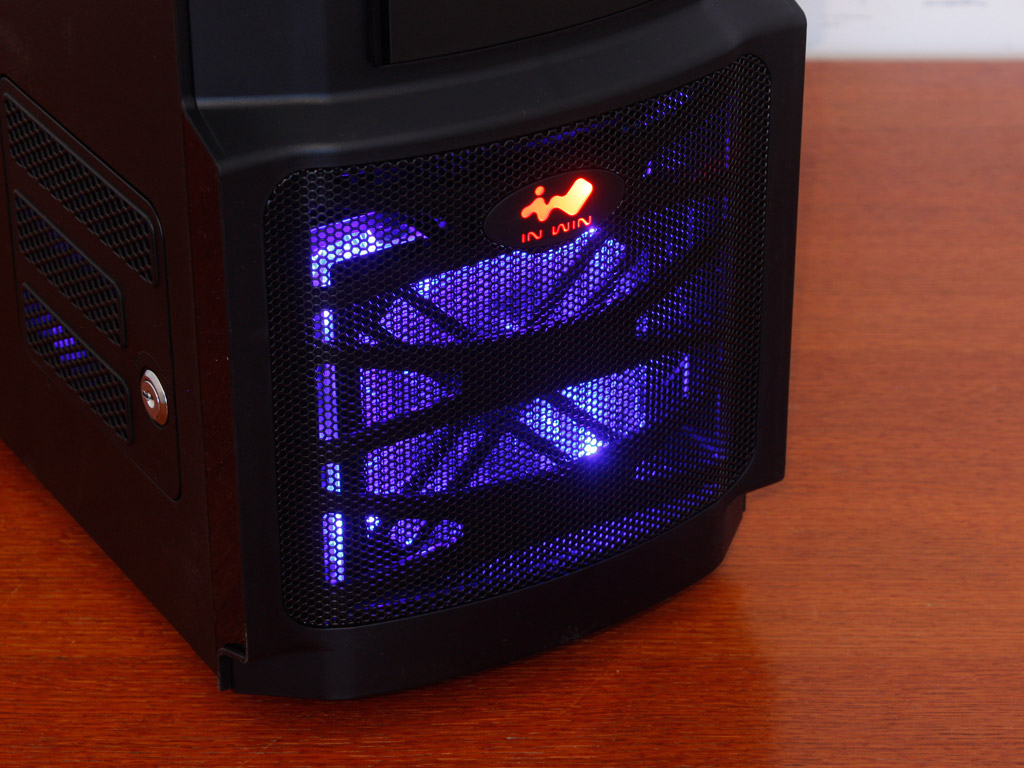
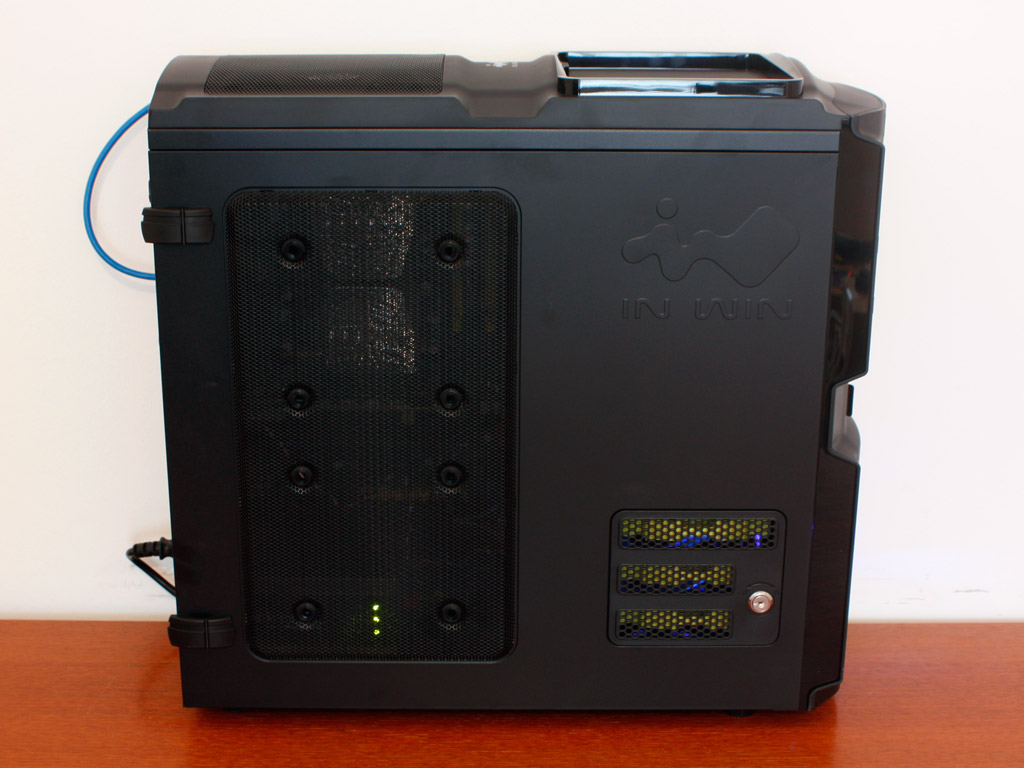
Even with the cables below the mainboard tray, I had no trouble closing the side panel. Overall the BUC makes a pretty cool impression. The three hard drive bays are accessible, but very hard to pull out and push back in. It took me some serious force to do so and the chassis had to held tightly so that it would not start sliding around on the table. When looking at the lighting theme, the blue and red LEDs may not have been the best choice, but the lit up logo looks pretty cool nonetheless.
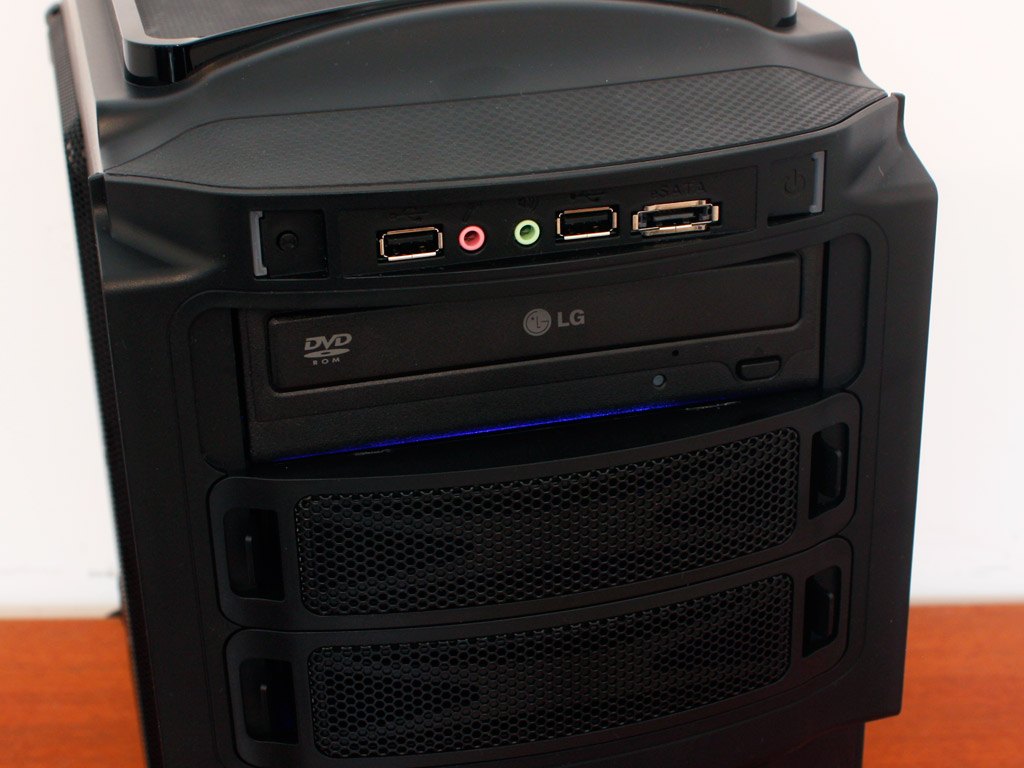
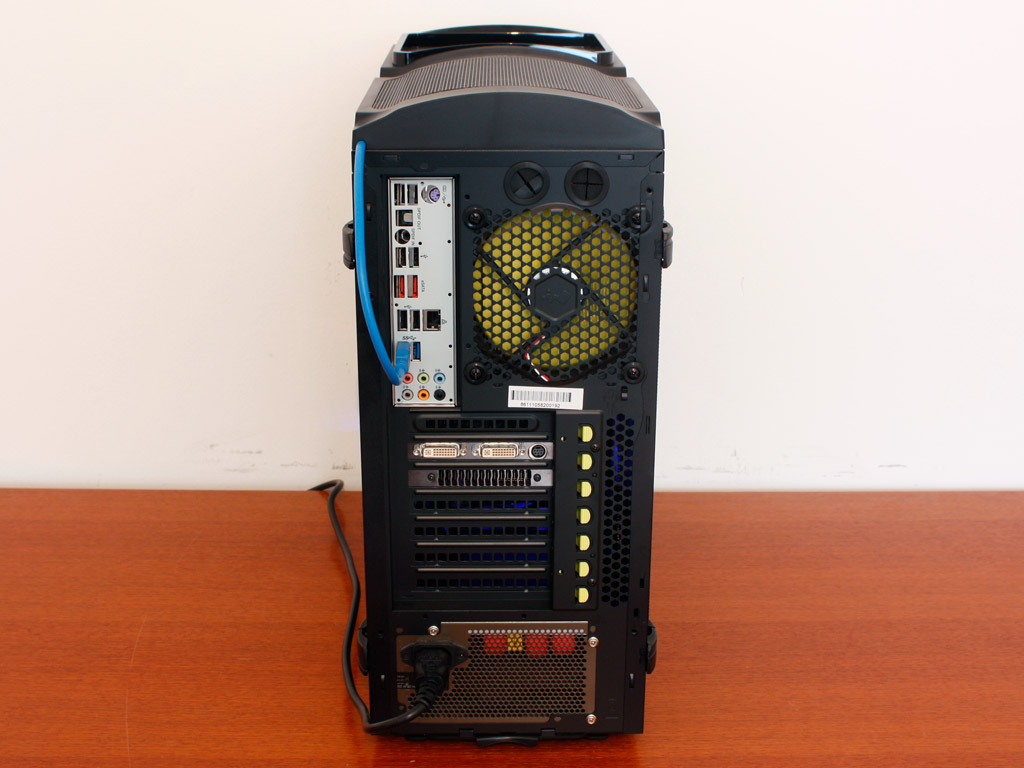
The optical drives are a bit recessed due to the outer design of the BUC and there is a slight bleed of the blue light at the cracks, but nothing major. Everything is accessible in the rear and the USB 3.0 cable reaches far enough to connect to the rear of the mainboard, but you may be hard pressed to use an expansion card, but the PCIe x1 slot of a modern board should be within reach.
Mar 10th, 2025 22:27 EDT
change timezone
Latest GPU Drivers
New Forum Posts
- Nvidia's GPU market share hits 90% in Q4 2024 (gets closer to full monopoly) (804)
- Mind If I Play Through? (12)
- Biostar RX 6700 XT OC BIOS (8)
- ThrottleStop, mistake (4)
- ThrottleStop, auto-launching (1)
- Post your Old CDs, from back in the day thread. (3)
- AMD RX 9070 XT & RX 9070 non-XT thread (OC, undervolt, benchmarks, ...) (8)
- Wherein lies the difference (3)
- What's your latest tech purchase? (23279)
- CPU downclocks under any loads but it doesn't hit any limits (1)
Popular Reviews
- Sapphire Radeon RX 9070 XT Nitro+ Review - Beating NVIDIA
- XFX Radeon RX 9070 XT Mercury OC Magnetic Air Review
- ASUS Radeon RX 9070 TUF OC Review
- MSI MAG B850 Tomahawk Max Wi-Fi Review
- NVIDIA GeForce RTX 5070 Founders Edition Review
- Corsair Vengeance RGB CUDIMM DDR5-8800 48 GB CL42 Review
- AMD Ryzen 7 9800X3D Review - The Best Gaming Processor
- ASUS GeForce RTX 5070 Ti TUF OC Review
- MSI GeForce RTX 5070 Ti Gaming Trio OC+ Review
- MSI GeForce RTX 5070 Ti Ventus 3X OC Review
Controversial News Posts
- NVIDIA GeForce RTX 50 Cards Spotted with Missing ROPs, NVIDIA Confirms the Issue, Multiple Vendors Affected (513)
- AMD Plans Aggressive Price Competition with Radeon RX 9000 Series (277)
- AMD Radeon RX 9070 and 9070 XT Listed On Amazon - One Buyer Snags a Unit (261)
- AMD RDNA 4 and Radeon RX 9070 Series Unveiled: $549 & $599 (260)
- AMD Mentions Sub-$700 Pricing for Radeon RX 9070 GPU Series, Looks Like NV Minus $50 Again (248)
- NVIDIA Investigates GeForce RTX 50 Series "Blackwell" Black Screen and BSOD Issues (244)
- AMD Radeon RX 9070 and 9070 XT Official Performance Metrics Leaked, +42% 4K Performance Over Radeon RX 7900 GRE (195)
- AMD Radeon RX 9070-series Pricing Leaks Courtesy of MicroCenter (158)