 0
0
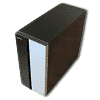
Lian Li PC-A12 Review
Value & Conclusion »Installation
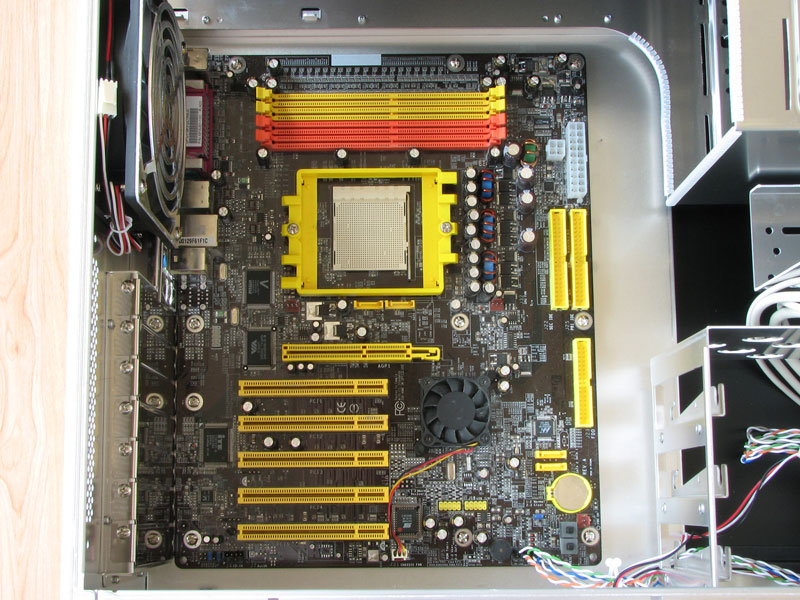
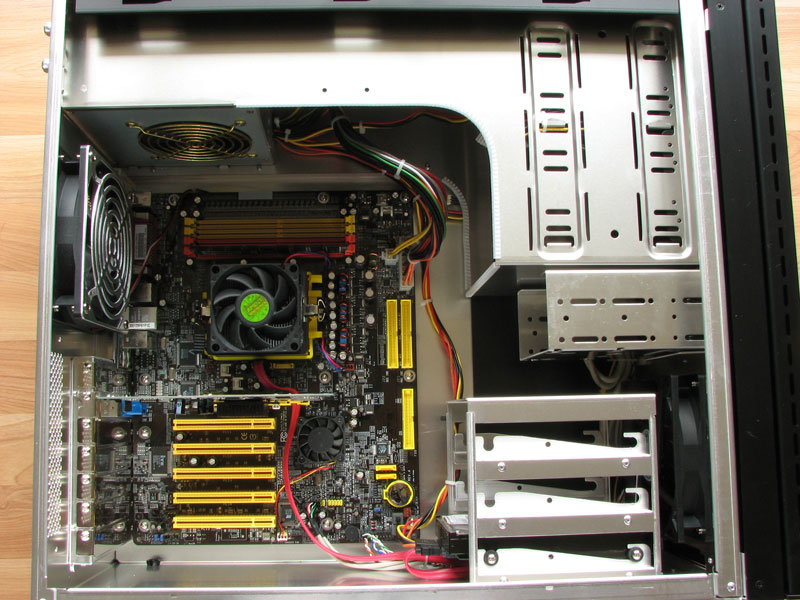
Installation of the motherboard is the same as with any case; line up and thread the necessary standoffs onto the tray, change the I/O plate if needed, then screw the board in place. The PC-A12 lacks a removable tray which isn't a huge necessity, but is one feature I wish all cases had.
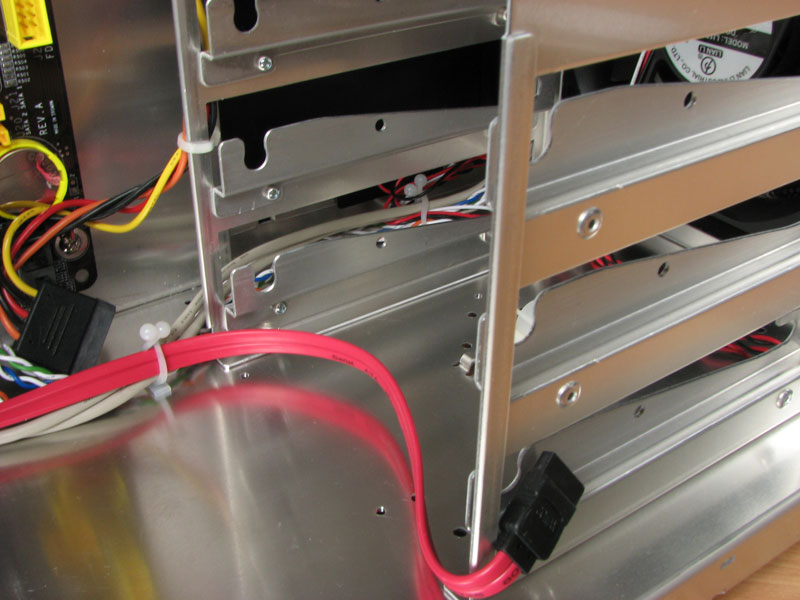
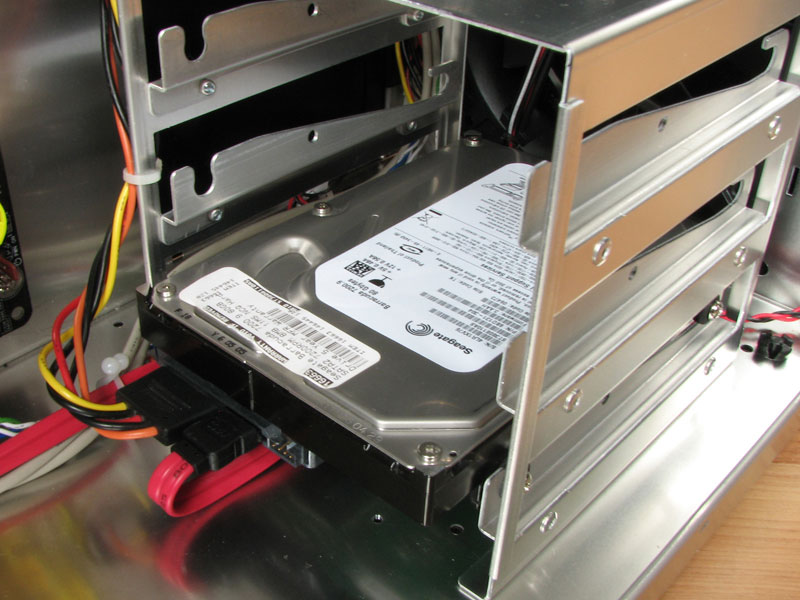
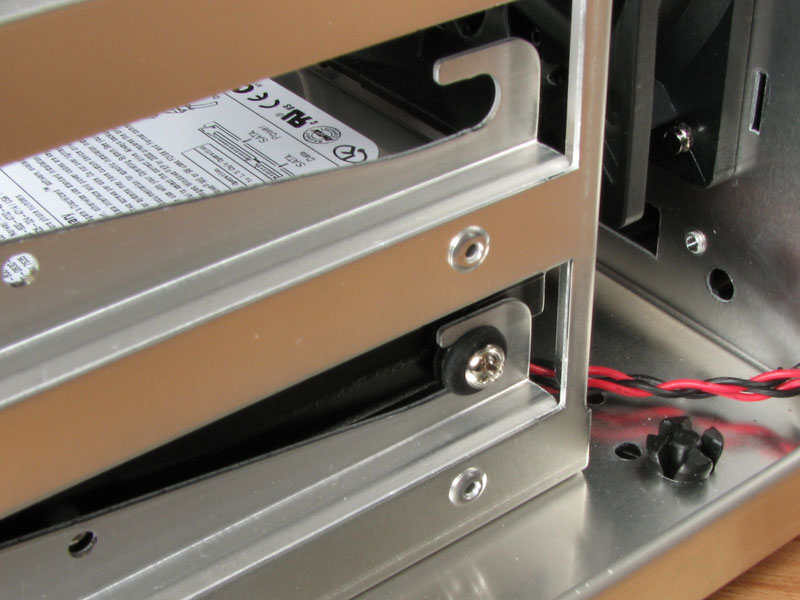
To install the hard drives, it is just a simple matter of putting four rubber mounts on the drive via four screws, then sliding the drive into place. I really like this system for the fact that it's secure, and also helps reduce drive vibration - hence less noise. If you move your case around a lot and want to make sure the drives can't come loose, you can put an extra screw in to properly mount the drive. I tried to mount the drives in the rack backwards to help hide the SATA wires, but it wasn't possible because there was not enough clearance between the back of the rack and the side panel or front fan depending on what way you had the rack mounted.
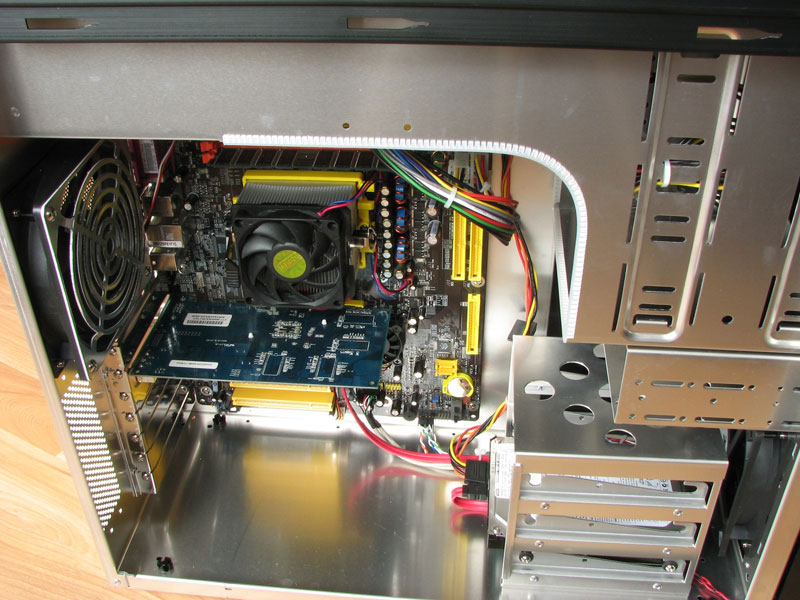
To mount external drives/accessories, the front face plates need to be removed. You can either take off the whole front face plate, or squeeze the plates out, but you risk scratching the case this way. Once the plates are out, optical drives are simply screwed into place with no special mounting system as are the 3.5" bay accessories. It would be nice if they had some form of vibration dampening for the optical drives, because they can be one of the noisiest parts, and produce most of the vibration in a computer.
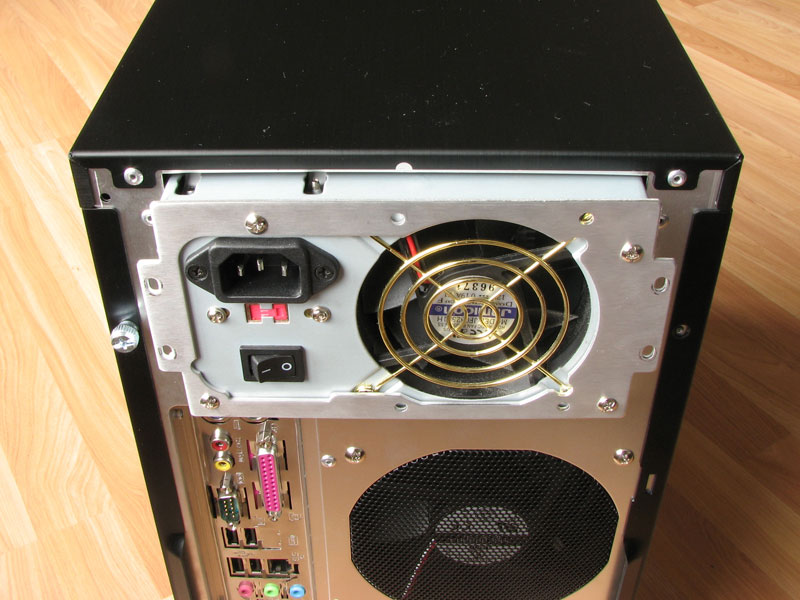
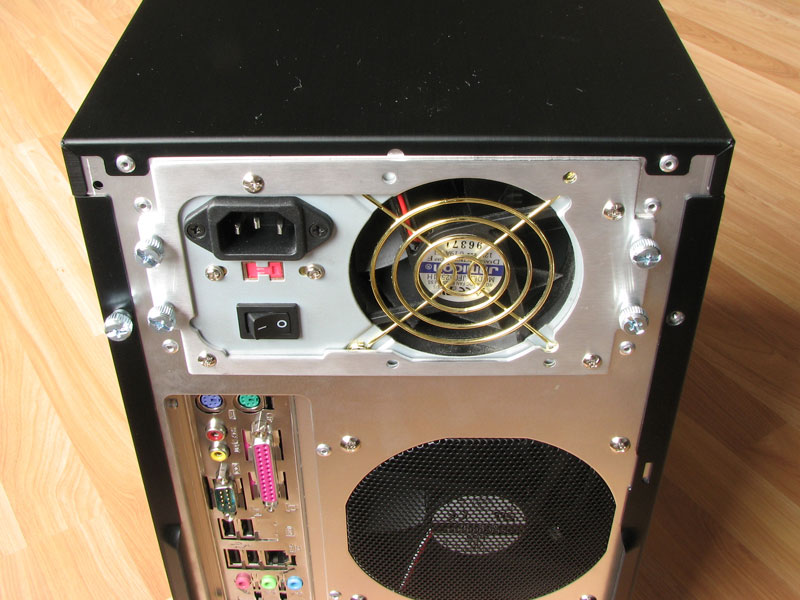
The Power Supply Unit is mounted to a plate that is attached to the back of the case with four thumb screws. The unit can be easily removed without tools if one so needs to do so.
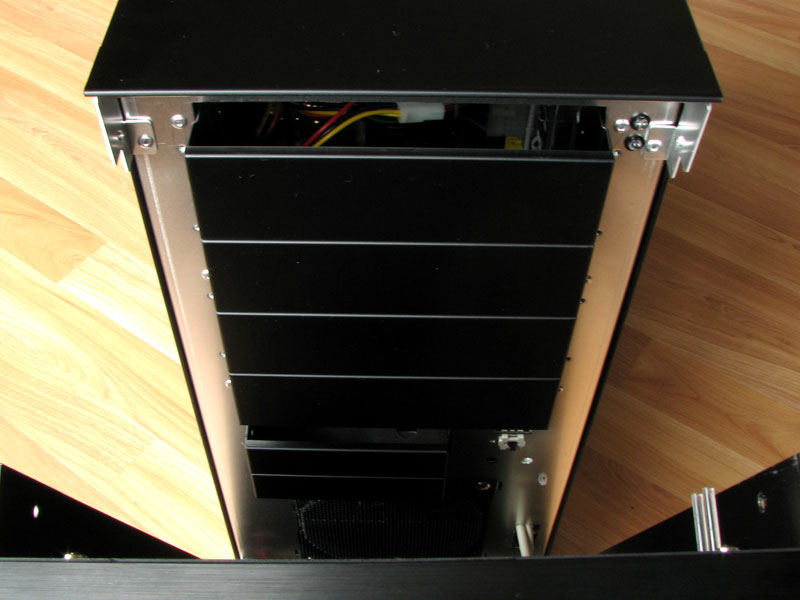
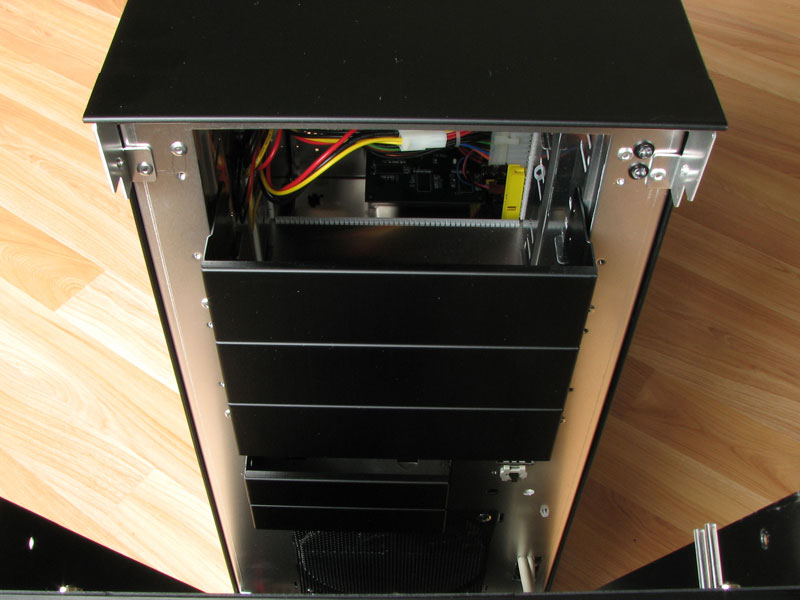
Finished Look

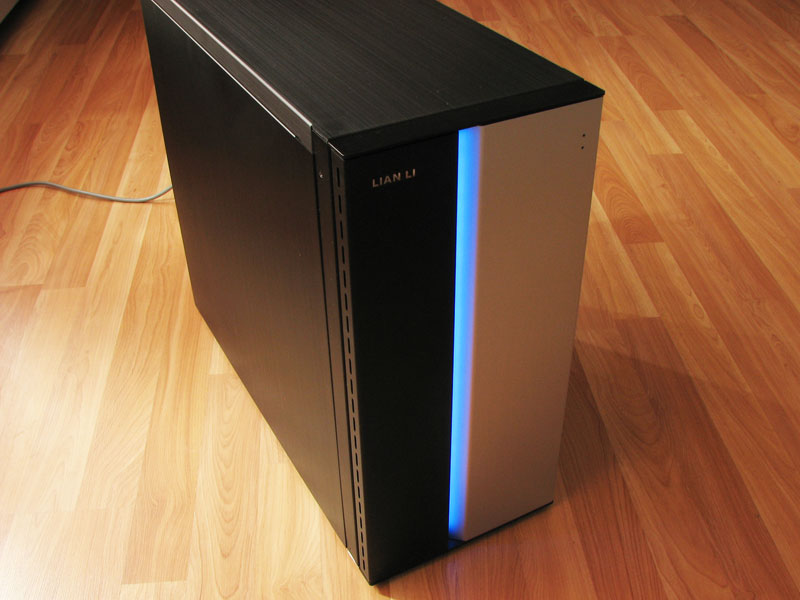
Once everything is hooked into the motherboard and is cleaned up, you'll end up with a nice clean looking system.
Jan 31st, 2025 00:02 EST
change timezone
Latest GPU Drivers
New Forum Posts
- So who’s paying $100 for GTA 6 then? (104)
- Games run choppy with 9800x3d (1)
- Gigabyte 5090 Aorus Master VRM Specs (10)
- B650 Arous Elite AX rev1.0 red DRAM light (14)
- Accessing CPU DB programmatically (4)
- Will you buy a RTX 5090? (270)
- DLSS 4 is better than native resolution? (19)
- What's your latest tech purchase? (23032)
- TPU's Nostalgic Hardware Club (19903)
- Is my CPU just throttling or is a Prochot reset causing lag spikes ? (1)
Popular Reviews
- NVIDIA GeForce RTX 5080 Founders Edition Review
- NVIDIA DLSS 4 Transformer Review - Better Image Quality for Everyone
- Galax GeForce RTX 5080 1-Click OC Review
- ASUS GeForce RTX 5090 Astral OC Review - Astronomical Premium
- NVIDIA GeForce RTX 5090 Founders Edition Review - The New Flagship
- MSI GeForce RTX 5090 Suprim SOC Review
- MSI GeForce RTX 5090 Suprim Liquid SOC Review
- MSI GeForce RTX 5080 Vanguard SOC Review
- ASUS GeForce RTX 5080 Astral OC Review
- MSI GeForce RTX 5080 Suprim SOC Review
Controversial News Posts
- NVIDIA 2025 International CES Keynote: Liveblog (470)
- AMD Debuts Radeon RX 9070 XT and RX 9070 Powered by RDNA 4, and FSR 4 (349)
- AMD is Taking Time with Radeon RX 9000 to Optimize Software and FSR 4 (251)
- AMD Denies Radeon RX 9070 XT $899 USD Starting Price Point Rumors (227)
- AMD Radeon RX 9070 XT & RX 9070 Custom Models In Stock at European Stores (226)
- NVIDIA GeForce RTX 5090 Features 575 W TDP, RTX 5080 Carries 360 W TDP (217)
- New Leak Reveals NVIDIA RTX 5080 Is Slower Than RTX 4090 (214)
- AMD's Radeon RX 9070 Launch Faces Pricing Hurdles (175)