 2
2
Lian Li Q58 Review
Thermal Stress Test »Review System
| System Parts for Case Reviews | |
|---|---|
| Processor: | ATX: Intel Core i5-11600K mATX/ITX: Intel Core i5-10600K Provided by: Intel |
| Motherboards: | ATX: Gigabyte Z590 AORUS PRO AX ITX: Gigabyte Z590I Vision D Provided by: Gigabyte mATX: ASRock B560M Steel Legend Provided by: ASRock |
| Graphics Card: | Palit GeForce RTX 2080 Gaming Pro OC Provided by: Palit ZOTAC GAMING GeForce RTX 3060 Ti Twin Edge OC Provided by: Zotac |
| Memory: | 16 GB XPG SPECTRIX D50 3200 MHz 16 GB XPG SPECTRIX D60G DDR4 3000 MHz 16 GB XPG GAMMIX D20 DDR4 3200 MHz Provided by: ADATA |
| HDD: | Toshiba MG08ADA400E 7200 RPM SATA III Provided by: Toshiba |
| SSD: | ATX:XPG SPECTRIX S20G 500 GB mATX: XPG GAMMIX S50 Lite 1 TB ITX: ADATA Falcon 512 GB ADATA Ultimate SU800 512 GB ADATA Ultimate SU720 500 GB Provided by: ADATA |
| Power Supply: | ATX: Fractal Design ION+ 650W 80 Plus Gold SFX: Fractal Design ION SFX-L 650W 80 Plus Gold Provided by: Fractal Design |
| Cooling: | be quiet! Pure Loop 120/240/280/360 Provided by: be quiet! |
Assembly
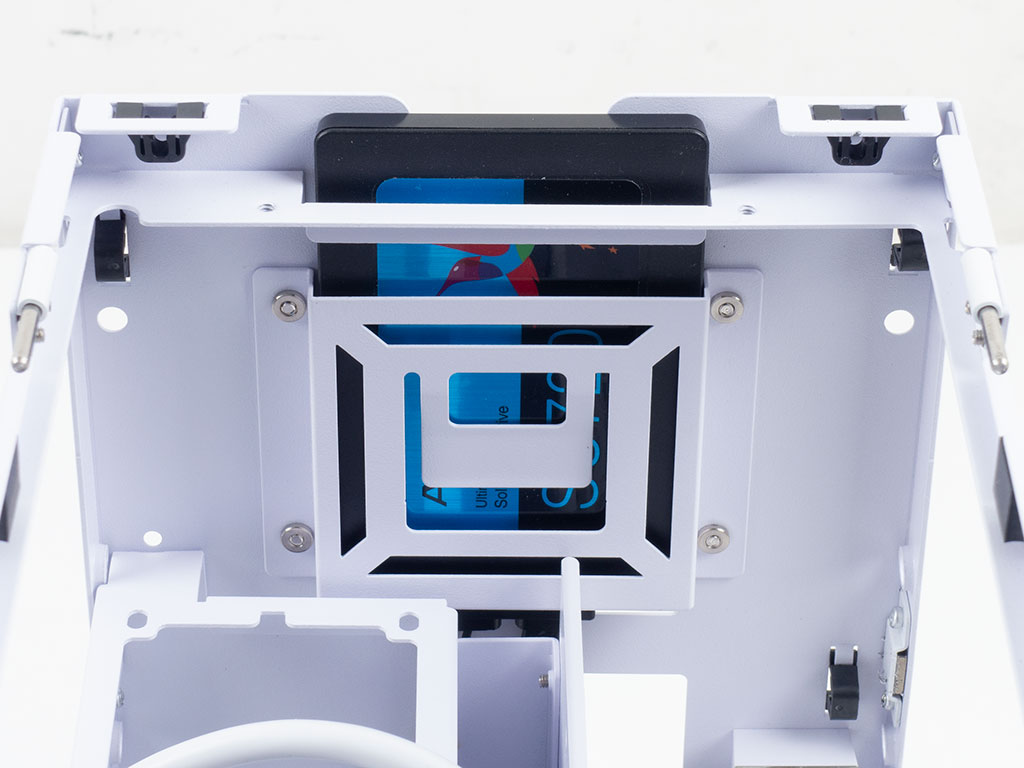
First things first: the front SSD. Simply slide it in, and you could very well be done with it as the case's top panel would keep it from dislodging, but you may also use two screws to pin it down properly.

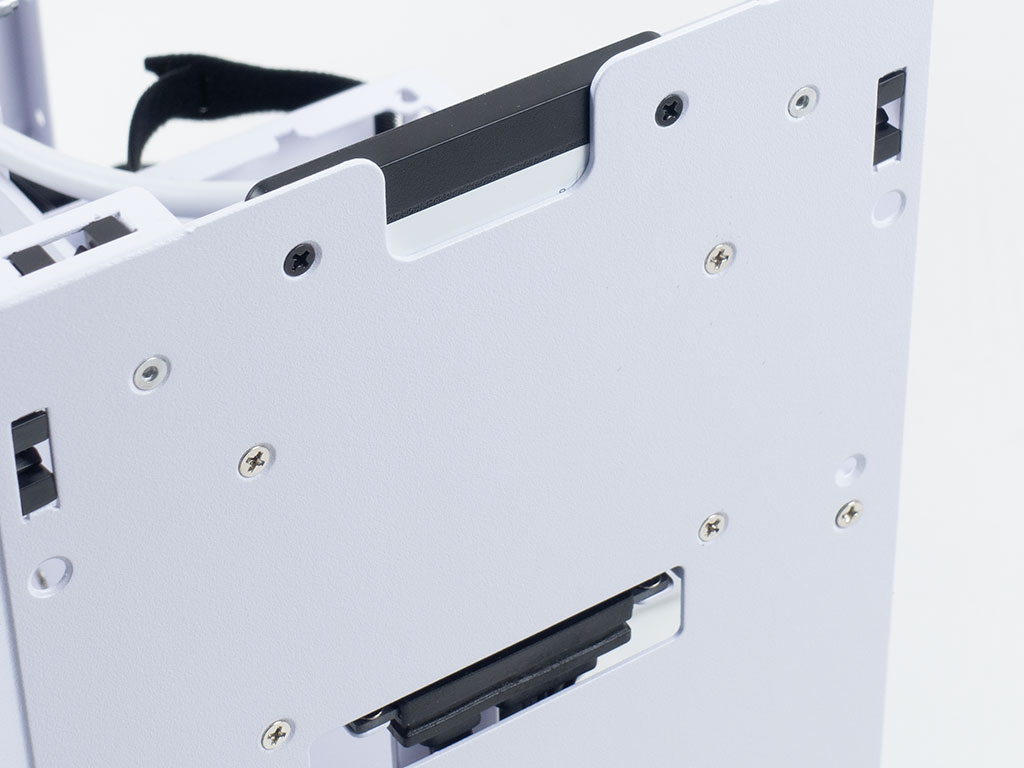
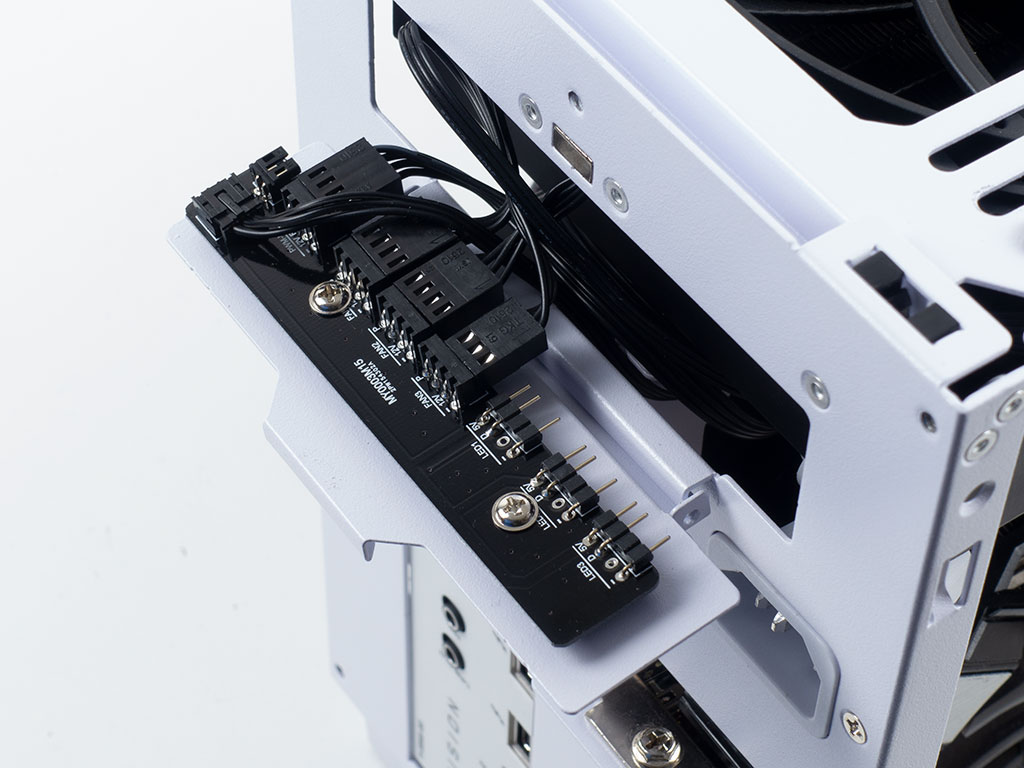
The motherboard is installed by traditional means using pre-installed spacer and classic screws. Things fit very neatly on the bottom. While there is a small hole you could route your CPU power leads to, I did not do that and realized it too late. In case of a modular power supply, you would be best served by pre-routing these leads and then installing your board. The PCIe ribbon is secured by a metal bar, so it does not get in the way of any cooling you may install in the ceiling, or your GPU on the other side of the chassis.
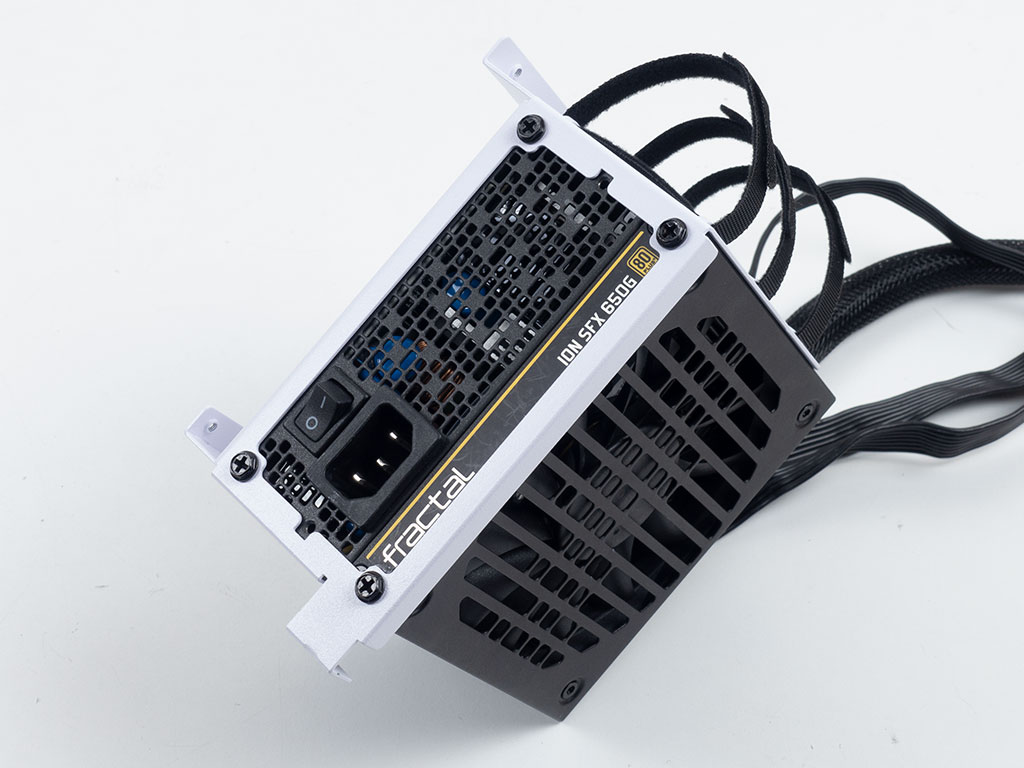
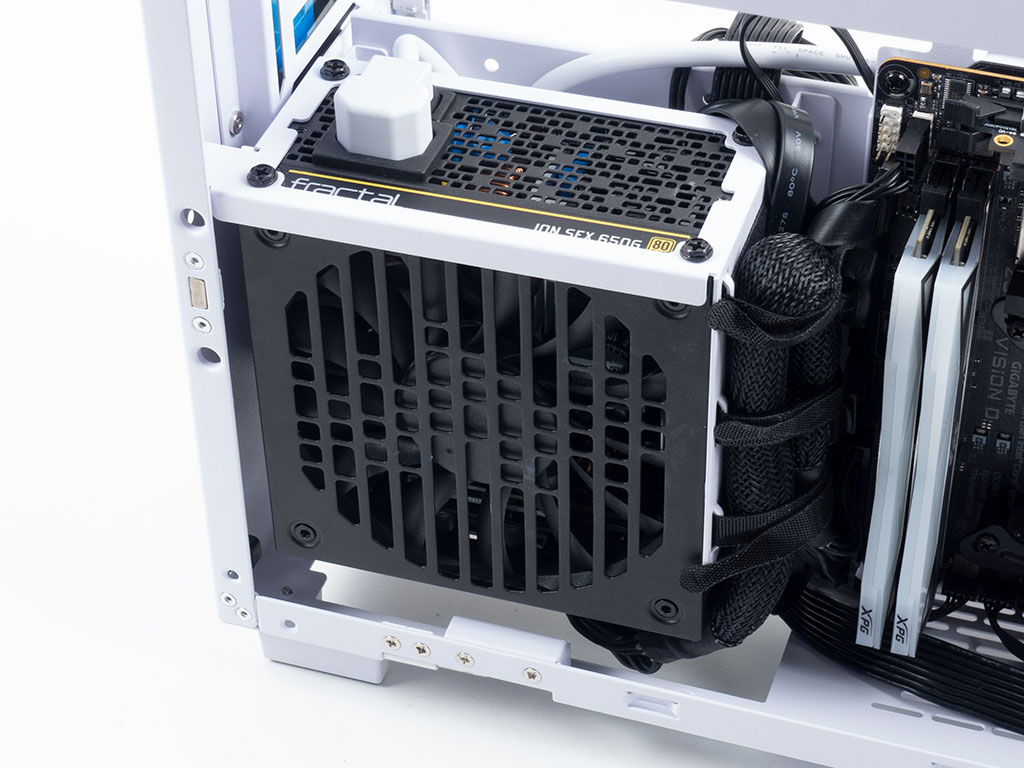

Adding the PSU requires you to take off the frame to insert it. Once in place, you can neatly route all the cables on the side of the case and sandwich the rest out of view in the gap behind it. The opening on the bottom of the Lian Li Q58 also really helped ensure clean cable management.
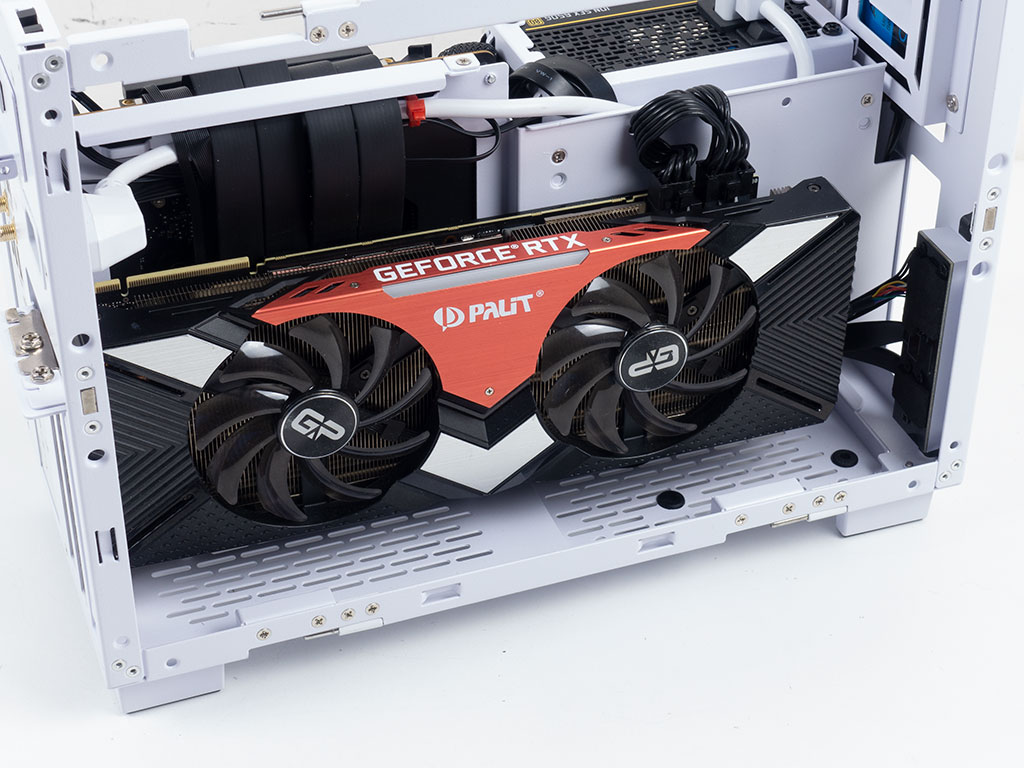
Naturally, adding a GPU is straightforward as well, as there is the dedicated space for it. Simply clip it into the PCIe slot, screw it down, and connect the power cables. This time, I was smart enough to pre-route the PCIe power cables.


Lastly, adding a massive 280 mm AIO is actually much easier than expected. You just have to watch the configuration by using a pull setting where the fans draw air through the radiator and push it out the top of the chassis. Once the frame is assembled, simply put it back into place in the ceiling of the Lian Li Q58. Thanks to the cool flip-down panel in the back, attaching all the fans was really easy as well. Owing to the strong magnet, it shut firmly, so even if you have a bit of a cable mess in this area, the panel should not open up on its own.

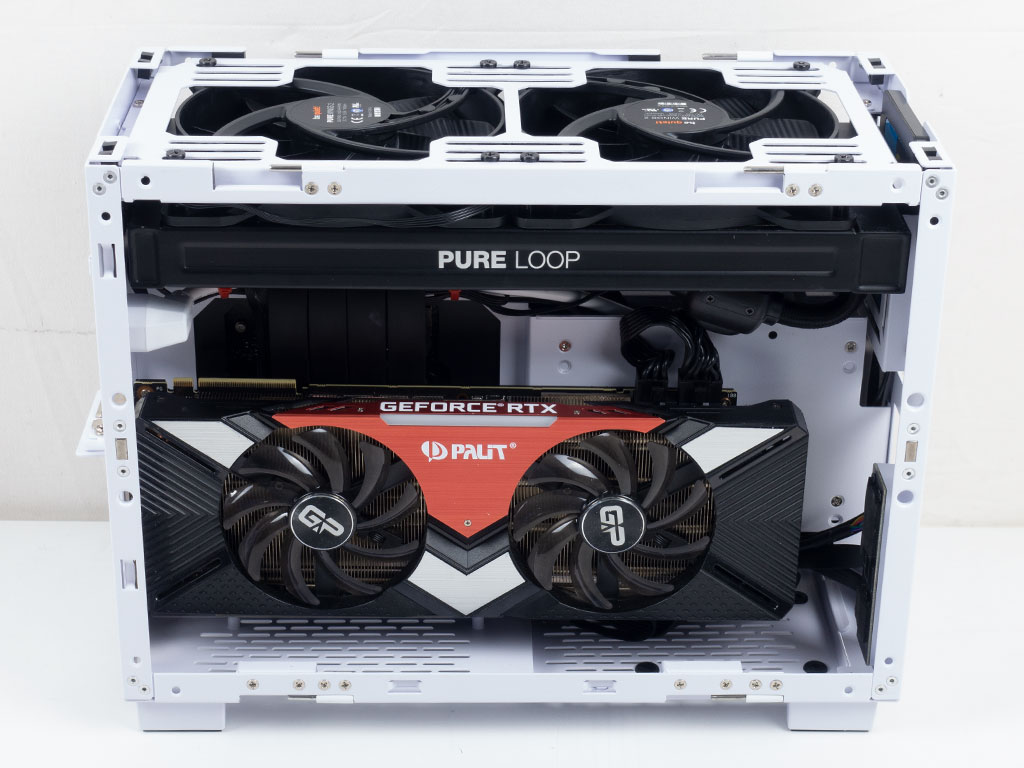

Even though things are a bit tight, which is not surprising at all, the Lian Li Q58 looks really clean on the motherboard side because of the ability to hide most of the cables and the three Velcro strips. On the GPU side, things are clear as well, but my cable management was not as spot on as it could have been overall due to the fact that the in-line pump of the AIO needed routing all the way from the front of the chassis to the PCB in the rear. Lastly, the magnetic metal mesh panels may be slapped unto the underside of the case. With that done, you are good to go!
Finished Looks
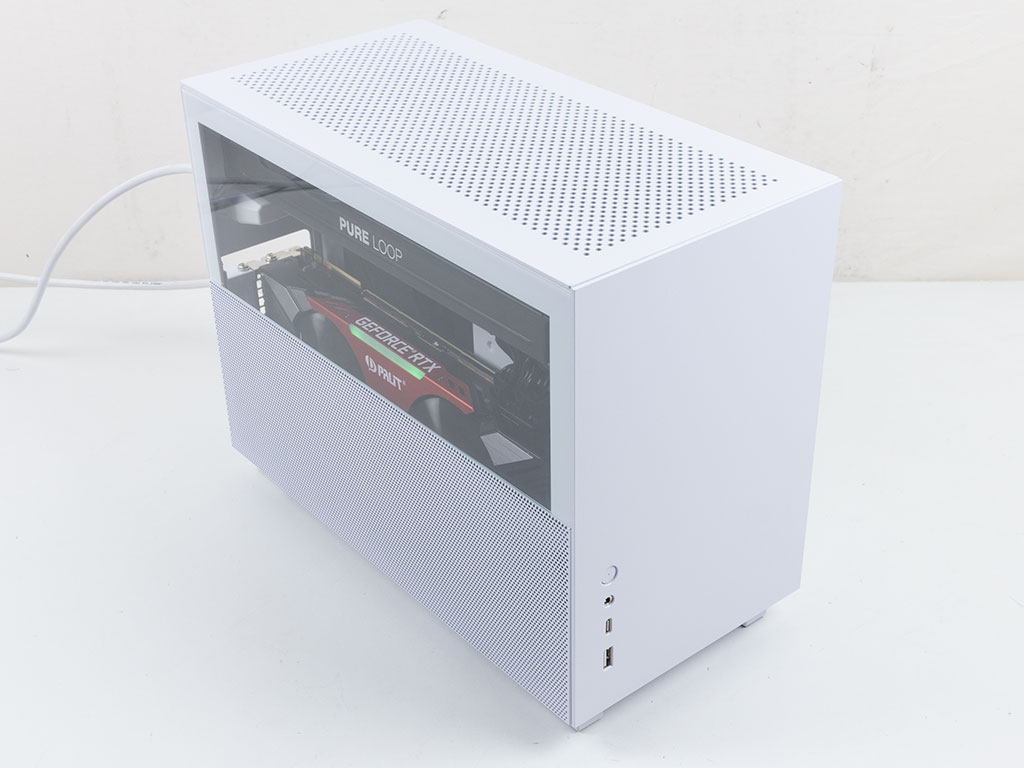
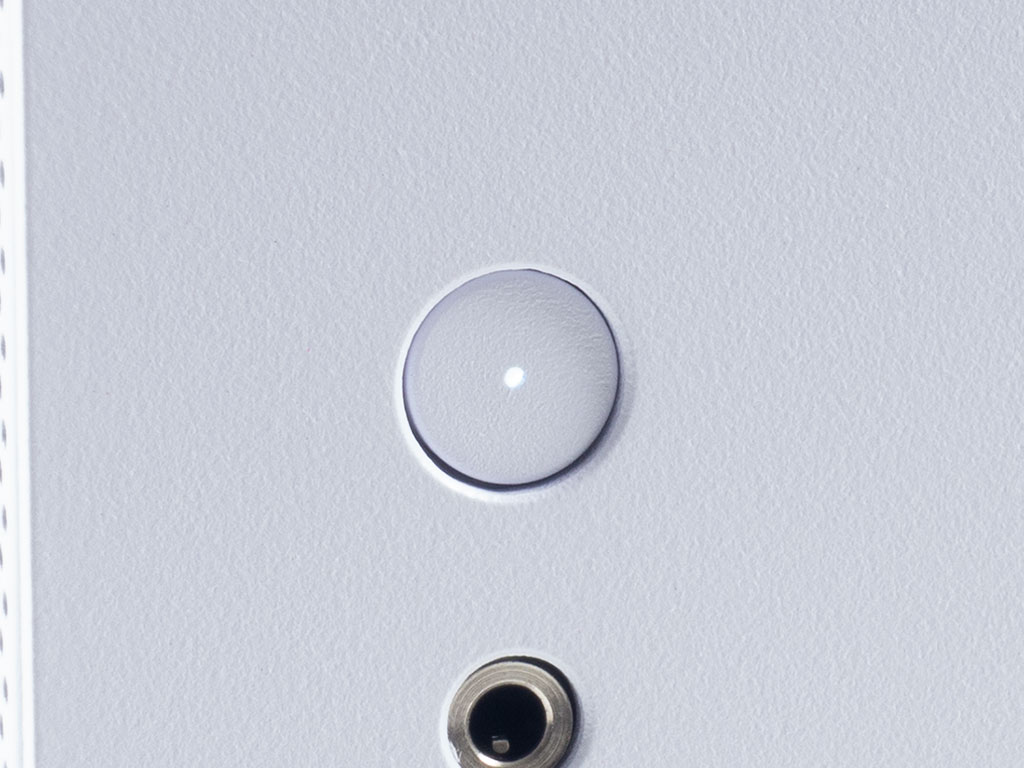
With everything installed, the Lian Li Q58 looks gorgeous in all white. To keep with the theme, the power button also lights up in white when the system is up and running.
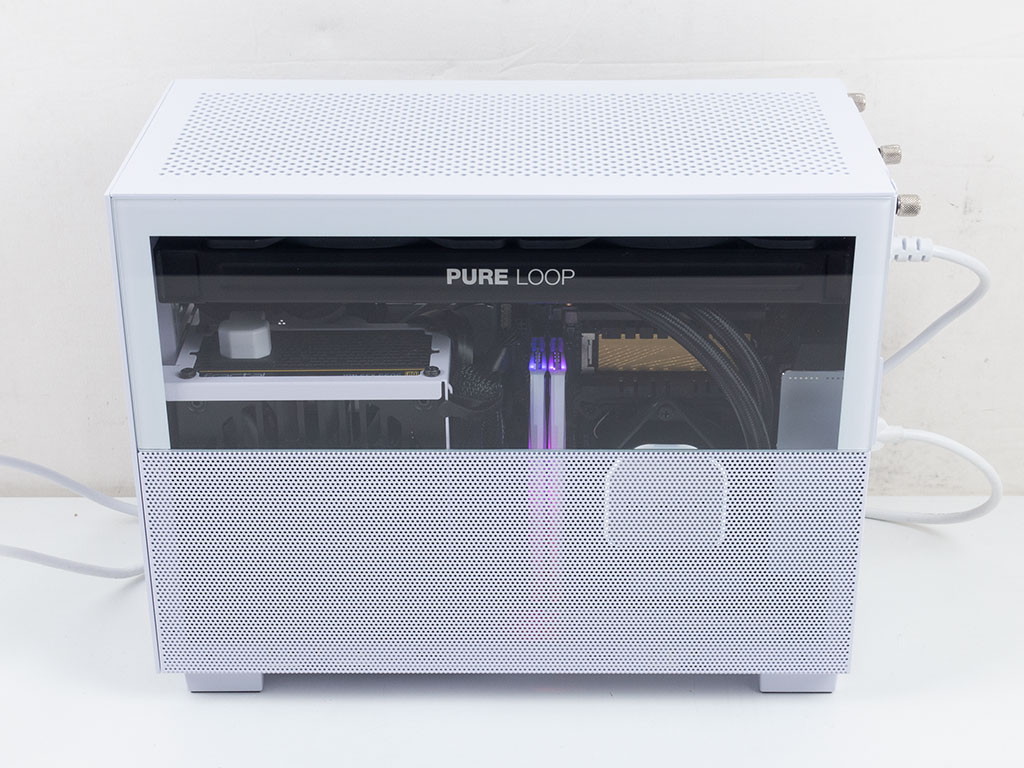
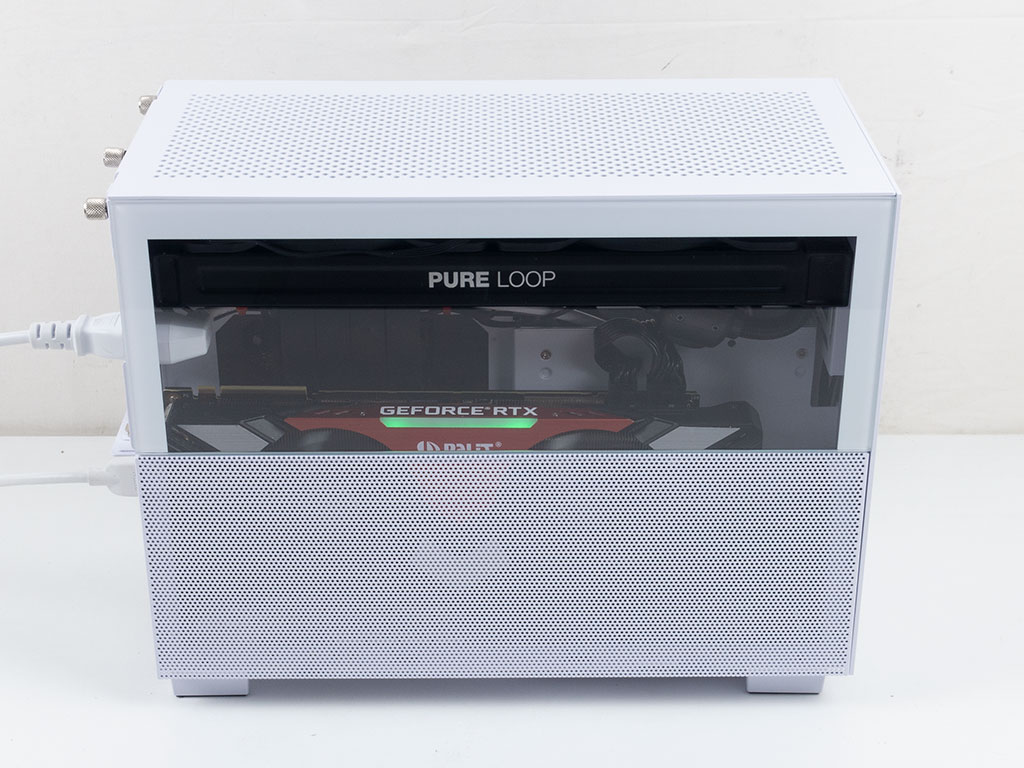
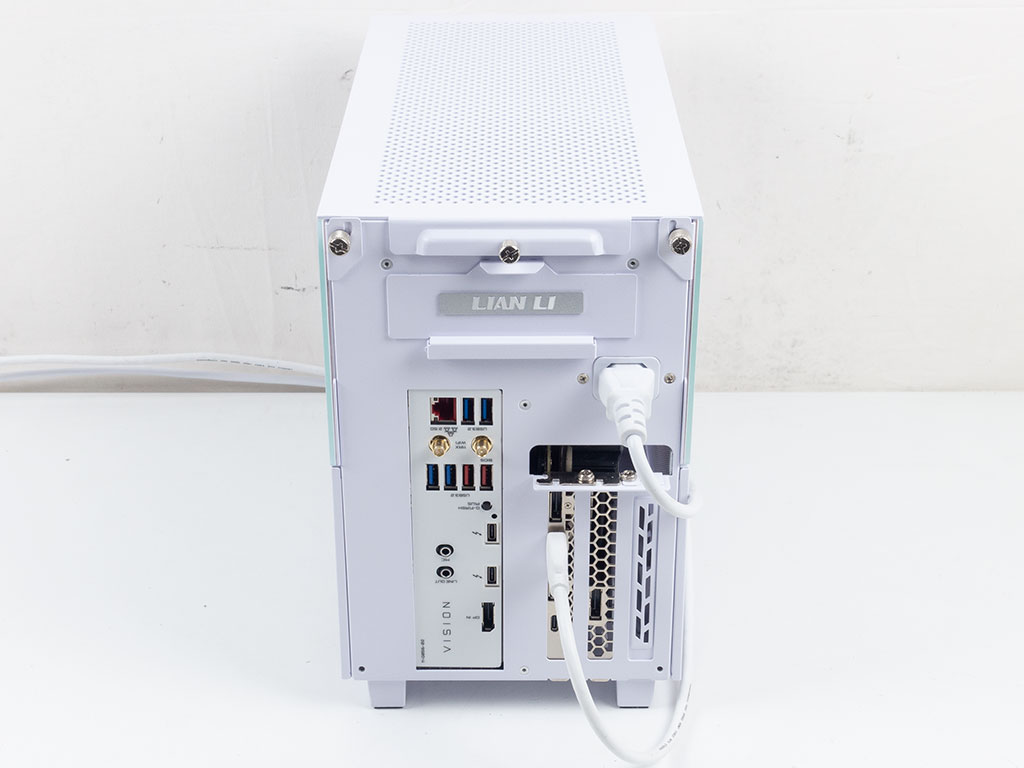
Thanks to the clear windows, you can clearly see your hardware with a definitive focus on the AIO you would install in the ceiling. But you can still see the pump and PSU as well as the GPU through the fine metal mesh, with hints of them behind the glass half. This way, all the critical components get direct access to fresh air, while you still get to enjoy seeing it all in action. In the rear, everything is white—even the motherboard backplate and both the HDMI and power cable. While this wasn't intentional, it does look great from this angle as well.
Mar 24th, 2025 05:30 EDT
change timezone
Latest GPU Drivers
New Forum Posts
- Is RX 9070 VRAM temperature regular value or hotspot? (114)
- What's your latest tech purchase? (23379)
- HalfLife2 RTX Demo Is out! (290)
- Entry level 4K gaming RIG for cRPG and h'n's games - Ryzen 5 5600 + RX 7600? (45)
- Why PC Gaming rocks (8)
- GameTechBench GPU benchmark is already out! (344)
- AMD RX 9070 XT & RX 9070 non-XT thread (OC, undervolt, benchmarks, ...) (53)
- Thermal testing two different size Gigabyte 5070 Ti cards - huge differences (3)
- TestMem5 broken? (2)
- The TPU UK Clubhouse (25920)
Popular Reviews
- Assassin's Creed Shadows Performance Benchmark Review - 30 GPUs Compared
- ASUS ProArt X870E-Creator Wi-Fi Review
- ASRock Radeon RX 9070 XT Taichi OC Review - Excellent Cooling
- ASUS GeForce RTX 5070 TUF OC Review
- Sapphire Radeon RX 9070 XT Nitro+ Review - Beating NVIDIA
- AMD Ryzen 9 9950X3D Review - Great for Gaming and Productivity
- Quick Look: Jelly Key Mystic Snake Artisan Keycaps
- MSI MAG B860 Tomahawk Wi-Fi Review
- AMD Ryzen 7 9800X3D Review - The Best Gaming Processor
- ASUS Radeon RX 9070 TUF OC Review
Controversial News Posts
- NVIDIA GeForce RTX 50 Cards Spotted with Missing ROPs, NVIDIA Confirms the Issue, Multiple Vendors Affected (519)
- AMD RDNA 4 and Radeon RX 9070 Series Unveiled: $549 & $599 (260)
- AMD Mentions Sub-$700 Pricing for Radeon RX 9070 GPU Series, Looks Like NV Minus $50 Again (250)
- AMD Radeon RX 9070-series Pricing Leaks Courtesy of MicroCenter (158)
- MSI Doesn't Plan Radeon RX 9000 Series GPUs, Skips AMD RDNA 4 Generation Entirely (142)
- Microsoft Introduces Copilot for Gaming (123)
- AMD Radeon RX 9070 XT Reportedly Outperforms RTX 5080 Through Undervolting (118)
- NVIDIA Reportedly Prepares GeForce RTX 5060 and RTX 5060 Ti Unveil Tomorrow (115)