 12
12
Minisforum Venus Series NPB5 Mini-PC (Intel i5-13500H) Review
Test Systems »A Look Inside
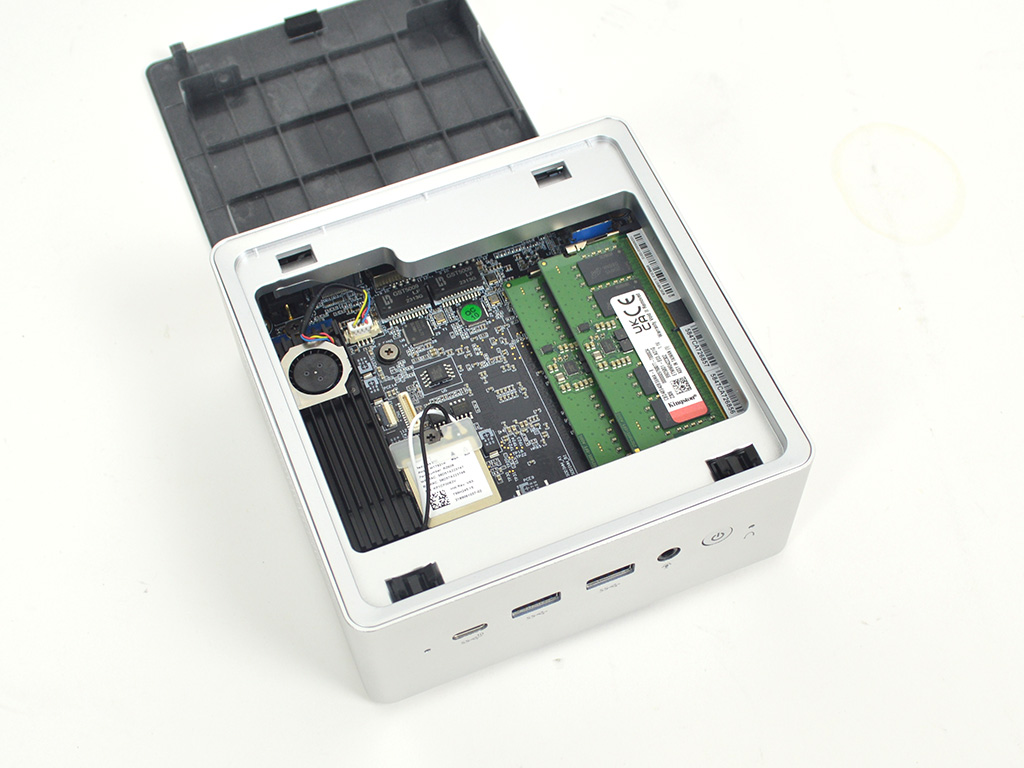
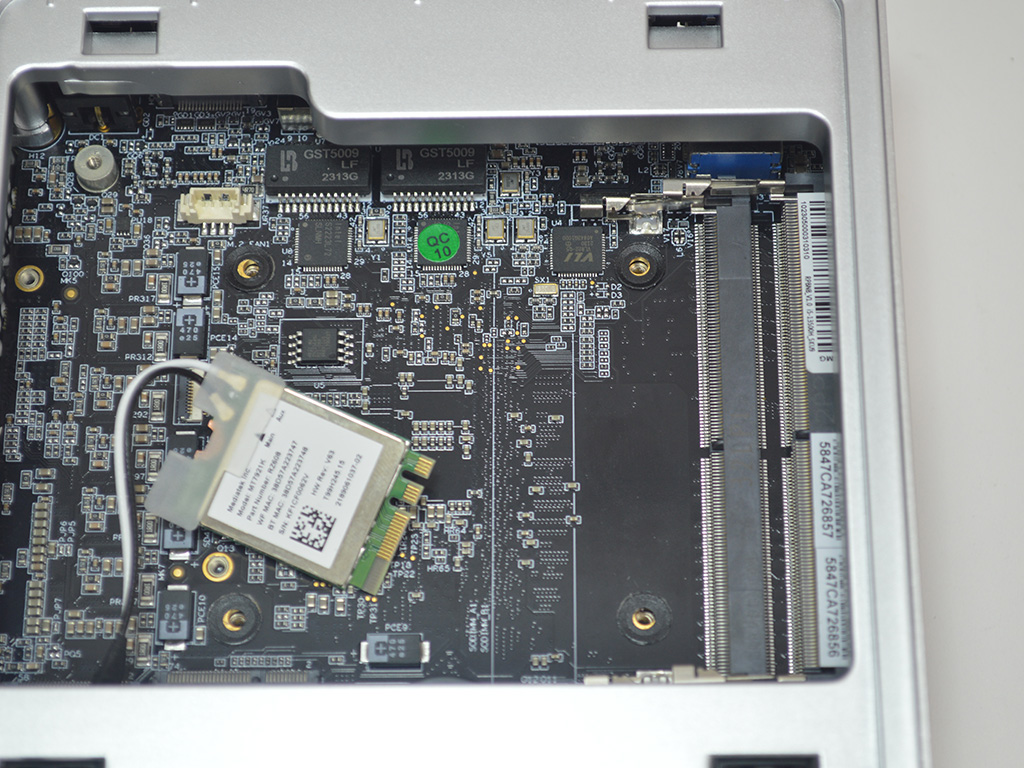
Upgrading or preparing the system if you opt to go barebones is incredibly easy. To start with, just touch the plastic top on the corners, which will result in it popping up and being easy to remove. At this point, you have access to the M.2, DDR5 SO-DIMM slots, Wi-Fi module, and the SATA plug on the board. Essentially, that one quick step gives you full access to just about everything you need.
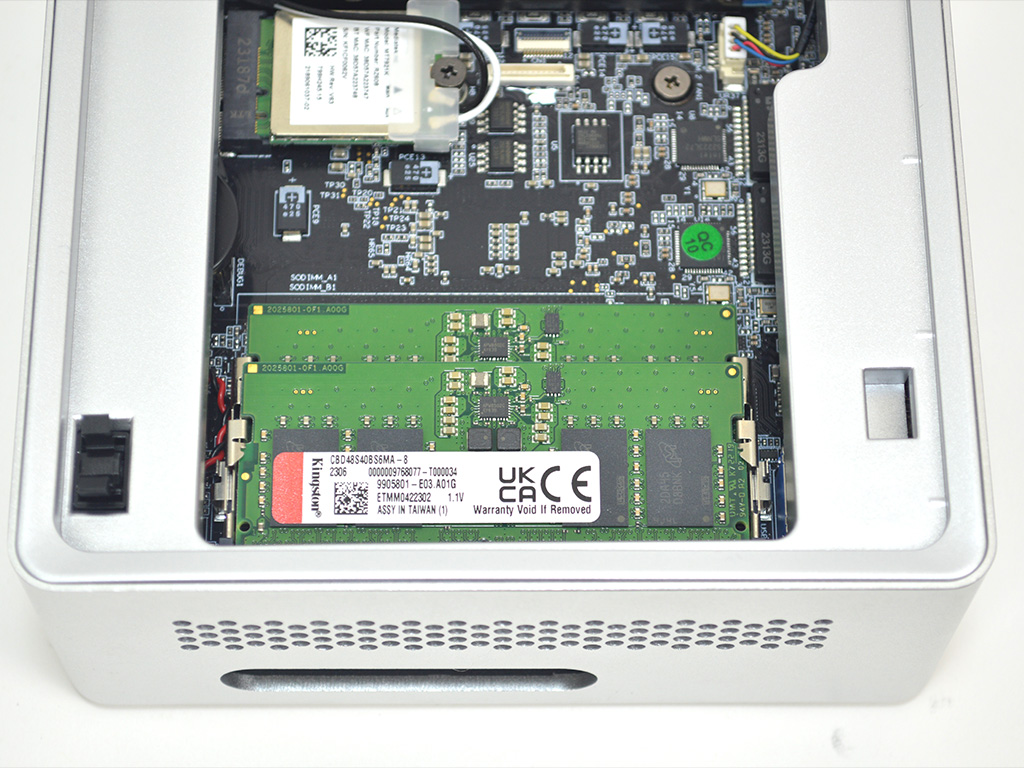
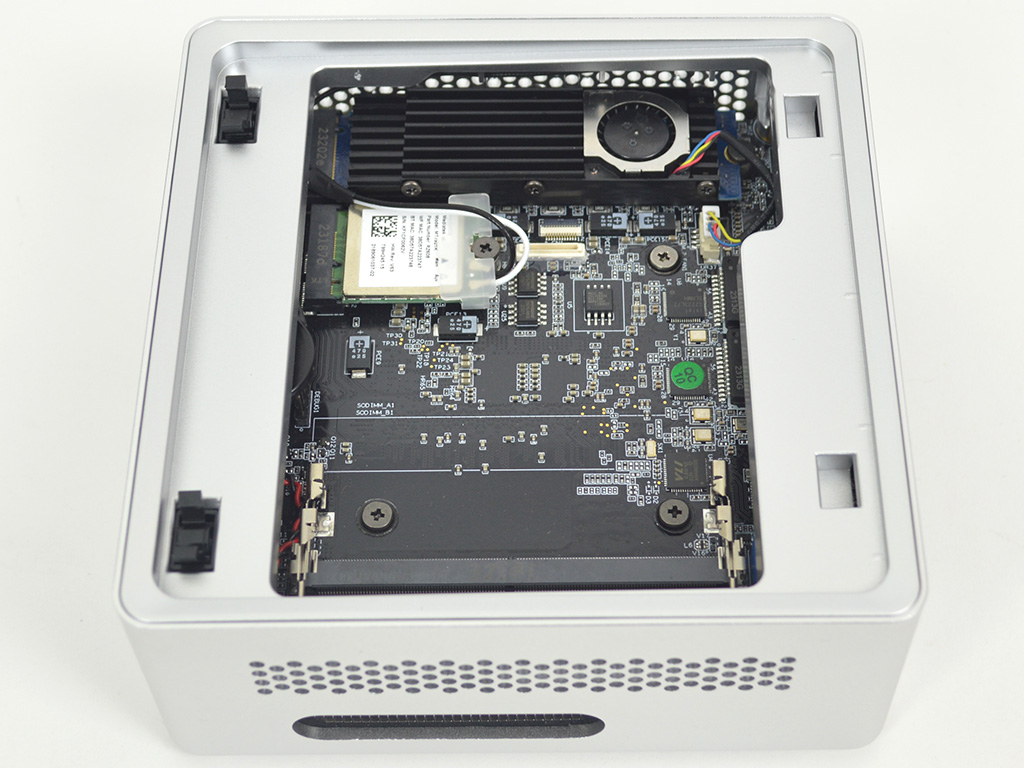
The review unit comes equipped with 2x 8 GB Kingston DDR5 SO-DIMM memory rated at 4800 MHz. To completely disassemble the system, you will need to remove the memory.
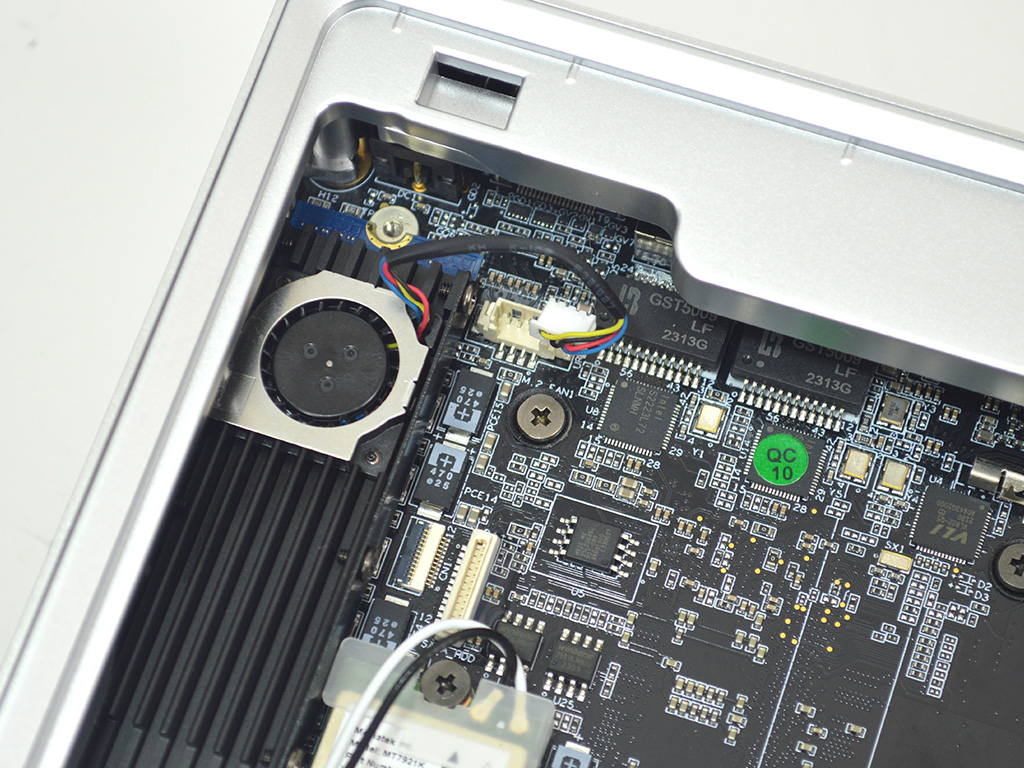
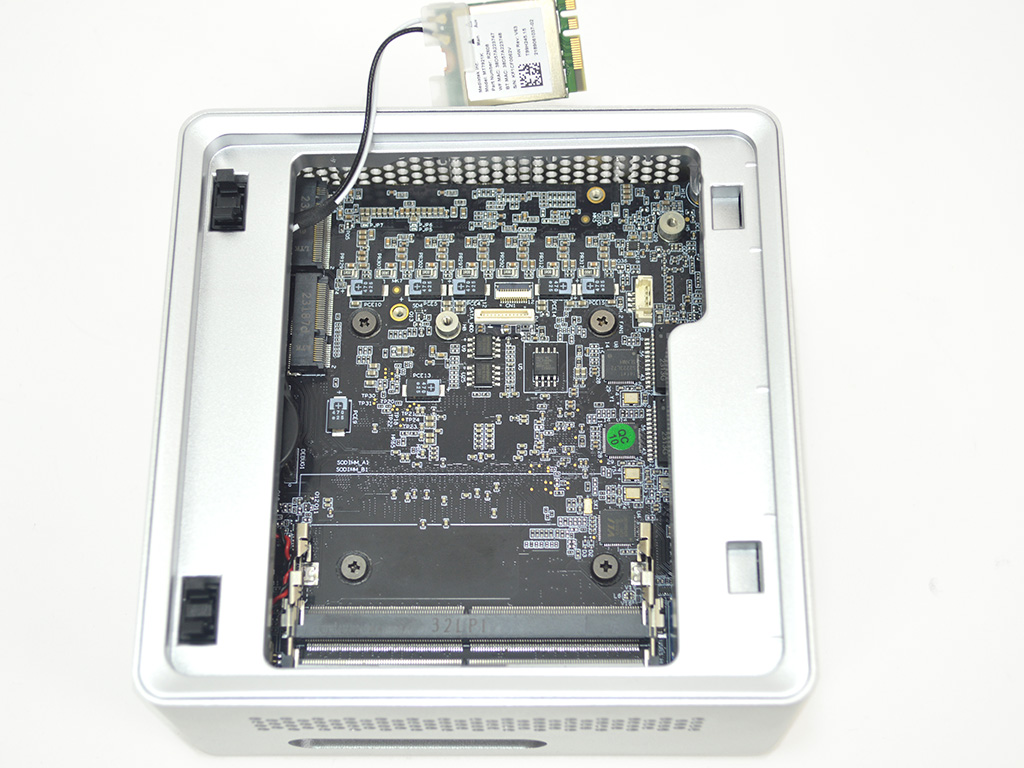
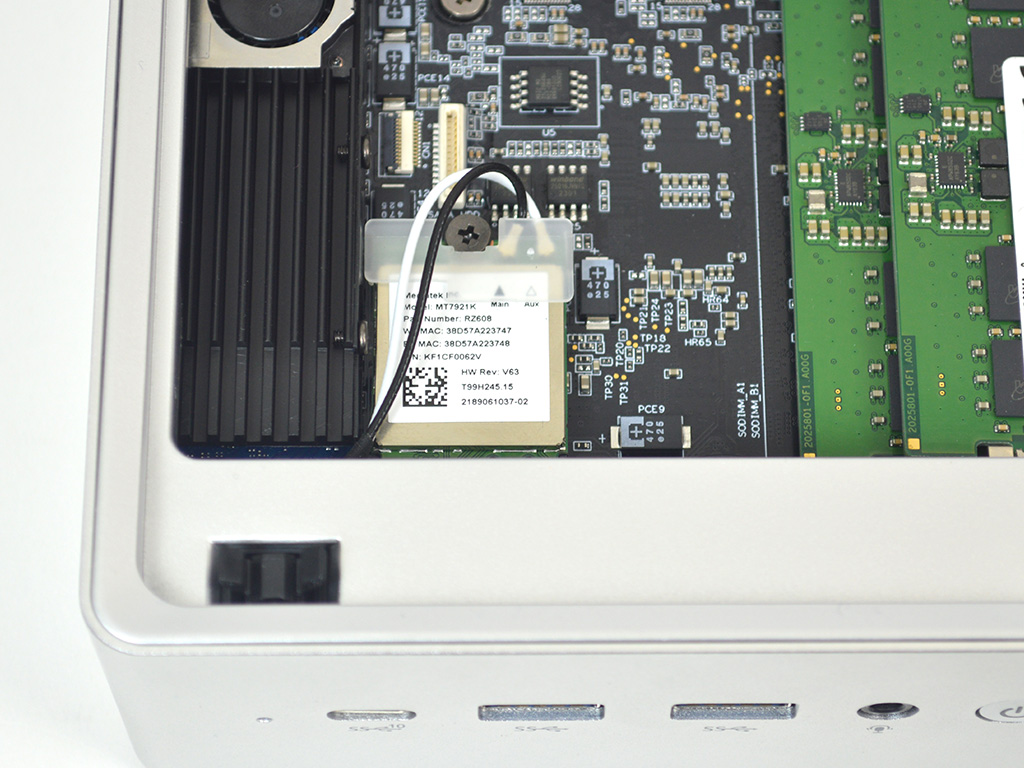
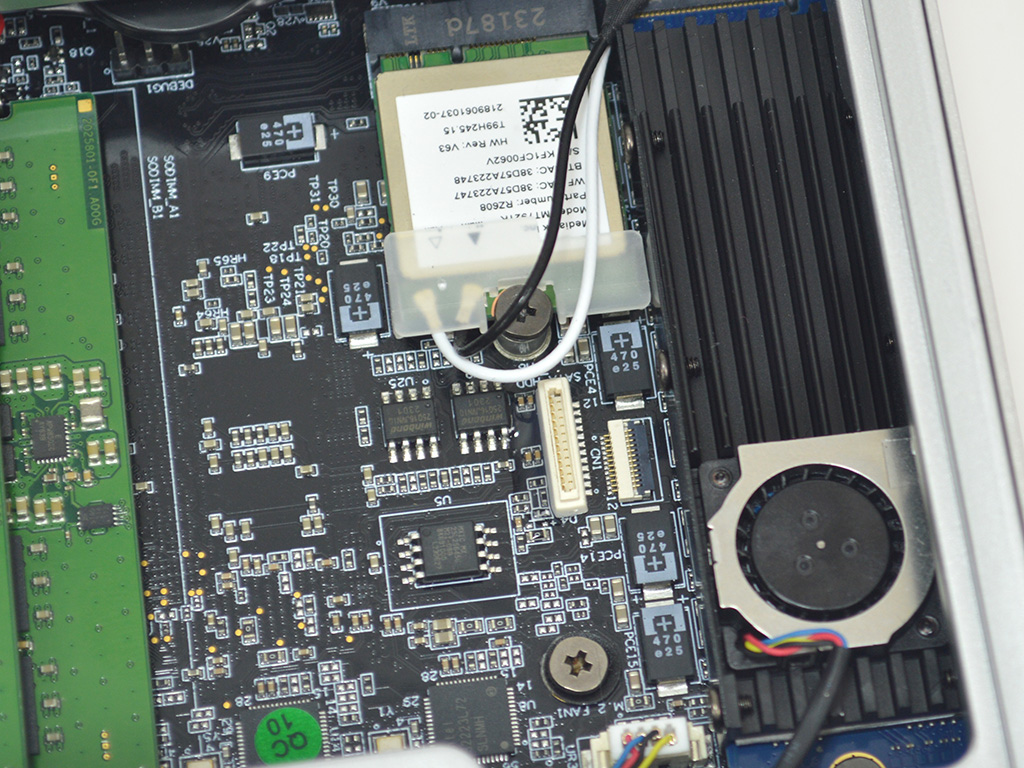
With that done, you will need to unplug the SSD fan and then remove the SSD and the Mediatek RZ608 Wi-Fi module.
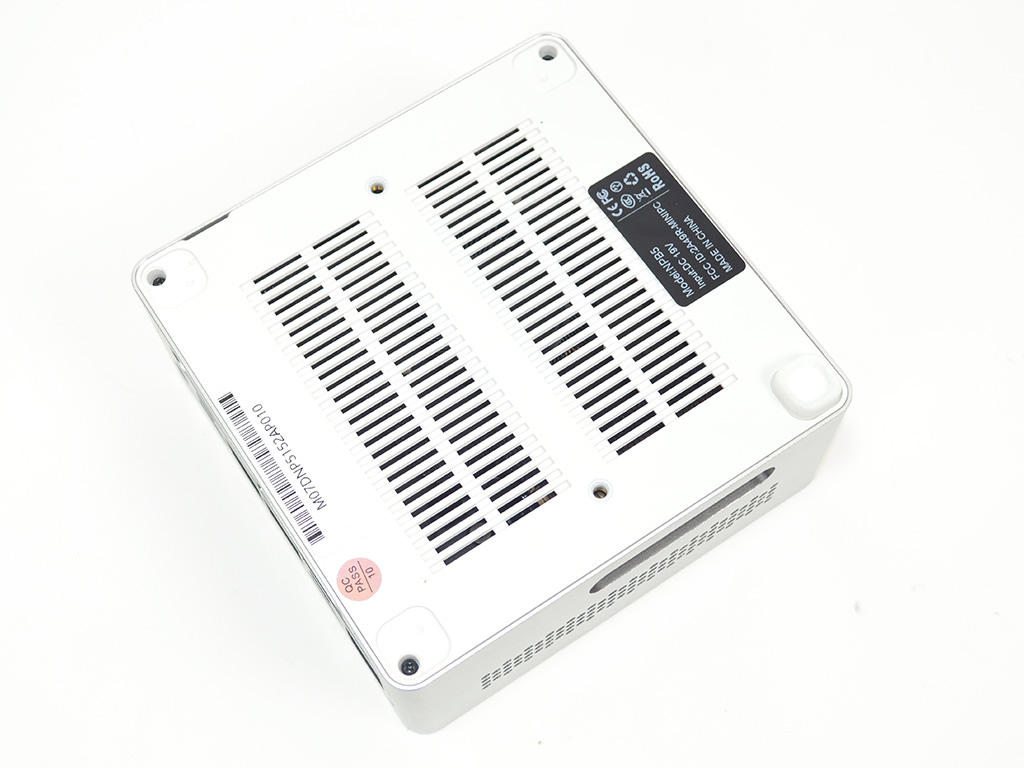
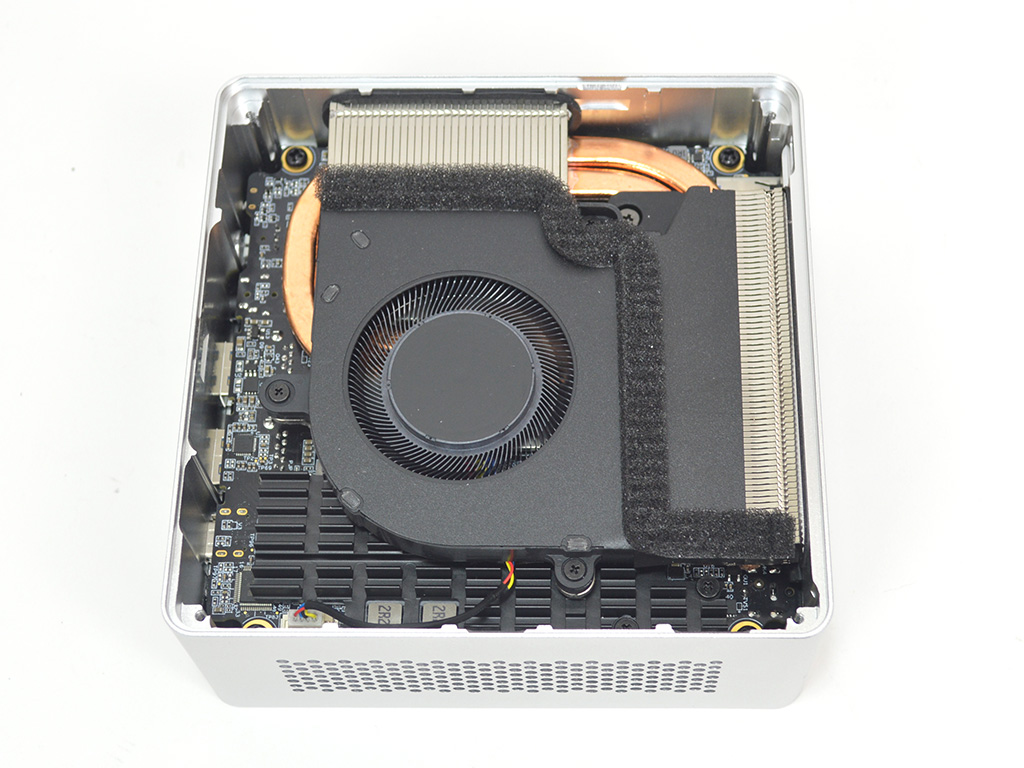
Next, you will need to remove the rubber feet from the bottom plate since the four screws holding it on are located underneath them. With the bottom plate removed, you now have access to the heatsink, which is quite hefty. With two exhaust ports and two heatpipes, it should be more than enough to handle the I5-13500H this system comes equipped with.
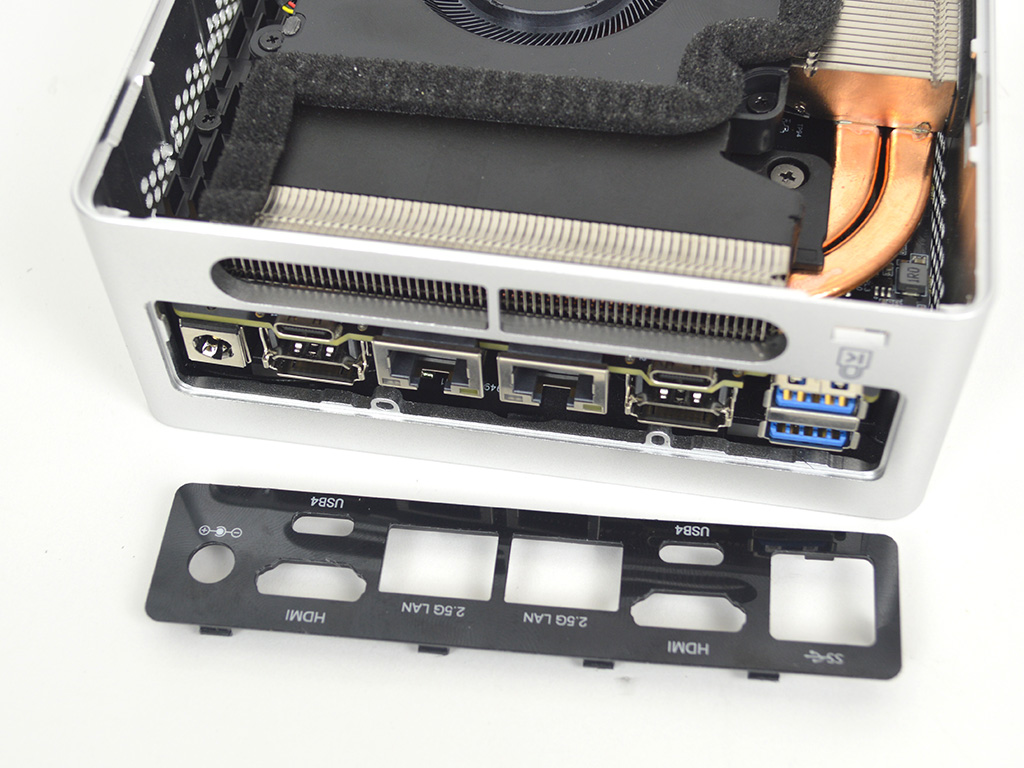
To get the motherboard out of the chassis, you are going to need to remove the black plastic I/O shield, which is held in with clips. You can simply pop them out from the inside, and the shield can then be pulled out. Now, at this point, the entire motherboard and heatsink should pull right out, and if the chassis was plastic, that may be possible. However, Minisforum's metal chassis means you need to remove the heatsink, something they recommend you do not do since they use a liquid metal thermal interface material. I never was good at following directions, though, so subsequently, you need to remove the four screws holding the heatsink in place. These four screws are hidden under the system's memory and the Wi-Fi module we removed earlier. Once the screws are out, you will need to remove the heatsink, which is also held in place via an adhesive gasket. I would only remove the heatsink if you absolutely need to.
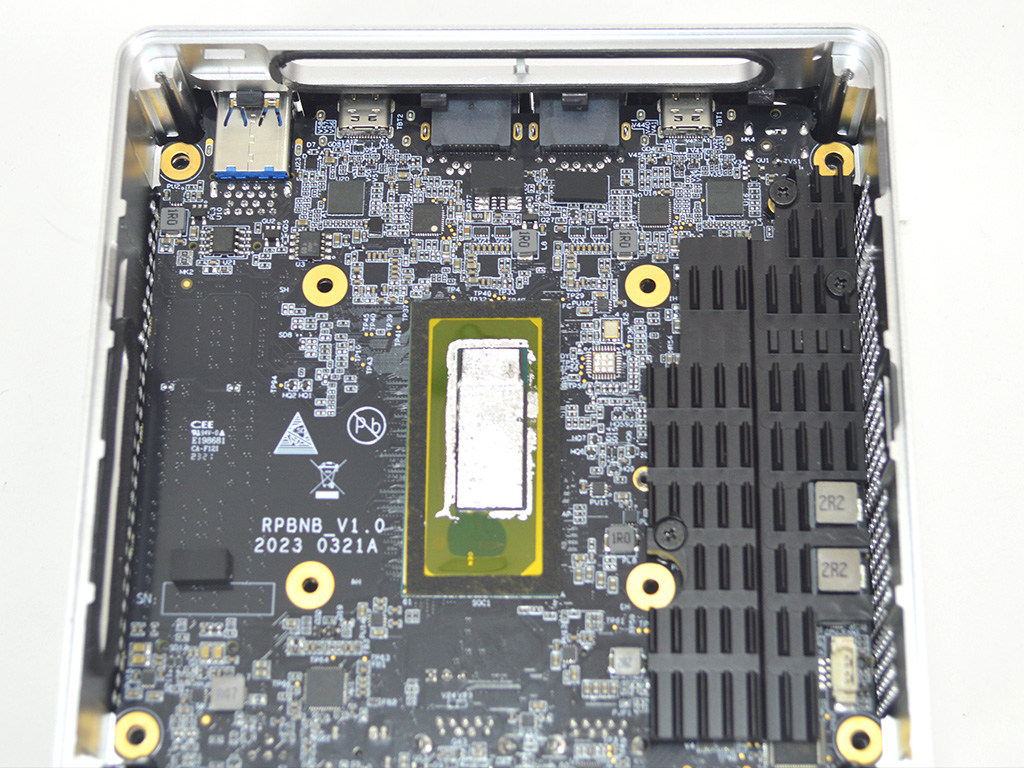
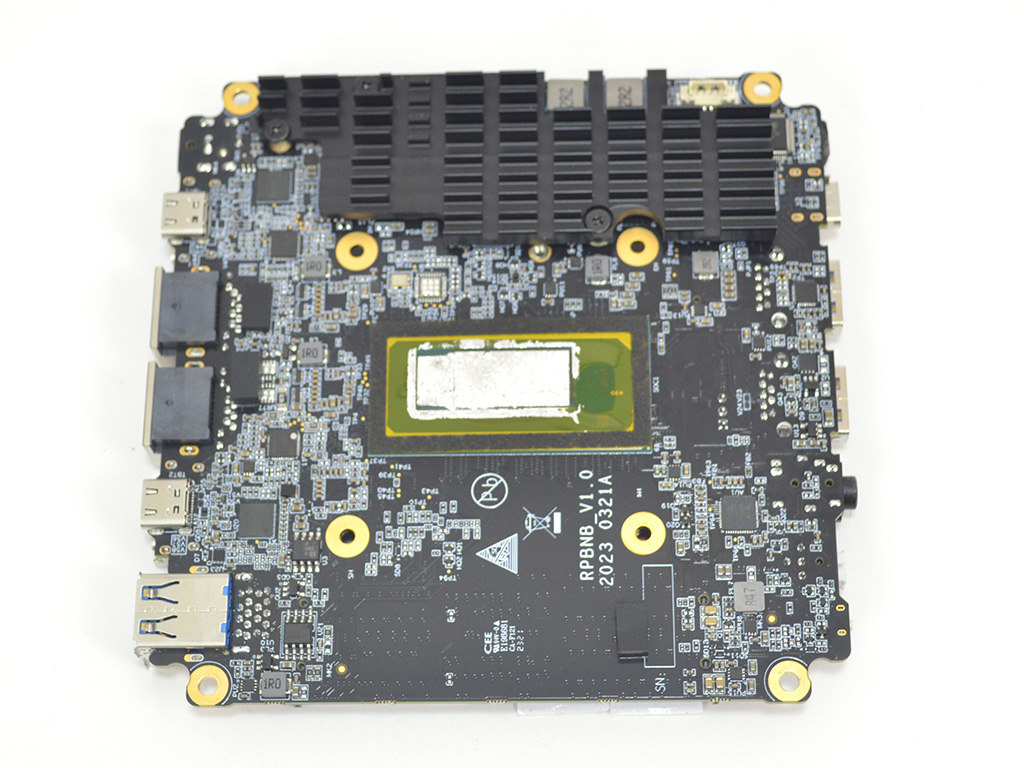
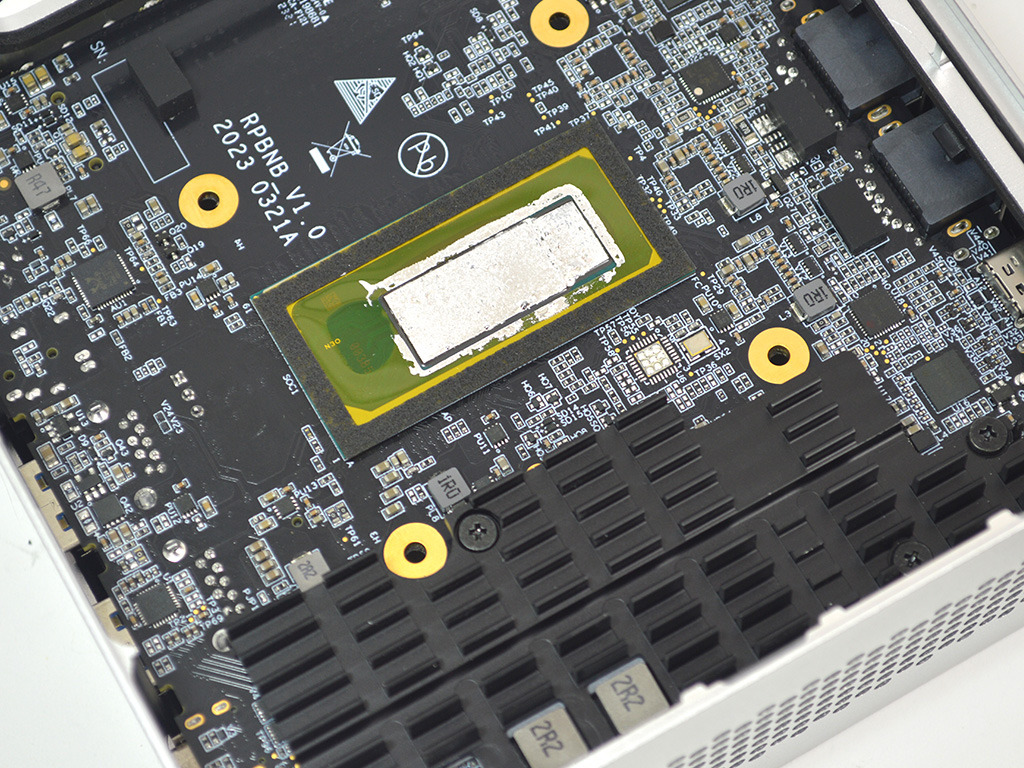
Regardless with the heatsink off, you can remove the four screws holding the motherboard to the chassis, and it will then come right out.
Overall, I am not a fan of this unit's design in that the heatsink must be removed to remove the motherboard. A slightly better chassis design would have allowed for complete disassembly without the issue of destroying the gasket, helping keep the liquid metal TIM from causing any potential shorts.
Jul 3rd, 2025 03:49 CDT
change timezone
Latest GPU Drivers
New Forum Posts
- HP Zbook 15 G2 GPU Upgrade (8)
- TPU's Nostalgic Hardware Club (20469)
- Your PC ATM (35484)
- What's your latest tech purchase? (24190)
- Gigabyte graphic cards - TIM gel SLIPPAGE problem (107)
- How reliable is Windows 11 Defender "Full" scan? (29)
- New build airflow question (4)
- NVIDIA App (42)
- The TPU UK Clubhouse (26547)
- Super-slow WiFi (8)
Popular Reviews
- ASUS ROG Crosshair X870E Extreme Review
- Crucial T710 2 TB Review - Record-Breaking Gen 5
- PowerColor ALPHYN AM10 Review
- Sapphire Radeon RX 9060 XT Pulse OC 16 GB Review - An Excellent Choice
- Upcoming Hardware Launches 2025 (Updated May 2025)
- AMD Ryzen 7 9800X3D Review - The Best Gaming Processor
- AVerMedia CamStream 4K Review
- Sapphire Radeon RX 9070 XT Nitro+ Review - Beating NVIDIA
- NVIDIA GeForce RTX 5060 8 GB Review
- AMD Ryzen 9 9950X3D Review - Great for Gaming and Productivity
TPU on YouTube
Controversial News Posts
- Intel's Core Ultra 7 265K and 265KF CPUs Dip Below $250 (288)
- NVIDIA Grabs Market Share, AMD Loses Ground, and Intel Disappears in Latest dGPU Update (212)
- Some Intel Nova Lake CPUs Rumored to Challenge AMD's 3D V-Cache in Desktop Gaming (140)
- NVIDIA GeForce RTX 5080 SUPER Could Feature 24 GB Memory, Increased Power Limits (115)
- NVIDIA Launches GeForce RTX 5050 for Desktops and Laptops, Starts at $249 (105)
- Microsoft Partners with AMD for Next-gen Xbox Hardware (105)
- Intel "Nova Lake‑S" Series: Seven SKUs, Up to 52 Cores and 150 W TDP (100)
- NVIDIA DLSS Transformer Cuts VRAM Usage by 20% (96)