 7
7
Montech Air 1000 Lite Review
Thermal Stress Test »Review System
| System Parts for Case Reviews | |
|---|---|
| Processor: | ATX: Intel Core i5-11600K mATX/ITX: Intel Core i5-10600K Provided by: Intel |
| Motherboards: | ATX: Gigabyte Z590 AORUS PRO AX ITX: Gigabyte Z590I Vision D Provided by: Gigabyte mATX: ASRock B560M Steel Legend Provided by: ASRock |
| Graphics Card: | Palit GeForce RTX 2080 Gaming Pro OC Provided by: Palit ZOTAC GAMING GeForce RTX 3060 Ti Twin Edge OC Provided by: Zotac |
| Memory: | 16 GB XPG SPECTRIX D50 3200 MHz 16 GB XPG SPECTRIX D60G DDR4 3000 MHz 16 GB XPG GAMMIX D20 DDR4 3200 MHz Provided by: ADATA |
| HDD: | Toshiba MG08ADA400E 7200 RPM SATA III Provided by: Toshiba |
| SSD: | ATX:XPG SPECTRIX S20G 500 GB mATX: XPG GAMMIX S50 Lite 1 TB ITX: ADATA Falcon 512 GB ADATA Ultimate SU800 512 GB ADATA Ultimate SU720 500 GB Provided by: ADATA |
| Power Supply: | ATX: Fractal Design ION+ 650W 80 Plus Gold SFX: Fractal Design ION SFX-L 650W 80 Plus Gold Provided by: Fractal Design |
| Cooling: | be quiet! Pure Loop 120/240/280/360 Provided by: be quiet! |
Assembly

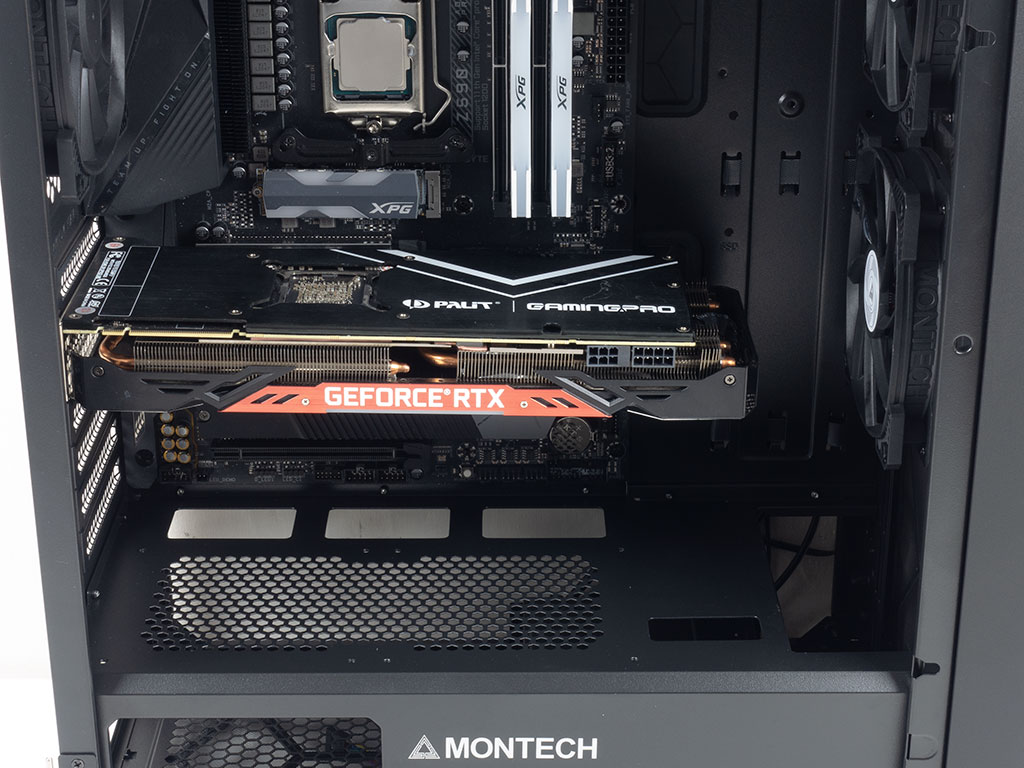
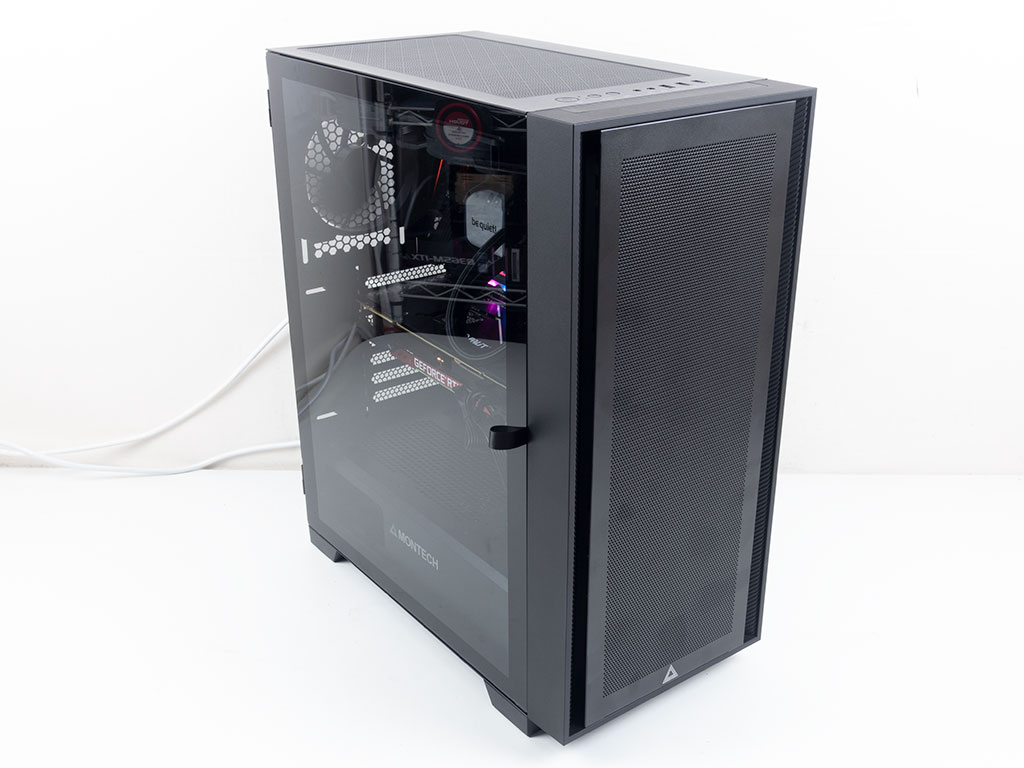
Installing the motherboard is done by traditional means. As you can see, there is loads of space above the board. The openings in the shroud on the opposite end line up nicely with the connectors, so any cables for these headers should be hidden from view, while the grommet-covered ones are perfectly placed to the right of the motherboard. Adding a GPU is all traditional as well; simply remove the covers and screw it down. There is plenty of room for long GPUs, only the longest may get in the way of an AIO radiator and fan setup in the front.

We opted for a 280 mm radiator in the ceiling of the Montech Air 1000 Lite, as the front already has two intake fans pre-installed. The unit fit perfectly, and while it was right up to the rear fan, you could easily slide that unit down and out of the way, giving you even more flexibility in placement. The AIO does not hang over the motherboard's edge, which makes all connectors, tall memory modules, or board heatsinks easily accessible.
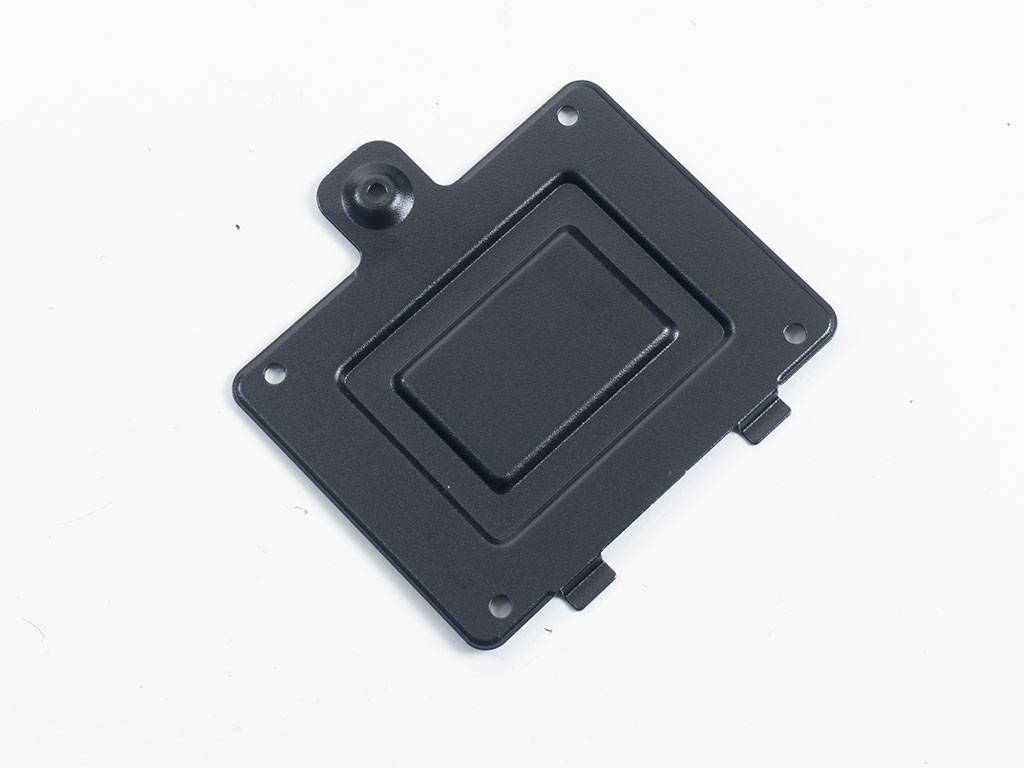

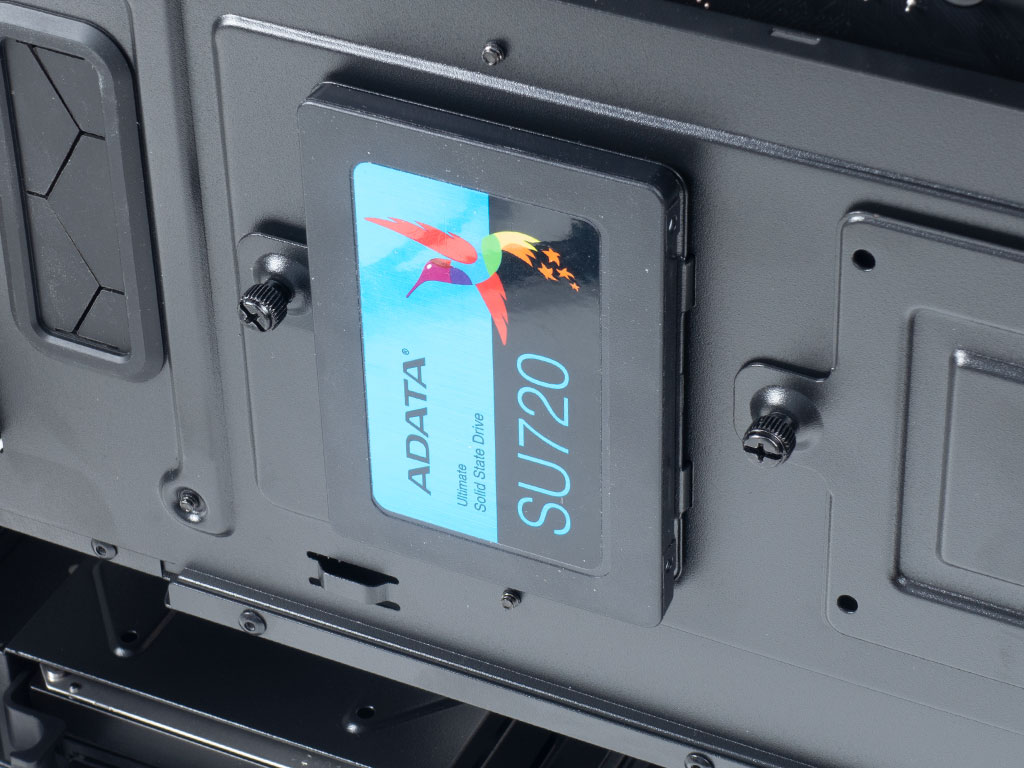
To add a 2.5" drive, simply pull off a plate of your choice and secure the drive with the provided screws. Lastly, put it back in place on the rear of the motherboard tray and make sure it stays there by re-applying the thumb screw. The plate gives you enough clearance between the drive and motherboard tray to connect the cables without issue.


The easiest way to include a 3.5" drive is to utilize the plastic tray onto which you may simply snap the drive, foregoing any tools. Once filled, simply slide it back into the cage until it audibly clips into place securely. Alternatively, you could remove the metal tray held in place by two screws from the underside and mount a drive on top of it using classic screws.

Adding the power supply is straightforward, as one simply slides it underneath the metal shroud and secures it by using traditional screws. While there is plenty of room for a mainstream unit, you may have to move the HDD cage forward for extra-long units, which does reduce the maximum AIO size for the front intake to 280 mm, from 360 mm.

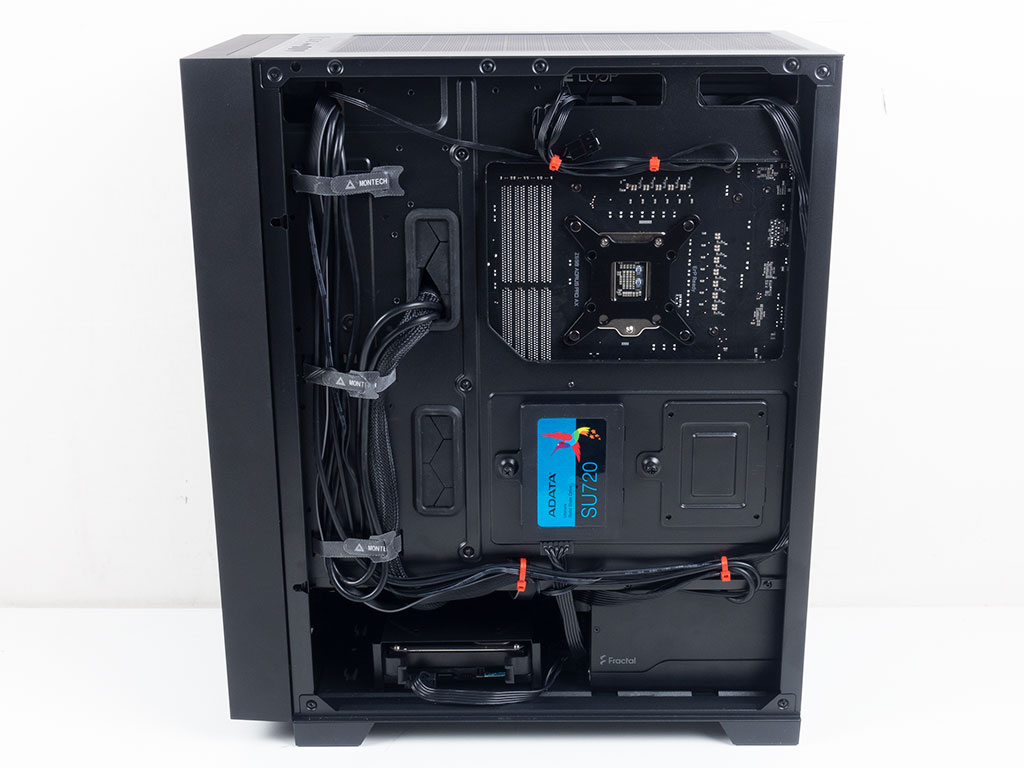
With everything installed, the Montech Air 1000 Lite turns out to be very clean. The only tricky part was that the PSU does get in the way of routing cables through the shroud openings once installed, so you have to make sure to do so beforehand. In the rear, using the Velcro strips and a few well-placed zip ties, you can keep things nice and tidy as well.
Finished Looks
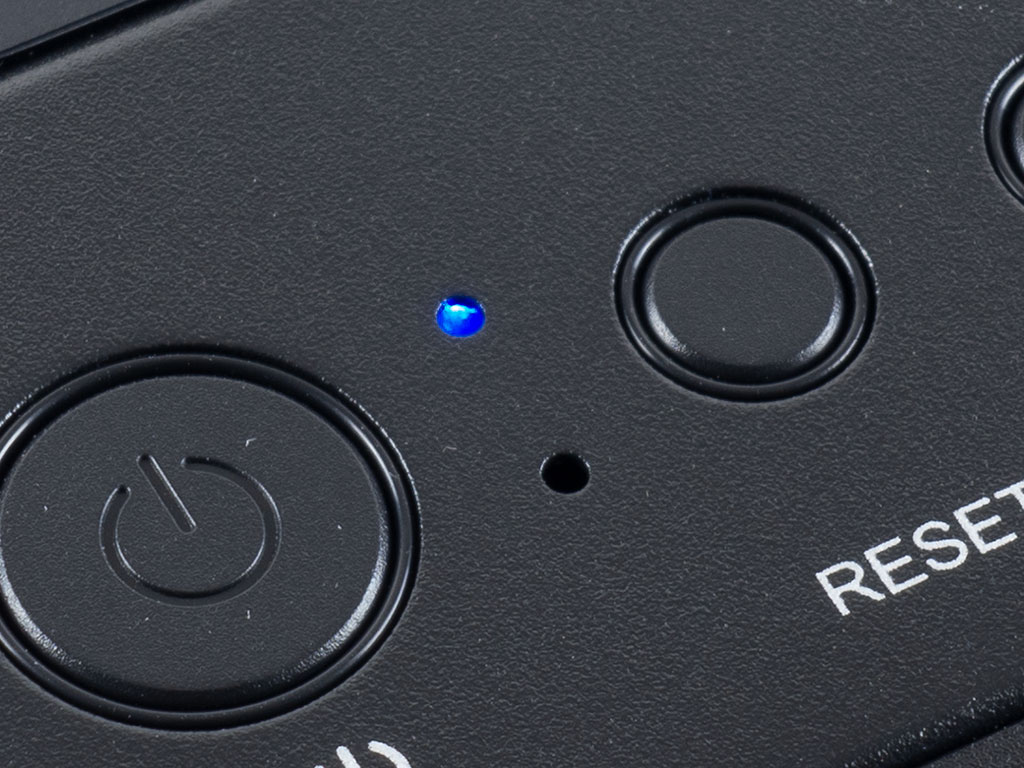
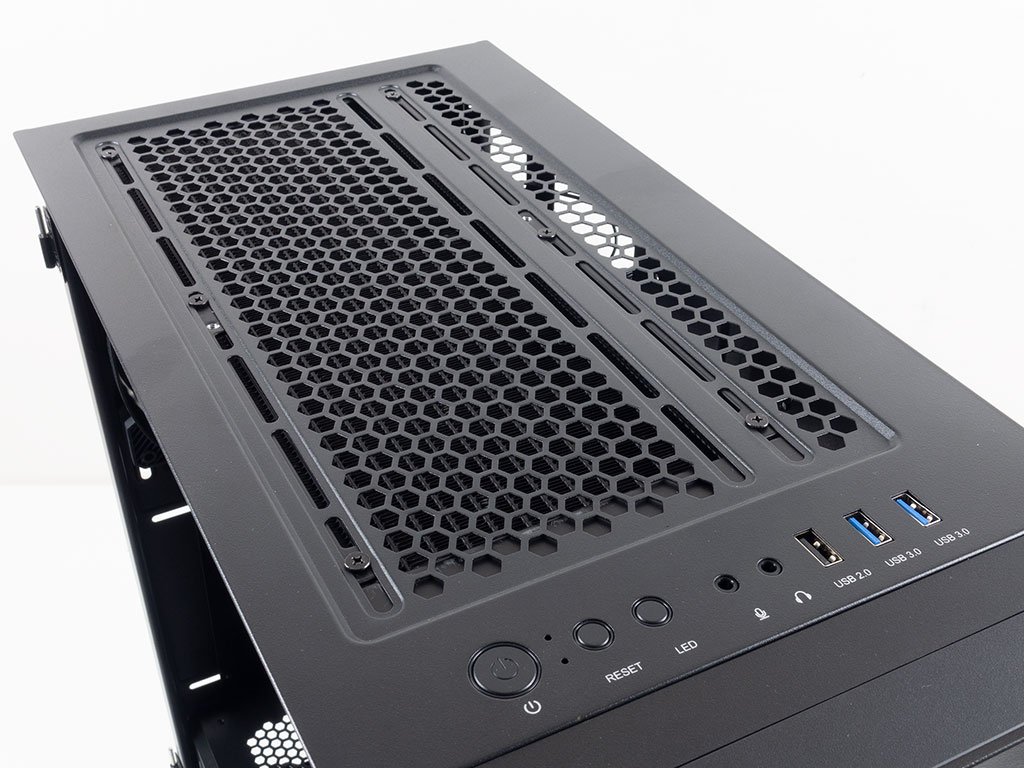
Once turned on, the only case-specific sources of illumination are the power and HDD activity LED in the top, as the Montech Air 1000 Lite does not included ARGB fans.
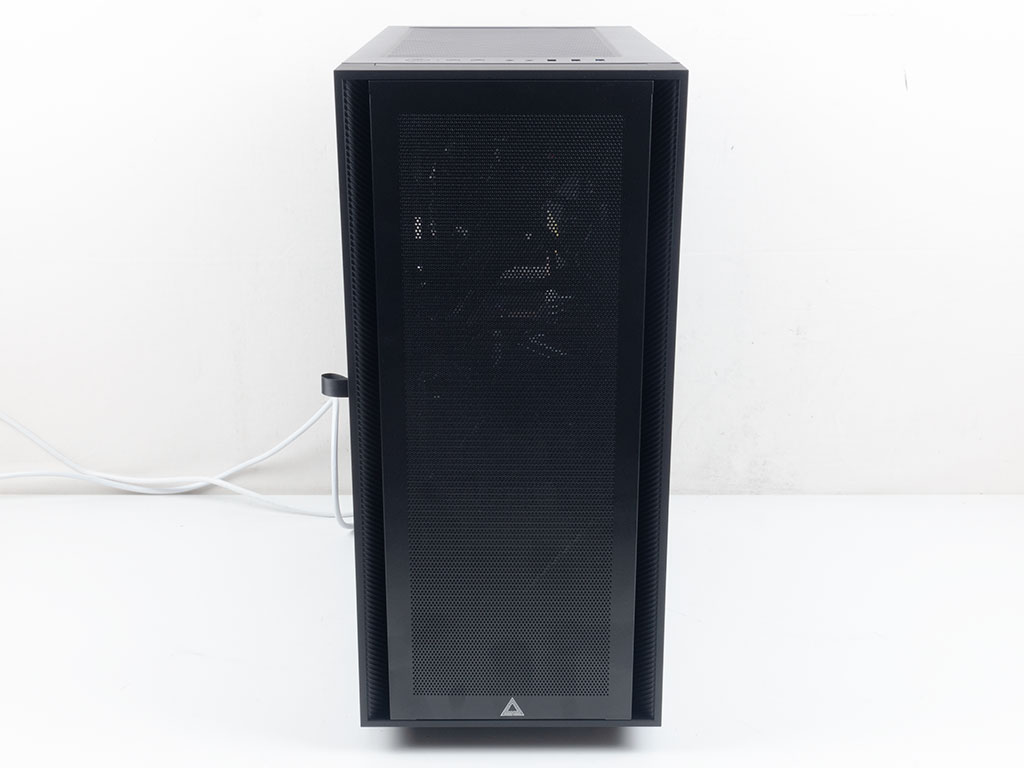

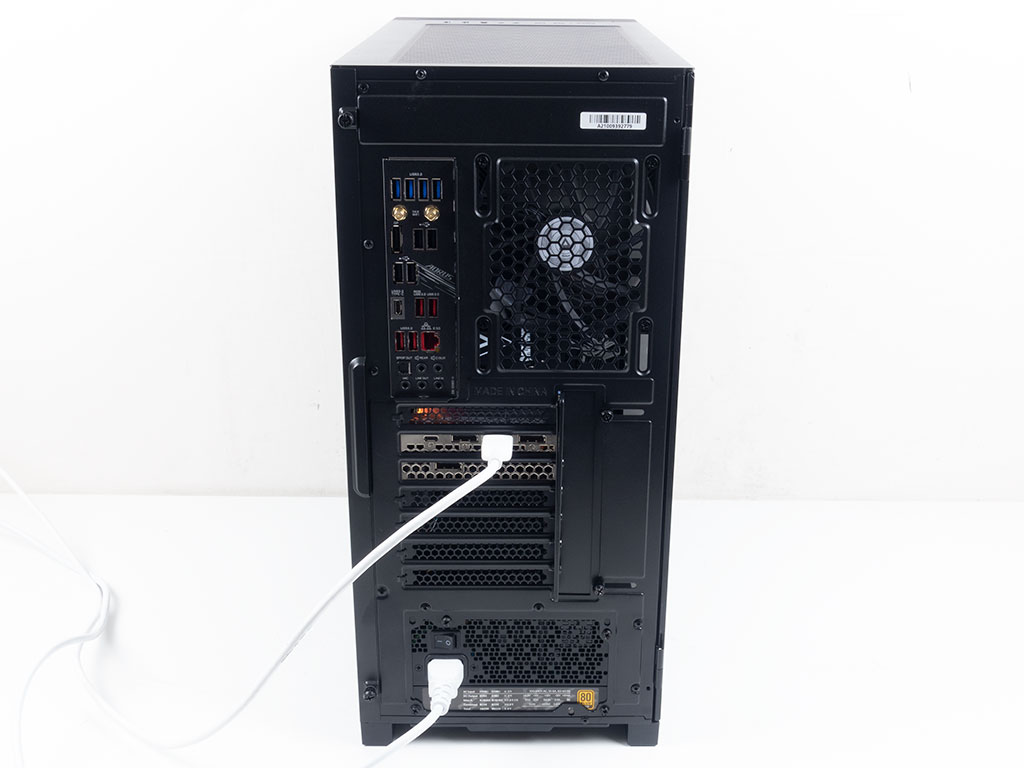
Looking at the front, you can clearly see the fan blades as well as the interior of the chassis, which bodes well for airflow. Thanks to the clear, clean glass panel, you may easily show off all your cool hardware, while the rear gives you access to all your component ports without issue as well.
Feb 17th, 2025 06:13 EST
change timezone
Latest GPU Drivers
New Forum Posts
- It's happening again, melting 12v high pwr connectors (657)
- Hynix A or M die for "futureproofed" AM5 build? (25)
- How many fans? (17)
- Just a rant about AMD and their so-called "foolproofness" (116)
- Gpu driver and bios apparently :( (43)
- What are you playing? (22938)
- What's your latest tech purchase? (23158)
- Battleeye (1)
- question about quality difference between resolutions on same size monitor. (6)
- Adding Hardware Support to Driver (1)
Popular Reviews
- WD Black SN7100 2 TB Review - The New Best SSD
- UGREEN 9-in-1 Steam Deck Docking Station Review
- Lian Li GA II Lite 360 Performance Review
- AMD Ryzen 7 9800X3D Review - The Best Gaming Processor
- Kingdom Come Deliverance II Performance Benchmark Review - 35 GPUs Tested
- NVIDIA GeForce RTX 5080 Founders Edition Review
- VAXEE E1 Wireless Review
- Gigabyte GeForce RTX 5080 Gaming OC Review
- MSI GeForce RTX 5080 Vanguard SOC Review
- Civilization VII Performance Benchmark Review - 35 GPUs Tested
Controversial News Posts
- AMD Radeon 9070 XT Rumored to Outpace RTX 5070 Ti by Almost 15% (301)
- AMD is Taking Time with Radeon RX 9000 to Optimize Software and FSR 4 (256)
- Edward Snowden Lashes Out at NVIDIA Over GeForce RTX 50 Pricing And Value (241)
- AMD Denies Radeon RX 9070 XT $899 USD Starting Price Point Rumors (239)
- AMD Plans Aggressive Price Competition with Radeon RX 9000 Series (235)
- New Leak Reveals NVIDIA RTX 5080 Is Slower Than RTX 4090 (215)
- AMD Radeon RX 9070 and 9070 XT Listed On Amazon - One Buyer Snags a Unit (182)
- AMD's Radeon RX 9070 Launch Faces Pricing Hurdles (175)