 14
14
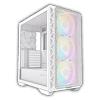
Montech Air 903 Max Review
Thermal Stress Test »Assembly
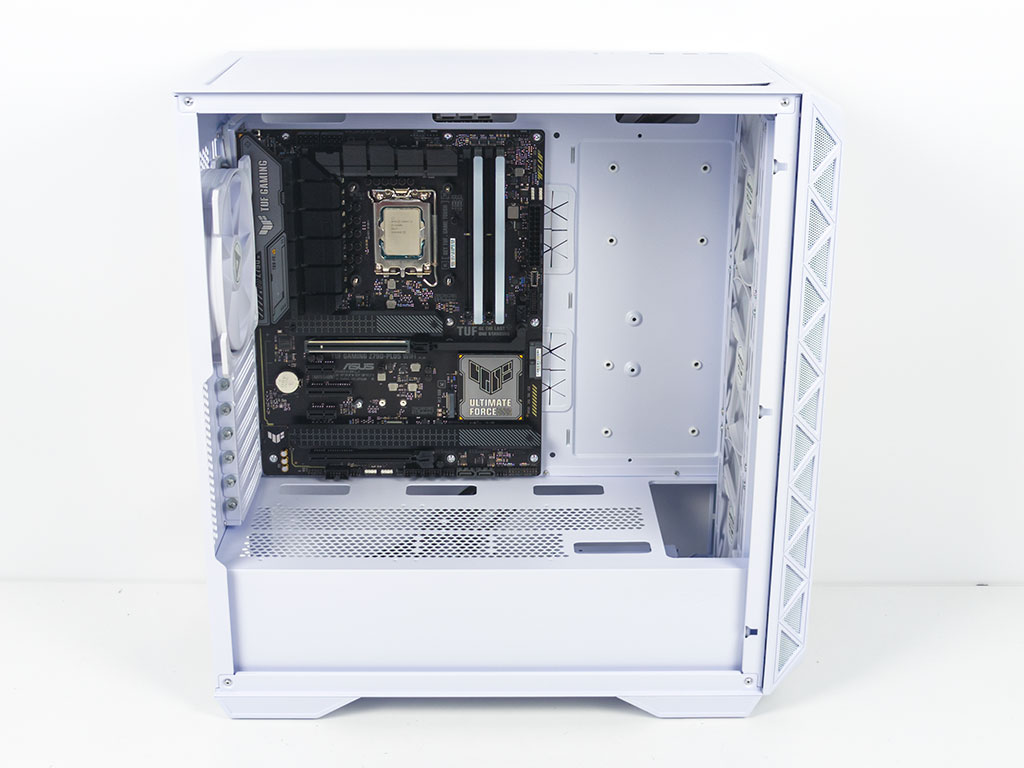
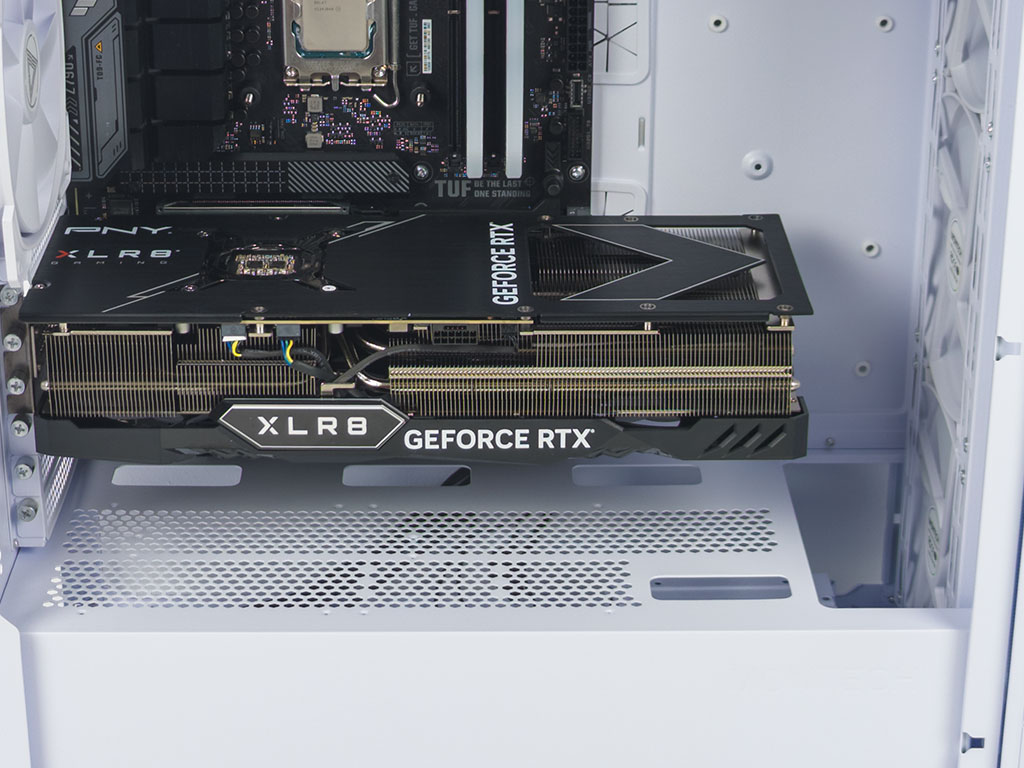
The Motherboard is secured using classic screw and spacers. As you can see, there is plenty of room above the board with well placed openings to plan for cables. In addition to that, wide E-ATX boards are also possible, but you will have to plan to install your SSDs here before adding a motherboard and loose access to the side cable routing openings. Large GPUs will easily fit as well and the PNY 4080 perfectly aligns with the opening in the shroud, meaning that a push/pull liquid cooling setup should be possible as well.
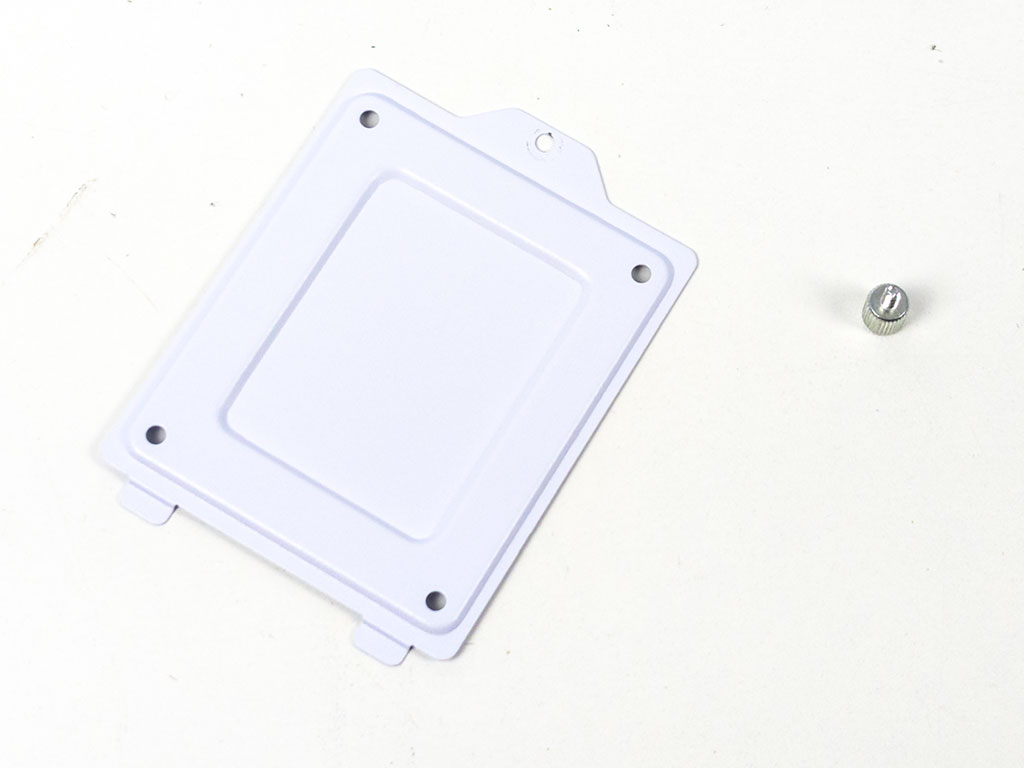

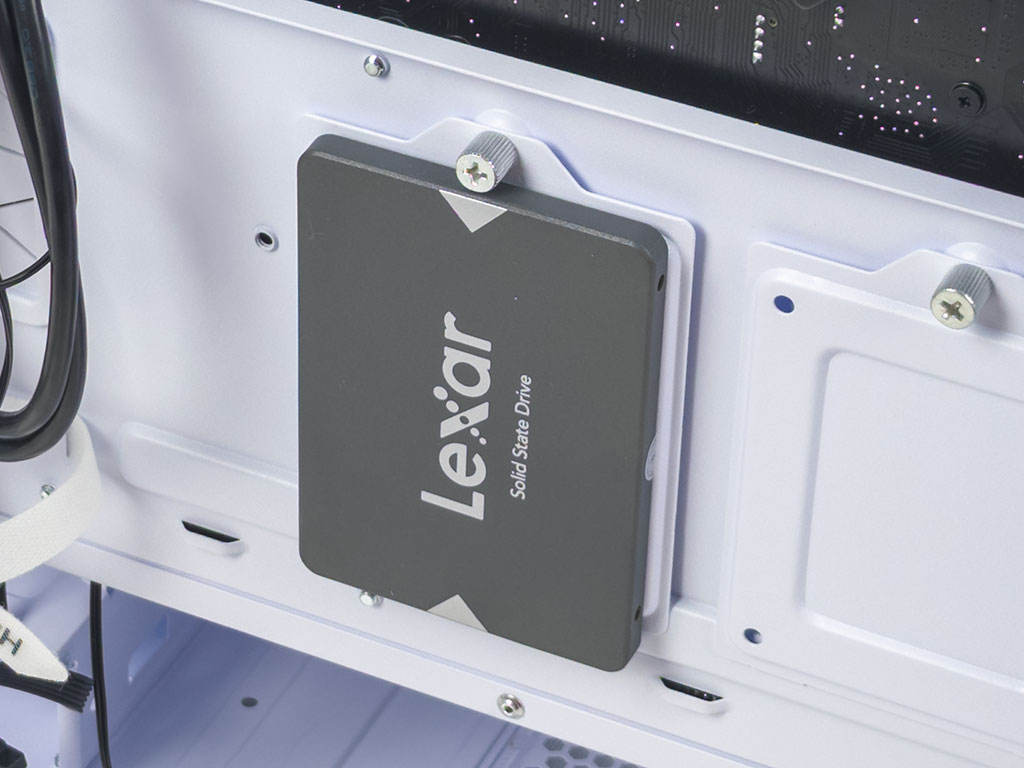
Adding a 2.5" drive on the tray utilizes screws as well, but you may easily install it by remove the trays of your choice and mounting it before putting it all back unto the backside of the motherboard tray.

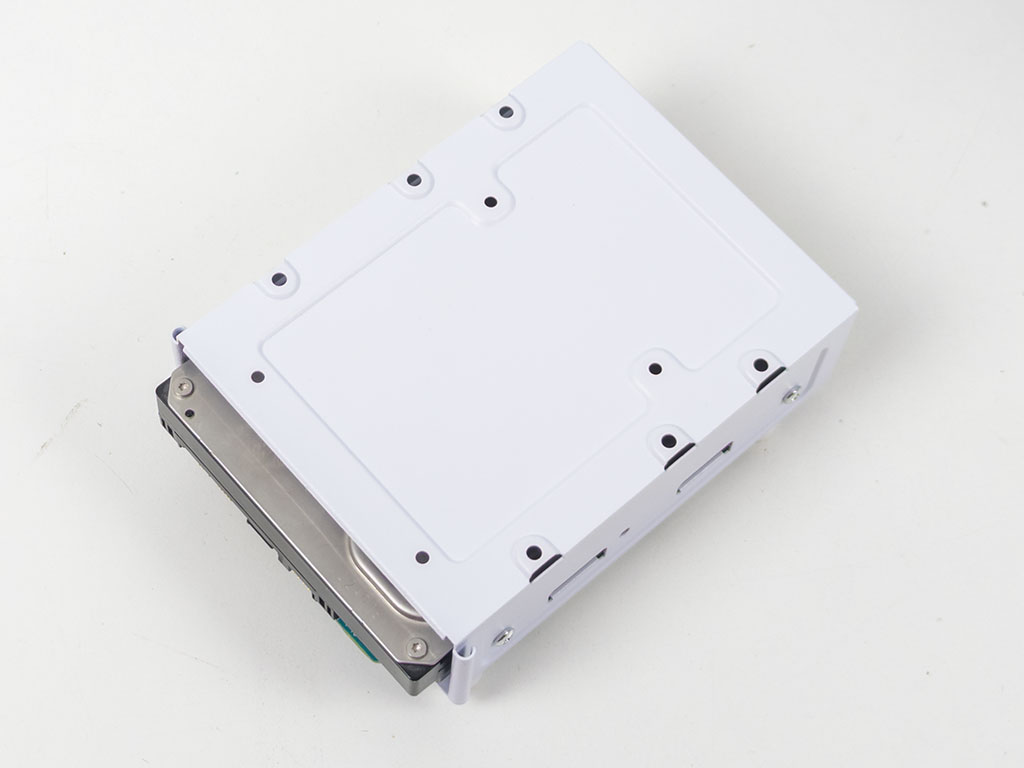
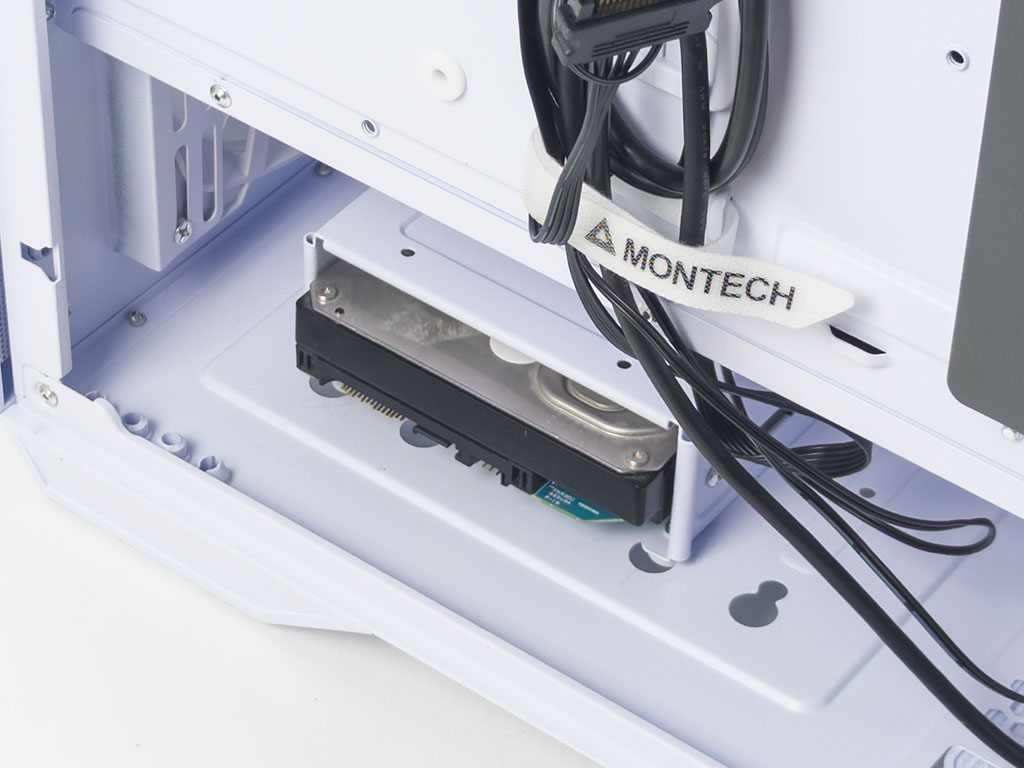
Classic 3.5" hard drives follow the same method, with silver mounting screws that are applied with the cage outside of the chassis. Thanks to the rubber mounted guiding screws, you can easily slide the whole contraption into one of the top positions and it will hold in place securely enough so that you can forgo the one silver thumb screw while your system remains stationary.
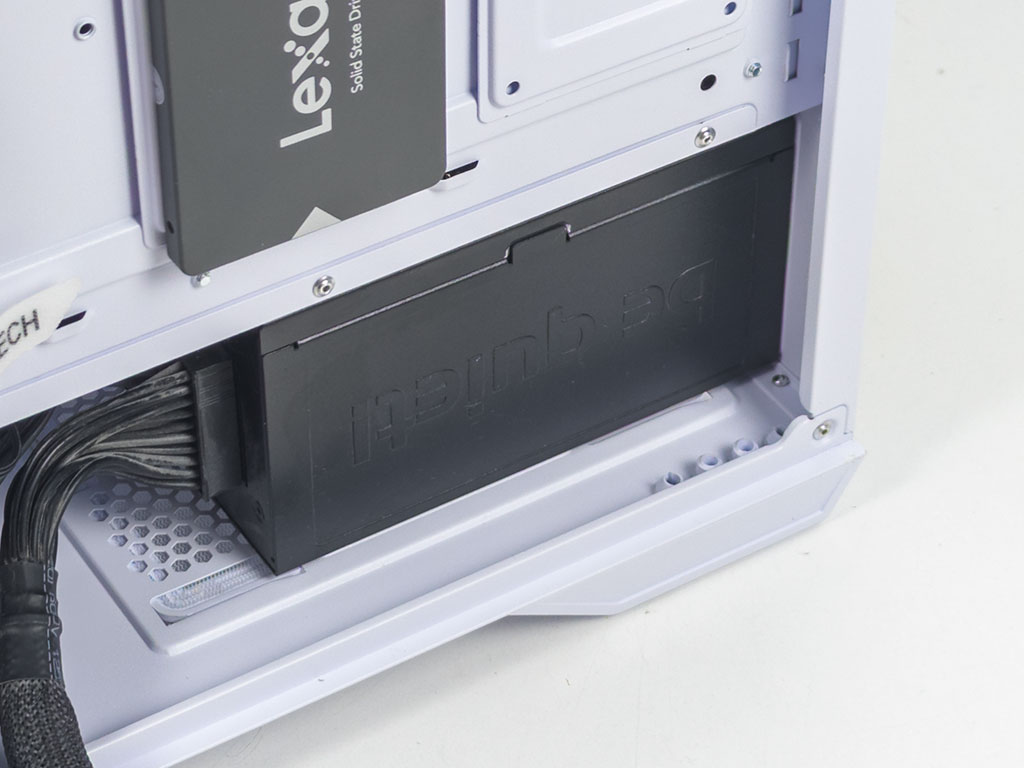
Adding a power supply is done by traditional means as well using screws. There is plenty of room, so potent and long units will easily fill without compromise.
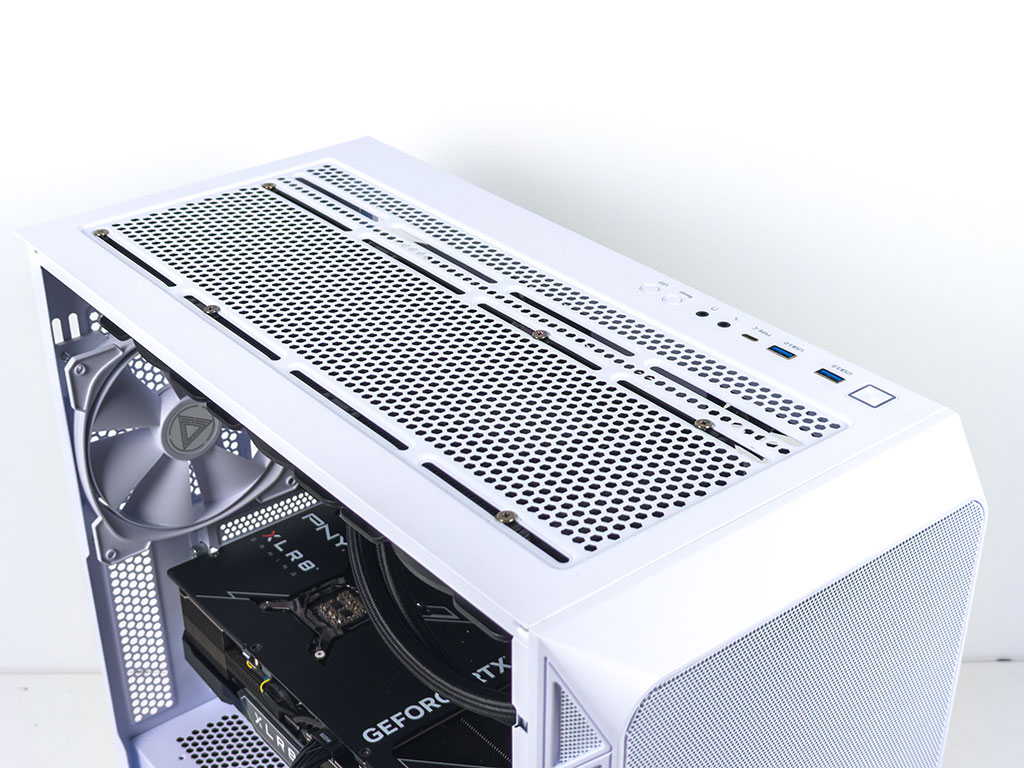
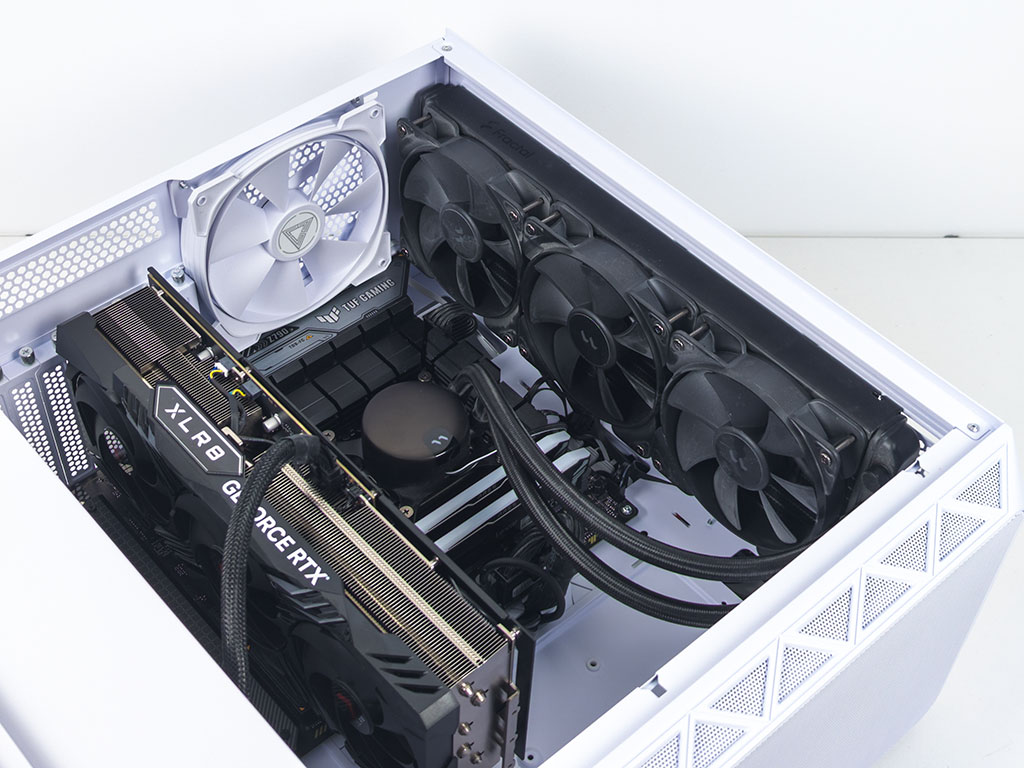
Montech advertises the ability to hold a 360 mm radiator at the top of the chassis and thanks to the well placed mounting holes, doing so presents no issues at all, with ample room for cable management at the top of the motherboard. The unfortunate downside is that you will have a harder time keeping your cable mess well hidden due to the lack of grommets on these openings.
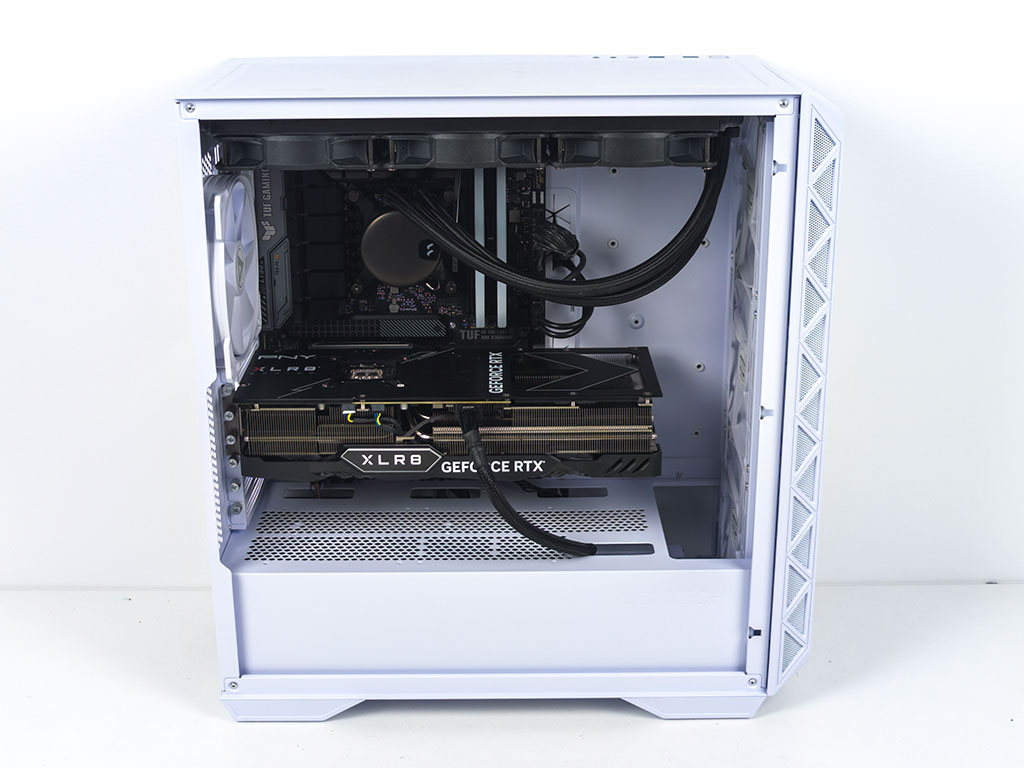
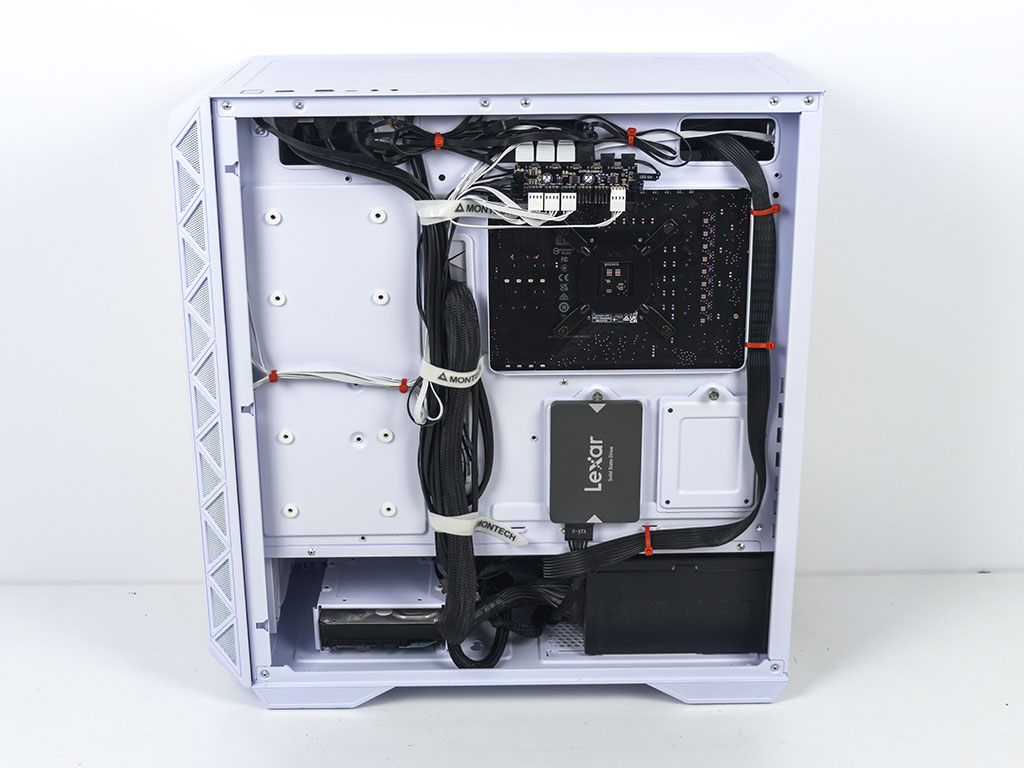
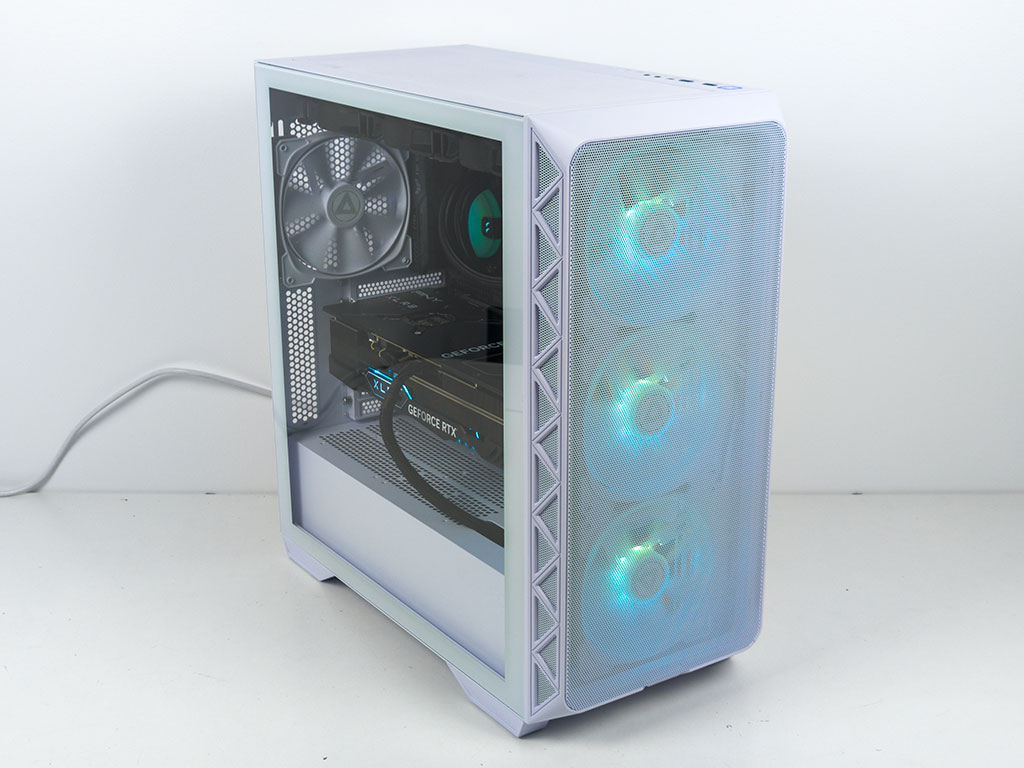
With everything installed, the Montech Air 903 Max makes a good impression in terms of cable management cleanliness in the interior of the chassis. We opted to route the GPU power wire through the opening towards at the edge of the shroud, but you may be better served by running it up straight from the center one at the bottom edge of the motherboard, if you are comfortable with the bend radius of that power wire. Thankfully the AIO hides all the wiring at the top of the chassis. On the backside things can be tidied up very nicely, thanks to the well placed hooks for zip ties in combination with the three Velcro strips - even with a total of seven fans installed.
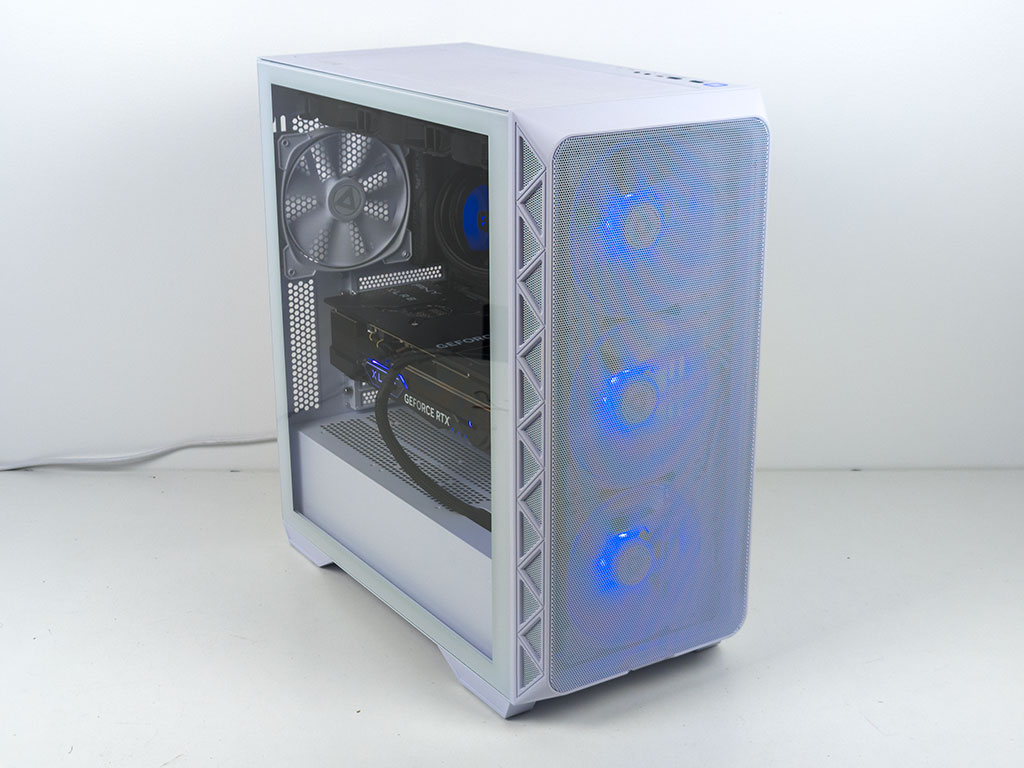
Finished Looks

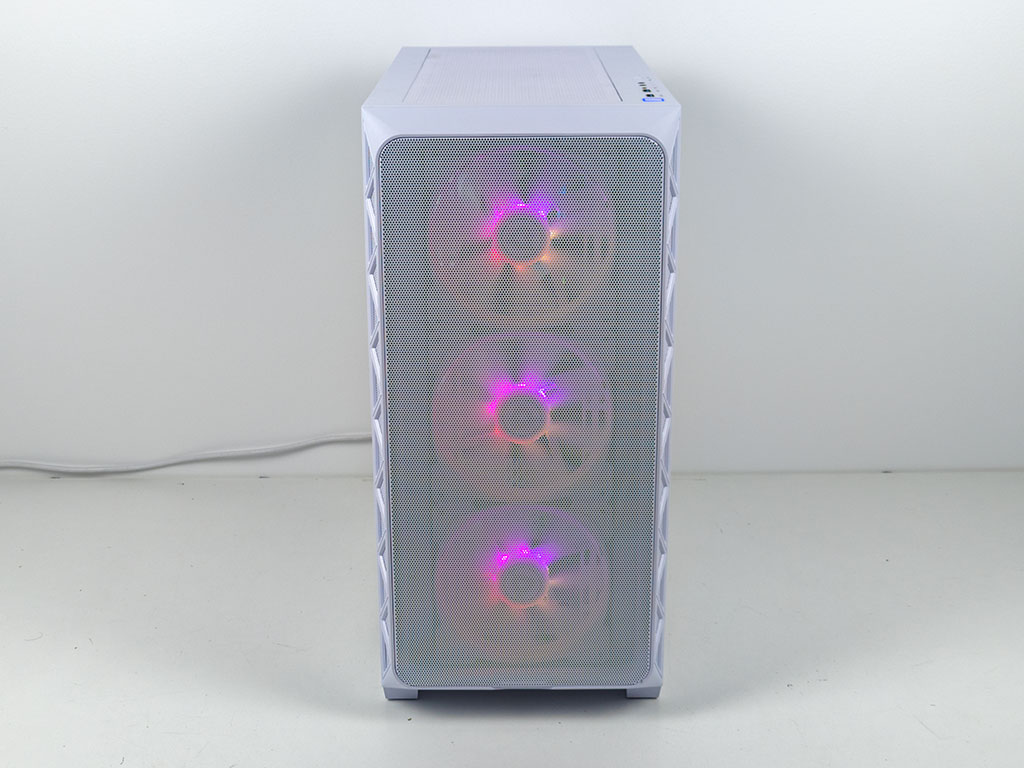
With the panels back in place, and the system turned on, you can clearly see the ARGB elements of the front intake fans. A blue LED at the top, around the square power button will also let you know that your PC is up and running.

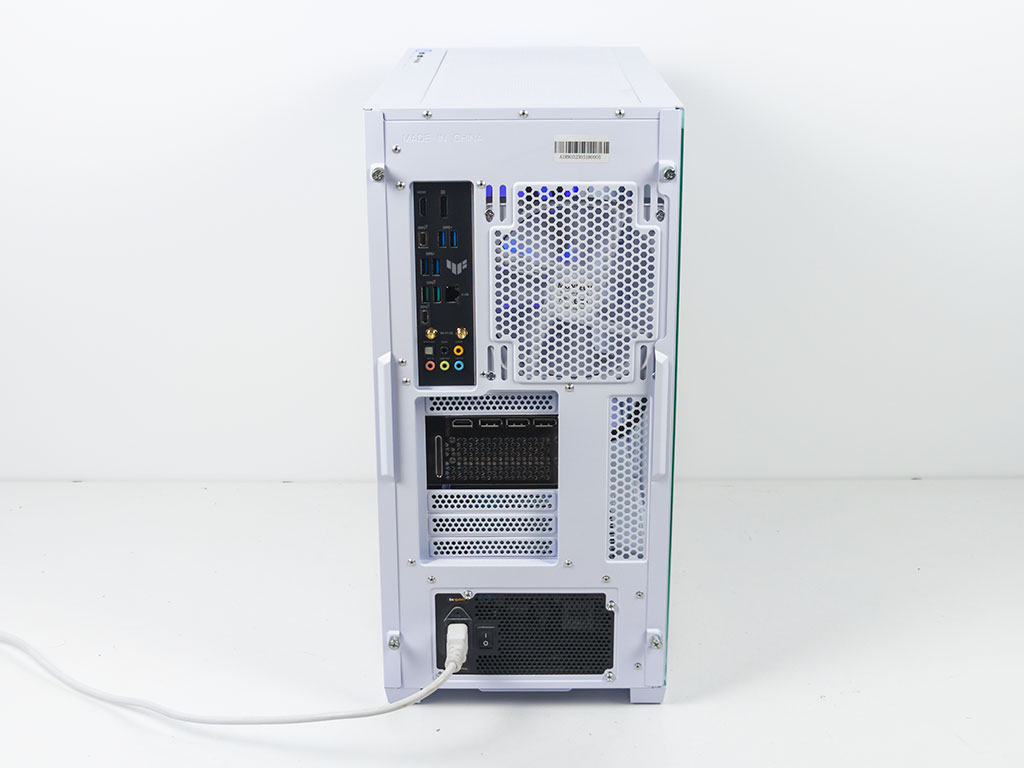
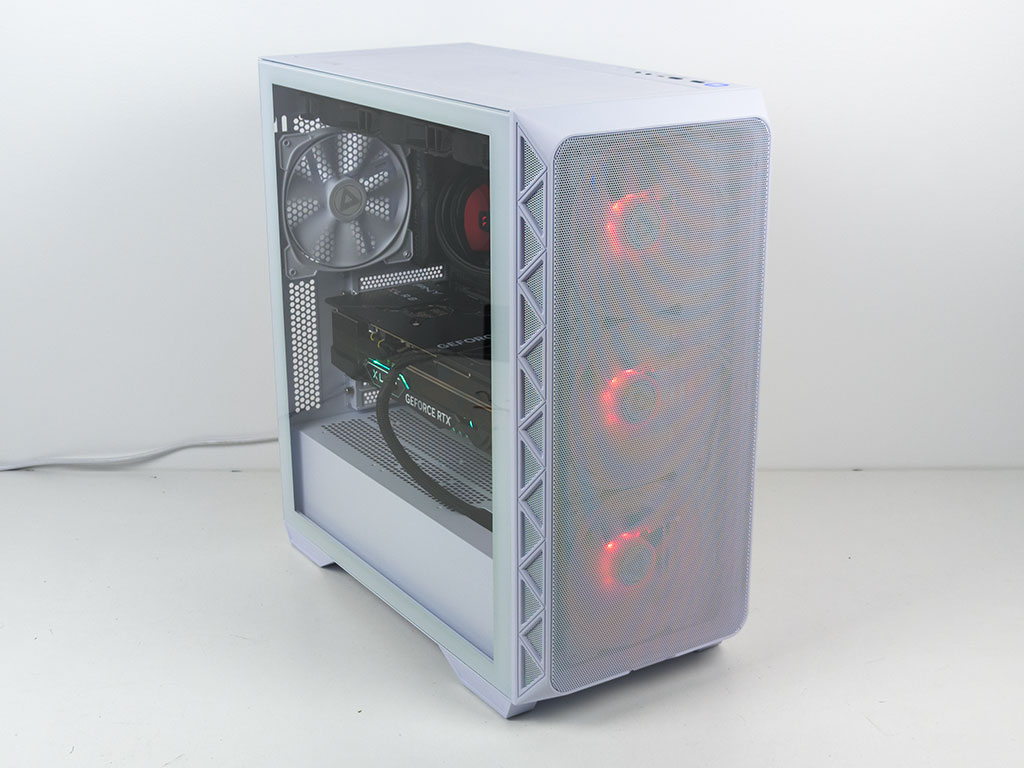
The fans in the front sport hub mounted ARGB elements, and manage to glow nicely into the interior of the chassis. Thanks to the clear window, you can see all the components easily - especially in this white version of the Montech Air 903 Max. In the rear, everything is where you expect to see it. One noteworthy element is the fact that the seven PCI slots are bridgeless, so that you should be able to employ universal vertical GPU mounting brackets.

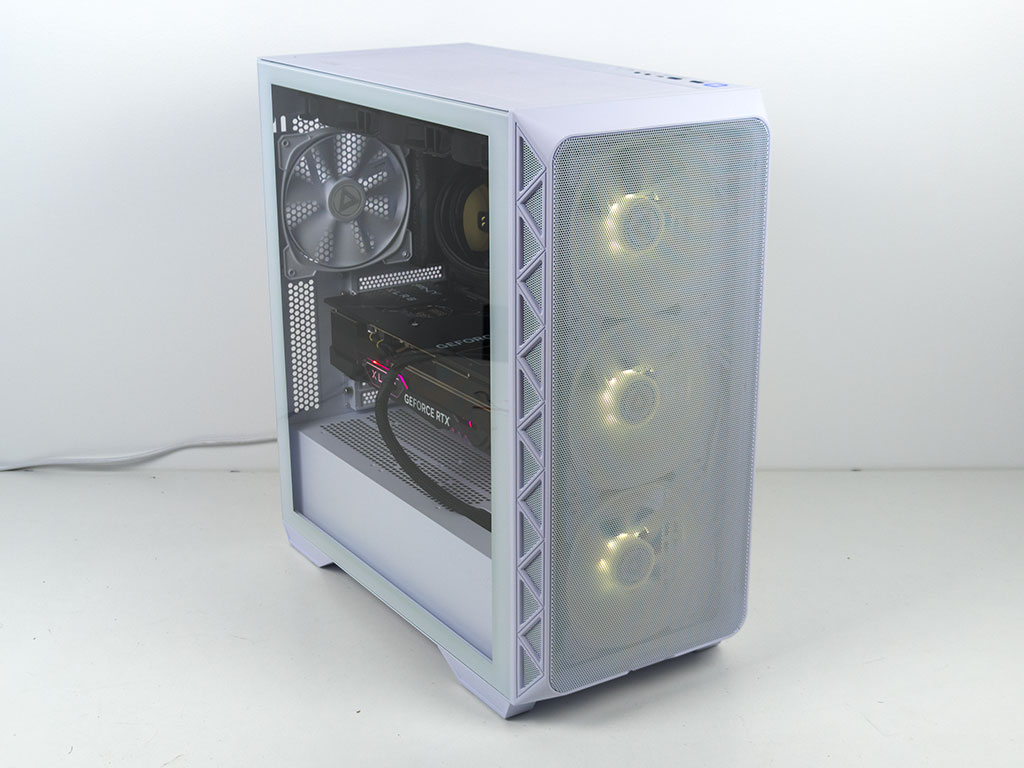
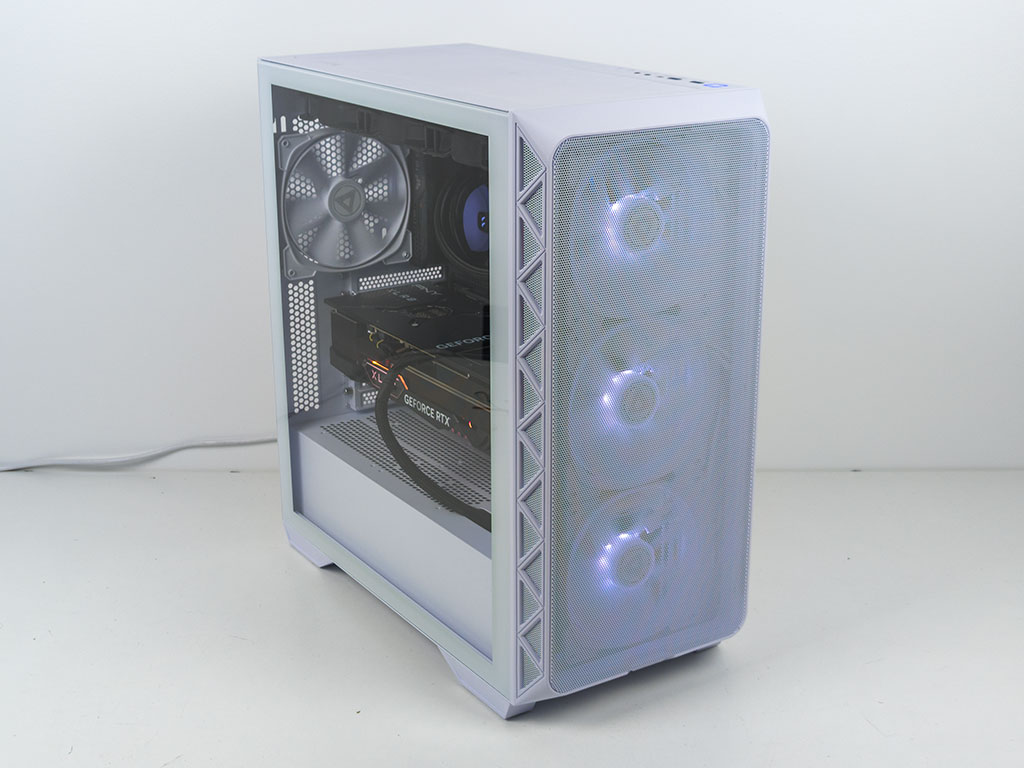
Besides the numerous lighting modes and animations, the Montech Air 903 Max offers five solid color options. This is unfortunately less than most others offer but if the hue of your choice is not available, you can always utilize motherboard control to set it yourself.
Feb 22nd, 2025 13:58 EST
change timezone
Latest GPU Drivers
New Forum Posts
- Keep a 4080s or take a 5070ti? (10)
- As we live the age of game remakes, which game you would like to see to have a remake? (320)
- The TPU UK Clubhouse (25760)
- 4GB or 8GB - Saphire pulse Radeon RX570 ITX (0)
- 2022-X58/1366 PIN Motherboards NVME M.2 SSD BIOS MOD Collection (889)
- Nvidia's GPU market share hits 90% in Q4 2024 (gets closer to full monopoly) (495)
- Microsoft Officially drops AC3 (Dolby Digital) Support from W11 24H2 (26)
- Technical Issues - TPU Main Site & Forum (2025) (58)
- A Final Fantasy IX Reminiscence - My love letter and homage to one of the best stories ever told (59)
- Thermal throttling Lenovo LOQ i5-13420H (2)
Popular Reviews
- MSI GeForce RTX 5070 Ti Ventus 3X OC Review
- Gigabyte GeForce RTX 5090 Gaming OC Review
- Galax GeForce RTX 5070 Ti 1-Click OC White Review
- ASUS GeForce RTX 5070 Ti TUF OC Review
- Ducky One X Inductive Keyboard Review
- MSI GeForce RTX 5070 Ti Vanguard SOC Review
- MSI GeForce RTX 5070 Ti Gaming Trio OC+ Review
- darkFlash DY470 Review
- AMD Ryzen 7 9800X3D Review - The Best Gaming Processor
- Palit GeForce RTX 5070 Ti GameRock OC Review
Controversial News Posts
- NVIDIA GeForce RTX 5090 Spotted with Missing ROPs, NVIDIA Confirms the Issue, Multiple Vendors Affected, RTX 5070 Ti, Too (351)
- AMD Radeon 9070 XT Rumored to Outpace RTX 5070 Ti by Almost 15% (302)
- AMD Plans Aggressive Price Competition with Radeon RX 9000 Series (269)
- AMD is Taking Time with Radeon RX 9000 to Optimize Software and FSR 4 (256)
- AMD Radeon RX 9070 and 9070 XT Listed On Amazon - One Buyer Snags a Unit (247)
- Edward Snowden Lashes Out at NVIDIA Over GeForce RTX 50 Pricing And Value (241)
- AMD Denies Radeon RX 9070 XT $899 USD Starting Price Point Rumors (239)
- New Leak Reveals NVIDIA RTX 5080 Is Slower Than RTX 4090 (215)