 15
15
Montech Fighter 400 Review
Temperature & Noise Testing »Test System
| System Parts for Case Reviews | |
|---|---|
| Processor: | Intel Core i5-9600K |
| Motherboards: | ATX: MSI Z390 GAMING EDGE AC MATX: Z370M GAMING EDGE AC Mini-ITX: MSI Z370I GAMING EDGE AC Provided by: MSI |
| Graphics Card: | ATX/mATX: Palit GeForce RTX 2080 Gaming Pro OC ITX: EVGA GTX 1650 SC Ultra Black 4 GB |
| Memory: | 16 GB XPG GAMMIX D30 DDR4 2666 MHz CL16-18-18 1.20 V 16 GB XPG SPECTRIX D60G DDR4 3000 MHz CL16-18-18 1.35 V Provided by: ADATA |
| HDD: | Western Digital 320 GB 7200 RPM |
| SSD: | ITX: ADATA SX6000 Pro M.2 256 GB mATX: ADATA GAMMIX S11 Pro M.2 256 GB ATX: ADATA SPECTRIX S40G M.2 256 GB ADATA XPG SX850 256 GB ADATA Ultimate SU630 240 GB ADATA Ultimate SU750 256 GB Provided by: ADATA |
| Power Supply: | Fractal Design ION+ 750W 80 Plus Platinum |
| Cooling: | be quiet! Dark Rock 4 be quiet! Dark Rock Slim be quiet! Shadow Rock LP Provided by: be quiet! |
Assembly
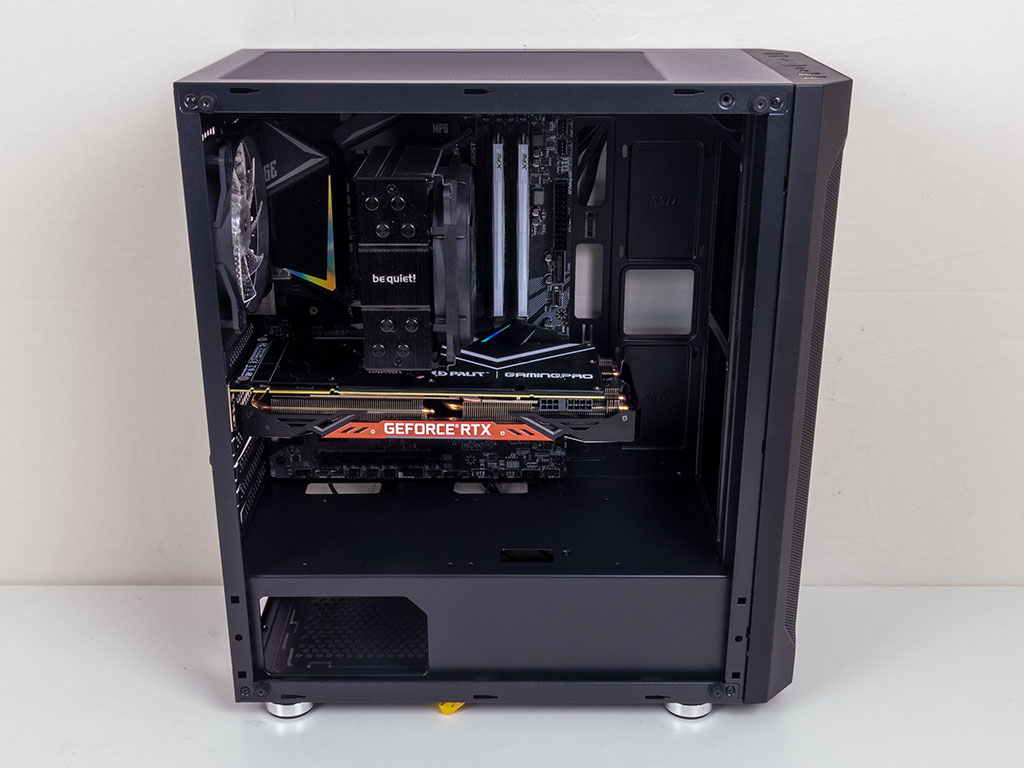
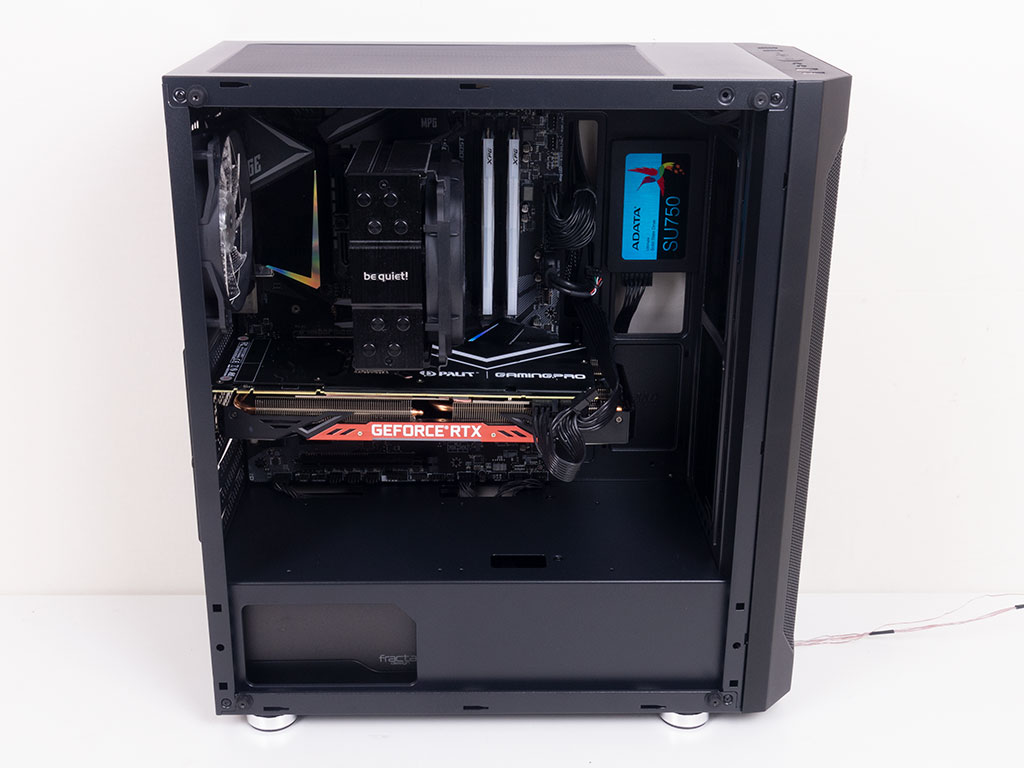
Installing the motherboard is done by traditional means, using included spacers and screws. There is a little bit of space for cable routing at the top of the board, while the bottom edge sits right on the shroud. Thanks to well-placed openings in this cover, you are able to route all the wires here nicely as well. As you can see, there are virtually no restrictions on which GPU you can install as the Palit GeForce 2080 RTX easily fits.
On the flip side, you have to be a bit more aware of the CPU cooler limitations. According to their specification table, the Fighter 400 should fit 120 mm towers with a maximum height of 160 mm, and our be quiet! Dark Rock Slim with its 159 mm advertised height fits really nicely.
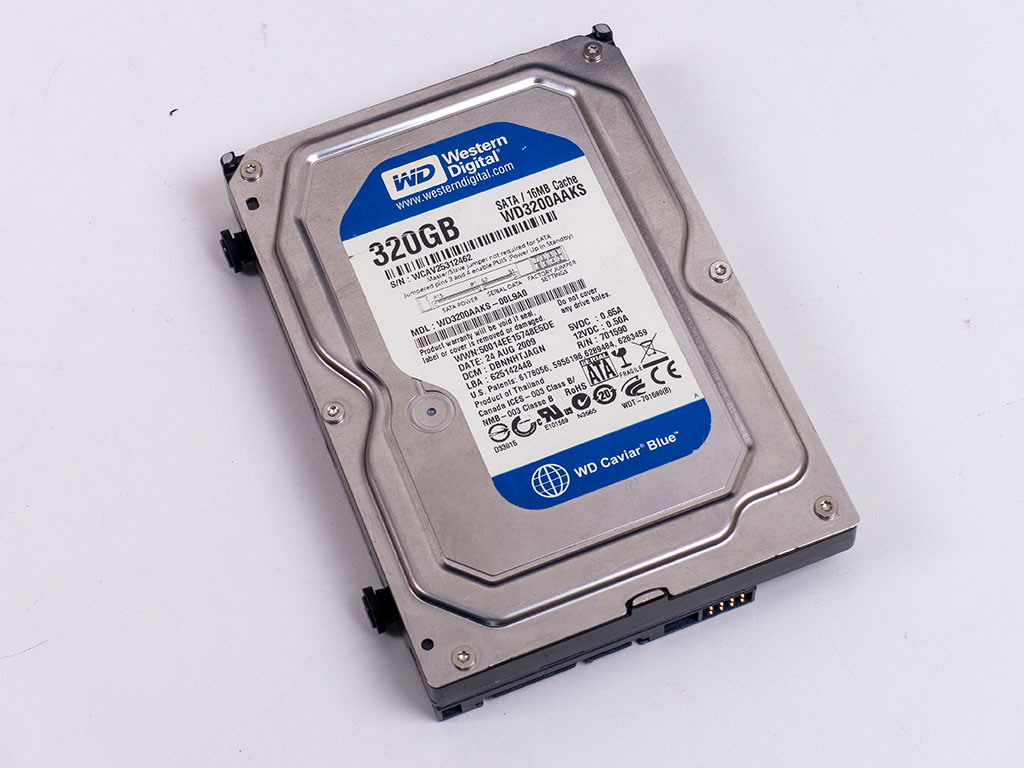
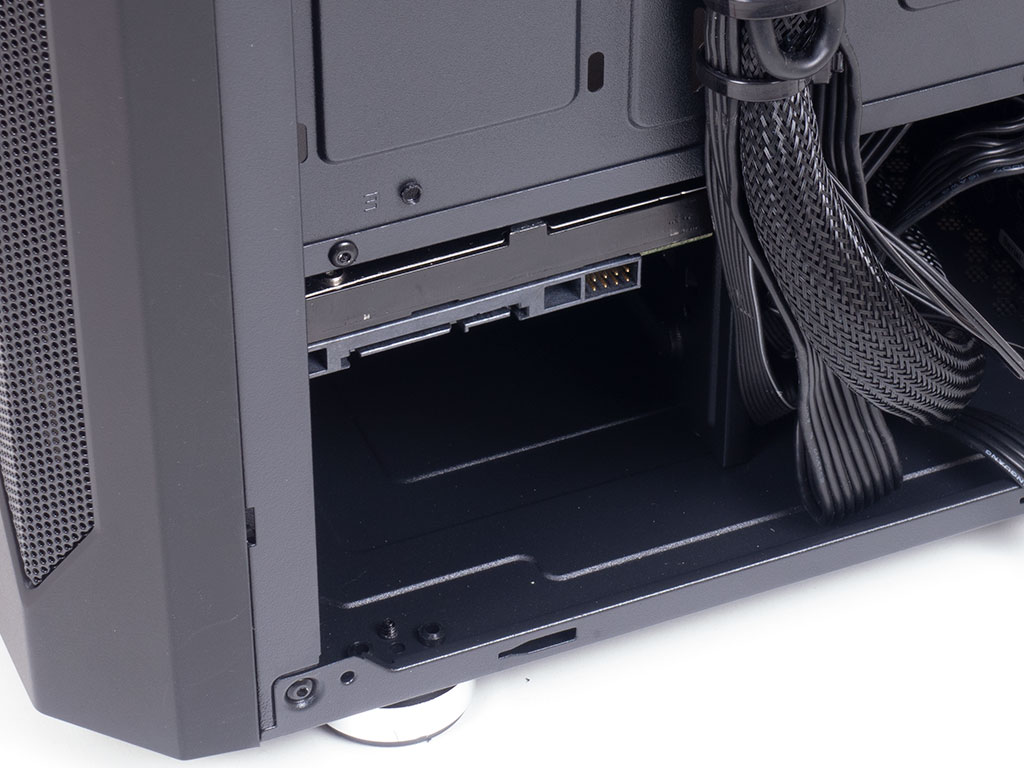
Adding 3.5" drives requires you to mount rubber-ringed screws on the left side of the drive, before sliding it in and using thumb screws to secure the right side. While that is fine with no PSU present, you will be hard pressed to get any of the thumb screws towards the rear of the drive into place with the power supply installed.
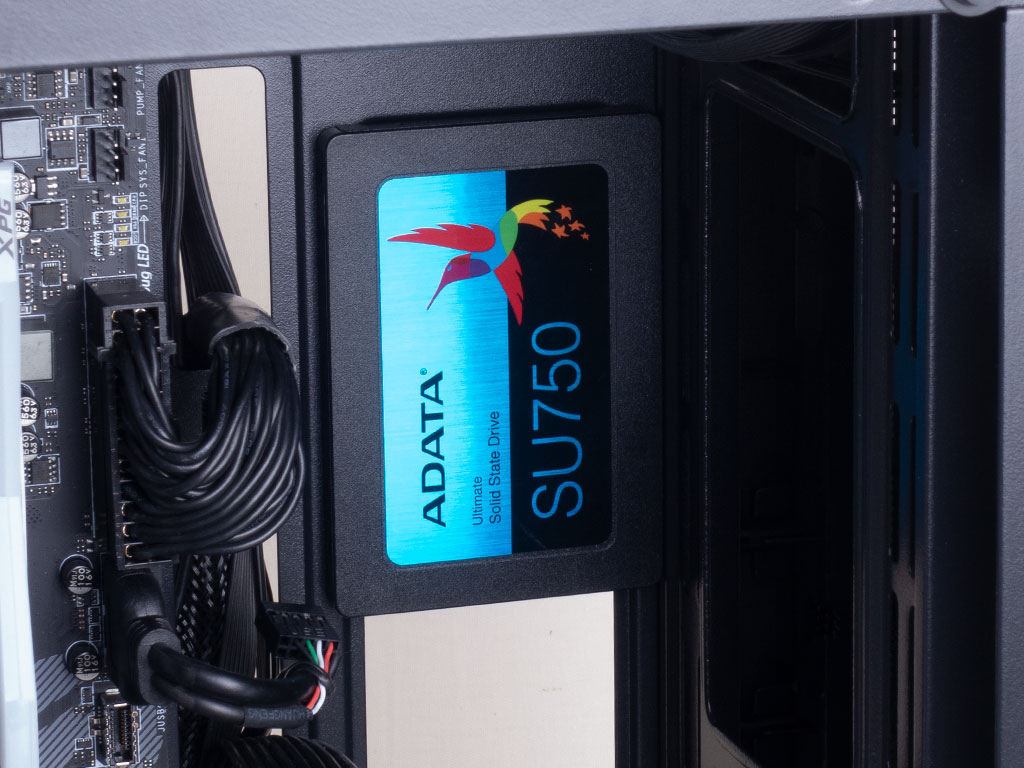
Installing an SSD in one of the two spots is quite easy as you simply screw it down. The opening between the two allows you to route cables quite nicely as well.
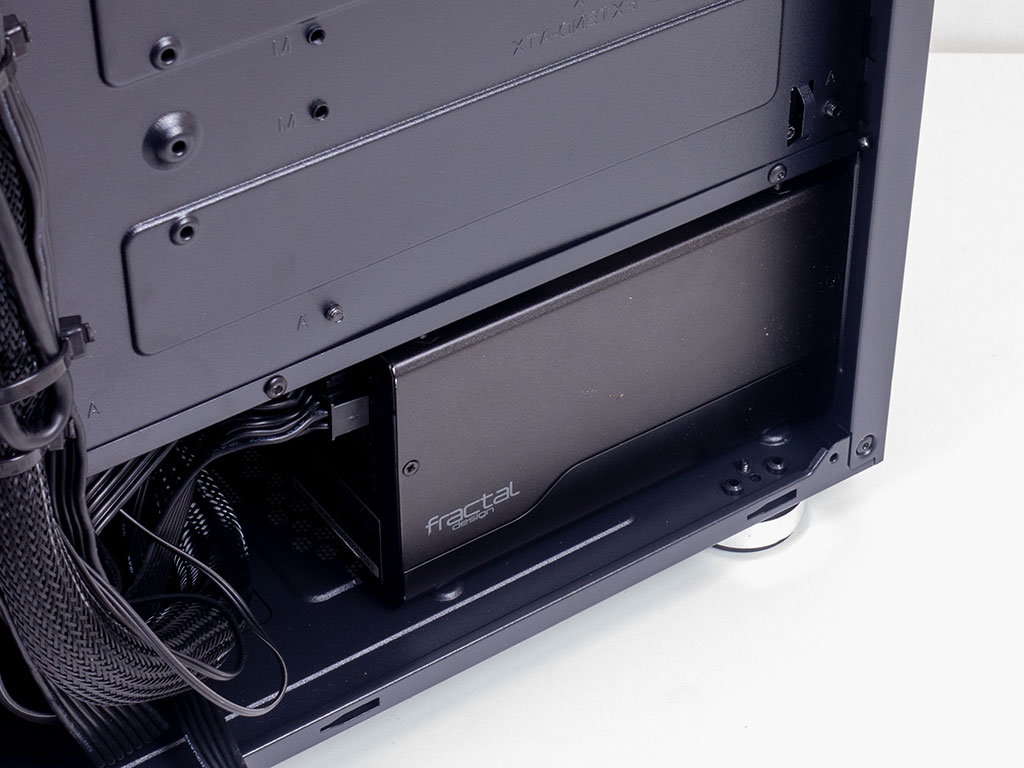
Installing the PSU is pretty straightforward, with the use of four screws. There should be plenty of space to install a modern unit with 750–850 W capacity, which is more than enough for any system you could fit inside the Montech Flyer.
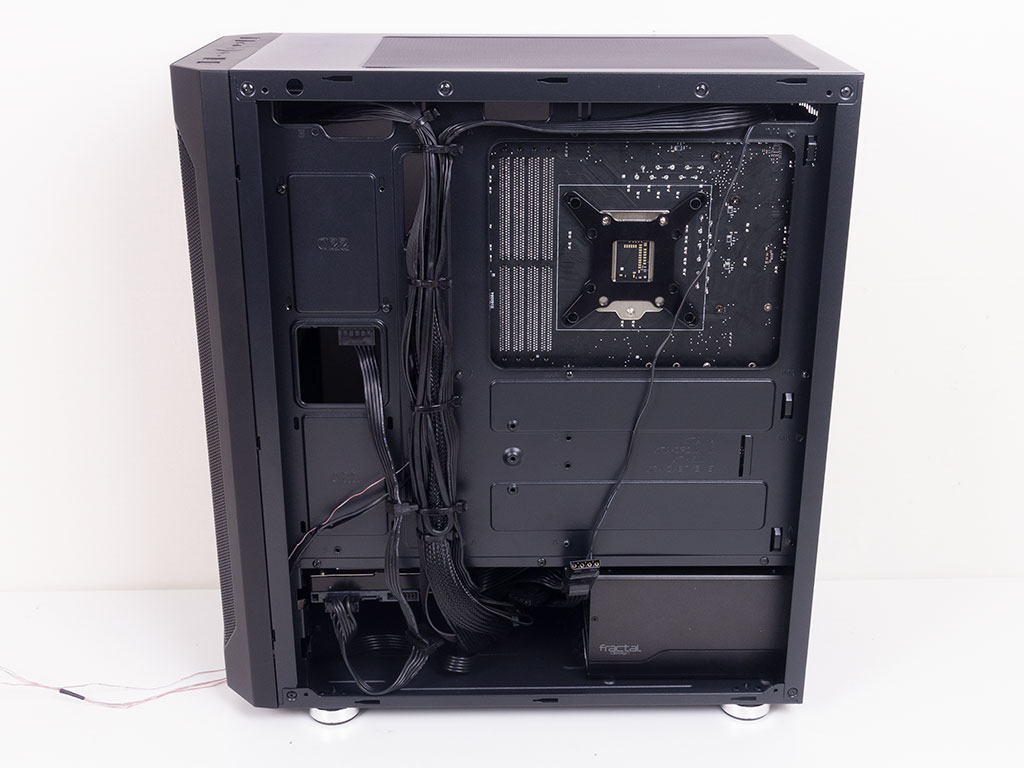
With everything in place, the interior of the Montech Fighter 400 is as clean as you can expect from a chassis without grommets. As the zip-tie hooks are in line with these openings, all cables will visibly run down that line. That said, with a bit of work, you can really keep things clean on the backside of the chassis quite nicely.
Finished Looks
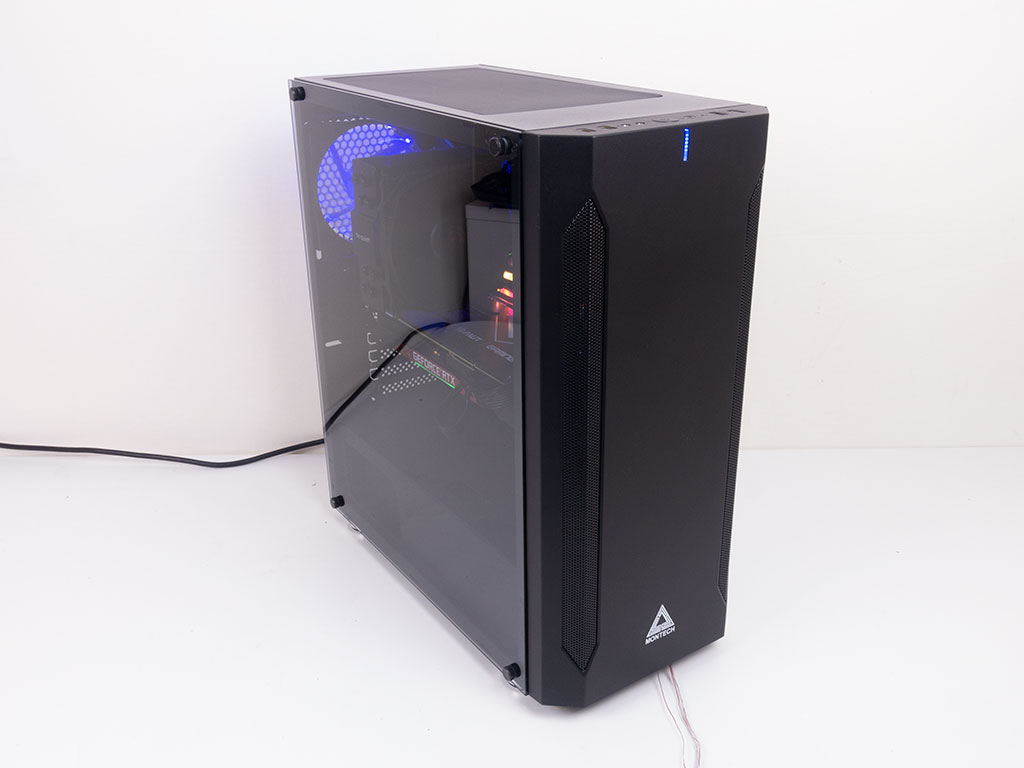
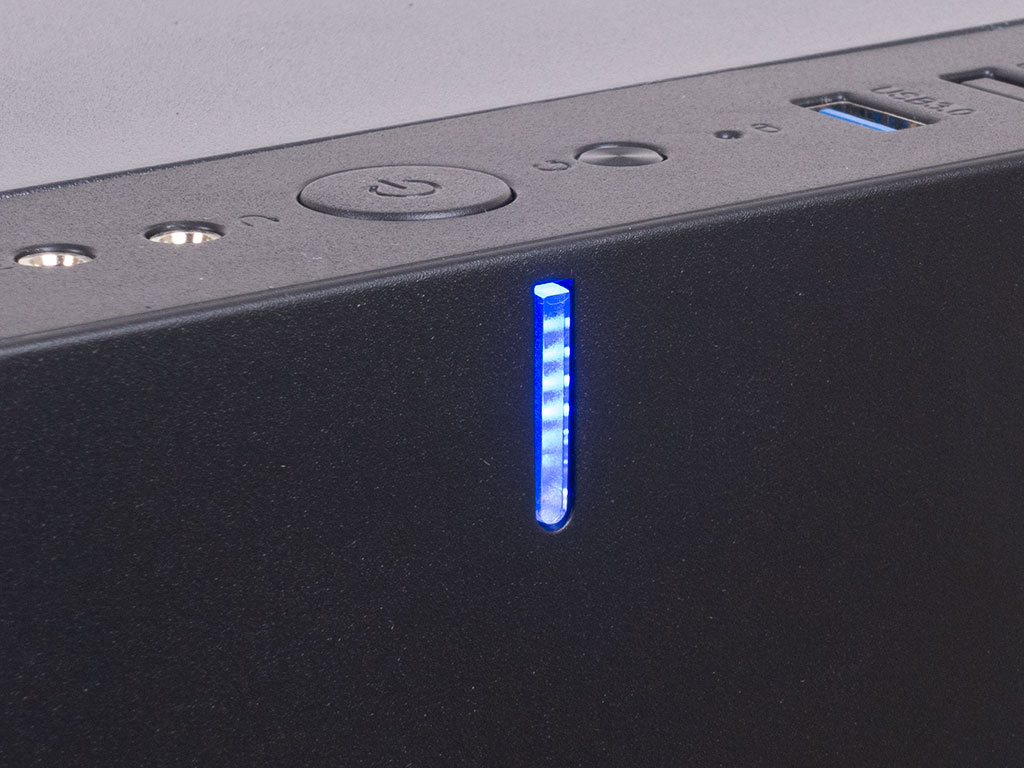
Once the cover is back in place and the system is turned on, blue LEDs light up in the front of the chassis to let you know the system is up and running, alongside the blue light from the rear fan.
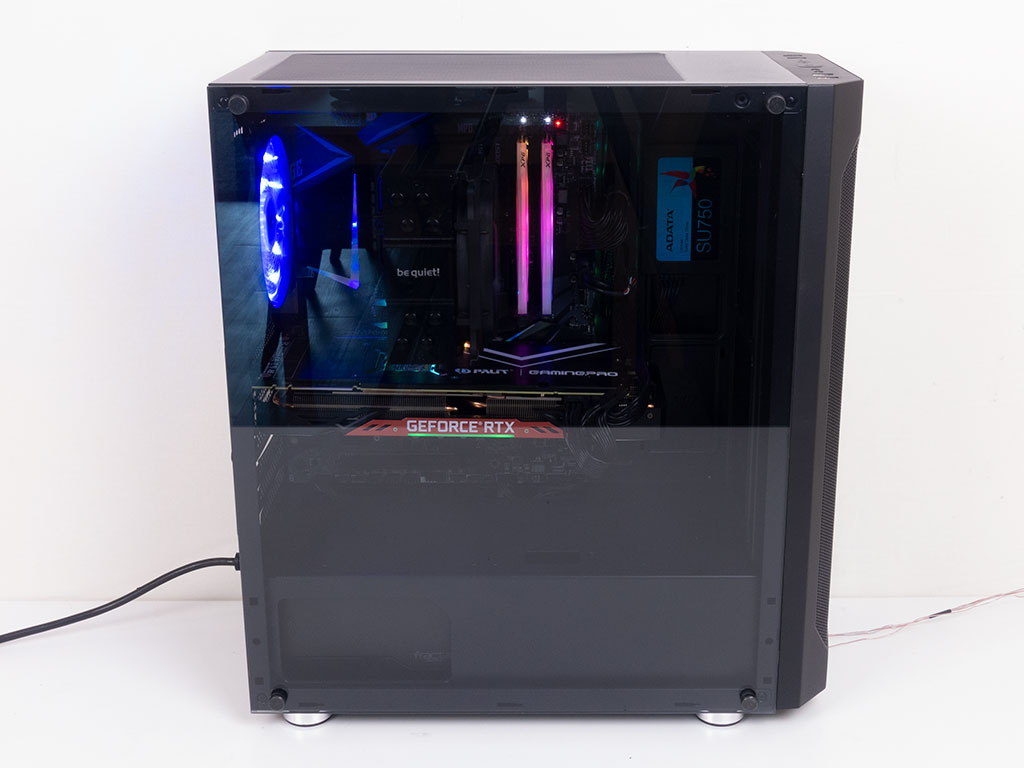
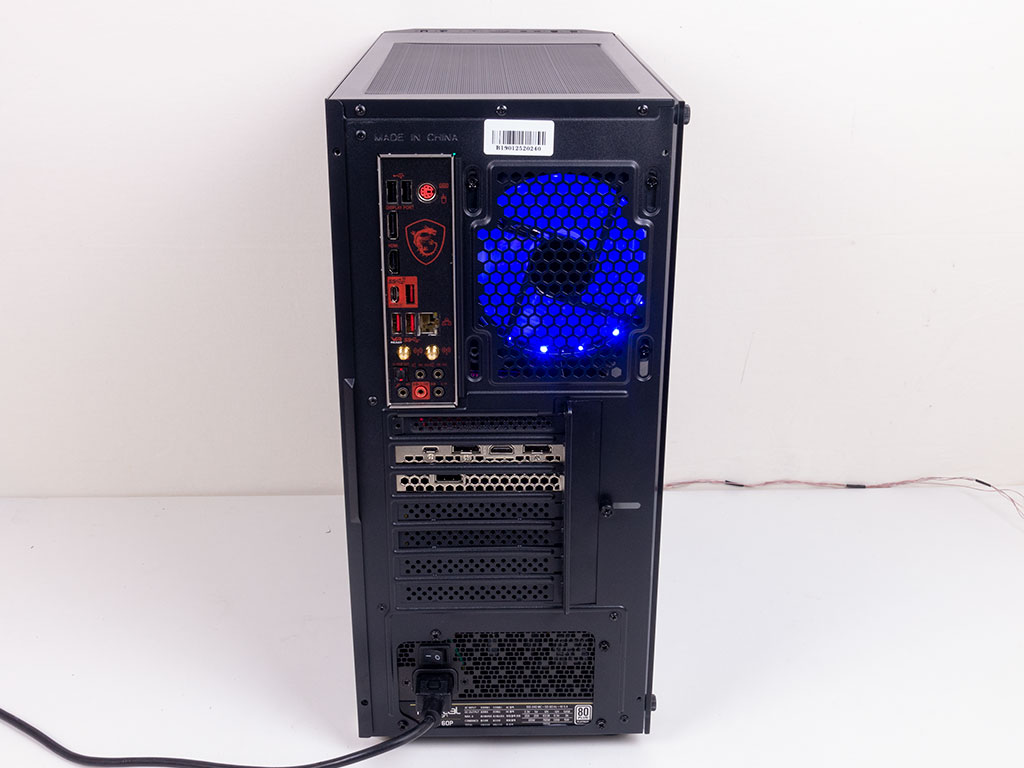
You can clearly see all the parts within the chassis through the side window, while the rear bears no surprises.
Feb 27th, 2025 15:20 EST
change timezone
Latest GPU Drivers
New Forum Posts
- MSI H110 and 10.gen i9 fun project. (3)
- TPU's GPU Database Portal & Updates (390)
- Windows 11 General Discussion (5722)
- Free Games Thread (4491)
- It's happening again, melting 12v high pwr connectors (940)
- OLED monitor only for Windows and Web Browsing makes sense? (3)
- 2022-X58/1366 PIN Motherboards NVME M.2 SSD BIOS MOD Collection (892)
- Hot 13600kf, current/EDP Limit Throttling,very dissapointed (3)
- Quadro K2000 GOP not detected with MSI Z790 Carbon Wifi II in UEFI boot mode (0)
- New build advice (11)
Popular Reviews
- Corsair Xeneon 34WQHD240-C Review - Pretty In White
- ASUS GeForce RTX 5070 Ti TUF OC Review
- Corsair Virtuoso MAX Wireless Review
- Montech HyperFlow Silent 360 Review
- Gigabyte X870 Aorus Elite WiFi 7 Review
- MSI GeForce RTX 5070 Ti Ventus 3X OC Review
- AMD Ryzen 7 9800X3D Review - The Best Gaming Processor
- MSI GeForce RTX 5070 Ti Vanguard SOC Review
- MSI GeForce RTX 5070 Ti Gaming Trio OC+ Review
- Montech TITAN PLA 1000 W Review
Controversial News Posts
- NVIDIA GeForce RTX 50 Cards Spotted with Missing ROPs, NVIDIA Confirms the Issue, Multiple Vendors Affected (497)
- AMD Radeon 9070 XT Rumored to Outpace RTX 5070 Ti by Almost 15% (304)
- AMD Plans Aggressive Price Competition with Radeon RX 9000 Series (274)
- AMD Radeon RX 9070 and 9070 XT Listed On Amazon - One Buyer Snags a Unit (254)
- NVIDIA Investigates GeForce RTX 50 Series "Blackwell" Black Screen and BSOD Issues (244)
- Edward Snowden Lashes Out at NVIDIA Over GeForce RTX 50 Pricing And Value (241)
- AMD Denies Radeon RX 9070 XT $899 USD Starting Price Point Rumors (239)
- AMD Mentions Sub-$700 Pricing for Radeon RX 9070 GPU Series, Looks Like NV Minus $50 Again (222)