 10
10
NZXT H6 Flow RGB Review
Review System Setup »A Closer Look - Inside
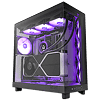
To gain access to the inside, simply unscrew the single captive thumb screw of each panel and then pull them off the chassis. The main compartment of the NZXT H6 Flow RGB looks pretty simple and functional, but as all the tooling is unique, there is still plenty to explore. In the smaller chamber, that simple trend continues with that same focus to still provide functionality. The one thing you won't find in the H6 Flow RGB unfortunately is any kind of RGB controller or PWM Hub - which feels like a bit of an oversight.

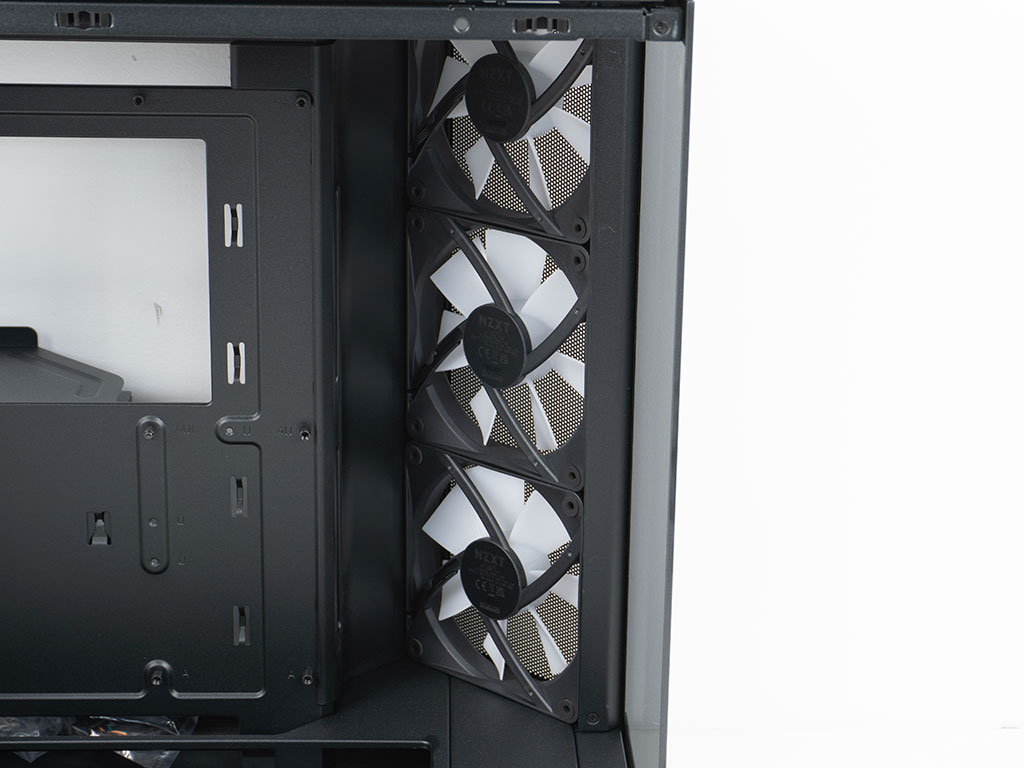
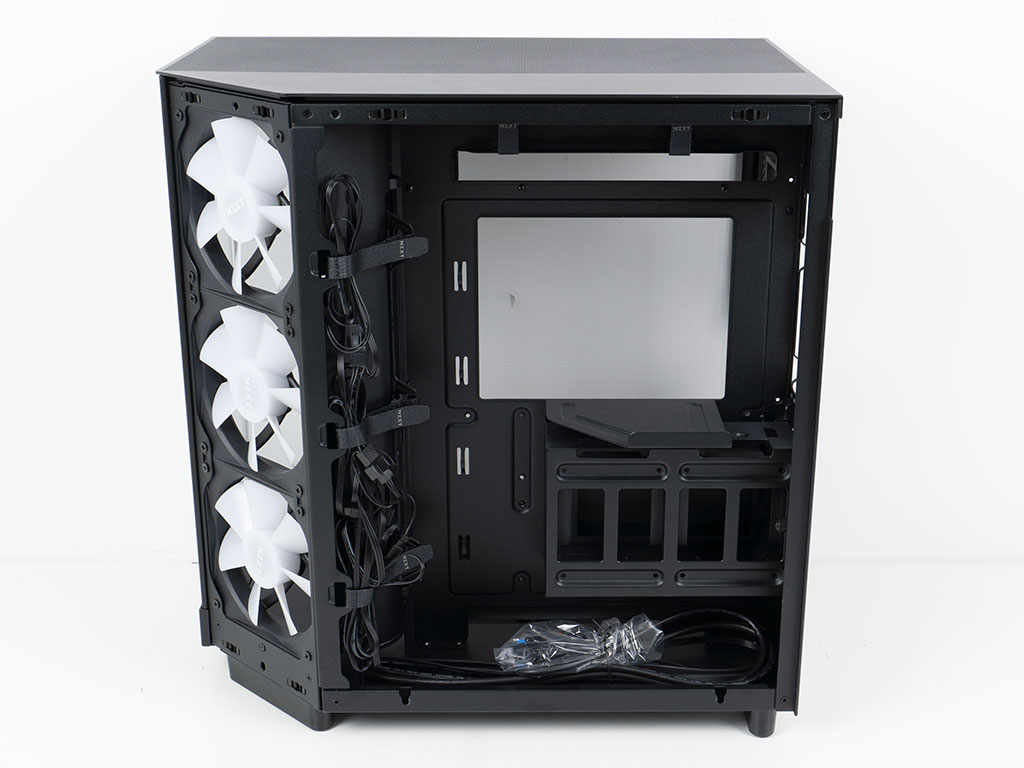
The floor has a double bottom with an opening where the two 140 mm fans may be installed. The depth of the double floor is aligned with the height of fans, so those would sit flush with the chassis to blend in beautifully. NZXT has also placed a separate cover over the cable channel that holds the front IO wiring. I can see them offering different colors of the H6 series with this component in a different hue to add a bit of a cosmetic touch - similar to what NZXT has done in the past. The fans in the front fit perfectly in the space provided, and you will not be able to see any wiring from this angle when looking at the interior.

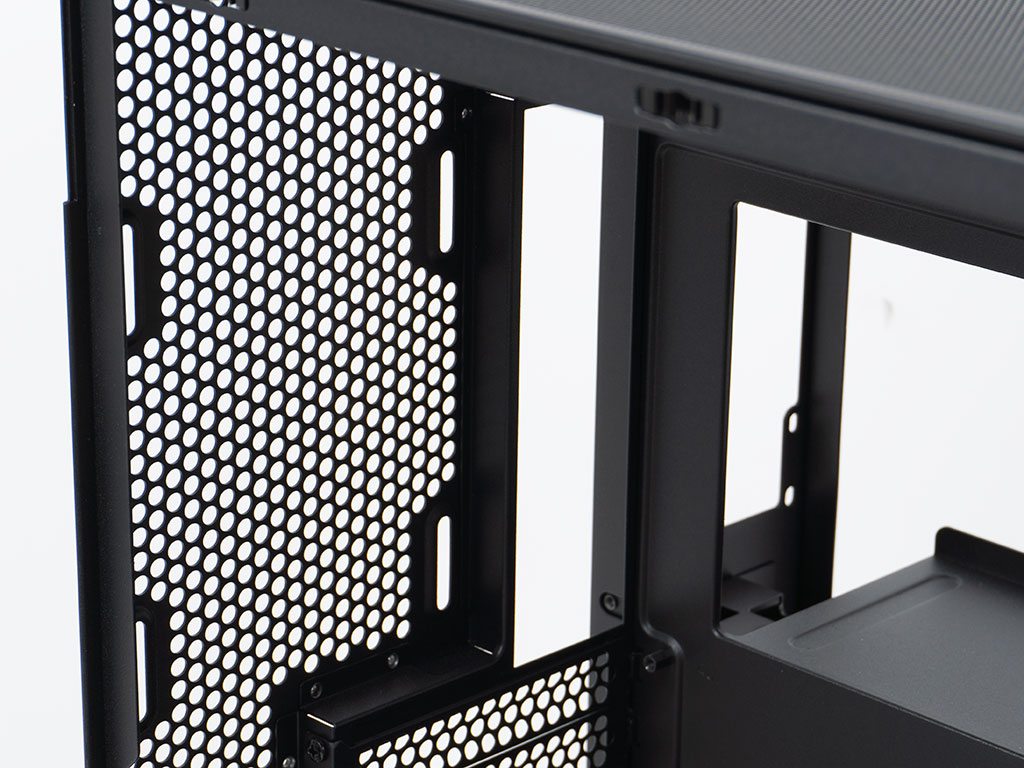
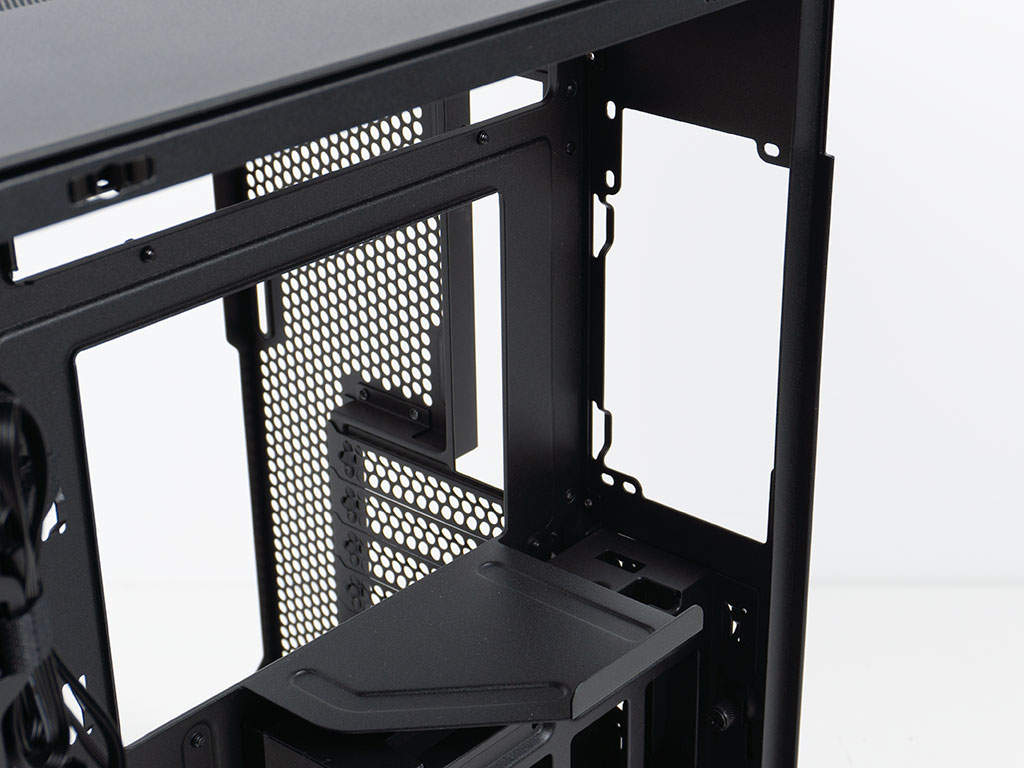
The individual expansion slots are secured with classic screws. This is an aspect where the simplicity of the H6 Flow RGB goes a little too far as thumb screws would have been far more appropriate. The lowest expansion slot is right up against the floor of the chassis, which is why NZXT does not recommend you install liquid cooling. Above that, the vented area in turn may be used for an 120 mm exhaust fan or radiator. From this angle, you can also see the space that is available above it, which is intended for ceiling mounted liquid cooling.
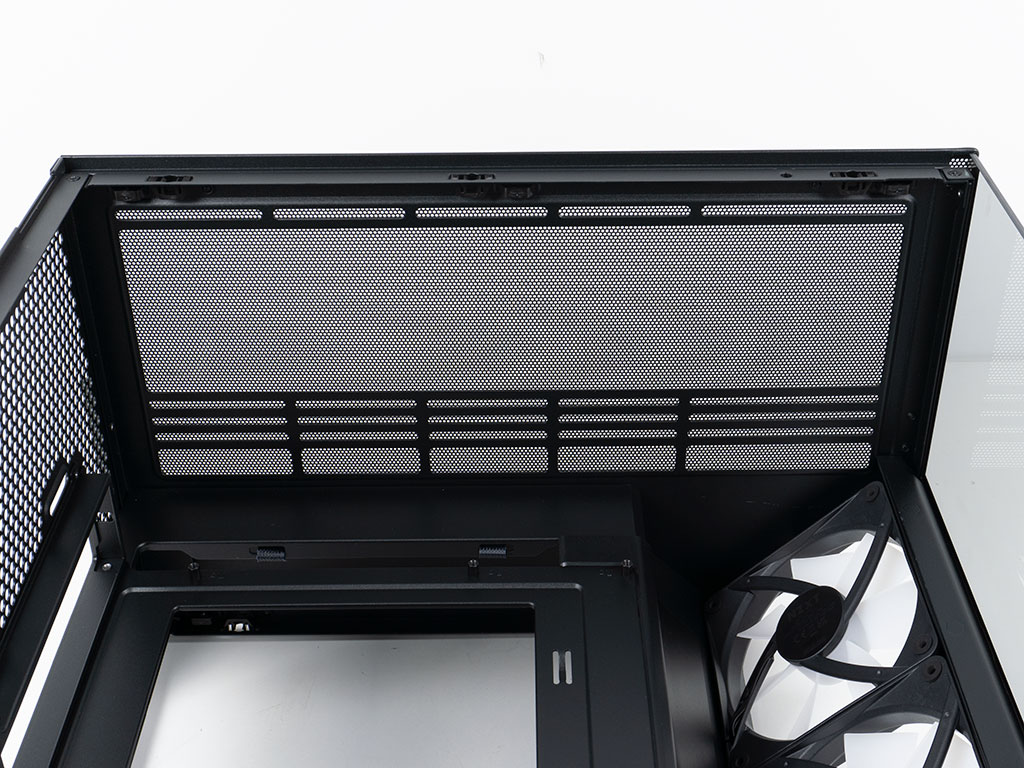
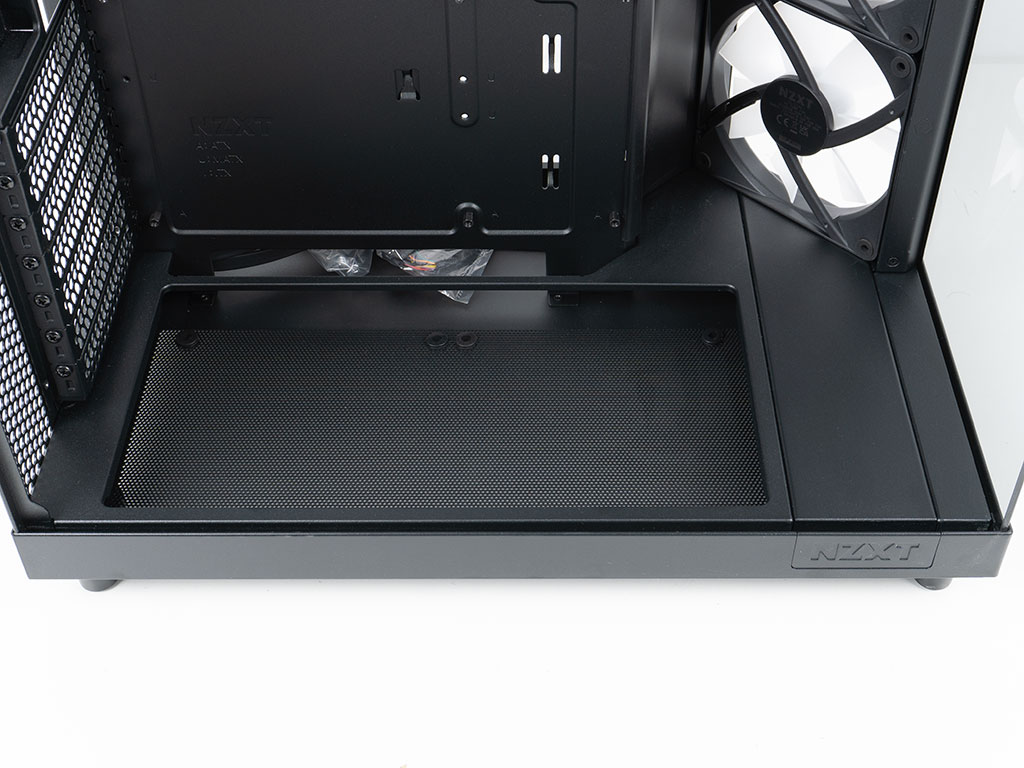
Looking at the ceiling of you can clearly see the cutouts to mount your cooling to, with plenty of distance away from the motherboard. This, with the additional vertical clearance, means that you should be able to retain access to the top edge of the motherboard as well.
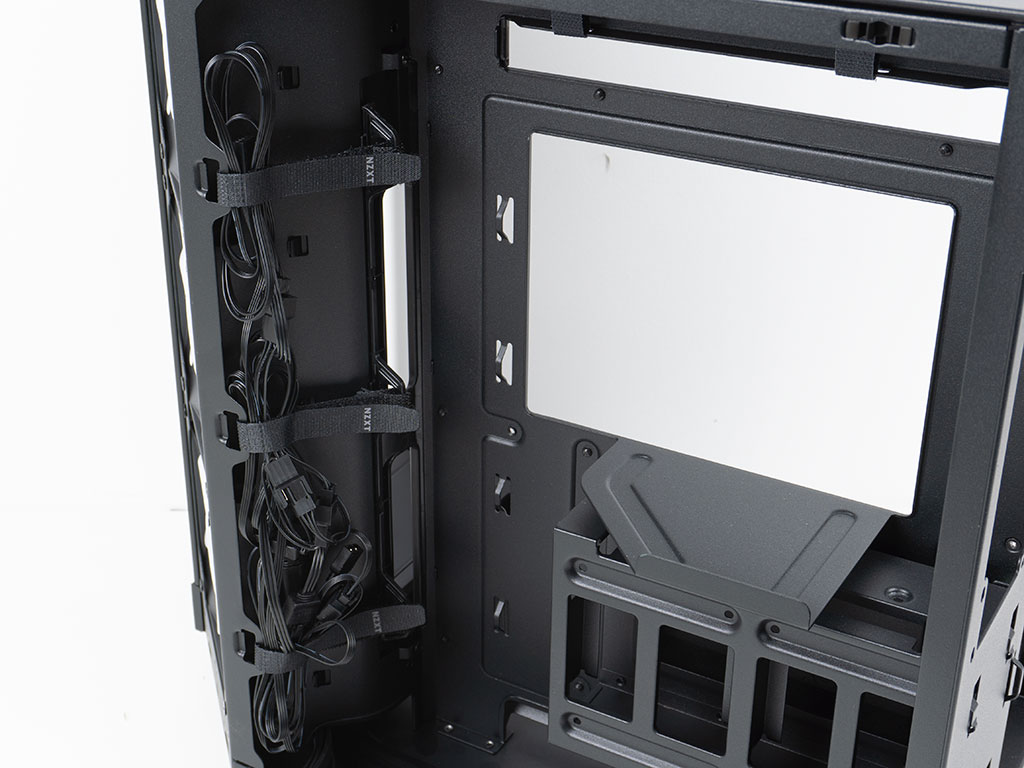
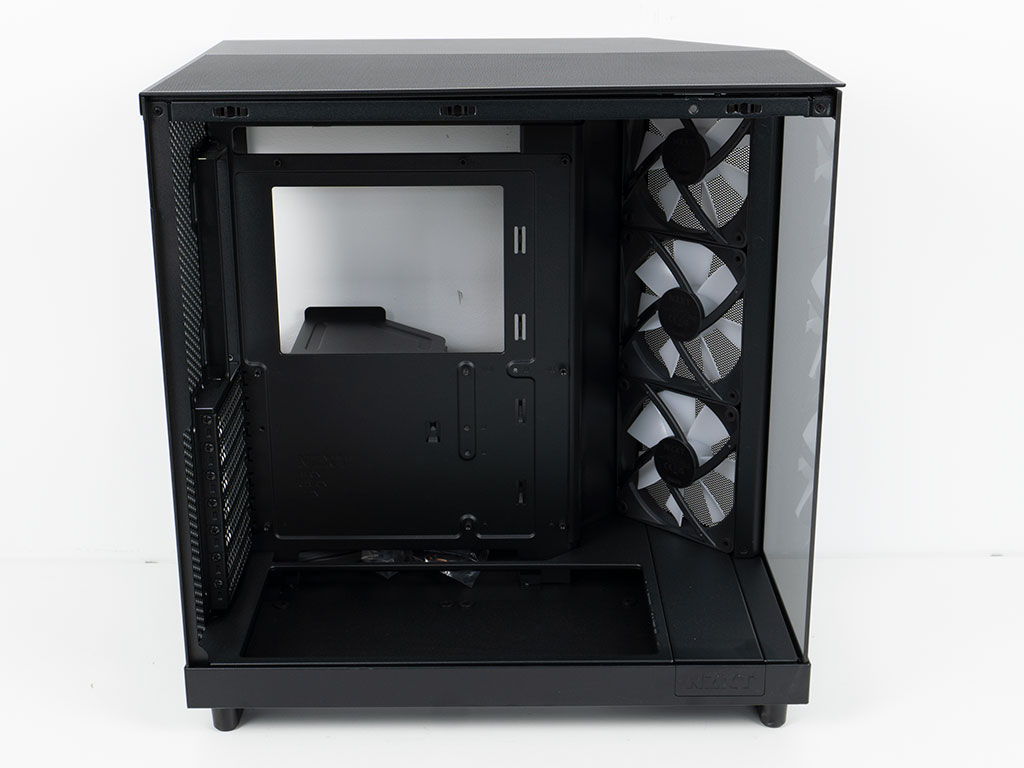
There are three pre-installed Velcro strips to provide you with a way to secure wiring while allowing for plenty of flexibility. While the intent for that is admirable, the execution of these don't really allow you to properly secure wiring, unfortunately. Any cables are held down loosely, and it looks like it is mostly due to NZXT trying to keep the design too simple once again with the hooks being part of the frame. Next to these there are cable routing holes, so you can wrap your wires around the corner to the appropriate plugs.
If you look closely, you will see two more Velcro strips above the wide opening which runs along the top edge of the motherboard. These are actually much more functional, but that large opening will make it hard to really keep wires out of view completely. NZXT could have put two grommet covered openings here instead and solved that conundrum for the most part.
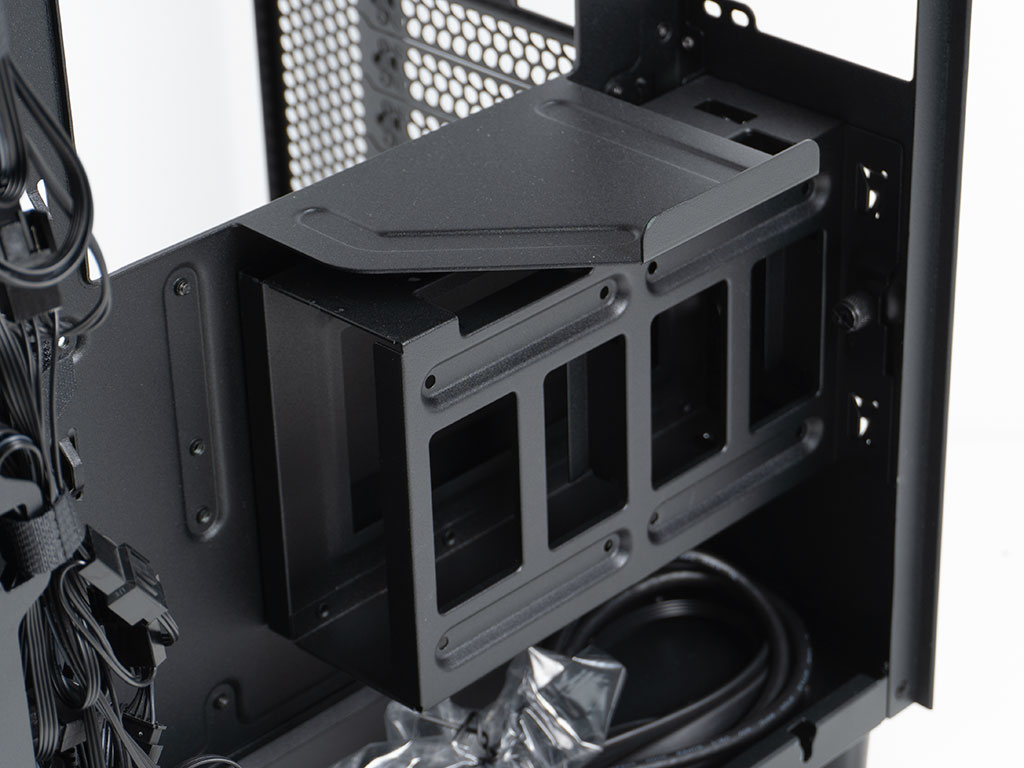
In the back the HDD cage is designed to take on a singular 3.5" drive alongside two 2.5" units. While this should be fine for most scenarios, the cage could have easily been designed to hold two 3.5" units alongside two 2.5" drives for example. One could argue that with the rise of NVMe, the needs for SSDs are met on the motherboard directly, so that users will focus on multiple 3.5" drives to add large volumes of storage on the cheap to their systems instead of opting for 2.5" SSDs instead. This may hold especially true for budget conscious gamers. The PSU bay is simple but should be functional, with a support plate essentially bent down from the remainder of the cutout in the motherboard tray.
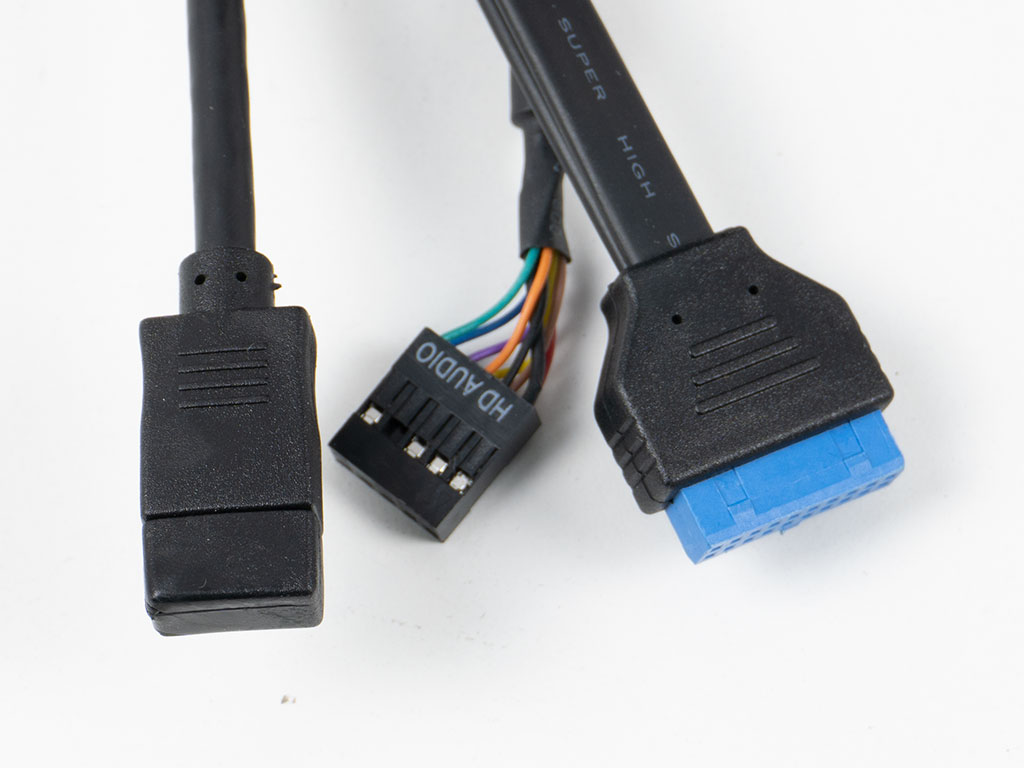
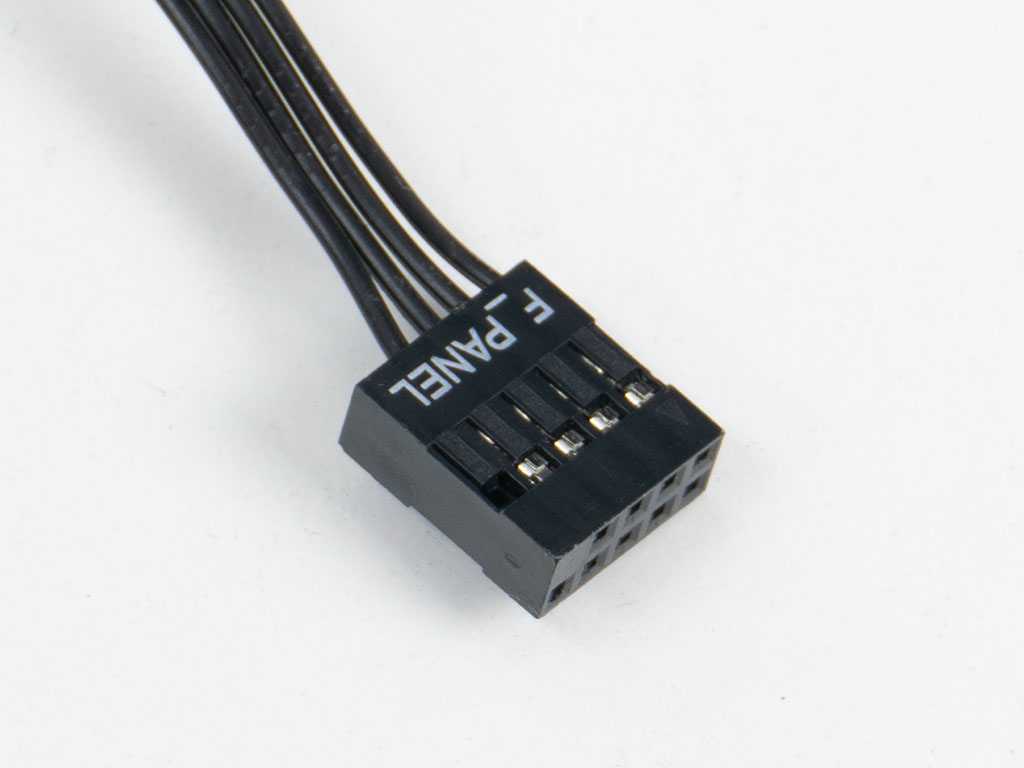
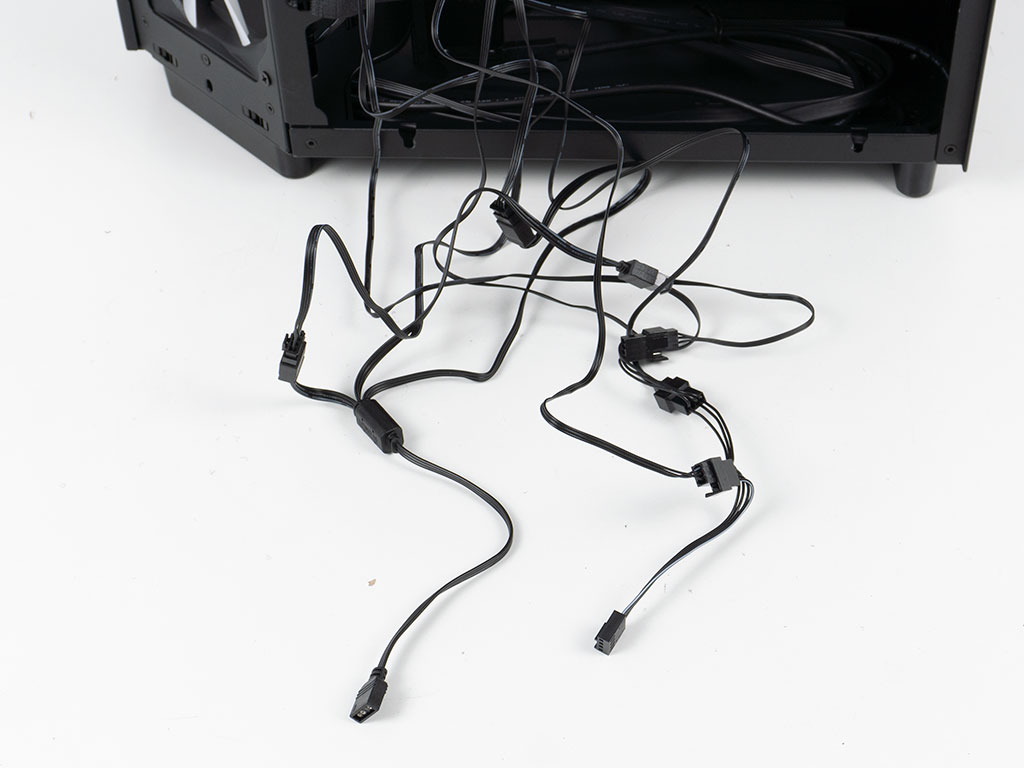
All the IO wiring within the NXZT H6 Flow RGB is of the usual variety and NZXT also provides a unified connector for the power button and LED, which is a nice touch - even if there are technically only three individual connectors to worry about. The three fans use proprietary RGB connectivity, and NZXT has included a three-way splitter to convert it all to one generic input that can be plugged directly into the appropriate motherboard header. Unfortunately, all fans are RPM based whereas most modern cases opt for PWM. NZXT even uses a 4-pin PWM splitter cable to unify all three fans into a singular PWM header which acts like an RPM plug.
Jul 2nd, 2025 07:10 CDT
change timezone
Latest GPU Drivers
New Forum Posts
- RTX 5070 discussion (1)
- Rare GPUs / Unreleased GPUs (2114)
- PCIe 16x does not work (4)
- RX 580 Cant boot in UEFI, cant disable CSM and cant enable Secure Boot (2)
- With the 4 temperature detection sockets of the Corsair Commander PRO hub, can I skip the ICUE software and directly monitor it with AIDA64? (9)
- GravityMark v1.89 GPU Benchmark (305)
- The Official Thermal Interface Material thread (1765)
- PCMA2305 Phase Change Metal Alloy (PCMA) (9)
- Best motherboards for XP gaming (29)
- 5070ti overclock...what are your settings? (44)
Popular Reviews
- ASUS ROG Crosshair X870E Extreme Review
- Crucial T710 2 TB Review - Record-Breaking Gen 5
- Sapphire Radeon RX 9060 XT Pulse OC 16 GB Review - An Excellent Choice
- AVerMedia CamStream 4K Review
- Upcoming Hardware Launches 2025 (Updated May 2025)
- AMD Ryzen 7 9800X3D Review - The Best Gaming Processor
- Lexar NQ780 4 TB Review
- Sapphire Radeon RX 9070 XT Nitro+ Review - Beating NVIDIA
- AMD Ryzen 9 9950X3D Review - Great for Gaming and Productivity
- NVIDIA GeForce RTX 5060 8 GB Review
TPU on YouTube
Controversial News Posts
- Intel's Core Ultra 7 265K and 265KF CPUs Dip Below $250 (288)
- NVIDIA Grabs Market Share, AMD Loses Ground, and Intel Disappears in Latest dGPU Update (209)
- Some Intel Nova Lake CPUs Rumored to Challenge AMD's 3D V-Cache in Desktop Gaming (140)
- NVIDIA GeForce RTX 5080 SUPER Could Feature 24 GB Memory, Increased Power Limits (112)
- Microsoft Partners with AMD for Next-gen Xbox Hardware (105)
- NVIDIA Launches GeForce RTX 5050 for Desktops and Laptops, Starts at $249 (105)
- Intel "Nova Lake‑S" Series: Seven SKUs, Up to 52 Cores and 150 W TDP (100)
- NVIDIA DLSS Transformer Cuts VRAM Usage by 20% (92)