 2
2
NZXT Phantom 410 Review
Assembly & Finished Looks »A Closer Look - Inside
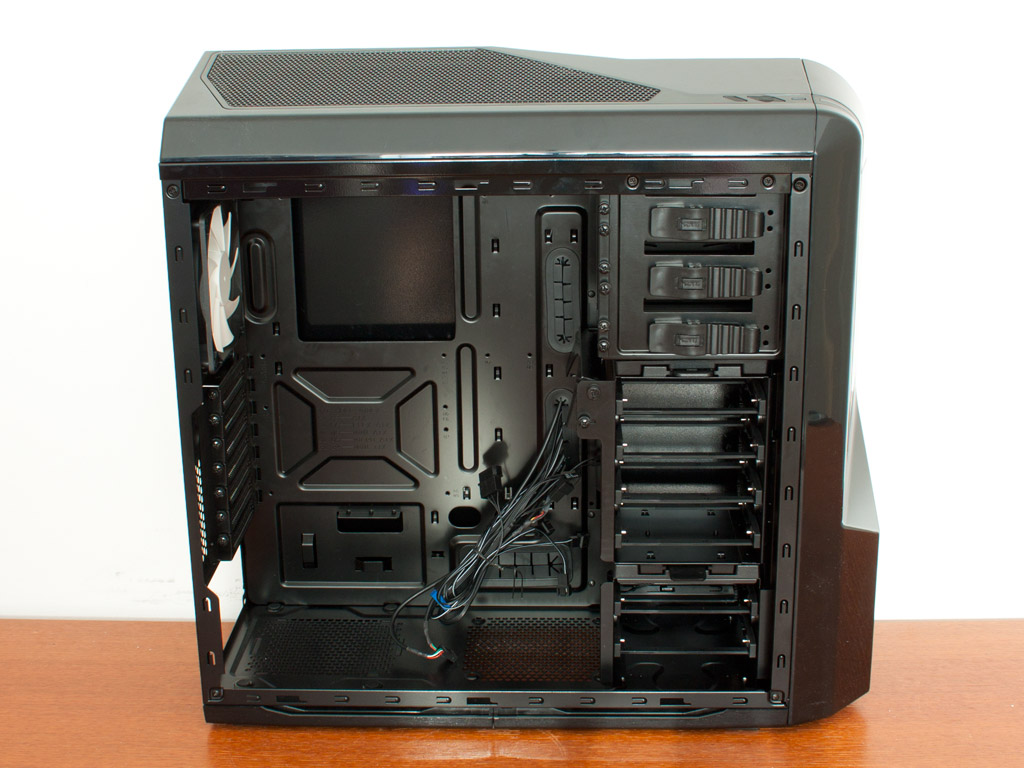
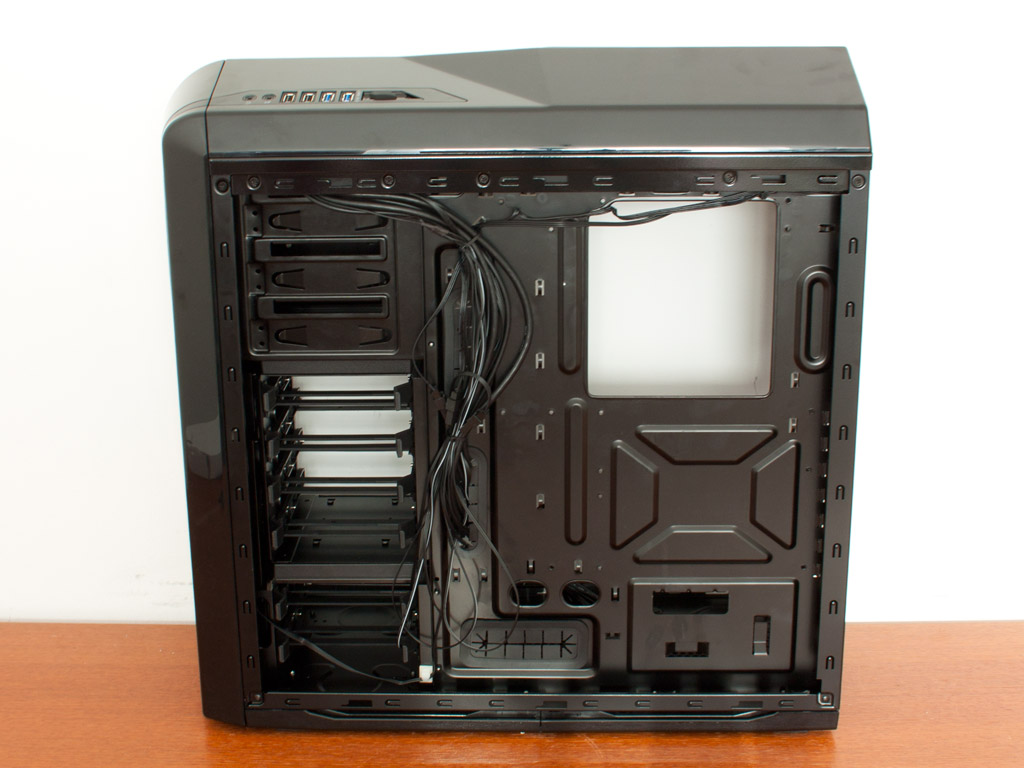
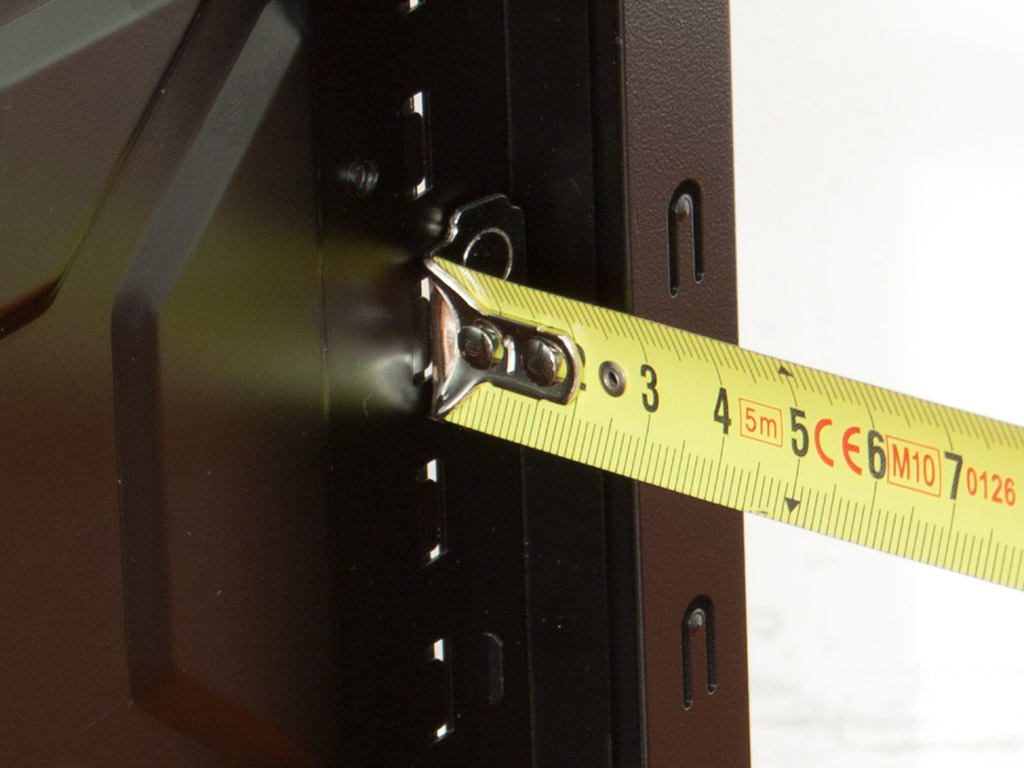
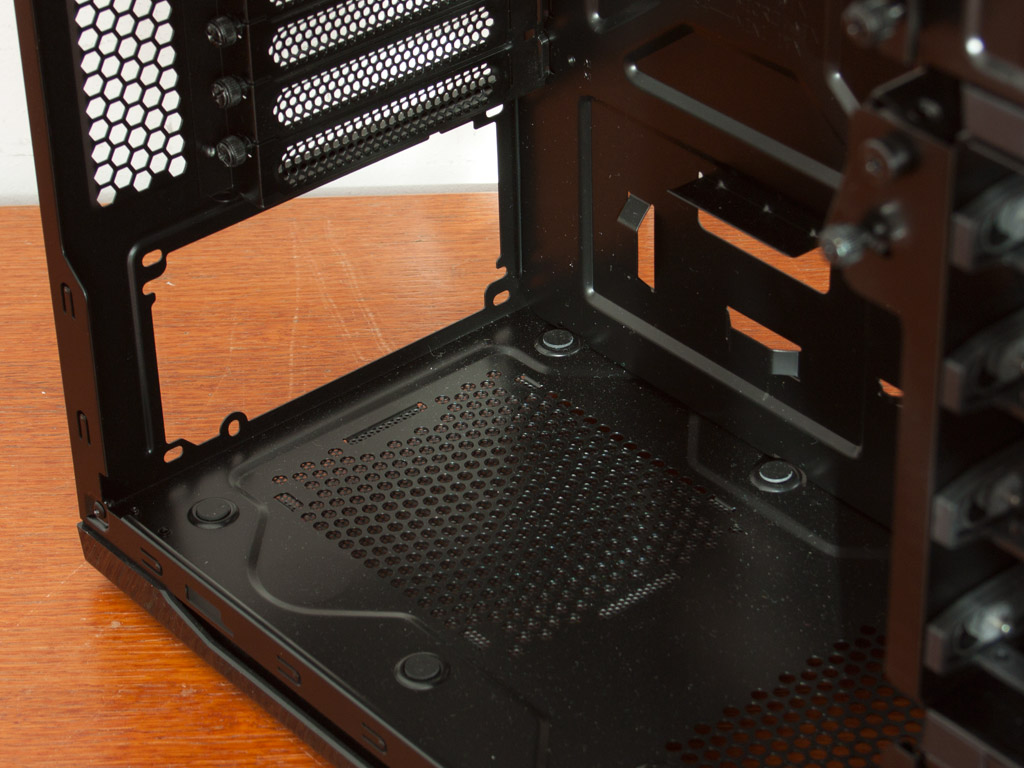
To gain access to the interior simply remove the pair of thumb screws holding each side panel in place. As mentioned before the entire interior is in the same color as the exterior - in our case black. Multiple openings in the motherboard tray allow for cable management, while a large hole is intended to give access to CPU cooler backplates. NZXT has done a great job with the spacing behind the motherboard tray, as there is almost 30 mm of space.
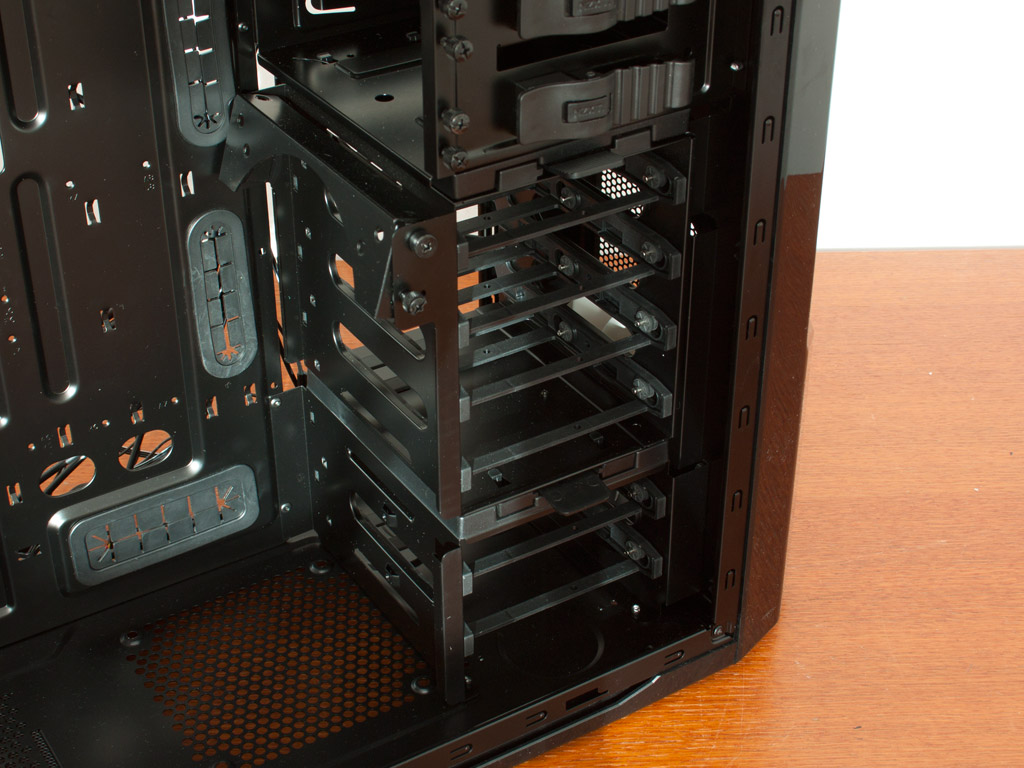
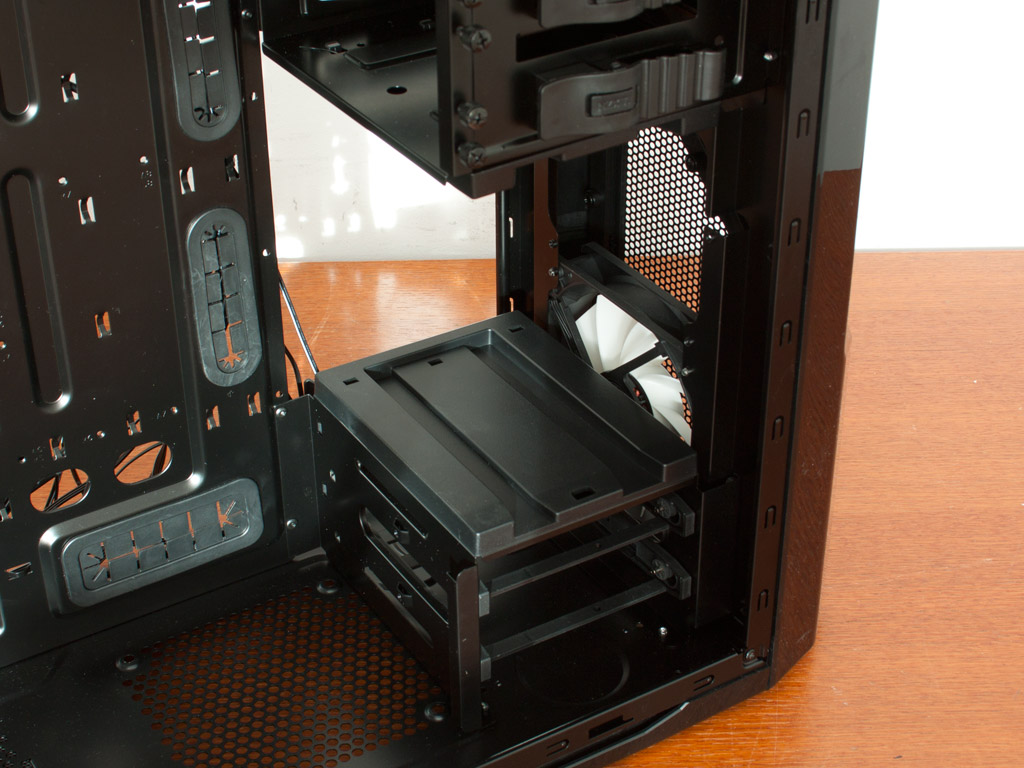
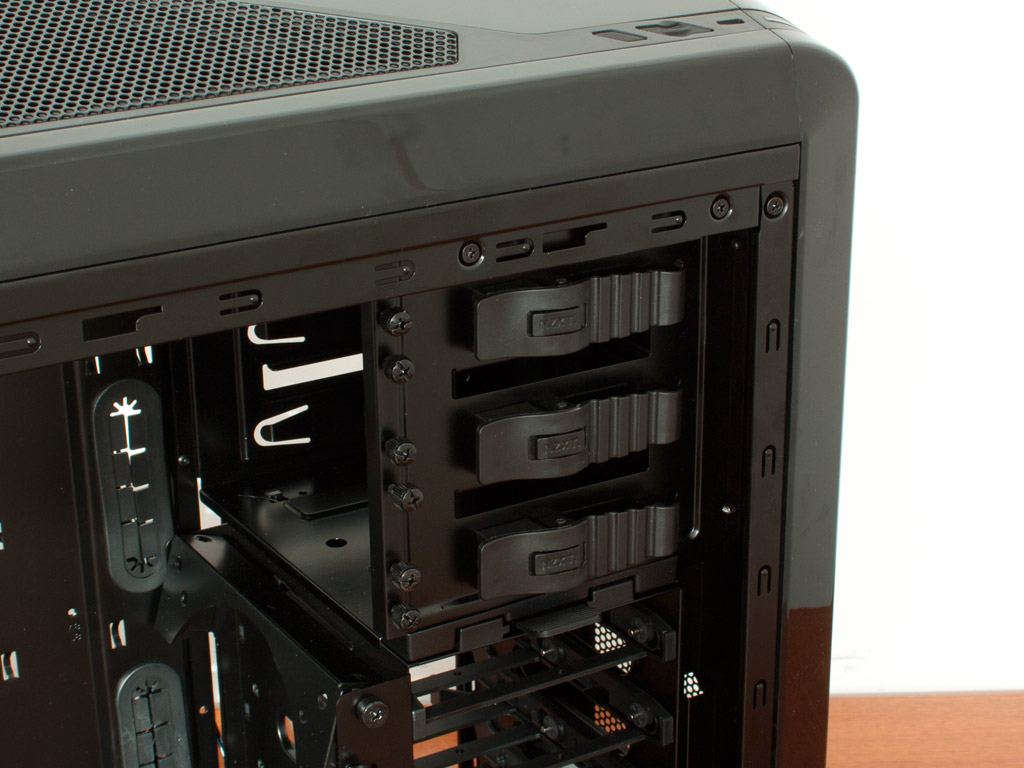
The Phantom 410 may hold up to six hard drives, each placed inside the chassis on a plastic tray. One may install a 120 or 140 mm fan on the side of the hard drive cage. It may be tilted by 20° to point the air flow at the memory the likes. For large graphics cards, the top cage may be removed, so that you have 40 cm of space and two remaining drive bays. With the cage in place, 30.5 cm should still be plenty for most. Above that are the three external 5.25 inch bays, each with the same locking mechanism we have seen in the H2 and large Phantom for example.
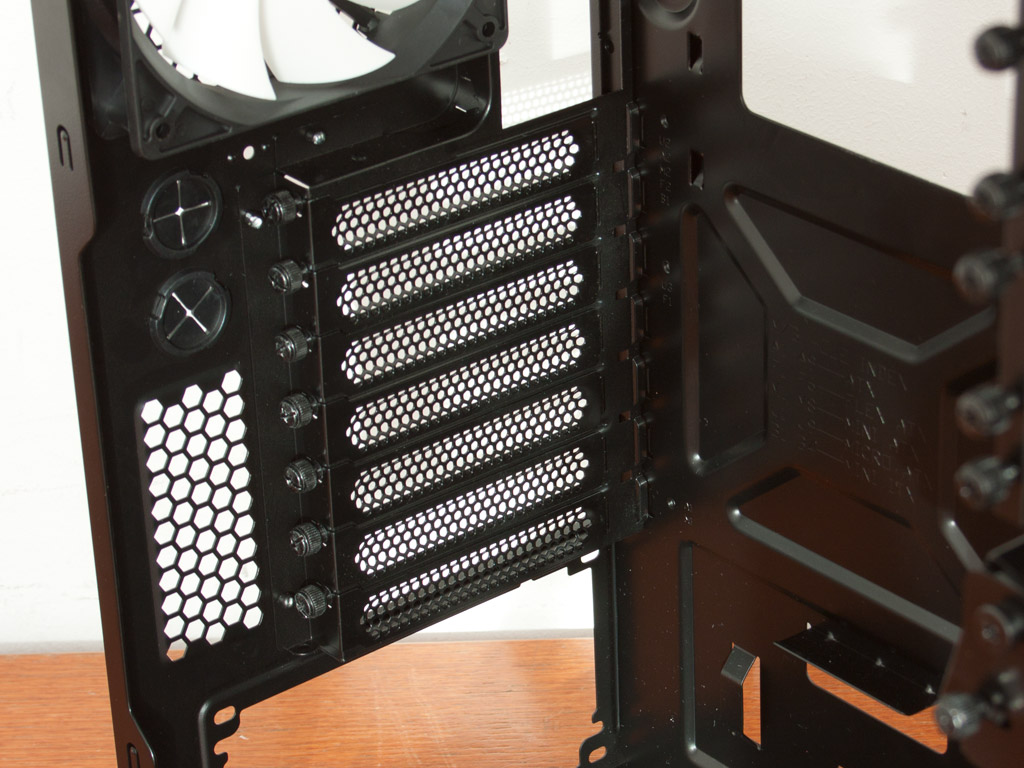
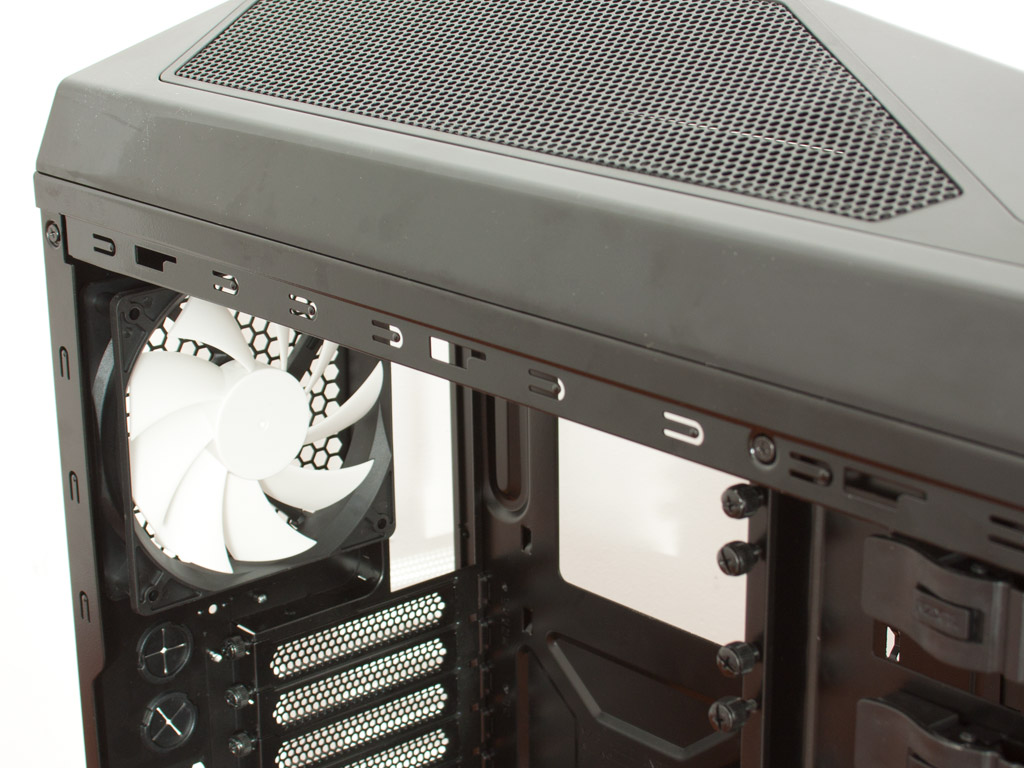
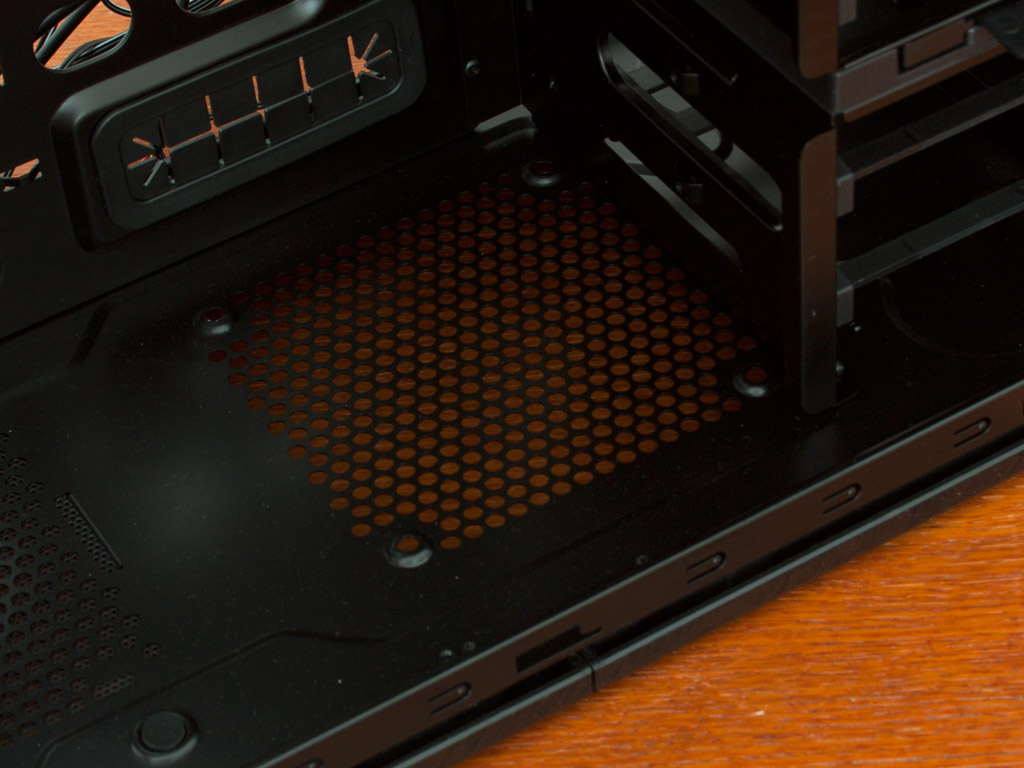
In the rear, the PSU bay is quite simple, but effective. The installed unit rests on four rubber bumps to keep vibrations away from the chassis frame. Above that are the seven motherboard expansion slots, each protected by an individual metal mesh cover held in place by thumb screws. NZXT has employed white bladed fans within the chassis.

In the top a 140 mm fan pulls hot air out to the top of the chassis as well. This brings the total of fans to three and you may install up to five additional ones within the Phantom 410.
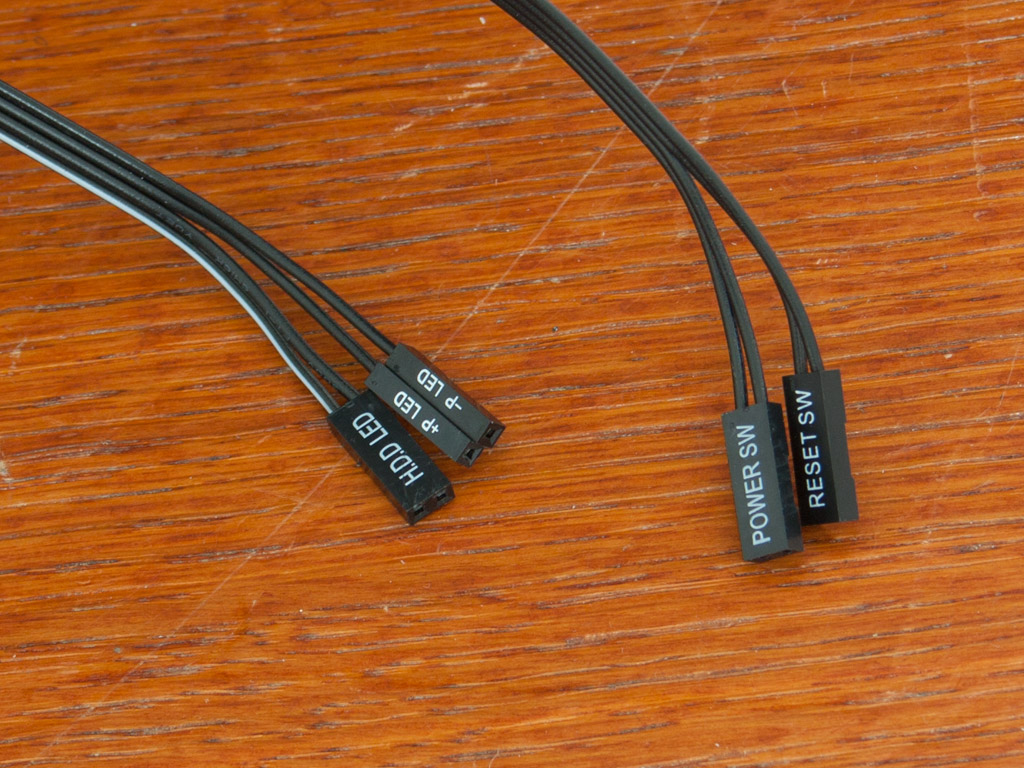
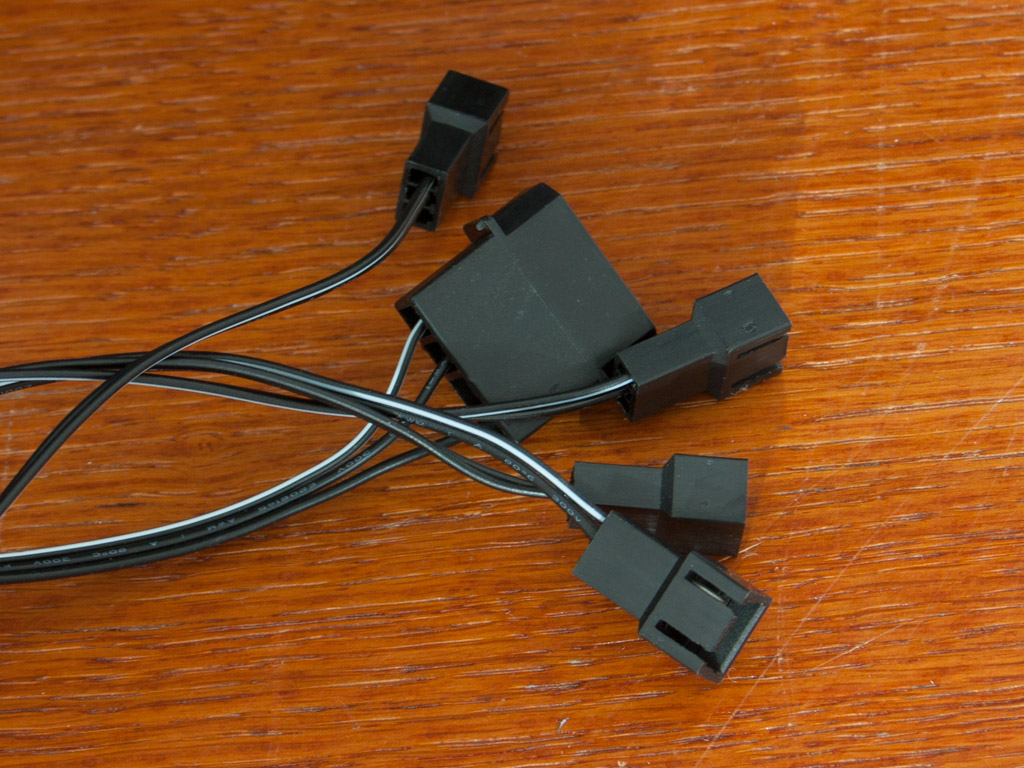
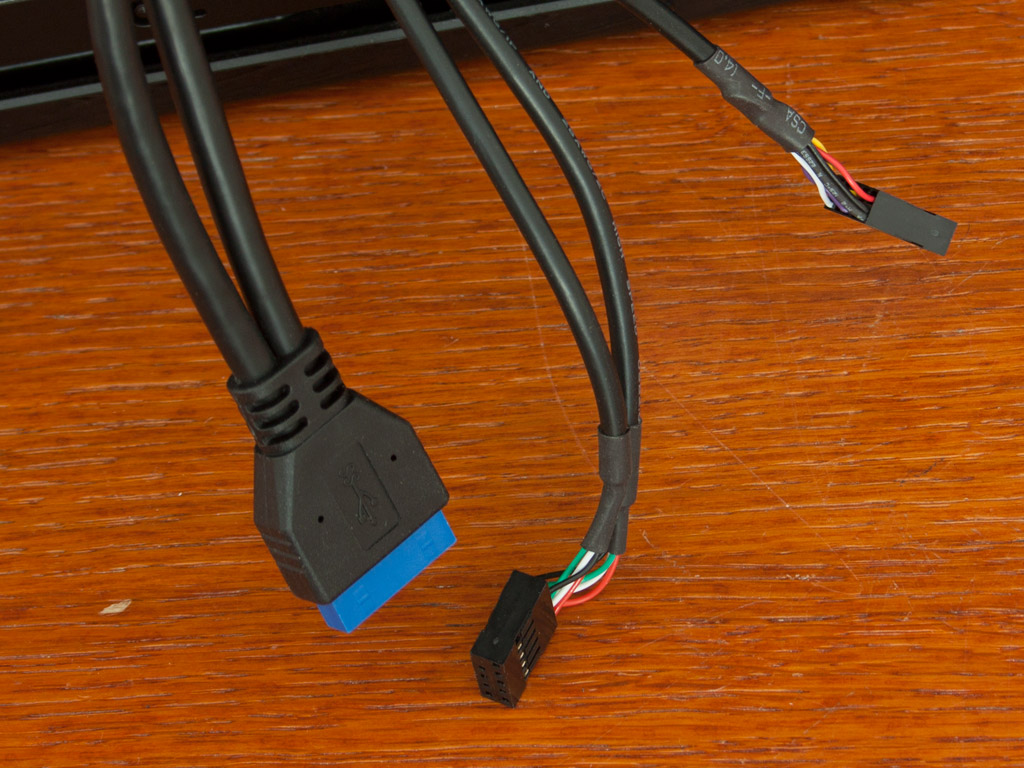
Before we dive into the assembly process, let us take a quick look at the cables. All of them are black to go with the looks of the chassis. While the ones for the case are of the usual kind, you will also find a Molex connector to power fans and four 3-pin plugs to attach these to. Last but not least, the I/O cables are of the usual kind and the chassis ships with an internal 20-pin USB 3.0 connector.
May 4th, 2025 11:59 EDT
change timezone
Latest GPU Drivers
New Forum Posts
- 5070 Ti power limit questions (80)
- Are the 8 GB cards worth it? (822)
- Best USB 3 hub chipsets (5)
- Request for advice [Big Build] (43)
- PSU chirping sound (7)
- Windows 11 General Discussion (6016)
- Dream Monitor Ideas (168)
- Last game you purchased? (800)
- Free Games Thread (4659)
- Half Life 3 soon ? (4)
Popular Reviews
- Clair Obscur: Expedition 33 Performance Benchmark Review - 33 GPUs Tested
- ASUS ROG Maximus Z890 Hero Review
- ASUS Radeon RX 9070 XT TUF OC Review
- Montech HS02 PRO Review
- NVIDIA GeForce RTX 5060 Ti 8 GB Review - So Many Compromises
- ASUS GeForce RTX 5090 Astral Liquid OC Review - The Most Expensive GPU I've Ever Tested
- Seasonic Vertex GX 850 W Review
- Upcoming Hardware Launches 2025 (Updated Apr 2025)
- ASRock Radeon RX 9070 XT Taichi OC Review - Excellent Cooling
- Team Group GC Pro 2 TB Review
Controversial News Posts
- AMD Radeon RX 9060 XT to Roll Out 8 GB GDDR6 Edition, Despite Rumors (129)
- NVIDIA Sends MSRP Numbers to Partners: GeForce RTX 5060 Ti 8 GB at $379, RTX 5060 Ti 16 GB at $429 (128)
- NVIDIA Launches GeForce RTX 5060 Series, Beginning with RTX 5060 Ti This Week (115)
- Nintendo Confirms That Switch 2 Joy-Cons Will Not Utilize Hall Effect Stick Technology (105)
- NVIDIA PhysX and Flow Made Fully Open-Source (95)
- Sony Increases the PS5 Pricing in EMEA and ANZ by Around 25 Percent (84)
- Parts of NVIDIA GeForce RTX 50 Series GPU PCB Reach Over 100°C: Report (78)
- Intel "Bartlett Lake-S" Gaming CPU is Possible, More Hints Appear for a 12 P-Core SKU (77)