 2
2
NZXT Phantom 410 Review
Value & Conclusion »Assembly

Installing the mainboard within the chassis is done by traditional means with the use of spacers. There is plenty of space around the mainboard so that you can easily install big CPU coolers and fairly long graphics cards.
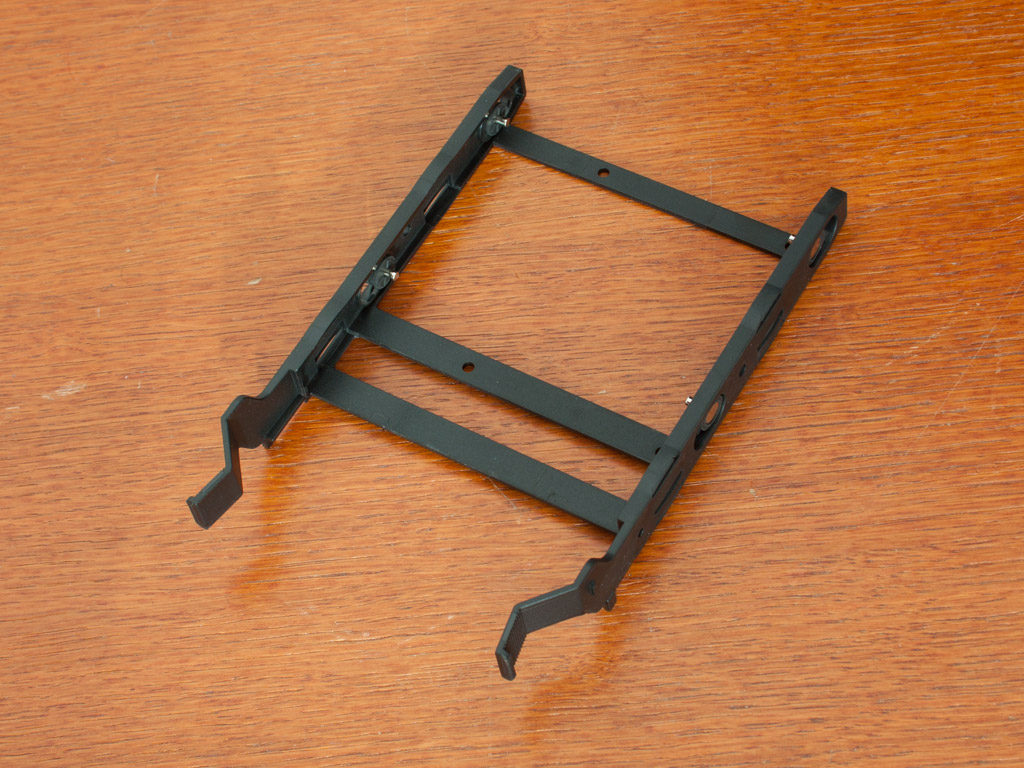

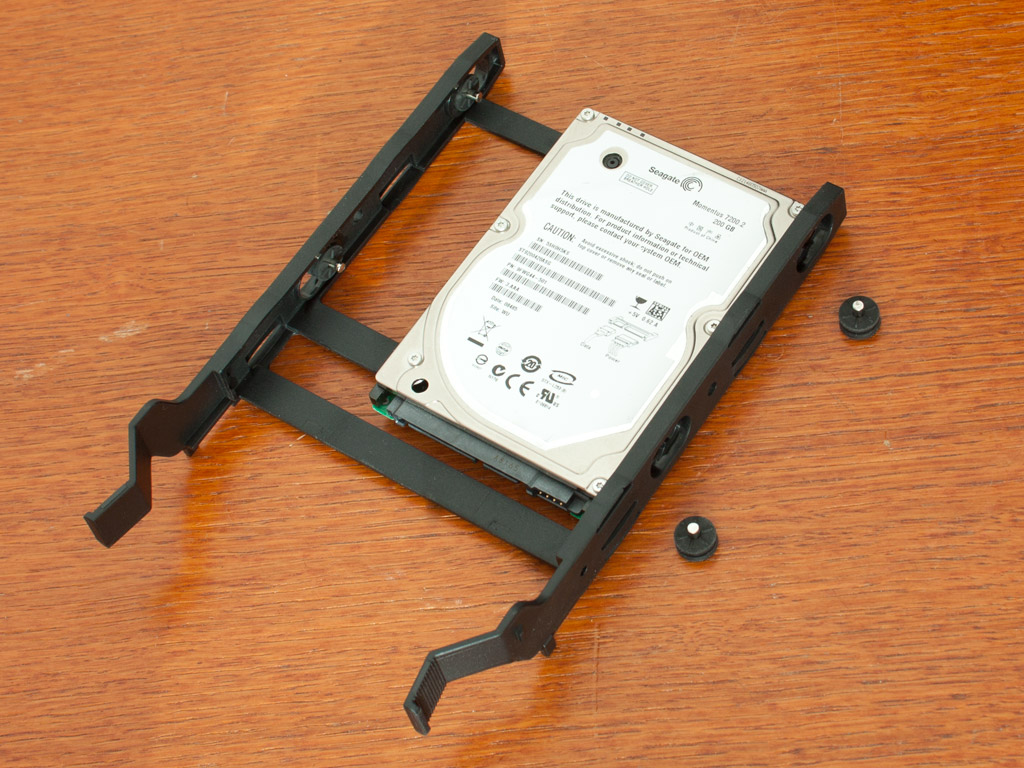
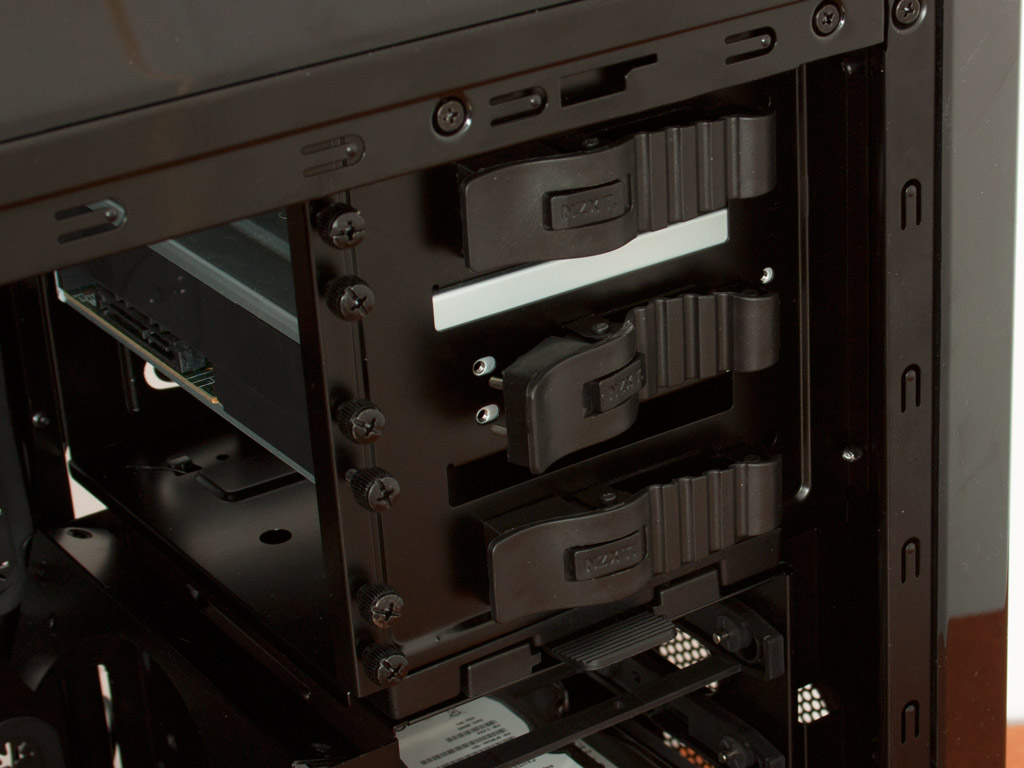
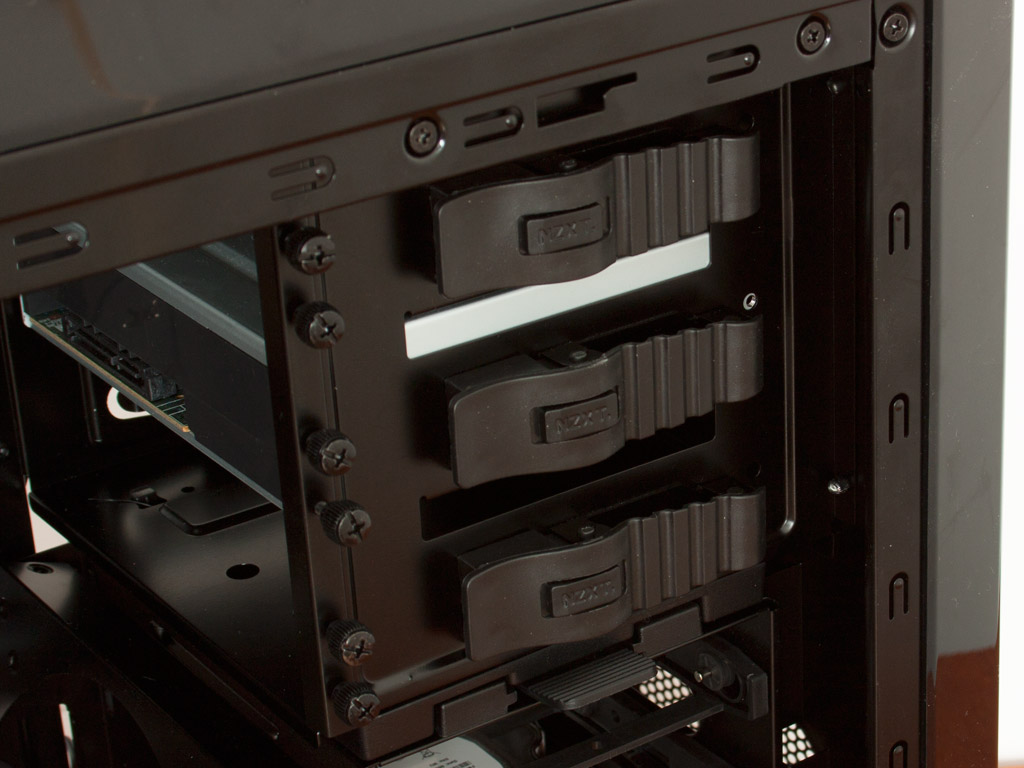
Installing a hard drive is quite simple, thanks to the plastic trays. You may clip 3.5 inch variants to the tray without the use of any tools, while the 2.5 inch ones are pinned down to the underside of the tray with the included screws.
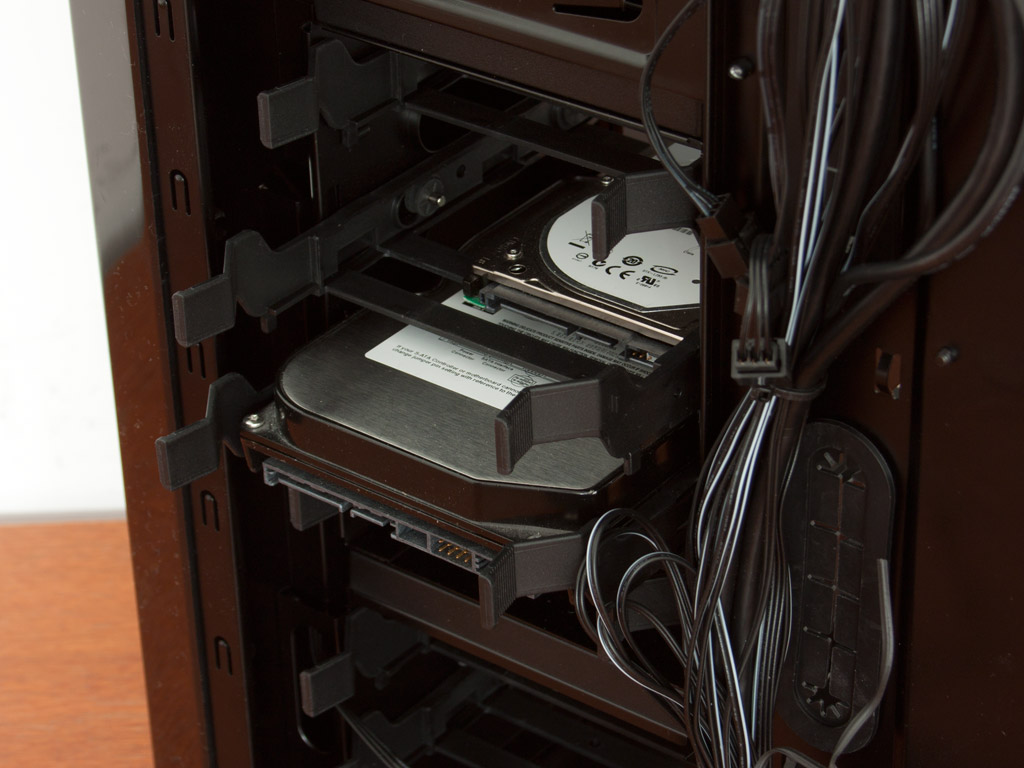

Once in place, just slide the drive into the chassis. Interestingly enough, these are pushed into place from the backside of the motherboard tray instead from the windowed side of the chassis. An interesting choice, which makes sense as you are required to detach the connectors of the drives anyways. With this setup, you only need to detach one side panel to remove the drives.
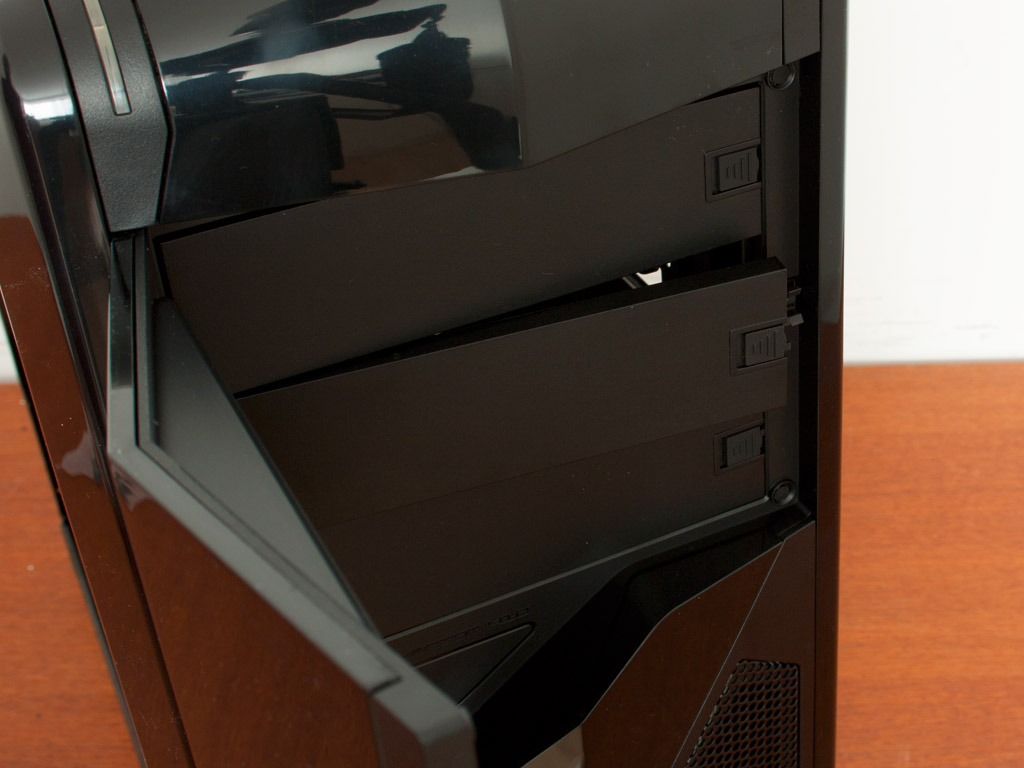
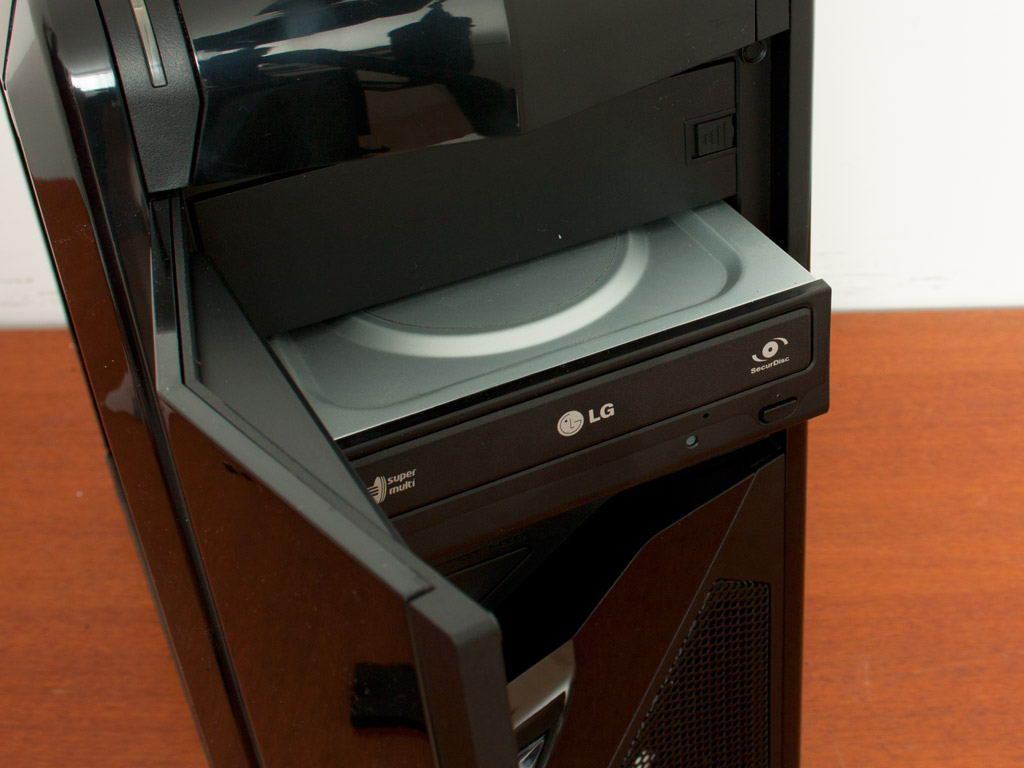
Installing the optical drives is a very similar matter. Unclip the front cover, push the drive into place, snap down the black plastic mechanism and lock it into place. It holds fairly well, but I would still use screws, just to make sure the drives stay in place and no vibrations are passed on to the chassis.

The PSU itself is held in place with thumb screws which are supplied with the Hale82 itself. You also have enough such screws as part of the package which ships with the Phantom 410 case. There is plenty of space within the interior to use longer units without having to sacrifice the two hard drive bays.
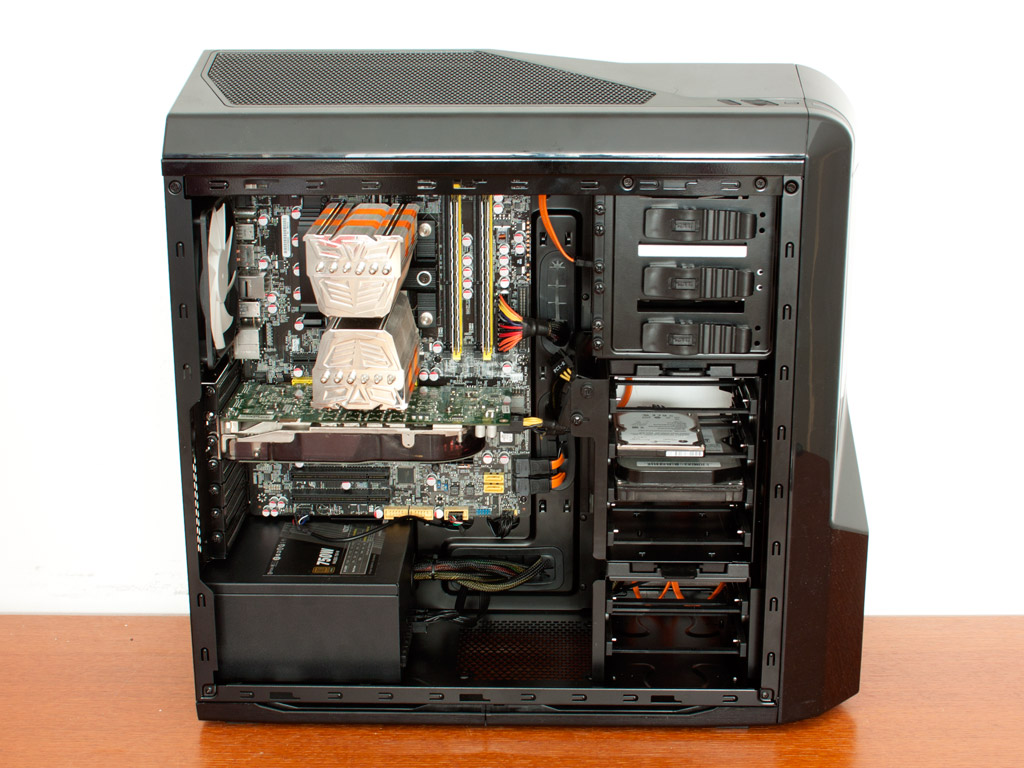
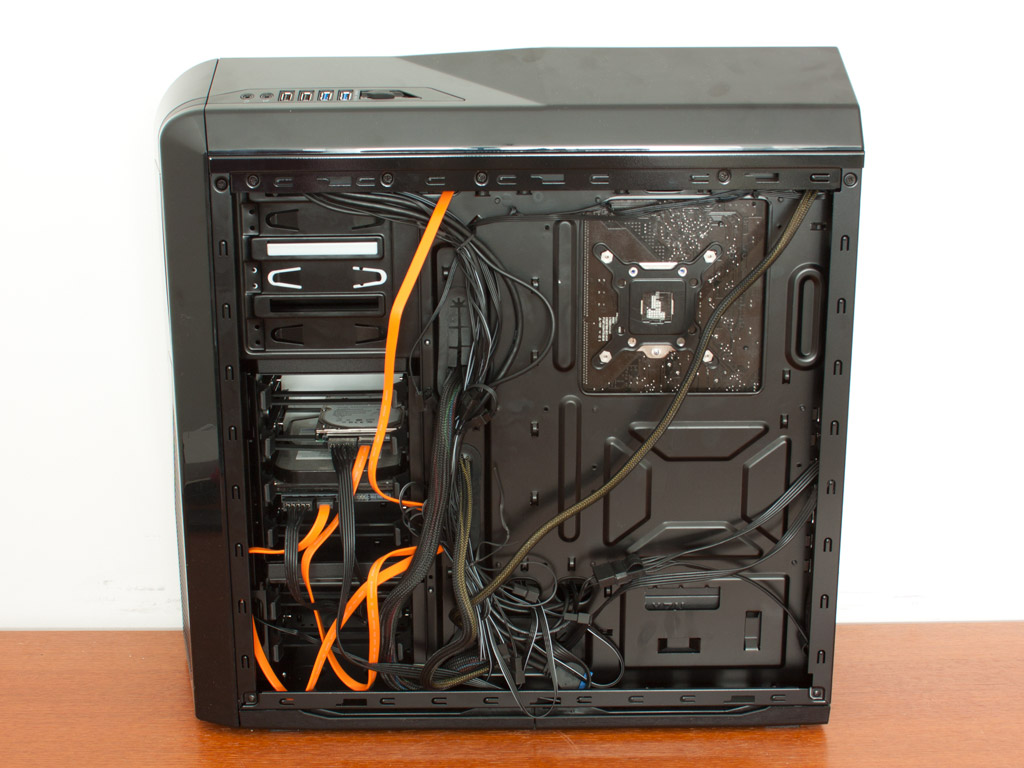
Once everything is installed, you can still see that there is still plenty of space. Sure, we did not fill the chassis with seven hard drives, four optical drives or dual graphics cards, but even so, you have the ability to hide and route the cables rather nicely.
Finished Looks
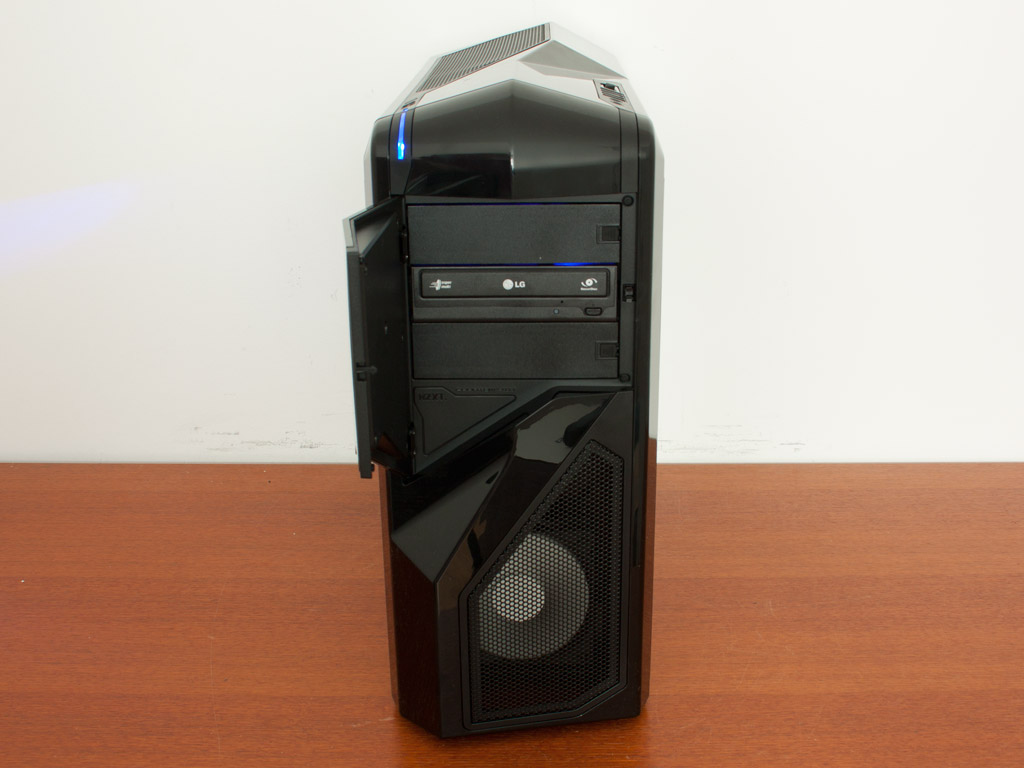
With the side panels in place the Phantom 410 makes the same impression as its bigger brother. The drives are easily accessible and the blue LEDs remind us of the large Phantom.
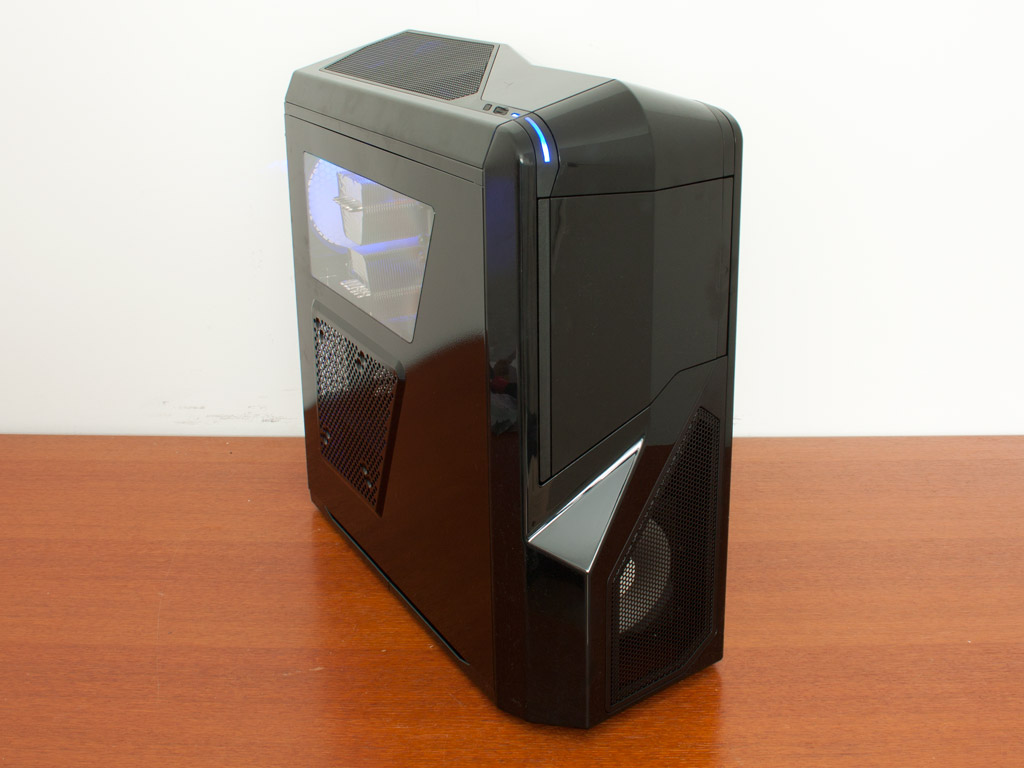
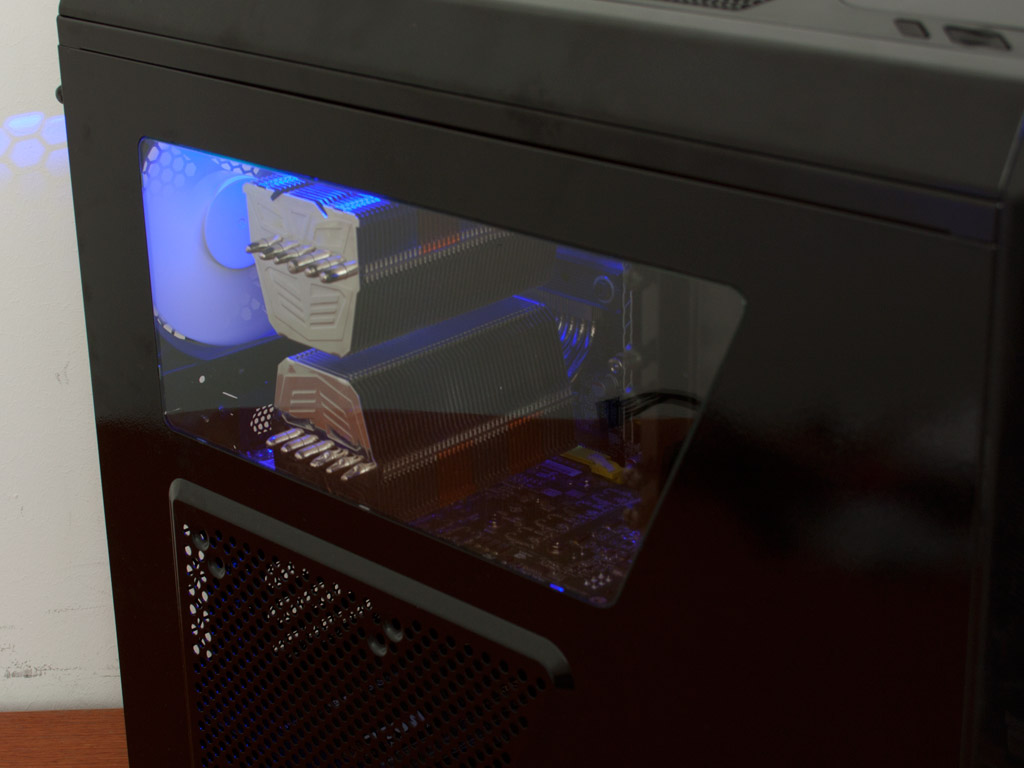
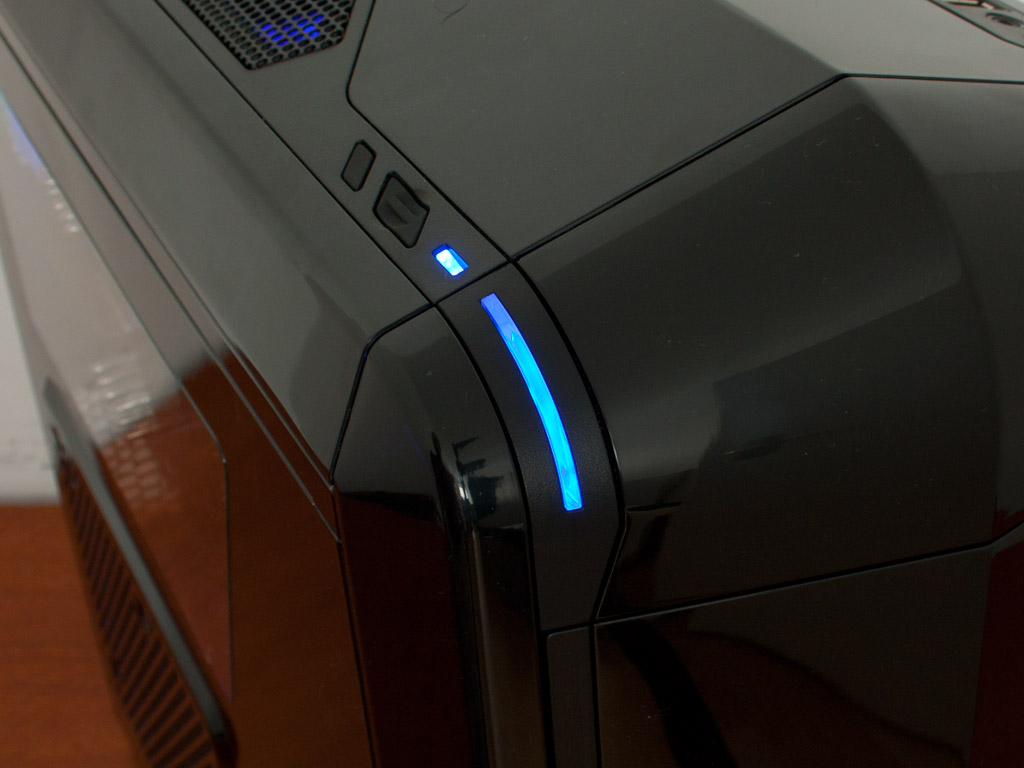
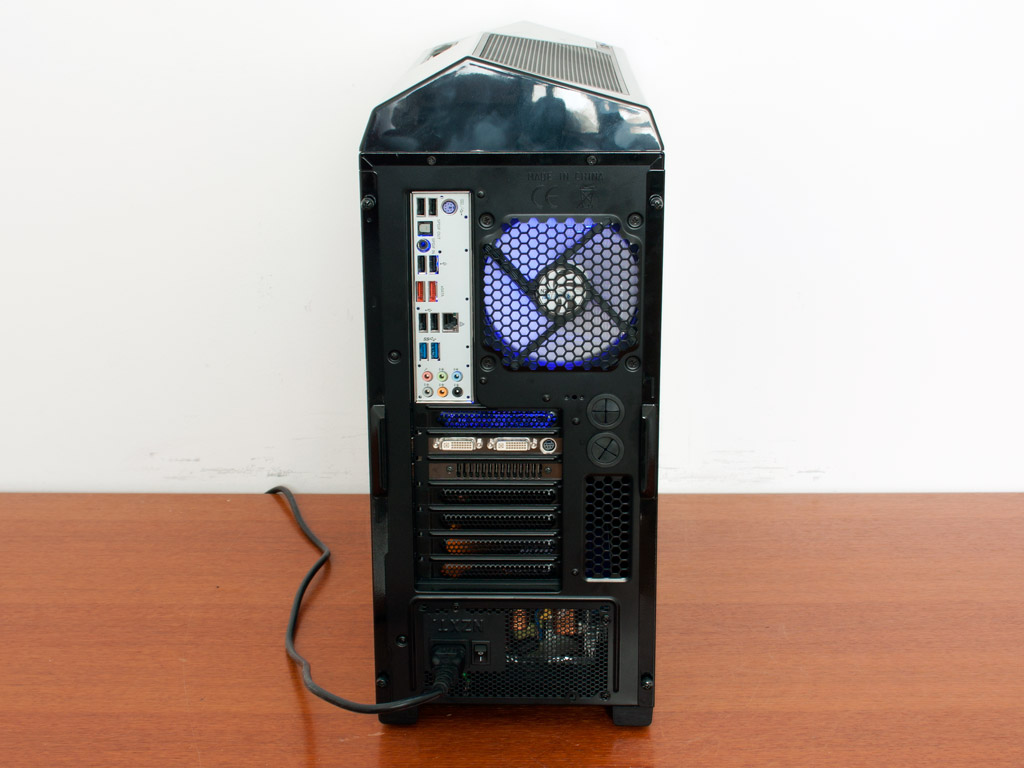
Once turned on, the Phantom 410 looks even better and the fans are just as good as the ones found in the taller variant. NZXT has formed the window in such a way, that you can clearly see the CPU and memory area of the PC. The large LEDs are noticeably different than the ones found on the larger version, but it looks quite good nonetheless. Thanks to the the fact, that it extents to the top and front you will always know if the system is running - even if you look at the chassis from below.
Jul 3rd, 2025 02:08 CDT
change timezone
Latest GPU Drivers
New Forum Posts
- Will you buy a RTX 5090? (592)
- NVIDIA App (39)
- Super-slow WiFi (7)
- RDNA 4 Fine Wine? (HUB Vid) (42)
- Nvidia drivers (8)
- Undervolting my i7-9750H (0)
- How often do you (re)install your OS? (197)
- What Windows is overall the best to you and why? (265)
- AMD RX 7000 series GPU Owners' Club (1327)
- What's your latest tech purchase? (24189)
Popular Reviews
- ASUS ROG Crosshair X870E Extreme Review
- Crucial T710 2 TB Review - Record-Breaking Gen 5
- Sapphire Radeon RX 9060 XT Pulse OC 16 GB Review - An Excellent Choice
- PowerColor ALPHYN AM10 Review
- Upcoming Hardware Launches 2025 (Updated May 2025)
- AMD Ryzen 7 9800X3D Review - The Best Gaming Processor
- AVerMedia CamStream 4K Review
- Sapphire Radeon RX 9070 XT Nitro+ Review - Beating NVIDIA
- NVIDIA GeForce RTX 5060 8 GB Review
- AMD Ryzen 9 9950X3D Review - Great for Gaming and Productivity
TPU on YouTube
Controversial News Posts
- Intel's Core Ultra 7 265K and 265KF CPUs Dip Below $250 (288)
- NVIDIA Grabs Market Share, AMD Loses Ground, and Intel Disappears in Latest dGPU Update (212)
- Some Intel Nova Lake CPUs Rumored to Challenge AMD's 3D V-Cache in Desktop Gaming (140)
- NVIDIA GeForce RTX 5080 SUPER Could Feature 24 GB Memory, Increased Power Limits (115)
- NVIDIA Launches GeForce RTX 5050 for Desktops and Laptops, Starts at $249 (105)
- Microsoft Partners with AMD for Next-gen Xbox Hardware (105)
- Intel "Nova Lake‑S" Series: Seven SKUs, Up to 52 Cores and 150 W TDP (100)
- NVIDIA DLSS Transformer Cuts VRAM Usage by 20% (96)