 5
5
NZXT Phantom 630 Review
Value & Conclusion »Assembly
Installing the motherboard is done through traditional means, with the use of spacers and screws. Even though I have just used a mATX board, there is plenty of room for even the largest CPU coolers and longest graphics cards. Excellent cable routing and hiding possibilities allow you to keep things clean every step of the way.
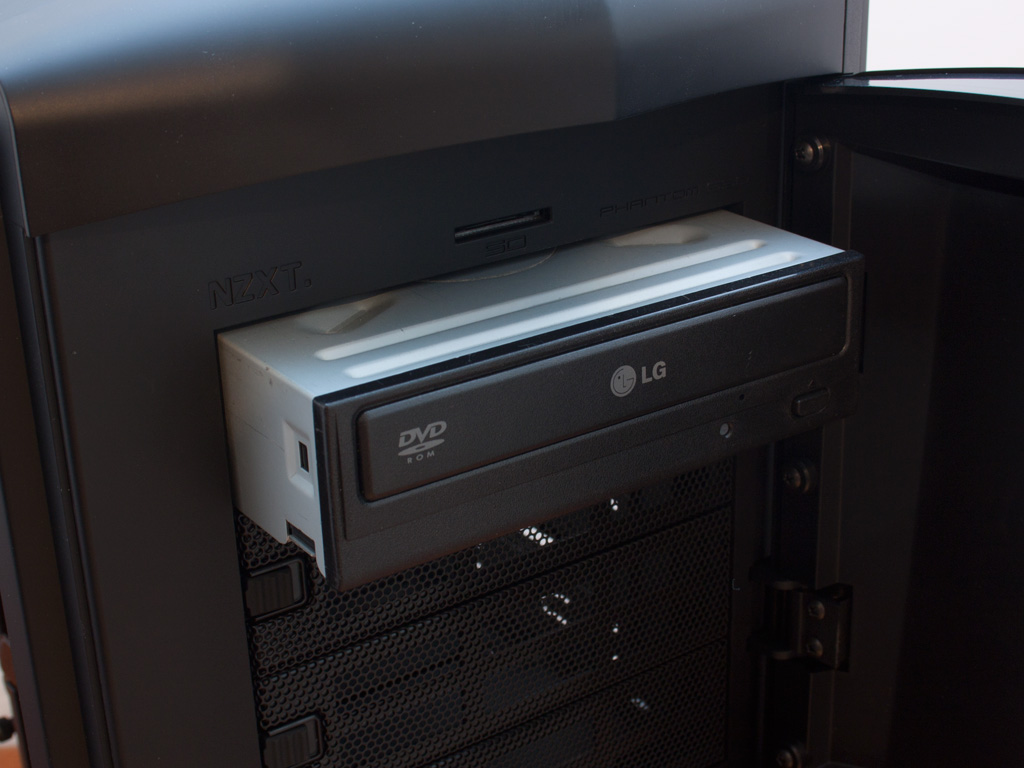
Placing an optical drive within the Phantom 630 is as easy as it gets: you do not require any screws or tools. Simply remove the drive-bay cover of your choice, slide the unit into place, and let the metal tension lock snap into place. This new mechanism illustrates the reason why no lock should utilize plastic components to properly hold a drive in place. In other words: the drive within the Phantom 630 is secured extremely well, with no wiggle room at all.
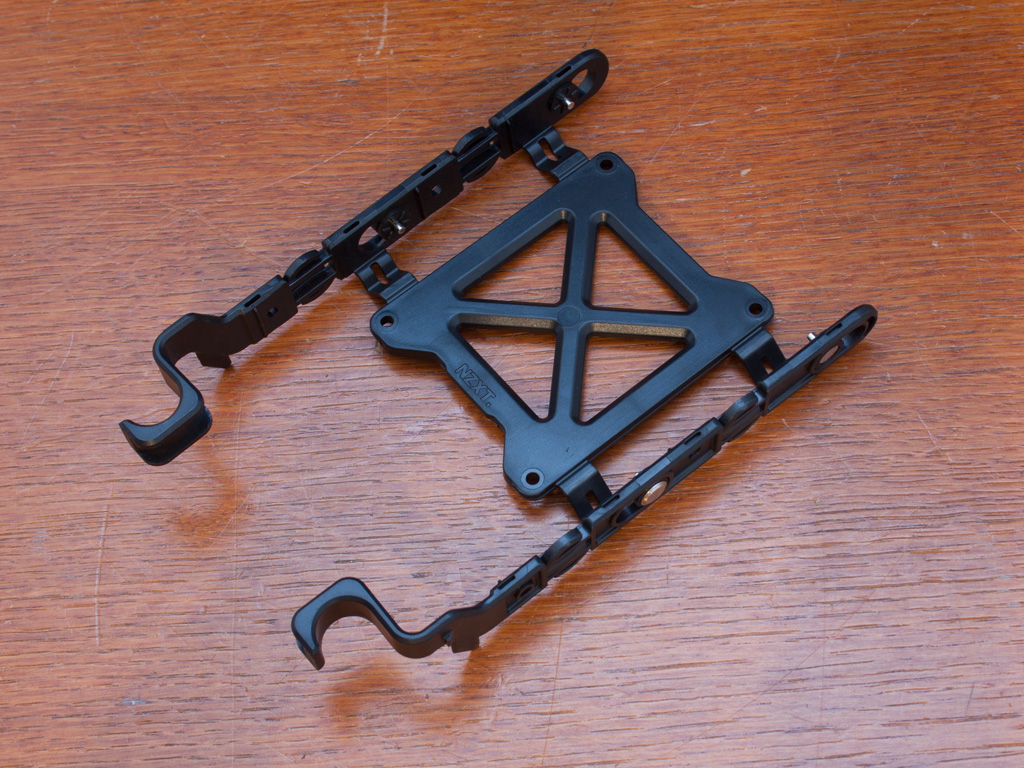
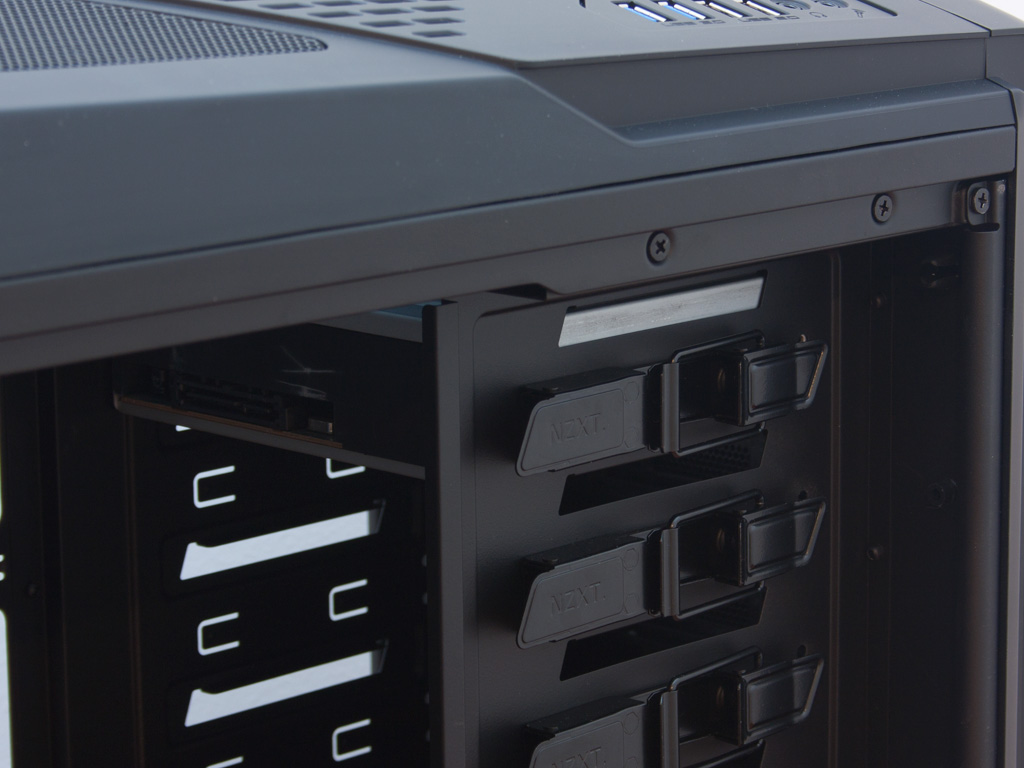
Unfortunately, the 3.5 inch hard-drive bays are not that great. As I already mentioned when reviewing the Phantom 820:
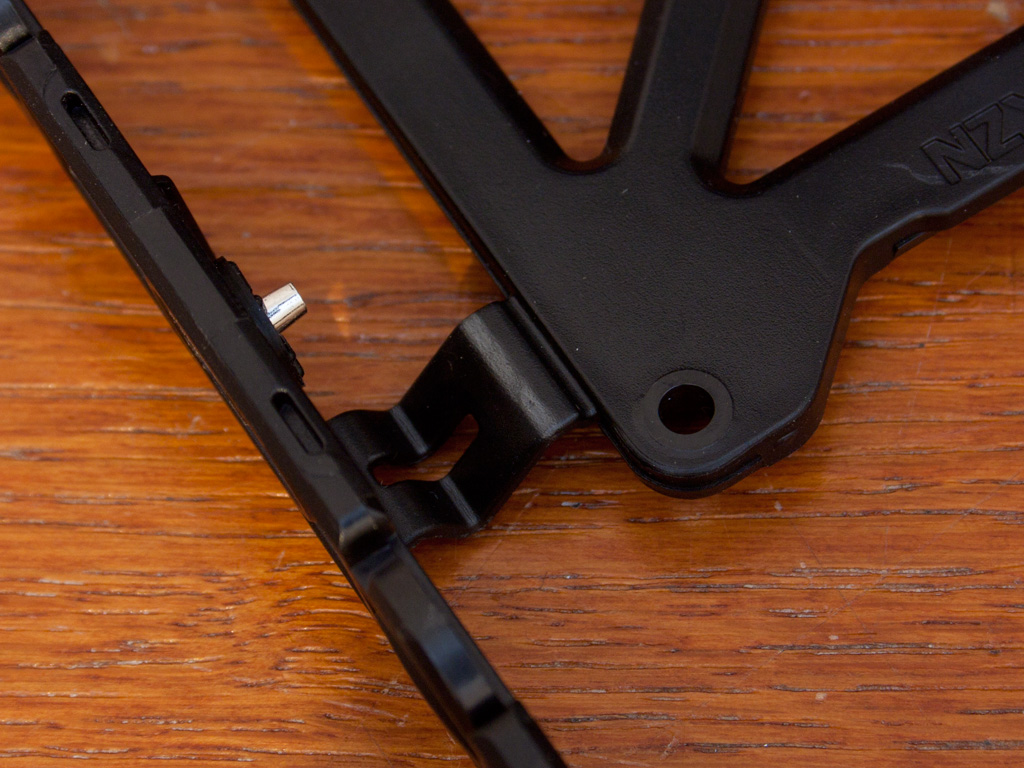
NZXT has redesigned the hard-drive trays and has made them look pretty cool in the process. They are, unfortunately, quite weak and break easily along the edge I highlighted; that is, if you squeeze the tray too hard in order to pull it out of the bay. NZXT has been made aware of both issues, and they will fix these issues with their retail product, which will arrive at the end of November.As you can see above, not much has changed. It seems that the breaking point has moved from the end of the little plastic bit to the center. While it is nice that NZXT has tried to fix it, the best solution would have been to make the entire plastic tray sturdier. Interestingly enough though, NZXT does include 7 mm long screws instead of the 5 mm ones that shipped with our Phantom 820 sample.
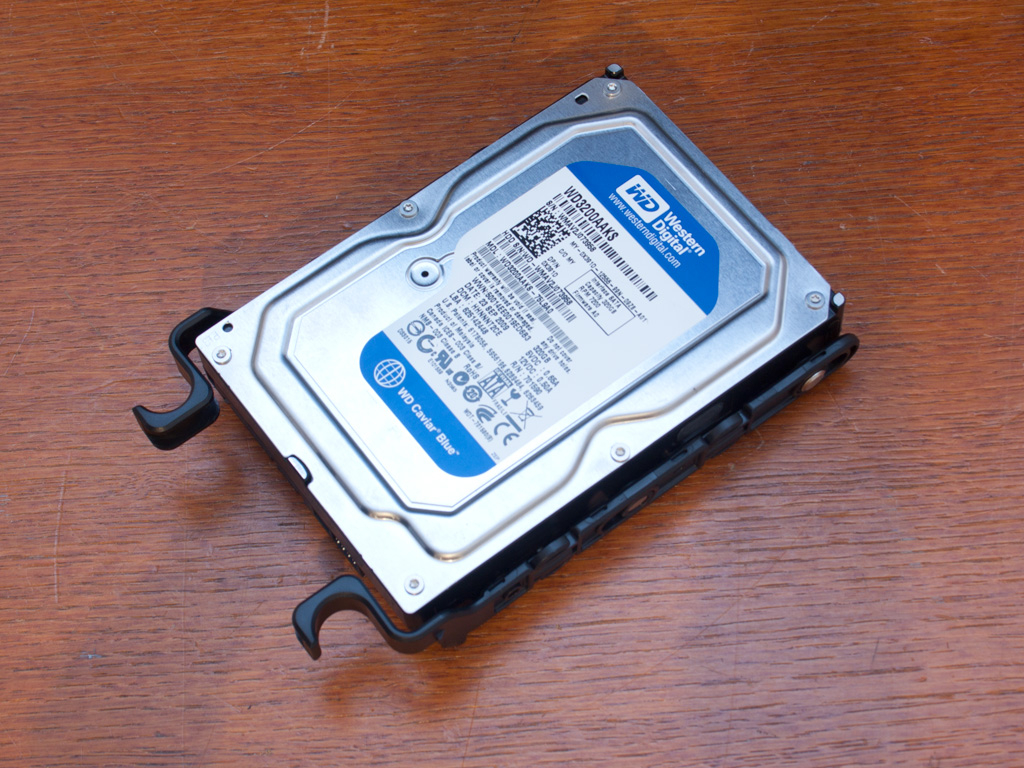

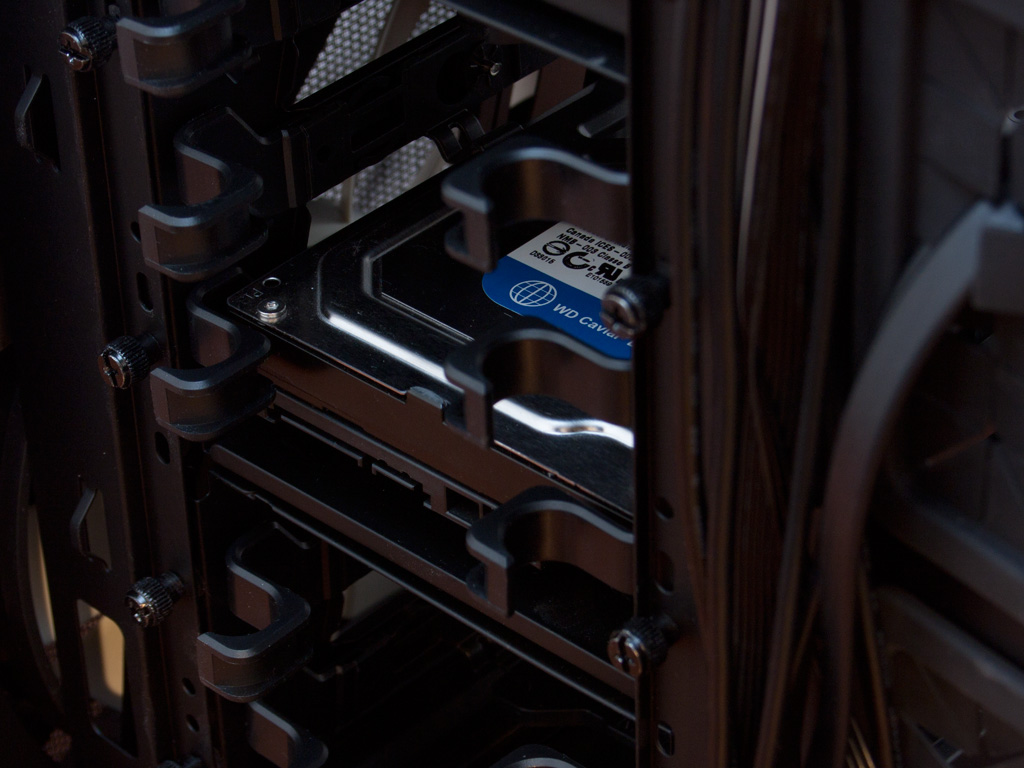
Installing a hard drive within these trays works - if they don't break apart, or the metal pins don't pop out in the process because too much pressure was applied. Once in place, simply slide the tray into the bay of your choice until it snaps into place.
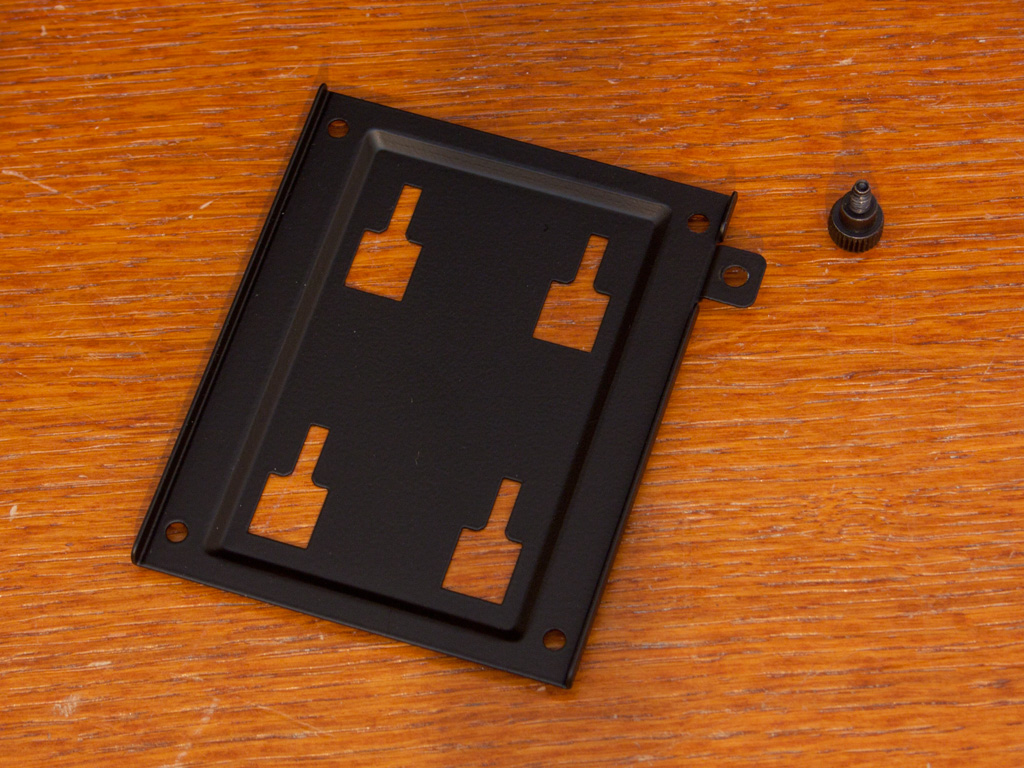
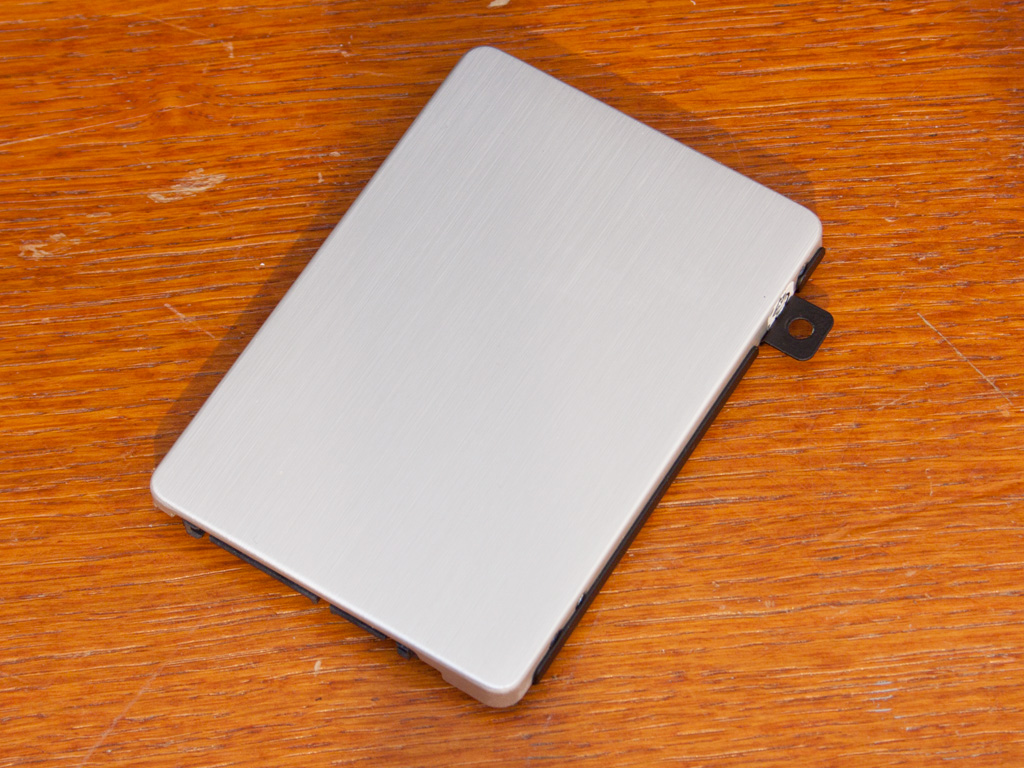
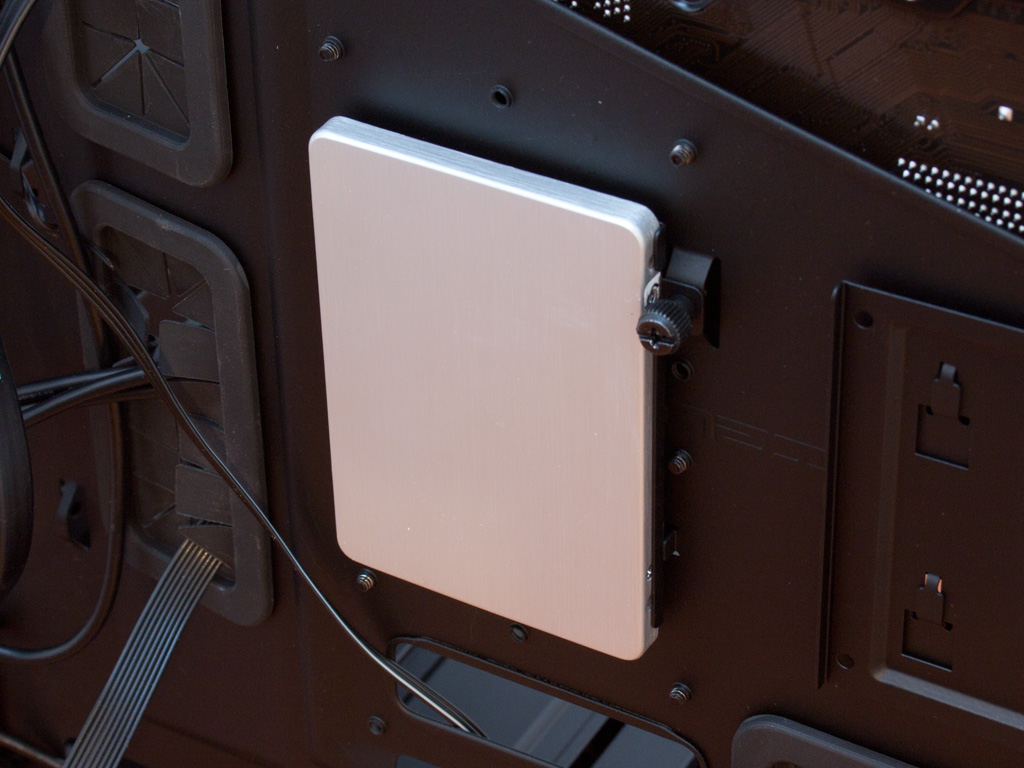
Installing a 2.5 inch drive within the Phantom 630 is quite simple, but does require screws and tools. One needs to remove the tray before screwing the SSD or traditional drive on, sliding it back unto the hooks to secure it with a single thumb screw afterwards. While you are free to install the drive with the connectivity facing upward, I chose to have it point downward for less of a cable mess in the end.
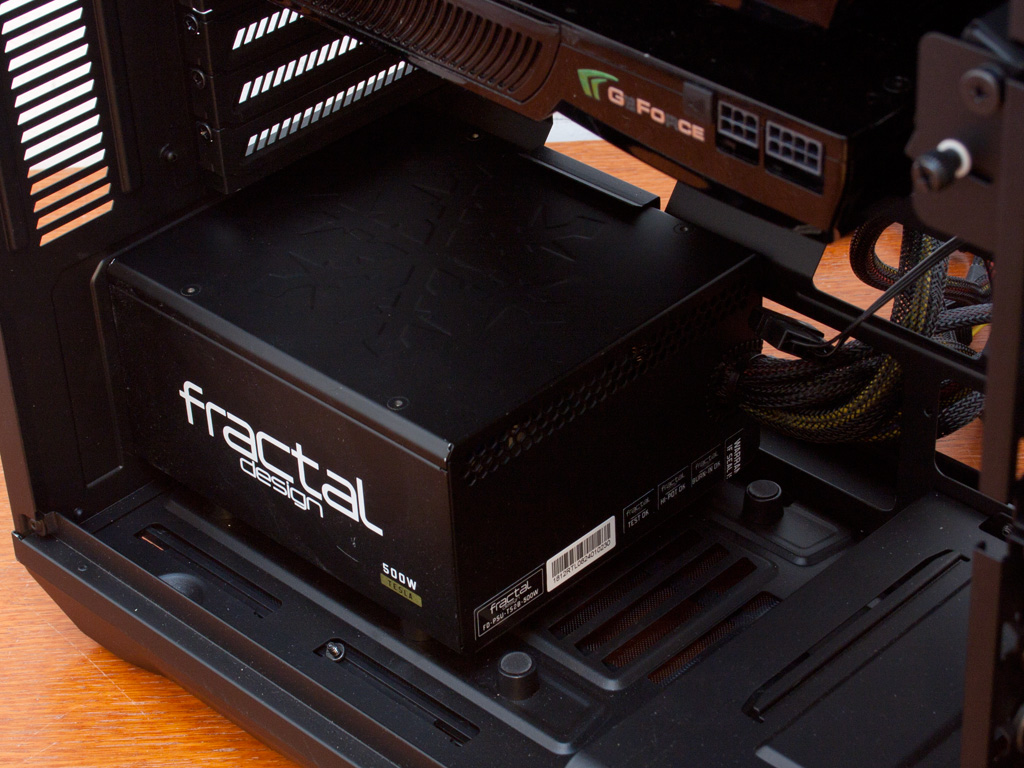
The power supply is also installed with the included black screws. As you can see, there is plenty of space within the chassis.
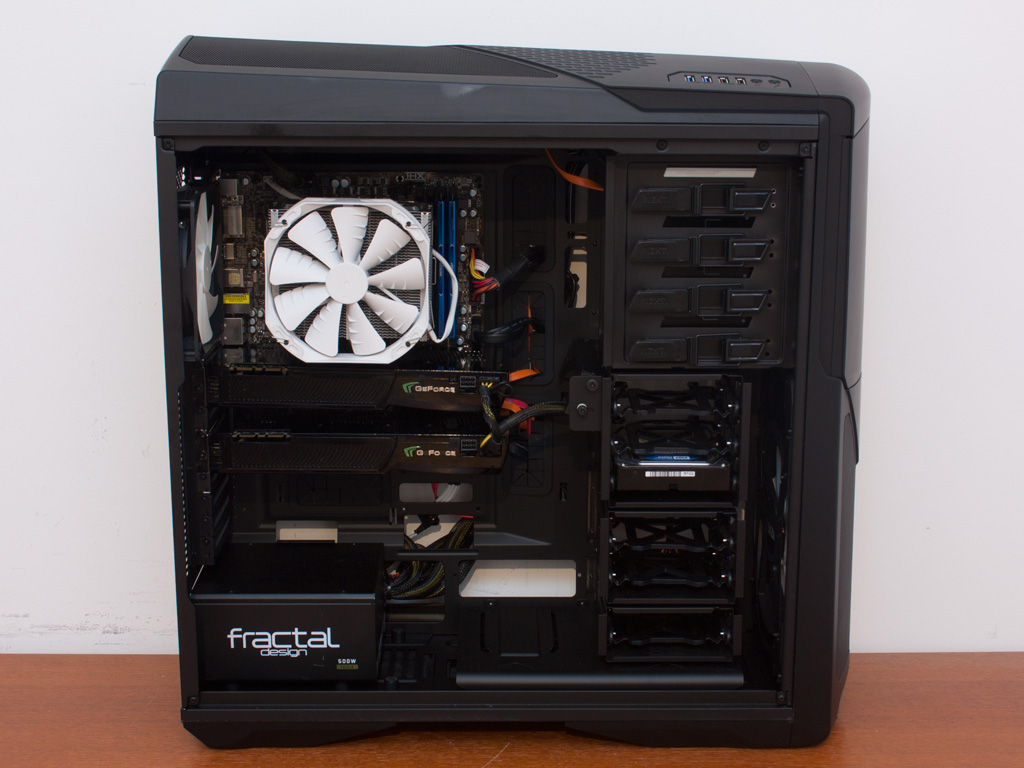
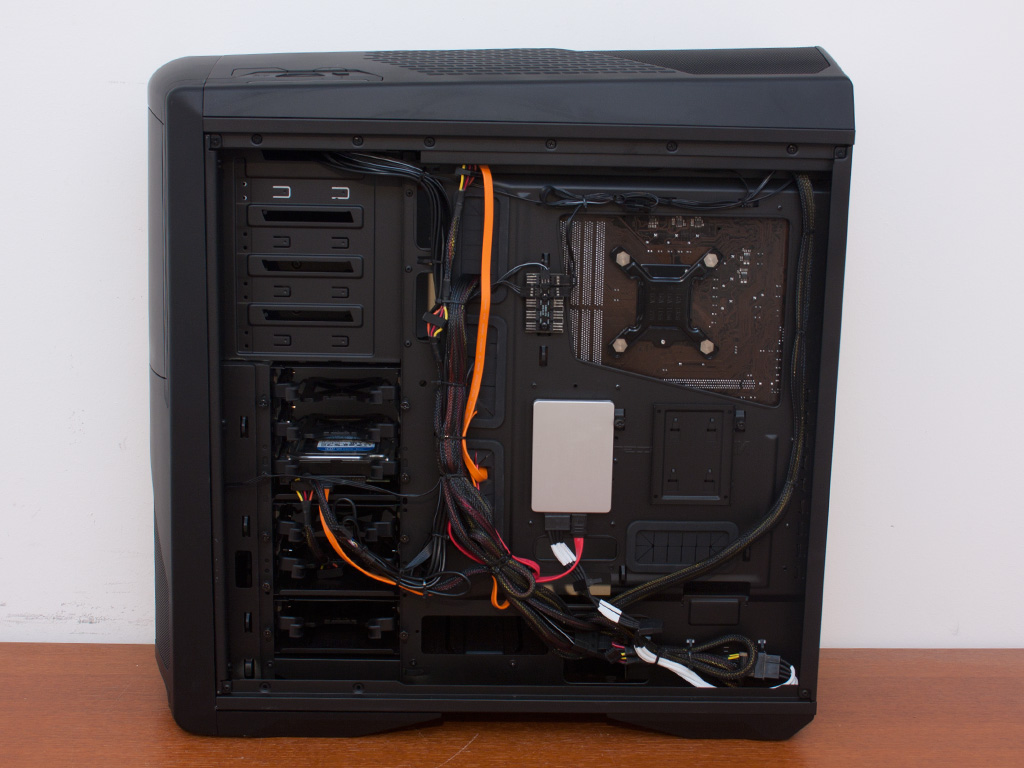
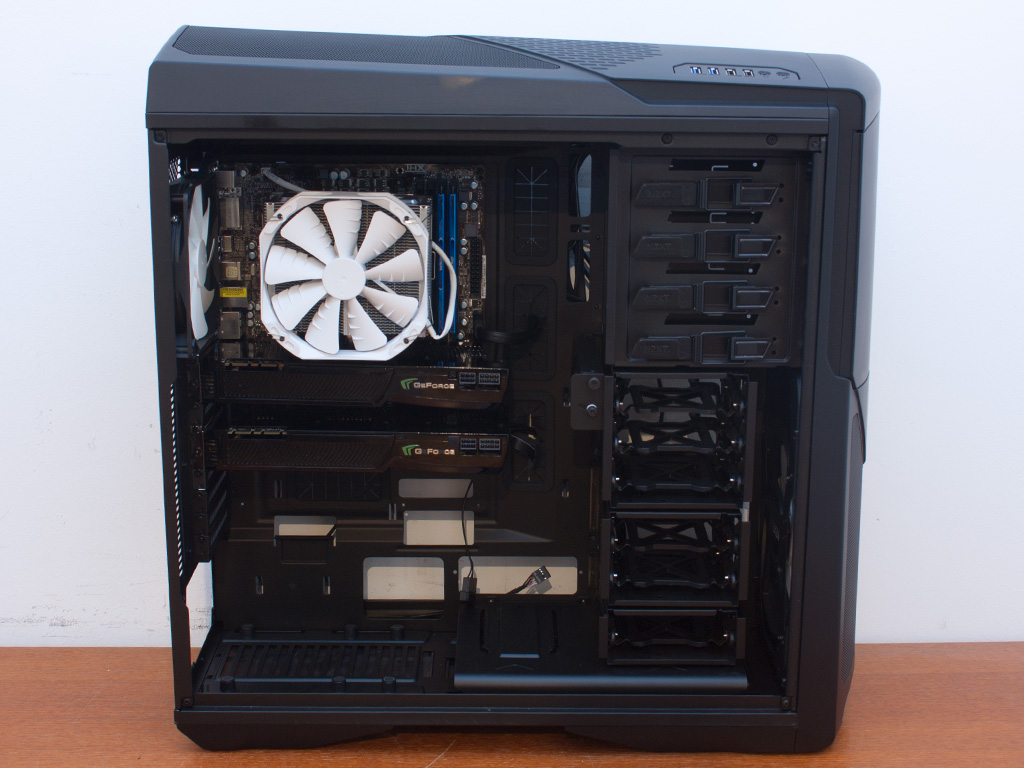
Once everything is in place, the interior of the Phantom 630 looks extremely tidy and clean. This is due to the fact that there are plenty of possibilities to route and secure cables behind the motherboard tray. Even with all these cables in place, you will still be able to put the panel back into place easily.
Finished Looks
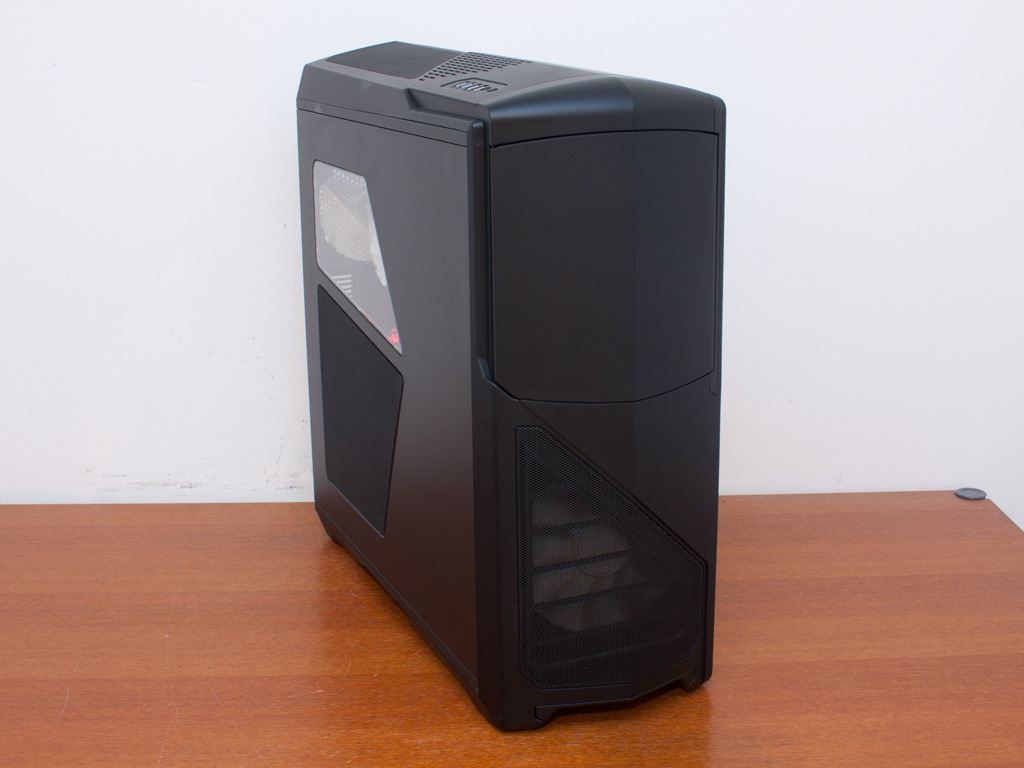
With everything in place, the case looks just as it would when empty, except for the installed hardware it shows off nicely through the window.
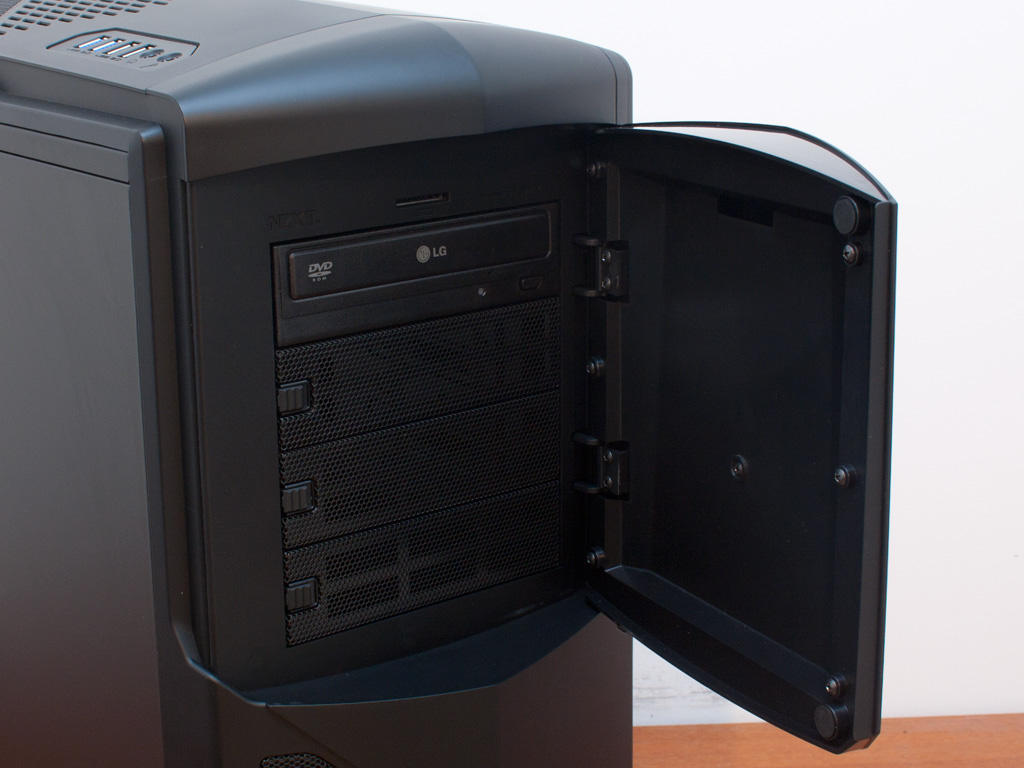
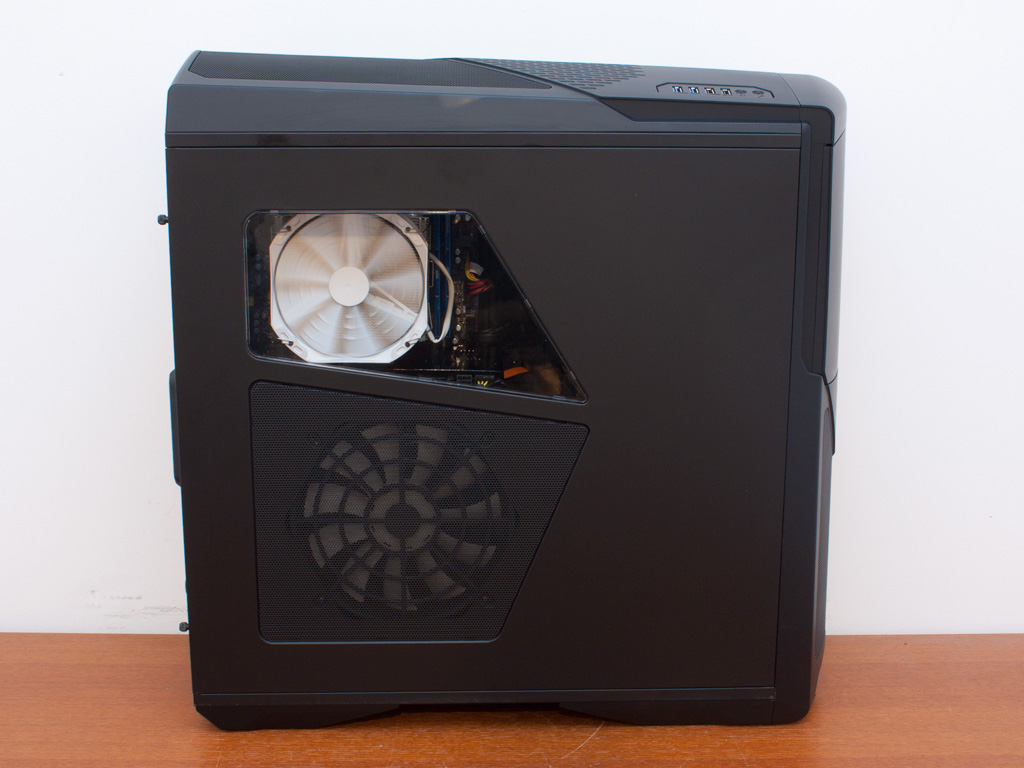
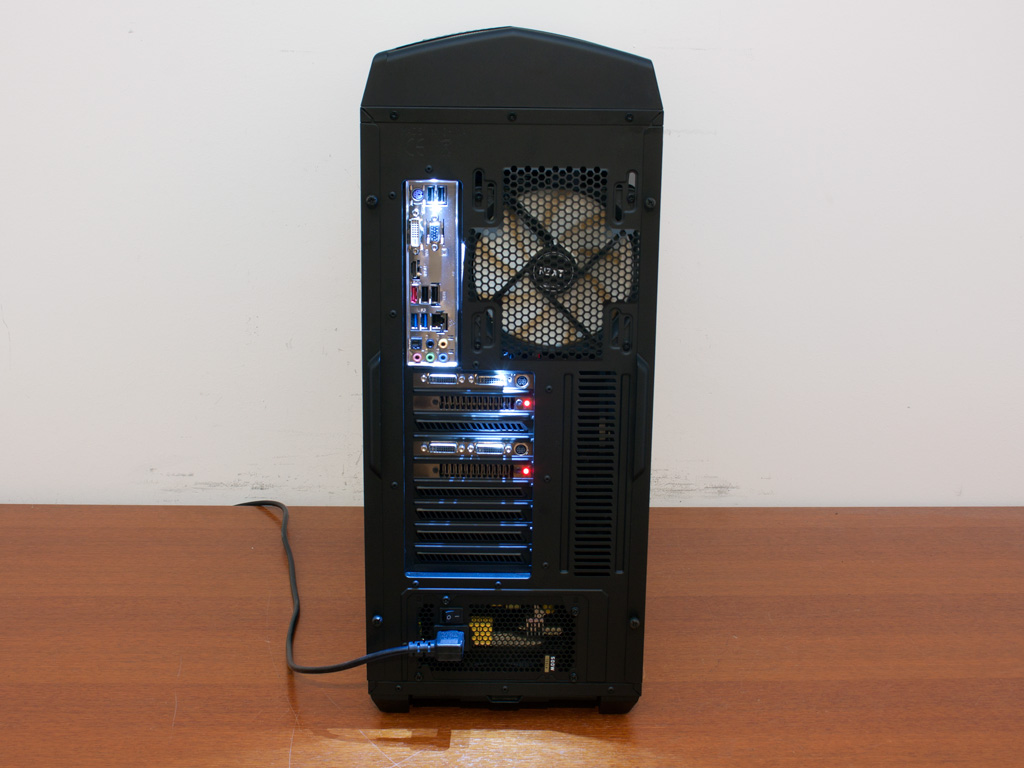
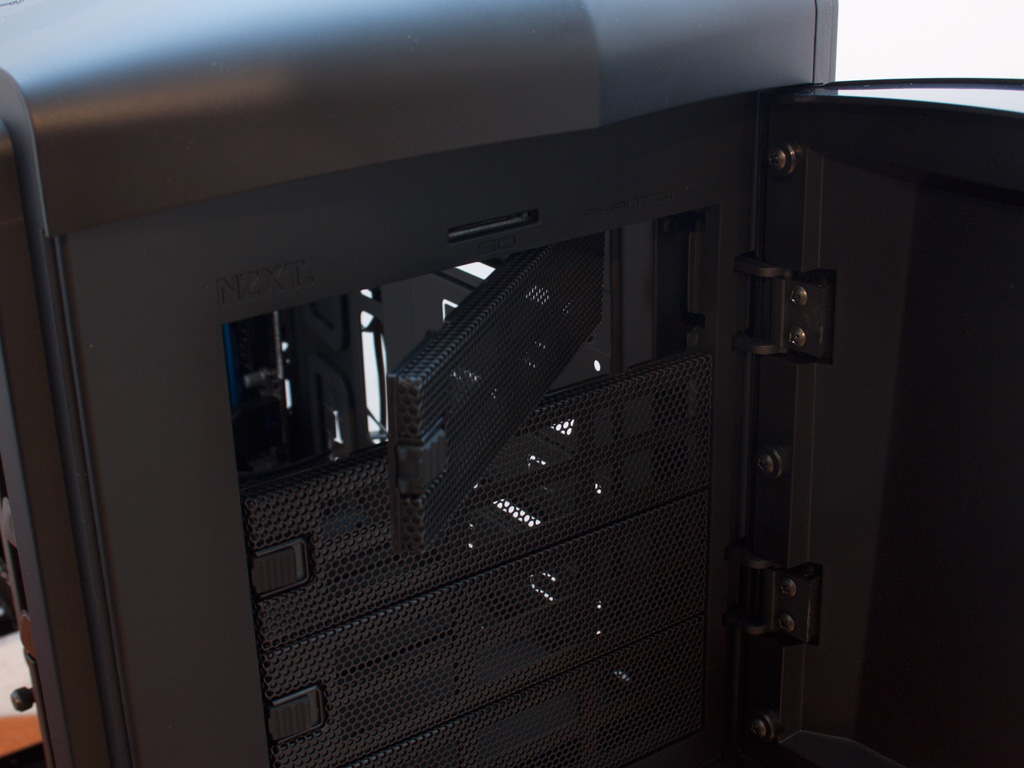
The optical bay is hidden behind the door, but you can clearly see the large Phanteks CPU cooler spinning away behind the clear side window of the chassis. As mentioned before, you won't see much more besides the cooler and the memory. One of the unique features of the new Phantom series is the LED light for the motherboard's connectivity, and it does its job perfectly, as seen through a shot of the rear. This is such a simple but cool idea, and I hope NZXT includes this LED in all of its 2013 cases.
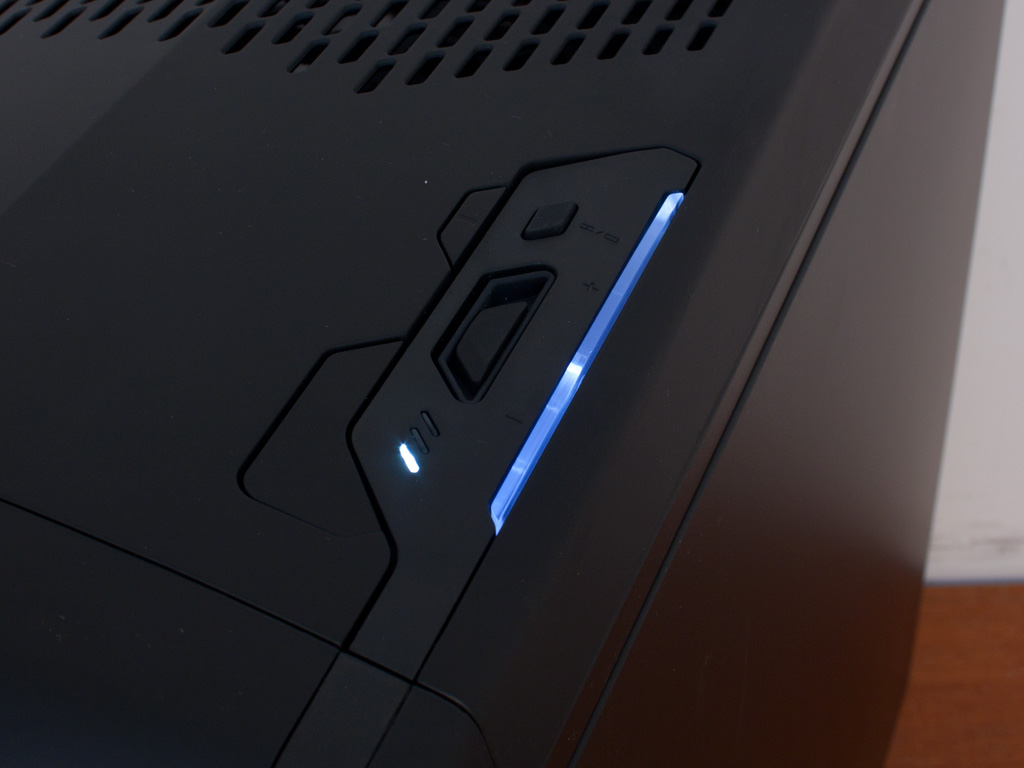
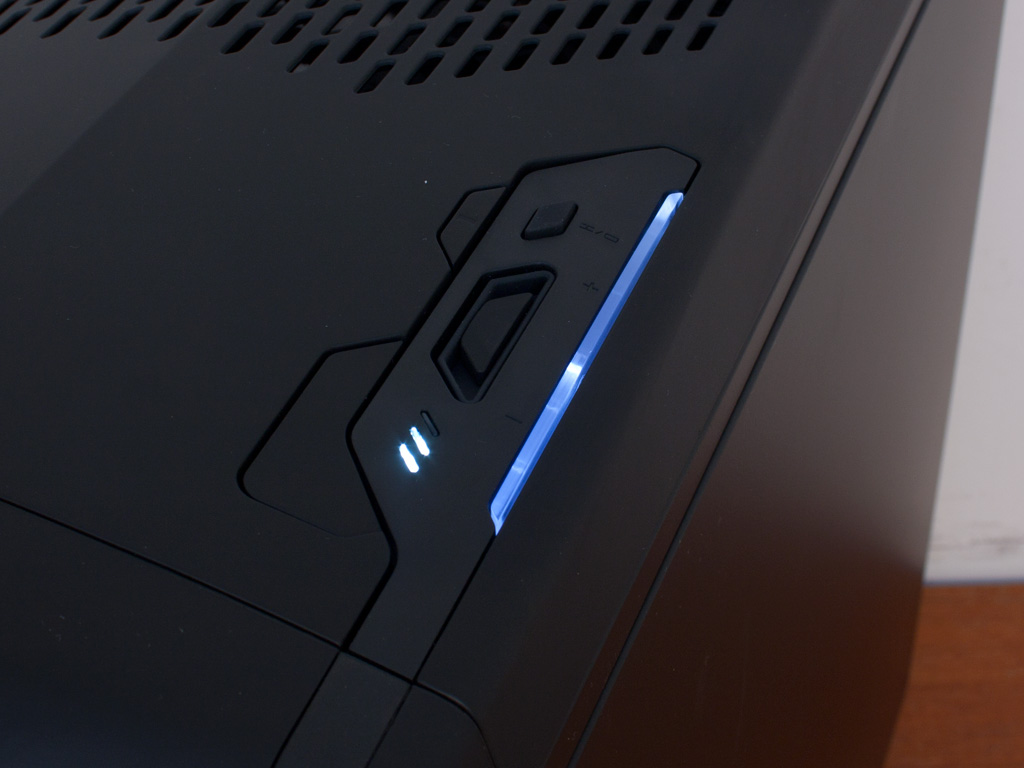
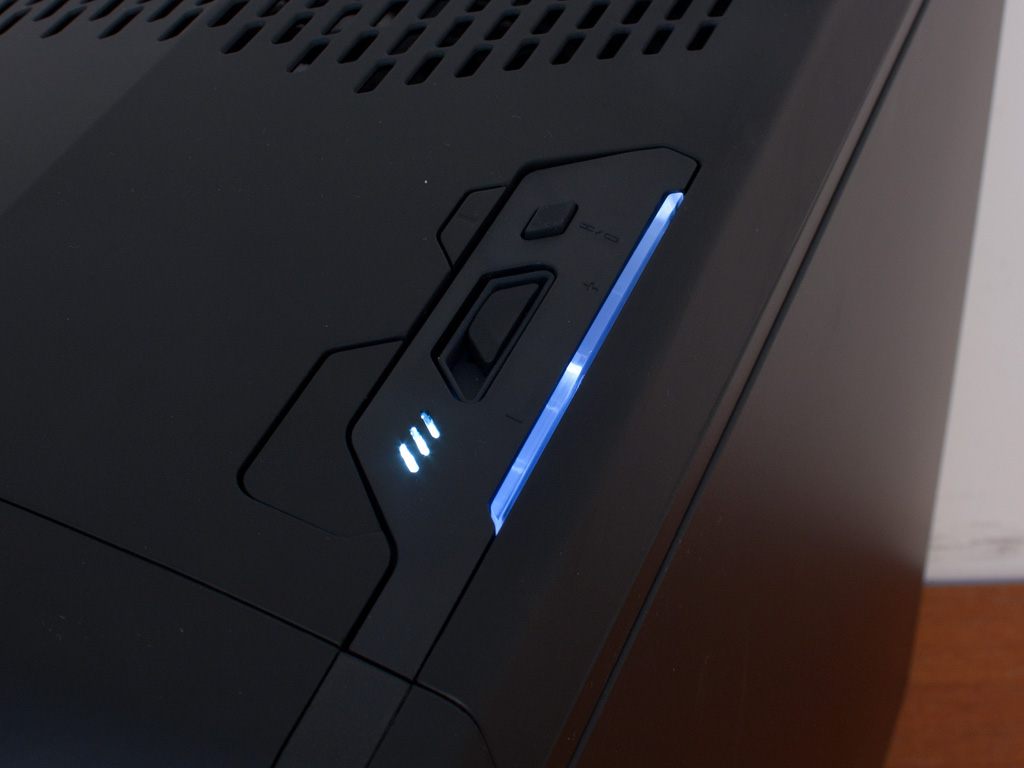
Last but not least, the power LED lights up white, and three separate LEDs let you know what setting you have selected on the fan controller.
Jan 8th, 2025 02:35 EST
change timezone
Latest GPU Drivers
New Forum Posts
- NVIDIA has revealed the prices for the RTX 5090, 5080 and 5070 (107)
- All RTX 5090s only have 1x 16-pin connector (0)
- Best time to sell your used 4090s is now. (155)
- Price of 4x series when they release 5x gpus (21)
- What was lacking GPU-wise at this year's CES (43)
- The TPU UK Clubhouse (25516)
- Looking for suggestions on z890 motherboard (0)
- Dell Workstation Owners Club (3259)
- in the whole computing world , this does not compute (2)
- Random Black Screen when Opening GPU-Z (2)
Popular Reviews
- ASUS ROG Strix B850-F Gaming WiFi Review
- DDR5 Thermal Testing & Analysis
- AMD Ryzen 7 9800X3D Review - The Best Gaming Processor
- SCYROX V8 Review
- Klevv Genuine G560 2 TB Review
- GPU Test System Update for 2025
- Intel Arc B580 Review - Excellent Value
- Upcoming Hardware Launches 2024 (Updated Nov 2024)
- STALKER 2 Performance Benchmark Review - 35 GPUs Tested
- Arrow Lake Retested with Latest 24H2 Updates and 0x114 Microcode
Controversial News Posts
- NVIDIA 2025 International CES Keynote: Liveblog (319)
- AMD Debuts Radeon RX 9070 XT and RX 9070 Powered by RDNA 4, and FSR 4 (297)
- NVIDIA GeForce RTX 5090 Features 575 W TDP, RTX 5080 Carries 360 W TDP (208)
- AMD Radeon RX 9070 XT Alleged Benchmark Leaks, Underwhelming Performance (204)
- Potential RTX 5090 and RTX 5080 Pricing in China Leaks (173)
- 32 GB NVIDIA RTX 5090 To Lead the Charge As 5060 Ti Gets 16 GB Upgrade and 5060 Still Stuck With Last-Gen VRAM Spec (173)
- AMD Radeon RX 9070 XT Boosts up to 3.10 GHz, Board Power Can Reach up to 330W (167)
- NVIDIA GeForce RTX 5070 Ti Leak Tips More VRAM, Cores, and Power Draw (161)