 8
8
NZXT Whisper Review
Assembly & Finished Looks »A Closer Look - Inside

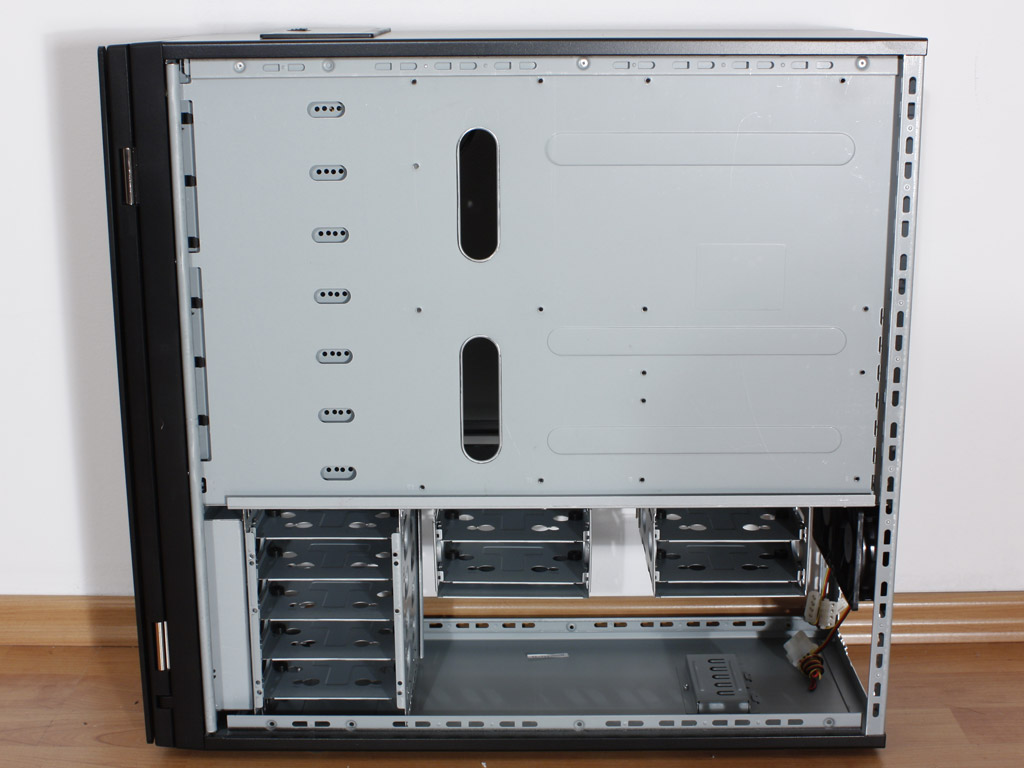
The interior of the Whisper chassis has its roots in the Workstation/Server segment. Removing the side panels gives you access to the case. The interior is of the usual grey color and features a simple, but fairly effective layout. Turning the case over, the mainboard tray does have many cutouts. There are two to aid in cable management, but none under the CPU area. Small things like this show that the interior of the Whisper is somewhat outdated or NZXT has decided to simply use an OEM construction and put their front on the case.
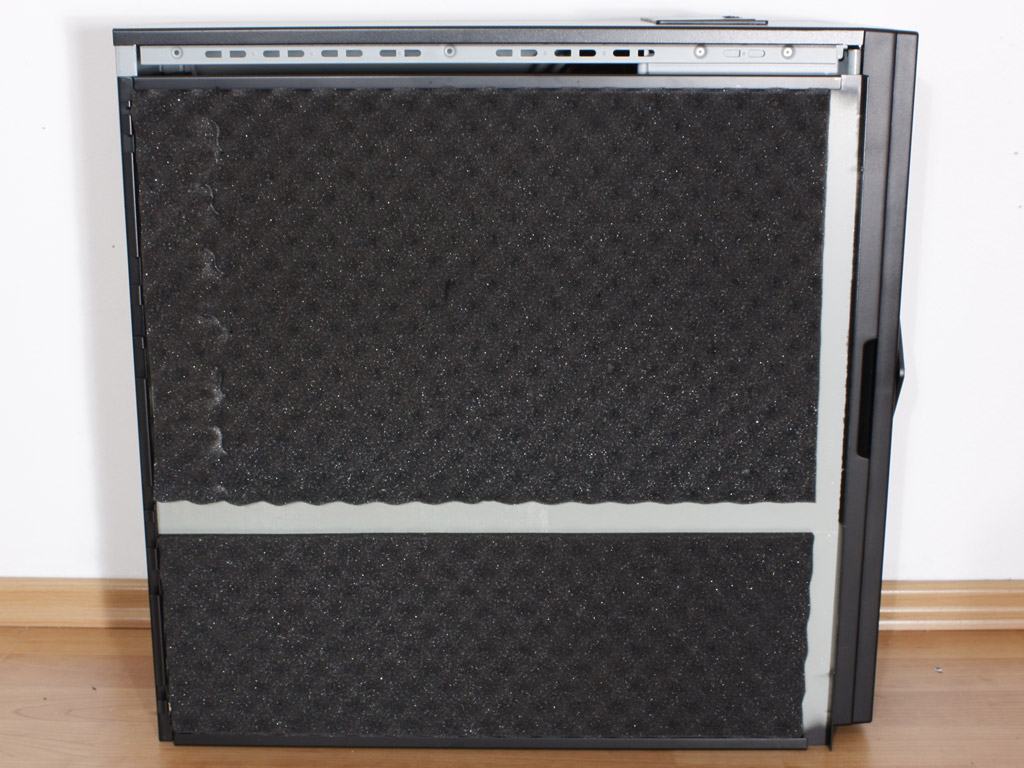
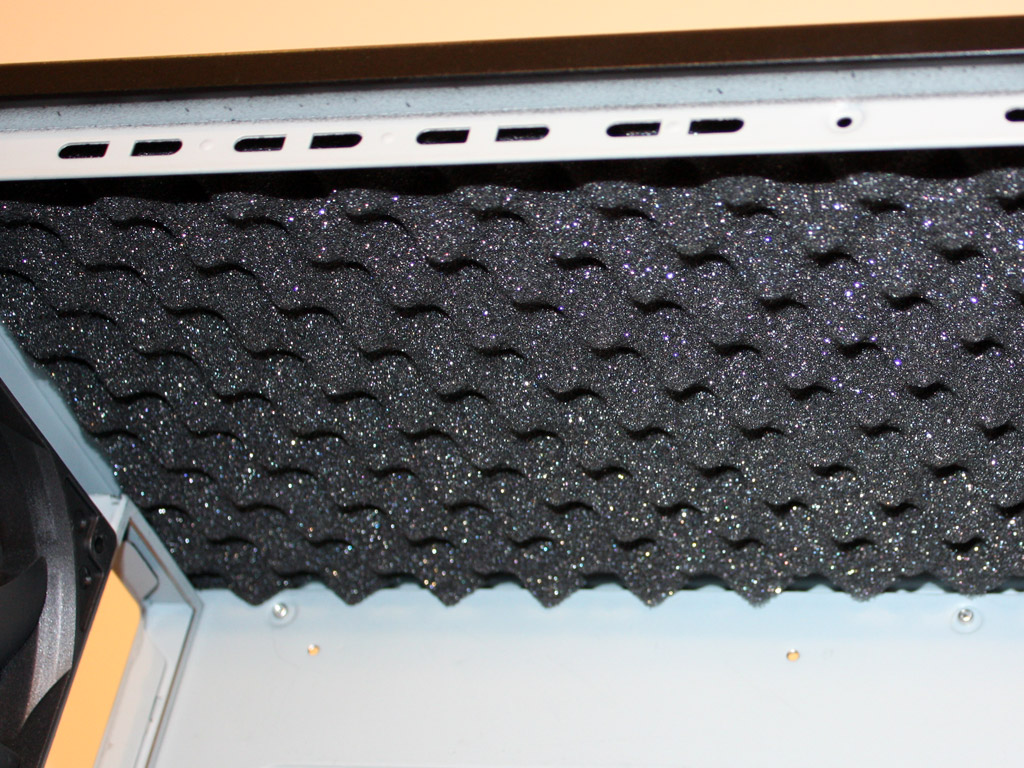
The entire case is very heavy. This is not only due to the thick steel used - which is another sign of the actual roots of this case coming from server enclosures - but also the sound dampening materials everywhere. NZXT has covered both sides and the case ceiling. This is a very nice touch and should help with keeping the noise within the case.
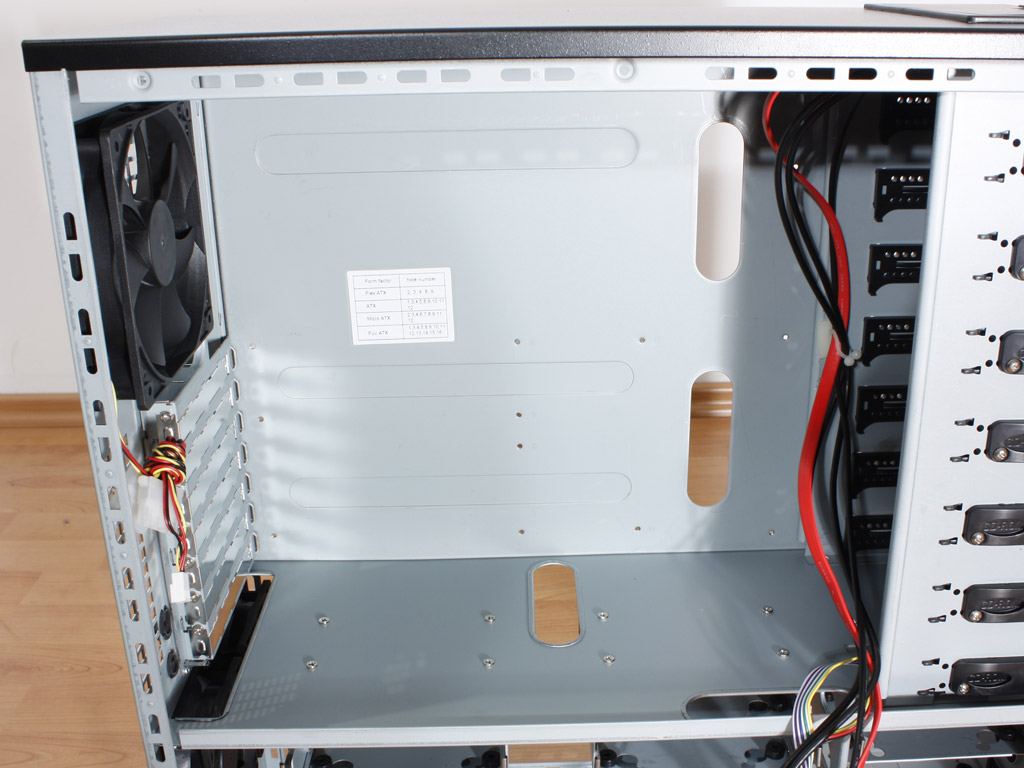
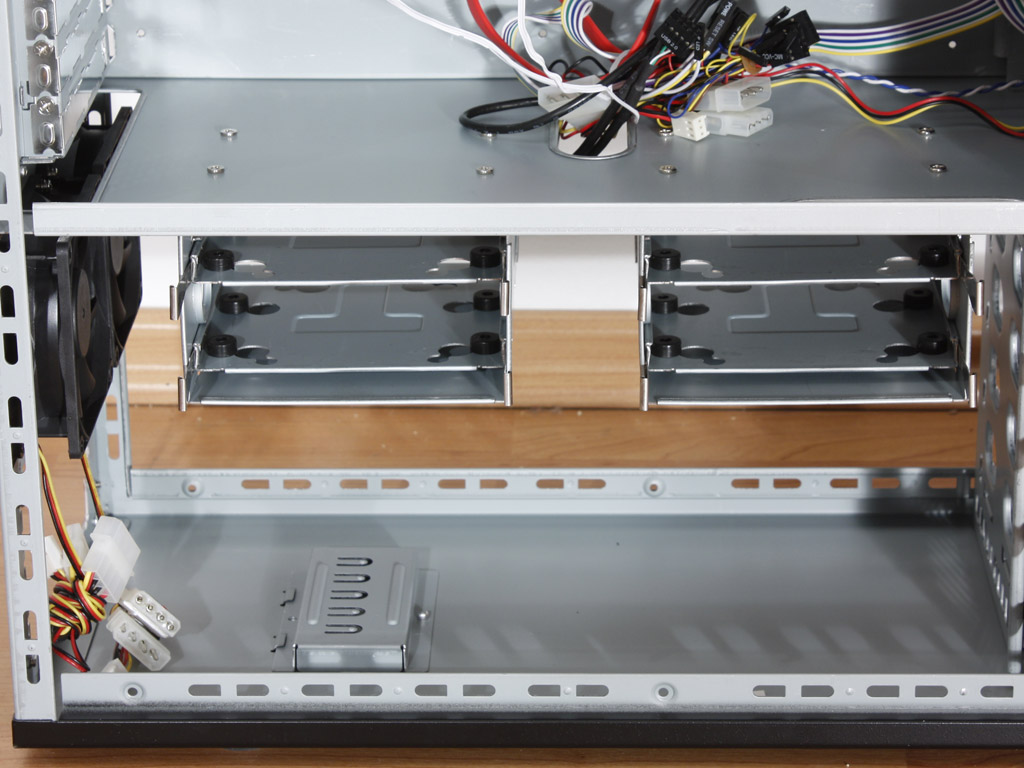
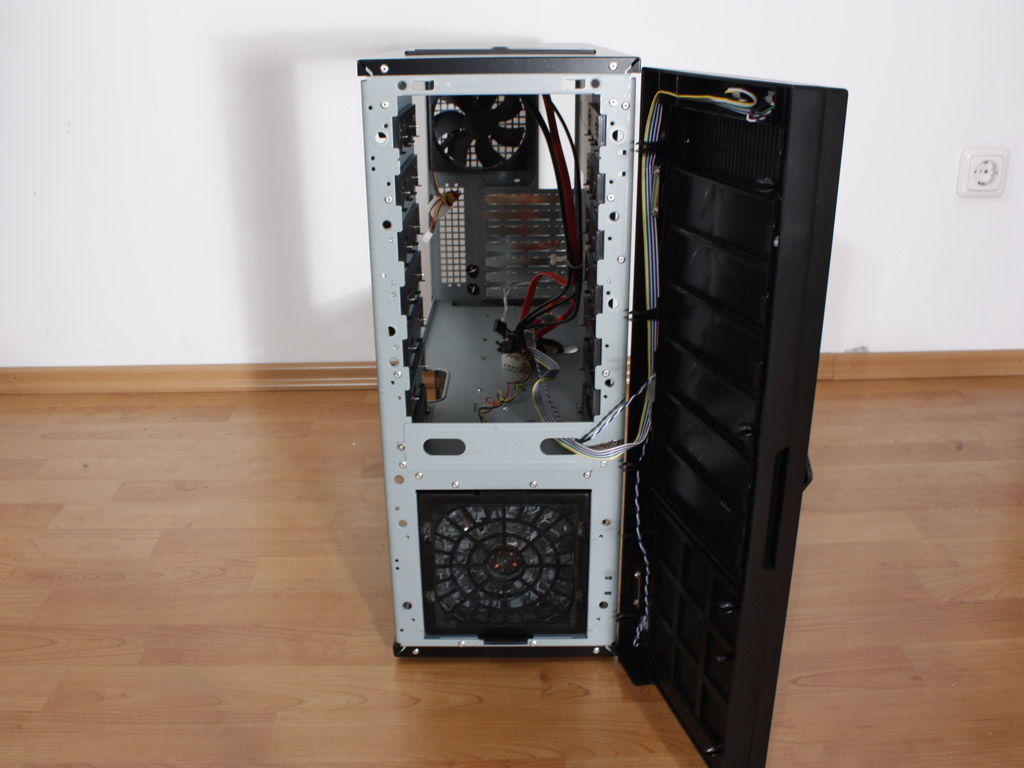
The inside space is divided into two sections. The top compartment looks much like a midtower case and holds the mainboard and external drive bays. The bottom compartment is filled by hard drive bays and the PSU bay.

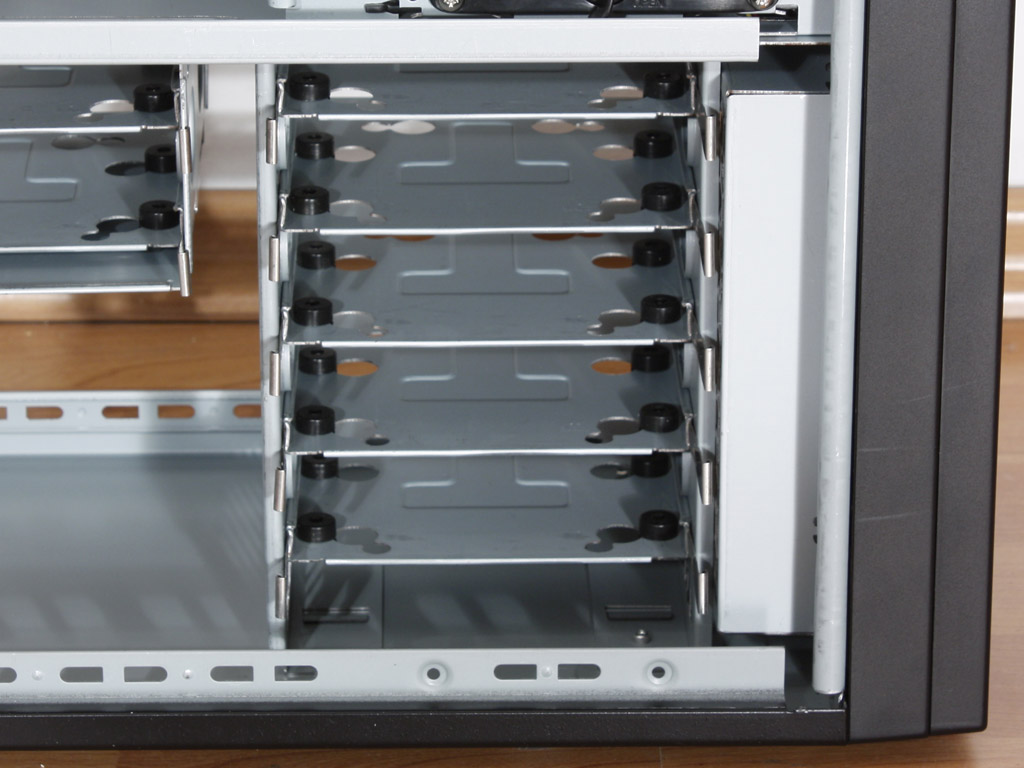
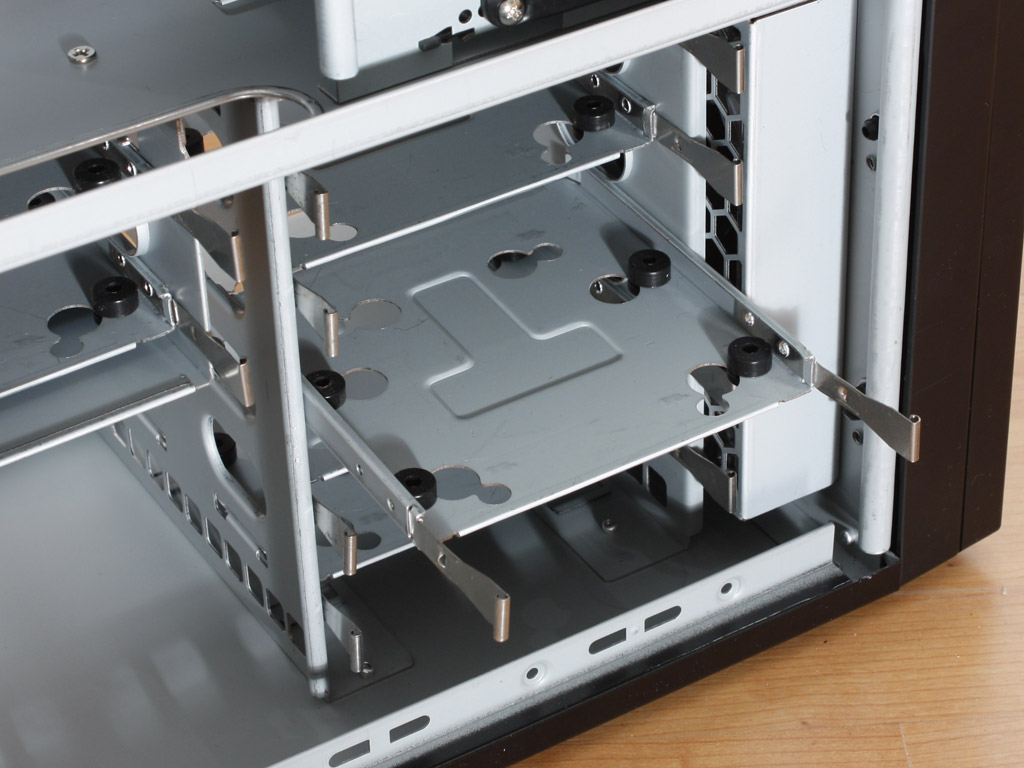
The external drive bay is a simple construction and holds the same plastic locks as found in the Guardian 921. These do hold drives in place, but not perfectly. While you will probably never lug this case around, a single screw to hold the drives in place is always a good idea. The Whisper can hold a total of nine hard drives, which is quite a bit by any standards. The front of the chassis also holds a blue LED intake fan, which actively cools the drives in front. Simple metal trays have been included to ease installation of the storage units. The biggest weak point of them are the two metal clips, which hold the tray in place within the Whisper case. They bend easily and thus cease to function properly.

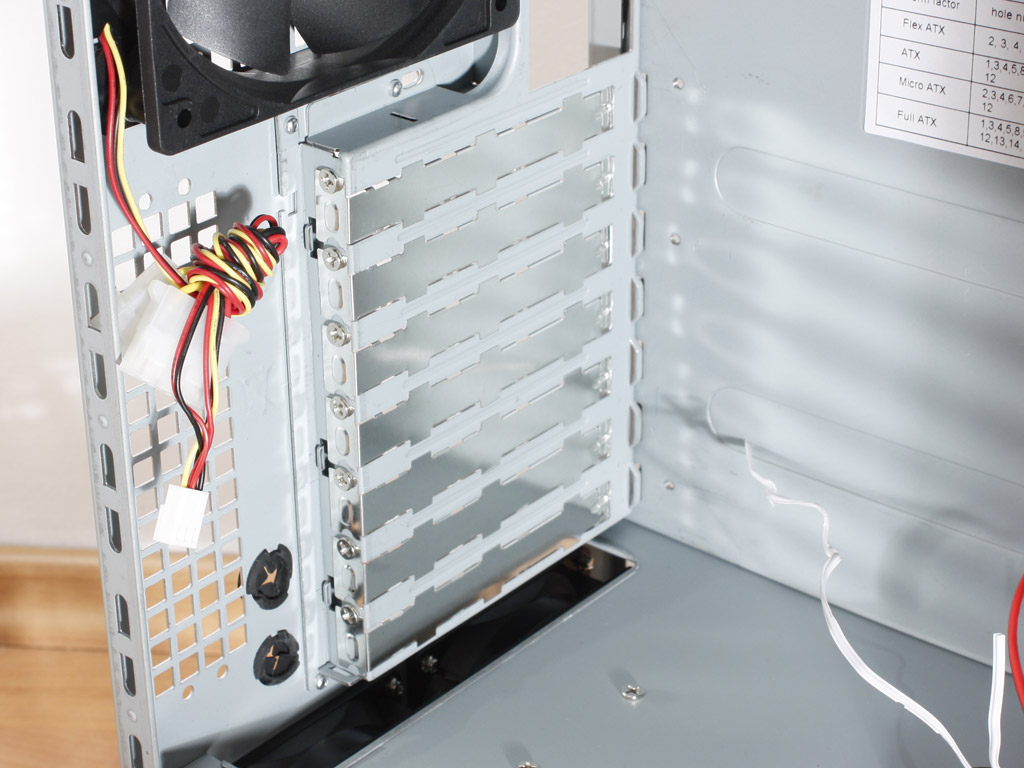
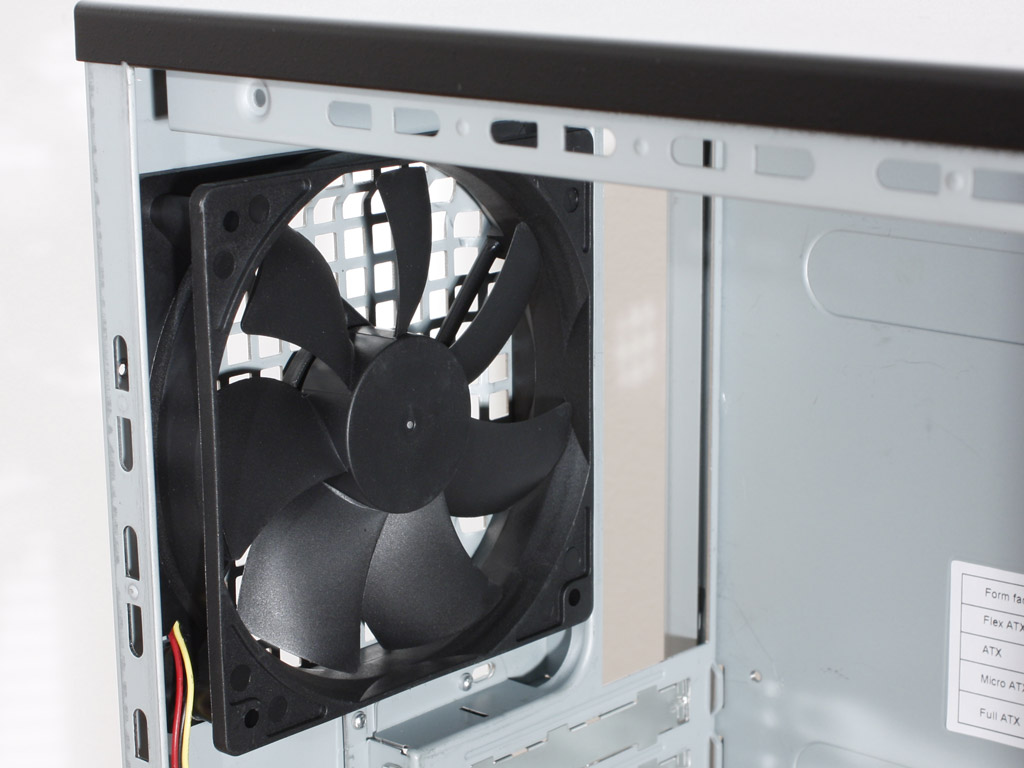
The rear holds two small exaust fans, which are intended to cool the hard drives in the rear. Having such an air tunnel should create a nice air flow from the front to the rear of the case in this section. Moving up into the mainboard area, there are the two small holes for water cooling tubes. I was surprised to see such small openings. You won't be able to fit thick tubing through these. Above the seven mainboard expansion slots is a 120 mm exaust fan. This makes for a total of four fans within this chassis.
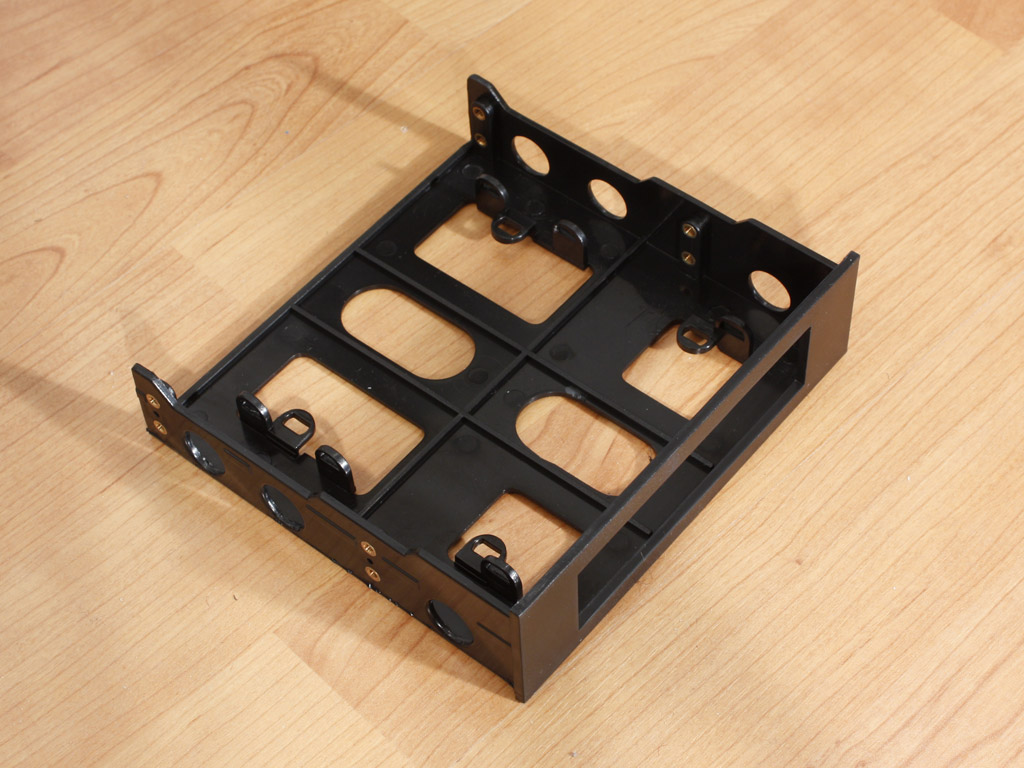
The front may be removed to gain access to the front dust filter and fan. The filter is easily removable and can be cleaned out - a nice touch. The 3.5 inch adapter is made completely of plastic but feels quite sturdy.
Jan 31st, 2025 17:56 EST
change timezone
Latest GPU Drivers
New Forum Posts
- In regards to the 5090 "launch" a message to Nvidia, from a long time supporter (43)
- Motherboard GIGABYTE X870E AORUS ELITE WIFI7 not posting, stuck on code 00 with DRAM red LED turned on (16)
- Modem/Router suggestions (4)
- RAM for i9 14900k (1)
- Advice for DDR5 CU-DIMM 2 x 24gb 8400mhz (17)
- I need bios for XFX SWFT 319 RX 6800XT (3)
- Is there a way to improve graphics in an old DX9.0c game? (17)
- [INTEL]-How To Update Your Microcode for Intel HX 13/14th Gen. CPUs Laptops/Mobile Easily. (156)
- the voltage doesn't seem to change (14)
- MSI Vector 17 HX A14VIG "EDP OTHER" (9)
Popular Reviews
- NVIDIA GeForce RTX 5080 Founders Edition Review
- NVIDIA DLSS 4 Transformer Review - Better Image Quality for Everyone
- ASUS GeForce RTX 5090 Astral OC Review - Astronomical Premium
- Galax GeForce RTX 5080 1-Click OC Review
- NVIDIA GeForce RTX 5090 Founders Edition Review - The New Flagship
- MSI GeForce RTX 5090 Suprim SOC Review
- MSI GeForce RTX 5080 Vanguard SOC Review
- ASUS GeForce RTX 5080 Astral OC Review
- Gigabyte GeForce RTX 5080 Gaming OC Review
- MSI GeForce RTX 5080 Suprim SOC Review
Controversial News Posts
- NVIDIA 2025 International CES Keynote: Liveblog (470)
- AMD Debuts Radeon RX 9070 XT and RX 9070 Powered by RDNA 4, and FSR 4 (349)
- AMD is Taking Time with Radeon RX 9000 to Optimize Software and FSR 4 (251)
- AMD Denies Radeon RX 9070 XT $899 USD Starting Price Point Rumors (238)
- AMD Radeon RX 9070 XT & RX 9070 Custom Models In Stock at European Stores (226)
- NVIDIA GeForce RTX 5090 Features 575 W TDP, RTX 5080 Carries 360 W TDP (217)
- New Leak Reveals NVIDIA RTX 5080 Is Slower Than RTX 4090 (214)
- AMD's Radeon RX 9070 Launch Faces Pricing Hurdles (175)