 8
8
NZXT Whisper Review
Value & Conclusion »Assembly
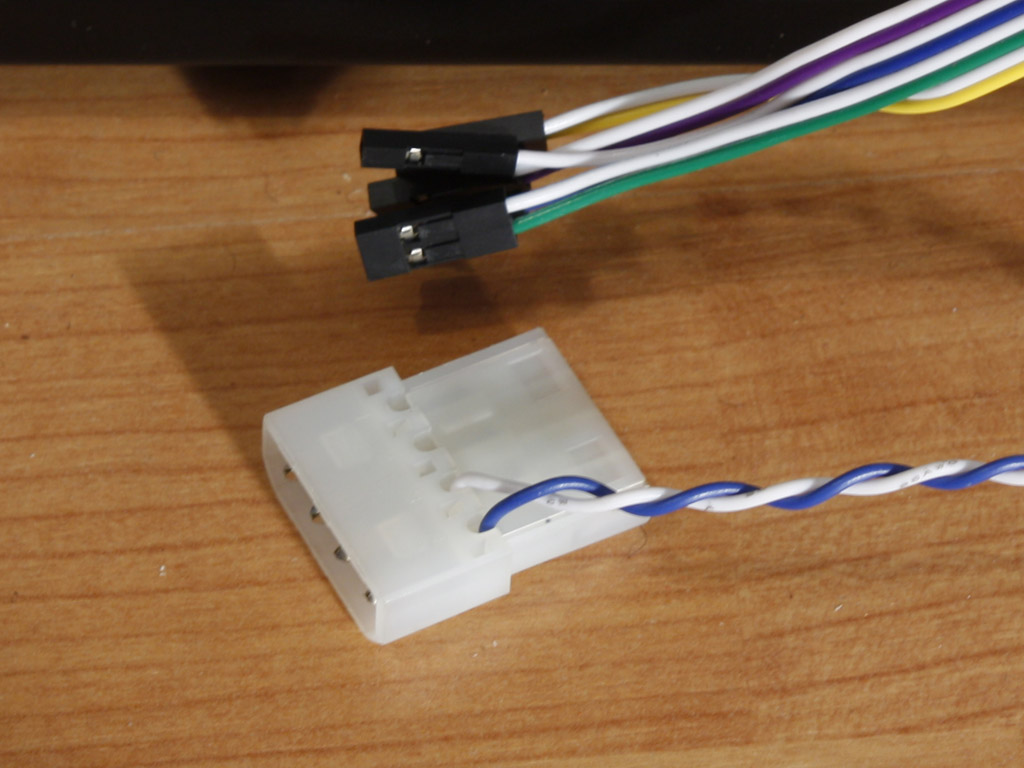
Before we dive into the assembly, let us take a look at the connectivity within the case. You will find the usual plugs for the reset & power buttons as well as the hard drive activity LED, but the Power LED is connected via a Molex plug. Seems like the lighting aspect may draw too much power. The top I/O is connected to the mainboard with the usual plugs and you will find AC'97 and HD Audio variants as part of the package.
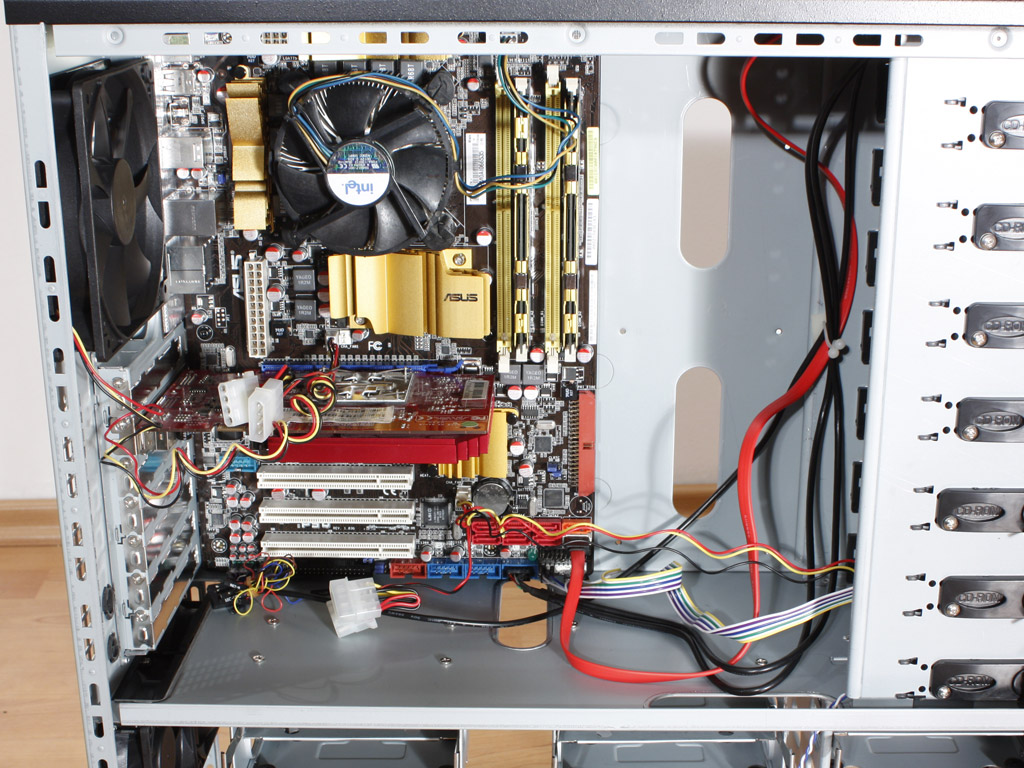
Installing the mainboard is done the old fashion way with the use of mainboard spacers and screws. As you can see, even though the Whisper is quite long, the compartment for the mainboard is quite compact. There is basically no free space above and below the mainboard. Large CPU coolers will block access to the P4 power plug. The same goes for SLI or CrossFire systems with dual slot GPUs. They will pretty much make the USB/Firewire/Audio headers on the bottom of the board inaccessible. The interior layout of the case is not made for the gamer, but more for Workstations/Servers, which are built once and then rarely upgraded over time.
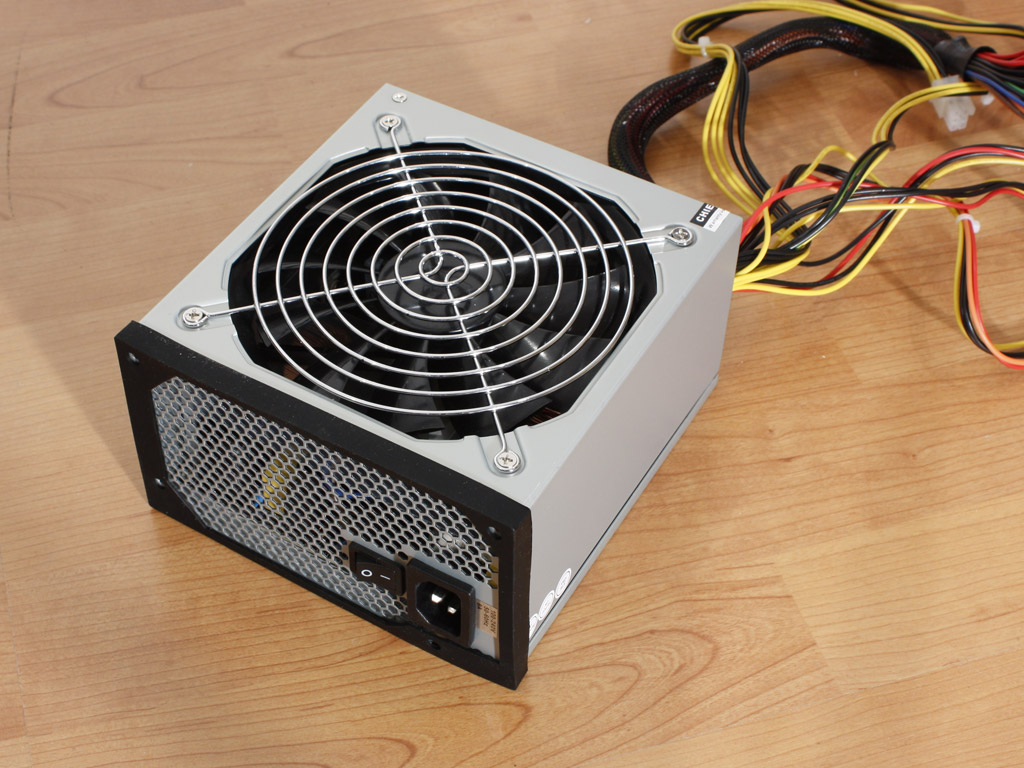
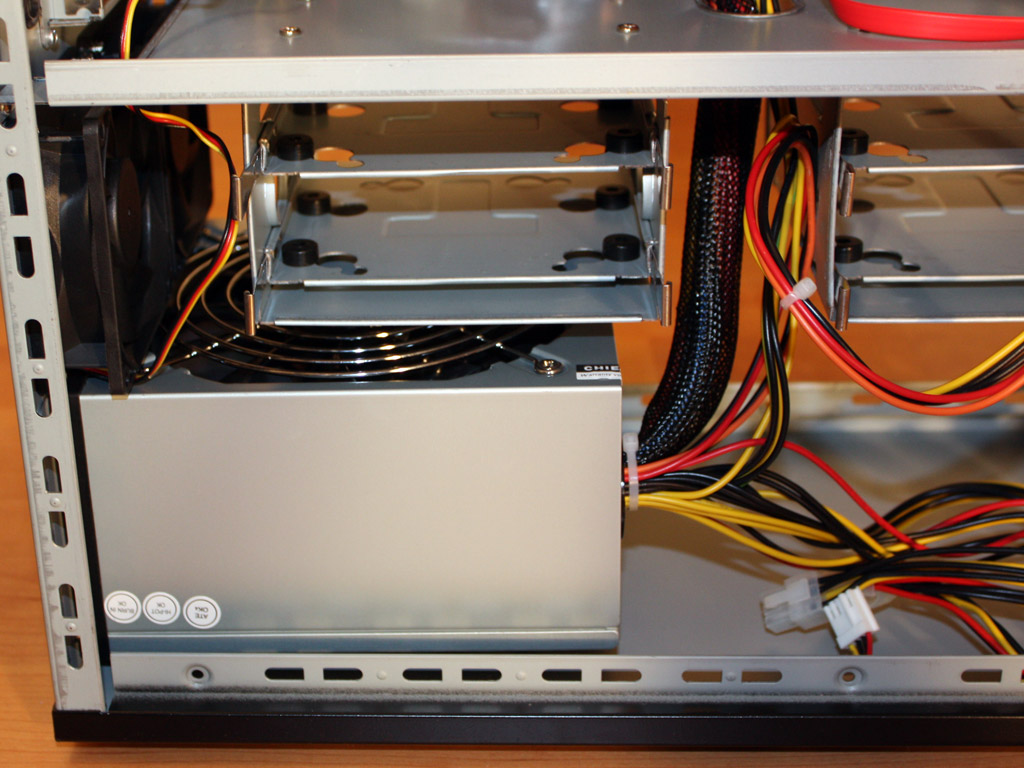
Before installing the power supply, simply apply the rubber spacer and then secure the unit with the supplied screws. Even though I used a Chieftec PSU, the cables were too short to reach vital parts of the mainboard. Manufacturers of such cases usually include extension cords for the P4 power connector at least, if not for the ATX one as well. NZXT leaves you to fend for yourself with the Whisper. There is no real cable hiding possible within the chassis, but the bottom compartment is a good spot to keep all the excess PSU cables in one place.
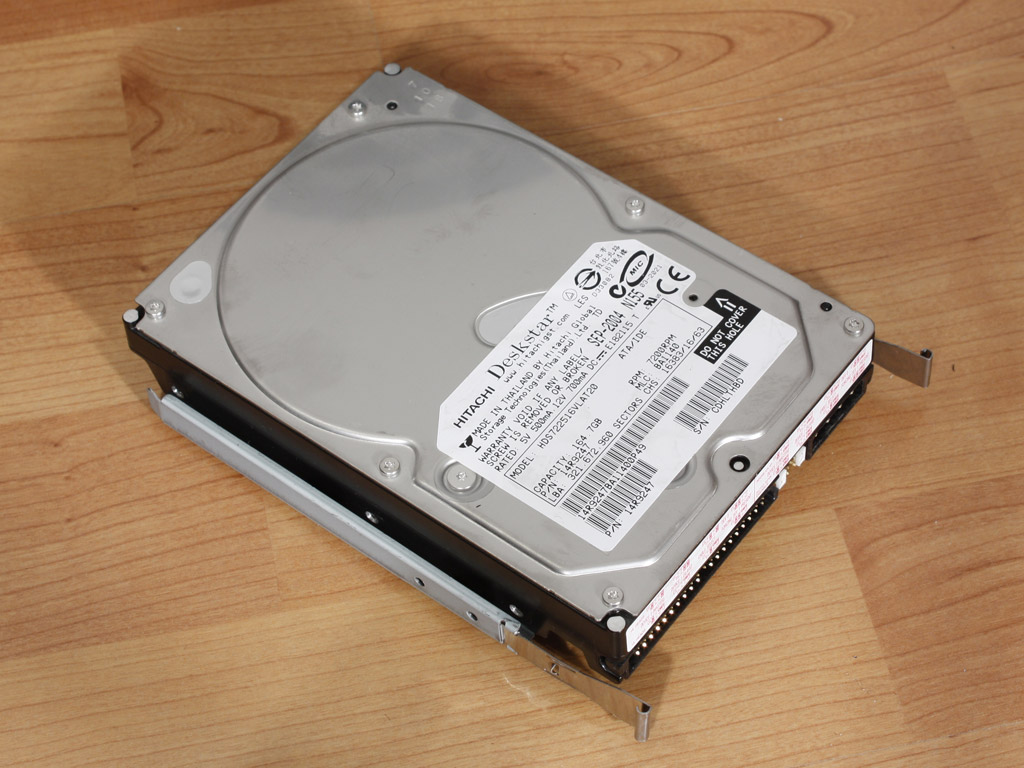
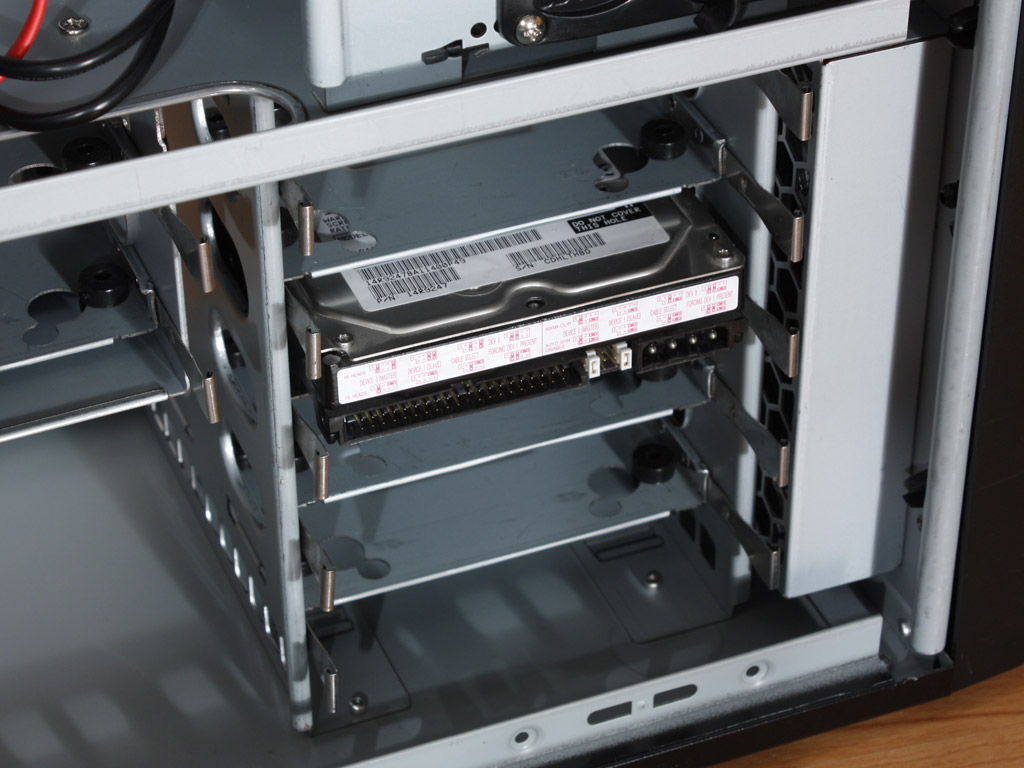
Installing the hard drive still requires the use of four screws. There are rubber rings on the hard drive trays, which actually work quite well. Sliding the hard drive into place is easily done. As you can see, the connector of the drive faces toward the user, when sliding it in. This makes hiding these cables a challenge as well.
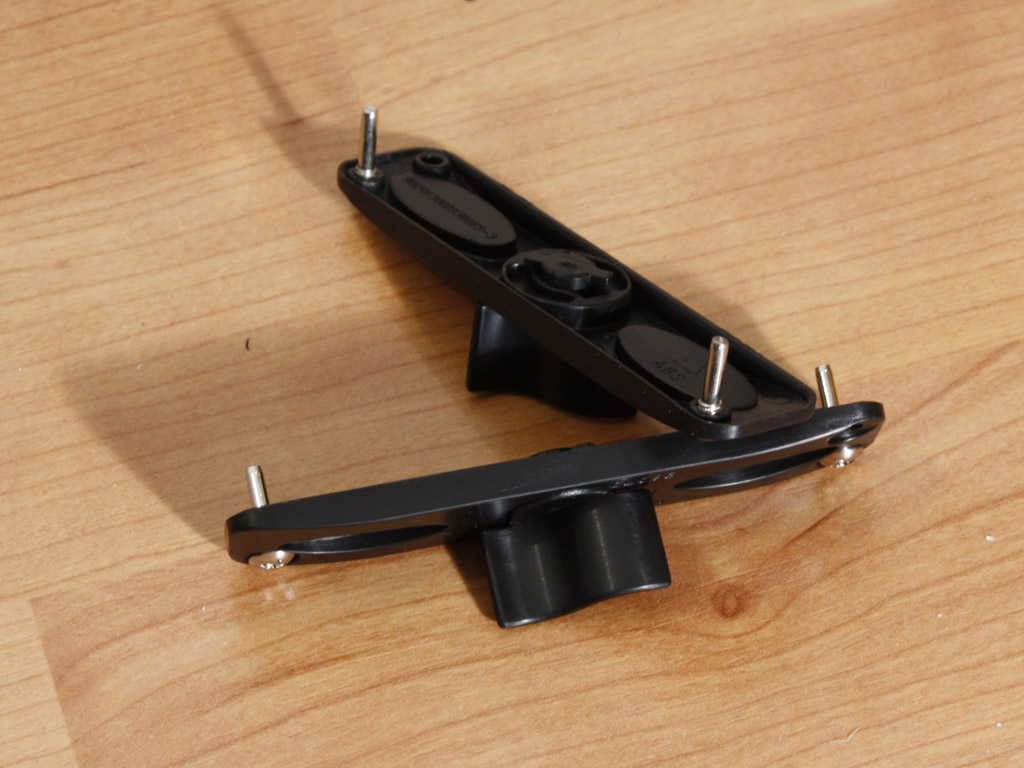
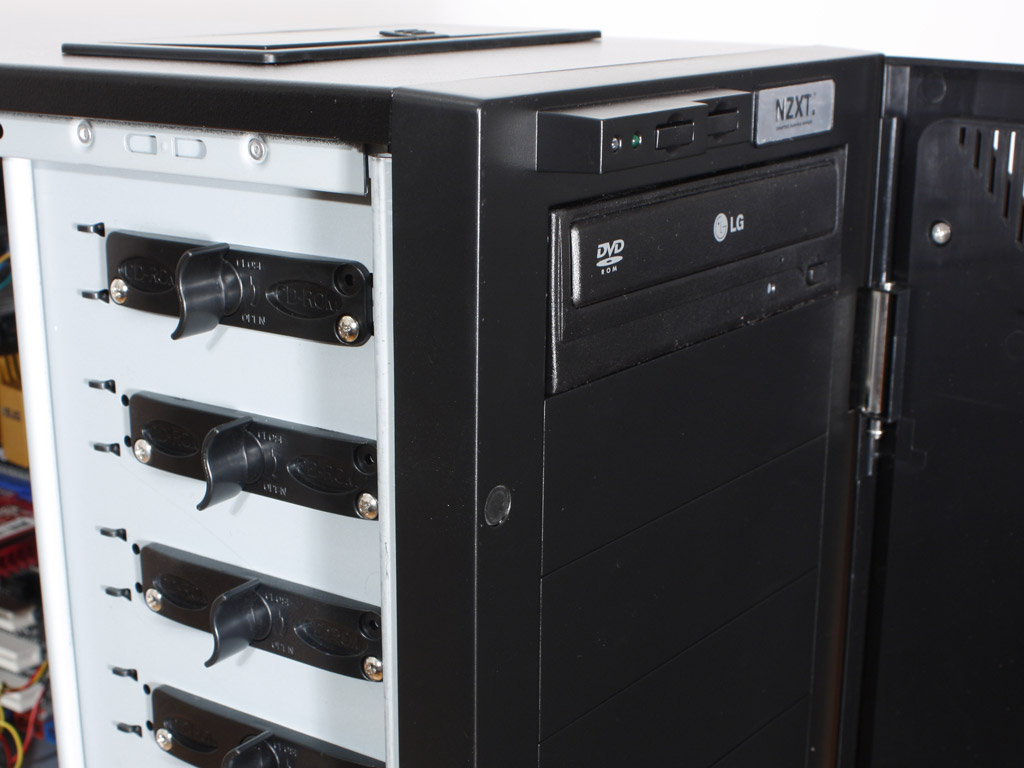
The locks are made of plastic, but do hold the drive in place. You may want to use a single screw to make sure it does not move around when the eject button is pressed. The point of a screw-less system is the fact that you do not need to use screws (thus the name), so a single screw in this case is still better than four of them.
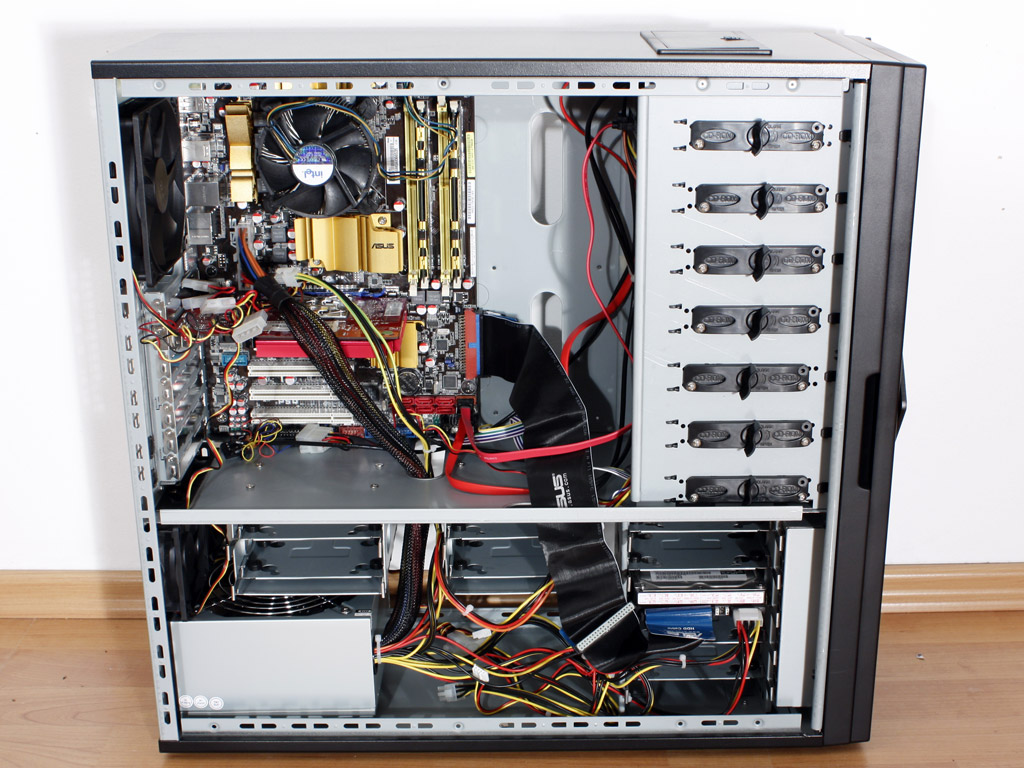
After everything is installed, the case still has quite a bit of room, thanks to the length of the chassis. As you can see, I was not able to connect the P4 power connector to the mainboard, as the cable simply did not reach.
Finished Looks

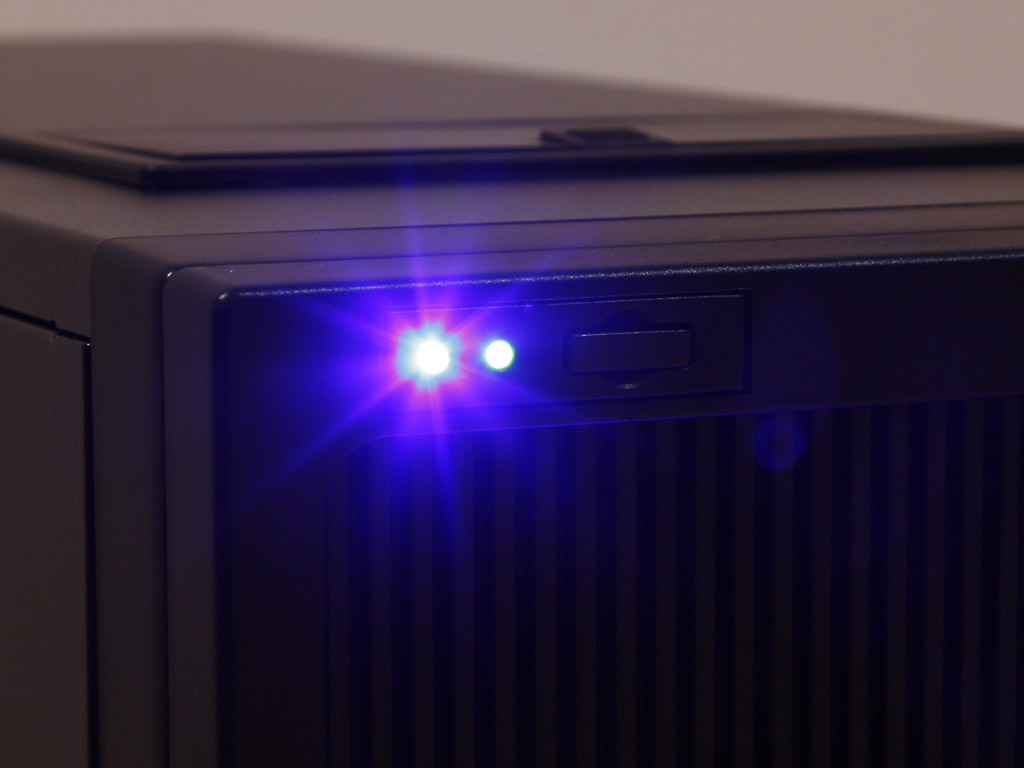
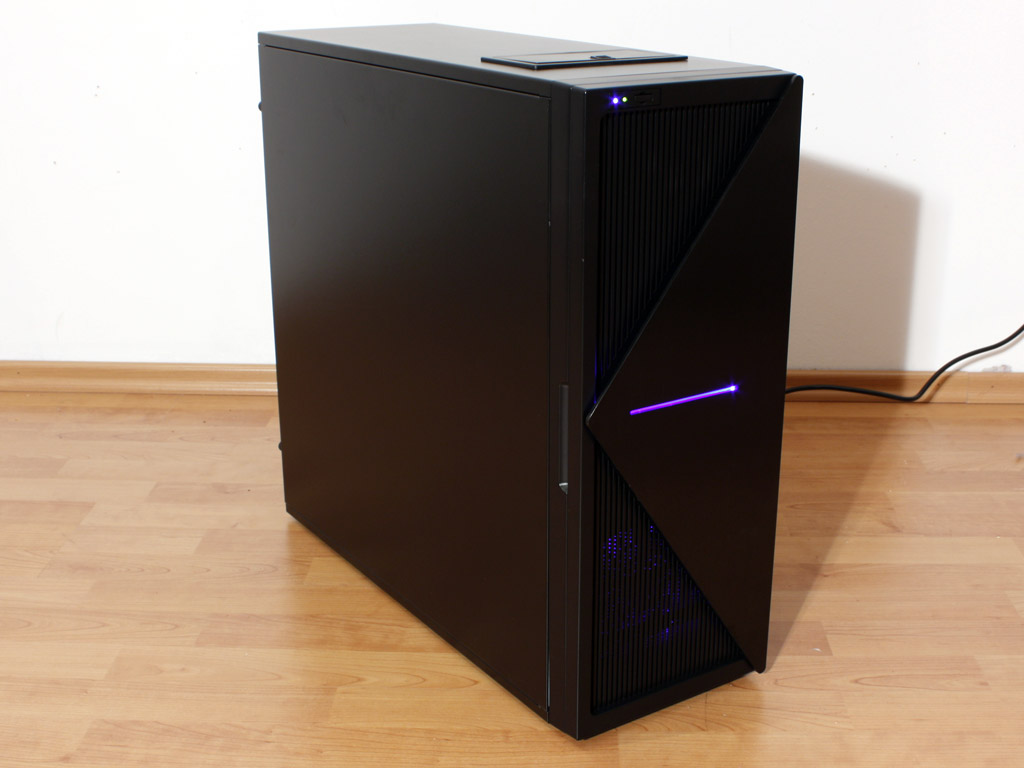
Powering up the case looks really nice. I like the clean straight looks and the heavy duty aluminum plate on the door. The lighting aspects are kept in blue with the glow of the front intake fan and the power LED.
The additional power LED/lighting aspect can be found in the middle of the aluminum plate and certainly is a nice touch.
Noise Level
While we usually do not go into great detail about noise level - mostly mentioning our findings in a single sentence - I do want to go into further detail with the NZXT Whisper. This chassis is sold with the promise of silent computing. The use of sound dampening materials further underlines this theme. NZXT has chosen to take a server chassis and "pimp" it a bit, so that it becomes appealing to the gamer or PC enthusiast.I expected the Whisper to be quiet, whisper quiet in fact. We have reviewed cases with sound dampening materials before, but NZXT seems to miss the point here. On one hand you have the extra cost and weight of the material to keep sounds enclosed, but then you get fans which are quite loud to say the least. What is the point of dampening the noise and then installing loud fans inside the case? Needless to say, the case is still noisy, in my eyes failing its purpose and promise.
Sure, additional components with the case, like the CPU cooler or GPU fan will be dampened by the applied foam material, but the case fan noise will overpower these components anyways, making the dampening materials useless. It would have been a better choice - and quite possibly even cheaper in the end - to focus more on supplying quiet fans instead. The only remedy in this scenario is to go out and buy aftermarket, low-noise case fans, which translates into an even higher cost, for an already fairly expensive enclosure.
Jul 19th, 2025 00:45 CDT
change timezone
Latest GPU Drivers
New Forum Posts
- VMware Workstation is now free for personal use (17)
- What's your latest tech purchase? (24312)
- 9060 XT 8GB or 5060 8GB? (35)
- question for everyone about google play games beta (1)
- Gacha Games - Discussions, Pulls, Updates, etc. (0)
- Idle issue since 5060 ti installed (28)
- Windows 11 General Discussion (6151)
- Have you got pie today? (16795)
- Anime Nation (13054)
- Stalker 2 is looking great. (214)
Popular Reviews
- MSI GeForce RTX 5060 Gaming OC Review
- Razer Blade 16 (2025) Review - Thin, Light, Punchy, and Efficient
- Thermal Grizzly WireView Pro Review
- Pulsar X2 Crazylight Review
- SilverStone SETA H2 Review
- AVerMedia Live Gamer Ultra S (GC553Pro) Review
- Upcoming Hardware Launches 2025 (Updated May 2025)
- Sapphire Radeon RX 9060 XT Pulse OC 16 GB Review - An Excellent Choice
- NVIDIA GeForce RTX 5050 8 GB Review
- Our Visit to the Hunter Super Computer
TPU on YouTube
Controversial News Posts
- Intel's Core Ultra 7 265K and 265KF CPUs Dip Below $250 (288)
- Some Intel Nova Lake CPUs Rumored to Challenge AMD's 3D V-Cache in Desktop Gaming (140)
- AMD Radeon RX 9070 XT Gains 9% Performance at 1440p with Latest Driver, Beats RTX 5070 Ti (131)
- NVIDIA Launches GeForce RTX 5050 for Desktops and Laptops, Starts at $249 (124)
- NVIDIA GeForce RTX 5080 SUPER Could Feature 24 GB Memory, Increased Power Limits (115)
- Microsoft Partners with AMD for Next-gen Xbox Hardware (105)
- NVIDIA DLSS Transformer Cuts VRAM Usage by 20% (99)
- AMD Sampling Next-Gen Ryzen Desktop "Medusa Ridge," Sees Incremental IPC Upgrade, New cIOD (97)