 41
41
Phanteks Enthoo Pro II Review - Two Systems, Affordable
Temperature & Noise Testing »Test System
| System Parts for Case Reviews | |
|---|---|
| Processor: | Intel Core i5-9600K |
| Motherboards: | ATX: MSI Z390 GAMING EDGE AC MATX: Z370M GAMING EDGE AC Mini-ITX: MSI Z370I GAMING EDGE AC Provided by: MSI |
| Graphics Card: | ATX/mATX: Palit GeForce RTX 2080 Gaming Pro OC ITX: EVGA GTX 1650 SC Ultra Black 4 GB |
| Memory: | 16 GB XPG GAMMIX D30 DDR4 2666 MHz CL16-18-18 1.20 V 16 GB XPG SPECTRIX D60G DDR4 3000 MHz CL16-18-18 1.35 V Provided by: ADATA |
| HDD: | Western Digital 320 GB 7200 RPM |
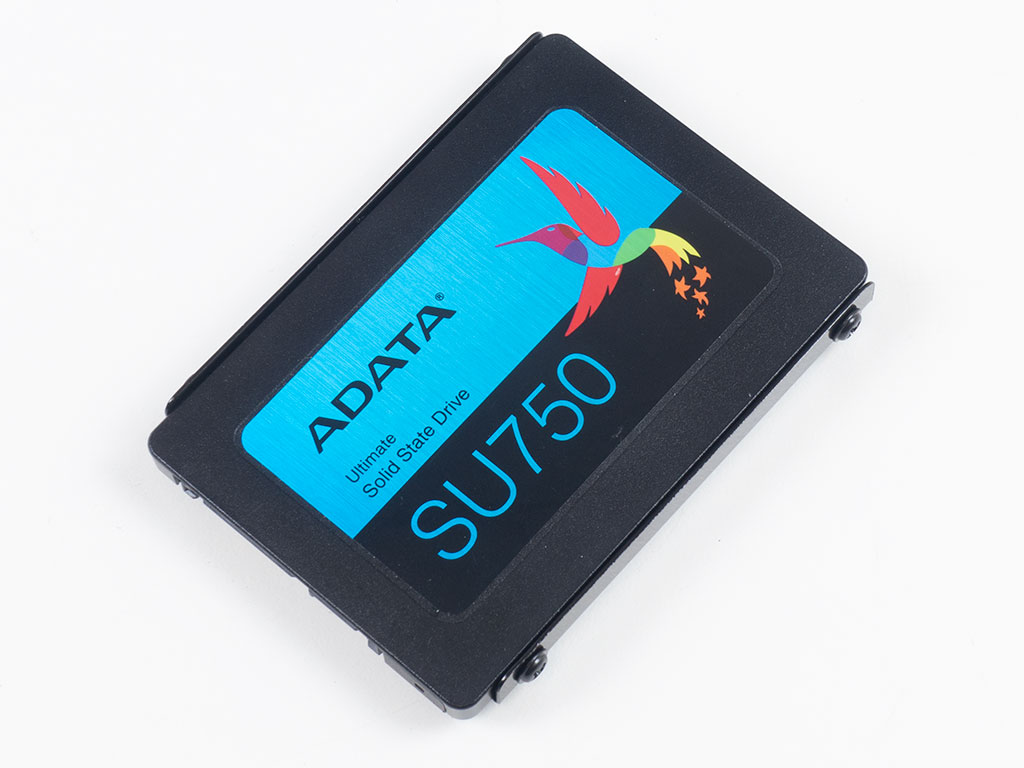
| SSD: | ITX: ADATA SX6000 Pro M.2 256 GB mATX: ADATA GAMMIX S11 Pro M.2 256 GB ATX: ADATA SPECTRIX S40G M.2 256 GB ADATA XPG SX850 256 GB ADATA Ultimate SU630 240 GB ADATA Ultimate SU750 256 GB Provided by: ADATA |
| Power Supply: | Fractal Design ION+ 750W 80 Plus Platinum Provided by: Fractal Design |
| Cooling: | be quiet! Dark Rock 4 be quiet! Dark Rock Slim be quiet! Shadow Rock LP Provided by: be quiet! |
Assembly
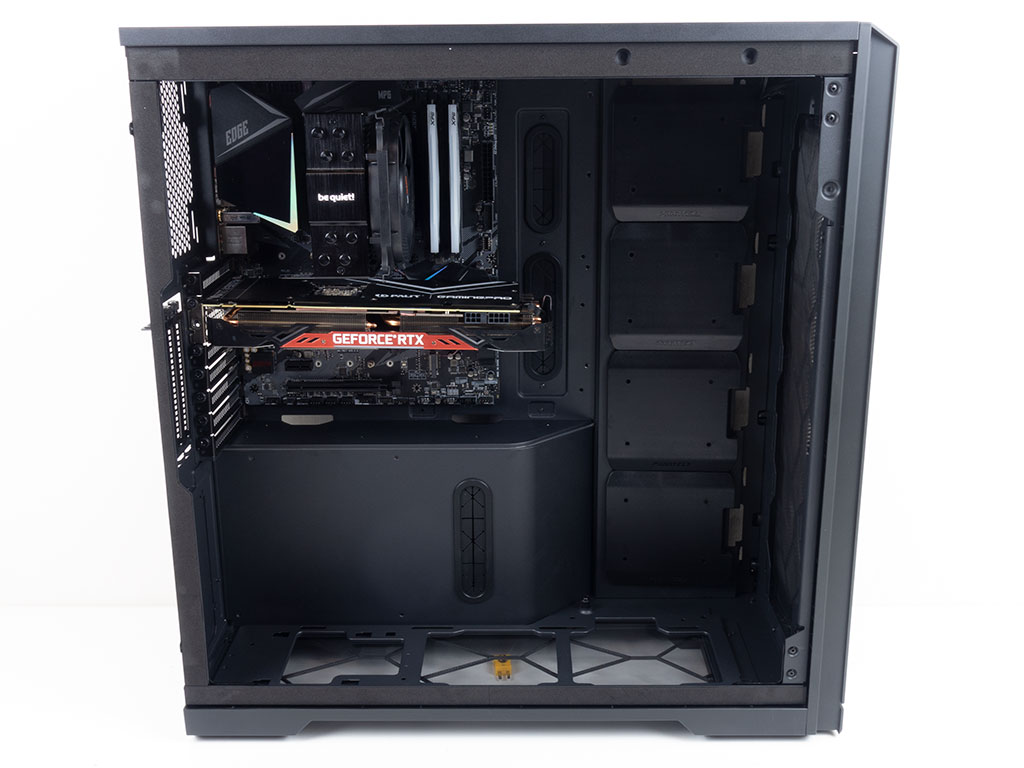
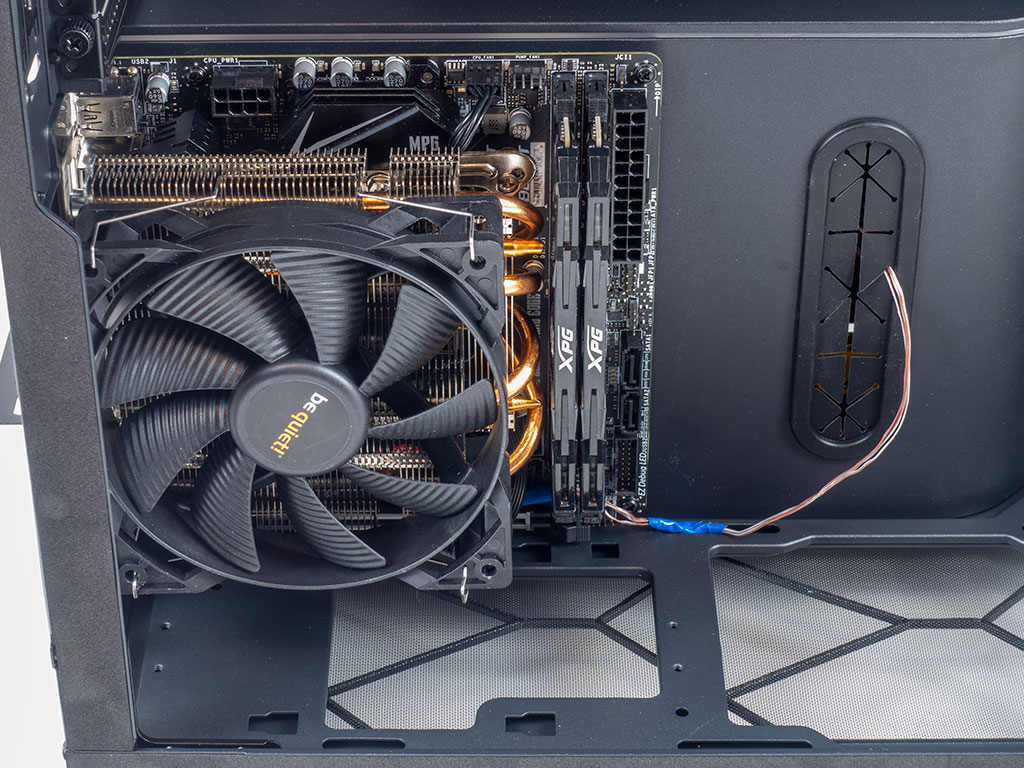
Installing the ATX board is done by simply screwing it down and adding the GPU. As you can see, there is loads of space, so even the longest graphics card out there should not interfere with any liquid cooling in the front. To add the ITX board, you first have to switch up the backplate, add the four motherboard spacers, and screw it down. As you can see, a low-profile cooler will easily fit, but it definitely restricts any possibility for GPU expansion for this system. The only thing you could possibility fit here would be a streaming card or single-slot GPU, for example.
As we have installed two systems within the Phanteks Enthoo Pro II, the filled metal 3.5" cages need to go in the front of the case. You may add up to eight such trays, and Phanteks will sell you extra ones in pairs.
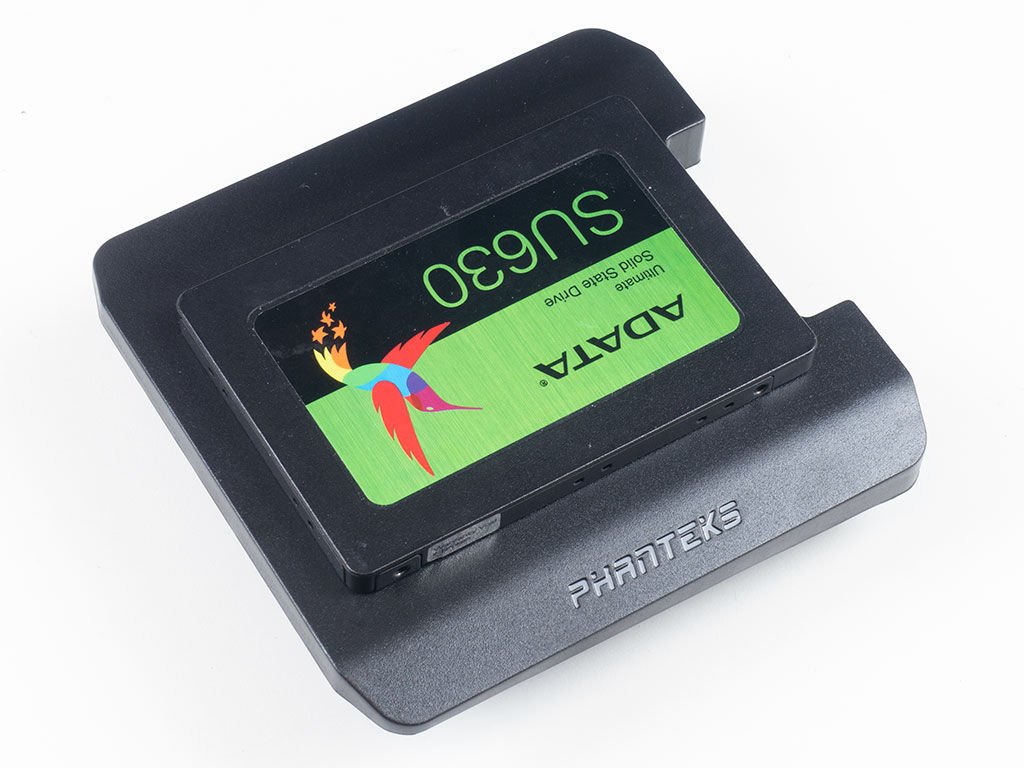
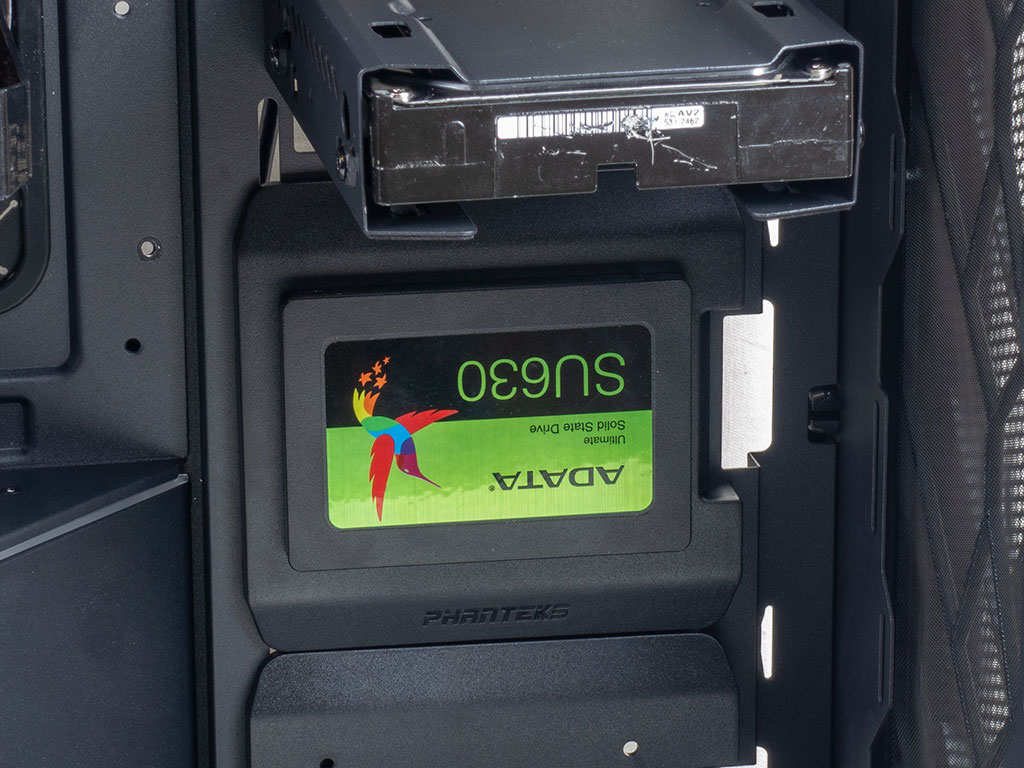
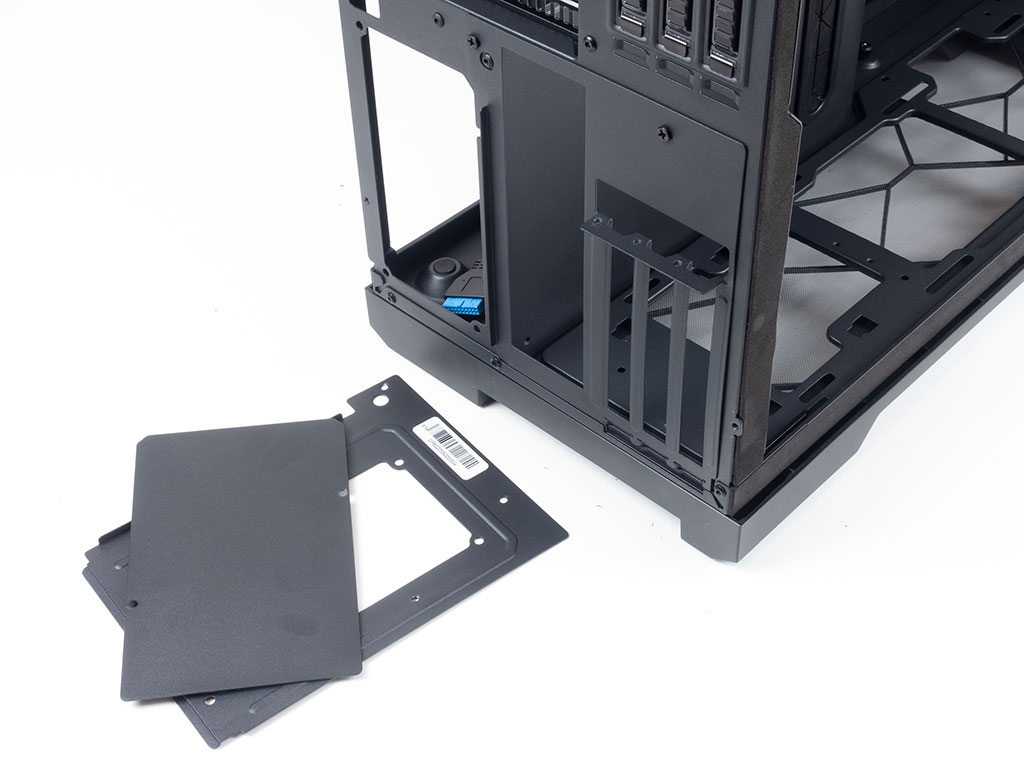
As there are three different ways to include 2.5" drives, let's dive into the more unique ones first. If you want to show off your solid-state setup, you may screw it to one of four covers before putting it back in place, which has the drive clearly visible through the glass side panel.
Alternatively, still utilizing those plastic covers, you may clip a drive into each through the other side of the chassis. This does not require any tools and means that they will also be hidden from view.
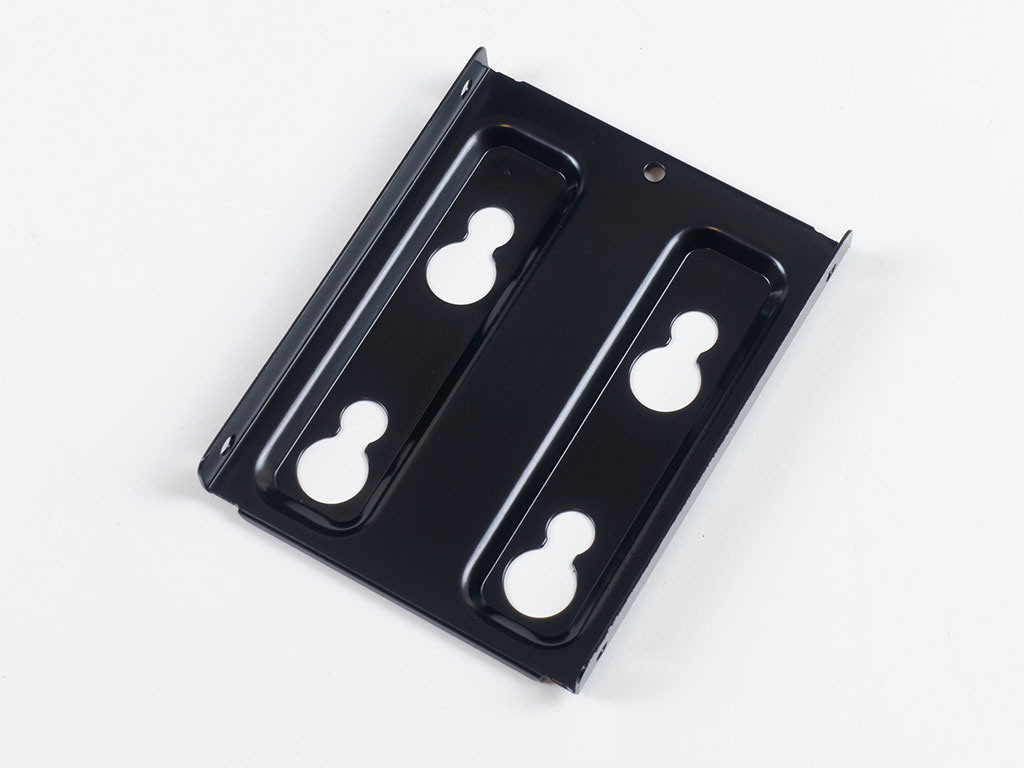
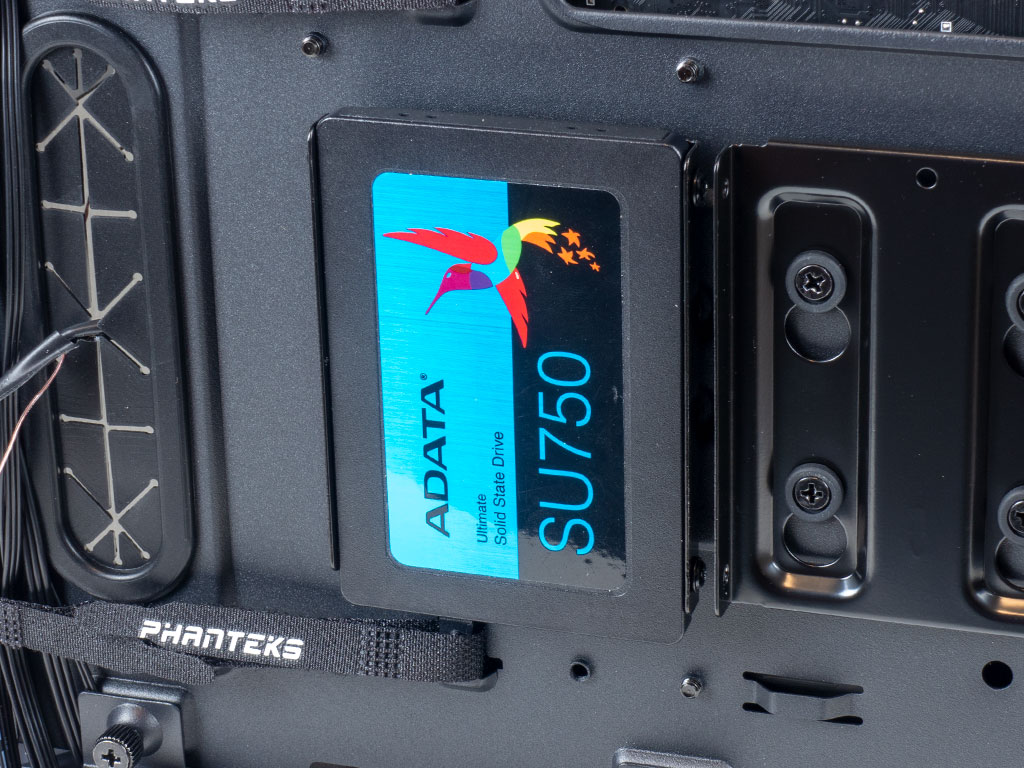
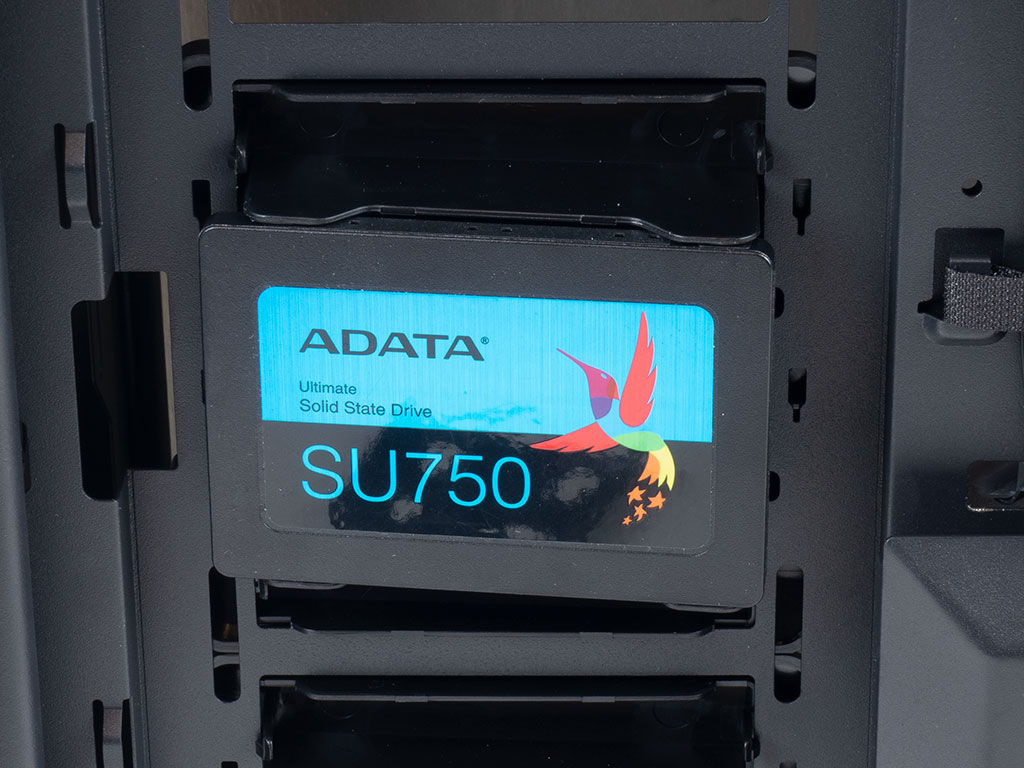
Lastly, there is the more traditional method with trays, which are also hidden. These do require you to use screws—once the metal tray is filled, simply put it back into place.
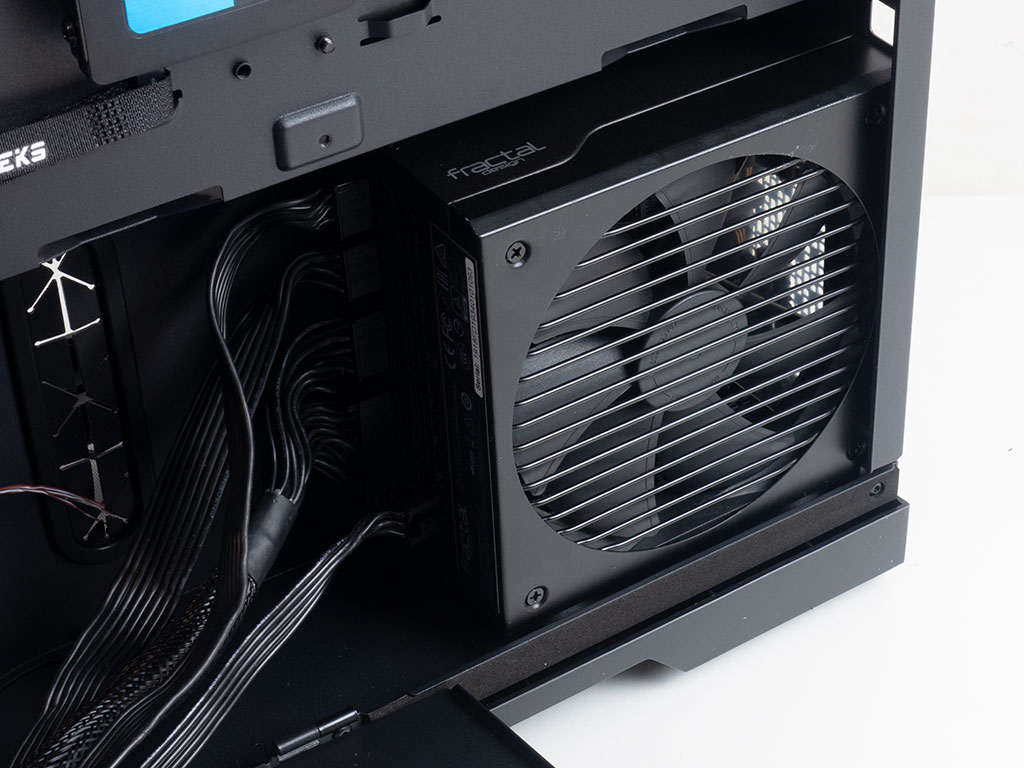
Installing a power supply is quite straightforward as well. You first flip down the cover and then screw your unit in just as you would in any other modern ATX chassis. There is plenty of room, so you can easily utilize bigger, more powerful units, which is essentially a requirement if you want to run a potent dual-system setup.

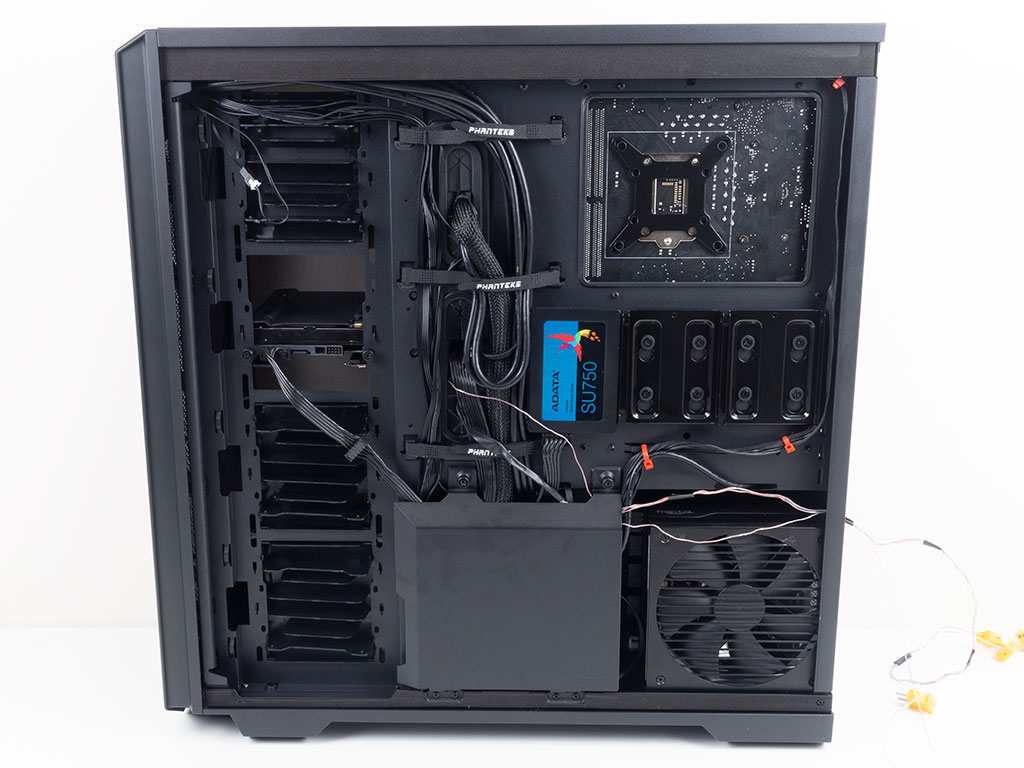
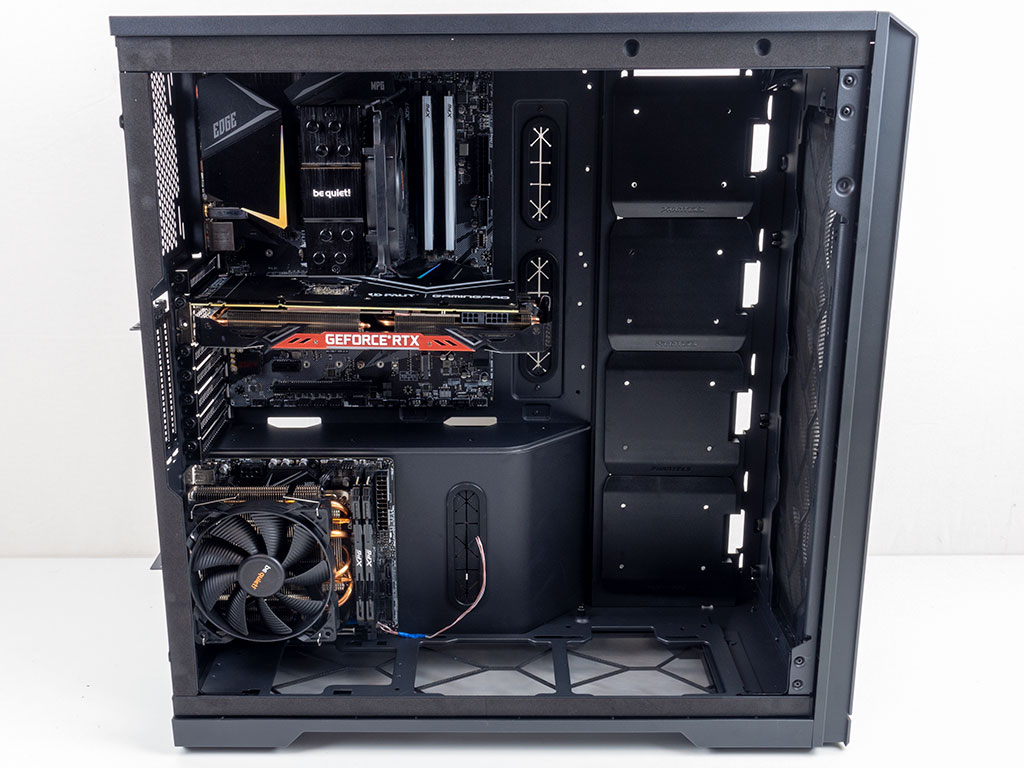
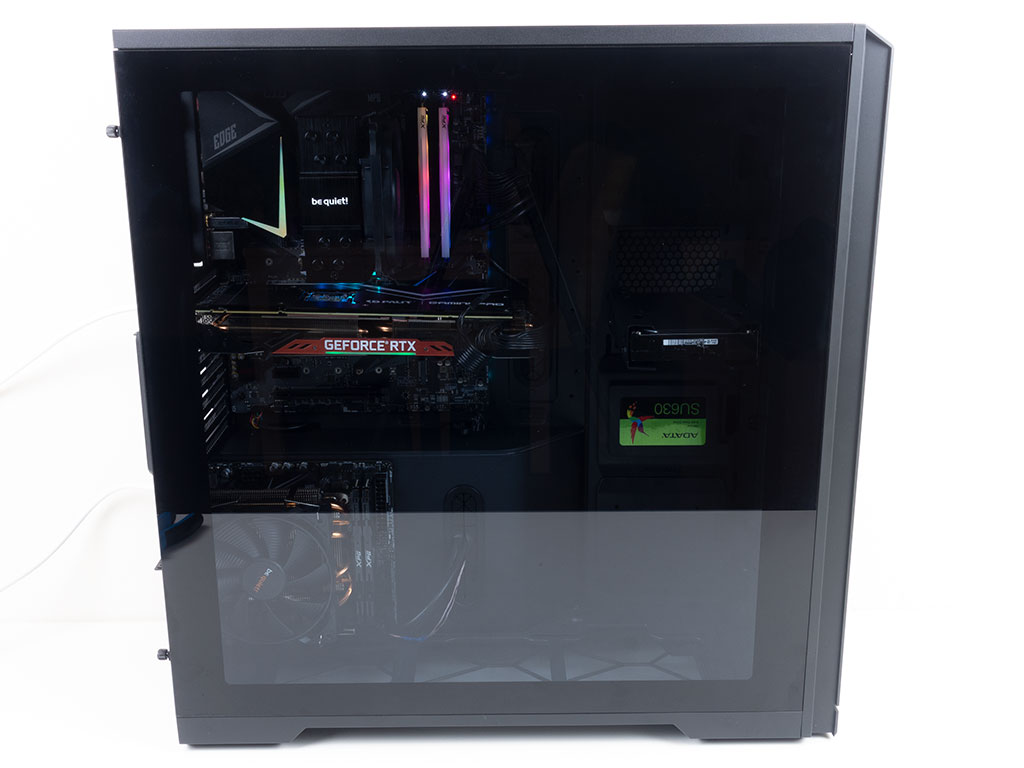
With everything installed, the Phanteks Enthoo Pro II makes a very clean impression. The grommet next to the ITX board is a little far away, but only out of necessity with a longer PSU. Behind the motherboard tray on the other side, everything is nice and clean, and I only had to use three zip ties. As you can see, we started using red ones so you can clearly see how many you may need to achieve a similar result.
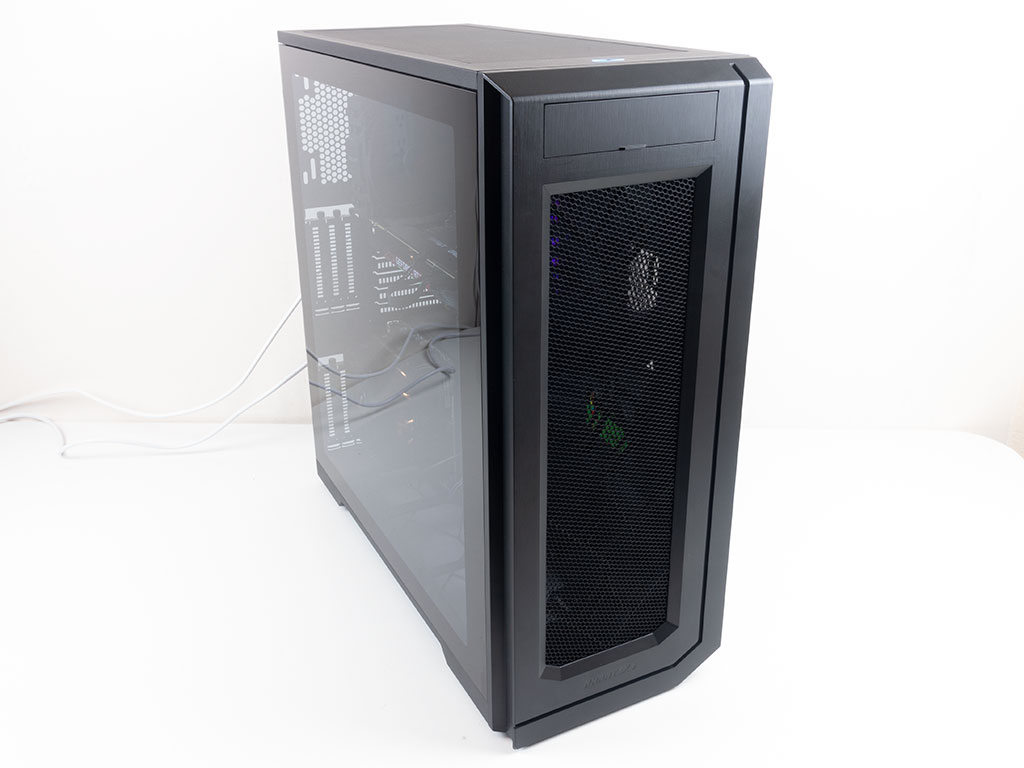
Finished Looks
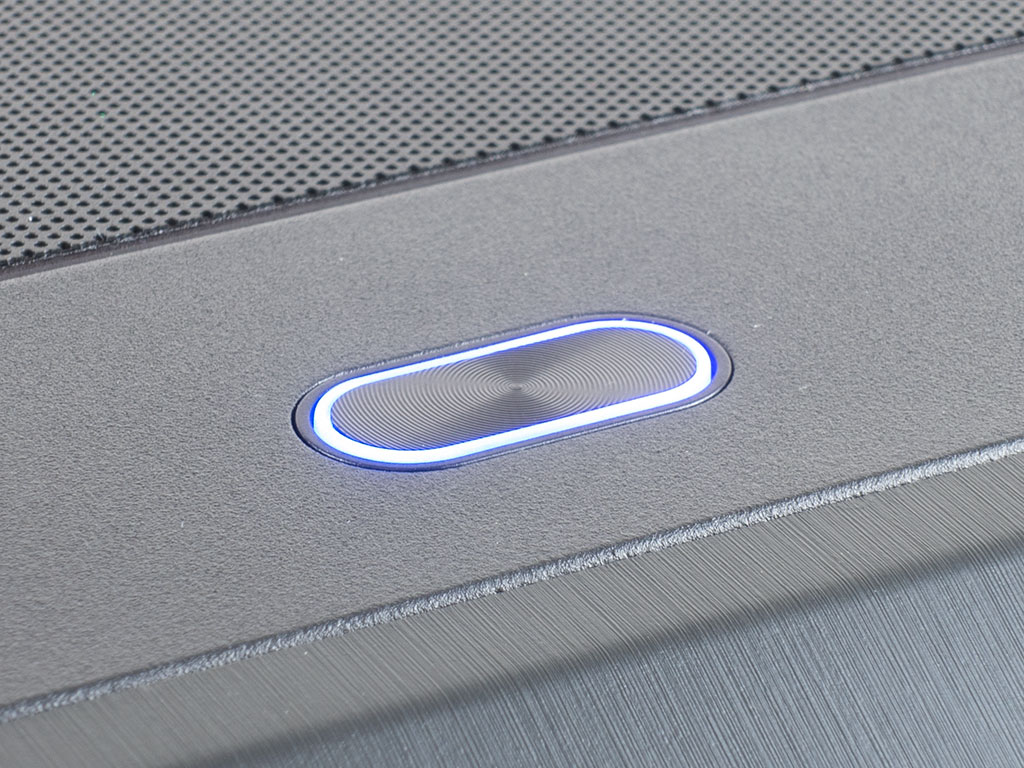
Once turned on, the chassis is obviously not generating any noise as it lacks fans. The ARGB elements in the power button and on the PSU shroud are a very nice touch to give the case some additional life and the ability to customize the color even if you don't go for LED fans.
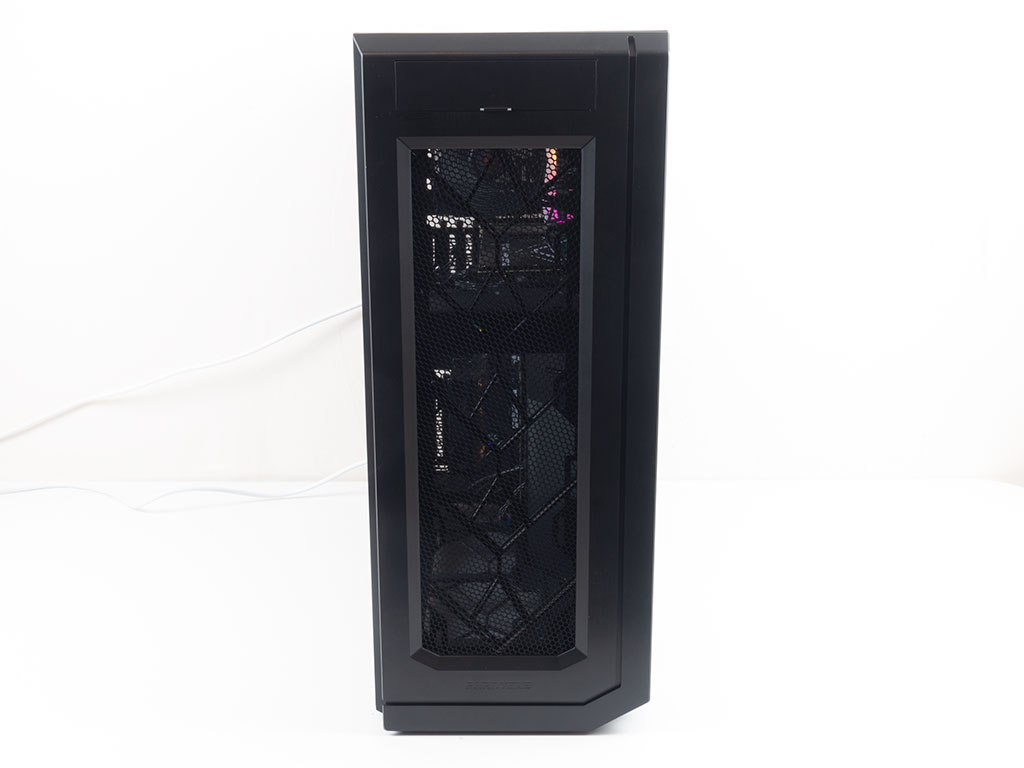
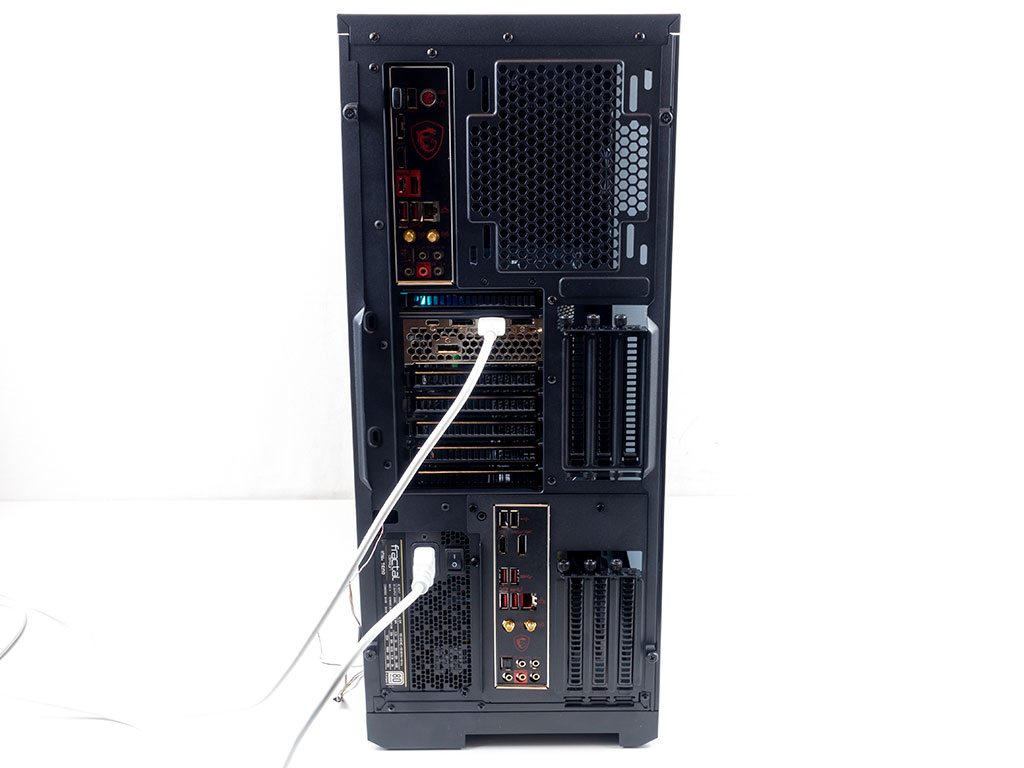
Looking at the Phanteks Enthoo Pro II from various angles, it all looks great, with all the cables readily accessible on the backside of the enclosure as well.
Mar 27th, 2025 21:26 EDT
change timezone
Latest GPU Drivers
New Forum Posts
- tape v hard disk (18)
- How to quickly & easily fix coil-whine(coil choke noise) (1138)
- Gigabyte graphic card - TIM GEL application failure? (6)
- The TPU UK Clubhouse (25981)
- TPU's Nostalgic Hardware Club (20132)
- Fun with SBCs (7)
- Future-proofing my OLED (28)
- 9070 XT - 2x HDMI high refresh displays (144 and 120 Hz) not working (68)
- Your PC ATM (35293)
- How's your old spinner holding up? (65)
Popular Reviews
- Sapphire Radeon RX 9070 XT Pulse Review
- Samsung 9100 Pro 2 TB Review - The Best Gen 5 SSD
- Assassin's Creed Shadows Performance Benchmark Review - 30 GPUs Compared
- Pulsar Feinmann F01 Review
- ASRock Phantom Gaming B860I Lightning Wi-Fi Review
- be quiet! Pure Rock Pro 3 Black Review
- Sapphire Radeon RX 9070 XT Nitro+ Review - Beating NVIDIA
- ASRock Radeon RX 9070 XT Taichi OC Review - Excellent Cooling
- ASUS ProArt X870E-Creator Wi-Fi Review
- Montech XR Wood Review
Controversial News Posts
- AMD RDNA 4 and Radeon RX 9070 Series Unveiled: $549 & $599 (260)
- MSI Doesn't Plan Radeon RX 9000 Series GPUs, Skips AMD RDNA 4 Generation Entirely (142)
- Microsoft Introduces Copilot for Gaming (123)
- AMD Radeon RX 9070 XT Reportedly Outperforms RTX 5080 Through Undervolting (118)
- NVIDIA Reportedly Prepares GeForce RTX 5060 and RTX 5060 Ti Unveil Tomorrow (115)
- Over 200,000 Sold Radeon RX 9070 and RX 9070 XT GPUs? AMD Says No Number was Given (100)
- NVIDIA GeForce RTX 5050, RTX 5060, and RTX 5060 Ti Specifications Leak (96)
- Retailers Anticipate Increased Radeon RX 9070 Series Prices, After Initial Shipments of "MSRP" Models (90)