 9
9
Phanteks Evolv Shift 2 Review
Assembly & Finished Looks »A Closer Look - Inside
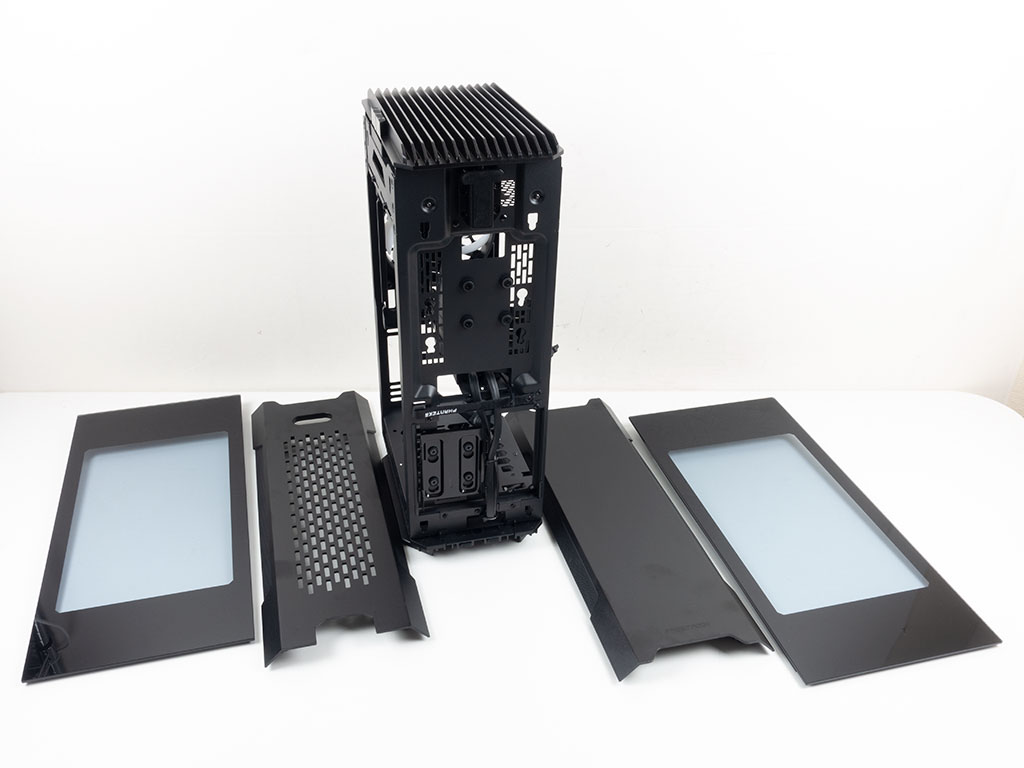
To remove the panels, detach the previously mentioned thumbscrews under the hood. This allows you to take off all four sides for easy access, which is important as ITX cases like this tend not to allow for much space to access cables and connectors when assembled.
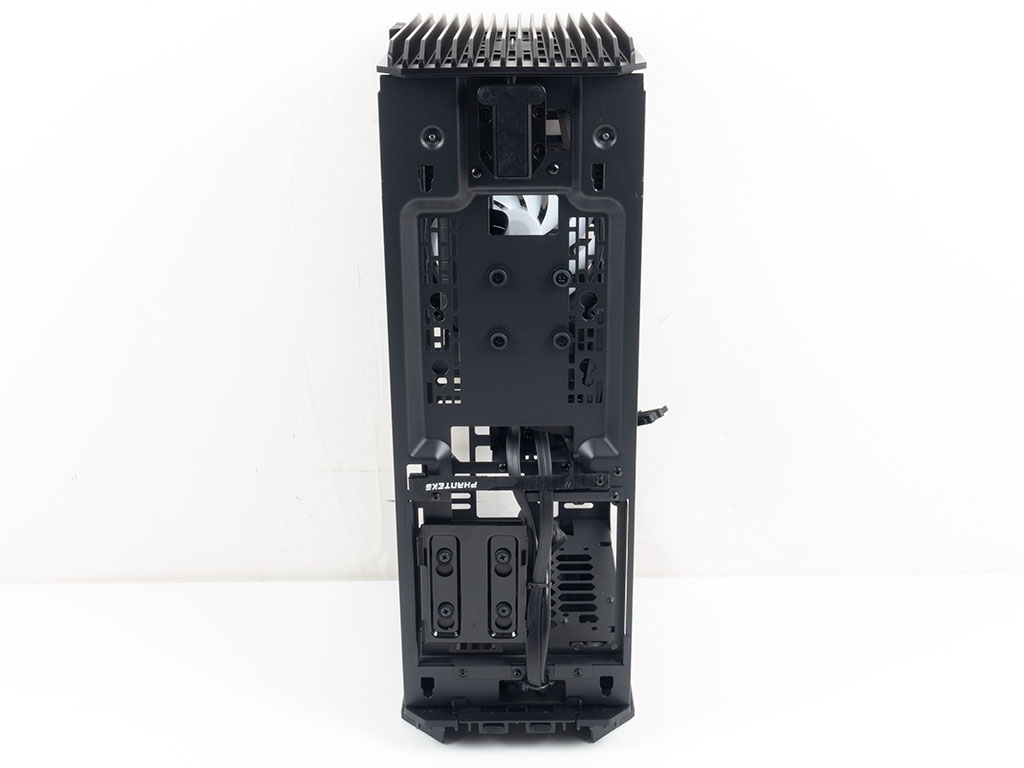
Looking at the front of the bare Phanteks Evolv Shift 2, the biggest update become apparent. Phanteks has updated the tooling noticeably, with the frame now essentially rotated. This means your storage is now in the front, while cooling is in the rear.
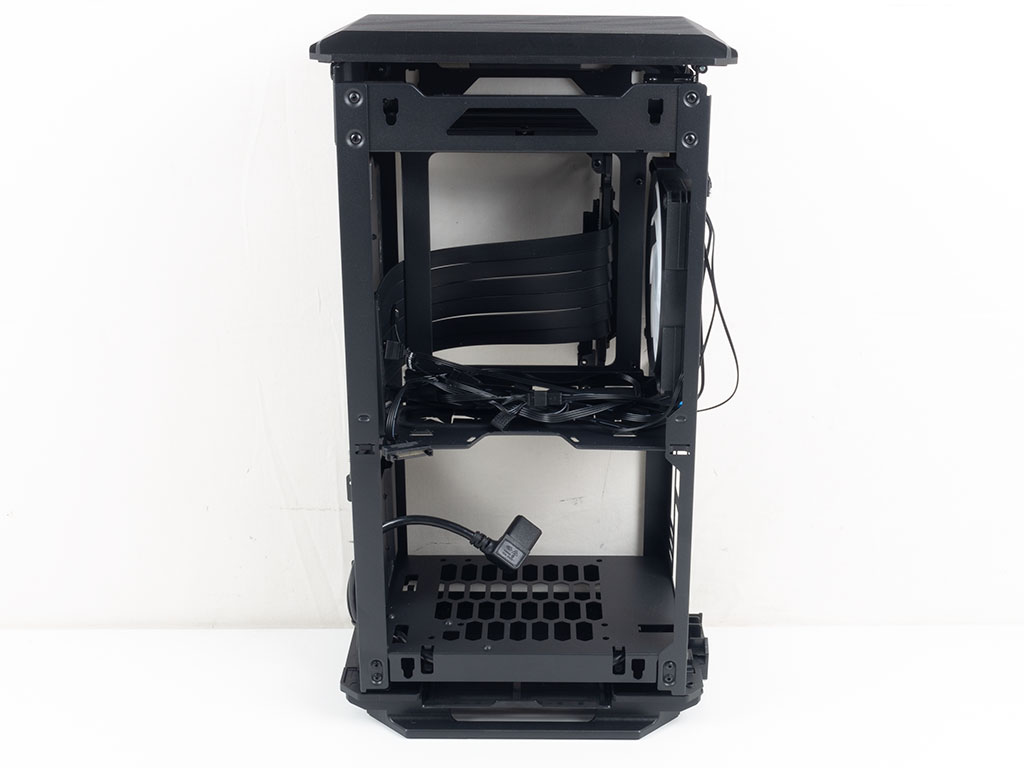
This also means the interior layout has been rotated 180°, with the motherboard area on the right and the GPU compartment on the left side of the chassis. On top of that, Phanteks is now using a new PCIe riser cable to go with the times as a lot has happened in that regard over the years.
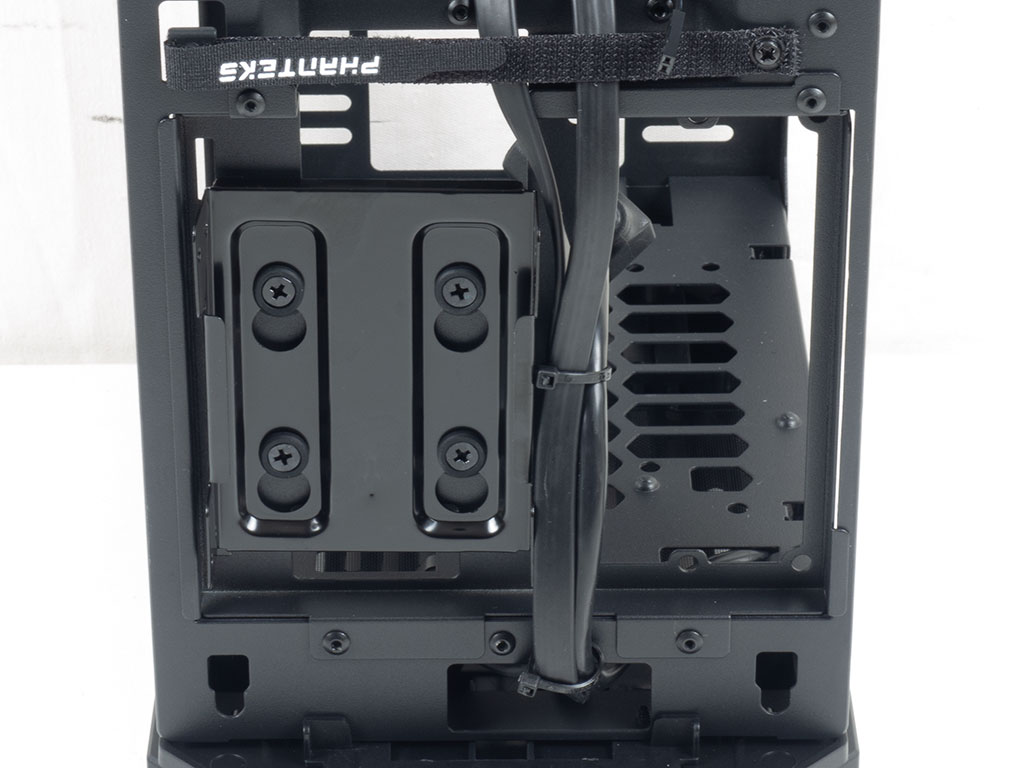
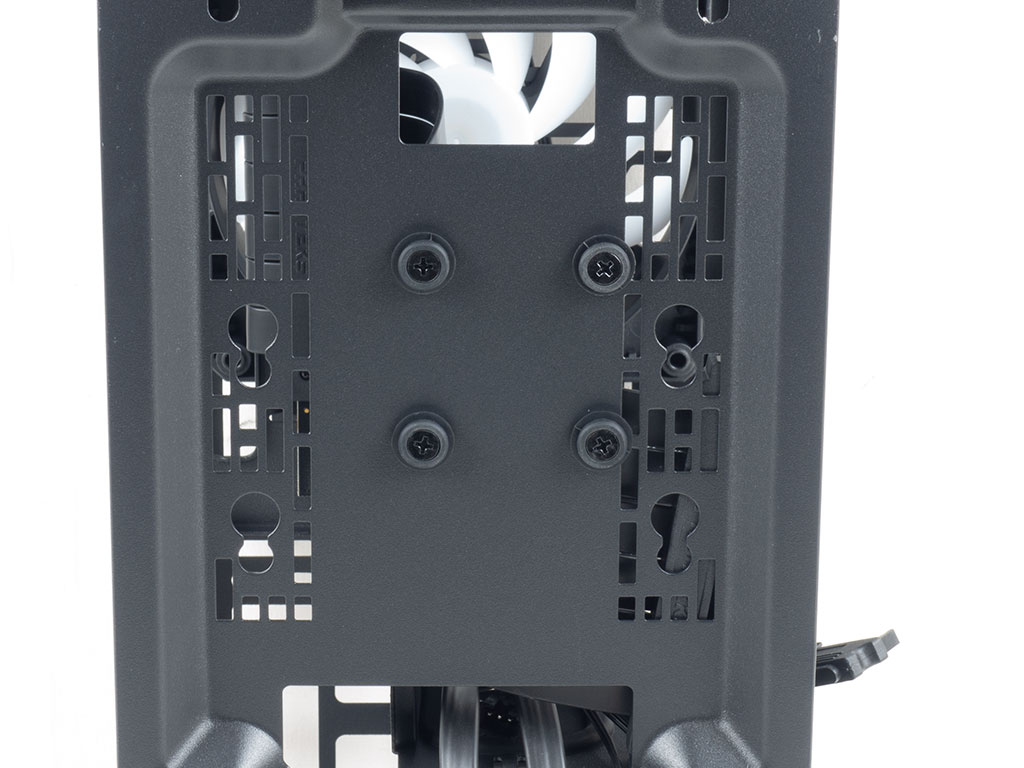
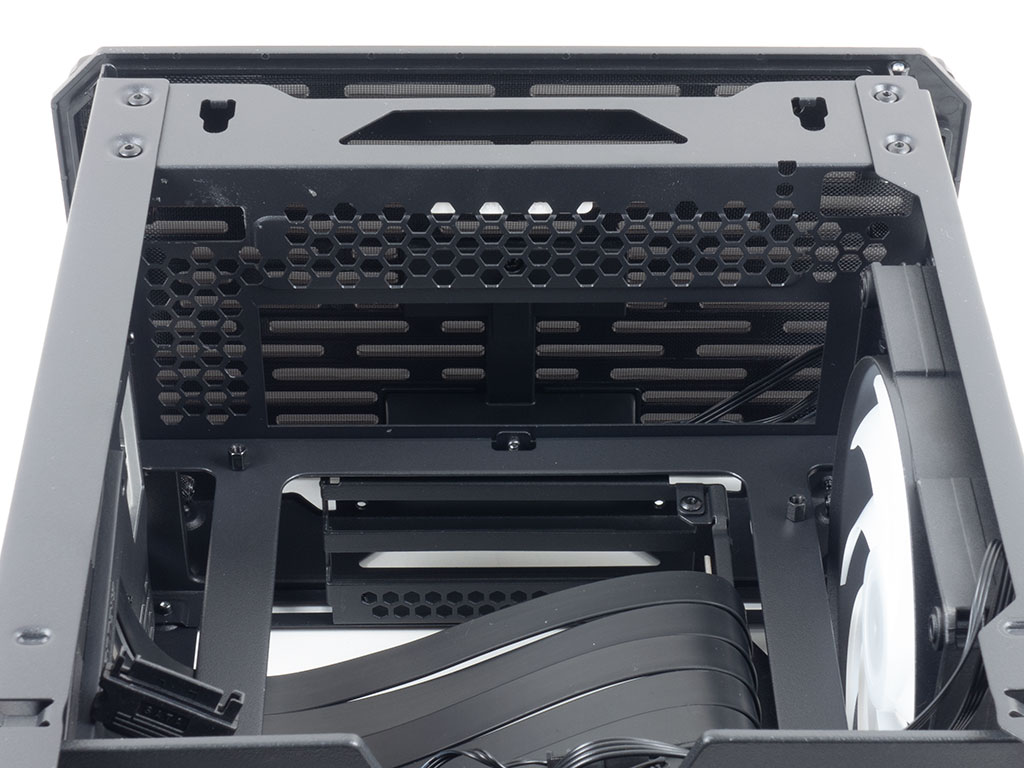
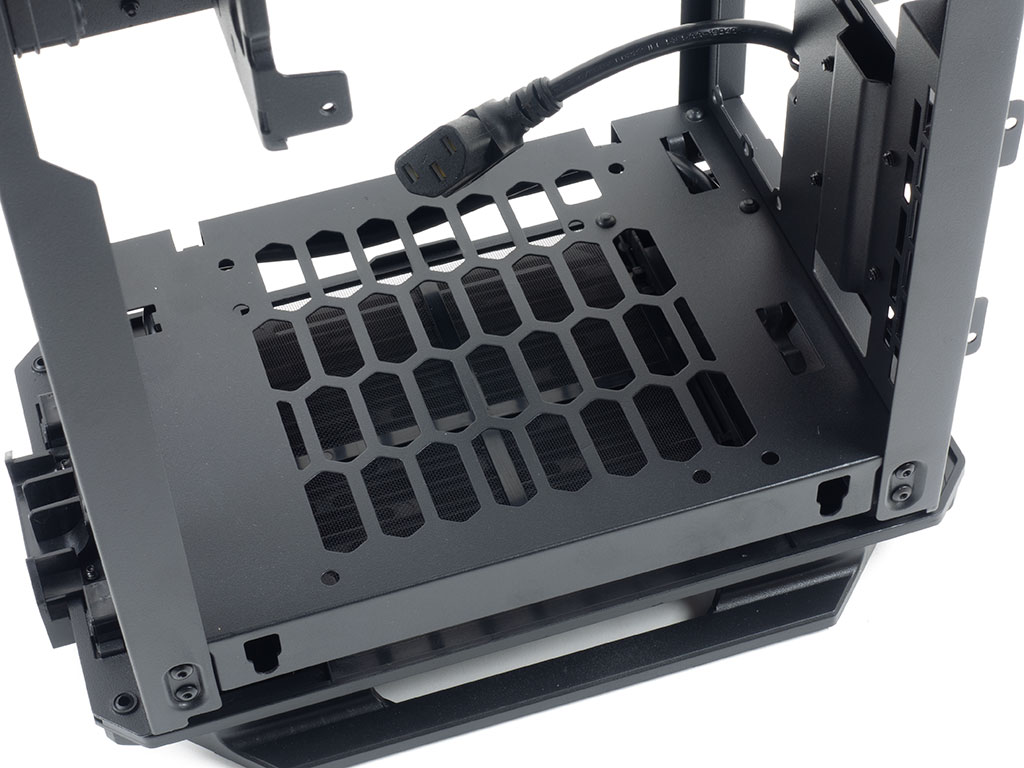
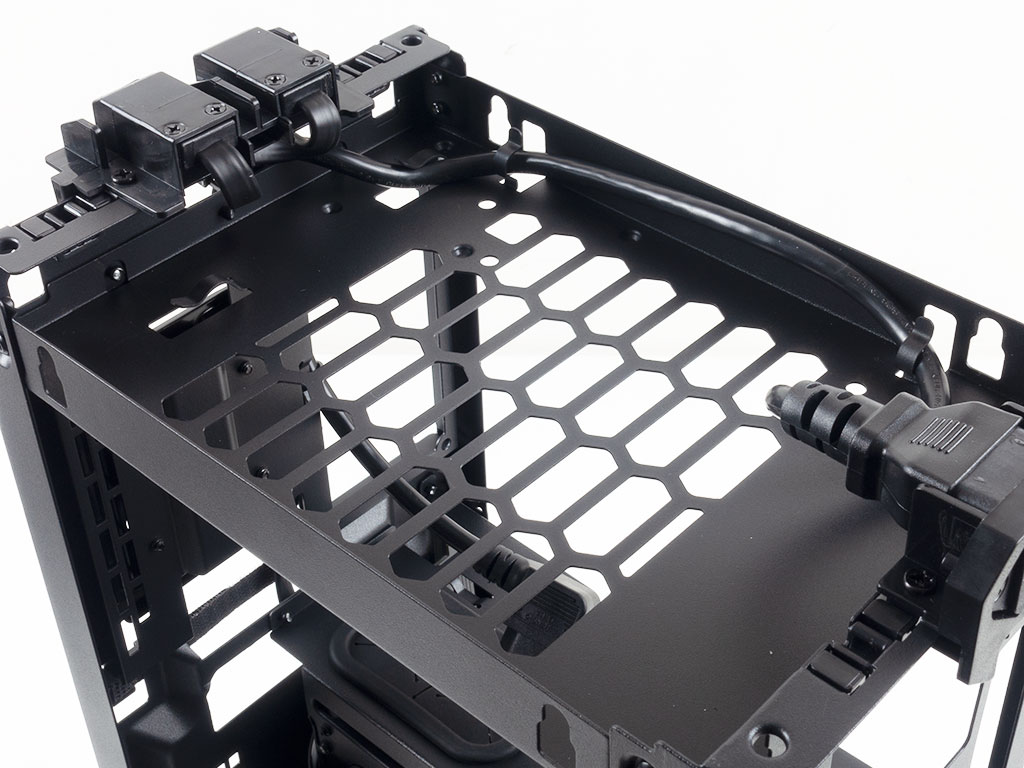
In the front, Phanteks chose to focus on more storage options by placing a cage for two 2.5" drives on the bottom half, next to the SFX/SFX-L PSU bay. This means you will not quite have the same number of cooling possibilities as with the original Evolv Shift, which offered the ability to install a fan here instead. Above that, you will find another mounting possibility for either a single 3.5" drive or up to two more 2.5" units. For the latter, you need to buy the optional tray separately, though. Phanteks has pre-applied the four screws that can simply be detached for use on a 3.5" drive, which is a nice way of making these screws available.
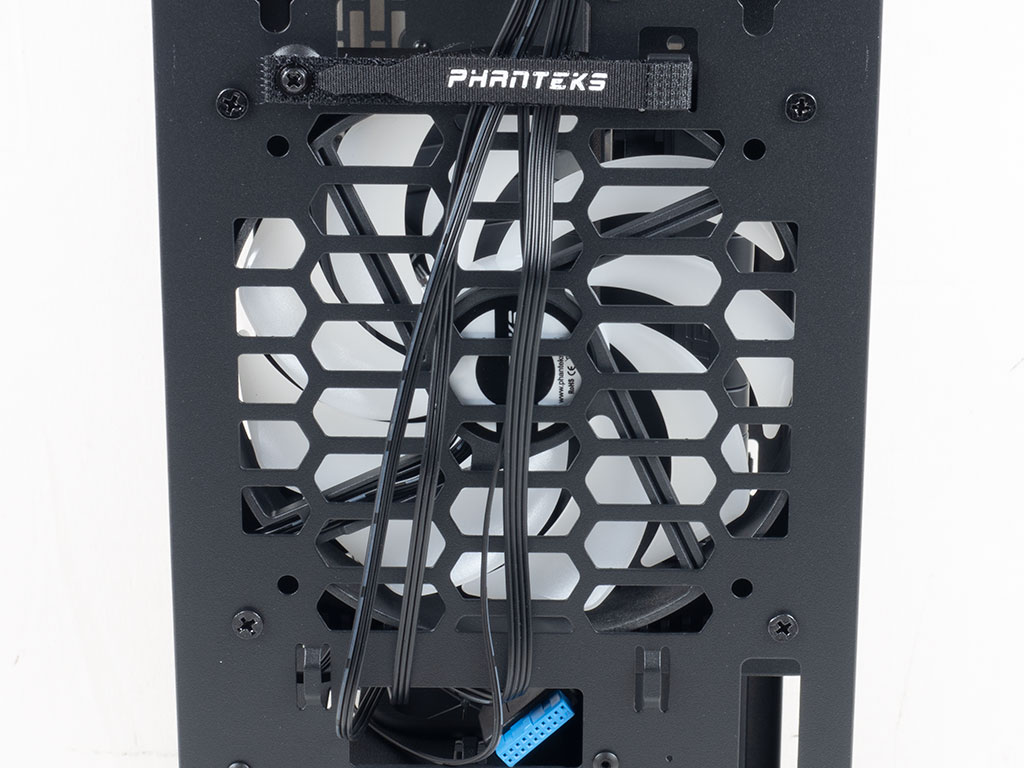
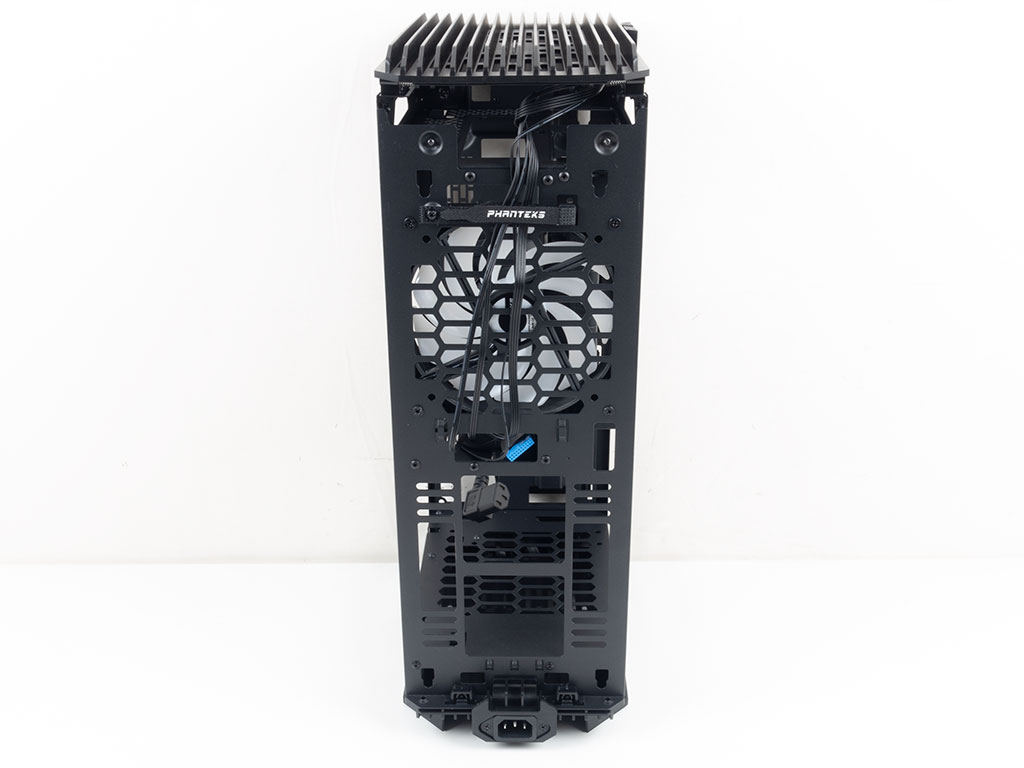
In the rear, on the bottom, are mounting holes for a 120 or 140 mm fan, which is also where Phanteks suggests you install a liquid-cooling radiator of up to 120 mm. Above that is a pre-installed 140 mm exhaust fan with ARGB built into its hub.
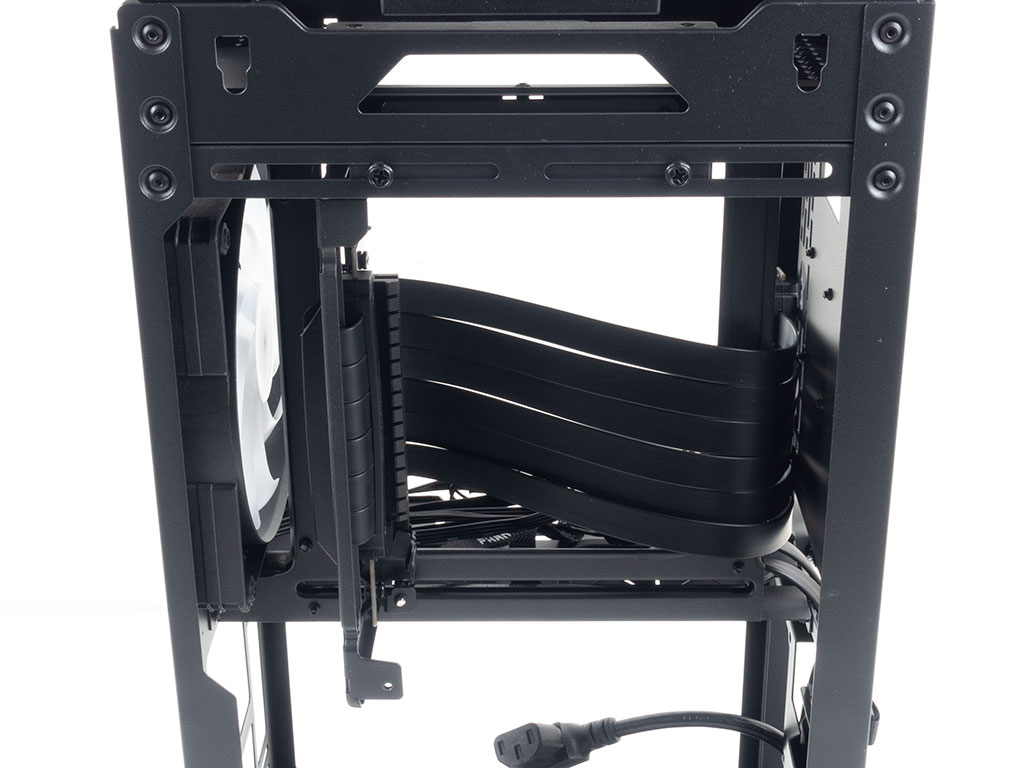
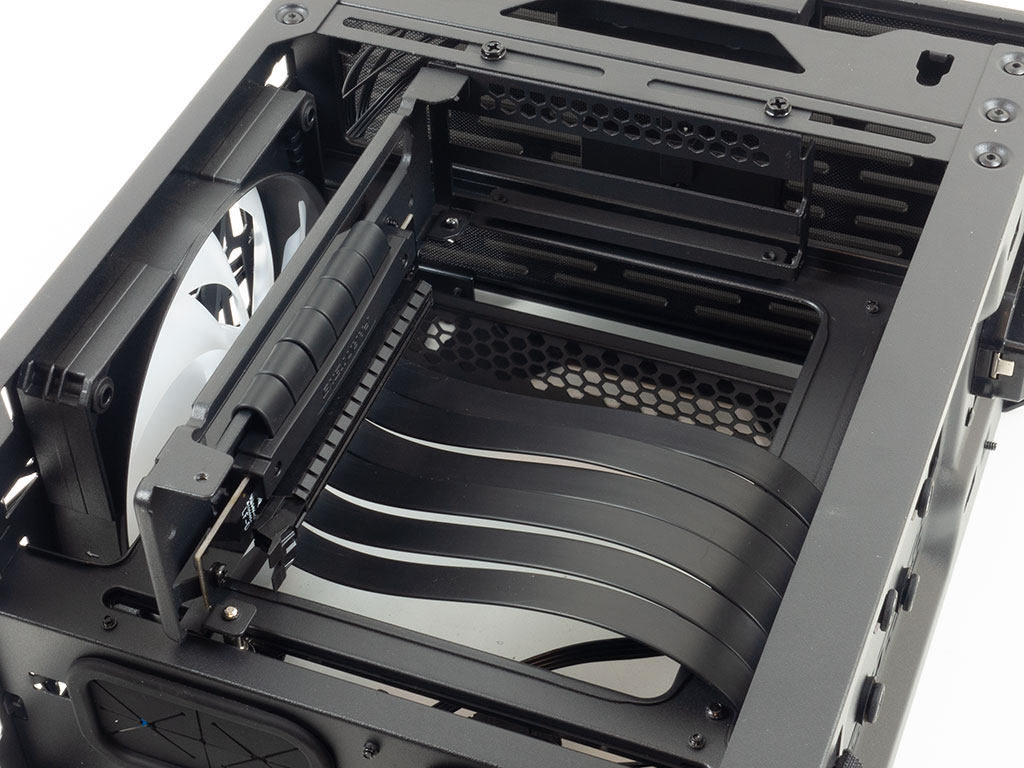
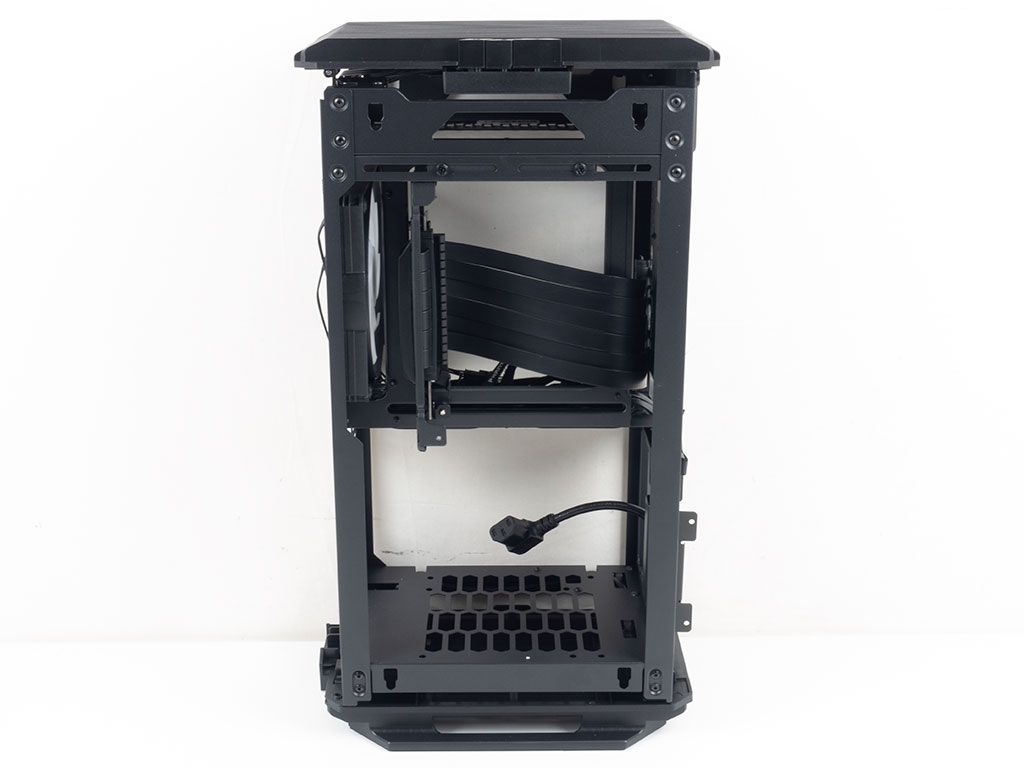
Taking a closer look at the GPU side, you will be able to fit a 2.5-slot card without running into any space issues. Phanteks also allows you to slide the whole mounting contraption around a bit to adjust for GPUs that are taller.

On the motherboard side, the PCIe riser cable is pre-routed with the opening for the motherboard backplate in the ceiling. Unlike the original Shift, Phanteks did not included individual 2.5" trays here.
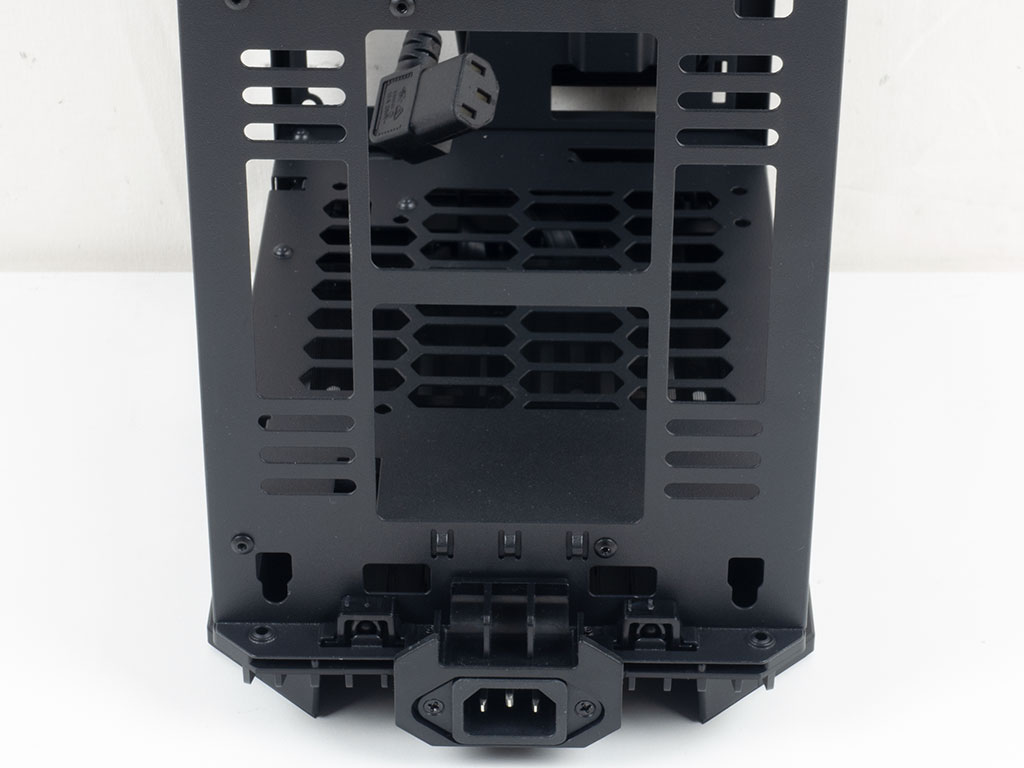
Things have also changed considerably on the floor of the chassis. With the power supply now facing the front of the case, Phanteks was able to move the fan-mounting possibilities to the center, where you may now install a 120 or 140 mm unit to blow air up into the chassis. To access this spot, simply pull off the bottom of the Evolv Shift 2. Phanteks has also included a removable dust filter in that detachable base for easy cleaning. Quite valuable to the user would have been the inclusion of a second fan here for the added thermal performance.
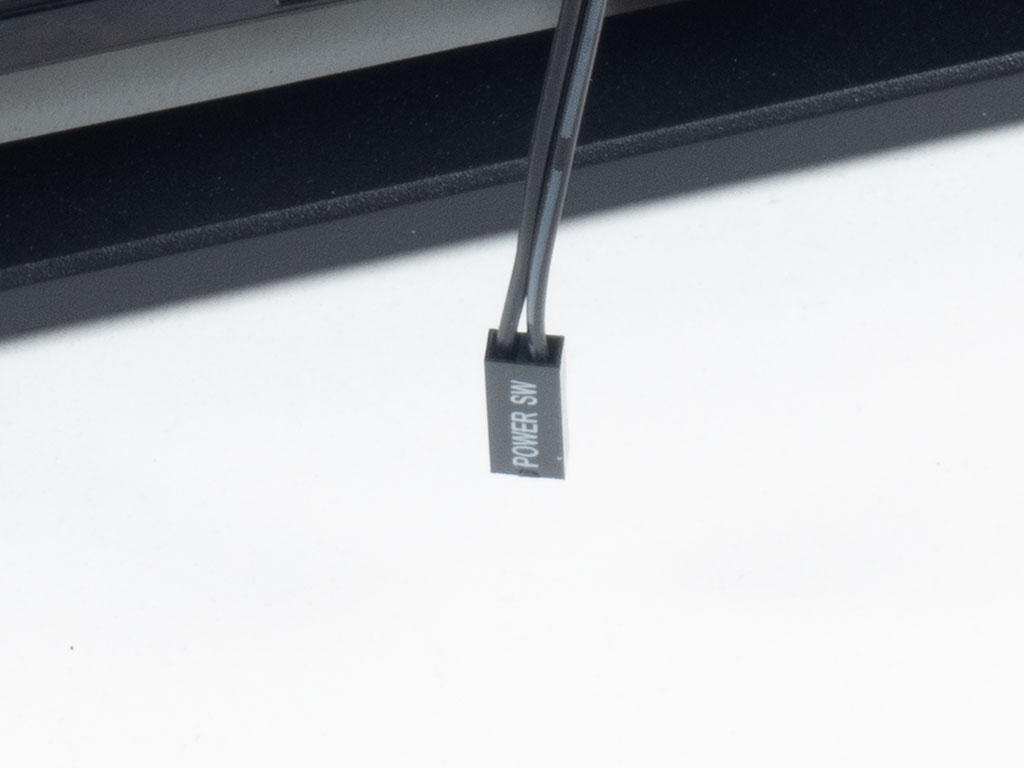

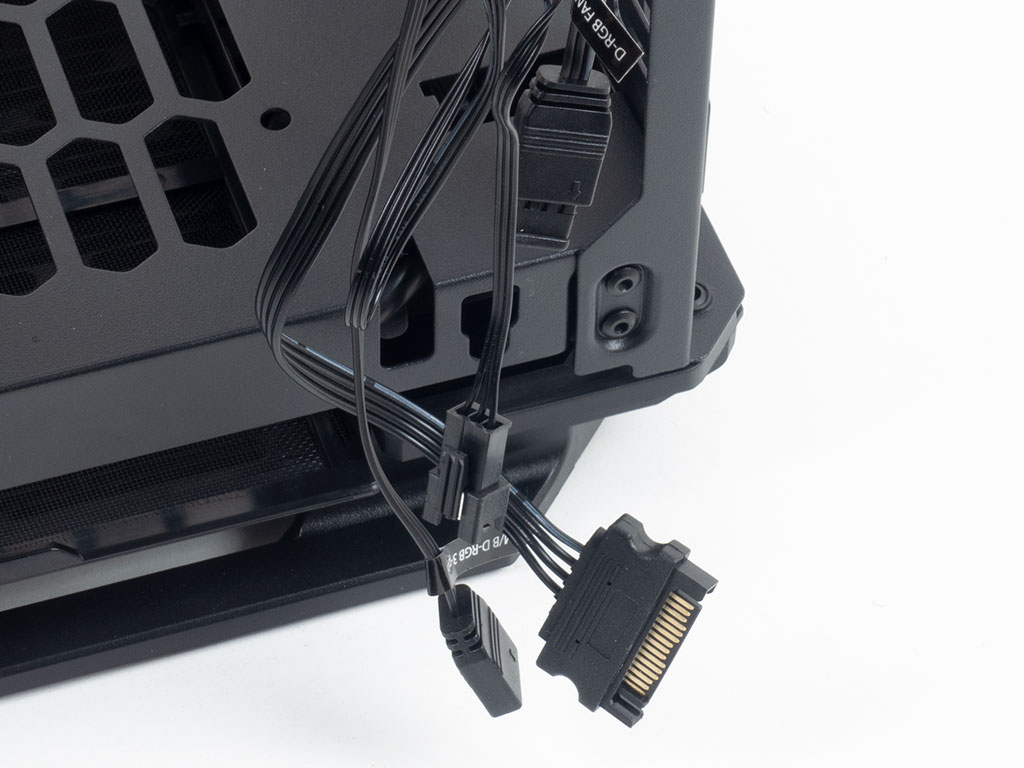
Just like in the original, the Evolv Shift 2 comes with just the power button lead, as the LED itself is taken care of by the ARGB controller's SATA power connector, and, as the chassis comes with that pair of USB 3.0 ports, you will find a single such cable to connect to your motherboard. All the ARGB elements are pre-connected, and Phanteks also offers the ability to connect those to the motherboard for control and expansion with generic as well as Phanteks-specific lighting elements.
Mar 2nd, 2025 15:28 EST
change timezone
Latest GPU Drivers
New Forum Posts
- What are you playing? (23079)
- Fix Your Site (113)
- Cooling problems persist on LGA1700 (4)
- Is it possible to repair this cooling pad? (29)
- 14900ks vs 7950x3d paired with 7900xtx. (10)
- AAF Optimus Modded Driver For Windows 10 & Windows 11 - Only for Realtek HDAUDIO Chips (354)
- Official TECHPOWERUP HWBOT Team Information Thread (41)
- Post your Speedtest.net Speeds! (2348)
- ROCm OS? (5)
- Help find a Gigabyte RTX 2070 2 fan vbios. (5)
Popular Reviews
- AMD Radeon RX 9070 Series Technical Deep Dive
- ASUS ROG Harpe Ace Mini Review
- Gigabyte X870 Aorus Elite WiFi 7 Review
- ASUS GeForce RTX 5070 Ti TUF OC Review
- be quiet! Pure Base 501 DX Review
- AMD Ryzen 7 9800X3D Review - The Best Gaming Processor
- MSI GeForce RTX 5070 Ti Vanguard SOC Review
- MSI GeForce RTX 5070 Ti Ventus 3X OC Review
- Montech HyperFlow Silent 360 Review
- KLEVV CRAS C930 2 TB Review
Controversial News Posts
- NVIDIA GeForce RTX 50 Cards Spotted with Missing ROPs, NVIDIA Confirms the Issue, Multiple Vendors Affected (508)
- AMD Plans Aggressive Price Competition with Radeon RX 9000 Series (274)
- AMD Radeon RX 9070 and 9070 XT Listed On Amazon - One Buyer Snags a Unit (256)
- AMD Mentions Sub-$700 Pricing for Radeon RX 9070 GPU Series, Looks Like NV Minus $50 Again (248)
- NVIDIA Investigates GeForce RTX 50 Series "Blackwell" Black Screen and BSOD Issues (244)
- AMD RDNA 4 and Radeon RX 9070 Series Unveiled: $549 & $599 (222)
- AMD Radeon RX 9070 and 9070 XT Official Performance Metrics Leaked, +42% 4K Performance Over Radeon RX 7900 GRE (191)
- AMD Radeon RX 9070 XT Launch Allegedly Set for March 6 (152)