 0
0
Phanteks Glacier R160 Reservoir Review
Performance Testing »Installation


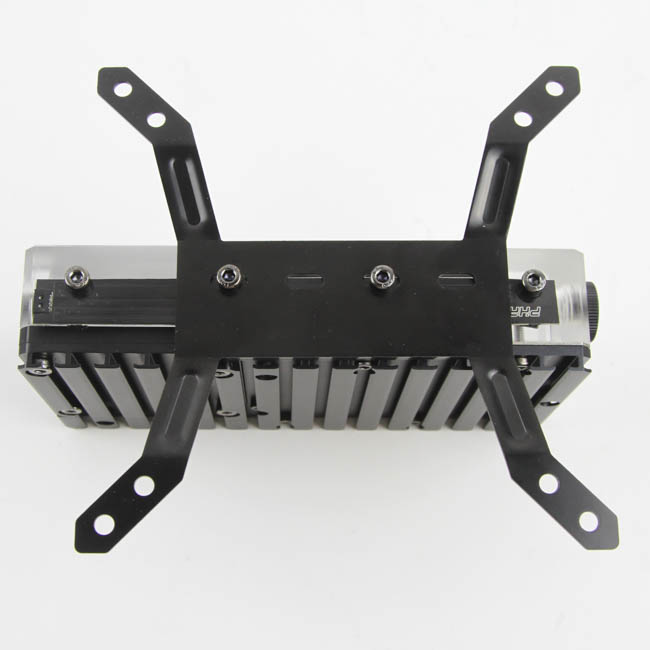
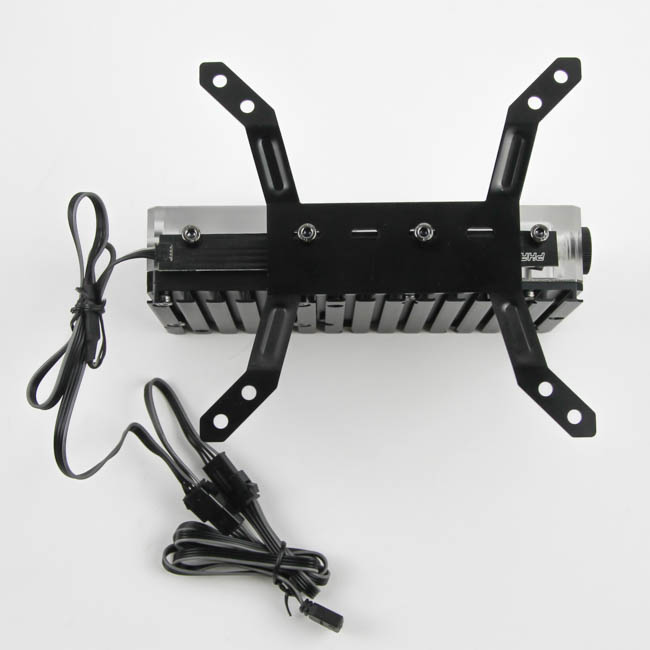
Regardless of whether you plan on using the Glacier R160 as a standalone reservoir or a reservoir/pump combo, some aspects are common to both. Begin with aligning the RGB LED strip with the LEDs facing into the reservoir on the side with drilled screw holes (opposite that of the inlet/outlet ports). Peel off the covers from the sticky tape on the PCB and glue it in place. The width of the PCB matches the gap between the foam pads in the provided mounting bracket, which also adds vibration-dampening for when in use. Take the four shorter hex head screws and put the two shortest ones through the PCB and into the reservoir, with the two longer ones going through the bracket as seen above. This now allows you to mount the product face up at a right angle to any single 120 or 140 mm fan hole—be it on a case or a radiator alike. Connect the small male connector on the RGB cable to the female end on the PCB and connect this to the RGB motherboard adapter cable, which would allow you to connect it to a compatible 4-pin RGB LED header on your motherboard (or elsewhere, as applicable). There are spare connectors, which makes daisy-chaining other Phanteks products possible, such as their water blocks with the integrated RGB lighting we saw before.
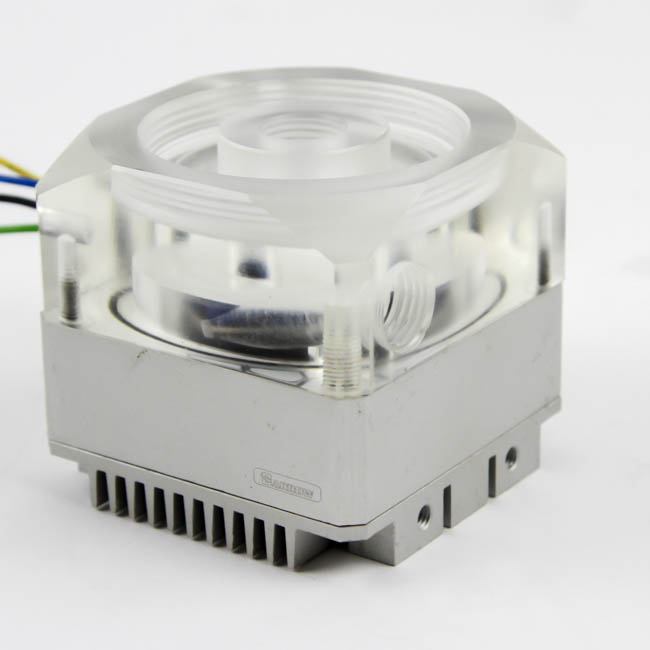
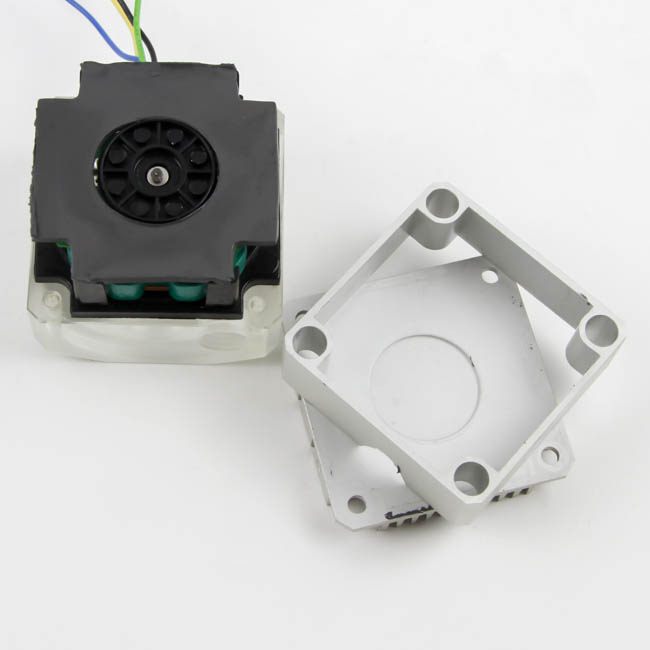
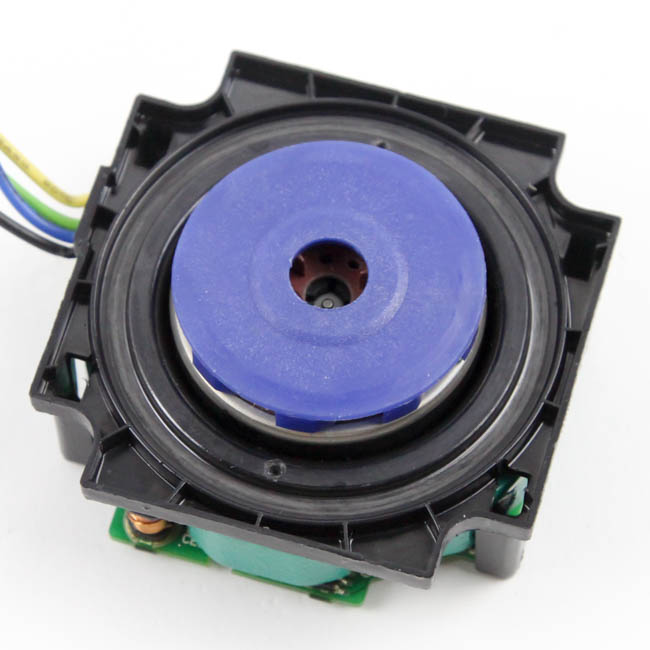
If you are using a DDC pump with this reservoir, you presumably already have one. I noticed I have a lot more of the D5 pumps here as the D5 has been getting a lot more popular within recent years. As such, the pump I used here came as part of another reservoir/pump unit with a removable reservoir tube. The relevant section here is the body, which is made out of aluminum in this case, with another aluminum heatsink as well. Note also that the thermal pad is showing signs of wear, which means that it was doing its job while also acting as an electrical insulator to prevent shorting of the PCB if it touches the metal heatsink, and perhaps the case via the mounting bracket. Remove the top and O-ring here, as it is recommended to always use the one that comes with the pump top.
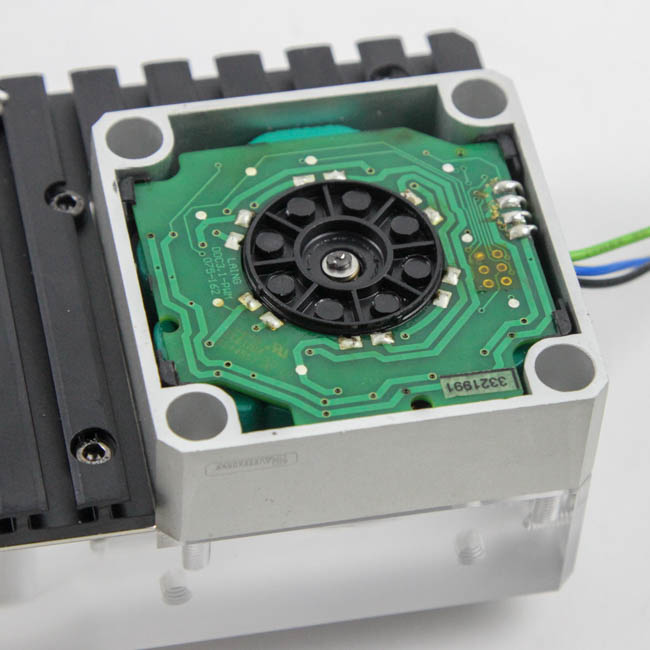
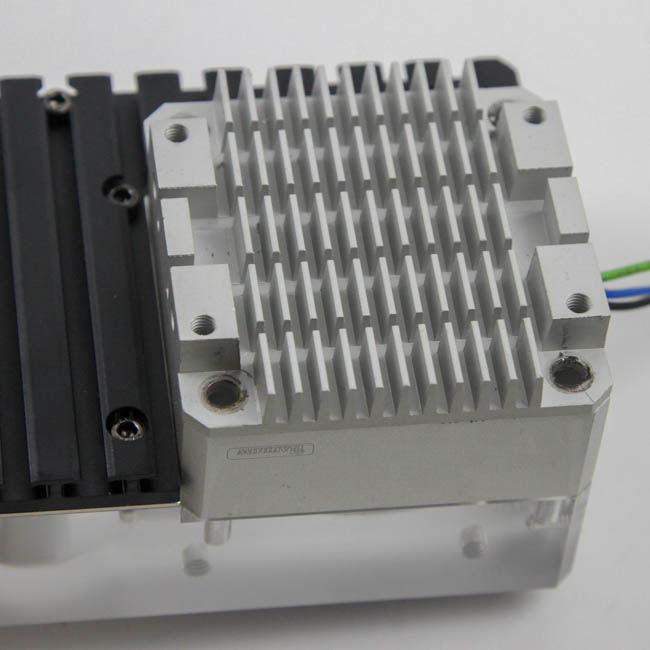
The pump body fits perfectly, but given the nature of this body with an exposed bottom, I had to use the provided thermal pad. I later found another DDC pump with a plastic body that is closed on the bottom too, and this is how Phanteks intends you use it as most pumps are sold this way. So let's clarify things—the configuration shown above with the thermal pad will perform better regardless of whether you use the stock pump bottom or Phanteks heatsink cover. The default Laing DDC with the plastic PCB and no thermal pad in between is not going to perform as well here.

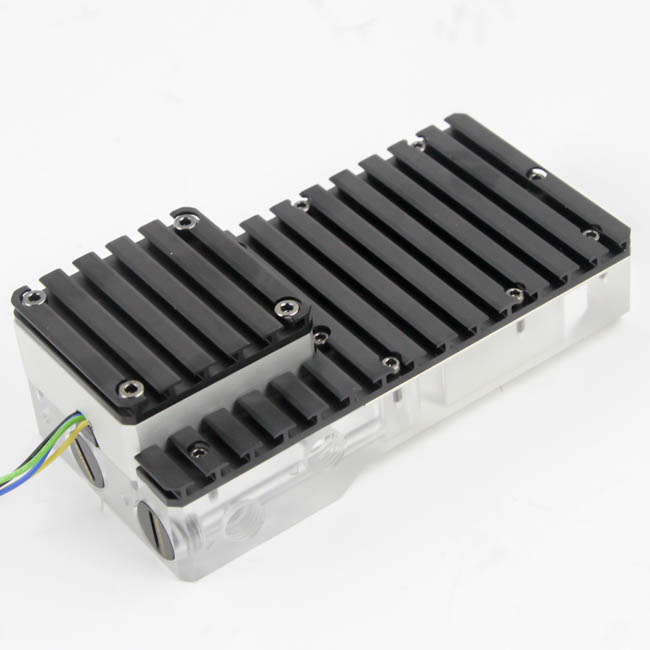
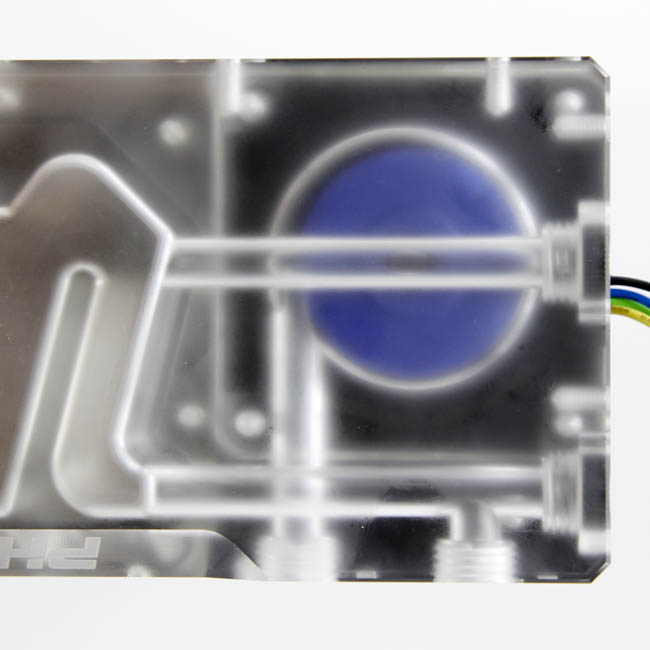
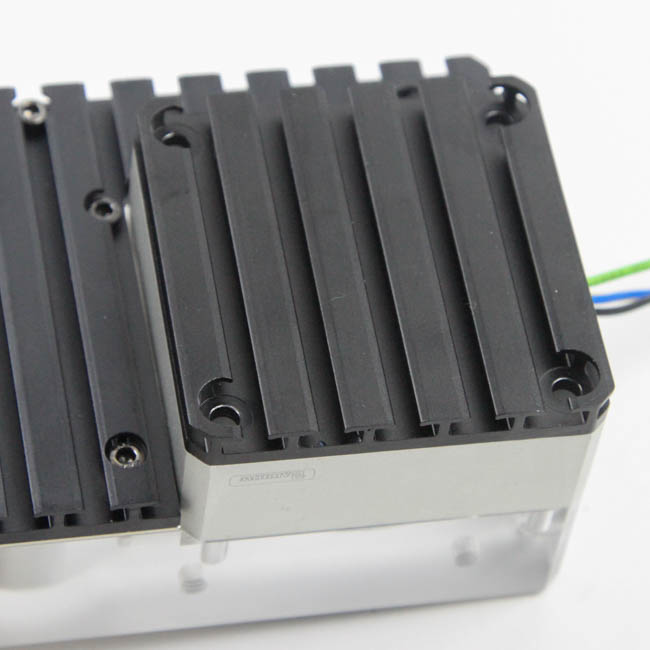
With the pump installed, the Glacier R160 is no longer flat on the bottom as the pump juts out as seen above. It still looks great, and this has no effect on the mounting of the reservoir covered previously. The pump impeller sits flush in the volute and works great with the channels cut into the acrylic body for the provided inlet and outlet port options. The channel from the reservoir to the pump inlet is also angled steeply, which will act as an anti-cyclone assuming one could even form, but it also lowers the potential of air bubbles going through and getting into the pump, which definitely helps with bleeding the loop and also minimizes chances of the pump running dry due to a gargantuan air bubble trapped in between.
Jan 8th, 2025 04:32 EST
change timezone
Latest GPU Drivers
New Forum Posts
- All RTX 5090s only have 1x 16-pin connector (1)
- NVIDIA has revealed the prices for the RTX 5090, 5080 and 5070 (114)
- What was lacking GPU-wise at this year's CES (44)
- [leak] DLSS4 is coming (11)
- Why Elden Ring doesn't impress me. Innovation in combat physics is needed in the gaming industry. (73)
- Dell Workstation Owners Club (3260)
- Best time to sell your used 4090s is now. (155)
- Price of 4x series when they release 5x gpus (21)
- The TPU UK Clubhouse (25516)
- Looking for suggestions on z890 motherboard (0)
Popular Reviews
- ASUS ROG Strix B850-F Gaming WiFi Review
- DDR5 Thermal Testing & Analysis
- AMD Ryzen 7 9800X3D Review - The Best Gaming Processor
- SCYROX V8 Review
- Klevv Genuine G560 2 TB Review
- GPU Test System Update for 2025
- Intel Arc B580 Review - Excellent Value
- Upcoming Hardware Launches 2024 (Updated Nov 2024)
- STALKER 2 Performance Benchmark Review - 35 GPUs Tested
- Arrow Lake Retested with Latest 24H2 Updates and 0x114 Microcode
Controversial News Posts
- NVIDIA 2025 International CES Keynote: Liveblog (345)
- AMD Debuts Radeon RX 9070 XT and RX 9070 Powered by RDNA 4, and FSR 4 (297)
- NVIDIA GeForce RTX 5090 Features 575 W TDP, RTX 5080 Carries 360 W TDP (208)
- AMD Radeon RX 9070 XT Alleged Benchmark Leaks, Underwhelming Performance (204)
- Potential RTX 5090 and RTX 5080 Pricing in China Leaks (173)
- 32 GB NVIDIA RTX 5090 To Lead the Charge As 5060 Ti Gets 16 GB Upgrade and 5060 Still Stuck With Last-Gen VRAM Spec (173)
- AMD Radeon RX 9070 XT Boosts up to 3.10 GHz, Board Power Can Reach up to 330W (167)
- NVIDIA GeForce RTX 5070 Ti Leak Tips More VRAM, Cores, and Power Draw (161)