 0
0
QNAP TS-419P II Review
Additional Features »Administration Interface
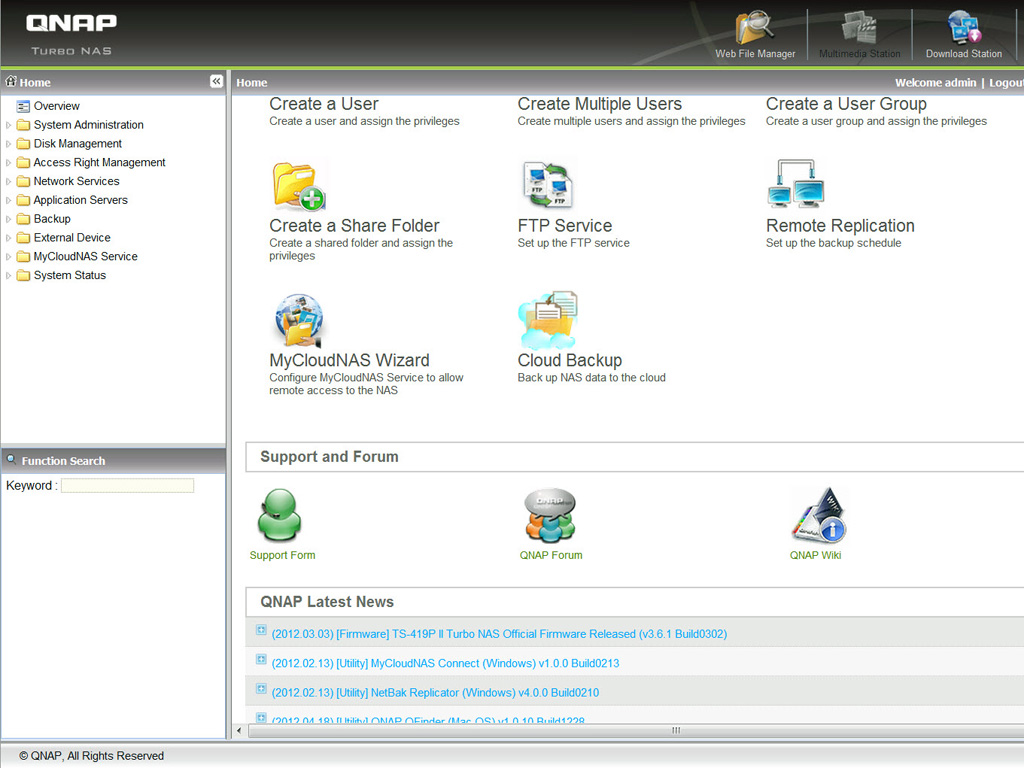
From the Home link of the administration interface you have access to the functions that you will probably use most of the time. Also you will finds links to the QNAP forum and wiki and on the bottom of the window QNAP lists their latest news.
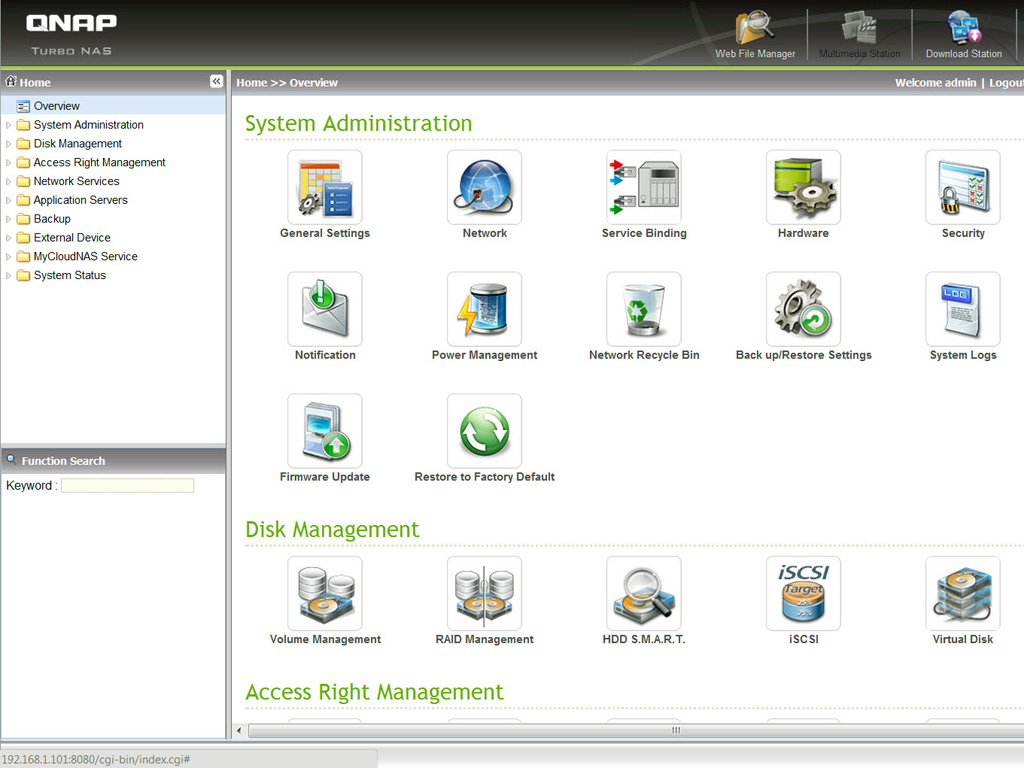
The Overview link lists all functions of the interface, grouped in main categories. QNAP has done an excellent job here and despite the number of icons the user is not confused since they are categorized nicely and the icons are pretty self explanatory.
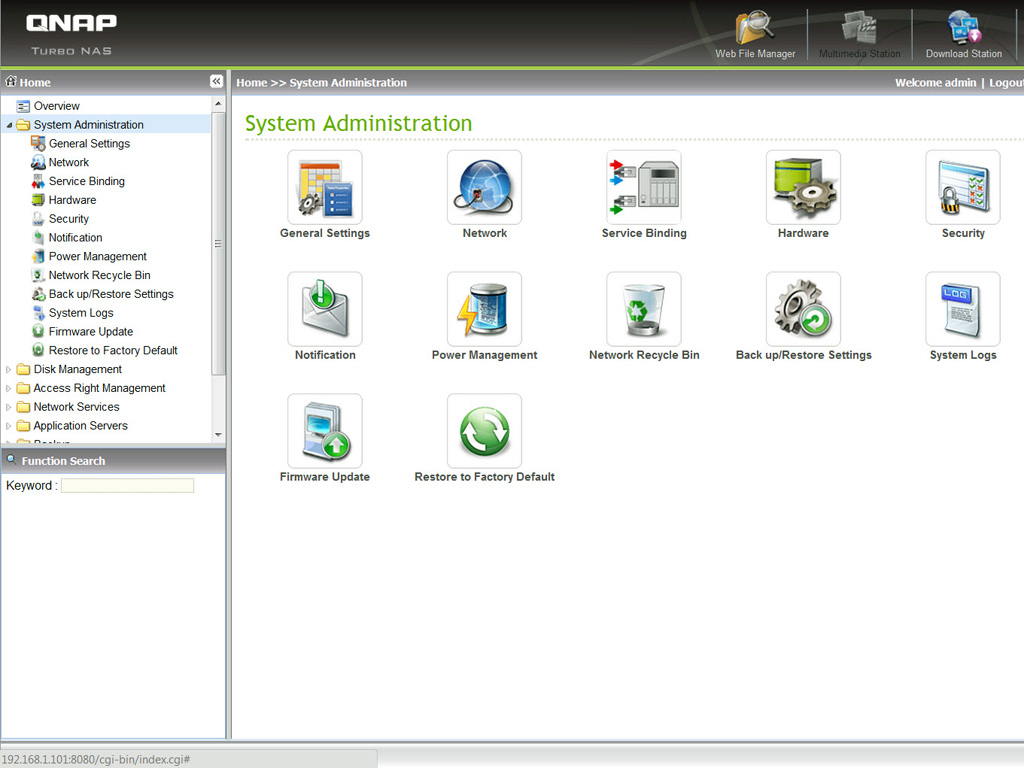
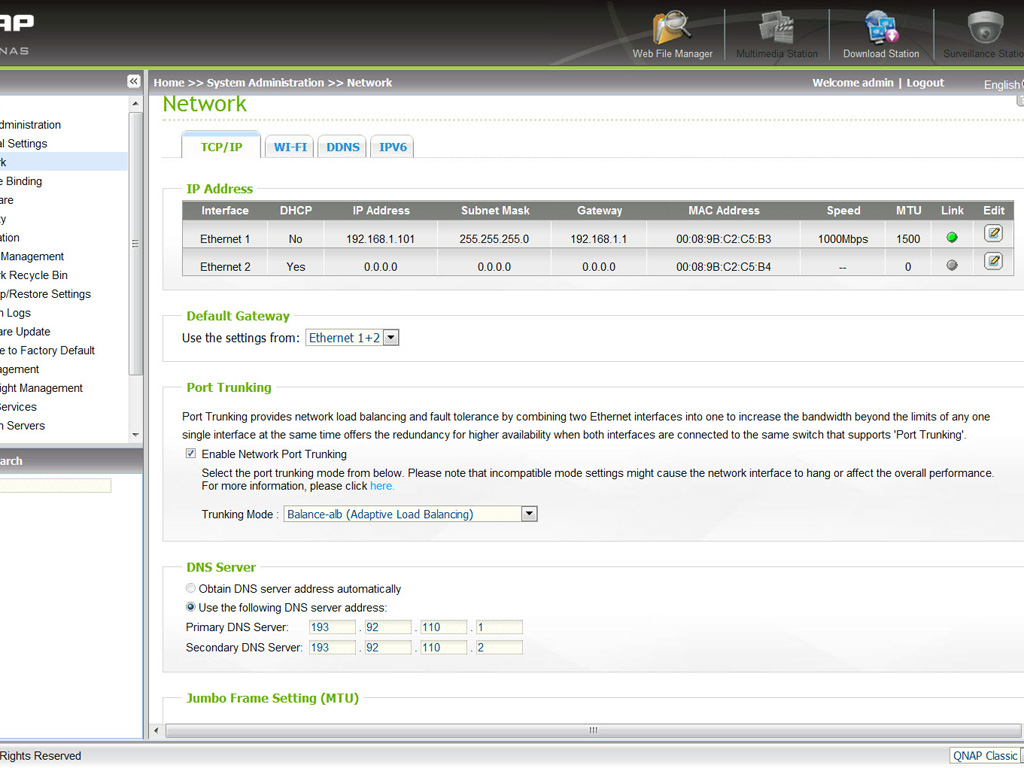
In the System Administration group there are some of the most crucial settings that you will have to do. The Network choice provides access to the TCP/IP settings and from there you can select the operating mode of the two NICs. If you connect the NAS to a managed switch then you can enable port trunking along with 9k Jumbo frames and greatly increase the bandwidth between the NAS and the switch. From here also you can set a DDNS Service that will inform you about the WAN IP, so you will be able to spot your NAS on the net.
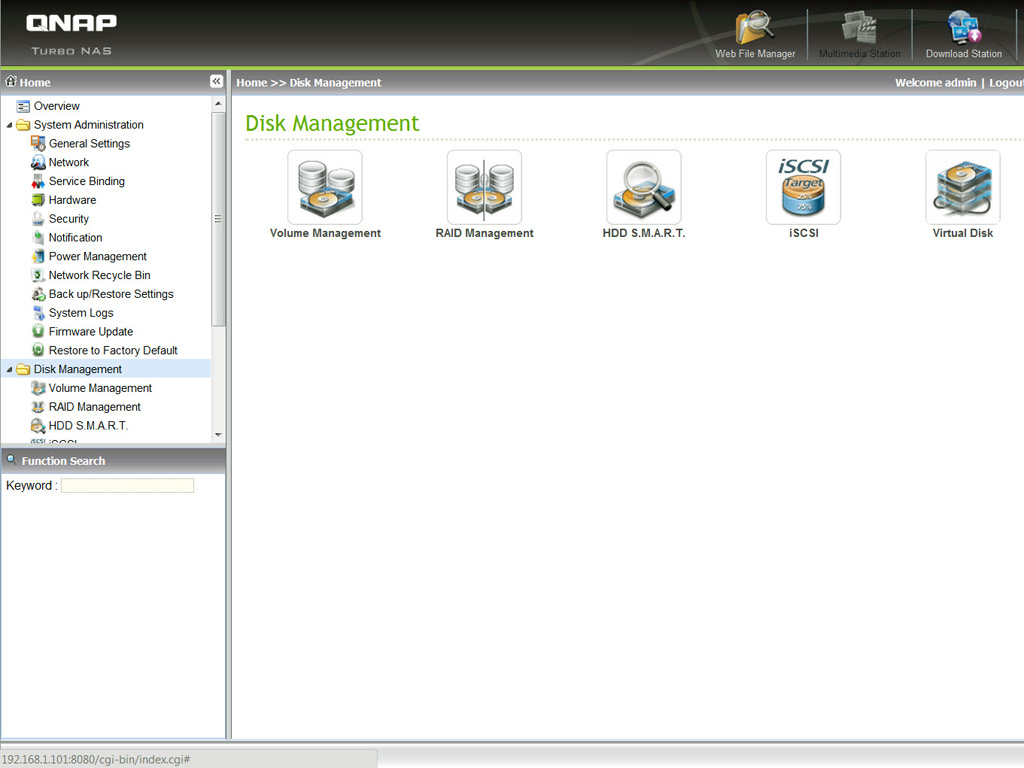
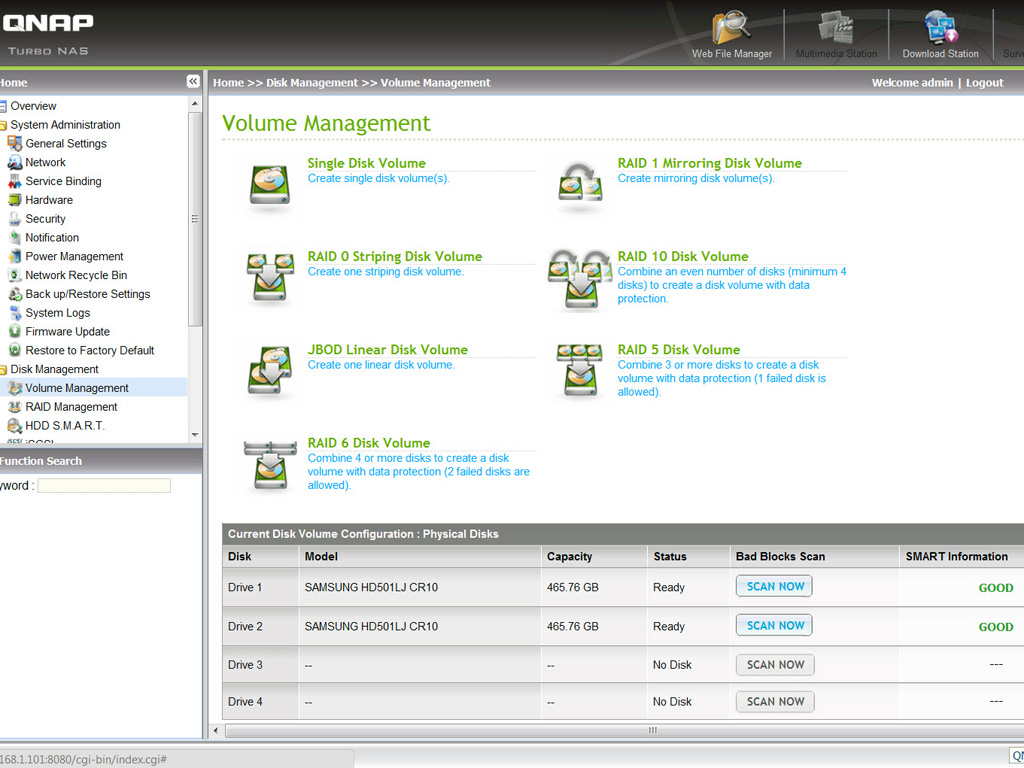
The third folder groups all Disk Management functions, so you will visit these options every time you want to check your RAID and disks. Also from here you can create an iSCSI (internet Small Computer System Interface) target and LUN. Using iSCSI the storage you have on your NAS can be seen as local disks by any of the client PCs, however all data will be transferred over the network to/from them. LUN stands for Logical Unit Number and in essence LUNs are numbered disk drives, which the operating system of the client PC sees as volumes.
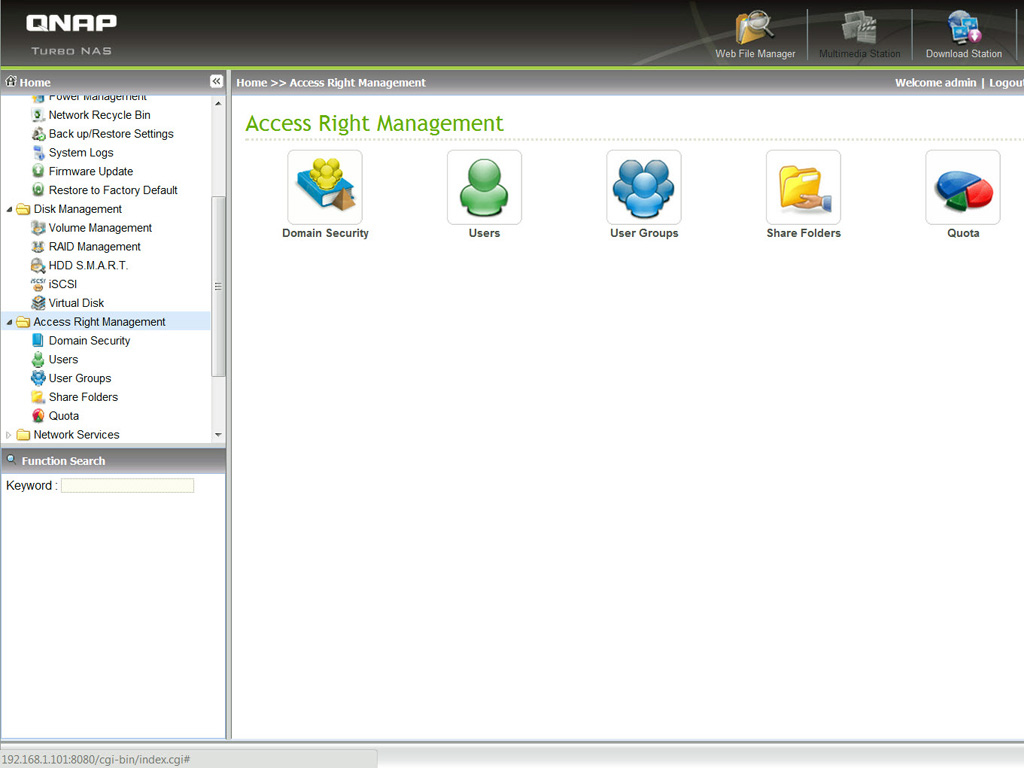
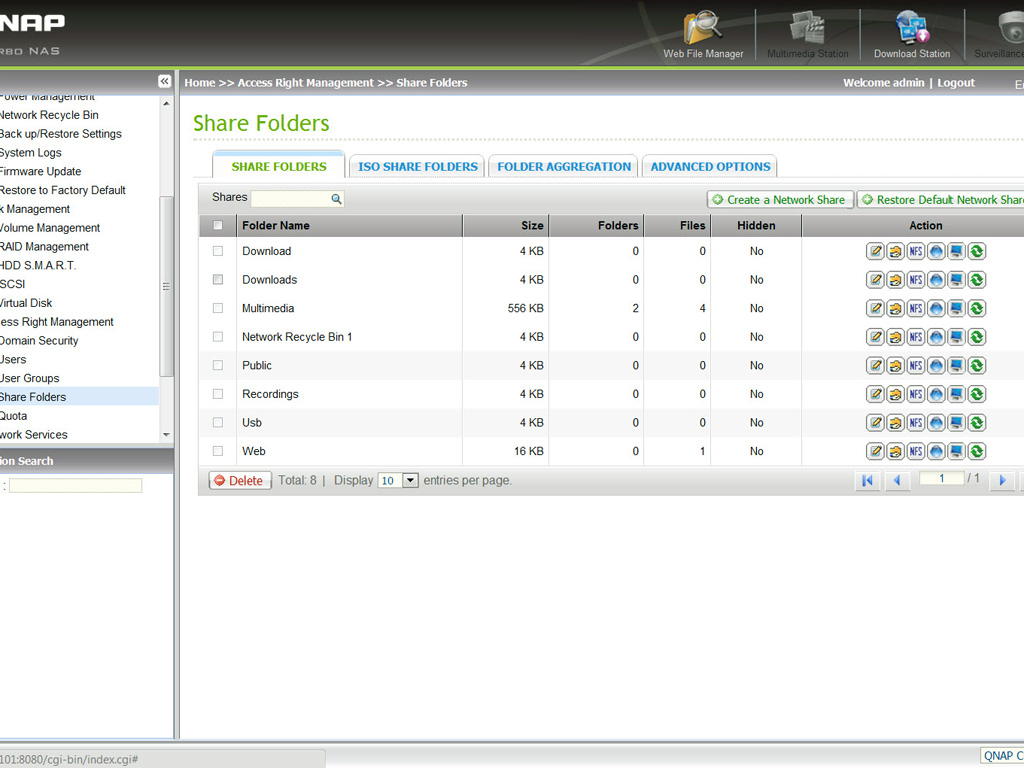
From the Access Right Management you can enable domain security, create users and user groups, create shared folders and modify permissions on existing ones and finally set quotas.
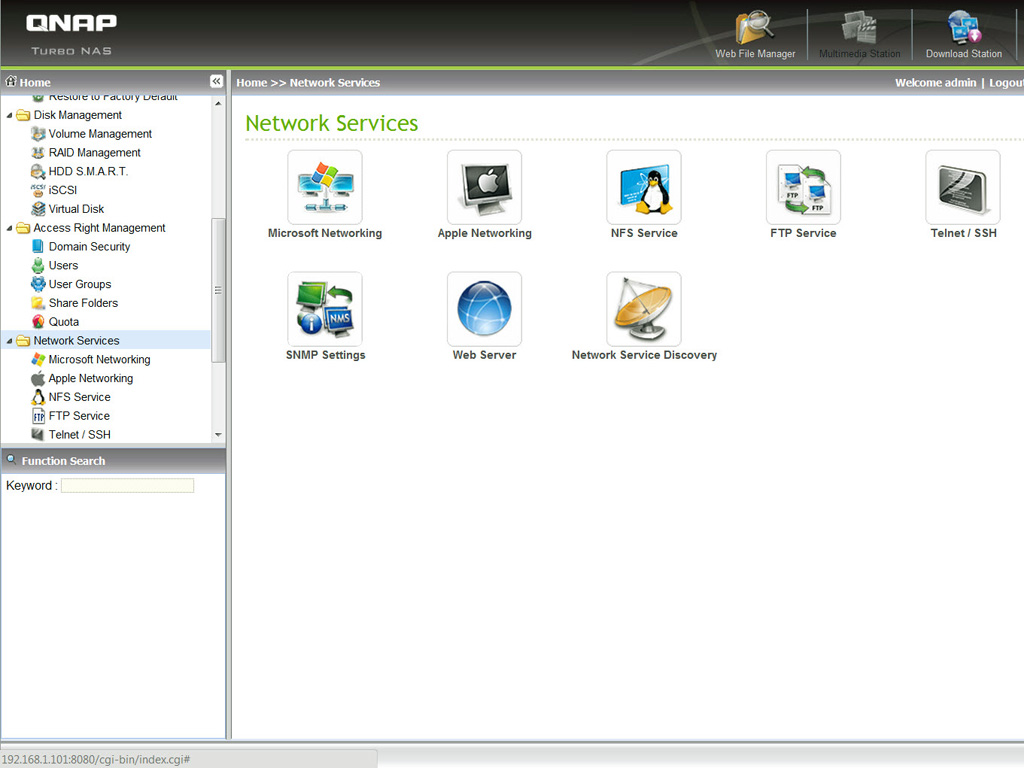
The Network Services group allows you to easily connect the NAS to a Microsoft, Apple or Linux network and share files with their clients. Also from here you can enable the FTP, Telnet and SSH server along with the Web Server, through which you are able to host webpage files to the NAS.
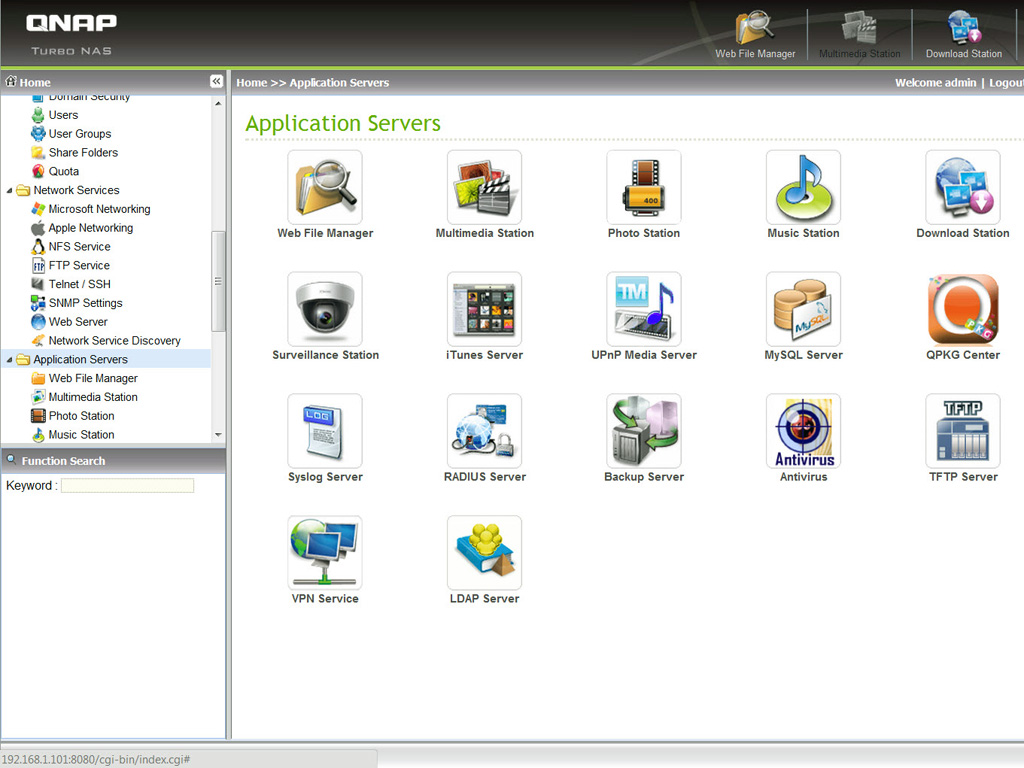
The Application Servers group hosts many interesting selections, many of which you will likely activate. For starters it provides access to the settings of all server roles that the NAS can play and also here we find the Antivirus settings along with the QPKG center. Through the latter you can install QNAP's applications along with third party ones, which cover a variety of categories and will surely come in handy for most users. The installation of a QPKG is pretty straightforward and the only thing you have to do is to click on the install link of the package you want and then enable it through the "Installed" tab. Removing unwanted QPKG packages is a breeze, too. We will further elaborate on QPKGs in the next page.
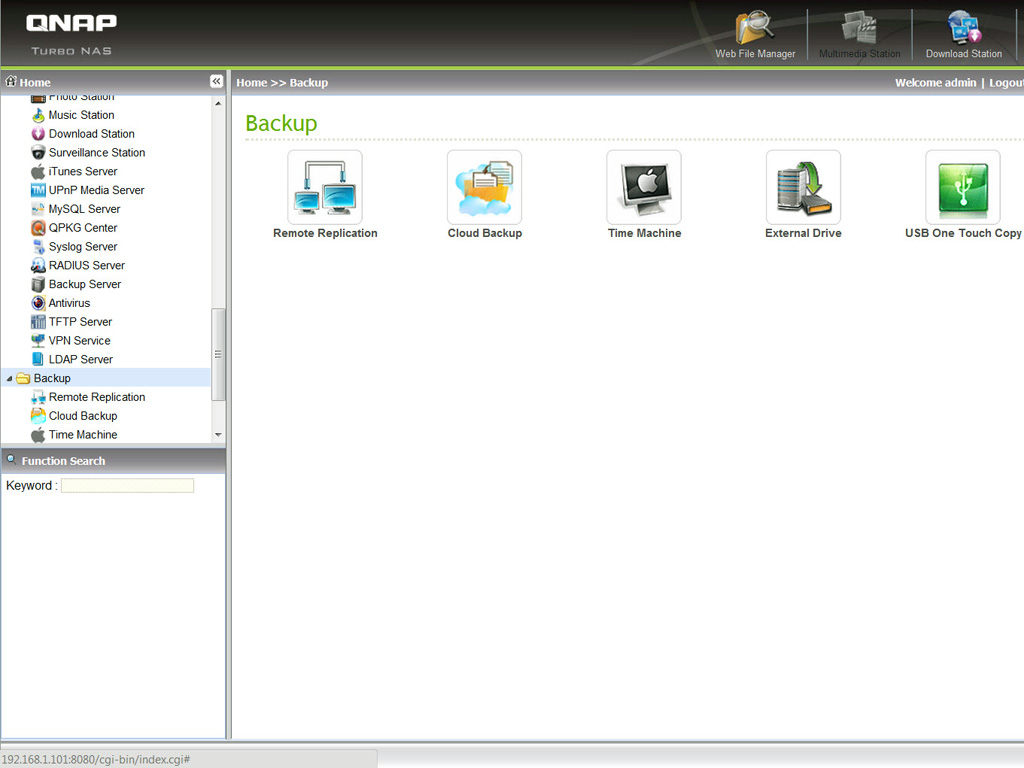
The Backup folder is pretty self explanatory. From there you can also set the functionality of the front Copy button.
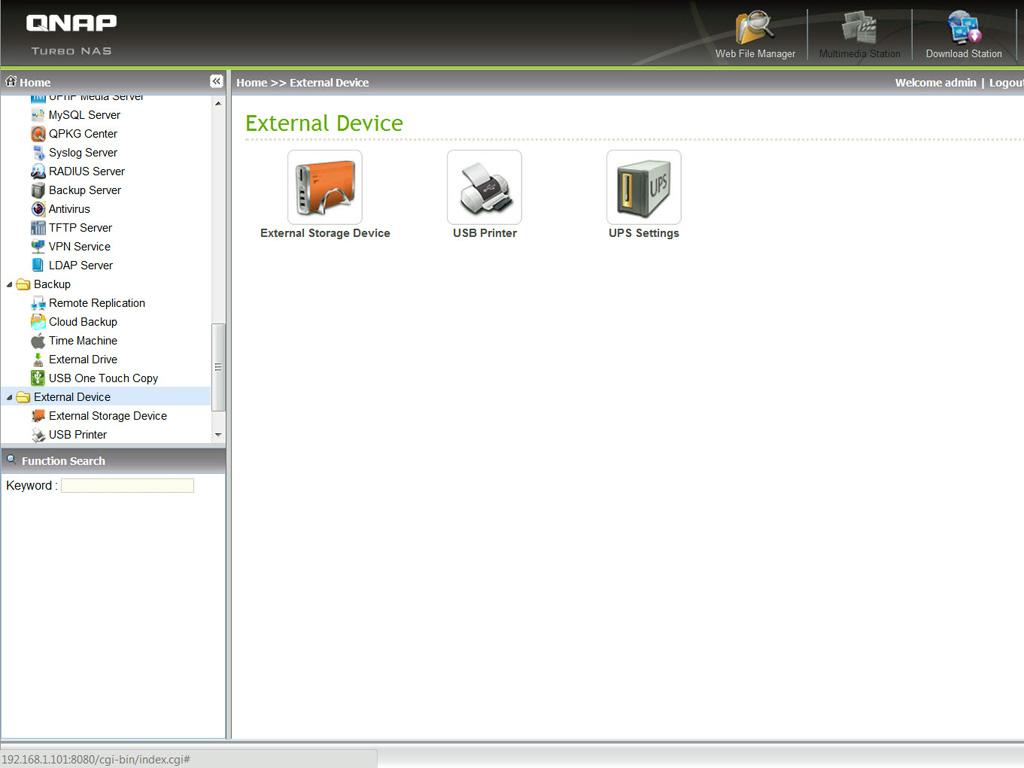
The External Devices group offers access to all USB or eSATA devices that are connected on the NAS. You can format the external storage devices to a variety of file systems, share a USB printer to the network and set up a UPS.
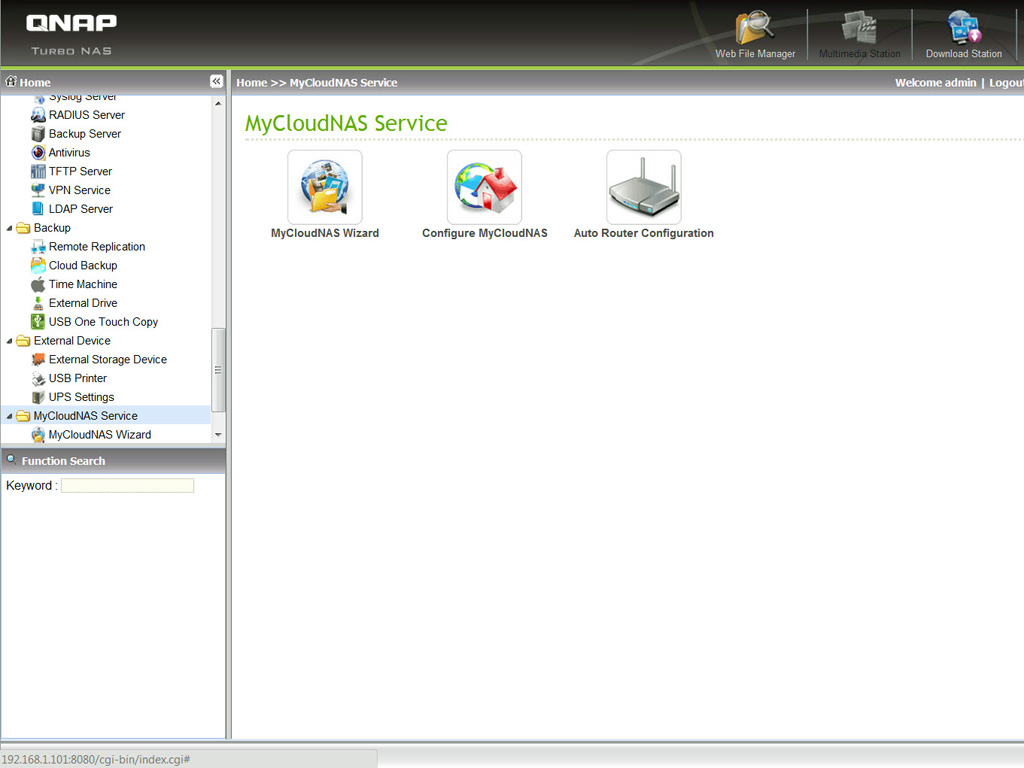
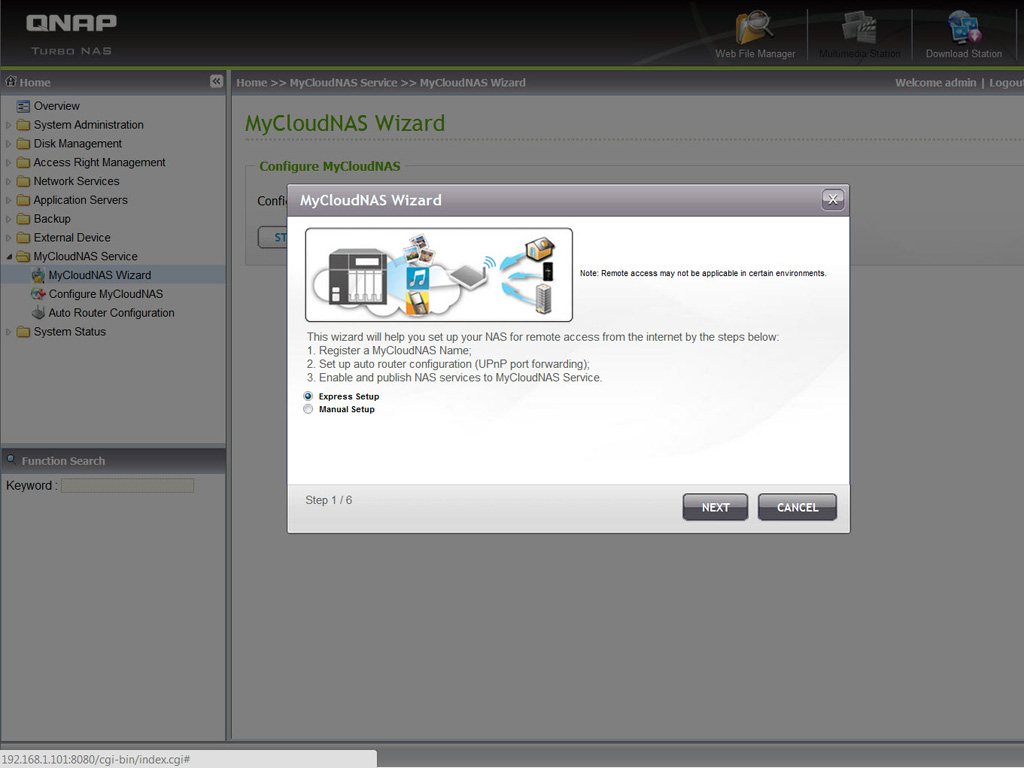
A whole folder is dedicated to MyCloudNAS service, which is offered for free by QNAP to all QNAP NAS owners. Here you will find only three icons.
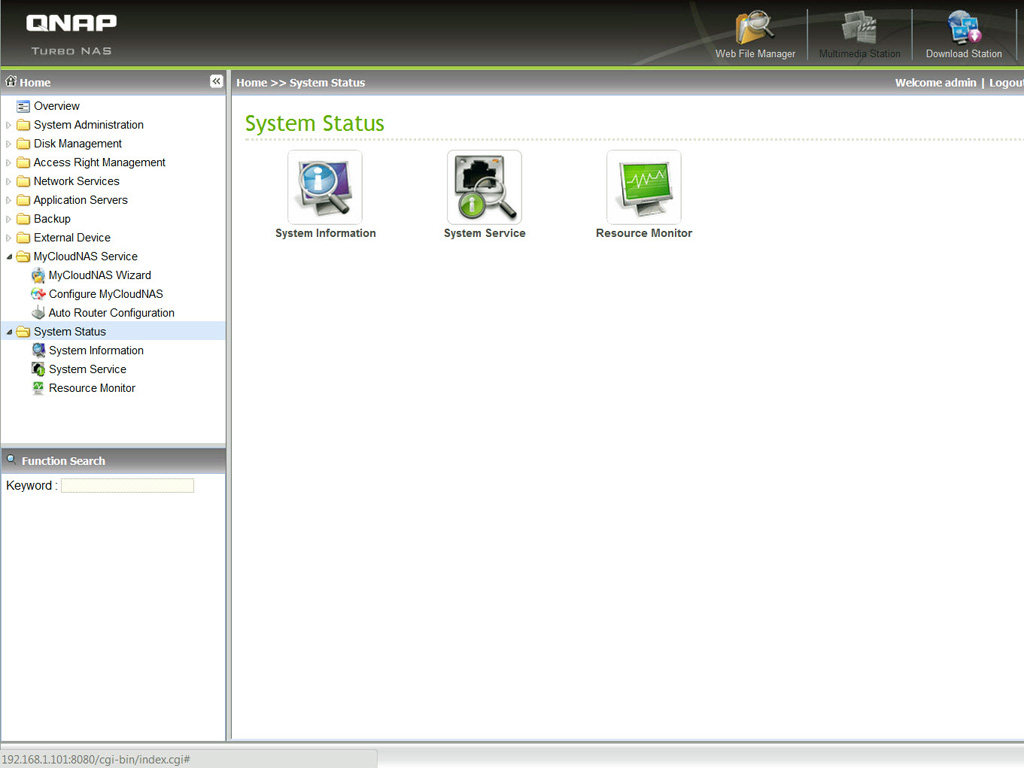
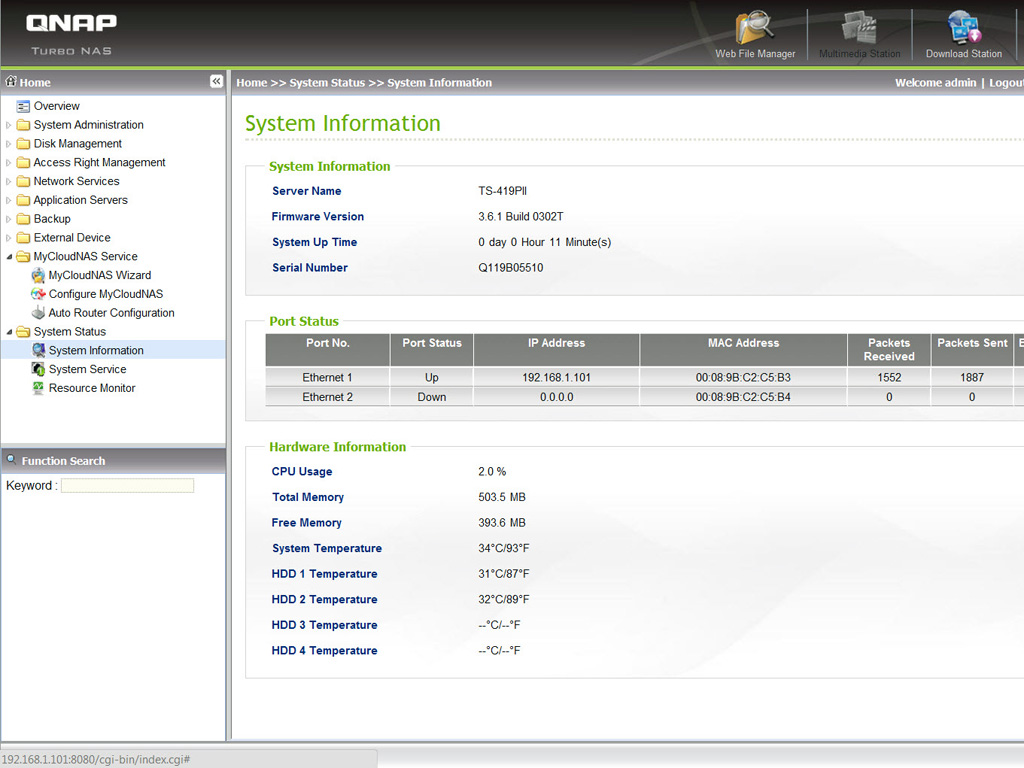
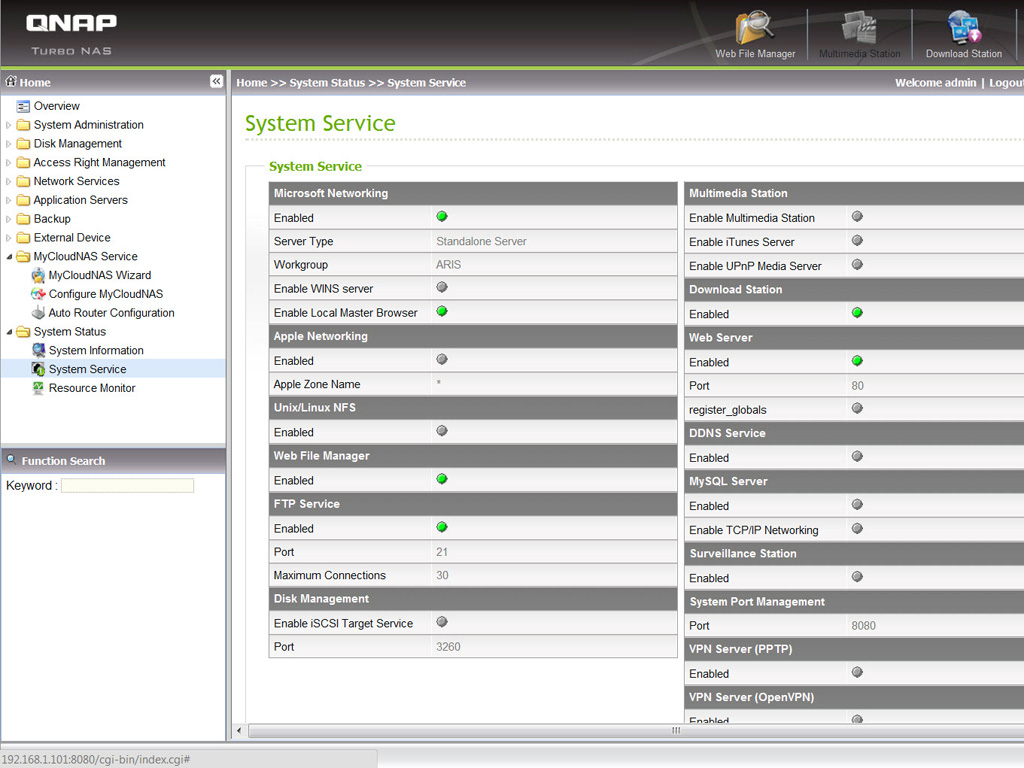
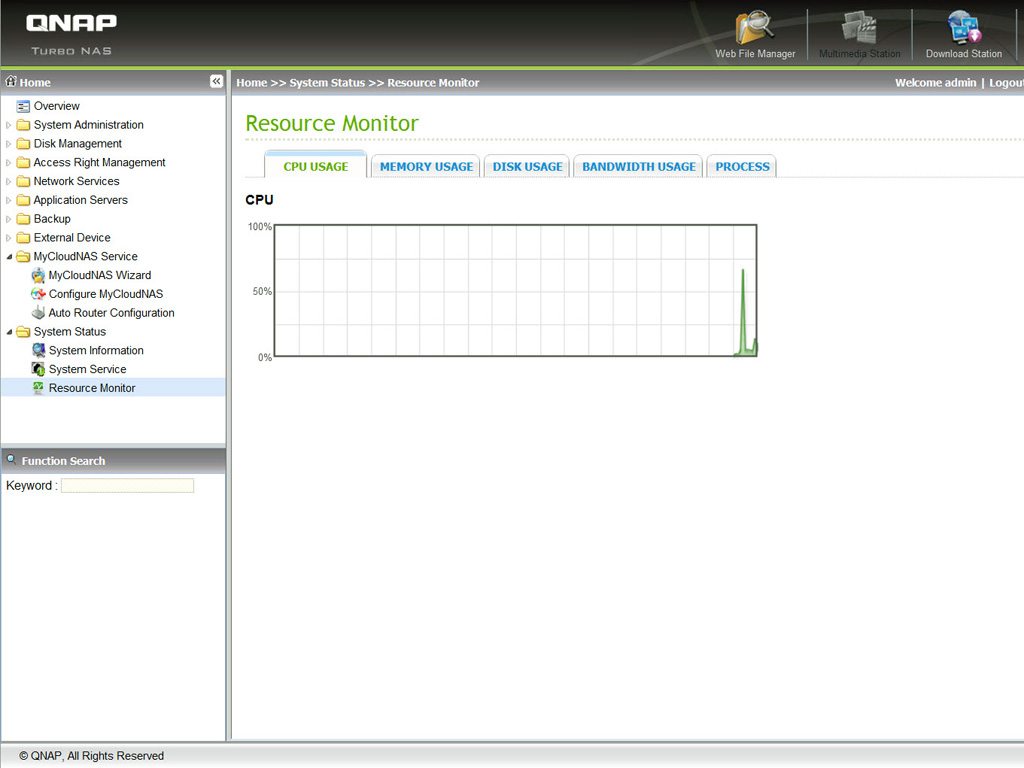
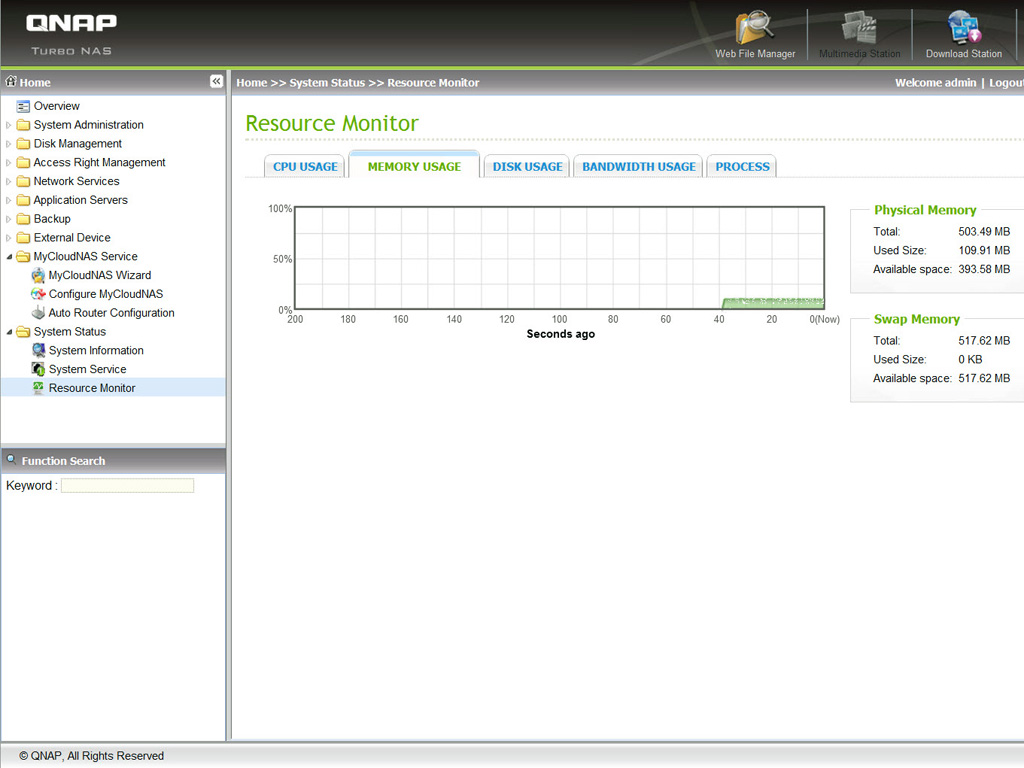
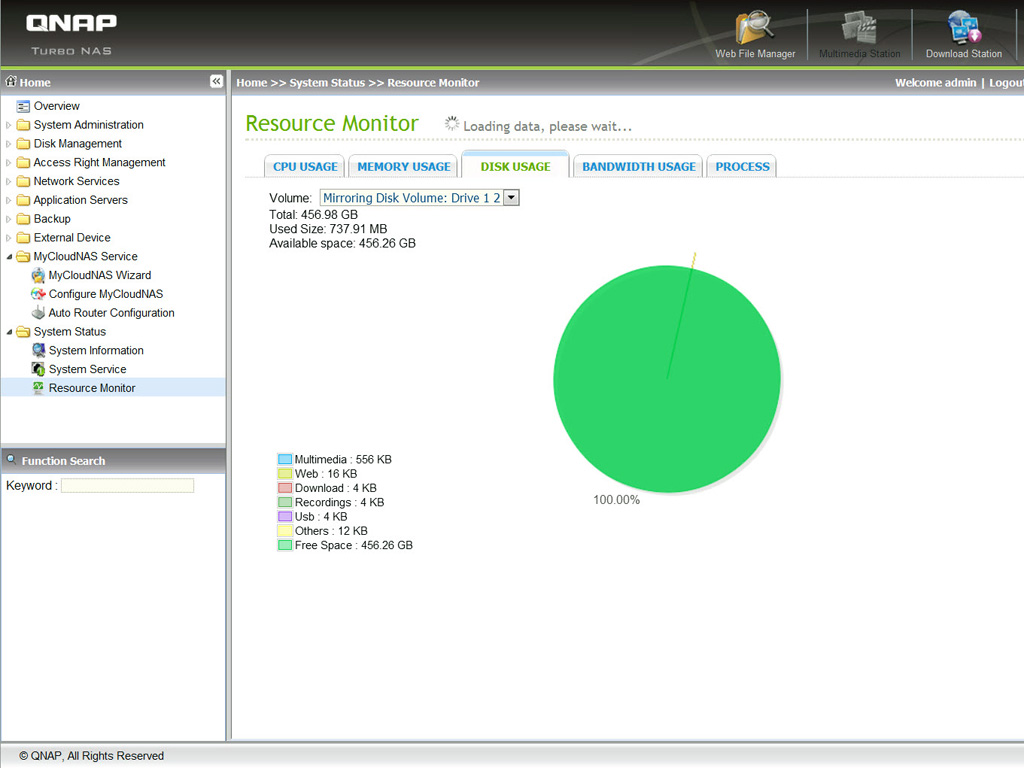

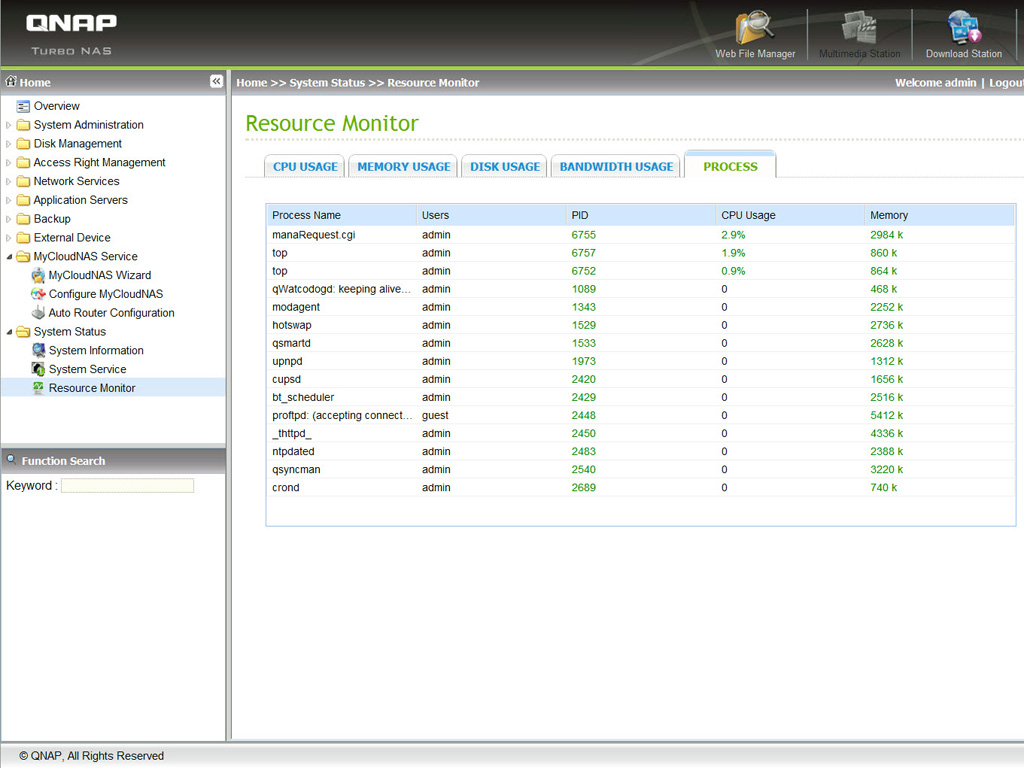
From the System Status functions you will get vital information about the NAS like system information, take a look at the system services and check which are enabled and finally access the resource monitor. The later shows you the CPU, memory, disk and bandwidth usage and also lists the running processes.
Mar 28th, 2025 03:18 EDT
change timezone
Latest GPU Drivers
New Forum Posts
- TPU's Nostalgic Hardware Club (20134)
- Microprose: Falcon 5.0 - Well under development- yeay (4)
- What are you playing? (23283)
- The TPU UK Clubhouse (25983)
- Post your Speedtest.net Speeds! (2355)
- Smelly brand new graphic cards? Remanufactured? (14)
- Your PC ATM (35294)
- Gigabyte graphic card - TIM GEL application failure? (11)
- Sexy Mechanical Keyboard Thread (504)
- Problem with Trottlestop and HWINFO64 on MSI Raider 18 (28)
Popular Reviews
- Sapphire Radeon RX 9070 XT Pulse Review
- Samsung 9100 Pro 2 TB Review - The Best Gen 5 SSD
- Assassin's Creed Shadows Performance Benchmark Review - 30 GPUs Compared
- Pulsar Feinmann F01 Review
- ASRock Phantom Gaming B860I Lightning Wi-Fi Review
- be quiet! Pure Rock Pro 3 Black Review
- Sapphire Radeon RX 9070 XT Nitro+ Review - Beating NVIDIA
- ASRock Radeon RX 9070 XT Taichi OC Review - Excellent Cooling
- AMD Ryzen 7 9800X3D Review - The Best Gaming Processor
- ASUS ProArt X870E-Creator Wi-Fi Review
Controversial News Posts
- AMD RDNA 4 and Radeon RX 9070 Series Unveiled: $549 & $599 (260)
- MSI Doesn't Plan Radeon RX 9000 Series GPUs, Skips AMD RDNA 4 Generation Entirely (142)
- Microsoft Introduces Copilot for Gaming (123)
- AMD Radeon RX 9070 XT Reportedly Outperforms RTX 5080 Through Undervolting (118)
- NVIDIA Reportedly Prepares GeForce RTX 5060 and RTX 5060 Ti Unveil Tomorrow (115)
- Over 200,000 Sold Radeon RX 9070 and RX 9070 XT GPUs? AMD Says No Number was Given (100)
- NVIDIA GeForce RTX 5050, RTX 5060, and RTX 5060 Ti Specifications Leak (96)
- Retailers Anticipate Increased Radeon RX 9070 Series Prices, After Initial Shipments of "MSRP" Models (90)