 4
4
QNAP TVS-682T 6-Bay Thunderbolt NAS Review
Administration »Qfinder
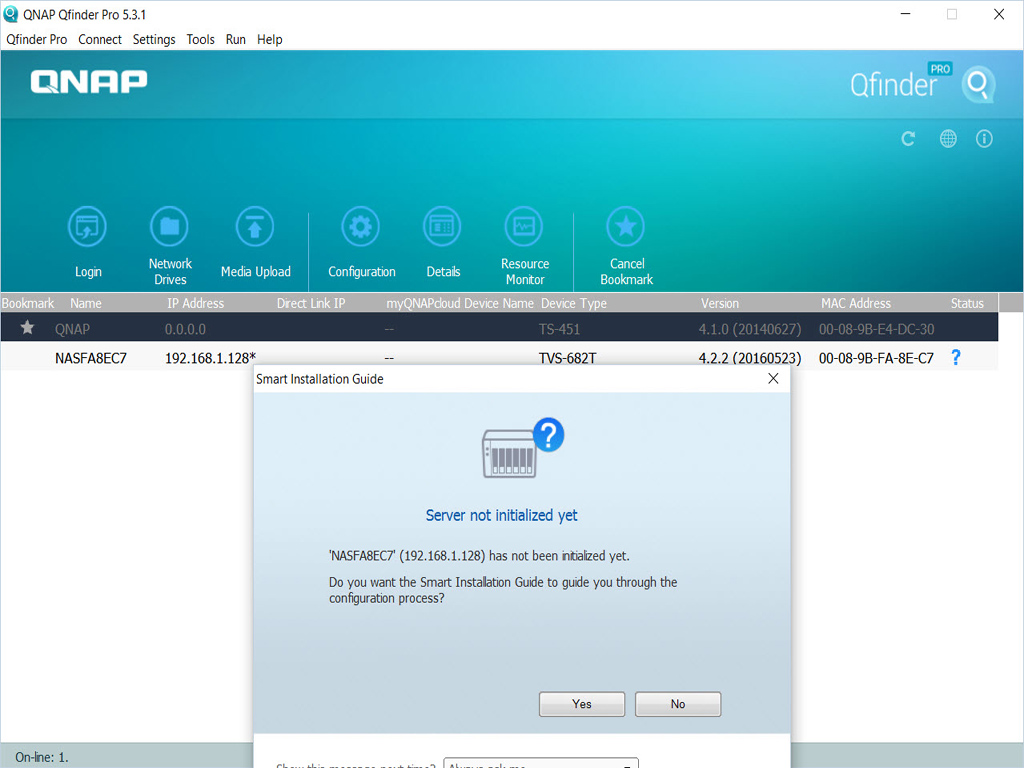
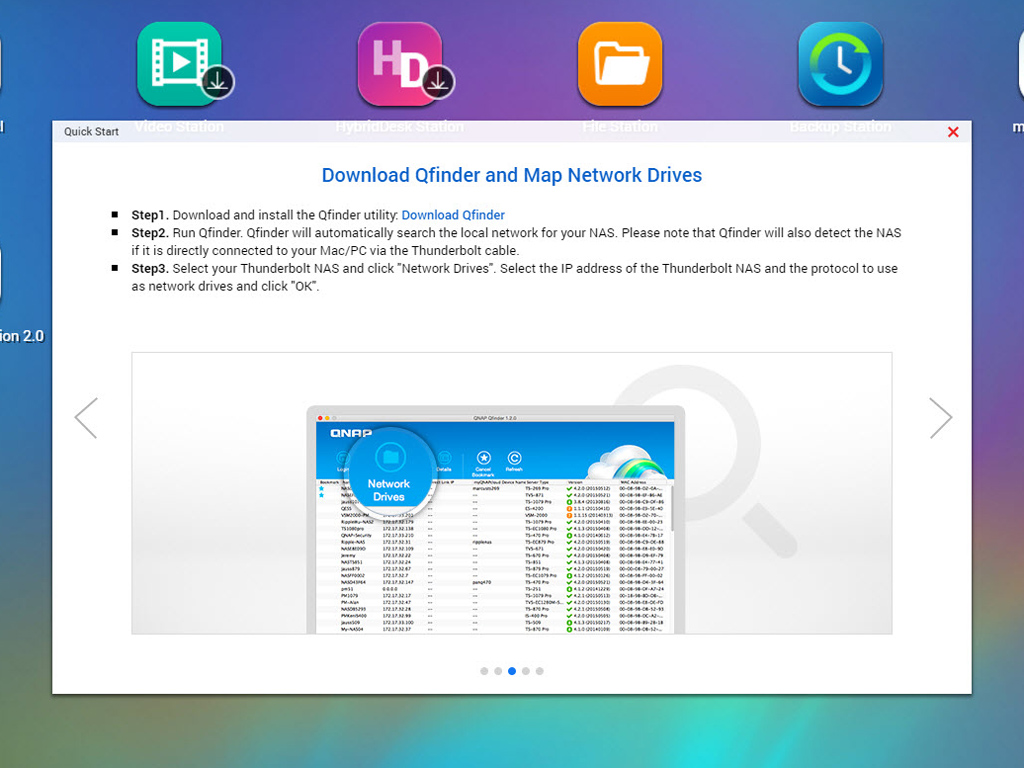
We installed Qfinder on a PC that belongs to the same network as the NAS before proceeding. Qfinder will find every QNAP server on the network if you don't know its IP address or want to set the NAS up without the cloud. Qfinder can also check for any available firmware updates since QNAP releases firmware updates quite often. You can even map network drives, search for network cameras, or shutdown or restart the NAS, or perform other such useful functions.
Initial Setup
There are two ways to start the setup procedure. The first is to type "start.qnap.com" into any browser on a client PC that is on the same network as the NAS once the hardware is ready and the NAS has been turned on. You will be asked to enter your cloud key after you have done so. Do and you will get to register the NAS by creating a myQNAPcloud account. You can also start the procedure in Qfinder itself.
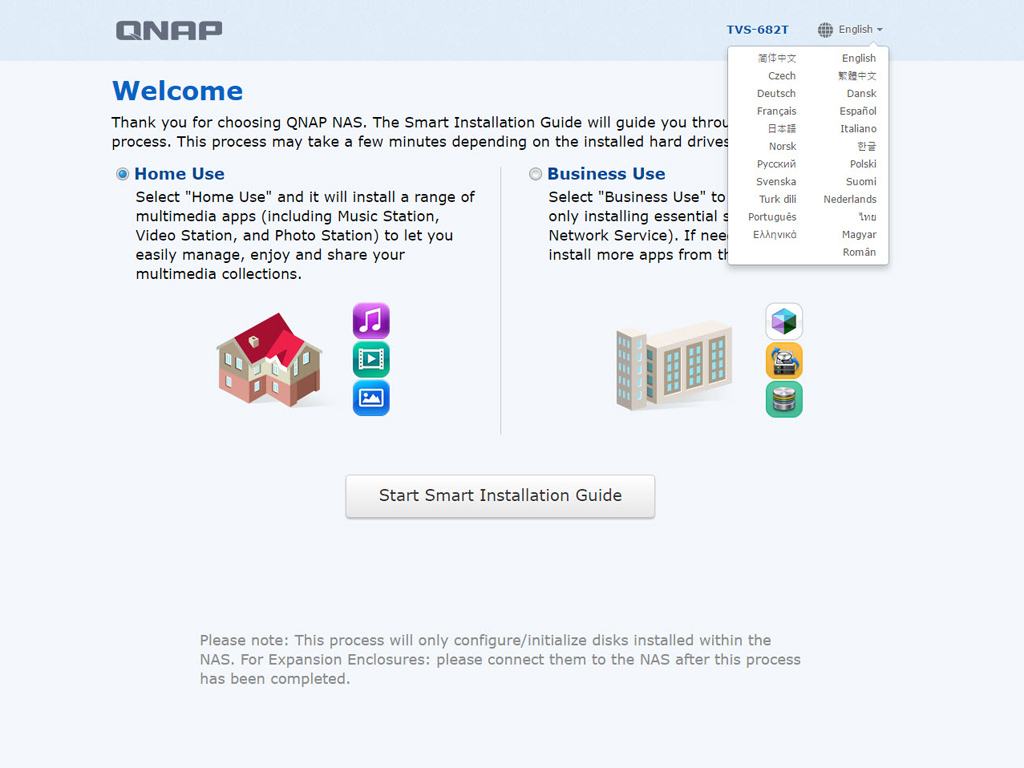
This step will have you pick the usage model that best describes your needs. Based on your selection, corresponding applications will automatically be installed during initialization. As you can see in the second screenshot above, multiple languages are supported.

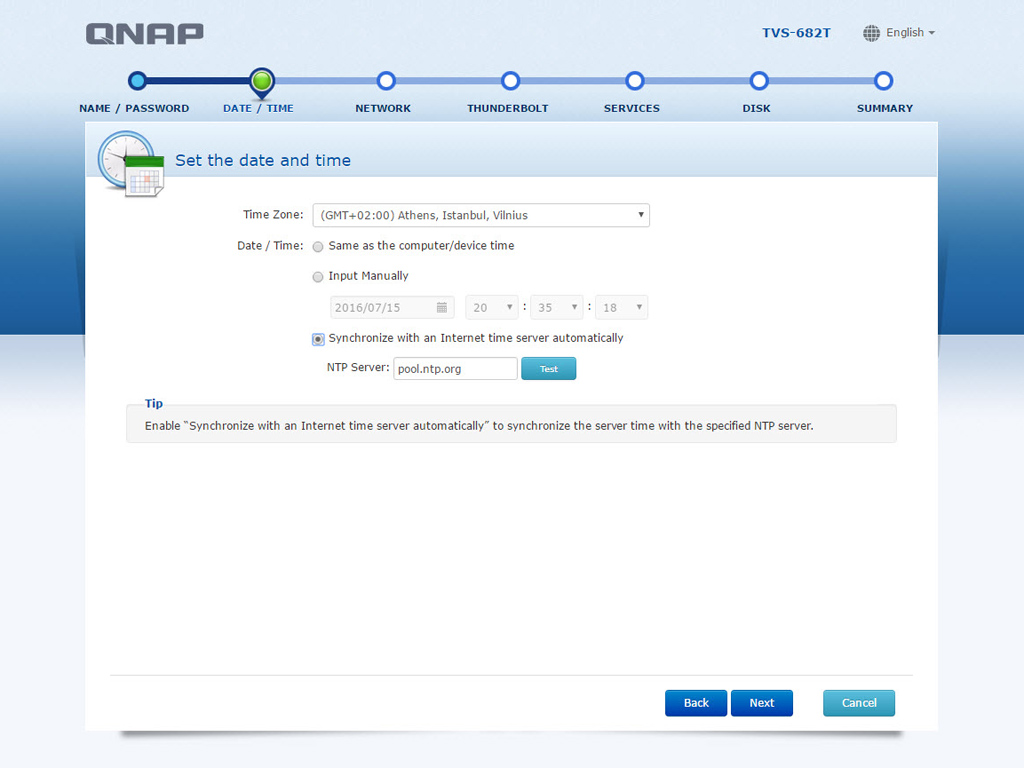
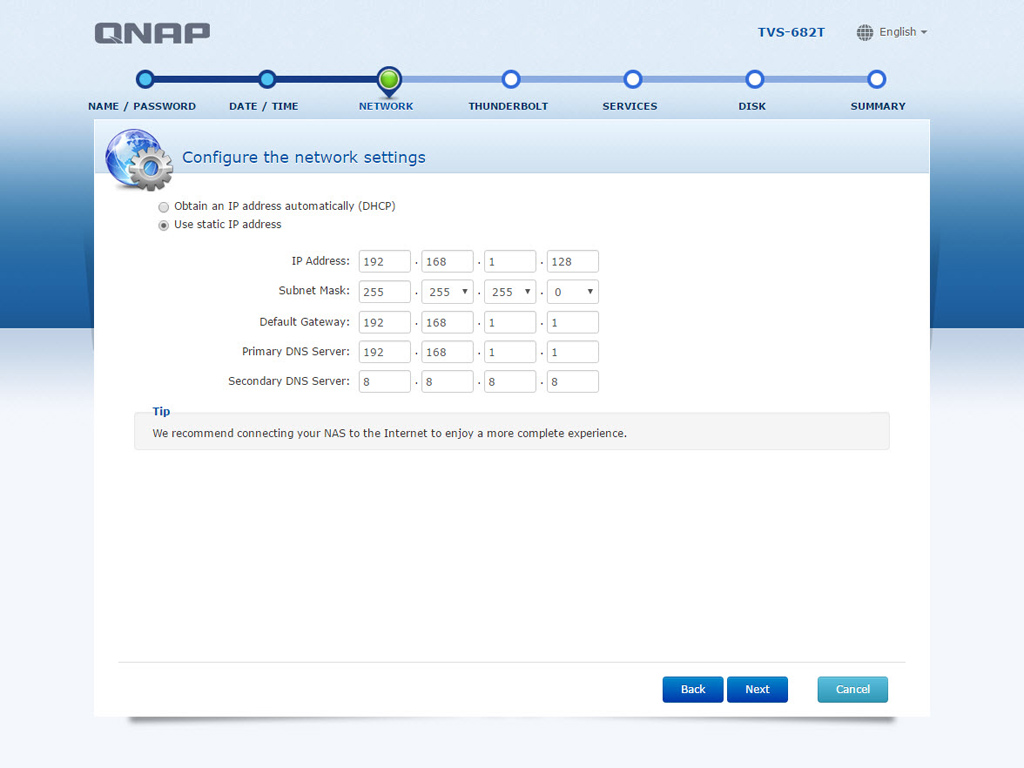
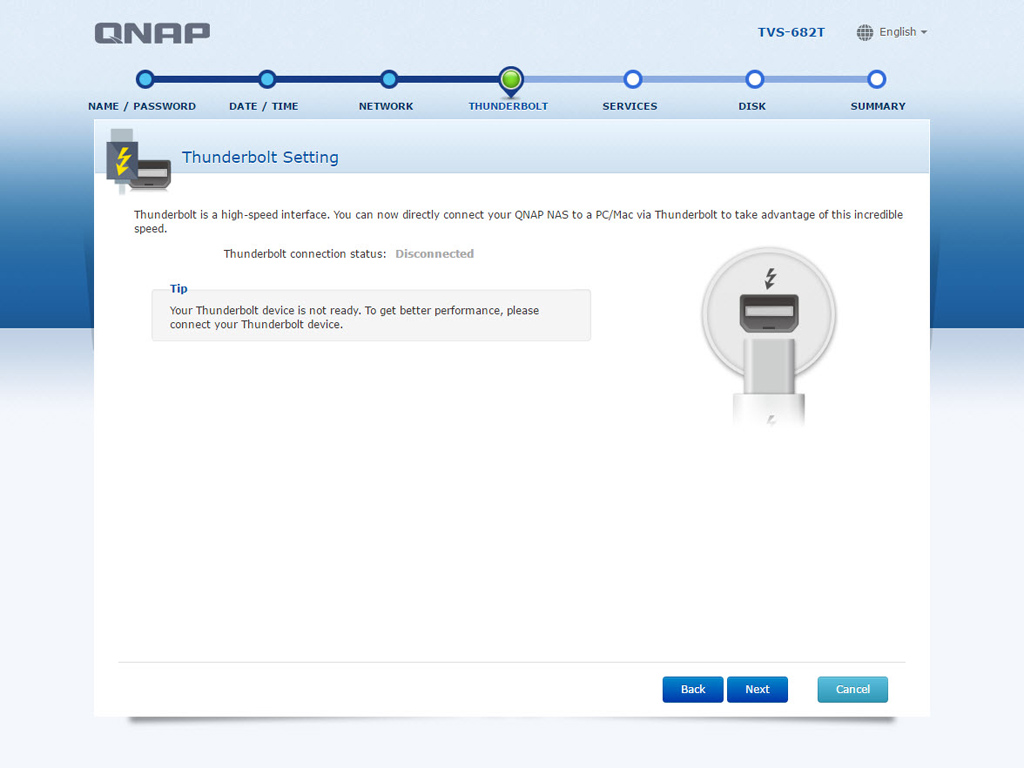
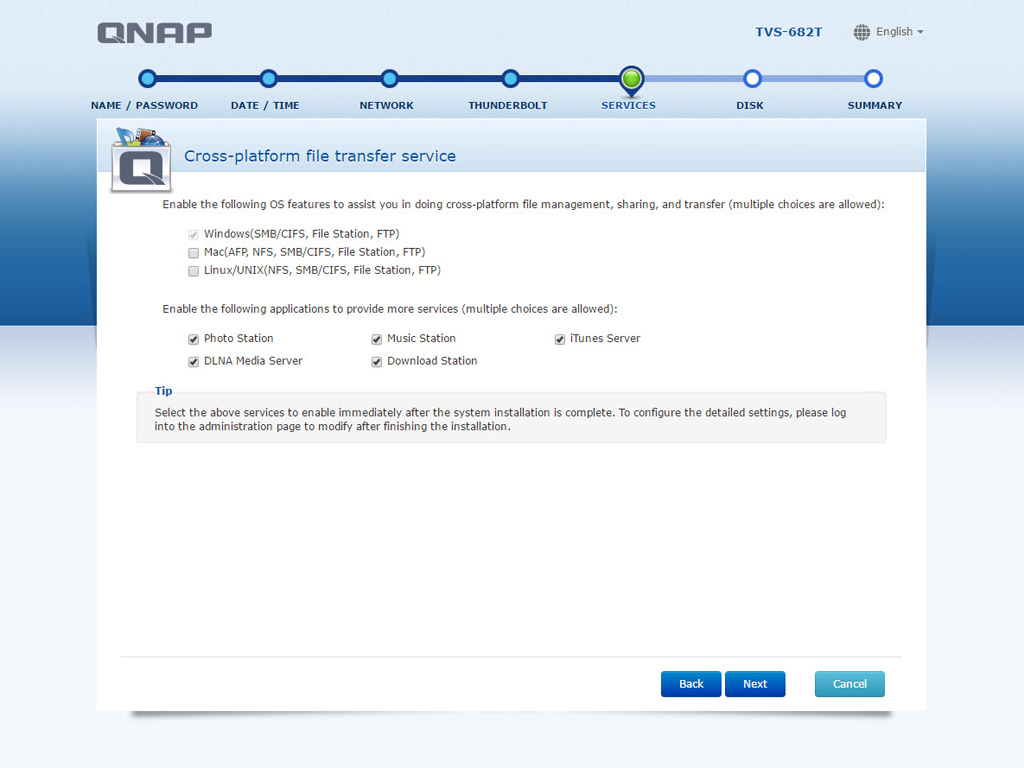
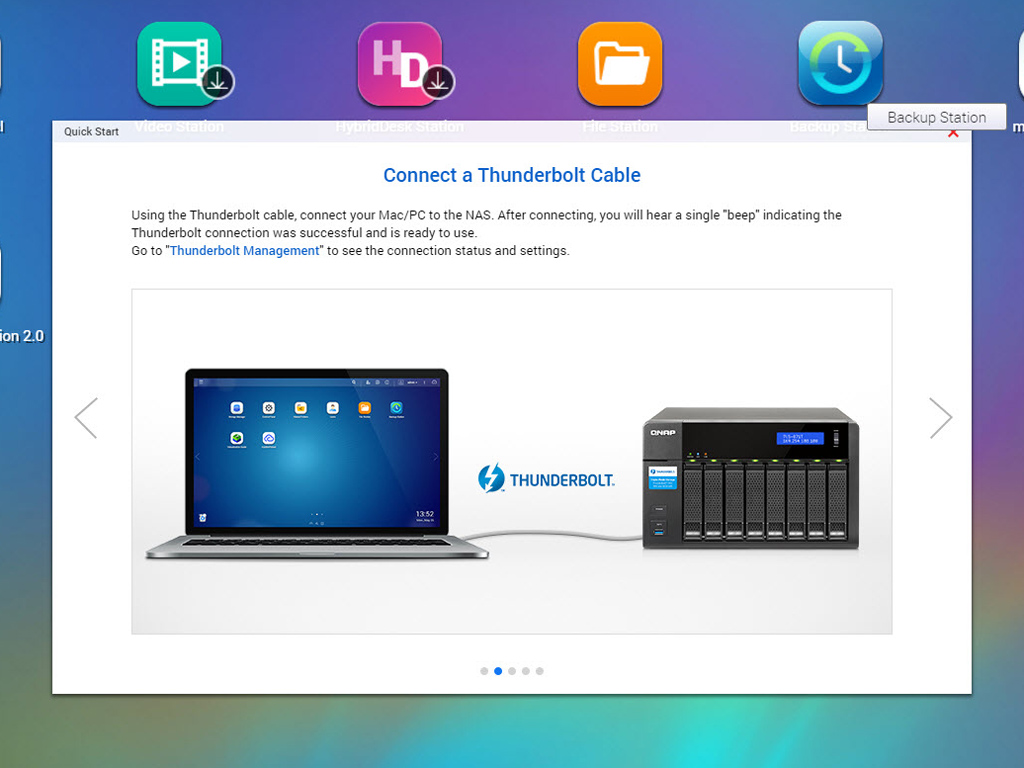
You will now only have to follow through on the quick-setup guide's steps. Compared to other QNAP servers, there is the extra step of configuring Thunderbolt since this NAS includes two such ports.
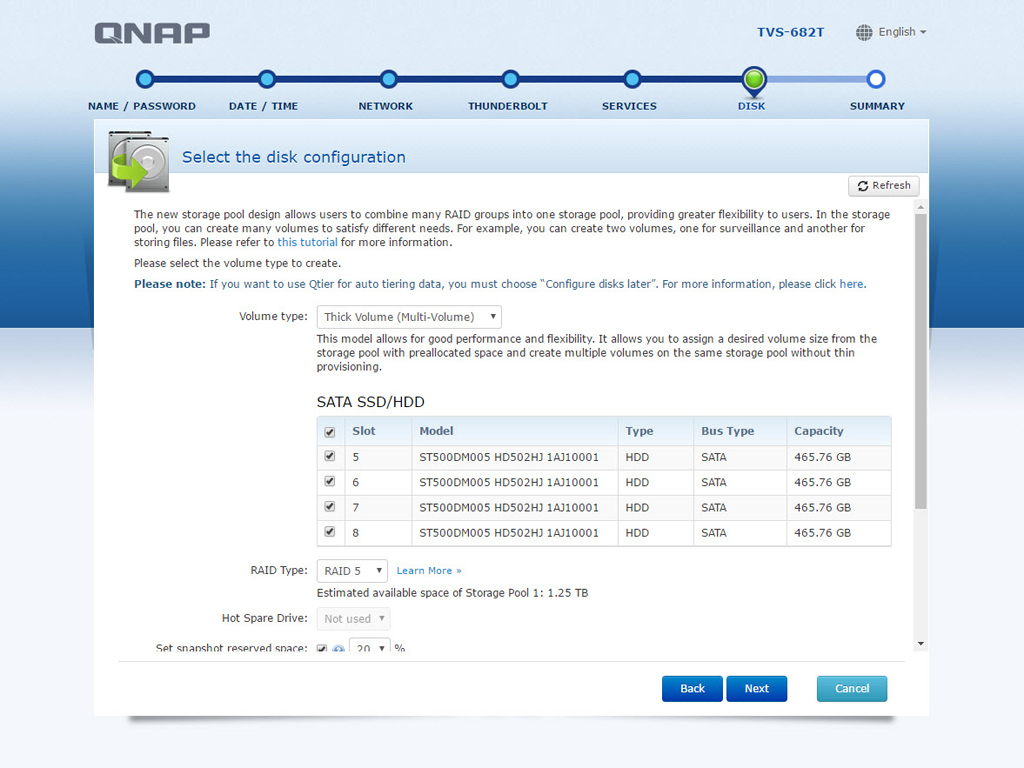
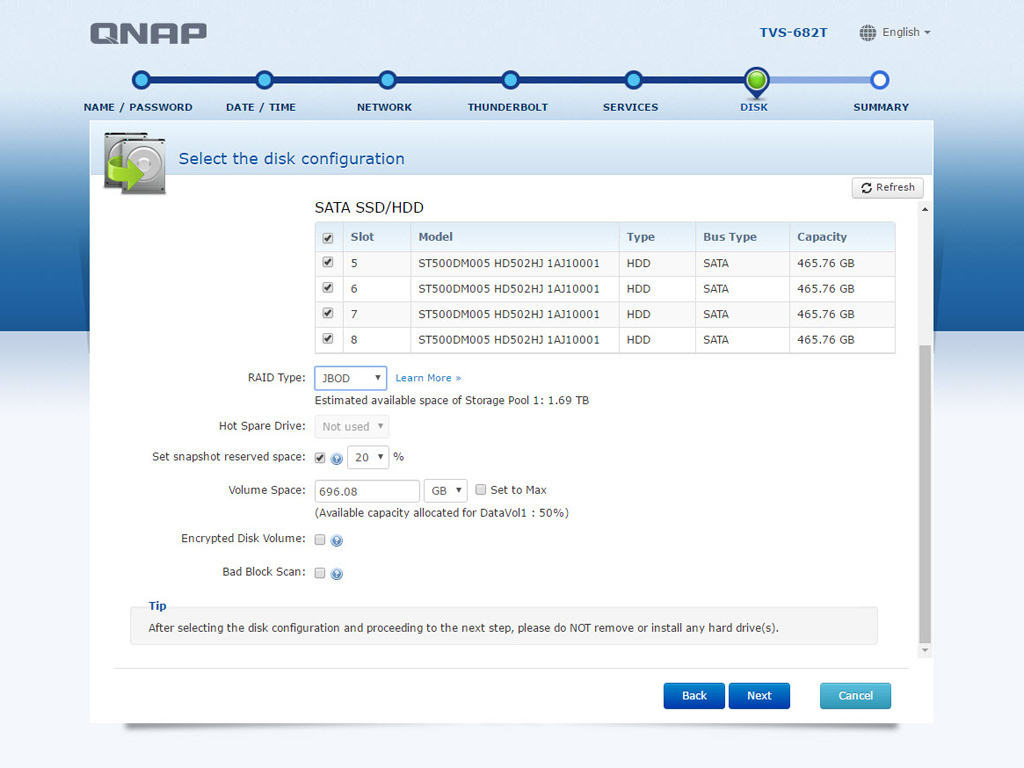
The most important step is the RAID level selection of all installed HDDs. Whether you want to conduct a bad-block scan is up to you as it will take some time to finish, but I'd recommend it.
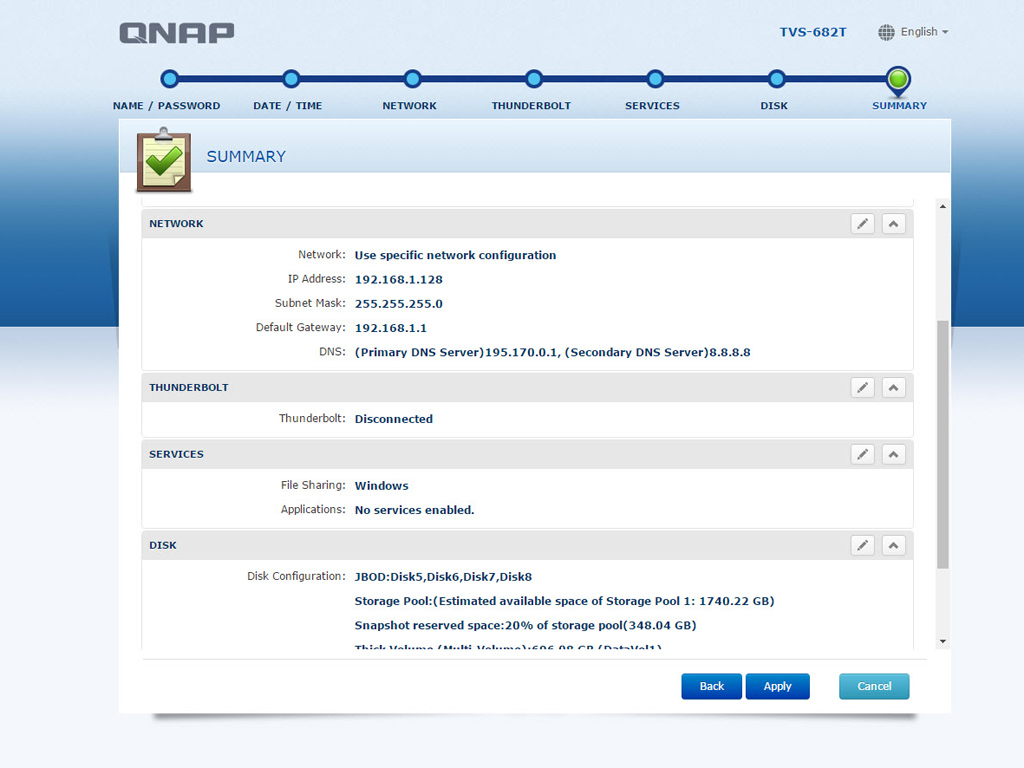
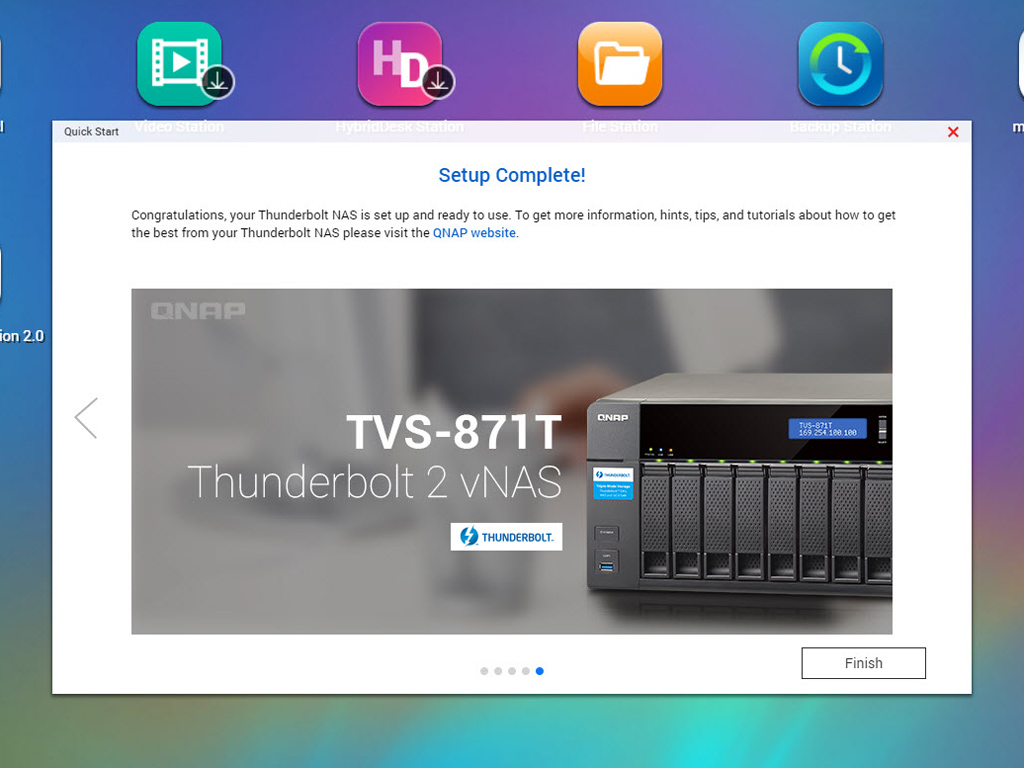
The guide's last screen will summarize all the choices you have made. Hit the apply button and you will have to wait until all the settings have been applied, which doesn't take long unless you picked a RAID level to synchronize.
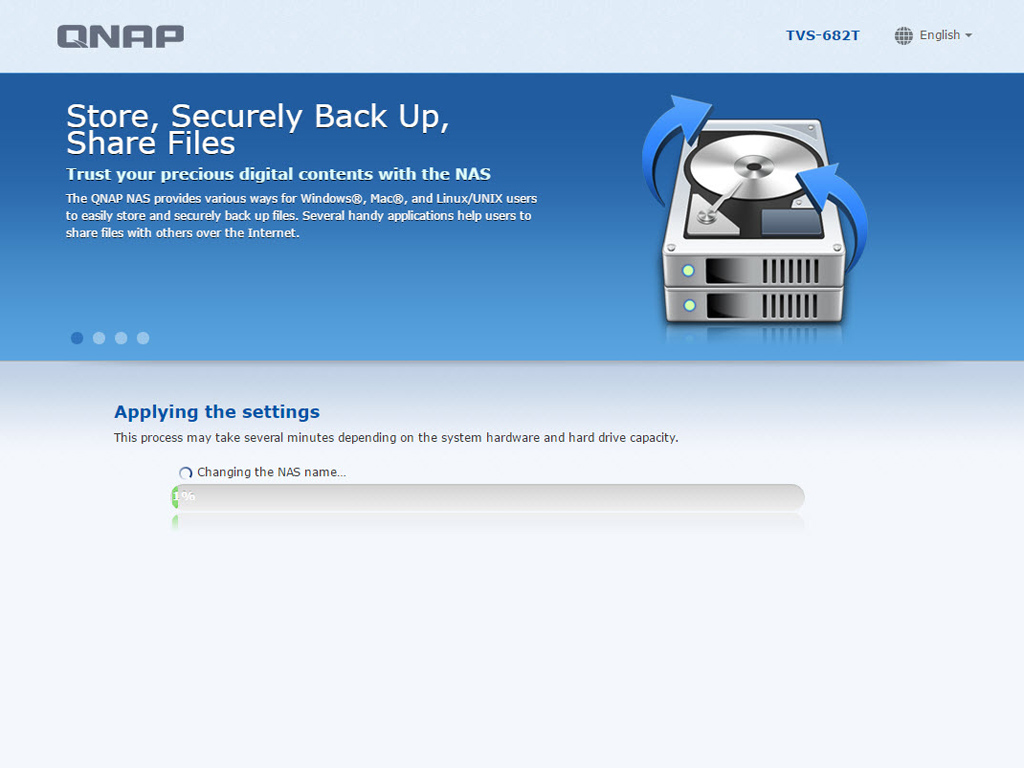

The whole initialization process won't take long.

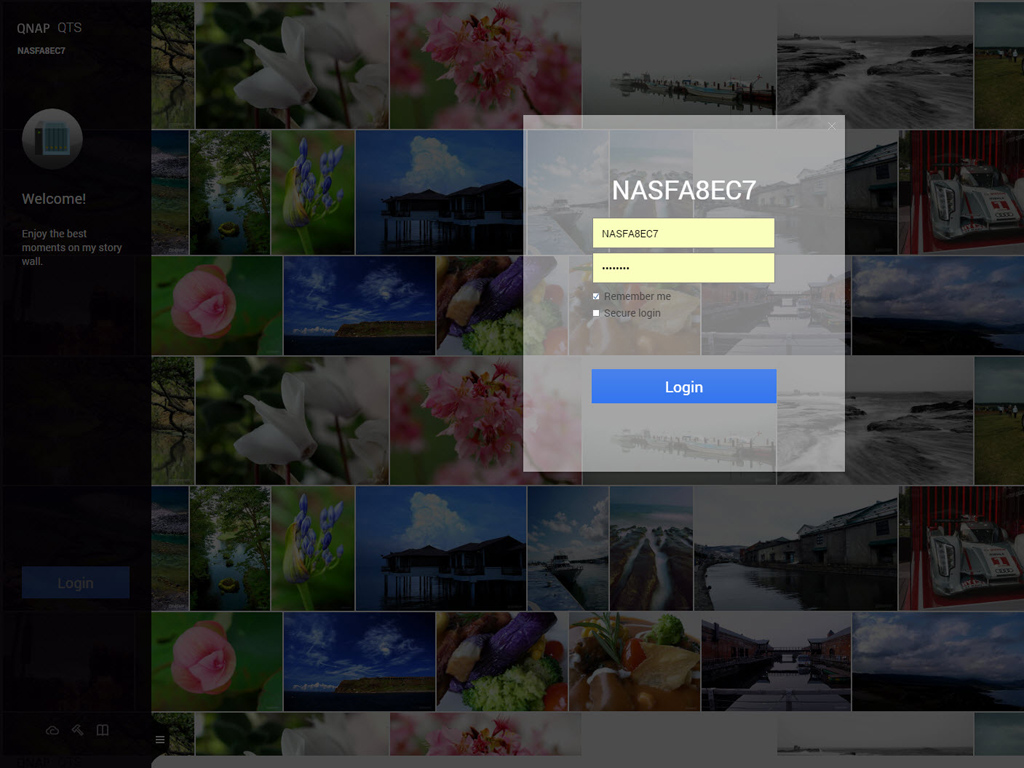
You will be given access to the login page after the NAS has been configured.
Web Interface
According to QNAP, the improved design of the QTS (QNAP Turbo NAS System) 4.2 operating system minimizes unnecessary interference and clutter, and its redesigned interface even allows inexperienced users to quickly familiarize themselves with QTS and its different functions. Improved multitasking and better modal windowing also enhance productivity. Like in a traditional Windows PC environment, you can minimize running apps in QTS 4.2 to the task bar to easily switch between them. You can also drag and drop a desktop icon on top of another in order to create groups like in Apple's iOS.The three QTS modes, Tab, Window and Frameless, allow you to use the operating system more efficiently on whatever device you are accessing it with. Tab mode, for example, allows you to more conveniently switch between screens on a tablet, while Frameless mode improves the browsing and viewing experience of photos in Photo Station.
Based on our experience, QTS is among the top three operating systems for NAS servers, thanks to QNAP's strong programming team that has been supporting and developing it all this time. It has been tweaked for quite a while and has matured nicely, offering stability and increased functionality. We also don't make a secret of the fact that QTS and Synology's DSM (DiskStation Manager) are two of our favorite operating systems.
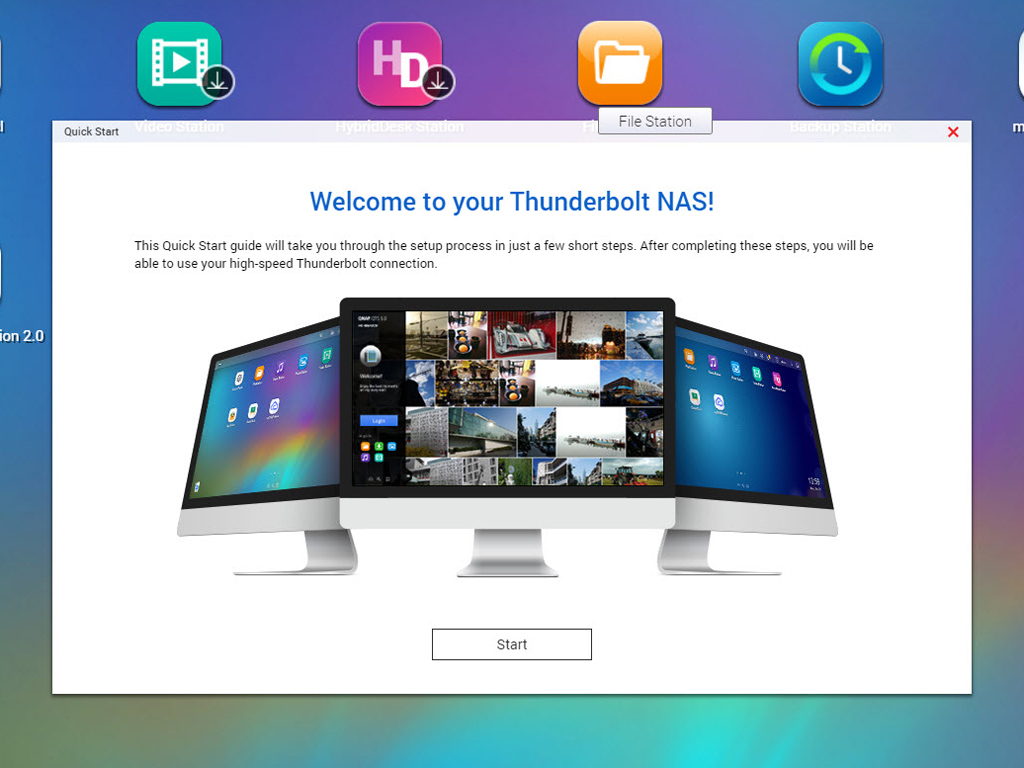

After logging into QTS for the first time, you will be greeted by Quick Start, which will offer to take you through a quick but highly informative tour that will familiarize you with the NAS server's major functions and features, including its Thunderbolt interface. Should you want to explore some of the NAS server's capabilities, it is a good guided tour to take if you have never used a QNAP product before.
Sep 28th, 2024 18:14 EDT
change timezone
Latest GPU Drivers
New Forum Posts
- SATA power for a video card (53)
- ASUS DUAL-RX580-O8G (Samsung memory) (sub 1043 0597) crashes in games (1)
- [Nature] Stem cells reverse woman’s type 1 diabetes — a first in the world of science & technology (9)
- Copper core CPU cooler for Intel 10th generation (8)
- Your PC ATM (34916)
- Ryzen 7600x with 2x8GB and 1x16GB is it possible to run? (9)
- Help find gaming VBIOS Asus RX 470 Mining Samsung (1)
- Sapphire Nitro+ RX580 BIOS weird + cannot enter mb BIOS (37)
- Free Games Thread (4071)
- [Intel AX2xx/AX16xx/BE2xx/BE17xx] Intel Modded Wi-Fi Driver with Intel® Killer™ Features (46)
Popular Reviews
- DDR5 Memory Performance Scaling with AMD Zen 5
- NZXT H7 Flow (2024) Review
- Montech XR Review
- God of War Ragnarök: DLSS vs. FSR vs. XeSS Comparison Review
- God of War Ragnarök Performance Benchmark Review - 35 GPUs Tested
- PCCOOLER RZ820 Review
- VAXEE XE-S Wireless Review
- God of War Ragnarök Handheld Performance Review
- Corsair 3500X ARGB Review
- Final Fantasy XVI Performance Benchmark Review - 35 GPUs Tested
Controversial News Posts
- AMD Confirms Retreat from the Enthusiast GPU Segment, to Focus on Gaining Market-Share (263)
- Sony Reveals the PlayStation 5 Pro, Launches November 7th (215)
- NVIDIA GeForce RTX 5090 and RTX 5080 Specifications Surface, Showing Larger SKU Segmentation (154)
- AnandTech Shuts Down, an Icon of Tech News and Reviews Rides into the Sunset (151)
- Cyberpunk 2077 Update Adds AMD FSR 3 and Frame Generation for PC Players (121)
- AMD Ryzen 5 7600X3D Launched in the US as a MicroCenter-exclusive for $300, Part of a Bundle (119)
- Report: Intel Could Spin Out Foundry Business or Cancel Some Expansion Plans to Control Losses (113)
- AMD Rushing in Ryzen 7 9800X3D, Expect Product Launch Late-October (112)