 19
19
Raidmax Blackstorm Review
Assembly & Finished Looks »A Closer Look - Inside
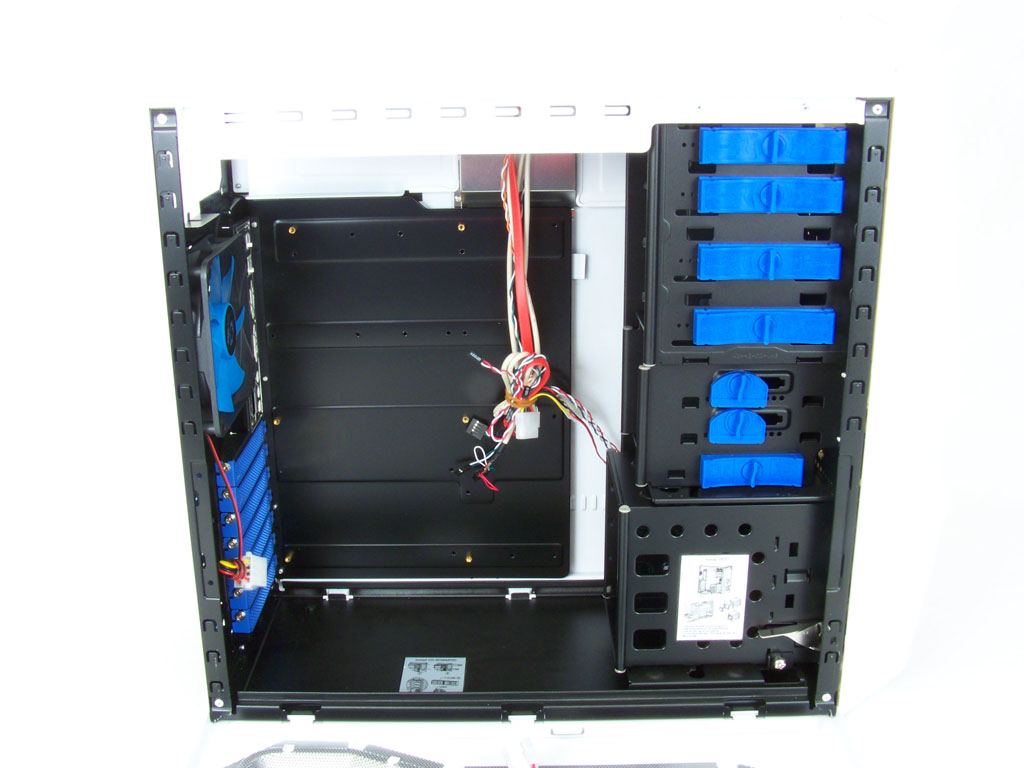
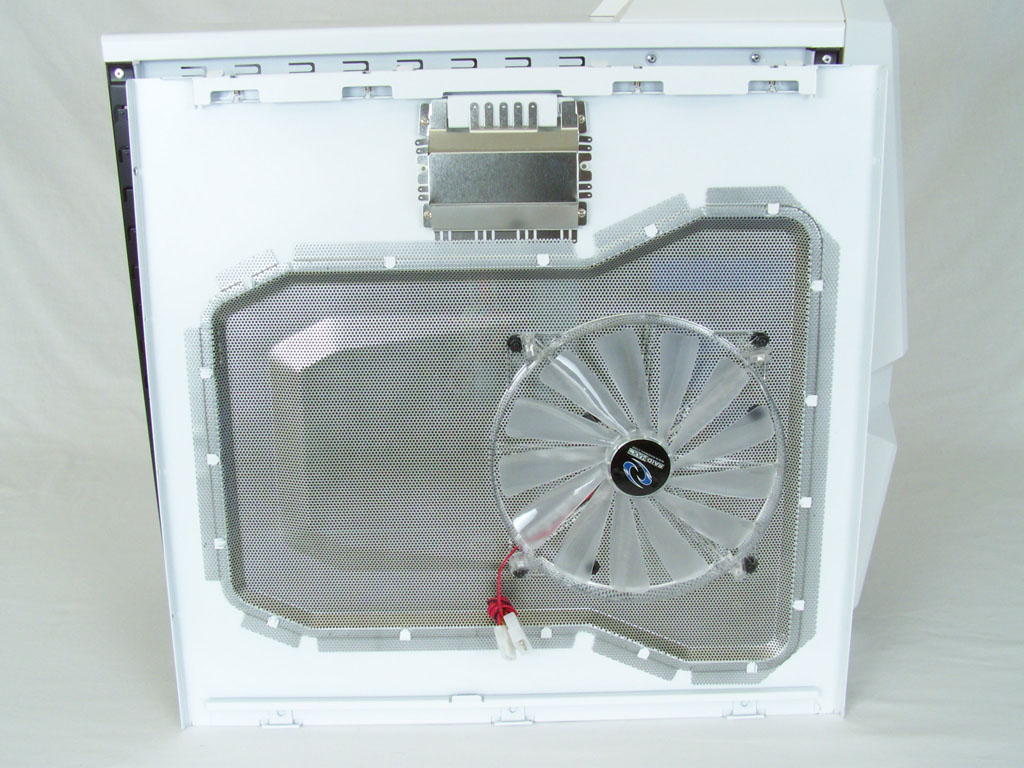
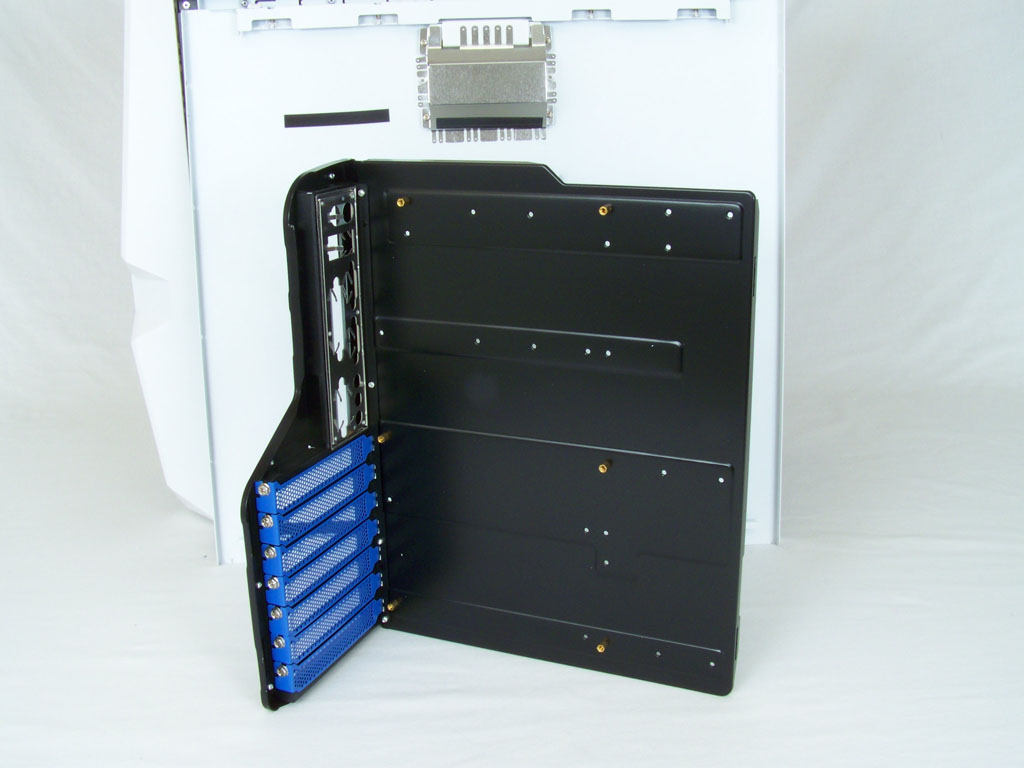
Opening the case panel we see the all black interior, which is a nice touch and contrasts the white exterior well. On the inside of the mesh panel you will find another fan of 200 mm diameter. 13 blades on the fan ensure that slow rotations per minute will still generate good air flow. On the right we have the back panel open and laid down. Raidmax has included a motherboard tray in the Blackstorm. It's held in place by the back panel but not by a hard mounting option like screws or clips.

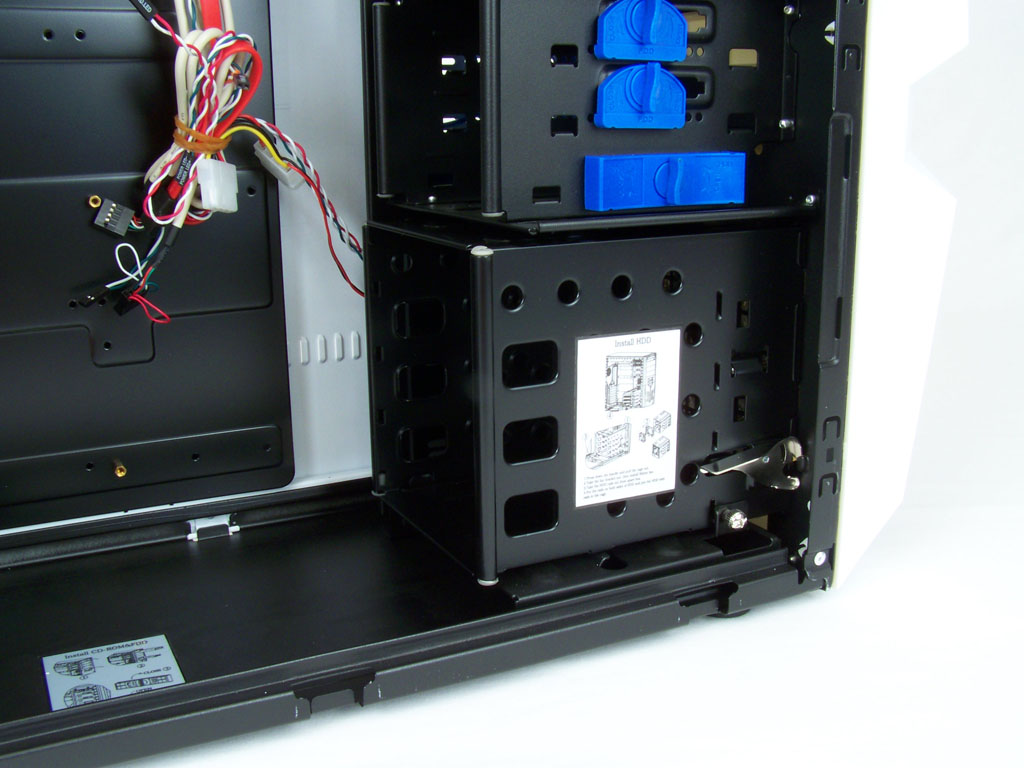
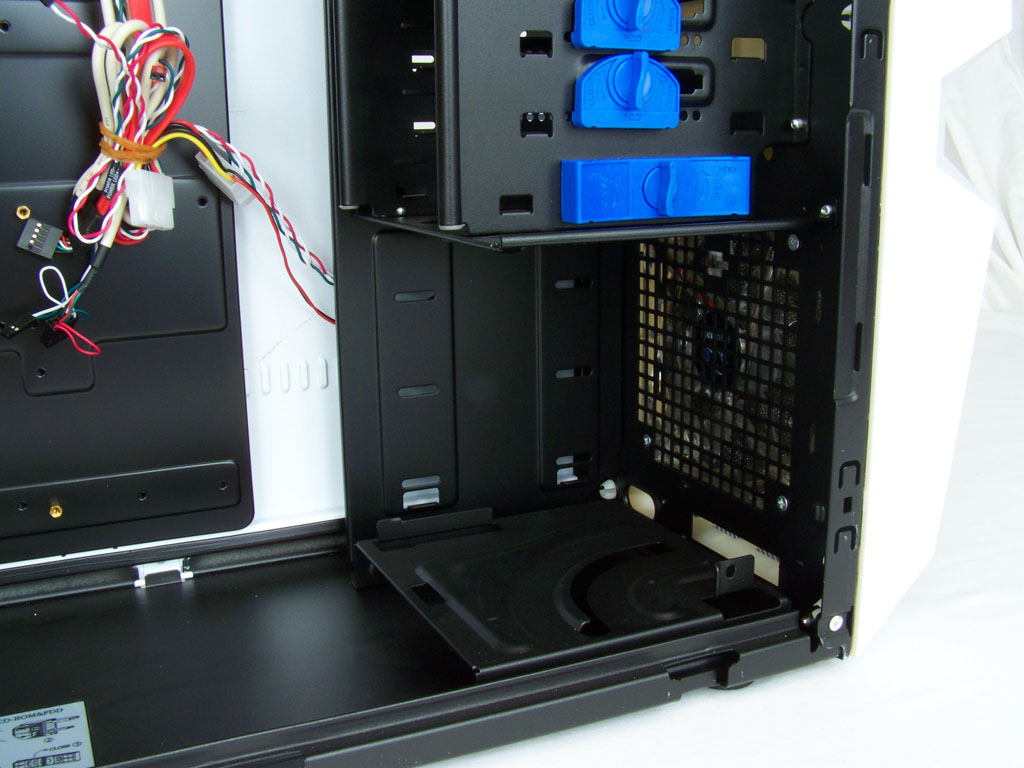
Here we have the inside front of the case. The top is lined with four 5.25" optical bay drives. Included below the optical drives are two 3.5" bays only one of which has access to the exterior front of the case. At the bottom Raidmax has equipped the Blackstorm with a removable hard drive bay: simply lift the latch and the bay swings out. With the bay removed we can view the front 120 mm fan which provides cool air across the hard drives and expansion cards.
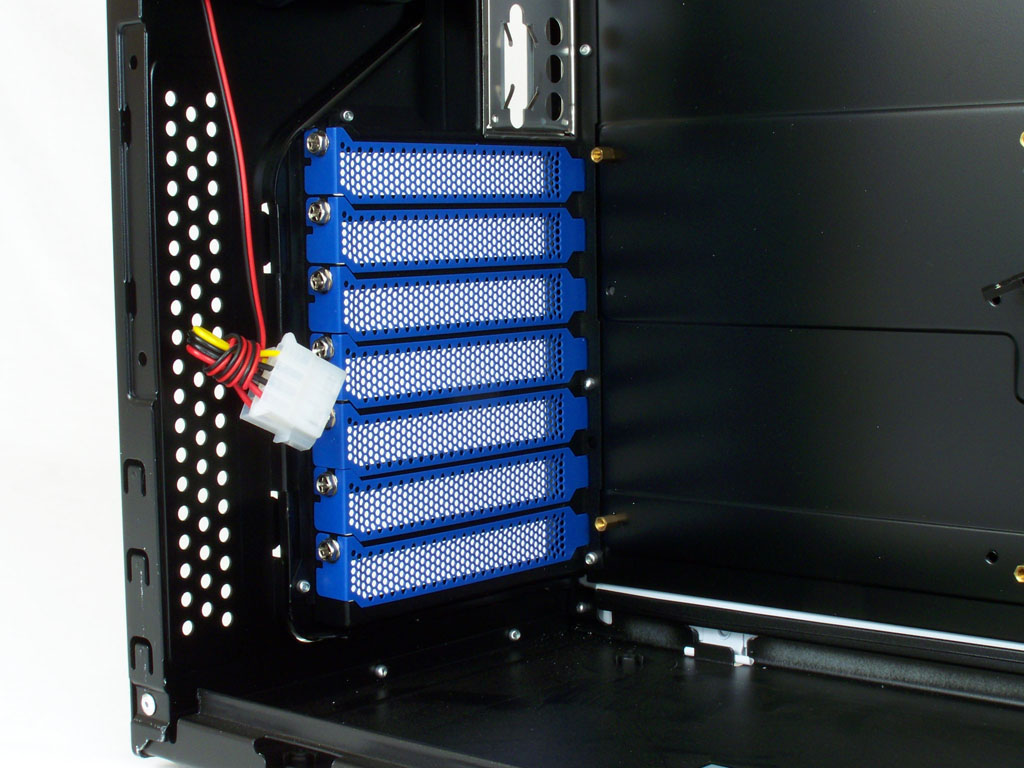
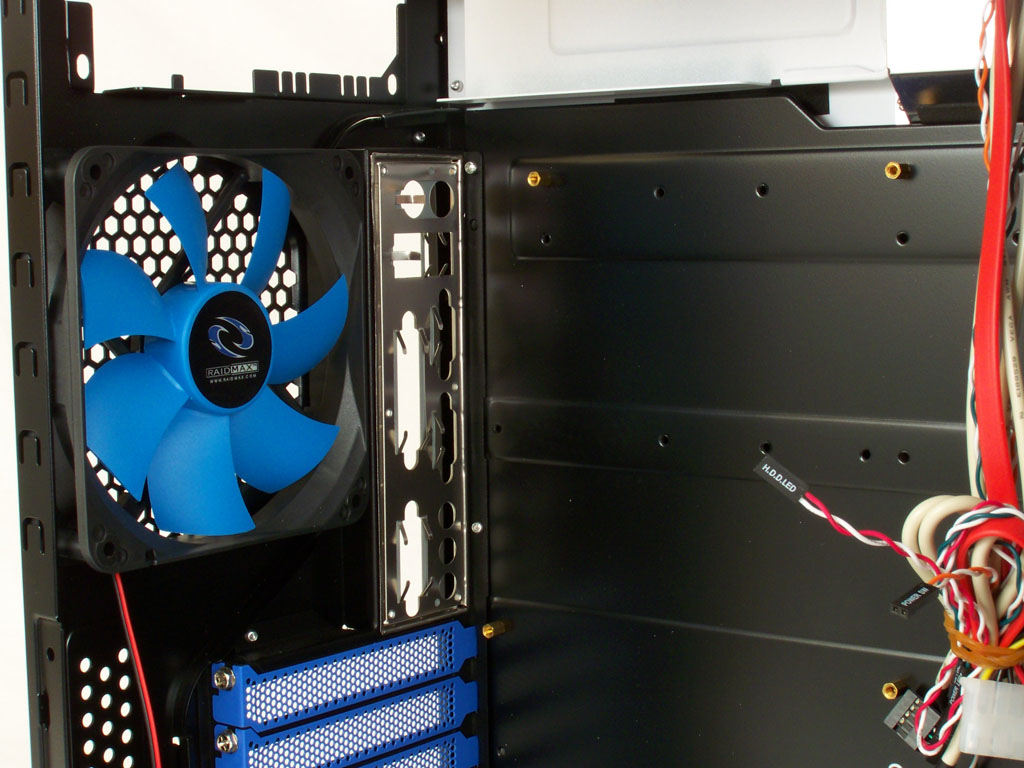
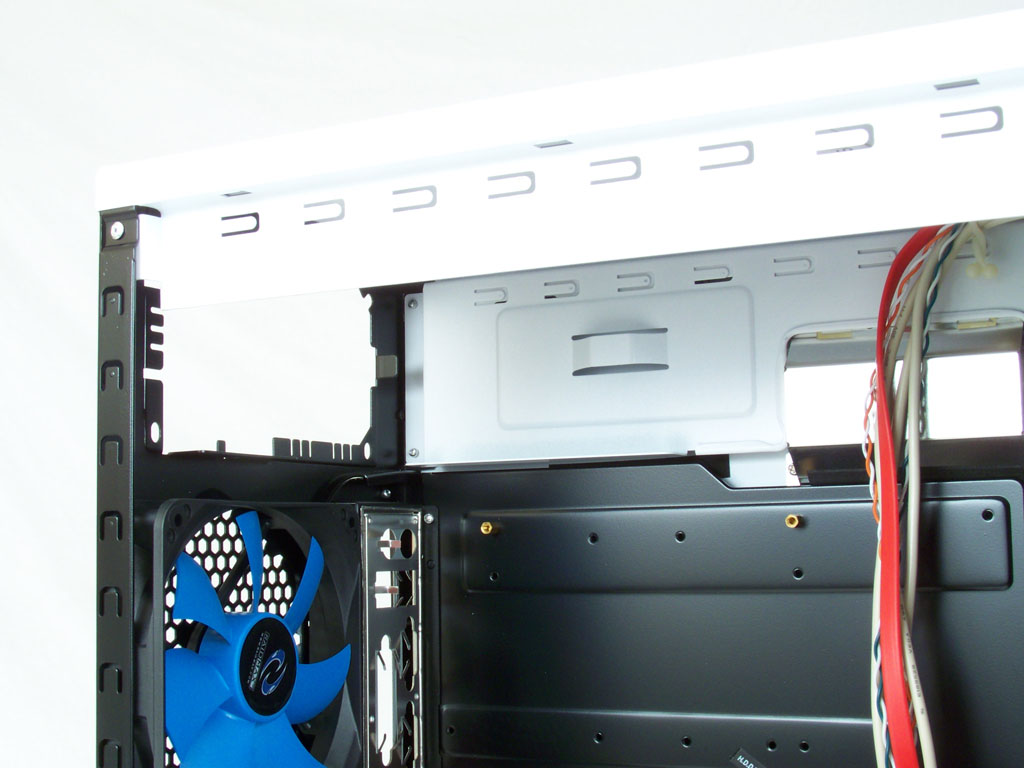
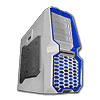
Continuing to the back of the inside of the case we have the seven blue expansion slot covers, which are nicely vented with tiny holes, which help maximize case air flow. The middle holds a nicely painted blue 120 mm fan, the fan is powered with a Molex connection. The top area is dedicated to the power supply mounting. There is a small stand to help hold smaller power supplies in place.
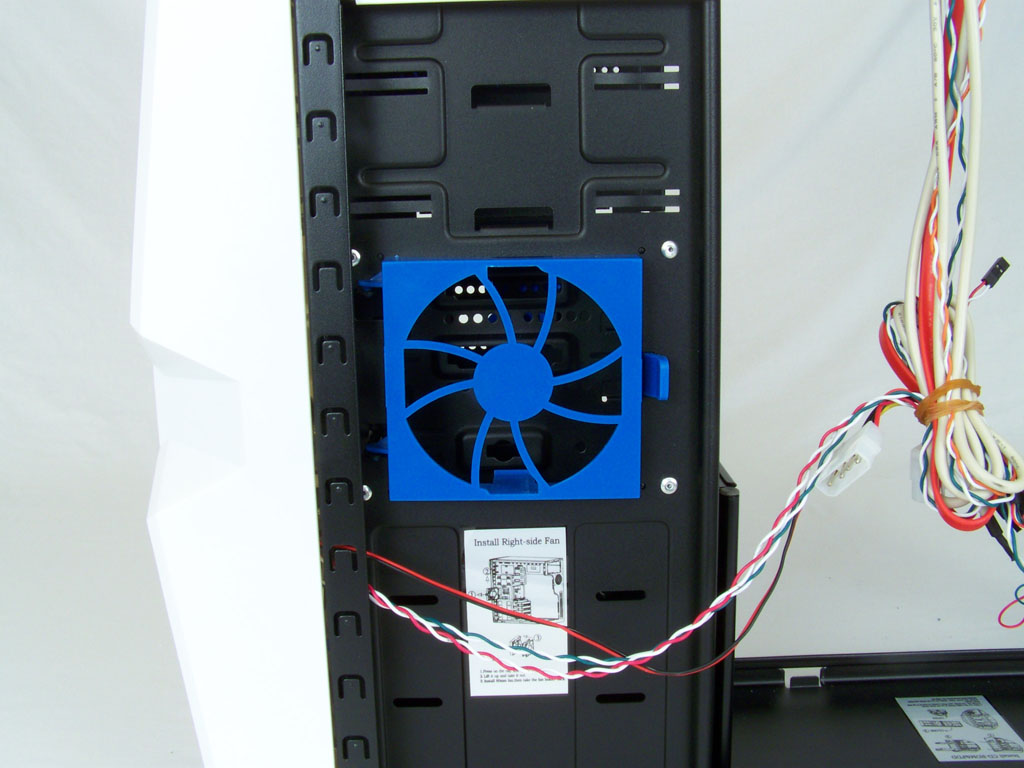
Here I have pulled the motherboard tray from the back panel, I really like this included option which makes it very easy to install a motherboard into a case. I also wanted to point out the small blue 80 mm fan holder placed on the back inside of the 3.5" drive bays. Raidmax did not include a fan, which is fine but the instructions say it can be installed on the hard drive bay which I could simply not do. It's a nice thought to include the fan holder because if I needed to remove the hard drive bay for a large graphics card I can still have air flow over the hard drive(s).
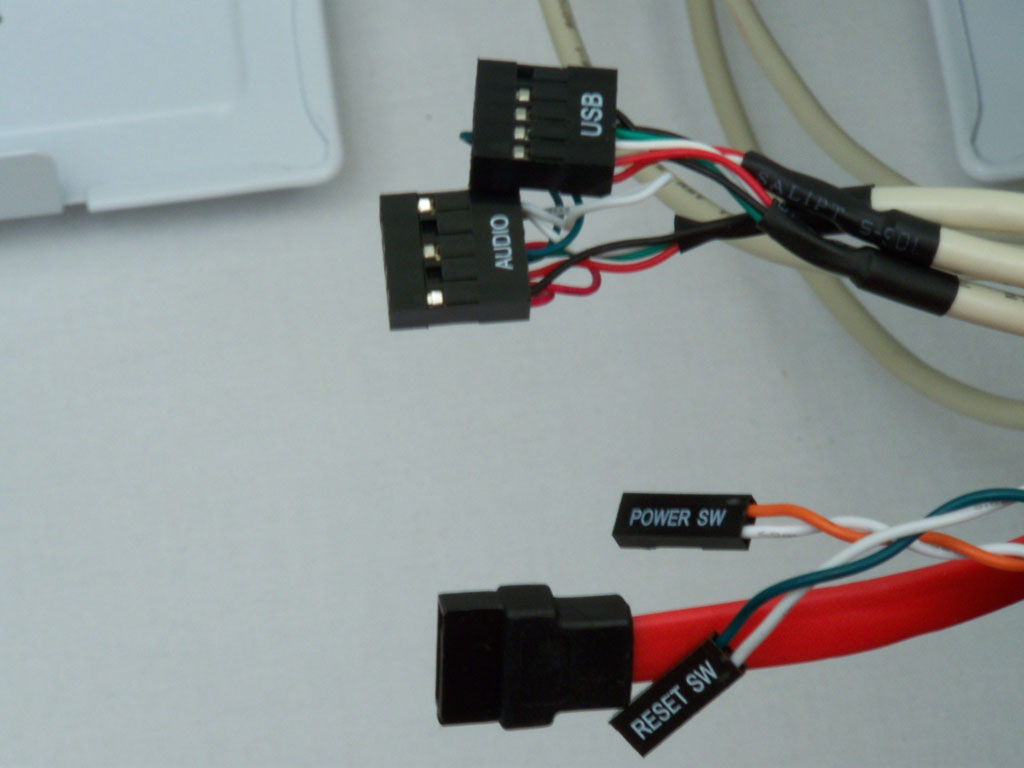
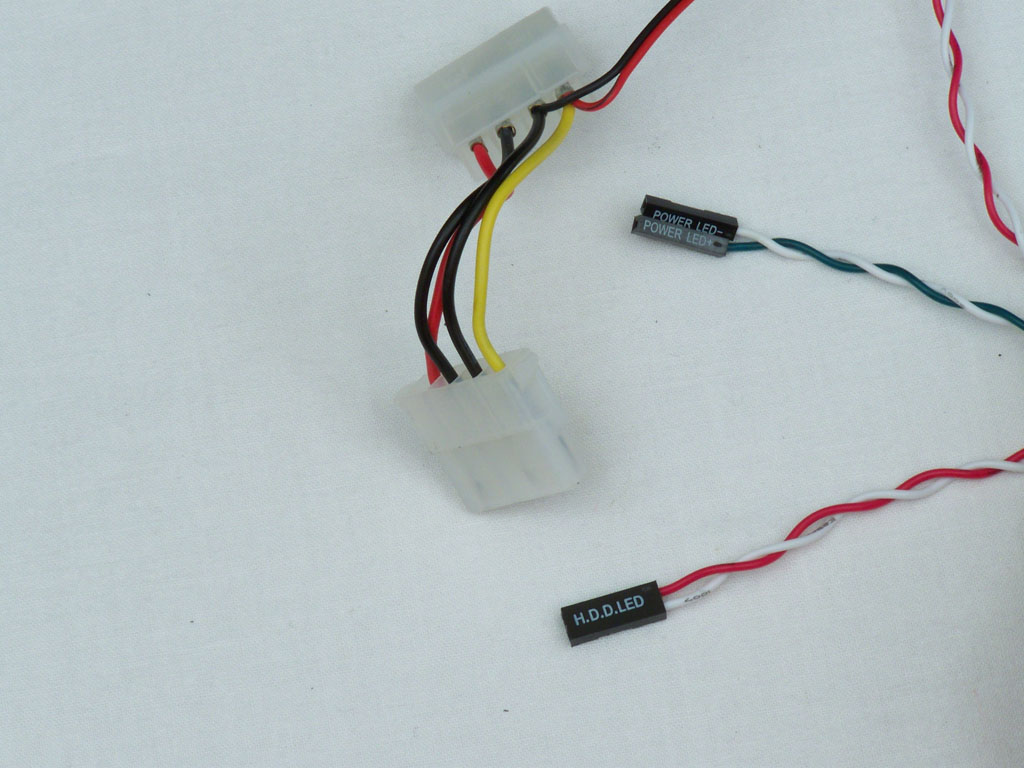
Last but not least, enclosed are the front panel cables. The power and reset switches are tied to the SATA, USB 2.0 and audio cables. The latter shows the hard drive activity and power wires which go to the LEDs just below the front 3.5" bay. The front 120 mm fan is also powered with a Molex connection as pictured.
Mar 10th, 2025 19:04 EDT
change timezone
Latest GPU Drivers
New Forum Posts
- AMD RX 7000 series GPU Owners' Club (1307)
- I need a BIOS for the "Rx580 8gb" chip 215-0876406 (6)
- Biostar RX 6700 XT OC BIOS (7)
- Nvidia's GPU market share hits 90% in Q4 2024 (gets closer to full monopoly) (774)
- What's your latest tech purchase? (23278)
- Wherein lies the difference (2)
- USB hard disk box capacity limits (14)
- RX 9000 series GPU Owners Club (41)
- Gaming PC instabiliity (22)
- Msi 5090 DOA? (30)
Popular Reviews
- Sapphire Radeon RX 9070 XT Nitro+ Review - Beating NVIDIA
- XFX Radeon RX 9070 XT Mercury OC Magnetic Air Review
- ASUS Radeon RX 9070 TUF OC Review
- MSI MAG B850 Tomahawk Max Wi-Fi Review
- NVIDIA GeForce RTX 5080 Founders Edition Review
- NVIDIA GeForce RTX 5070 Founders Edition Review
- Corsair Vengeance RGB CUDIMM DDR5-8800 48 GB CL42 Review
- AMD Ryzen 7 9800X3D Review - The Best Gaming Processor
- ASUS GeForce RTX 5070 Ti TUF OC Review
- MSI GeForce RTX 5070 Ti Gaming Trio OC+ Review
Controversial News Posts
- NVIDIA GeForce RTX 50 Cards Spotted with Missing ROPs, NVIDIA Confirms the Issue, Multiple Vendors Affected (513)
- AMD Plans Aggressive Price Competition with Radeon RX 9000 Series (277)
- AMD Radeon RX 9070 and 9070 XT Listed On Amazon - One Buyer Snags a Unit (261)
- AMD RDNA 4 and Radeon RX 9070 Series Unveiled: $549 & $599 (260)
- AMD Mentions Sub-$700 Pricing for Radeon RX 9070 GPU Series, Looks Like NV Minus $50 Again (248)
- NVIDIA Investigates GeForce RTX 50 Series "Blackwell" Black Screen and BSOD Issues (244)
- AMD Radeon RX 9070 and 9070 XT Official Performance Metrics Leaked, +42% 4K Performance Over Radeon RX 7900 GRE (195)
- AMD Radeon RX 9070-series Pricing Leaks Courtesy of MicroCenter (158)