 19
19
Raidmax Blackstorm Review
Value & Conclusion »Assembly
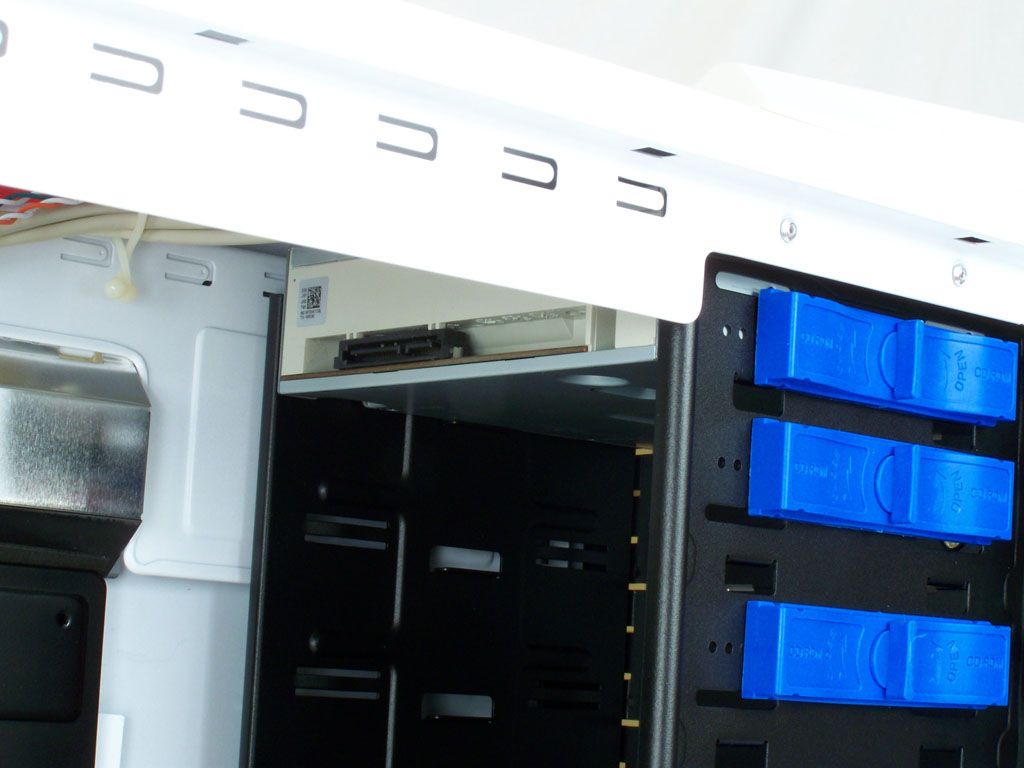
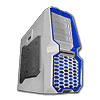
The optical bay installation is fairly simple. First remove the front cover, slide the drive in place, and then lock it in place with the easy turn locks. The top optical bay was however the only one with the steel spacer removed. If multiple drives were installed these would simply be bent until breaking the connection with the sides. The hard drive was installed in the removable bay. Only one hard drive was installed, but it was still nice to remove the bay and install the drive before replacing the bay.
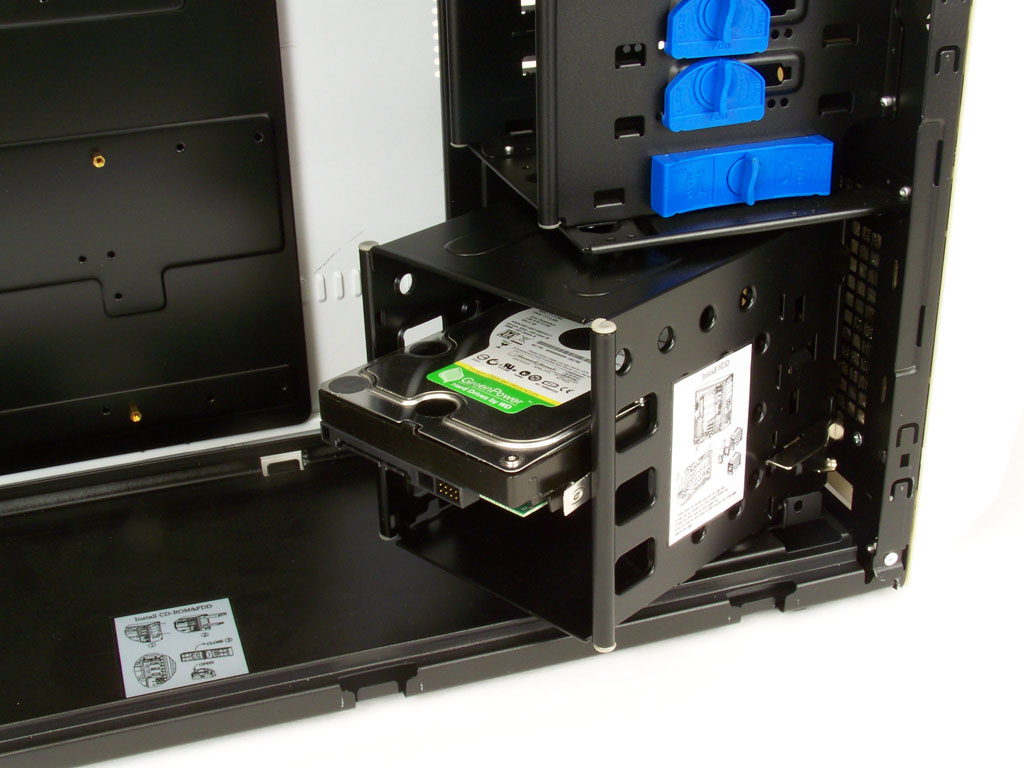
When I installed the power supply I noticed how much real estate I lost. This standard ATX power supply took up quite a bit of room, not including the cables. As well it was pretty hard to manage the power supply cables inside the case.
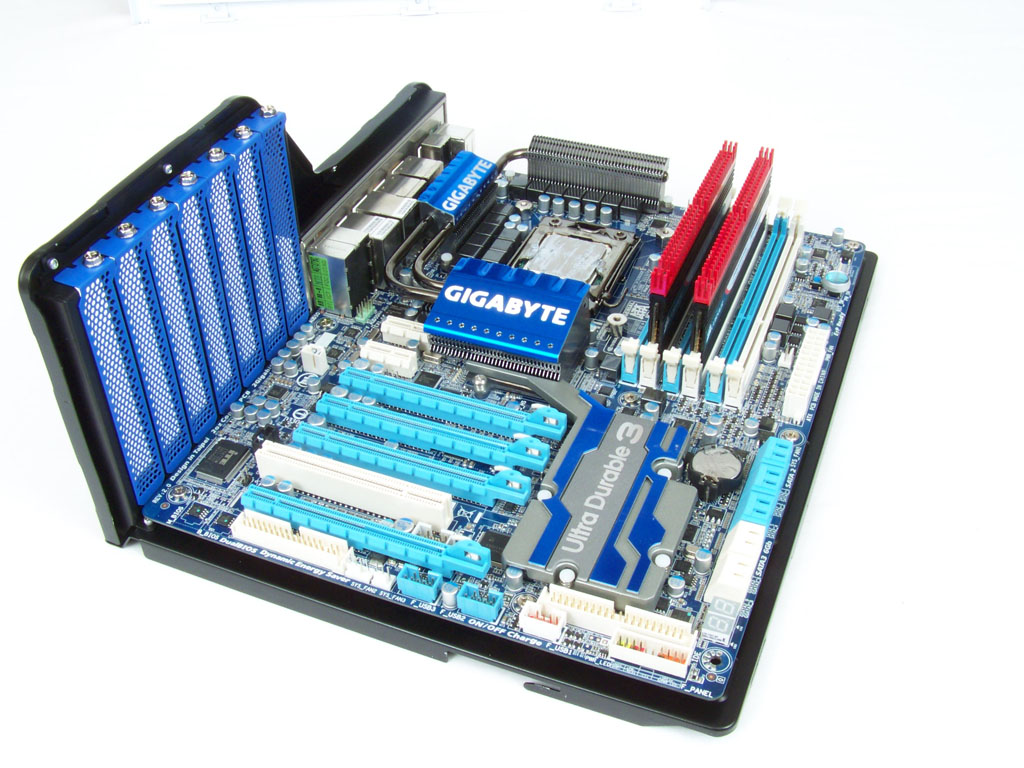


Installing the mainboard was very simple. With the tray removed from the back panel I was able to mount the motherboard and then insert it in place with the back panel. With the main board in place the Blackstorm starts to fill up, with not alot of room left over. With the processor cooler and graphics card installed the case looks over-cramped and messy. There just isn't enough room for much else. It's unfortunate that larger graphics cards may not fit without removing the hard drive bay.
Finished Looks
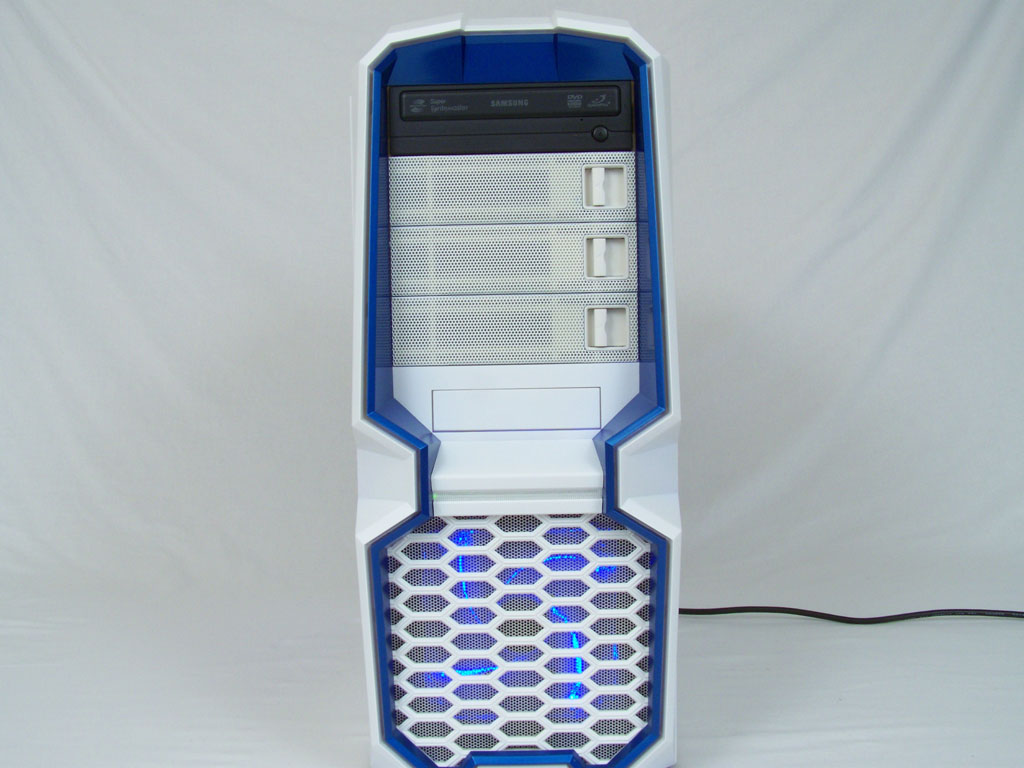
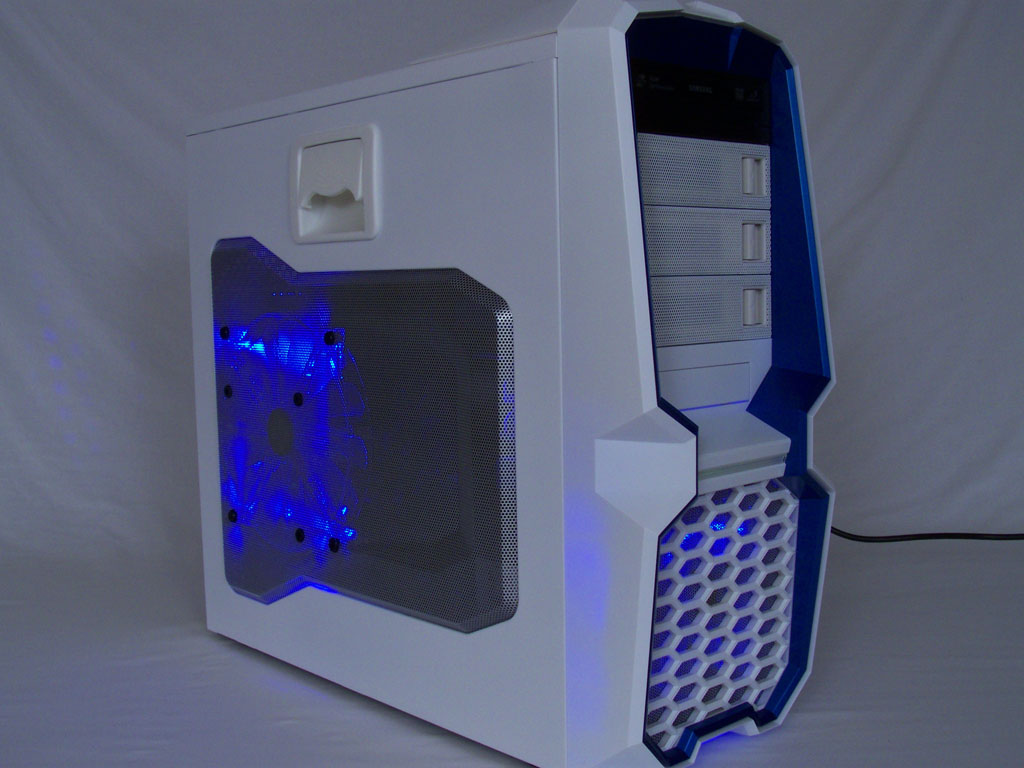
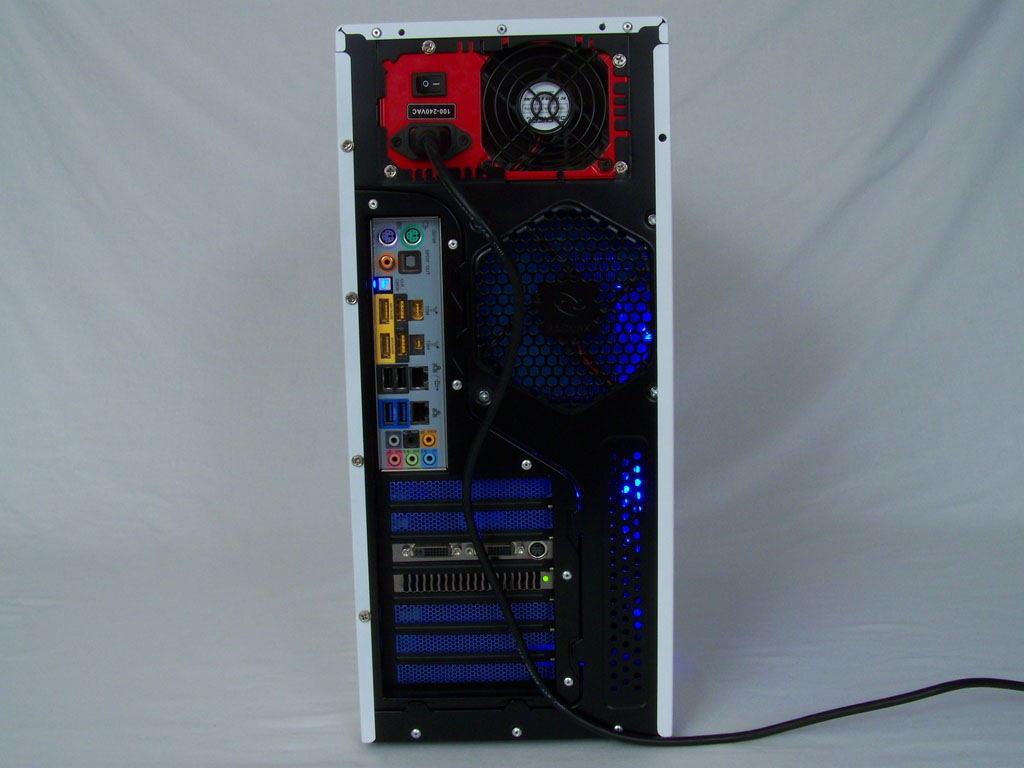
Fully installed and powered on the Blackstorm really does look good on the outside. The included fans are very quiet as well. While the front lights are pleasant I'm not sure how well the hard drive activity and power light (red and green) may contrast the white and blue color scheme. From another angle the chassis glows a soft blue haze that is quite soothing. Even the rear of the case has a nice color composition when powered on. Overall I would enjoy having this case sitting beside my desk.
Jul 3rd, 2025 21:59 CDT
change timezone
Latest GPU Drivers
New Forum Posts
- GPU-Z Display Bug via DP 2.1? (5)
- [GPU-Z Test Build] New Kernel Driver, Everyone: Please Test (35)
- What Windows is overall the best to you and why? (269)
- How do you view TPU & the internet in general? (With poll) (58)
- HP Zbook 15 G2 GPU Upgrade (12)
- Will you buy a RTX 5090? (610)
- What phone you use as your daily driver? And, a discussion of them. (1756)
- What would you buy? (51)
- A Final Fantasy IX Reminiscence - My love letter and homage to one of the best stories ever told (90)
- GravityMark v1.89 GPU Benchmark (309)
Popular Reviews
- ASUS ROG Crosshair X870E Extreme Review
- Crucial T710 2 TB Review - Record-Breaking Gen 5
- Fractal Design Scape Review - Debut Done Right
- PowerColor ALPHYN AM10 Review
- Sapphire Radeon RX 9060 XT Pulse OC 16 GB Review - An Excellent Choice
- Upcoming Hardware Launches 2025 (Updated May 2025)
- AMD Ryzen 7 9800X3D Review - The Best Gaming Processor
- Sapphire Radeon RX 9070 XT Nitro+ Review - Beating NVIDIA
- SCHENKER KEY 18 Pro (E25) Review - Top-Tier Contender
- AVerMedia CamStream 4K Review
TPU on YouTube
Controversial News Posts
- Intel's Core Ultra 7 265K and 265KF CPUs Dip Below $250 (288)
- NVIDIA Grabs Market Share, AMD Loses Ground, and Intel Disappears in Latest dGPU Update (212)
- Some Intel Nova Lake CPUs Rumored to Challenge AMD's 3D V-Cache in Desktop Gaming (140)
- NVIDIA GeForce RTX 5080 SUPER Could Feature 24 GB Memory, Increased Power Limits (115)
- Microsoft Partners with AMD for Next-gen Xbox Hardware (105)
- NVIDIA Launches GeForce RTX 5050 for Desktops and Laptops, Starts at $249 (105)
- Intel "Nova Lake‑S" Series: Seven SKUs, Up to 52 Cores and 150 W TDP (100)
- NVIDIA DLSS Transformer Cuts VRAM Usage by 20% (97)