 7
7
Raijintek Styx Review
Value & Conclusion »Test System
| System Parts for Case Reviews | |
|---|---|
| Processor: | Intel Core i5-6600K |
| Motherboards: | ATX: Fatal1ty Z170 Gaming K6+ mATX: ASRock Z170M Pro4S mini-ITX: ASRock Z170M-ITX/ac Provided by: ASRock |
| Graphic Card: | Long: NVIDIA GeForce GTX 280 OEM Short: HIS Radeon 5350 HD |
| Memory: | 16 GB ADATA XPG Dazzle DDR4 2800 MHz CL17-17-17 1.25V 16 GB ADATA XPG Z1 DDR4 3000 MHz CL18-18-18 1.35V 16 GB ADATA XPG Z1 DDR4 2400 MHz CL16-16-16 1.20V Provided by: ADATA |
| HDD: | Western Digital 320 GB 7200 RPM |
| SSD: | ADATA Premier Pro SP920 MLC 256 GB ADATA Ultimate SU800 3D TLC 256 GB ADATA Premier SP550 TLC 240 GB Provided by: ADATA |
| Power Supply: | Seasonic Platinum Series 660 W ATX 2.3 Provided by: Seasonic |
| Cooling: | Air Cooling Mini-ITX: Thermalright AXP-100R Air Cooling mATX: Thermalright Macho 90 Air Cooling ATX: Thermalright Macho 120 Provided by: PC-COOLING.de |
Assembly

Installing the motherboard is done by traditional means, with the use of spacers and the provided screws. As the board is mounted upside down, the CPU area is on the bottom half of the mATX configuration.
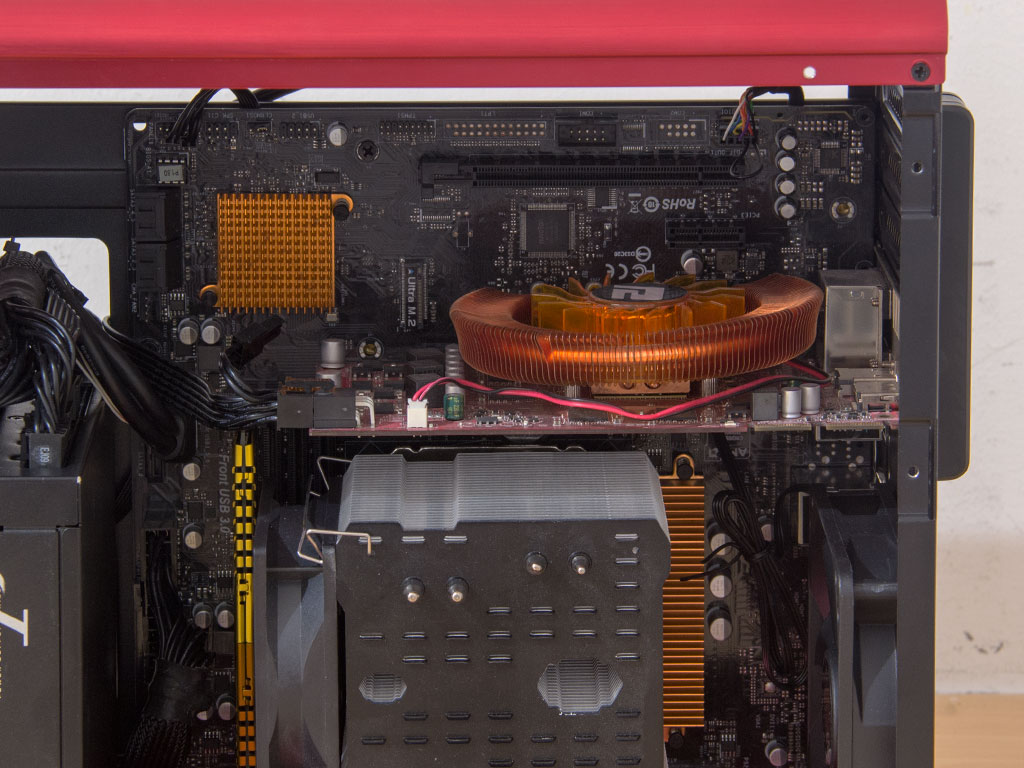
You may install GPUs of up to 280 mm in size within the Styx, or less if using a bigger PSU. In our scenario, the standard-sized Seasonic unit was just a tad too tall with its modular connectors to make for an easy fit. You could, of course, use the second fully sized PCIe slot in such a scenario to work around this issue - so long as there is one.
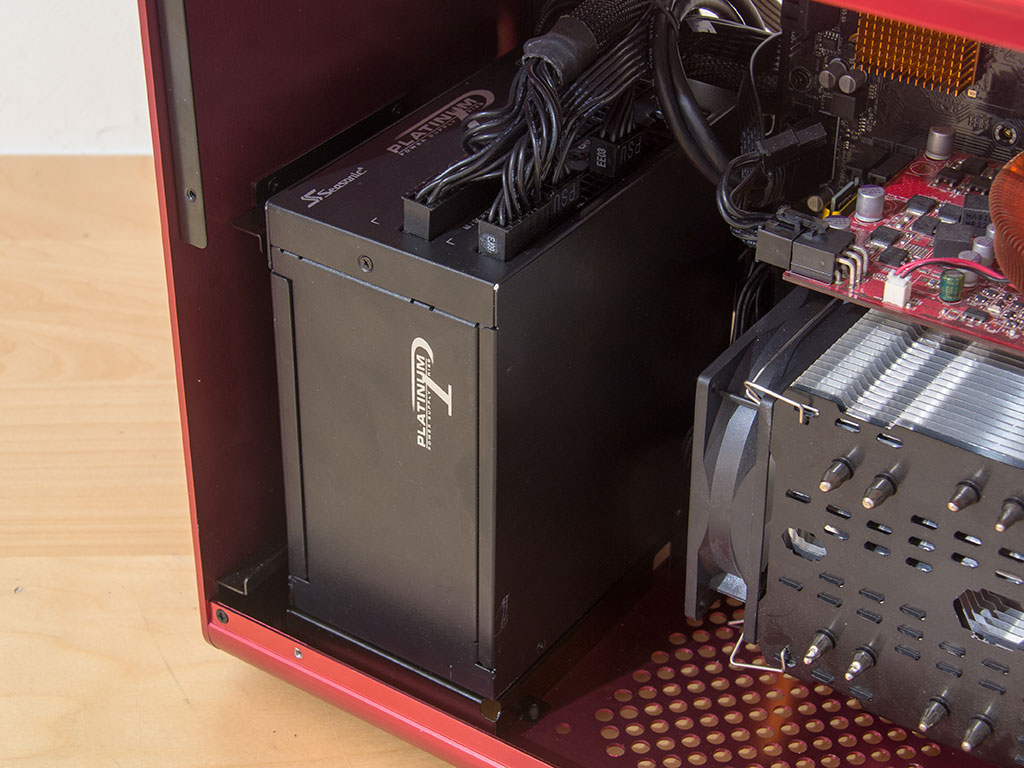
Installing the PSU is straightforward as you simply screw it down to the frame provided within the interior of the chassis. However, you should do so before placing the power supply within the Styx if you are adding an optical drive. The angled connector should allow you to install any PSU regardless of which way its power plug faces.
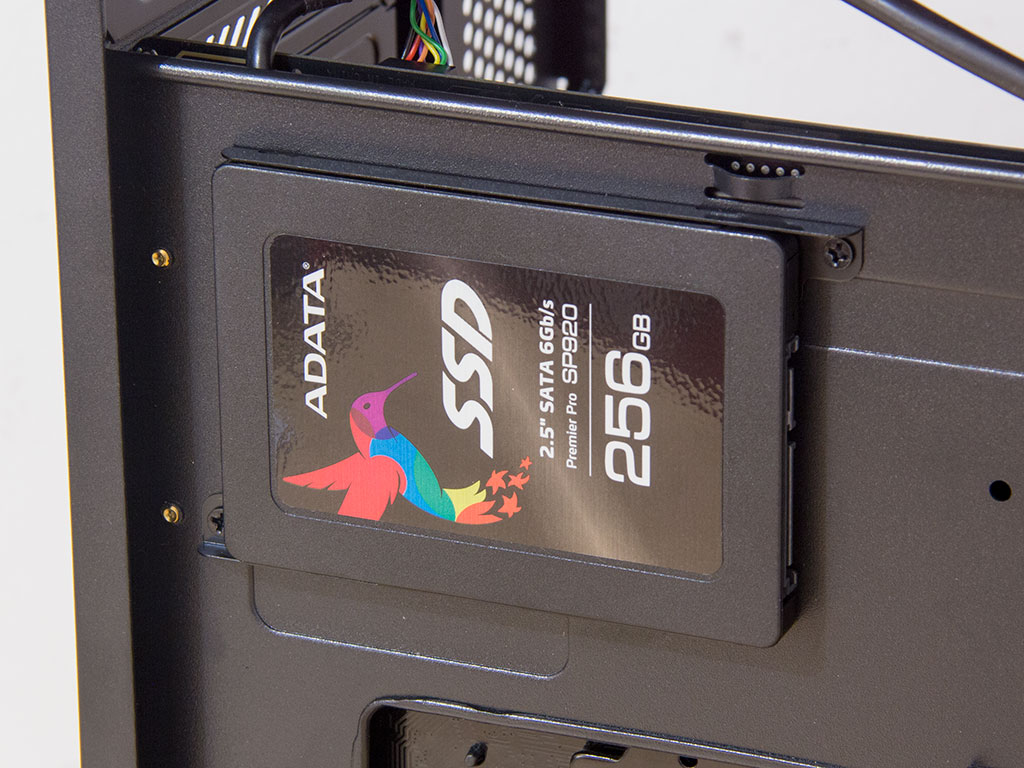
Adding an SSD to these individual trays requires you remove them first to then secure the drive with screws. Due to their flat surface, the drive's connector is not given a lot of space, so most SATA power plugs will only fit by flexing the SSD PCB or plug itself. It would have been nice to see a slightly elevated tray design instead.
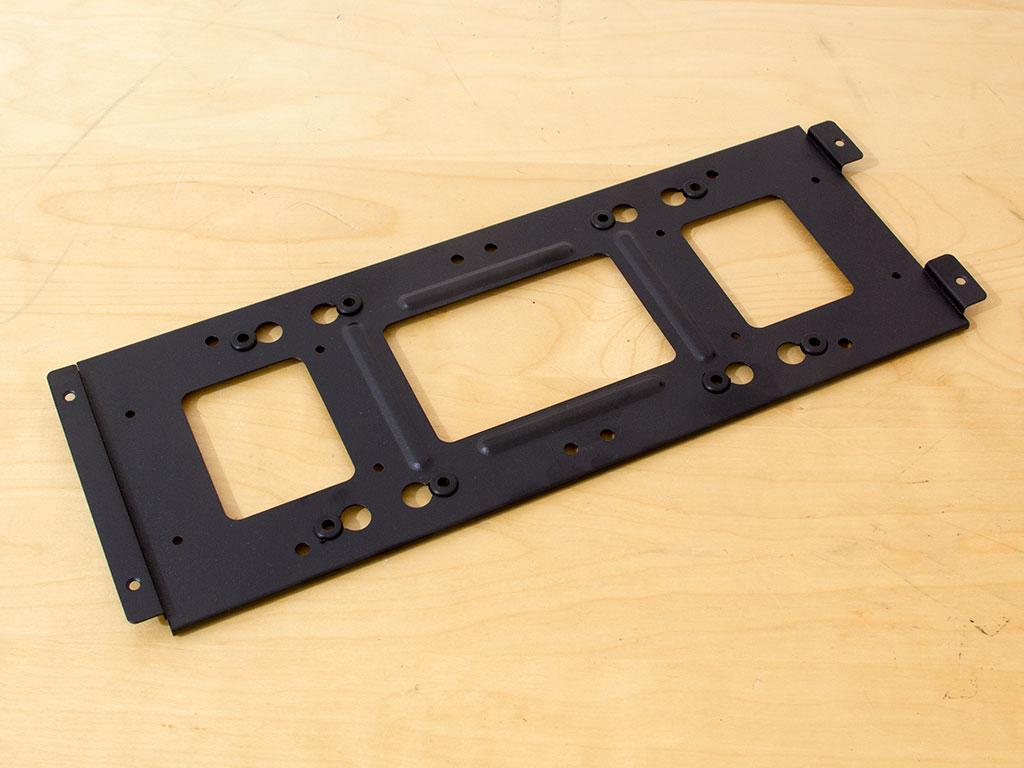
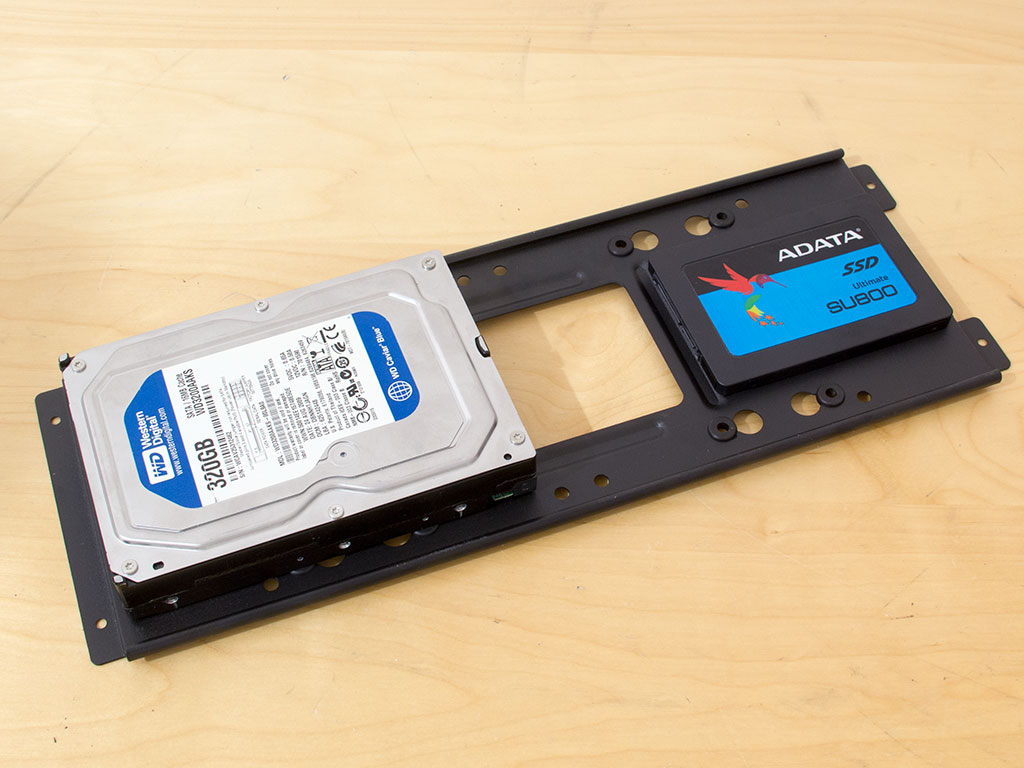
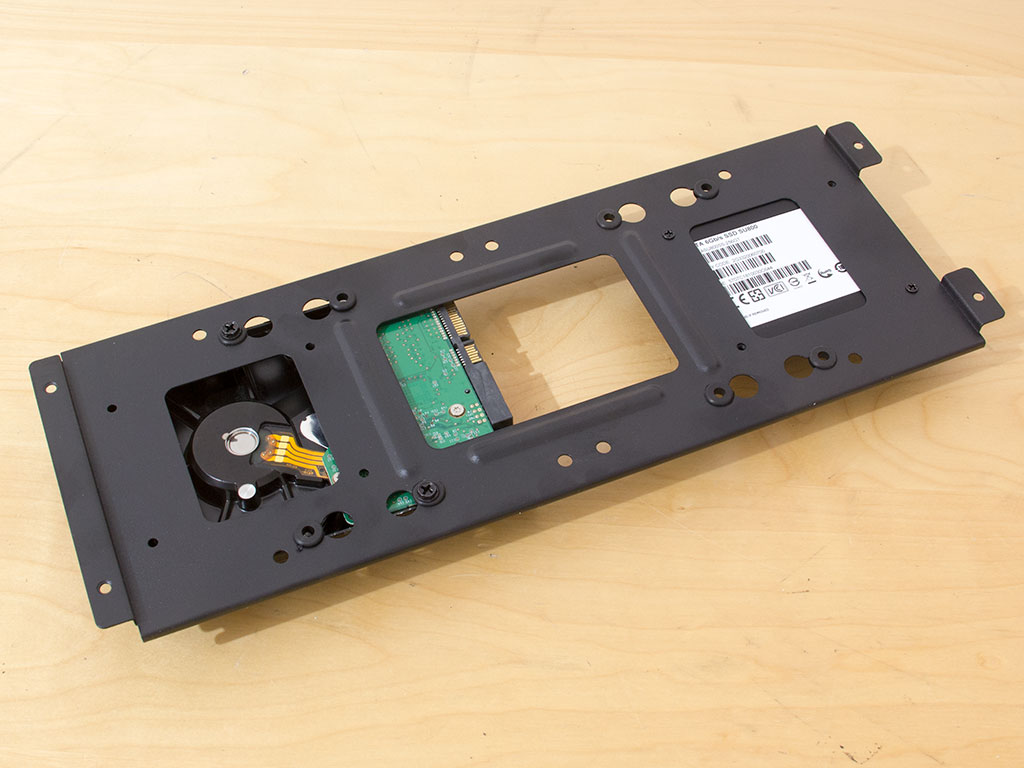
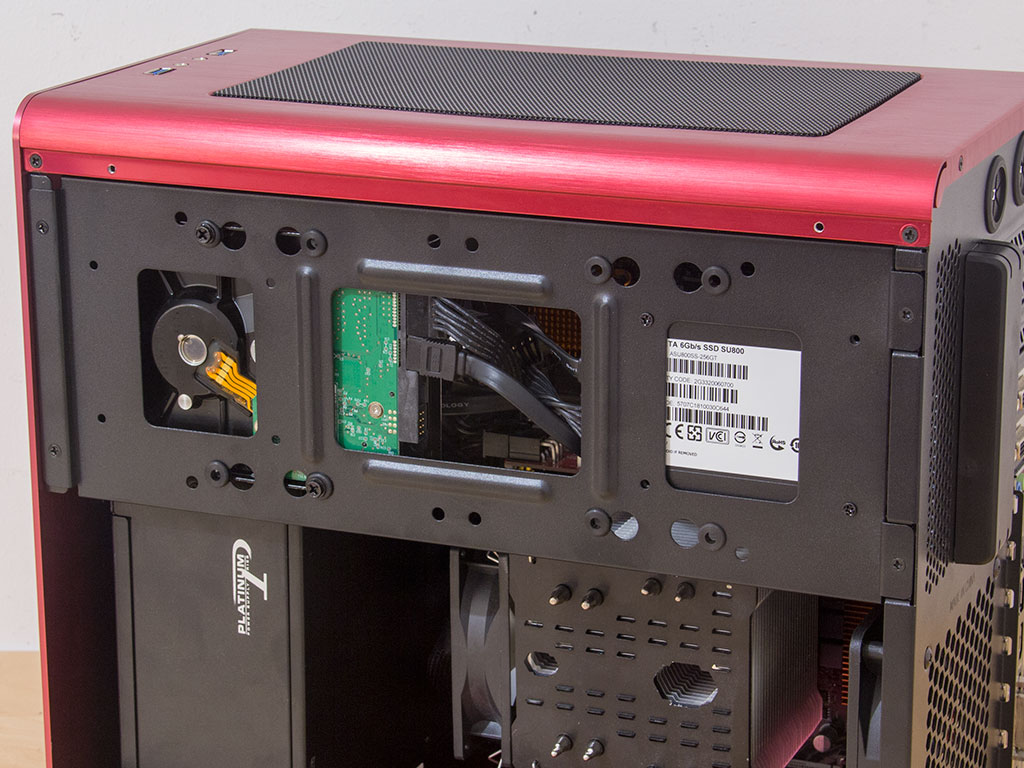
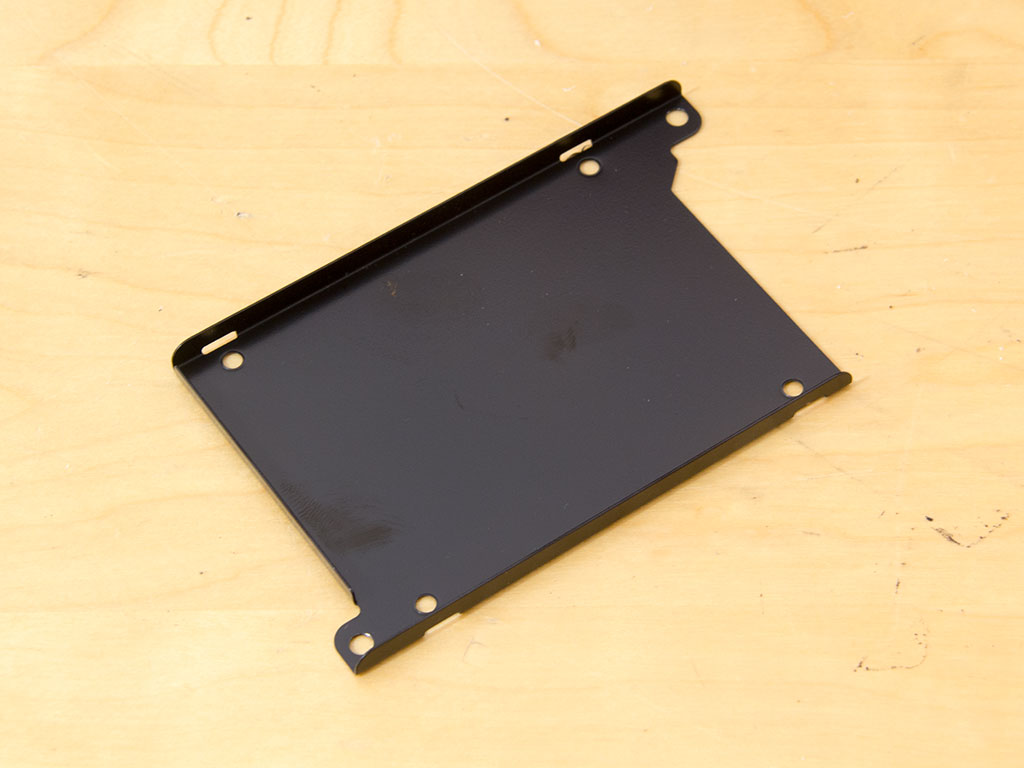
Things are a bit different on the separate hard-drive plate. Here, the drive connectors have a bit more room. 3.5" units are mounted on rubber rings, while 2.5" variants are screwed directly onto the plate. Once filled, you may simply put it back into its original spot. However, make sure you have everything connected to the motherboard first since doing so will block access to some areas. As you may have noticed by now, it is important to choose the right order of installation due to the compact dimensions of the Styx.
With everything installed, the Raijintek Styx is quite full. There is not a lot of cable management that can be done, but odds are it won't matter as things are hidden or blocked from view anyways.
Finished Looks
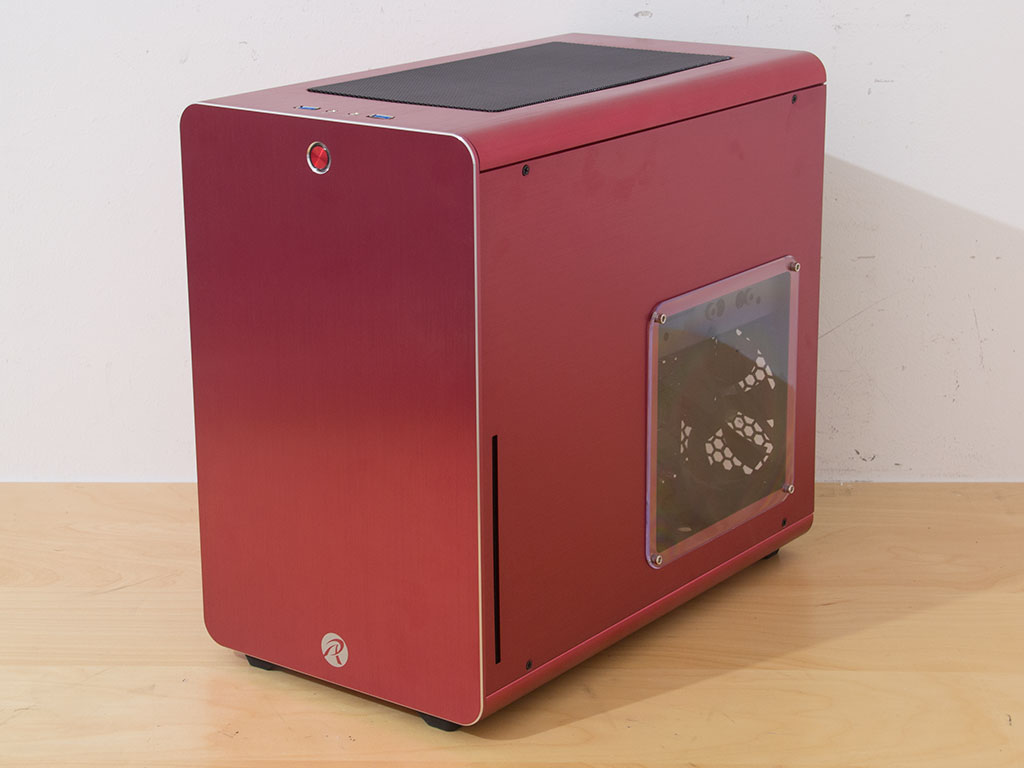

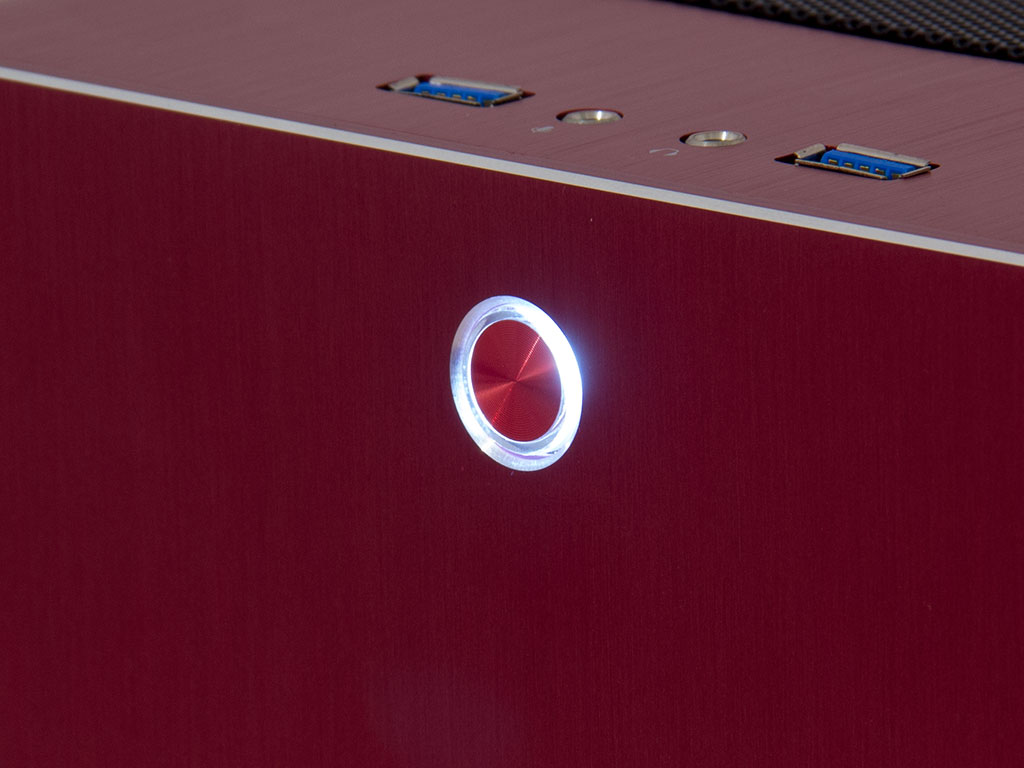
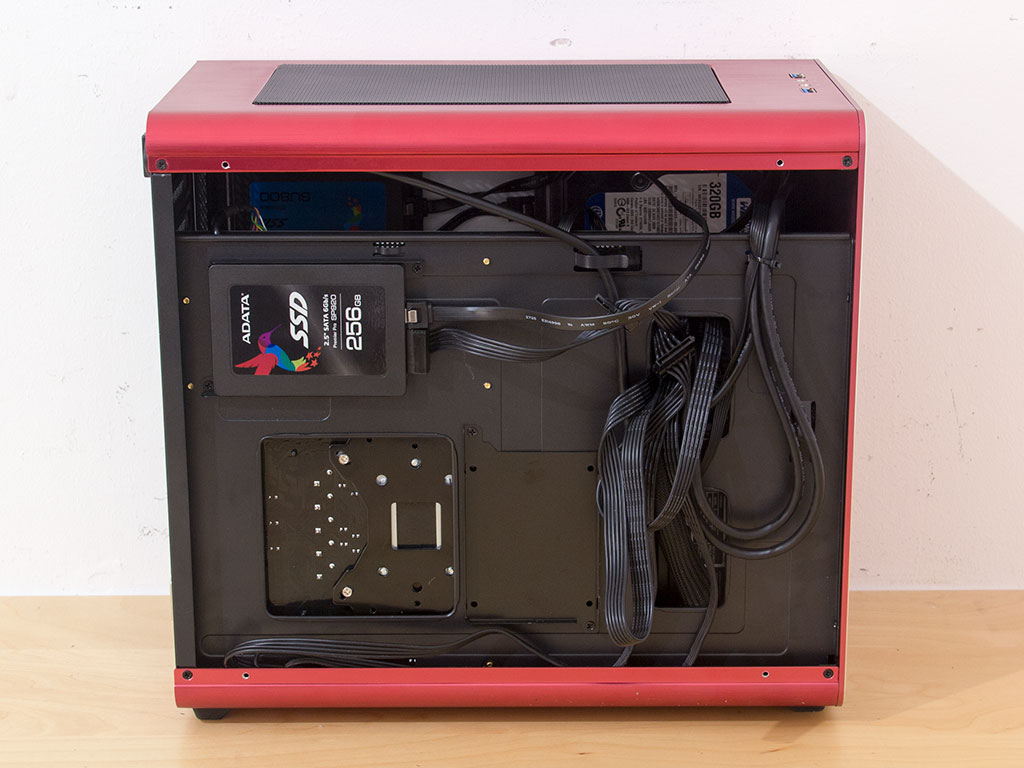
Putting the side panels into place is actually quite difficult if you placed an SSD onto the backside of the motherboard tray. Odds are the cables will make the panel bulge a bit as in the picture above. It would have been simpler of Raijintek to simply not include the two trays or to instead place them onto the floor of the chassis instead of including a bottom fan mount. Another option would have been to use more mounting screws for the side panel. However, that would not have been the most elegant solution. The white power LED is quite bright and the choice of color is a refreshing deviation from the standard blue or red used in most cases.
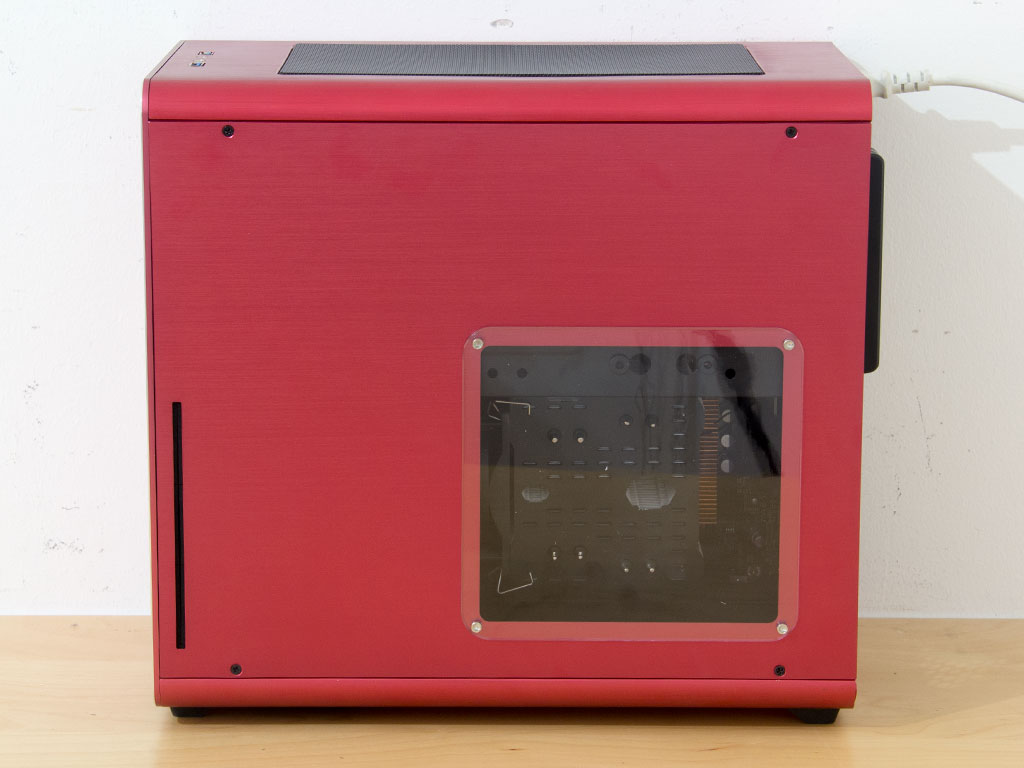
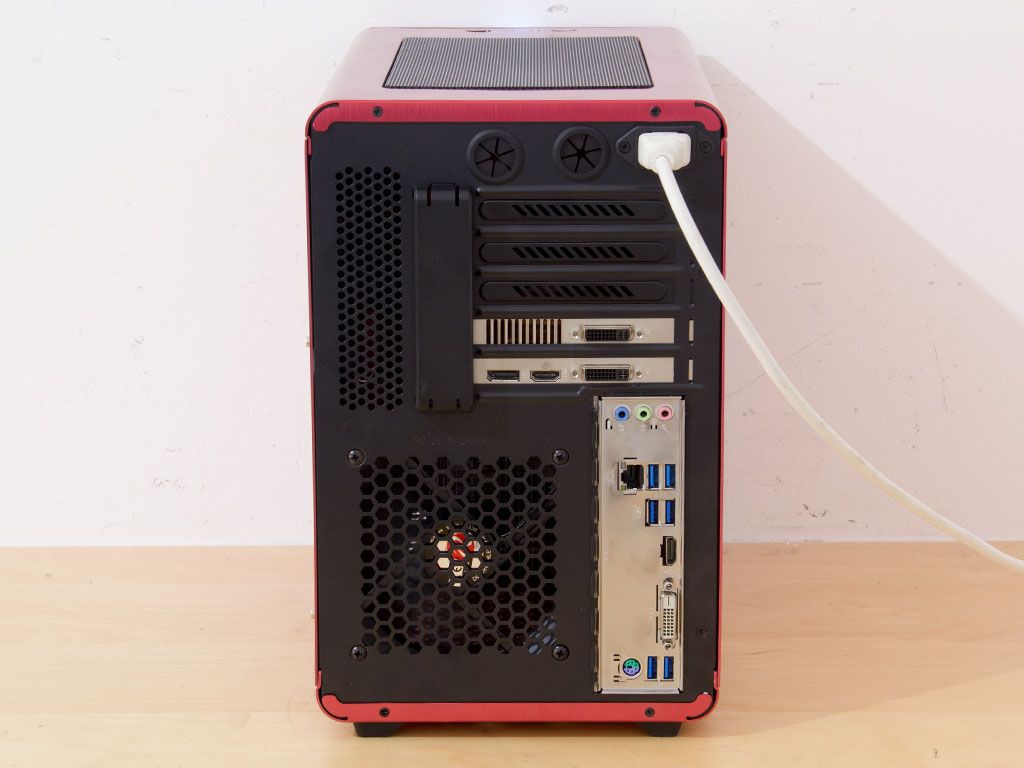
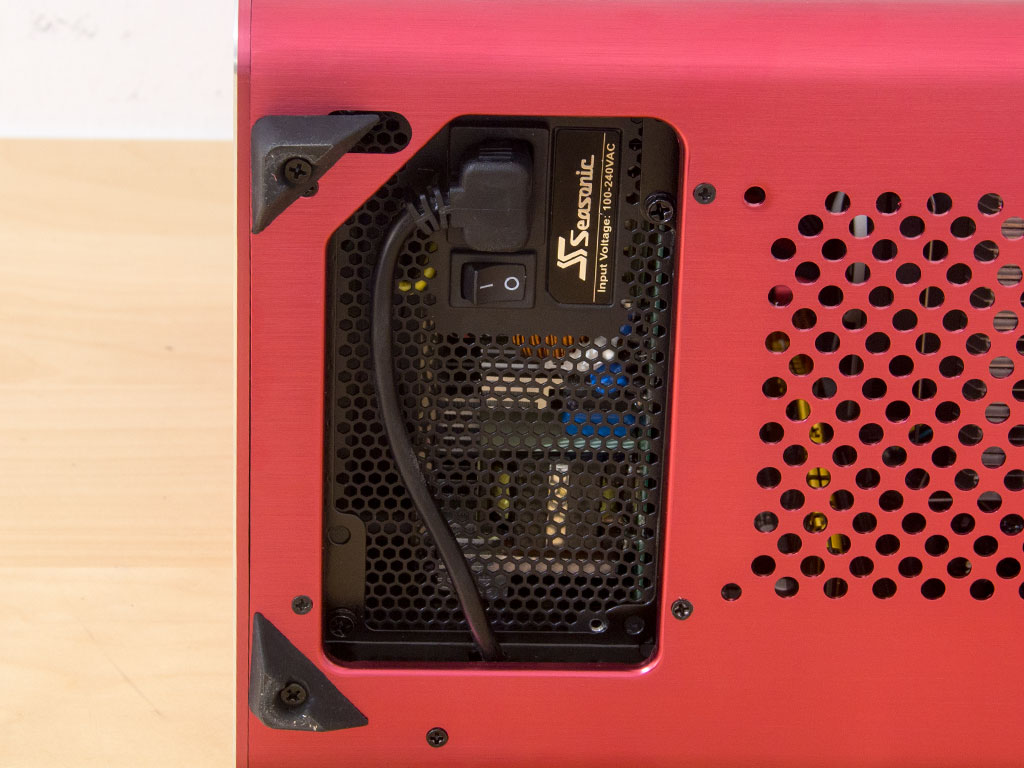
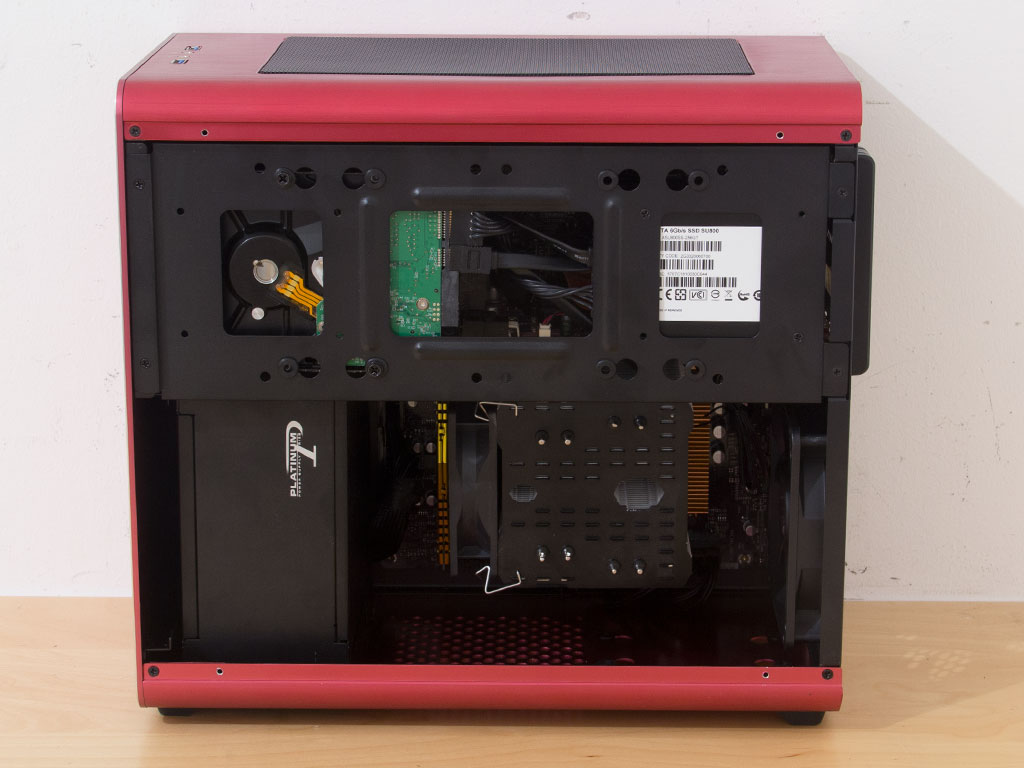
Looking at the windowed side of the chassis, it sits flush and allows the user to take a peek at the CPU cooler. You can also see part of the hard-drive plate. While it is nice to have a window, it is not very useful in this case. In the rear, everything is where you would expect it to be, with the power lead out of the way in the top-right corner.
Mar 10th, 2025 18:16 EDT
change timezone
Latest GPU Drivers
New Forum Posts
- USB hard disk box capacity limits (12)
- Please I need help with the poor performance that my PC is giving me (32)
- I'm looking for a good tool to make the 3D scanning of my mini-pc using the photogrammetry and my Kinect 2. (53)
- Maxsun RX580 graphics card crashes (29)
- What is a good real price for the RTX 5090? (23)
- Microcenter GPU Stock status (31)
- Biostar RX 6700 XT OC BIOS (0)
- Msi 5090 DOA? (28)
- DLSS as antialiasing? (23)
- Cryptocoin Value and Market Trend Discussion (1646)
Popular Reviews
- Sapphire Radeon RX 9070 XT Nitro+ Review - Beating NVIDIA
- XFX Radeon RX 9070 XT Mercury OC Magnetic Air Review
- ASUS Radeon RX 9070 TUF OC Review
- MSI MAG B850 Tomahawk Max Wi-Fi Review
- NVIDIA GeForce RTX 5080 Founders Edition Review
- NVIDIA GeForce RTX 5070 Founders Edition Review
- Corsair Vengeance RGB CUDIMM DDR5-8800 48 GB CL42 Review
- AMD Ryzen 7 9800X3D Review - The Best Gaming Processor
- ASUS GeForce RTX 5070 Ti TUF OC Review
- MSI GeForce RTX 5070 Ti Gaming Trio OC+ Review
Controversial News Posts
- NVIDIA GeForce RTX 50 Cards Spotted with Missing ROPs, NVIDIA Confirms the Issue, Multiple Vendors Affected (513)
- AMD Plans Aggressive Price Competition with Radeon RX 9000 Series (277)
- AMD Radeon RX 9070 and 9070 XT Listed On Amazon - One Buyer Snags a Unit (261)
- AMD RDNA 4 and Radeon RX 9070 Series Unveiled: $549 & $599 (260)
- AMD Mentions Sub-$700 Pricing for Radeon RX 9070 GPU Series, Looks Like NV Minus $50 Again (248)
- NVIDIA Investigates GeForce RTX 50 Series "Blackwell" Black Screen and BSOD Issues (244)
- AMD Radeon RX 9070 and 9070 XT Official Performance Metrics Leaked, +42% 4K Performance Over Radeon RX 7900 GRE (195)
- AMD Radeon RX 9070-series Pricing Leaks Courtesy of MicroCenter (158)