 4
4
Rosewill Gram Review
Value & Conclusion »Test System
| System Parts for Case Reviews | |
|---|---|
| Processor: | Intel Core i5-6600K |
| Motherboards: | ATX: Fatal1ty Z170 Gaming K6+ mATX: ASRock Z170M Pro4S mini-ITX: ASRock Z170M-ITX/ac Provided by: ASRock |
| Graphic Card: | Long: NVIDIA GeForce GTX 280 OEM Short: HIS Radeon 5350 HD |
| Memory: | 16 GB ADATA XPG Dazzle DDR4 2800 MHz CL17-17-17 1.25V 16 GB ADATA XPG Z1 DDR4 3000 MHz CL18-18-18 1.35V 16 GB ADATA XPG Z1 DDR4 2400 MHz CL16-16-16 1.20V Provided by: ADATA |
| HDD: | Western Digital 320 GB 7200 RPM |
| SSD: | ADATA Premier Pro SP920 MLC 256 GB ADATA Ultimate SU800 3D TLC 256 GB ADATA Premier SP550 TLC 240 GB Provided by: ADATA |
| Power Supply: | Seasonic Platinum Series 660 W ATX 2.3 Provided by: Seasonic |
| Cooling: | Air Cooling Mini-ITX: Thermalright AXP-100R Air Cooling mATX: Thermalright Macho 90 Air Cooling ATX: Thermalright Macho 120 Provided by: PC-COOLING.de |
Assembly

Installing the motherboard is done by simply using spacers and screws. There is a bit of space above the board so that you may route cables or install a thin radiator there without issue. Due to the lack of 3.5" drive bays in front, even a thick radiator should not really interfere with the vast majority of GPUs out there.
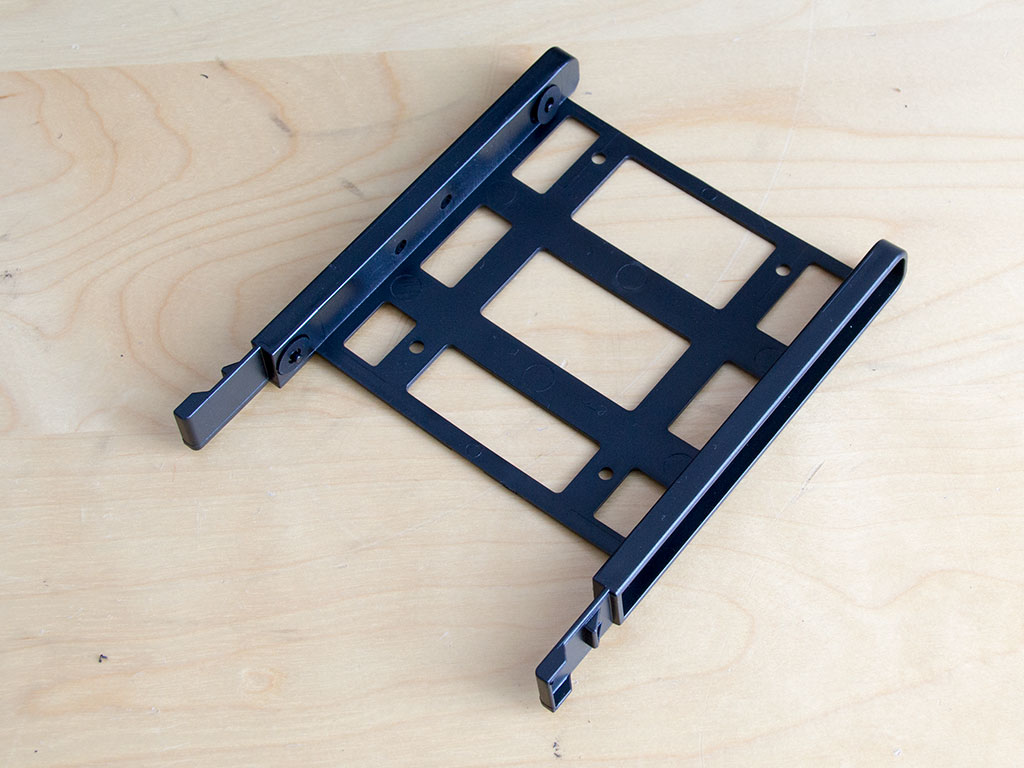
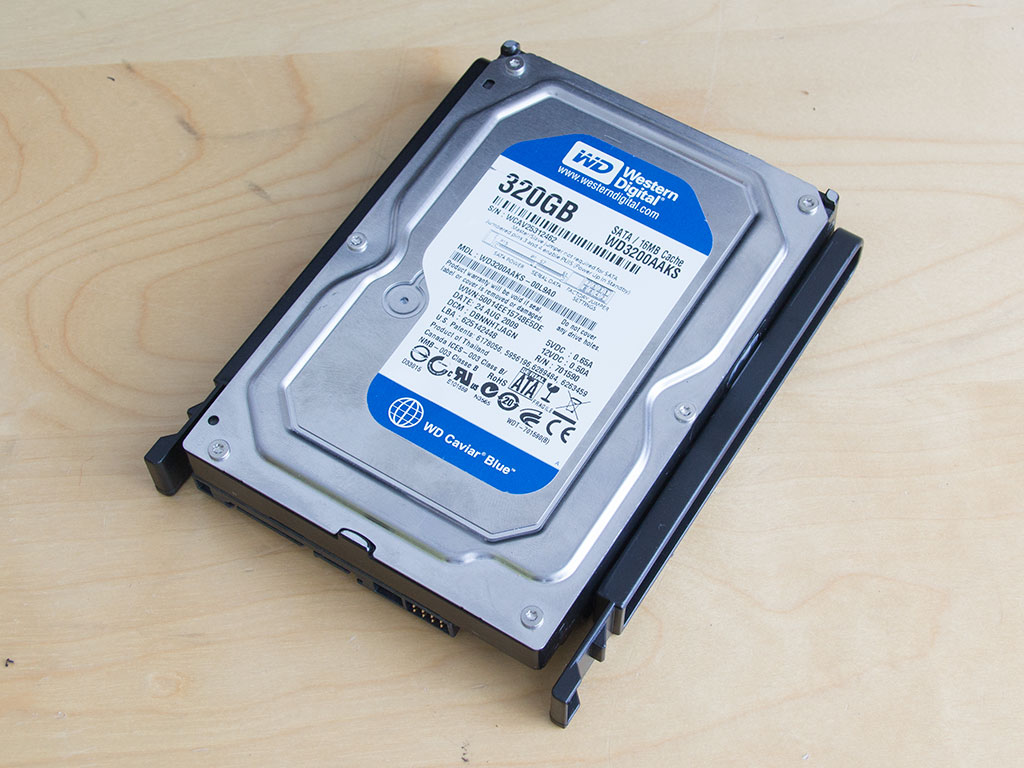
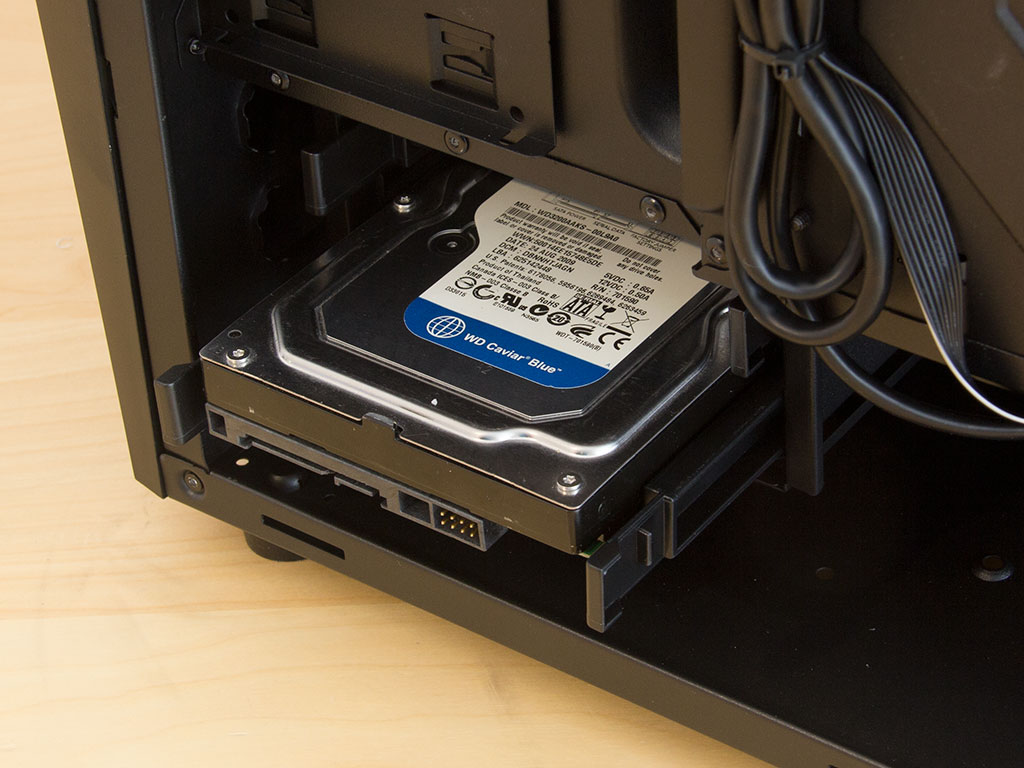
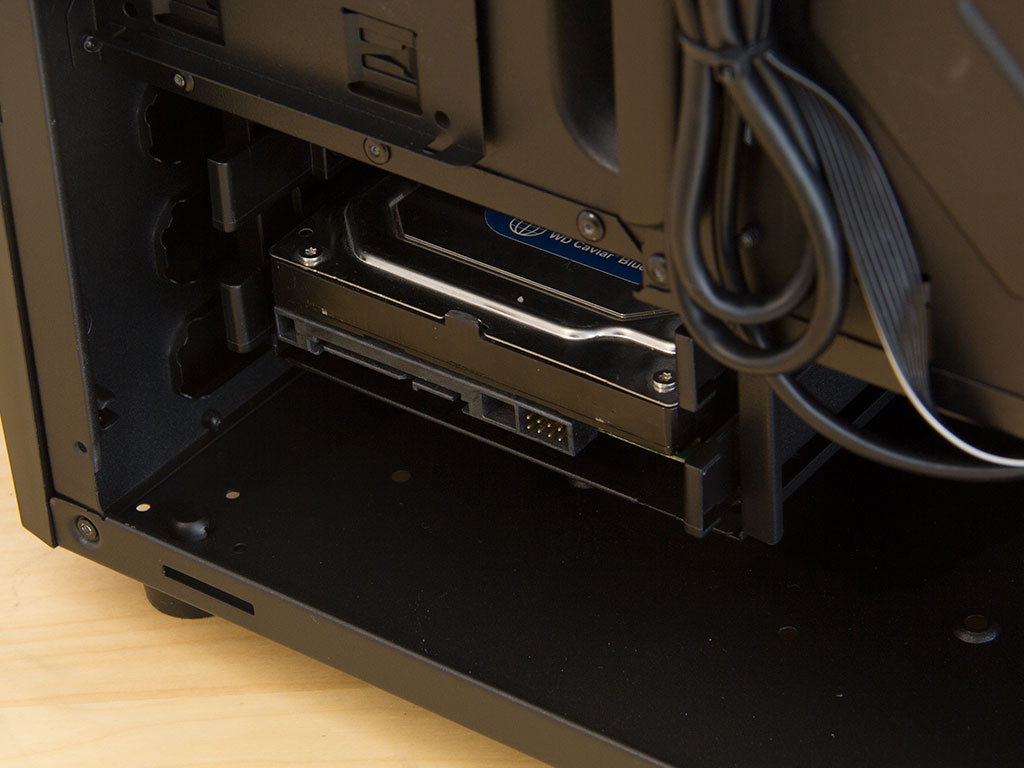
The Rosewill Gram comes with flexible plastic trays. They are quite sturdy even though the drive is held in place by plastic pins. Rubber rings around these act as a measure against vibrations. Once you have put the drive into the tray, simply slide it back into the case until it snaps into place securely.
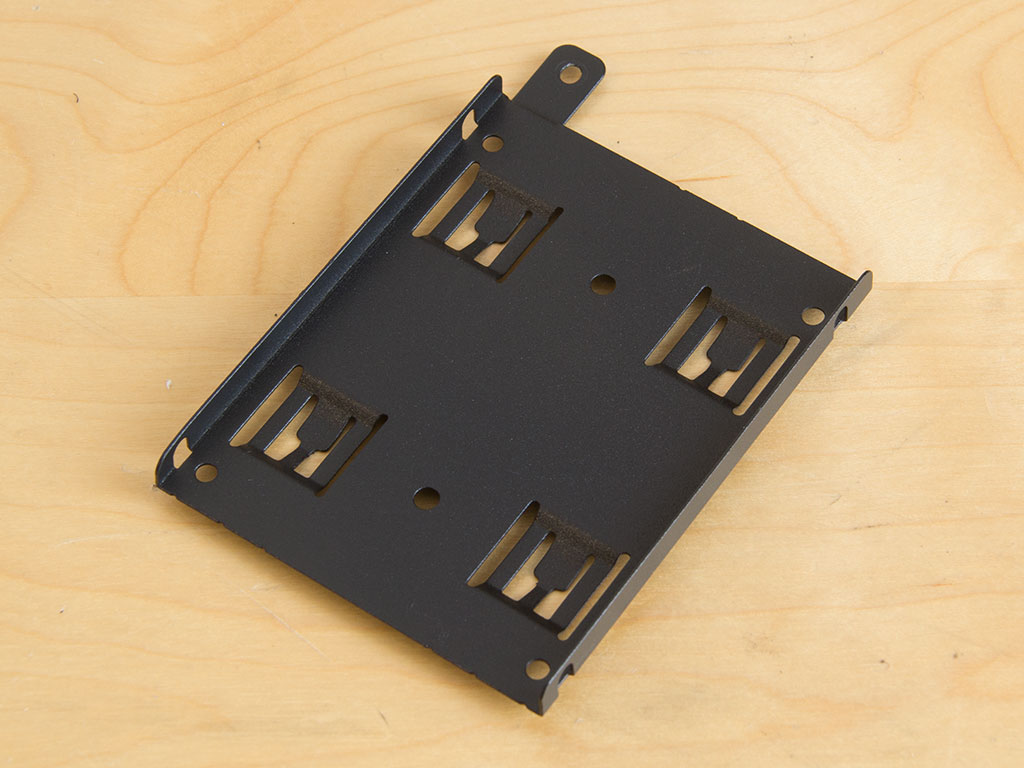
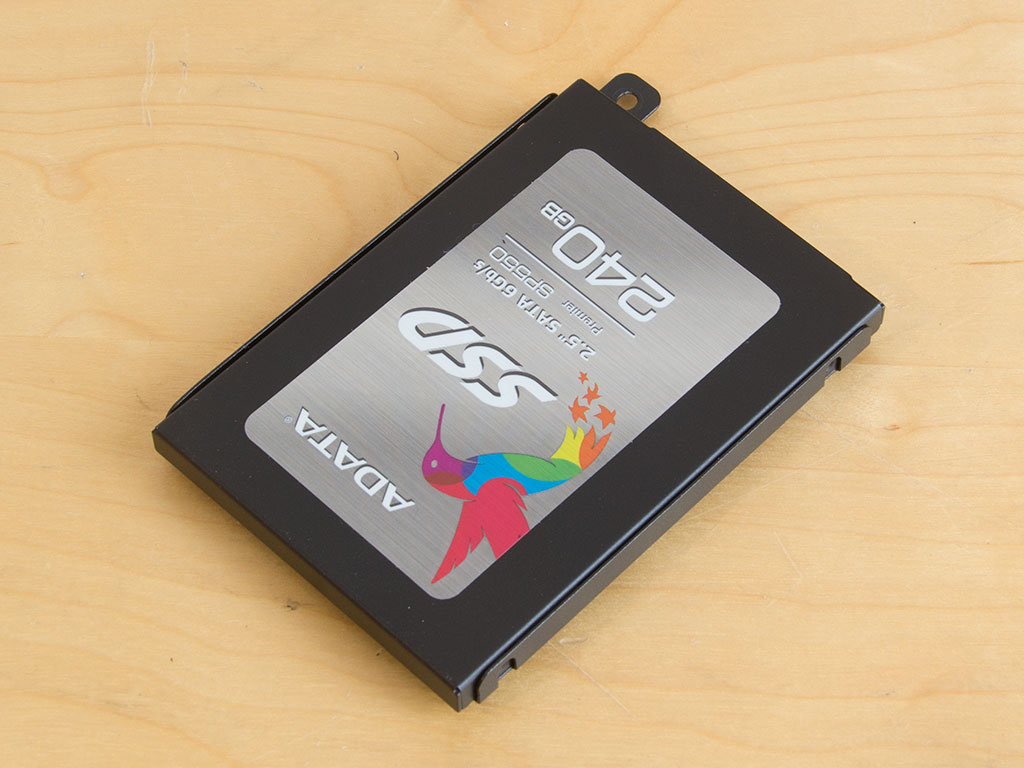
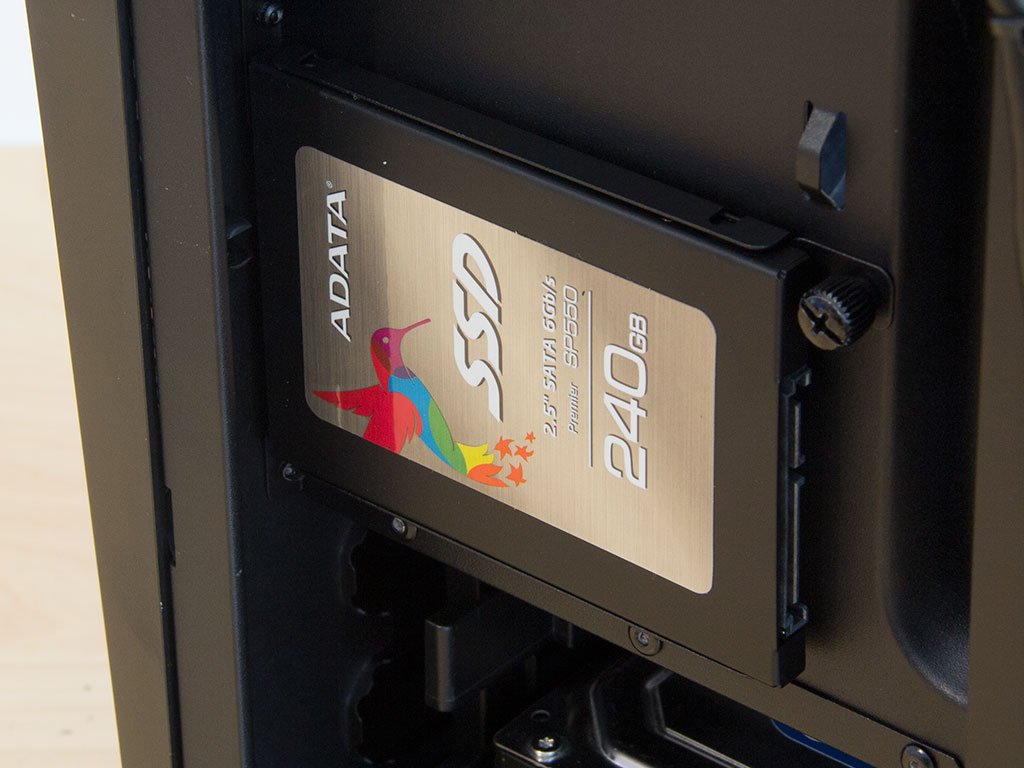
SSDs require the use of tools as you have to secure them to the metal trays with traditional screws. Once mounted, you can put the tray into one of four possible positions and use the thumbscrew to keep it in place.
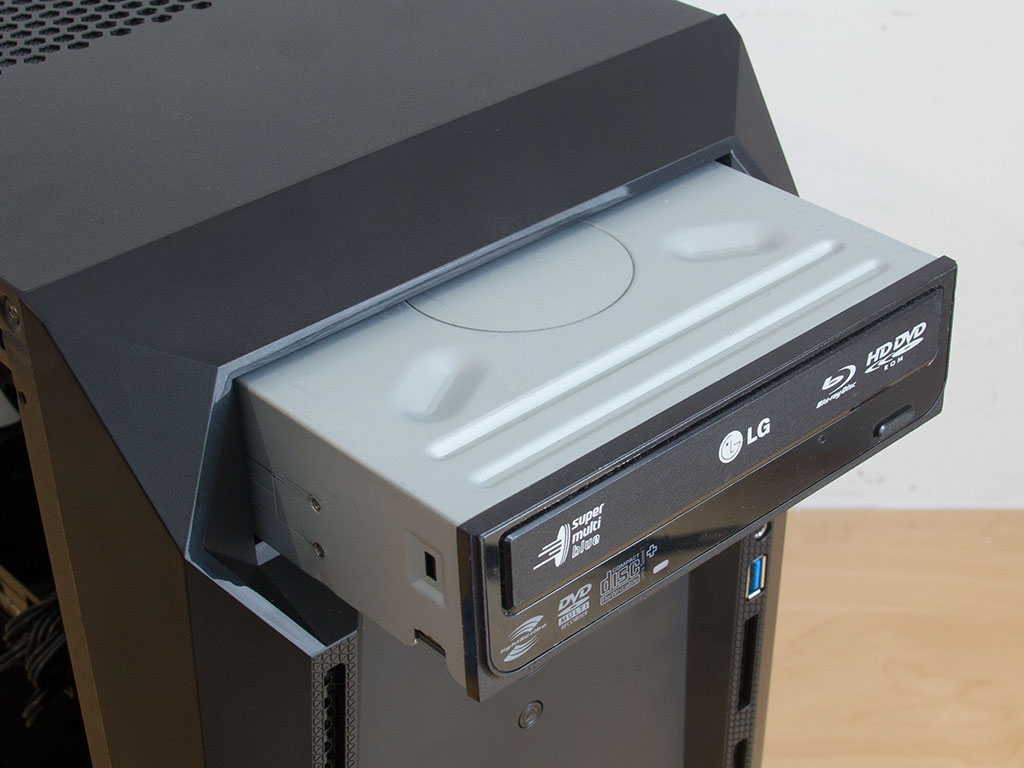
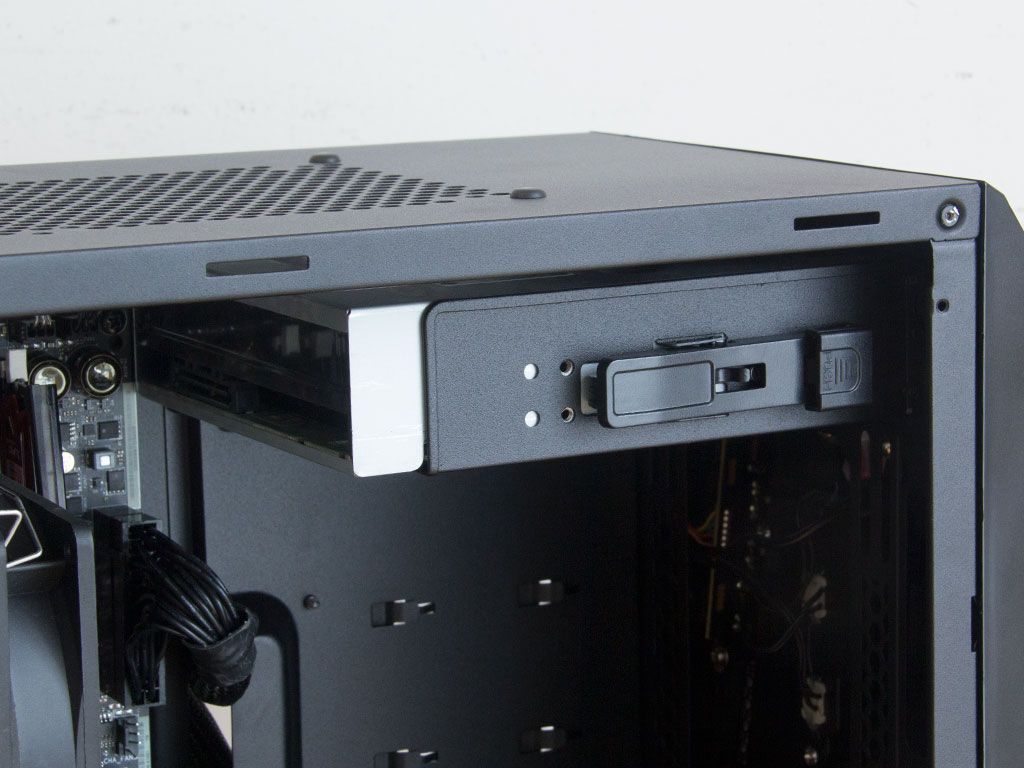
Installing an ODD does not require any tools. Simply remove the front cover and slide the drive into the case until the plastic tension lock snaps down on it. The contraption holds quite well, but you should sink a single screw into the drive to make sure there are no vibrations when in use.
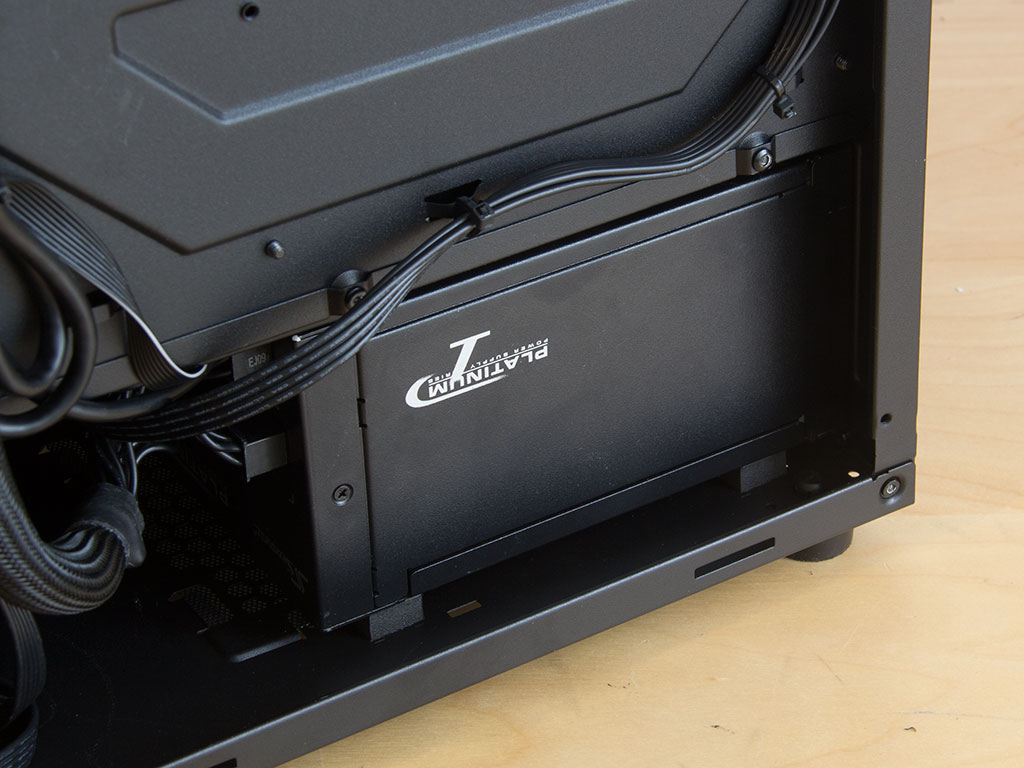
Installing the power supply is quite straightforward as well. Slide it into the chassis underneath the shroud and secure it with traditional screws. There is enough space to fit most units out there - you do not have to worry about whether a large power supply capable of supplying enough power for powerful components will fit.
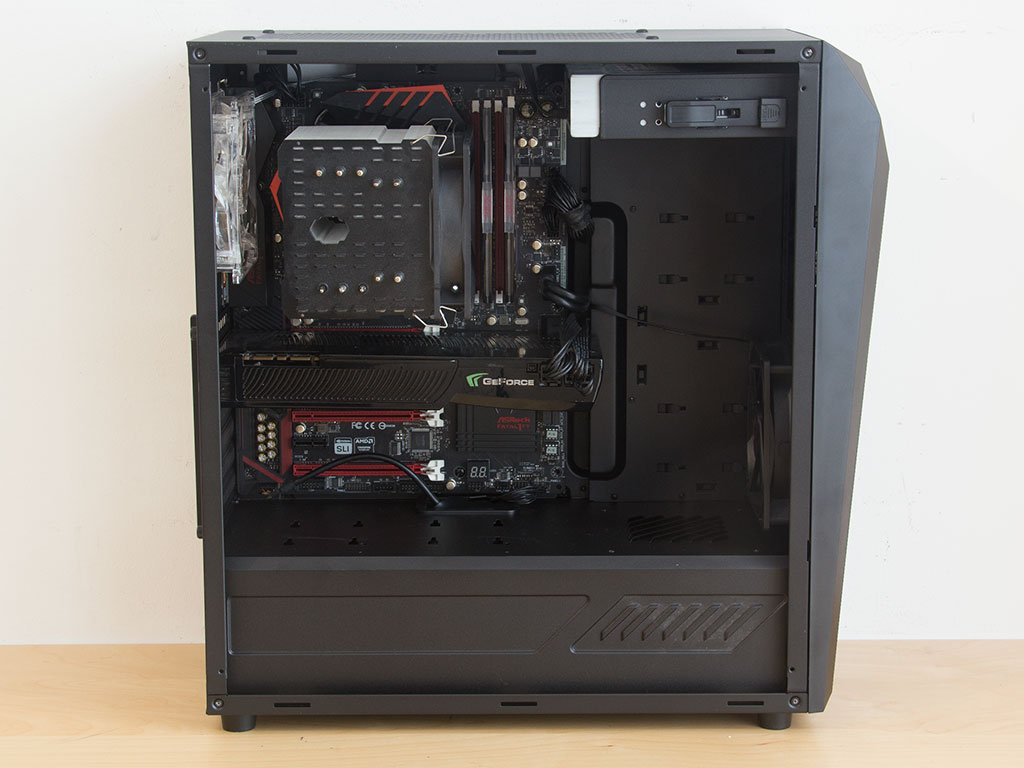
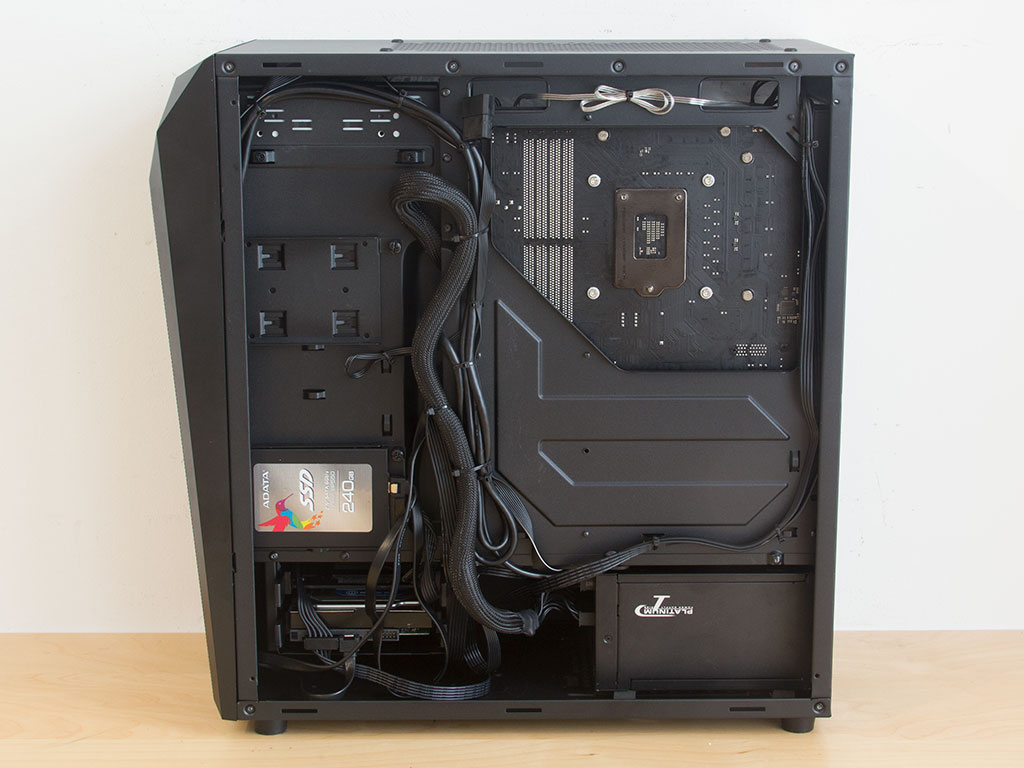
With everything in place, the Gram makes a clean impression. Only the audio cable and two leads from the front fan disturb the look a little bit. All the cable mess is hidden behind the motherboard tray, but I had to get a bit creative with securing the cables properly as there is very little space and an inadequate number of hooks for zip ties.
Finished Looks
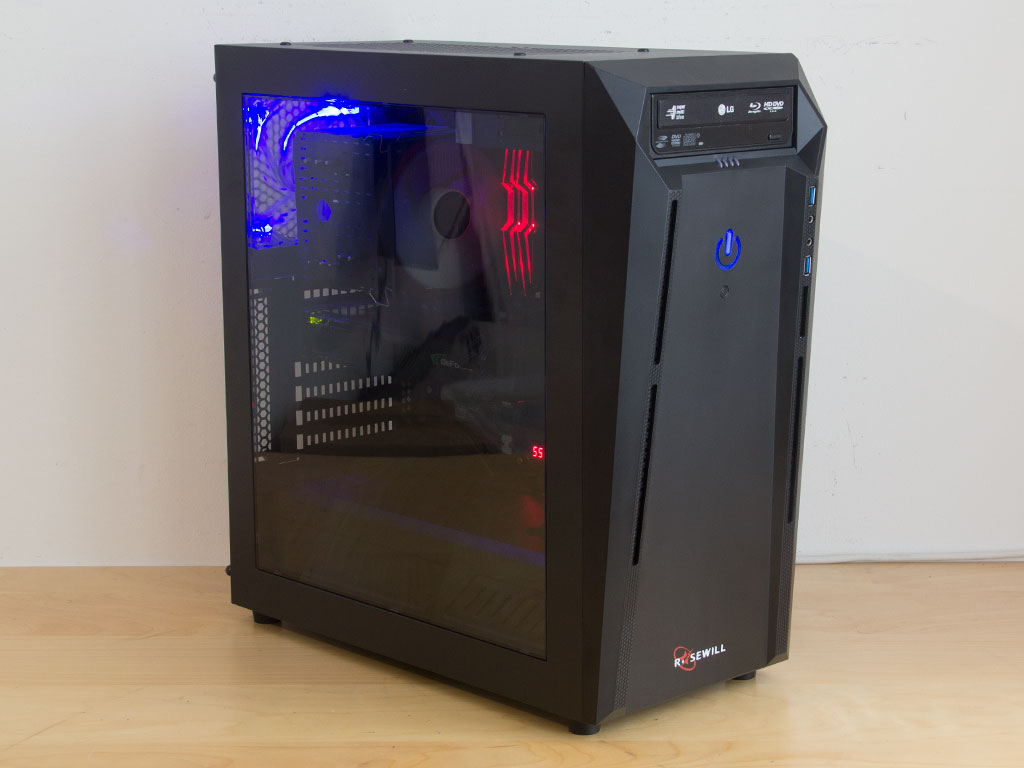
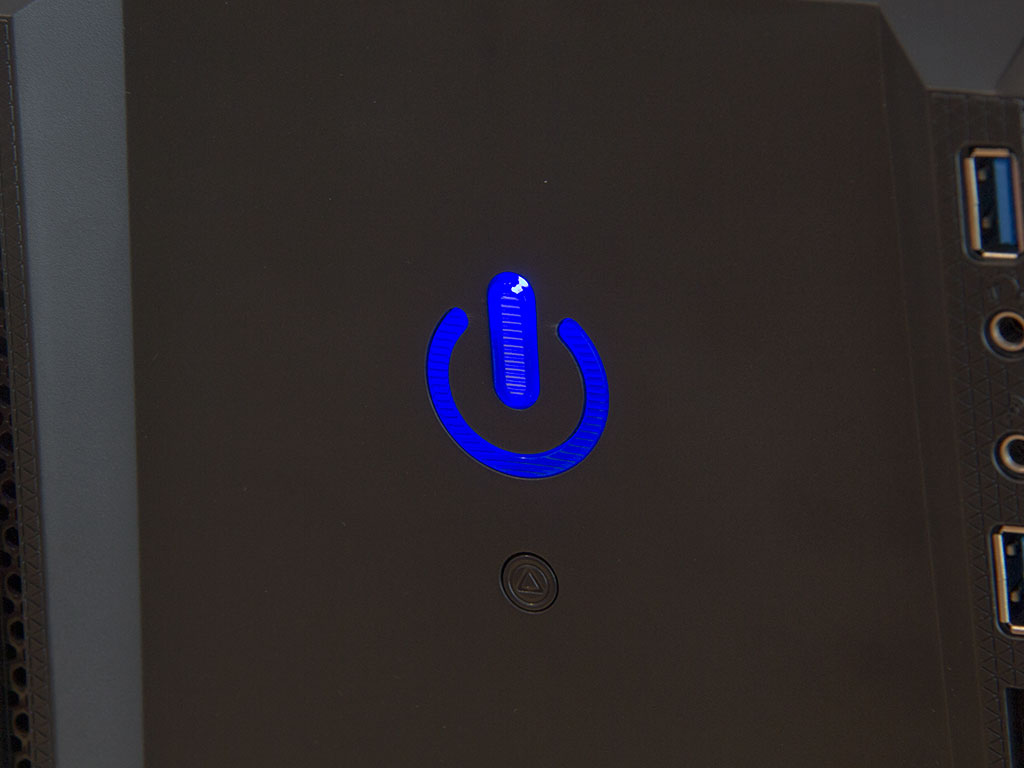
Once turned on, the Gram makes a pretty cool impression with its large blue power light in front. The window gives you a clear view of everything inside, and the shroud hides the somewhat boring components nicely.
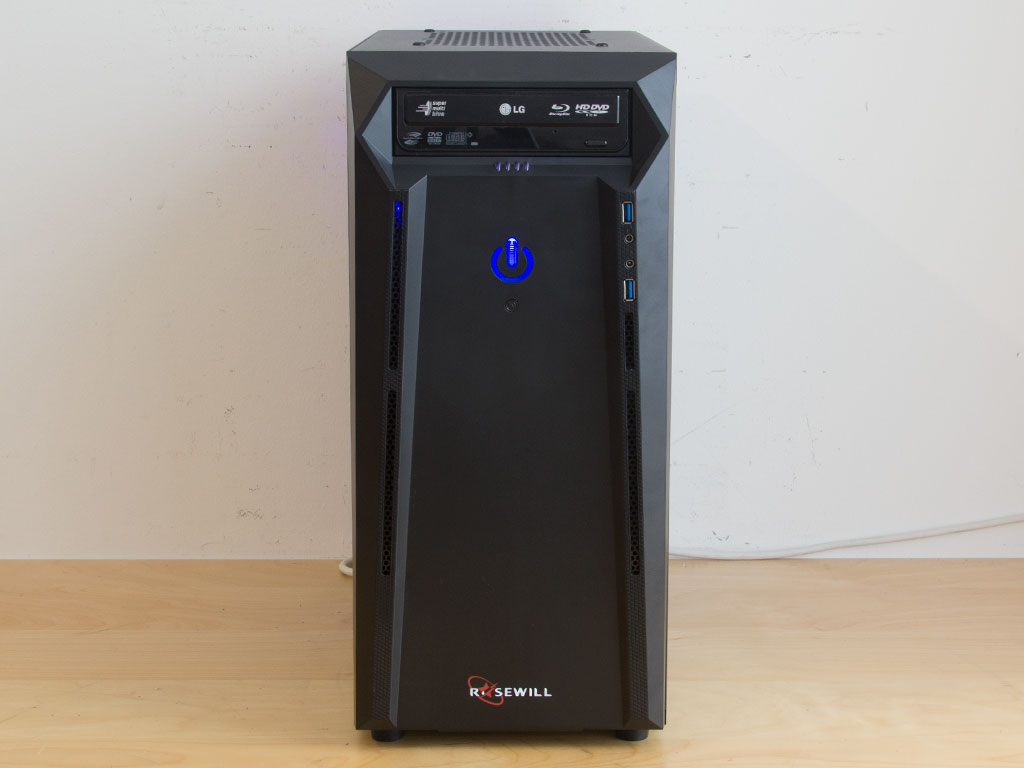
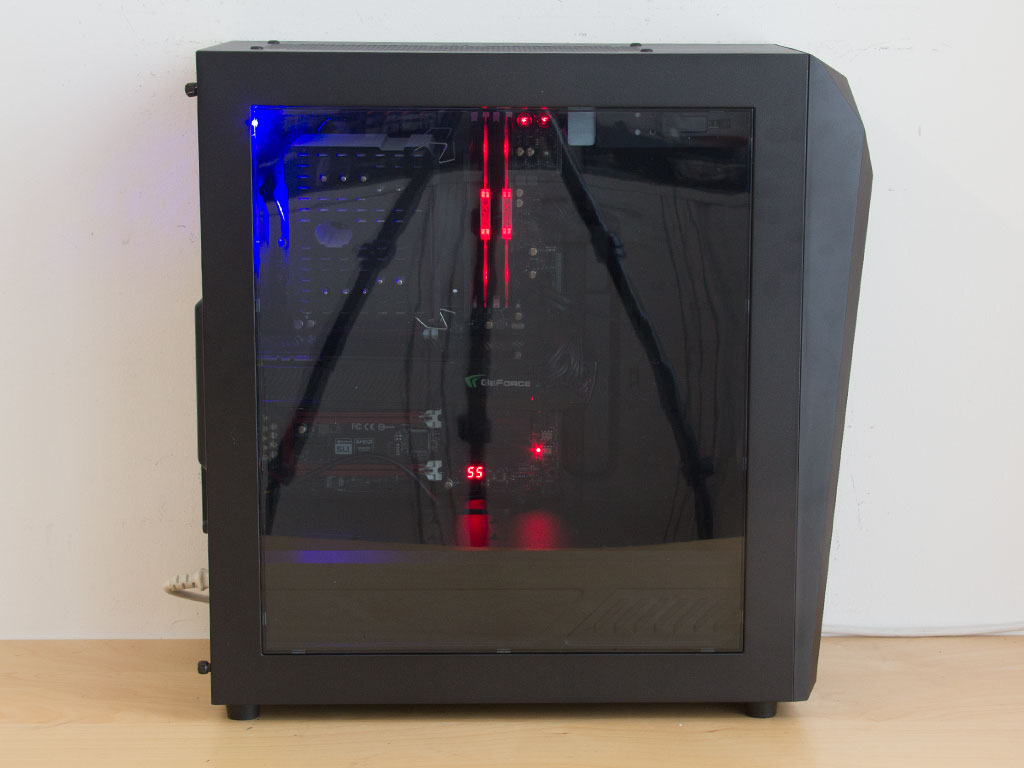
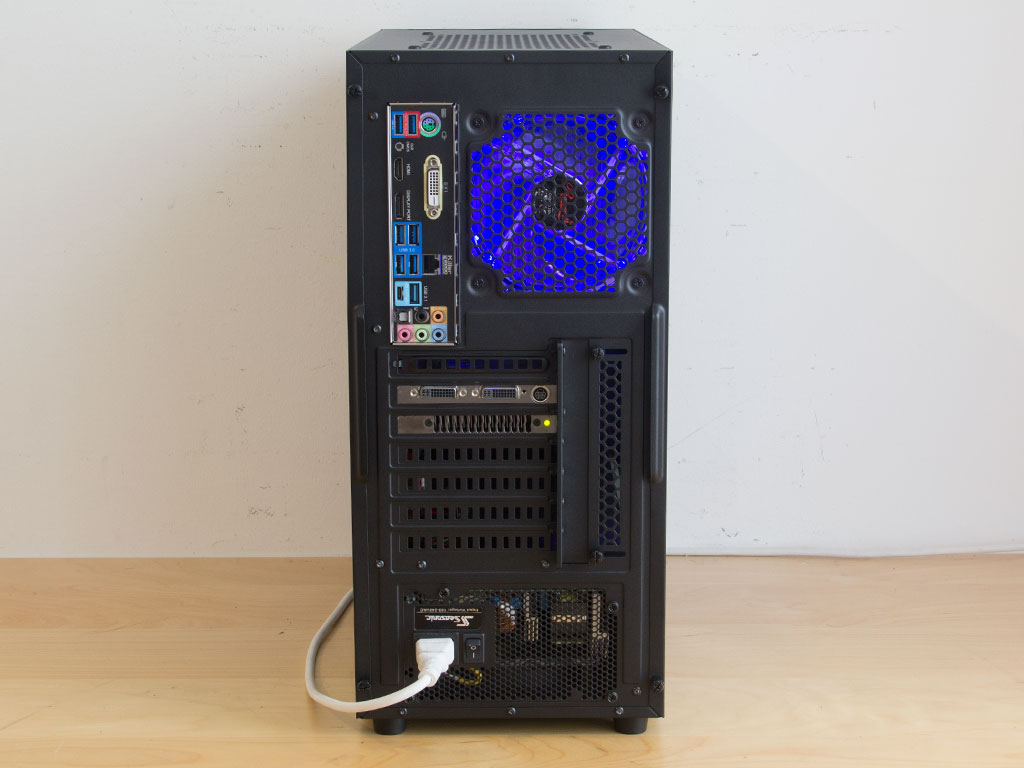
There is no other illumination in front since the included fan is of the default variety. The large window does have a small downside as you can see the optical drive as well, which looks a bit out of place. A bit of tint on the panel might have been a nice option. Everything in the rear is where you would expect it to be since the chassis has a pretty standard layout from this angle.
Jan 13th, 2025 12:09 EST
change timezone
Latest GPU Drivers
New Forum Posts
- Windows 11 24h2 has worse latency than Windows 10 22h2! (46)
- i7-7700k upgrade to 5700X3D worth it? (118)
- Sound Blaster AE-5 vs onboard audio (18)
- Have you got pie today? (16548)
- Best time to sell your used 4090s is now. (206)
- Help with ThrottleStop (i7-9750H) (6)
- WCG Daily Numbers (12731)
- TPU's Rosetta Milestones and Daily Pie Thread (2148)
- What are you playing? (22587)
- Upgrade advice please (46)
Popular Reviews
- AMD Ryzen 7 9800X3D Review - The Best Gaming Processor
- LAMZU Maya X Review
- ASUS ROG Strix B850-F Gaming WiFi Review
- Royal Kludge S85 TKL Wireless Mechanical Keyboard Review
- HEDDphone TWO GT Air Motion Transformer Headphones Review
- GPU Test System Update for 2025
- Upcoming Hardware Launches 2024 (Updated Nov 2024)
- Intel Arc B580 Review - Excellent Value
- Arrow Lake Retested with Latest 24H2 Updates and 0x114 Microcode
- DDR5 Memory Performance Scaling with AMD Zen 5
Controversial News Posts
- NVIDIA 2025 International CES Keynote: Liveblog (467)
- AMD Debuts Radeon RX 9070 XT and RX 9070 Powered by RDNA 4, and FSR 4 (348)
- NVIDIA GeForce RTX 5090 Features 575 W TDP, RTX 5080 Carries 360 W TDP (212)
- AMD Radeon RX 9070 XT Alleged Benchmark Leaks, Underwhelming Performance (204)
- 32 GB NVIDIA RTX 5090 To Lead the Charge As 5060 Ti Gets 16 GB Upgrade and 5060 Still Stuck With Last-Gen VRAM Spec (173)
- Potential RTX 5090 and RTX 5080 Pricing in China Leaks (173)
- AMD Radeon RX 9070 XT Boosts up to 3.10 GHz, Board Power Can Reach up to 330W (167)
- NVIDIA GeForce RTX 5070 Ti Leak Tips More VRAM, Cores, and Power Draw (161)