 6
6
Rosewill Meteor XR Review
Value & Conclusion »Test System
| System Parts for Case Reviews | |
|---|---|
| Processor: | Intel Core i5-7600K |
| Motherboards: | ATX: MSI Z270 Tomahawk mATX: MSI H270M Mortar Arctic mini-ITX: MSI Z270I Gaming Pro Carbon AC Provided by: MSI |
| Graphic Card: | Long: NVIDIA GeForce GTX 280 OEM Short: HIS Radeon 5350 HD |
| Memory: | 16 GB XPG Dazzle DDR4 2800 MHz CL17-17-17 1.25V 32 GB GB XPG SPECTRIX D40 3000 MHz. CL16-18-18 1.35V 16 GB XPG GAMMIX D10 DDR4 2400 MHz CL16-16-16 1.20V Provided by: ADATA |
| HDD: | Western Digital 320 GB 7200 RPM |
| SSD: | ADATA Ultimate SU900 TLC 256 GB ADATA Ultimate SU800 3D TLC 256 GB ADATA Ultimate SU700 TLC 240 GB Provided by: ADATA |
| Power Supply: | Fractal Design Integra M 450W Provided by: Fractal Design |
| Cooling: | Air Cooling: be quiet! Pure Rock Provided by: be quiet! |
Assembly
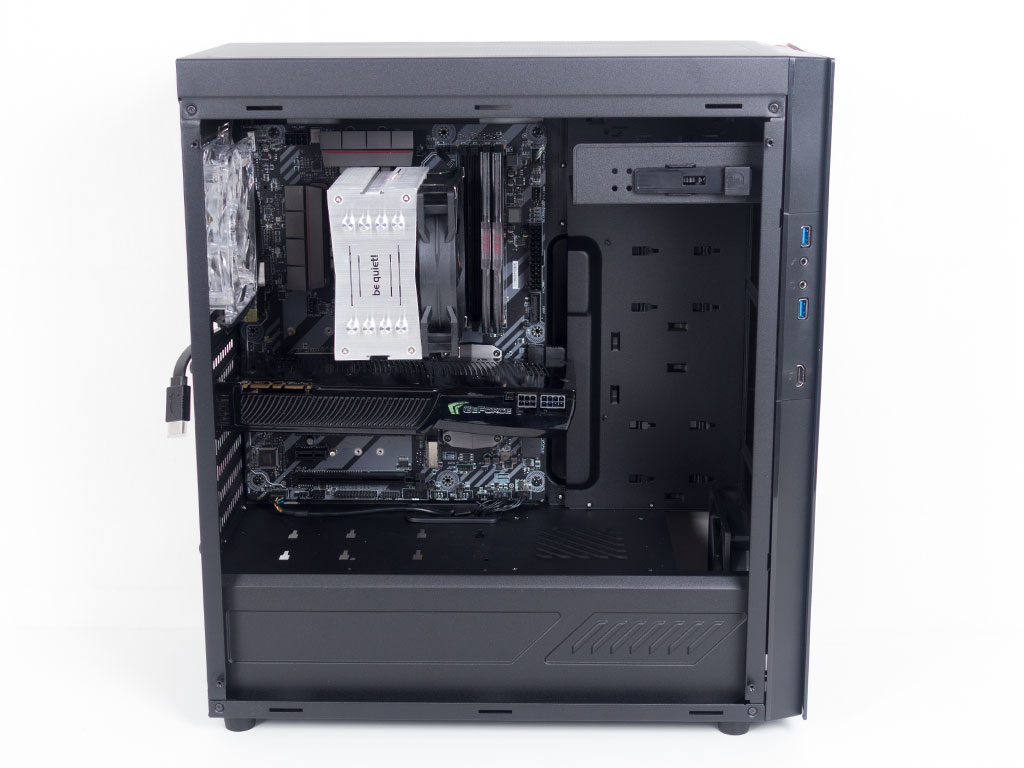
Installing the motherboard is done by simply using traditional spacers and screws. There is plenty of space above the board, so you may route cables or install a radiator without issue. With no 3.5'' drive bays in front, not even a thick radiator will interfere with the vast majority of GPUs out there.
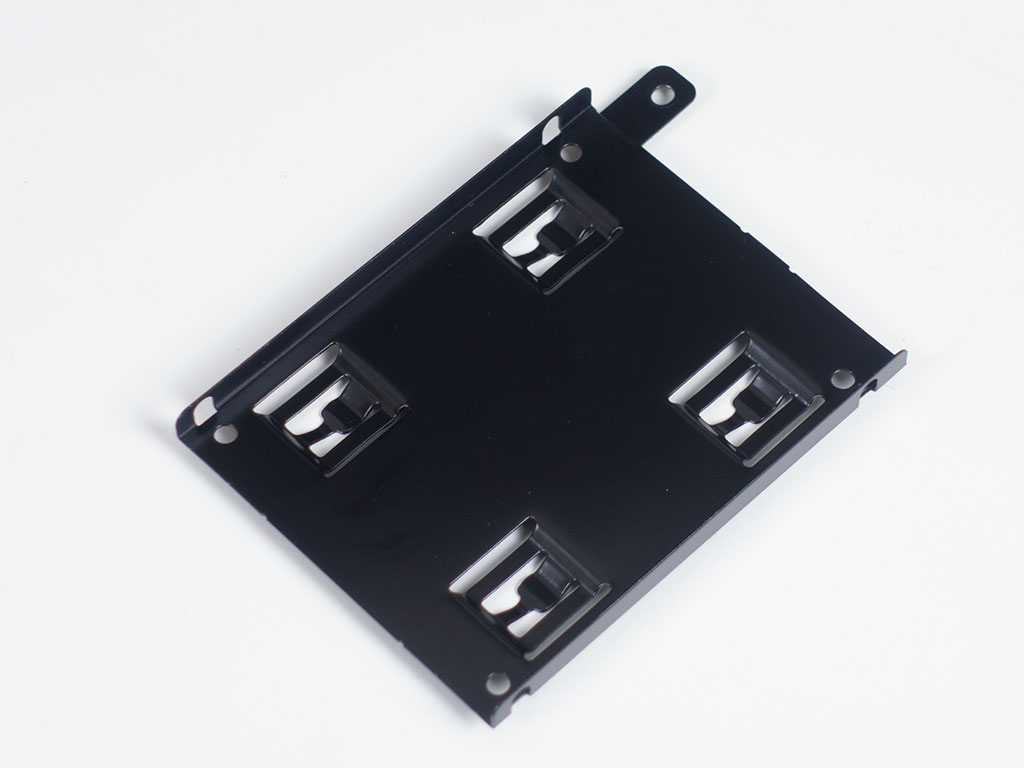
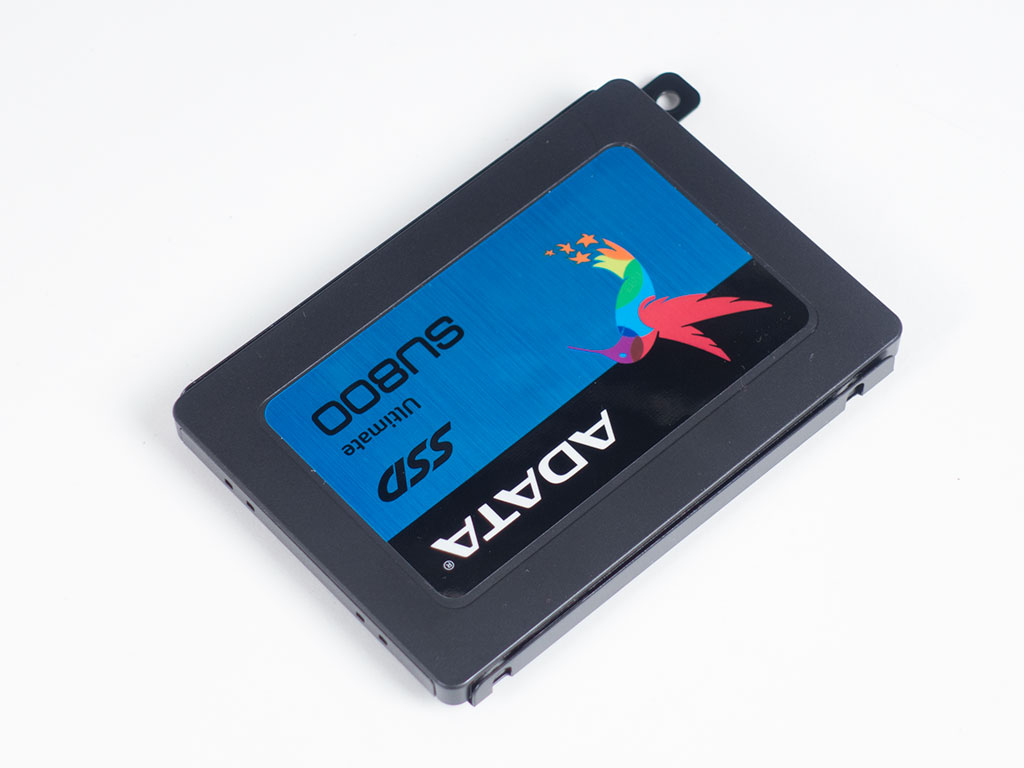
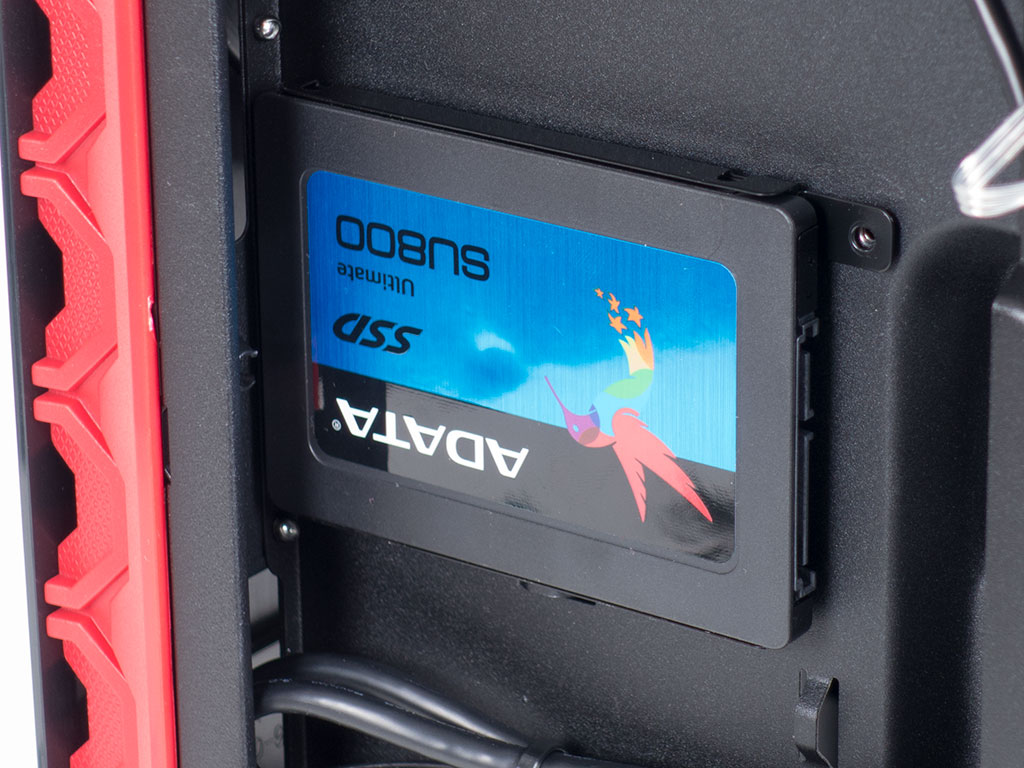
SSDs require the use of tools as you have to secure them to these metal trays with traditional screws. Once mounted, you can put the tray into one of four positions and use the thumbscrew to keep it in place.
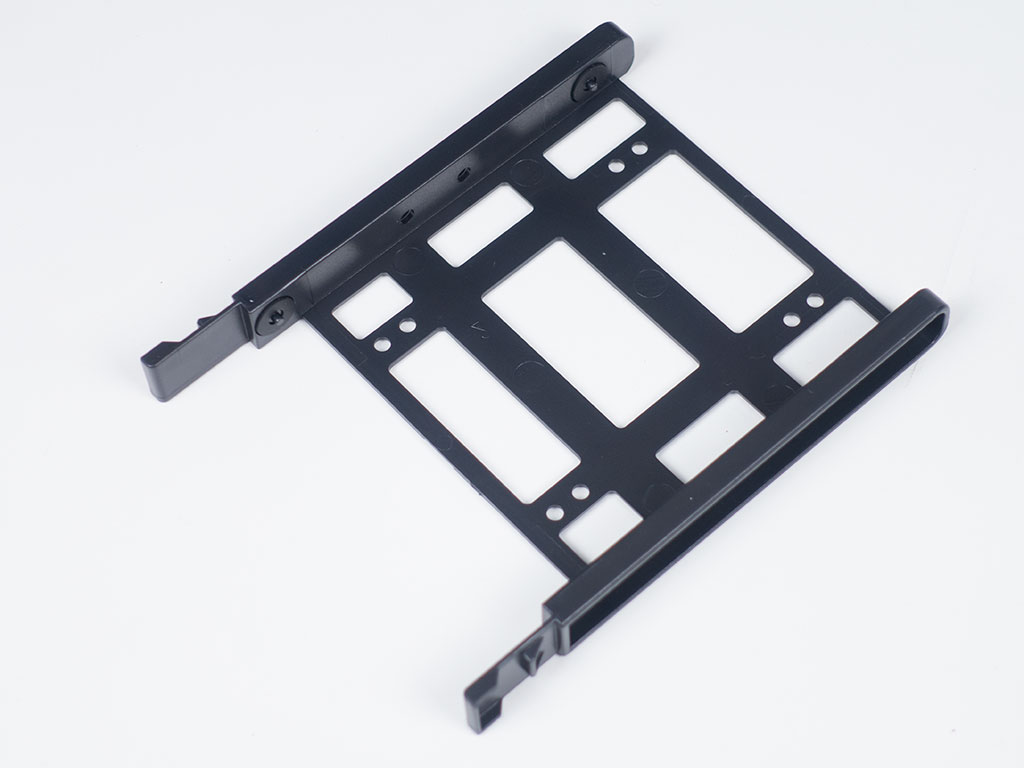
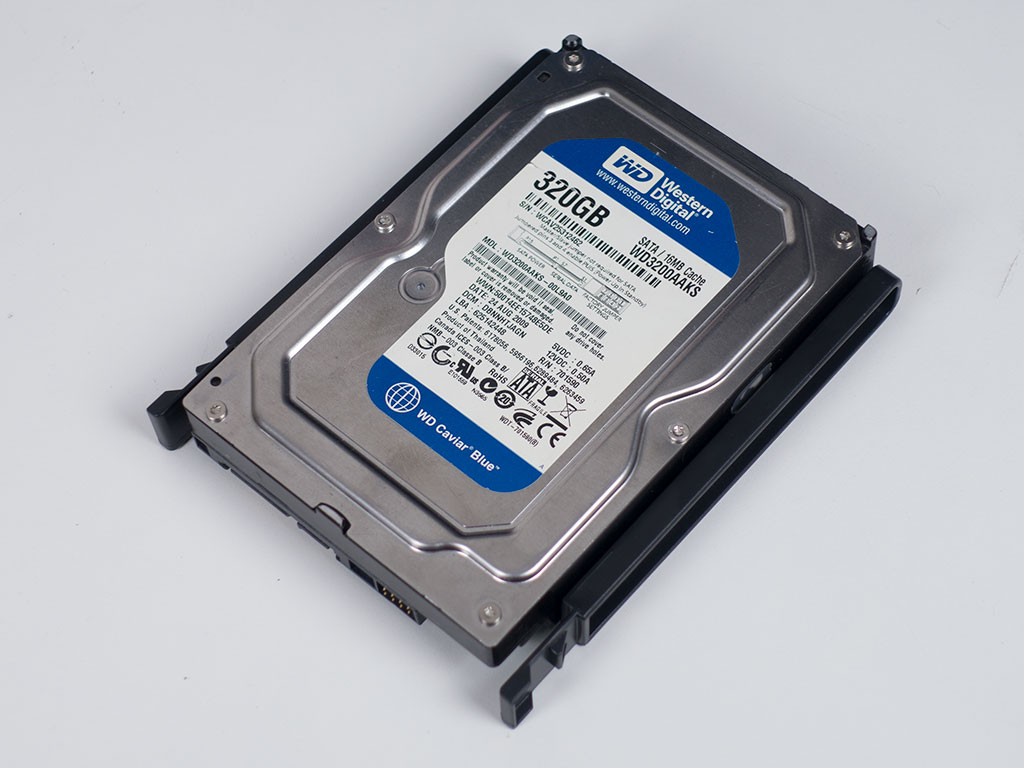
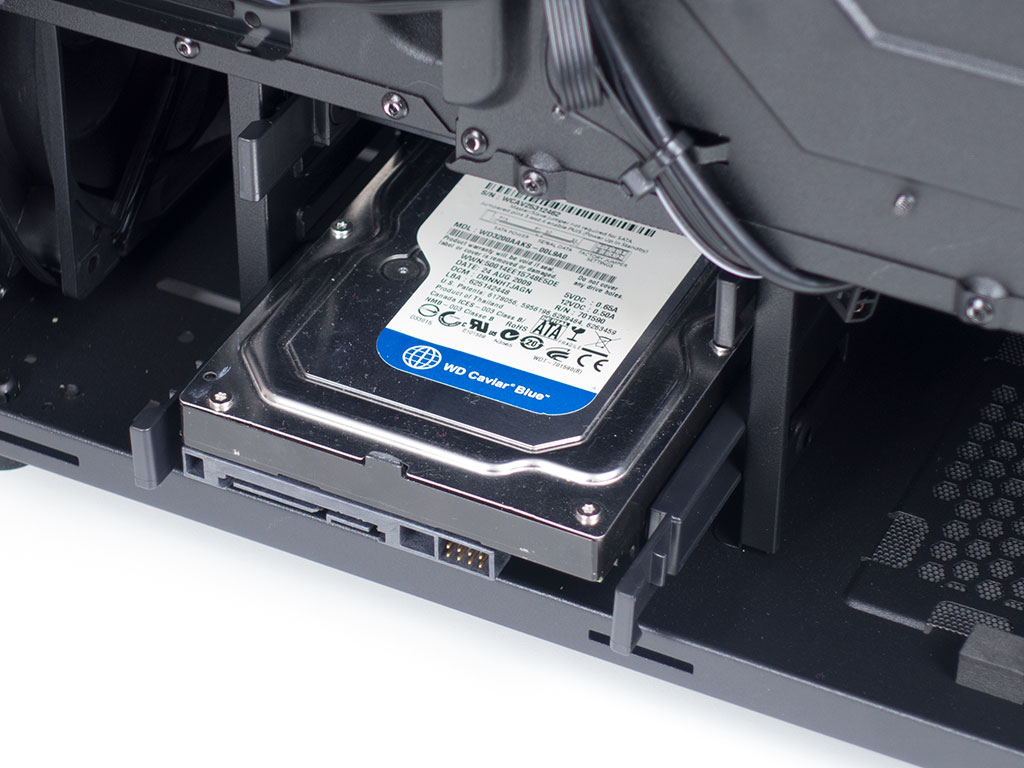
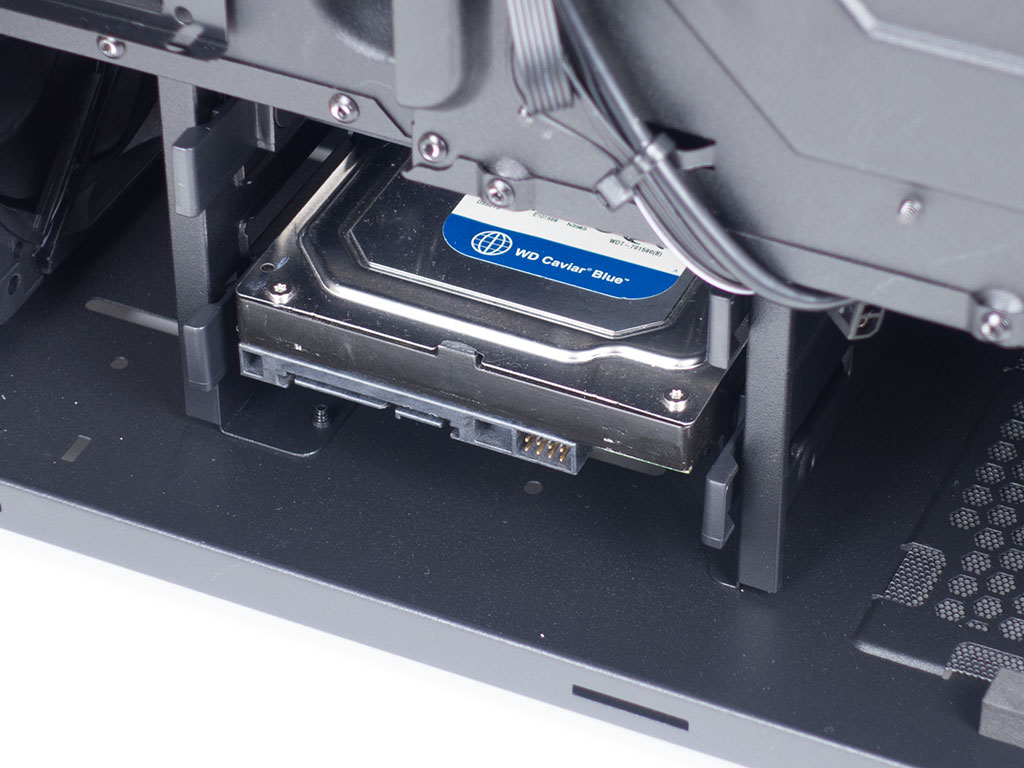
The Rosewill Meteor XR comes with flexible plastic trays. They are quite sturdy even though the drive is held in place by plastic pins. Rubber rings around these act as a measure against vibrations. Once you have placed the drive into the tray, slide it back in until it snaps into place securely.
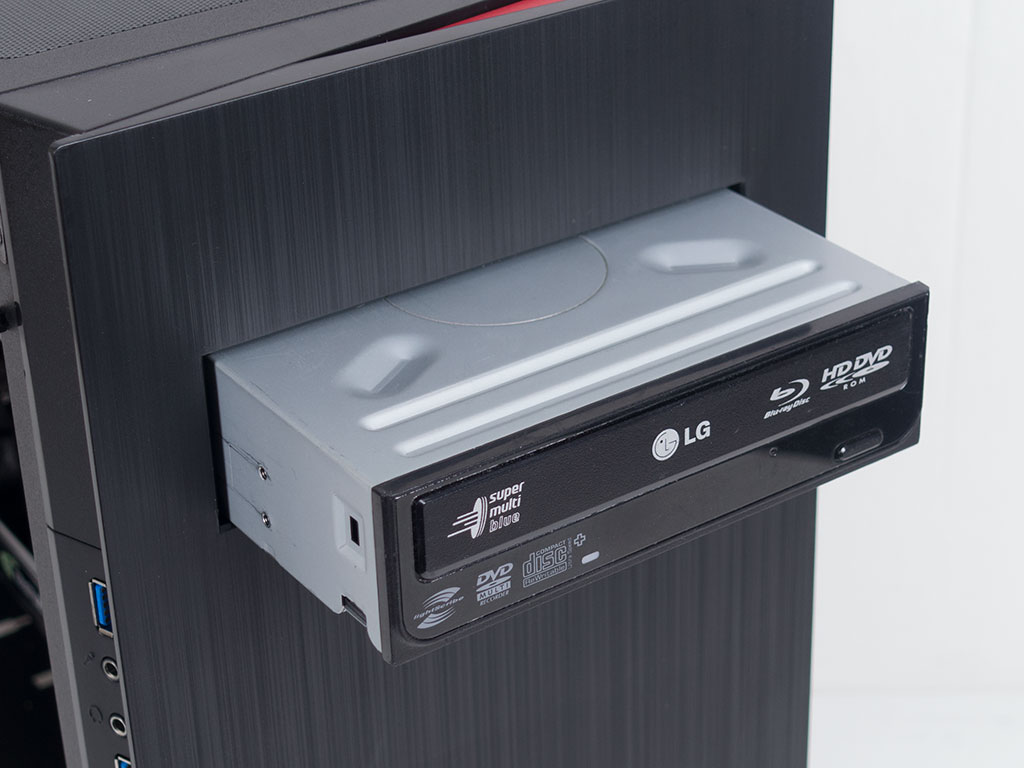
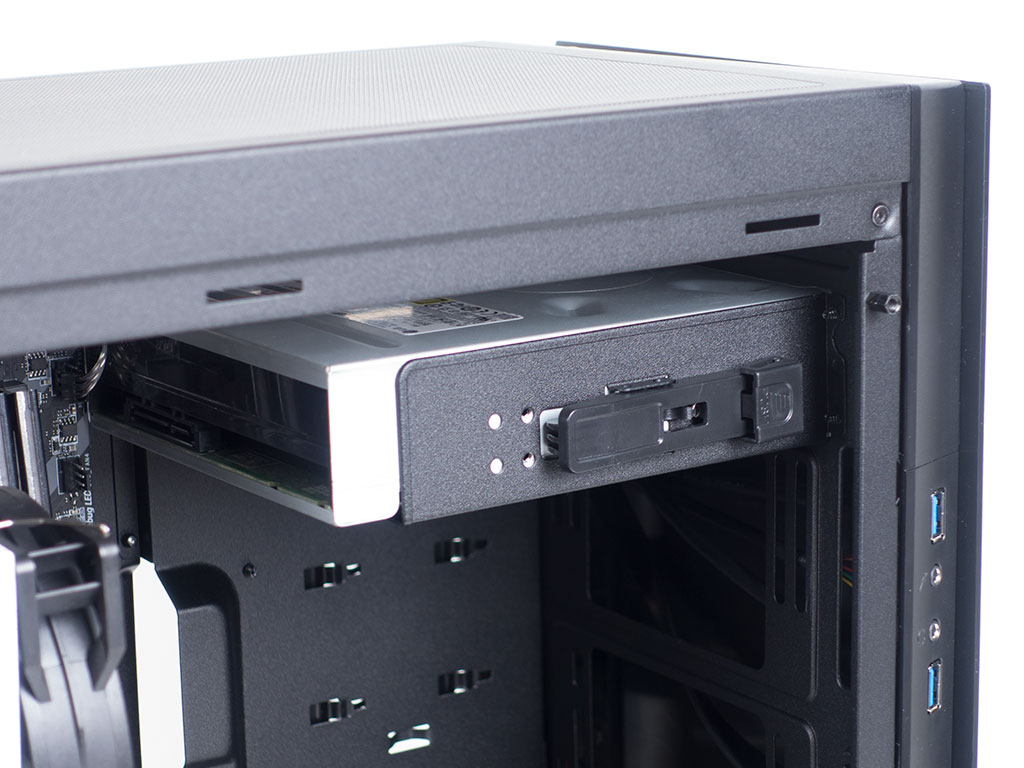
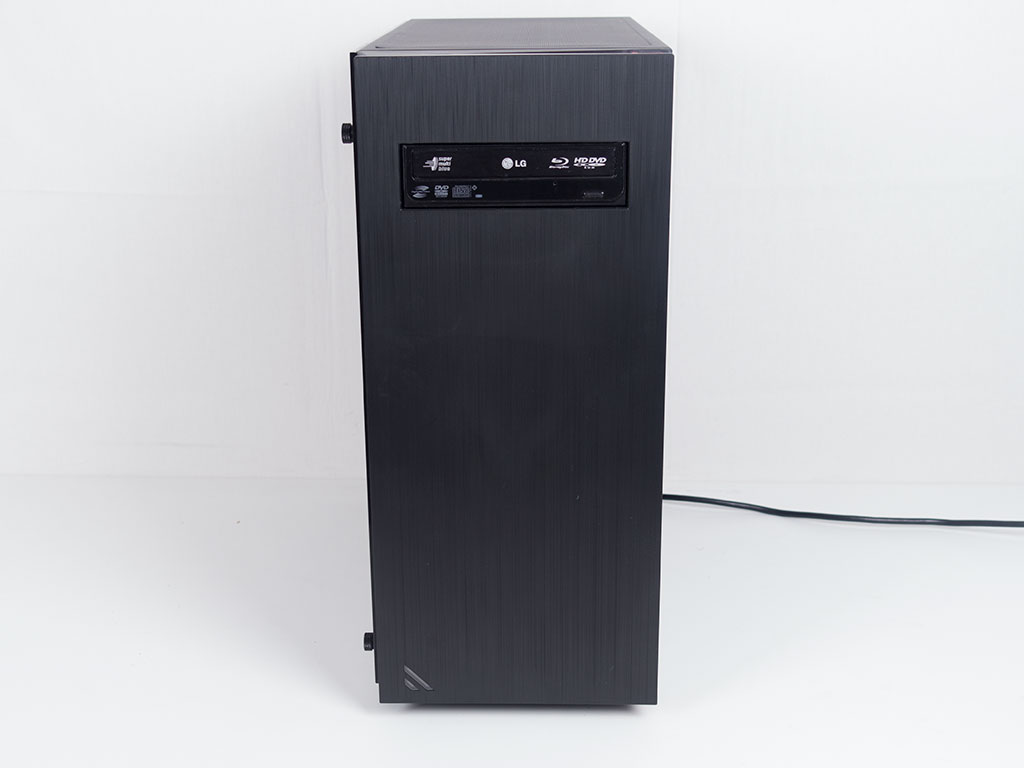
Adding an optical drive is tool-less as well. Simply remove the cover, slide the drive into place, and watch the plastic locking mechanism snap into place. It has quite a bit of tension, so odds are you won't need to add screws to the mix.
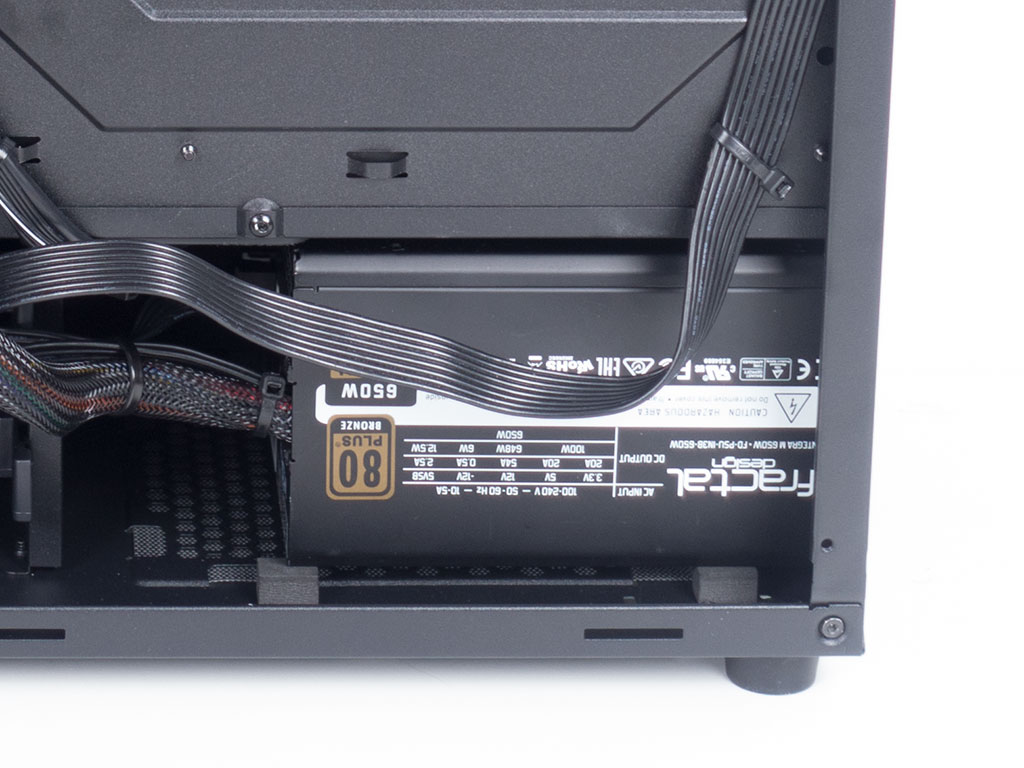
Installing the power supply is quite straightforward as well. Slide it into the chassis underneath the shroud and secure it with traditional screws. There is enough space to fit most units out there, but very long PSUs will not fit unless you sacrifice the HDD cage.
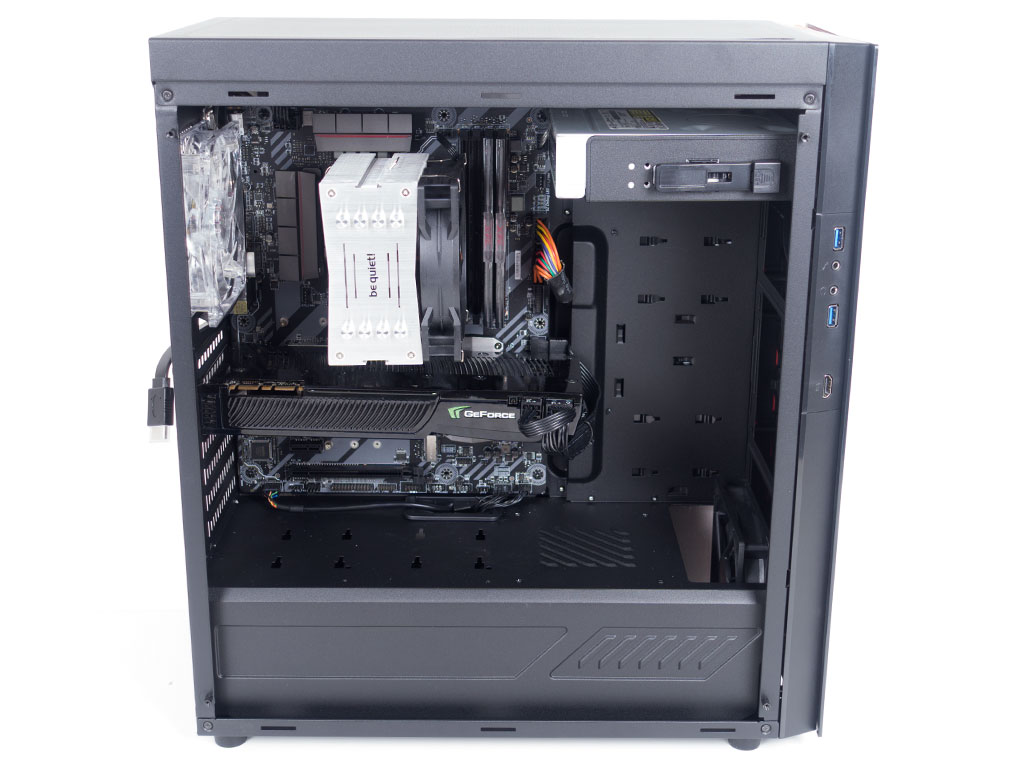

Once everything is installed, the Meteor XR makes a clean impression because of the shroud. Only the audio cable and two leads from the fan in front disturb the look a bit. All the cable mess is hidden behind the motherboard tray, but I had to get a bit creative with securing the cables properly as there is very little space and an inadequate number of hooks for zip ties, which could cause some issues if you install SSDs there.
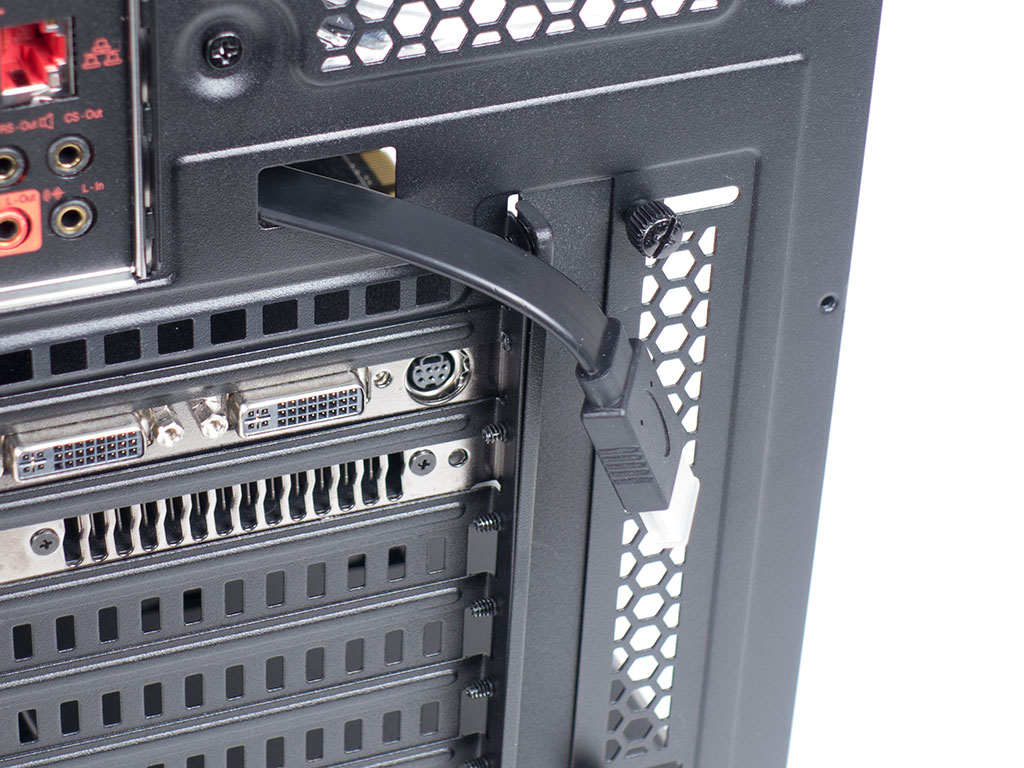
The HDMI cable may be routed through an opening in the rear of the chassis and will then connect directly to the output of your graphics card. This reminds me of the days when USB 3.0 headers were unavailable on motherboards, which had case manufacturers opt for this solution as well; however, it would have been nice had Rosewill also included a bracket cover to make things look a bit cleaner. I am sure more and more GPU brands will end up including an internal HDMI header on their boards as time goes on. Of course, if you already happen to have a modern video card with an internal header, just plug the cable in and you are ready to go.
Finished Looks
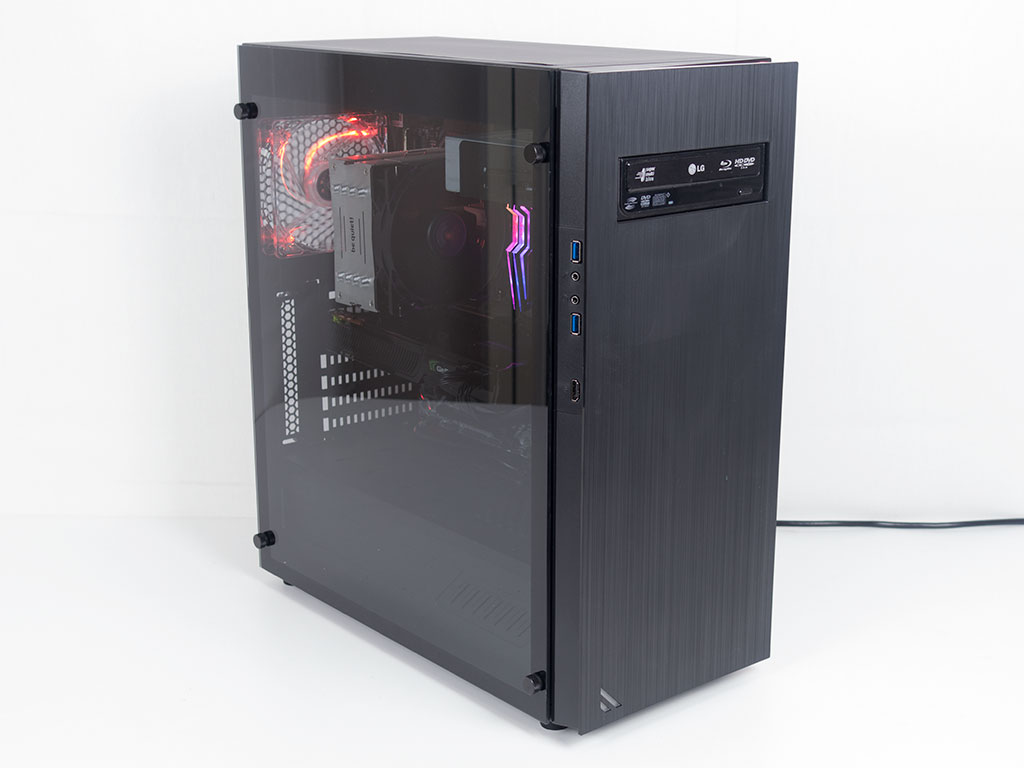
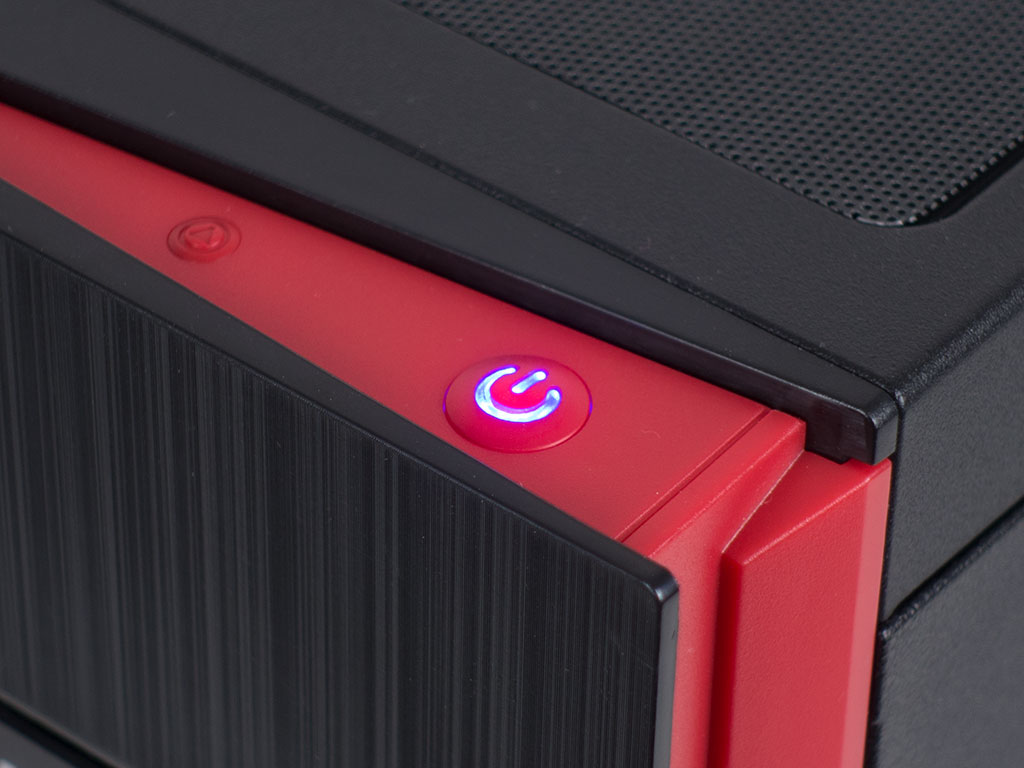
With everything put back into place, the Rosewill Meteor XR looks quite nice. Thanks to the flat design, none of the plastic elements feel cheap overall. The power LED under the red button lights up in blue, which is a bit of a color clash. Having a white LED here would have been nicer. The large HDD activity LED in front lights up in red, which also happens to go well with the overall design. I can see some simply using this one for power and the smaller blue one for HDD activity instead.
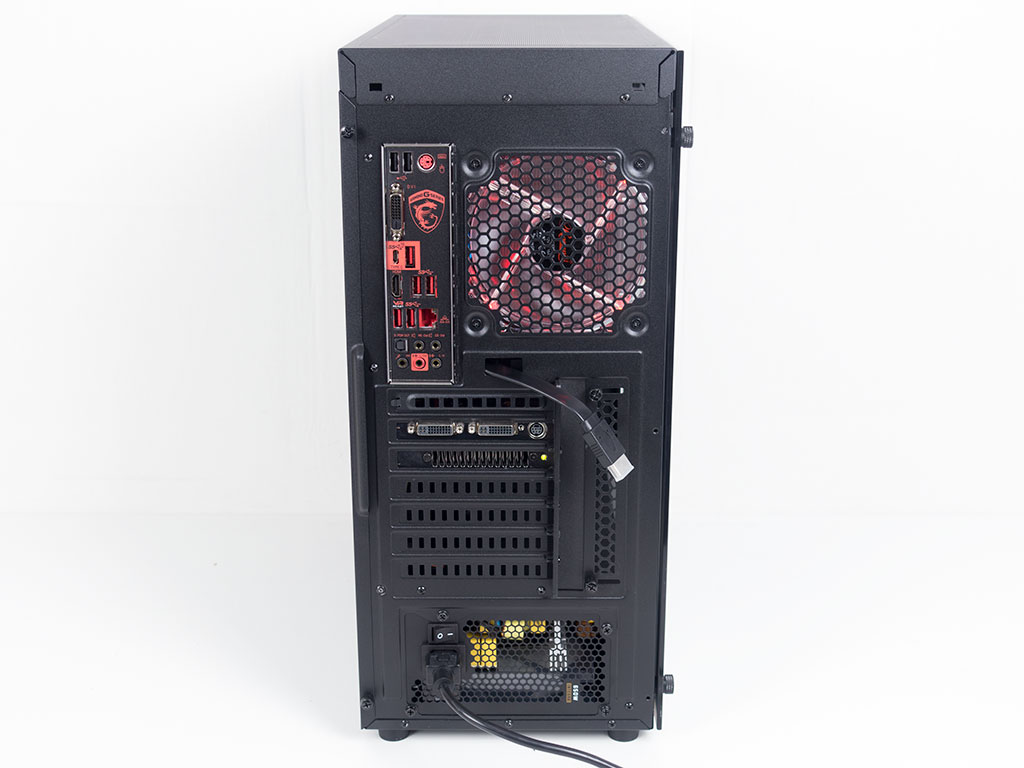
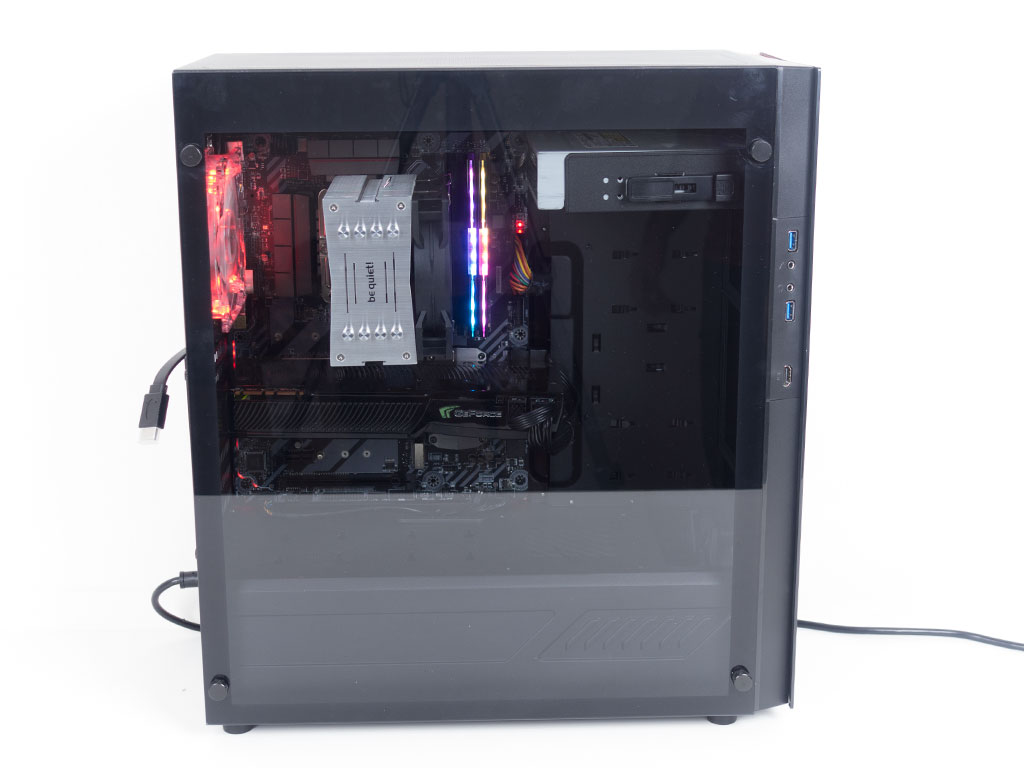
Due to the solid nature of the front, you won't be able to see anything inside the chassis. In the rear, the red LEDs can be seen, thanks to the fan in the rear. A quick peek through the glass window reveals it as the sole lighting element of the chassis, in addition to the LEDs on the MSI motherboard and the RGB lights of the ADATA memory.
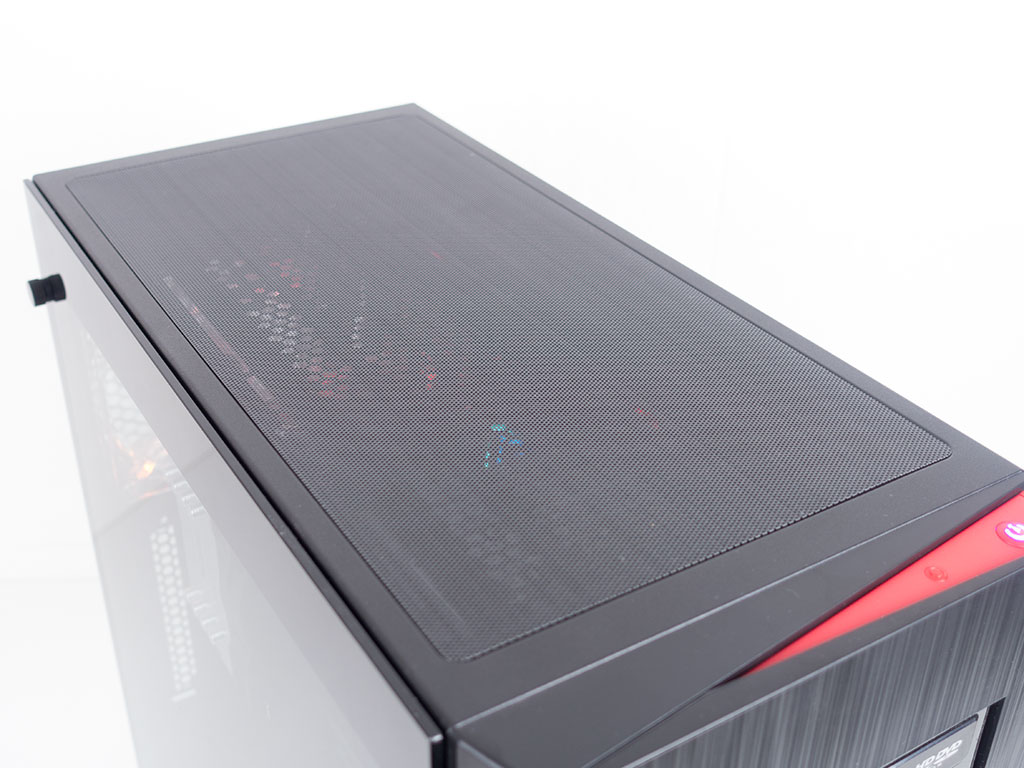
Looking down on the metal mesh top, you can see some of these elements through the two layers, which means any fan you may install here will be visible as well.
Mar 10th, 2025 19:01 EDT
change timezone
Latest GPU Drivers
New Forum Posts
- AMD RX 7000 series GPU Owners' Club (1307)
- Biostar RX 6700 XT OC BIOS (6)
- Nvidia's GPU market share hits 90% in Q4 2024 (gets closer to full monopoly) (774)
- What's your latest tech purchase? (23278)
- Wherein lies the difference (2)
- USB hard disk box capacity limits (14)
- RX 9000 series GPU Owners Club (41)
- Gaming PC instabiliity (22)
- Msi 5090 DOA? (30)
- RX 9070 availability (170)
Popular Reviews
- Sapphire Radeon RX 9070 XT Nitro+ Review - Beating NVIDIA
- XFX Radeon RX 9070 XT Mercury OC Magnetic Air Review
- ASUS Radeon RX 9070 TUF OC Review
- MSI MAG B850 Tomahawk Max Wi-Fi Review
- NVIDIA GeForce RTX 5080 Founders Edition Review
- NVIDIA GeForce RTX 5070 Founders Edition Review
- Corsair Vengeance RGB CUDIMM DDR5-8800 48 GB CL42 Review
- AMD Ryzen 7 9800X3D Review - The Best Gaming Processor
- ASUS GeForce RTX 5070 Ti TUF OC Review
- MSI GeForce RTX 5070 Ti Gaming Trio OC+ Review
Controversial News Posts
- NVIDIA GeForce RTX 50 Cards Spotted with Missing ROPs, NVIDIA Confirms the Issue, Multiple Vendors Affected (513)
- AMD Plans Aggressive Price Competition with Radeon RX 9000 Series (277)
- AMD Radeon RX 9070 and 9070 XT Listed On Amazon - One Buyer Snags a Unit (261)
- AMD RDNA 4 and Radeon RX 9070 Series Unveiled: $549 & $599 (260)
- AMD Mentions Sub-$700 Pricing for Radeon RX 9070 GPU Series, Looks Like NV Minus $50 Again (248)
- NVIDIA Investigates GeForce RTX 50 Series "Blackwell" Black Screen and BSOD Issues (244)
- AMD Radeon RX 9070 and 9070 XT Official Performance Metrics Leaked, +42% 4K Performance Over Radeon RX 7900 GRE (195)
- AMD Radeon RX 9070-series Pricing Leaks Courtesy of MicroCenter (158)