 21
21
Scythe Mugen 4 Review
Finished Looks »Installation
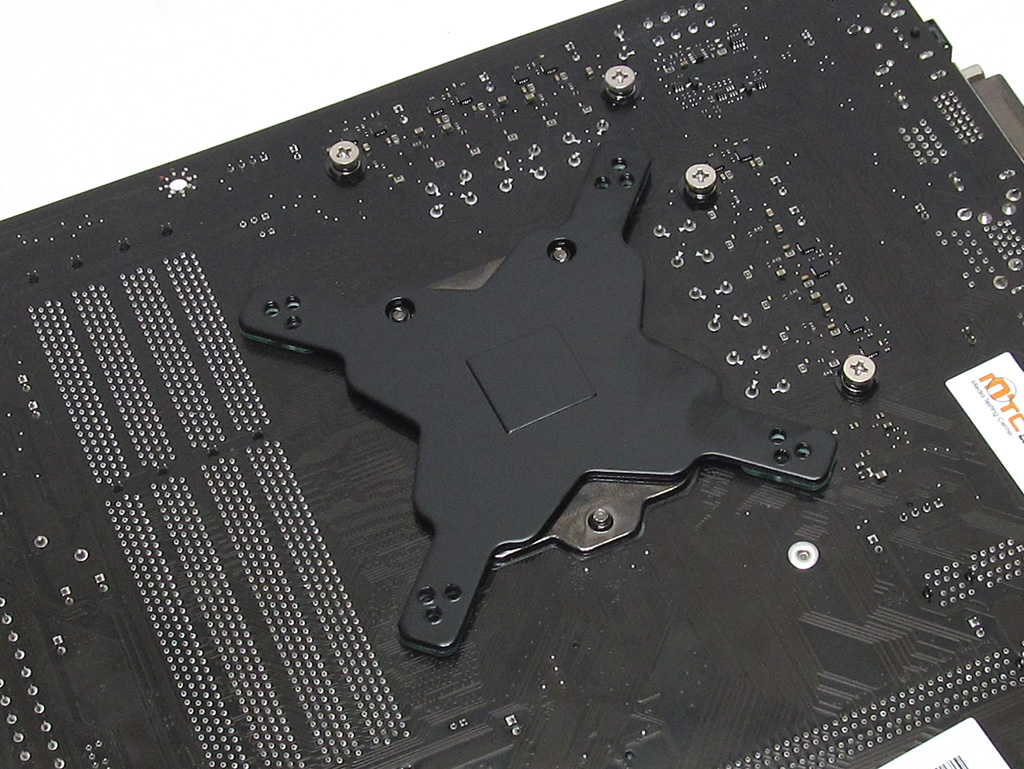
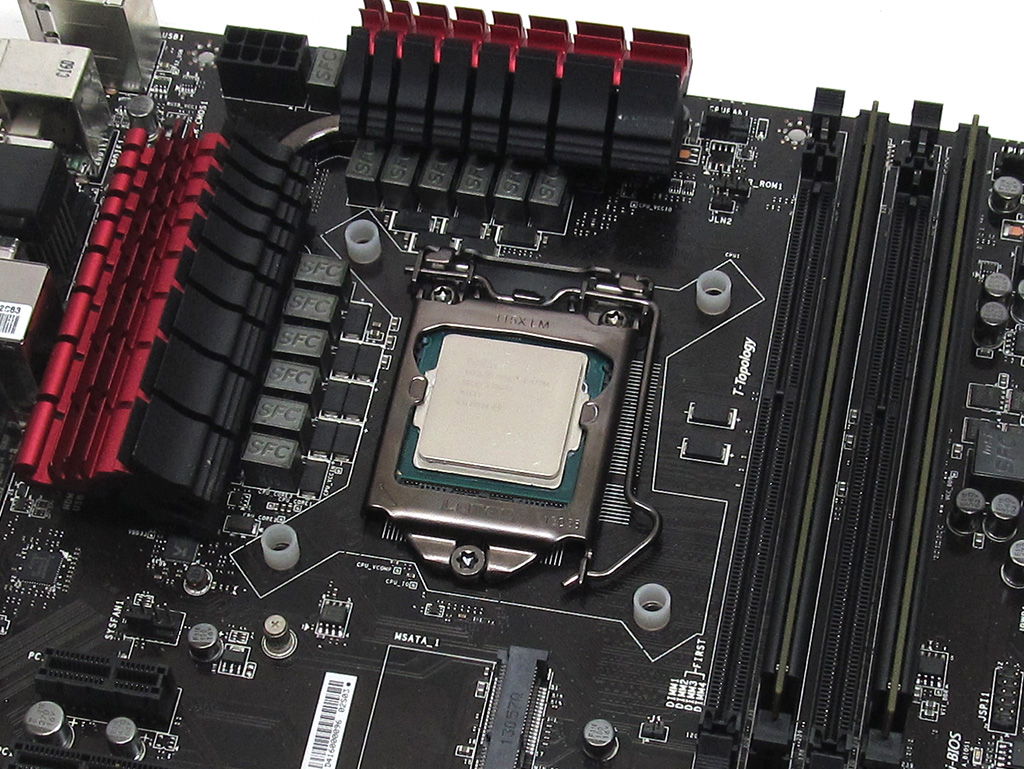
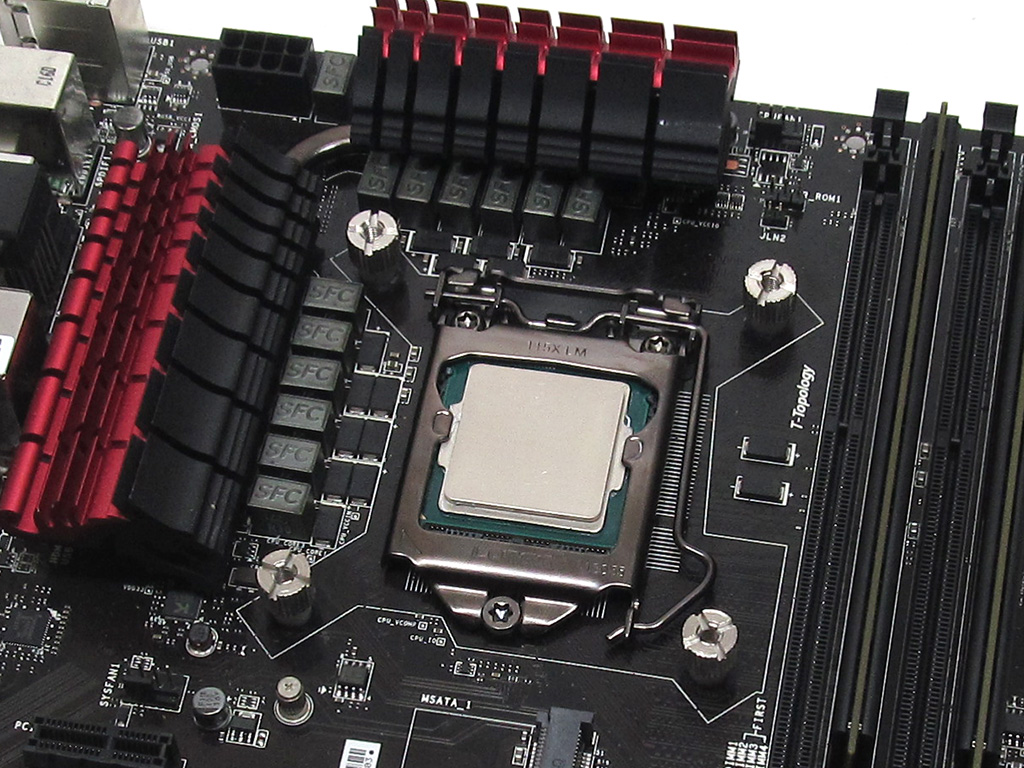
When it comes to installing the Scythe Mugen 4, users will find the process fairly easy. You start by putting the backplate into the right spot. Now, flip the board over; make sure to have the four white spacers and screw in the proper stud nuts to hold everything in place.
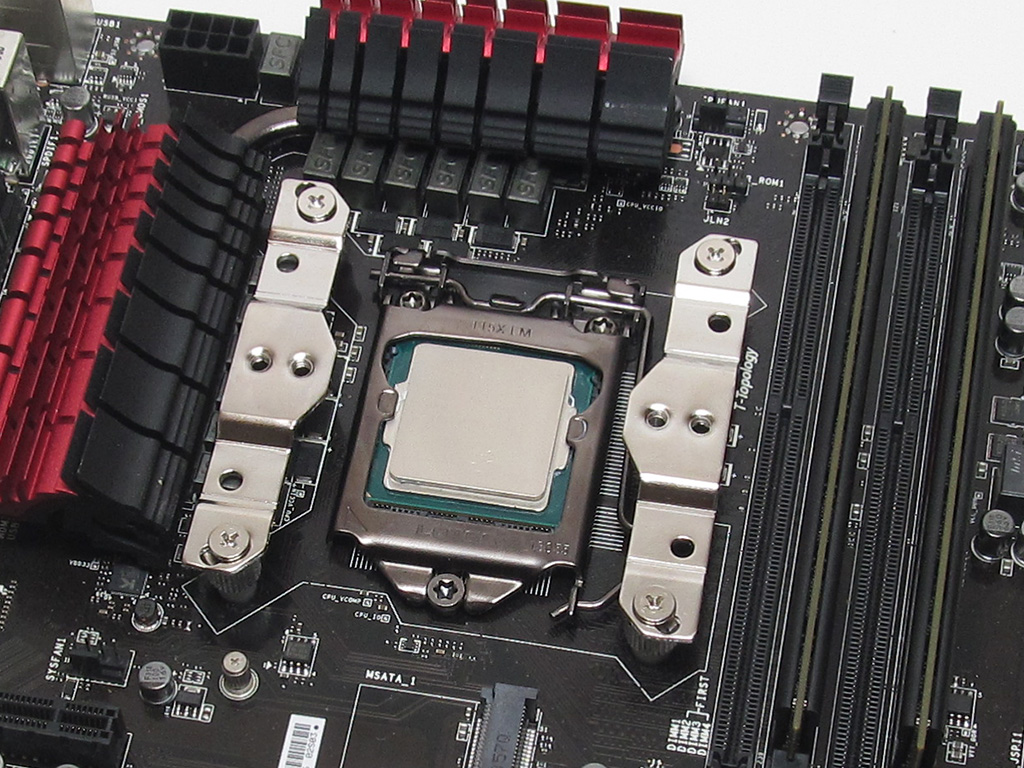
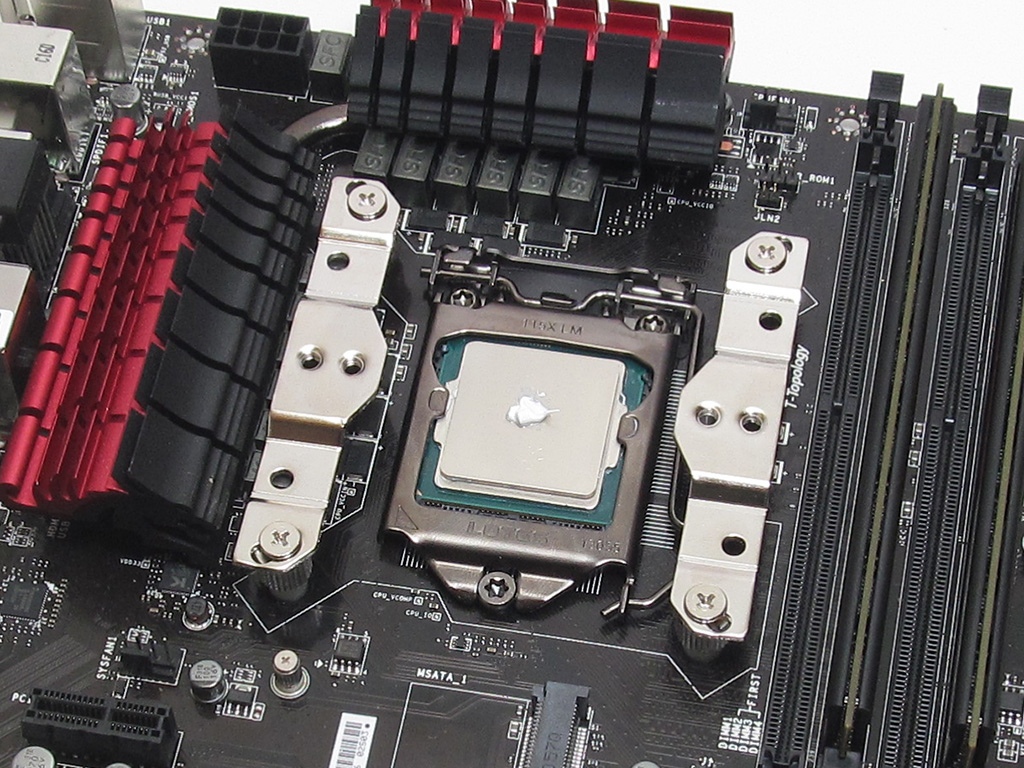
At this stage, take the mounting plates and, upon lining the holes up for your socket properly, screw them into place with the small screws Scythe provides. It is now time to apply the thermal paste before mounting the heatsink.
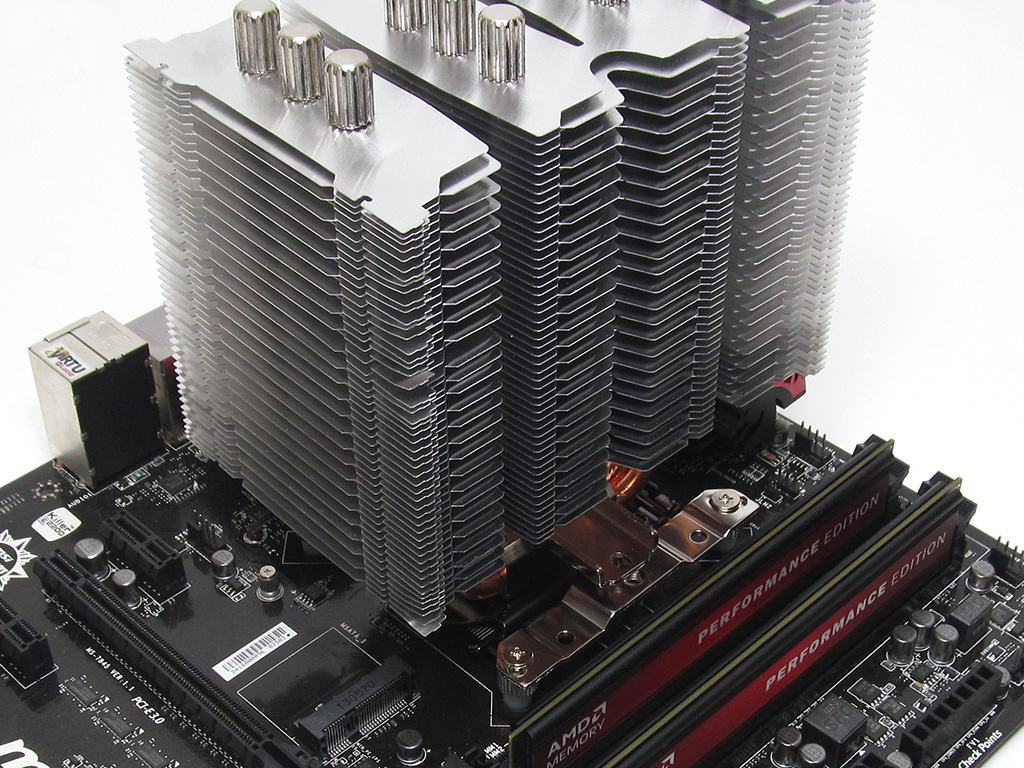
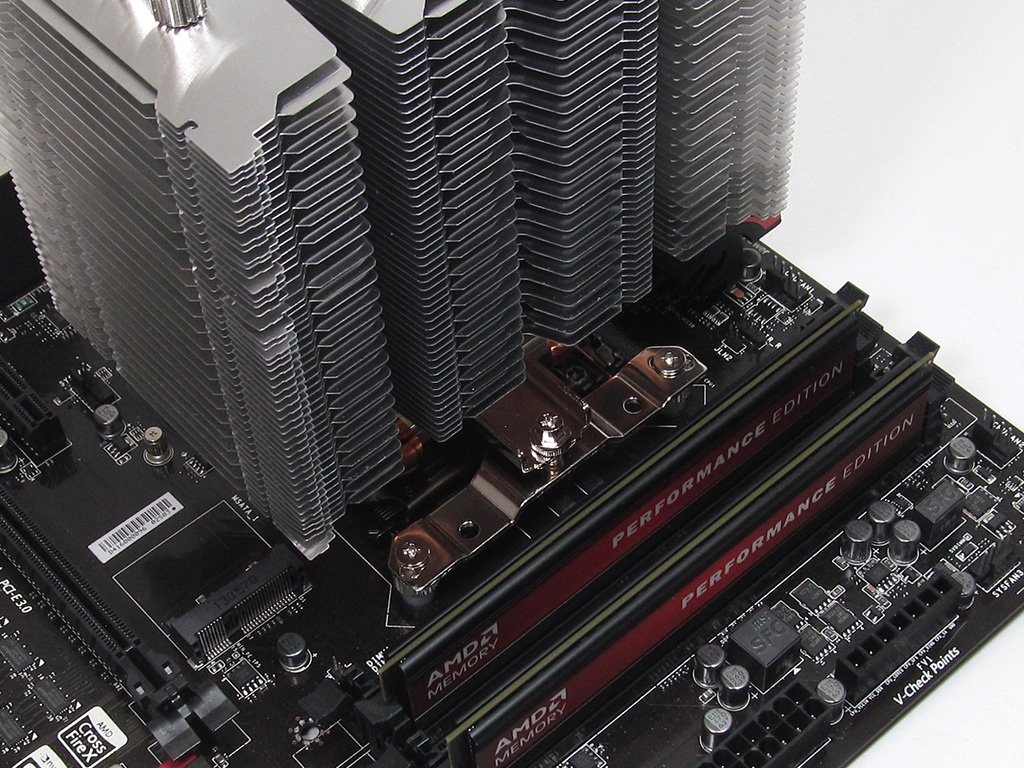
Placing the mounting bar in place on the heatsink, line the holes on it up with the holes in the mounting plates. Once lined up, use the large screws to secure the heatsink in place—Scythe even included a wrench to make this step easier.
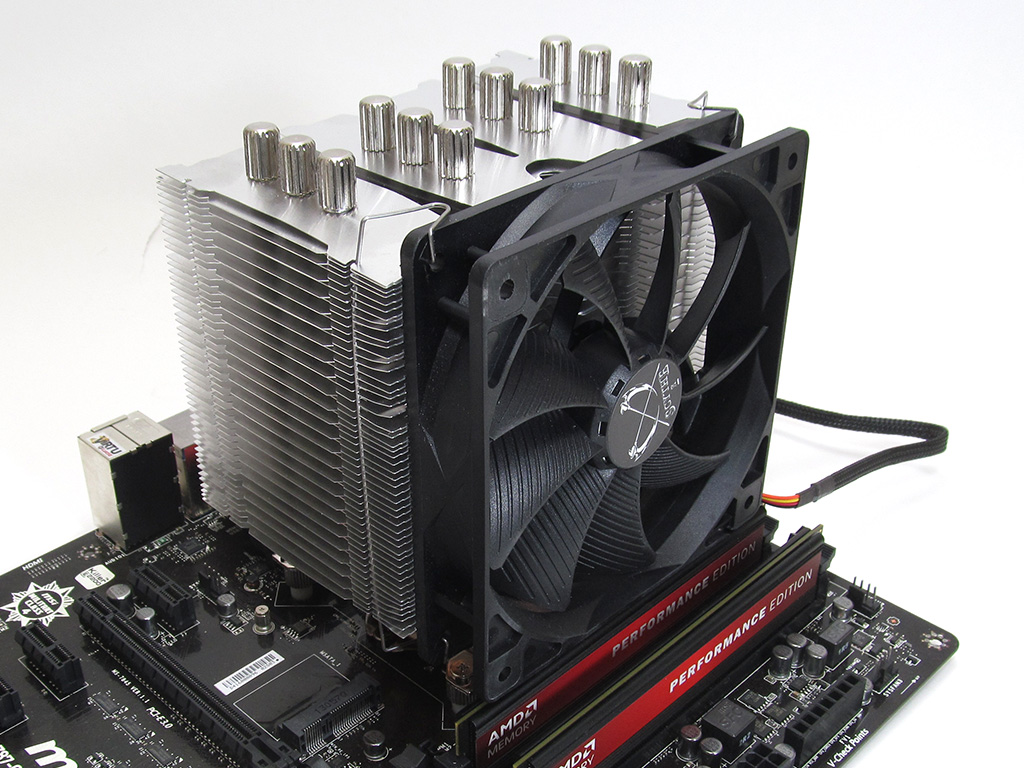
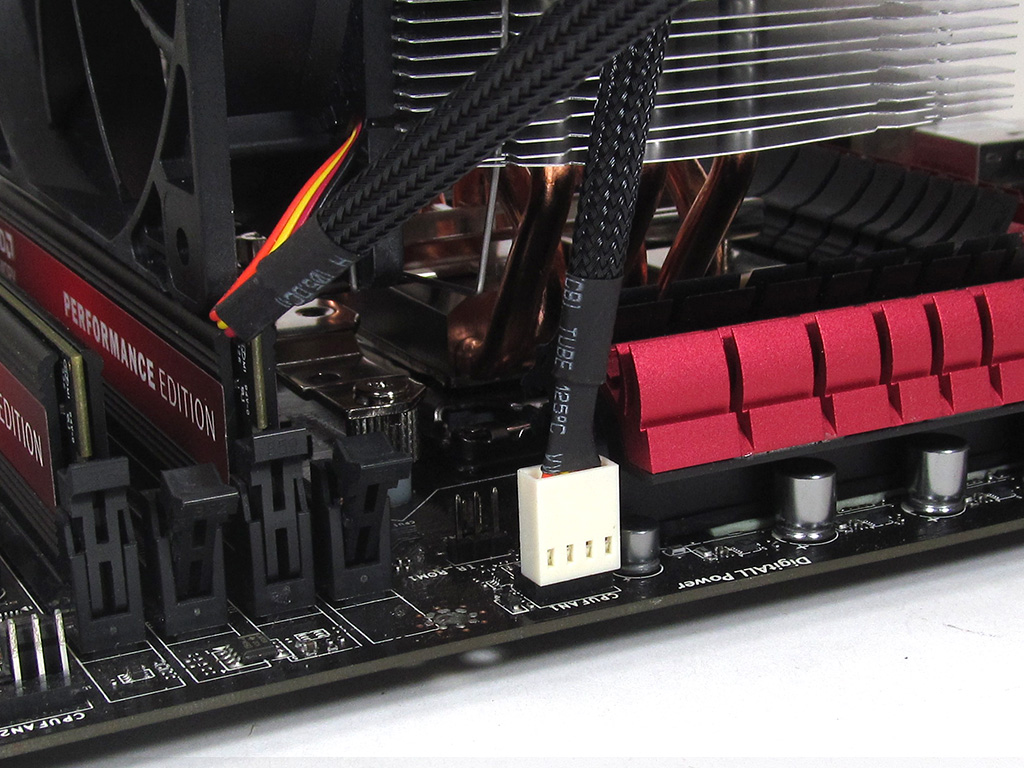
All that remains now is to attach the fans using the included fan clips. Once this is done, simply plug the fans into the CPU fan headers to complete the installation process.
The mounting hardware Scythe developed for the Mugen 4 is very easy to work with. I would, as such, rate the installation process a 7 on a scale of 1 (hardest) to 10 (easiest). Only the fan clips come to mind as annoying because they take a bit of fiddling to get into place, which is not earth-shatteringly difficult, I assure you.
Jan 22nd, 2025 12:09 EST
change timezone
Latest GPU Drivers
New Forum Posts
- RDNA4 (RX 9070XT / 9070) launch announced for (delayed to) March 2025 (309)
- RDNA4 Prediction Time!!! (27)
- What's your latest tech purchase? (22943)
- Silent mode bios doesnt work after flashing (5600xt) (6)
- TPU's Nostalgic Hardware Club (19812)
- Rackmount Koolance?!?! (2)
- What DLSS/FSR Upscaling Mode do you use? (197)
- New rtx 5070 (89)
- AMD Radeon 6800xt crashes computer, no video out, when playing demanding game. (4)
- RTX 5090 ridiculous price! (98)
Popular Reviews
- NVIDIA GeForce RTX 5090 Founders Edition Unboxing
- NZXT C1500 Review
- Montech Heritage Pro Review - The Leather Case
- Fosi Audio K7 Gaming Desktop DAC/Headphone Amplifier Review
- NVIDIA GeForce RTX 50 Technical Deep Dive
- AMD Ryzen 7 9800X3D Review - The Best Gaming Processor
- ASRock Arc B570 Challenger OC Review
- Pwnage StormBreaker Max CF Review
- PowerColor Alphyn AH10 Review
- be quiet! Light Loop 360 mm AIO Review
Controversial News Posts
- NVIDIA 2025 International CES Keynote: Liveblog (468)
- AMD Debuts Radeon RX 9070 XT and RX 9070 Powered by RDNA 4, and FSR 4 (349)
- AMD Radeon RX 9070 XT & RX 9070 Custom Models In Stock at European Stores (226)
- NVIDIA GeForce RTX 5090 Features 575 W TDP, RTX 5080 Carries 360 W TDP (217)
- AMD Radeon RX 9070 XT Alleged Benchmark Leaks, Underwhelming Performance (204)
- AMD's Radeon RX 9070 Launch Faces Pricing Hurdles (173)
- Potential RTX 5090 and RTX 5080 Pricing in China Leaks (173)
- AMD Radeon RX 9070 XT Tested in Cyberpunk 2077 and Black Myth: Wukong (169)