 5
5
Sharkoon ELITE SHARK CA700 Review
A Closer Look - Inside »A Closer Look - Outside

Straight out of the box, the Sharkoon Elite Shark CA700 is mostly assembled, with the fans in place. Even in this state, it is rather heavy and sturdy, with a very high part count that is held together by various types of screws—rivets are nowhere to be found. In this state, you can see that the interior is meant to be black, with the exterior shell elements white for contrast.
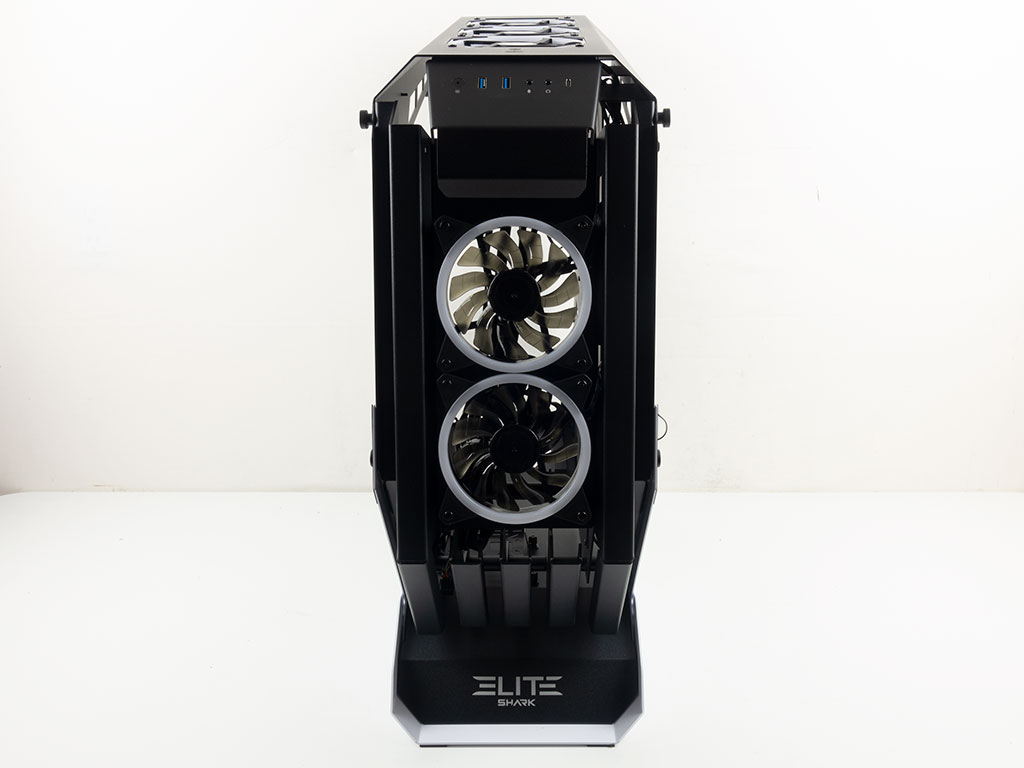
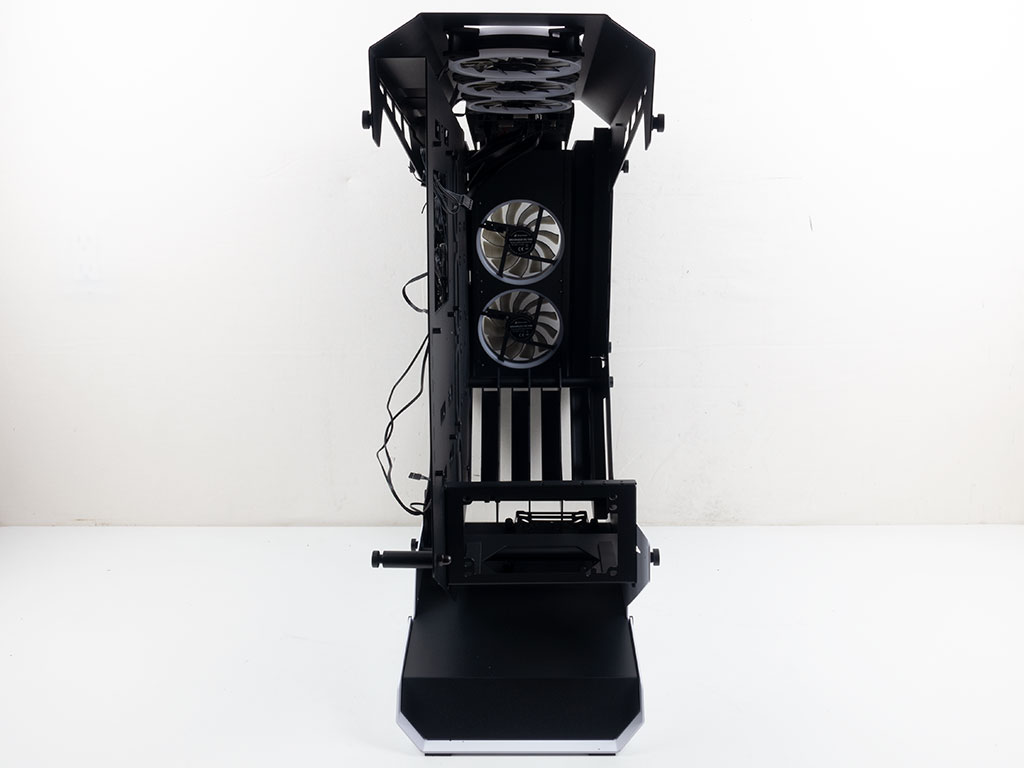
Looking at the front, it is solely for air intake with two pre-installed 120 mm fans, while the rear reveals an open-air frame design. At this point, there are no expansion slots, as you may choose the setup you would like yourself by installing the right brackets later.
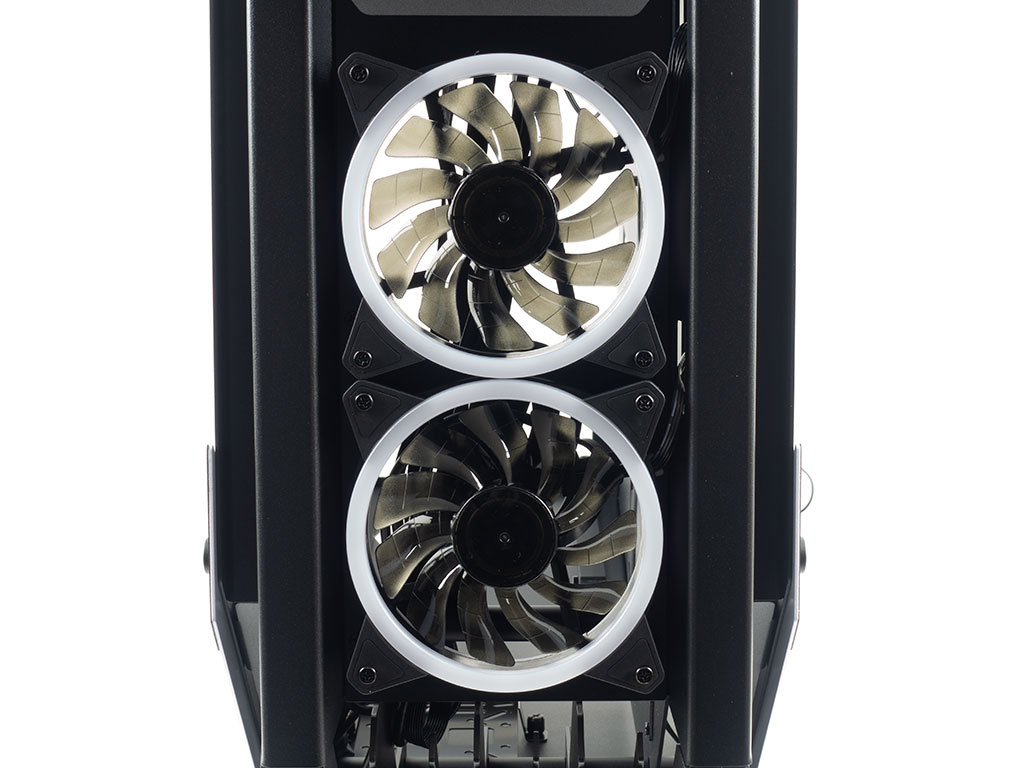
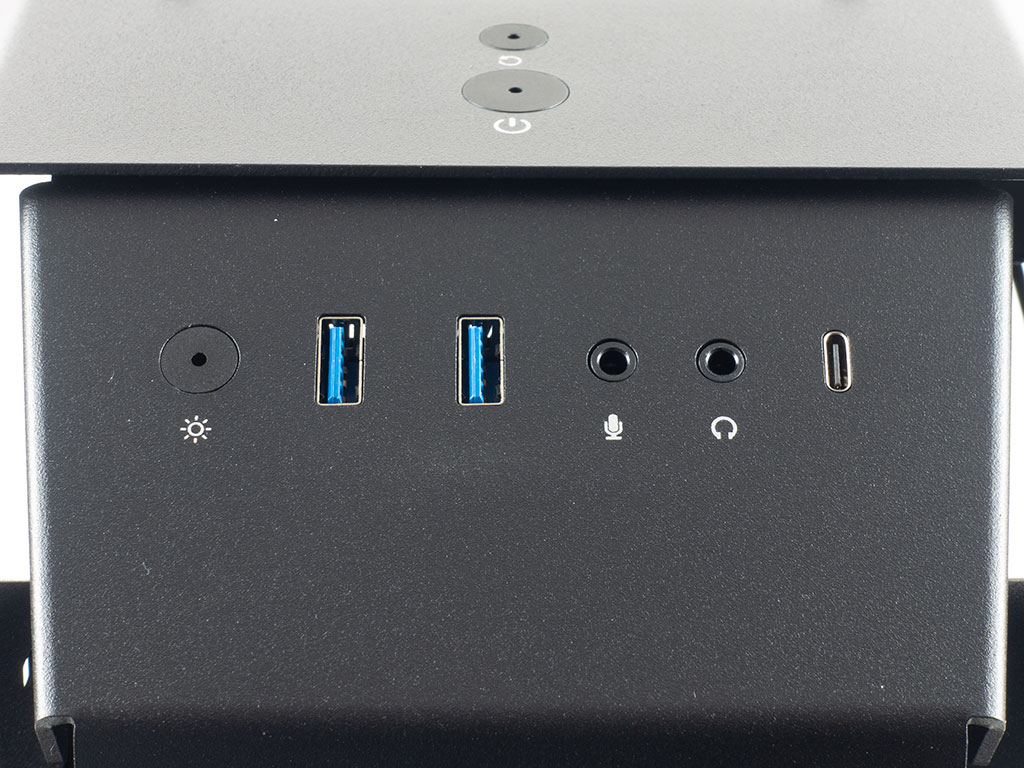
Taking a closer look at the front, branding at the base of the chassis lets you know which case model you have in front of you. Above that are the two aforementioned 120 mm fans with embedded ARGB lighting rings that glow on both sides of each frame. While the Sharkoon Elite Shark CA700 was announced a while ago, these fans are actually the retail-grade Sharkoon SHARK Blades PWM units you could also buy separately for around €10 each. In the very top are two USB 3.0 ports paired with a single USB-C plug. Between those, you will also find the usual audio I/O, and there is a lighting mode toggle button on the very left.
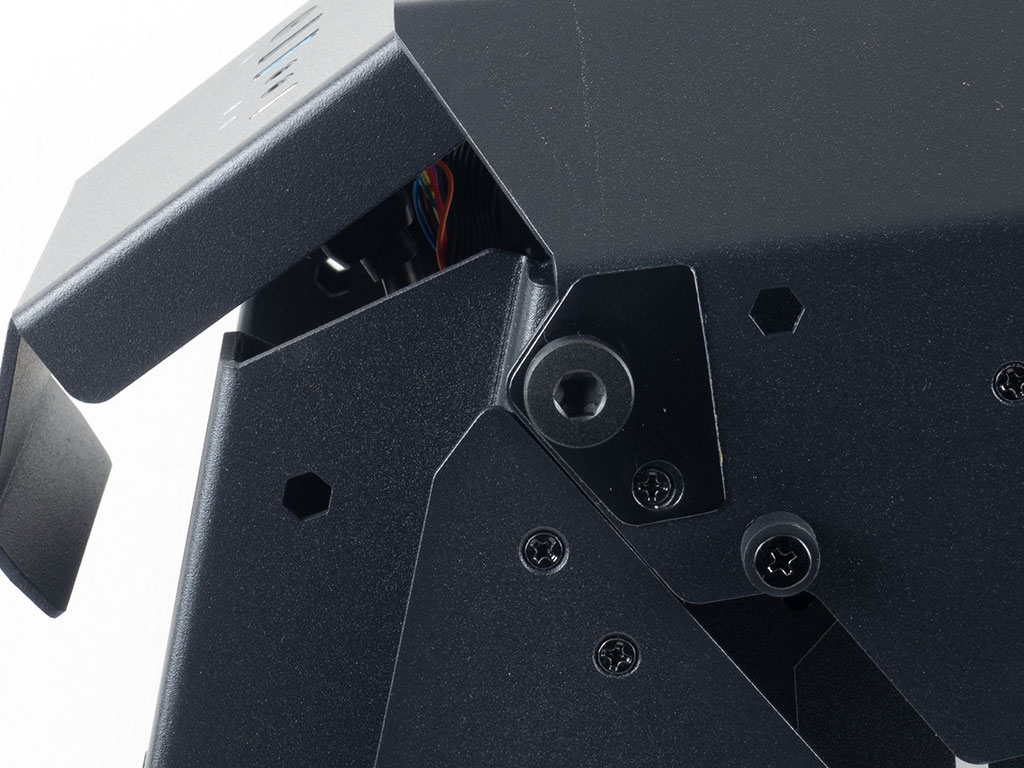
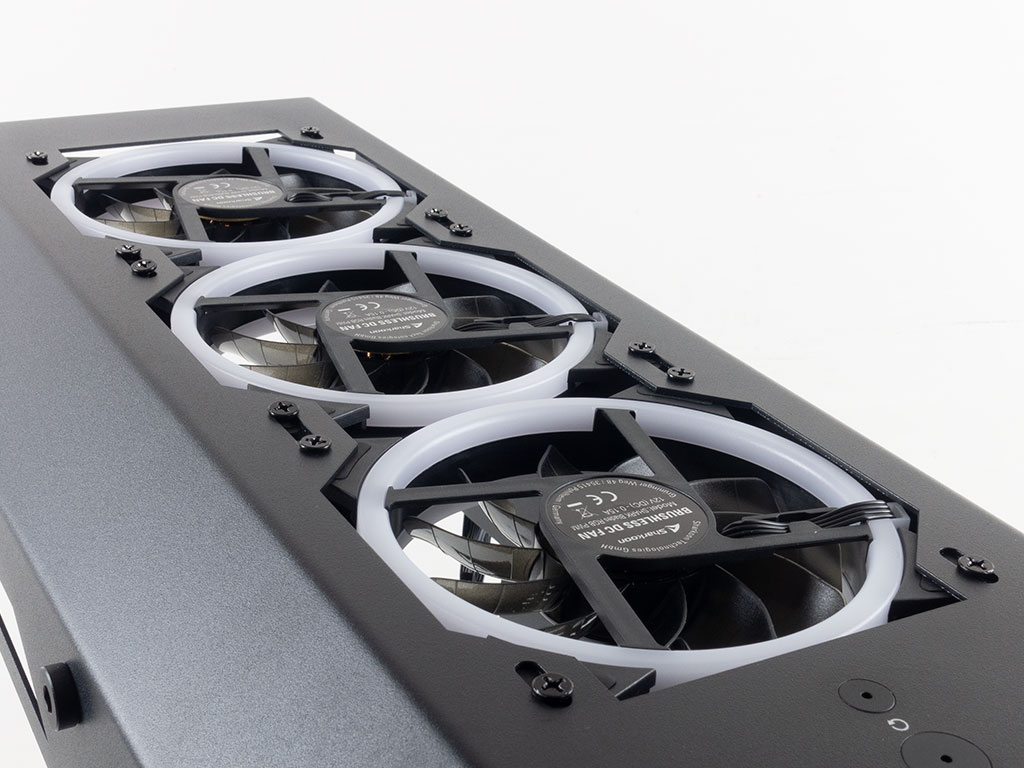
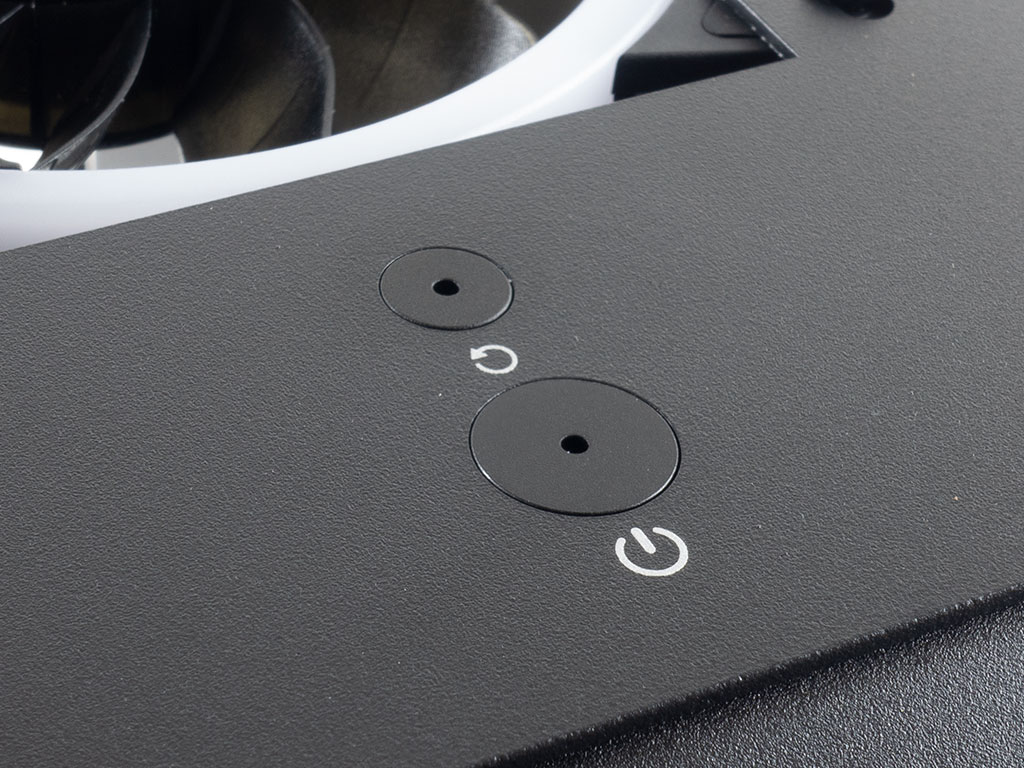
Moving towards the top of the Shark Elite CA700, there are two hex-shaped holes on either side of the case. This is where the hex tool will come in handy for propping up any panels to then work on the fan setups without completely removing the white shell. In the top are three more of those SHARK Blade PWM fans, which brings the pre-installed total to a very solid five. It is especially nice to see these included for an open-air case as many brands opt not to for their designer enclosures. Towards the front are the power and reset buttons. Differently sized, you are less likely to unintentionally press the wrong one.
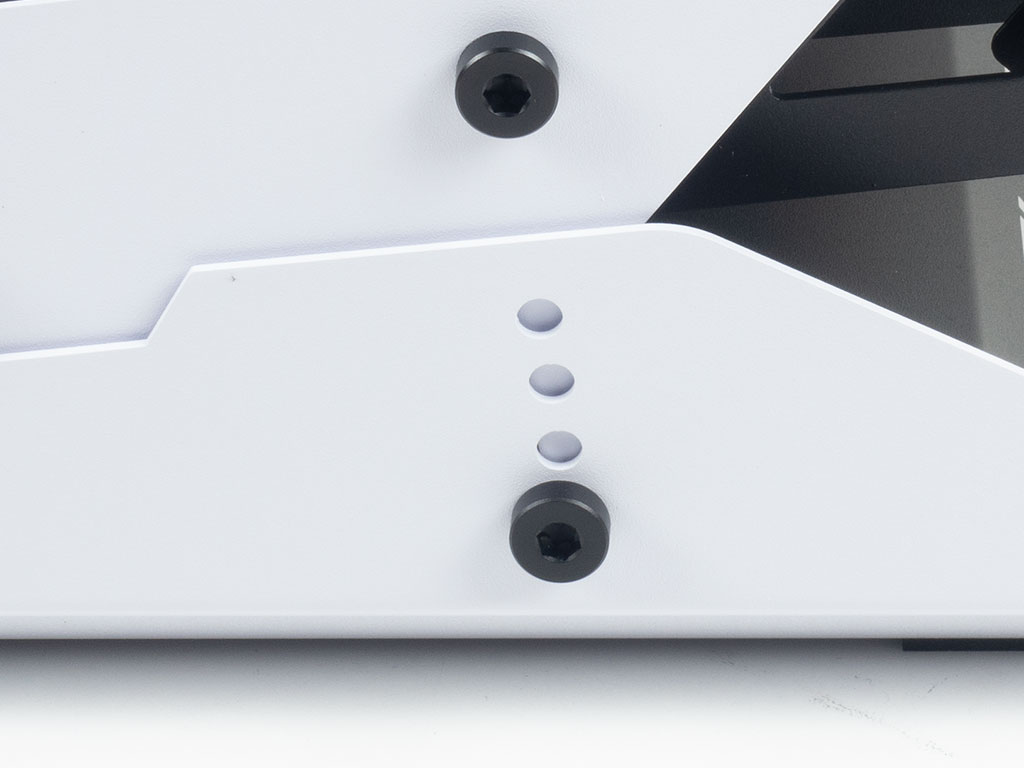
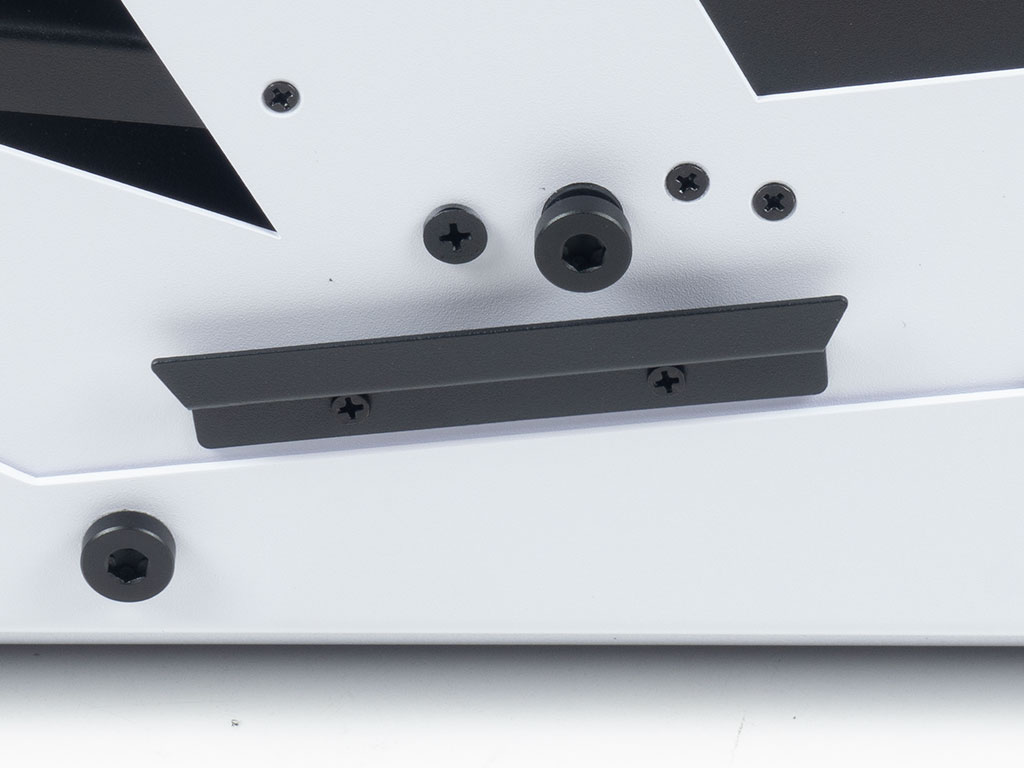
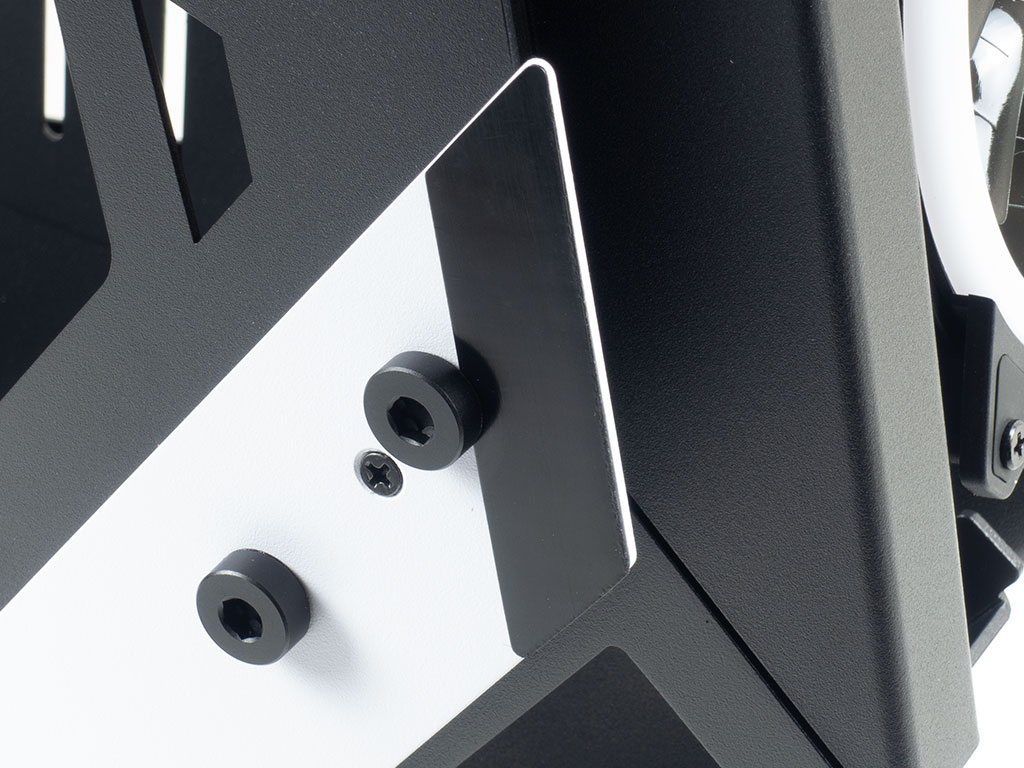
At the base of the chassis is a set of holes with a thick, hex-head screw. You may adjust the placement of these such that the case tilts forward less if you like. A black ledge has also been placed on the side with the glass panel on which one can rest the fragile material when installing it. You may also remove it if you don't like that look, which is safely done once the glass panel has been screwed into place securely. Sharkoon has even gone as far as lining areas of the case that touch metal parts with a black layer so no damaging friction between them adversely affects the paint job.
Feb 26th, 2025 01:47 EST
change timezone
Latest GPU Drivers
New Forum Posts
- Nvidia's GPU market share hits 90% in Q4 2024 (gets closer to full monopoly) (627)
- WB actually did it...They closed Monolith. :( (6)
- Help with integrated gpu. (56)
- Testing max ram overclock pn Ryzen 1700 (79)
- GPU-Z Validation as a Signature? (2)
- GPU-Z 2.63.0 not detecting PhysX? (4)
- Gothic 1 Remake: gpu performance. (9)
- It's happening again, melting 12v high pwr connectors (937)
- Zotac RTX 3060Ti Twin Edge OC LHR PCB image (5)
- atx 12v vs eps 12v (11)
Popular Reviews
- Corsair Xeneon 34WQHD240-C Review - Pretty In White
- ASUS GeForce RTX 5070 Ti TUF OC Review
- Corsair Virtuoso MAX Wireless Review
- MSI GeForce RTX 5070 Ti Ventus 3X OC Review
- MSI GeForce RTX 5070 Ti Vanguard SOC Review
- MSI GeForce RTX 5070 Ti Gaming Trio OC+ Review
- darkFlash DY470 Review
- AMD Ryzen 7 9800X3D Review - The Best Gaming Processor
- Gigabyte GeForce RTX 5090 Gaming OC Review
- Galax GeForce RTX 5070 Ti 1-Click OC White Review
Controversial News Posts
- NVIDIA GeForce RTX 50 Cards Spotted with Missing ROPs, NVIDIA Confirms the Issue, Multiple Vendors Affected (495)
- AMD Radeon 9070 XT Rumored to Outpace RTX 5070 Ti by Almost 15% (304)
- AMD Plans Aggressive Price Competition with Radeon RX 9000 Series (273)
- AMD Radeon RX 9070 and 9070 XT Listed On Amazon - One Buyer Snags a Unit (247)
- NVIDIA Investigates GeForce RTX 50 Series "Blackwell" Black Screen and BSOD Issues (242)
- Edward Snowden Lashes Out at NVIDIA Over GeForce RTX 50 Pricing And Value (241)
- AMD Denies Radeon RX 9070 XT $899 USD Starting Price Point Rumors (239)
- AMD Radeon RX 9070 and 9070 XT Official Performance Metrics Leaked, +42% 4K Performance Over Radeon RX 7900 GRE (184)