 5
5
Sharkoon ELITE SHARK CA700 Review
Assembly & Finished Looks »A Closer Look - Inside
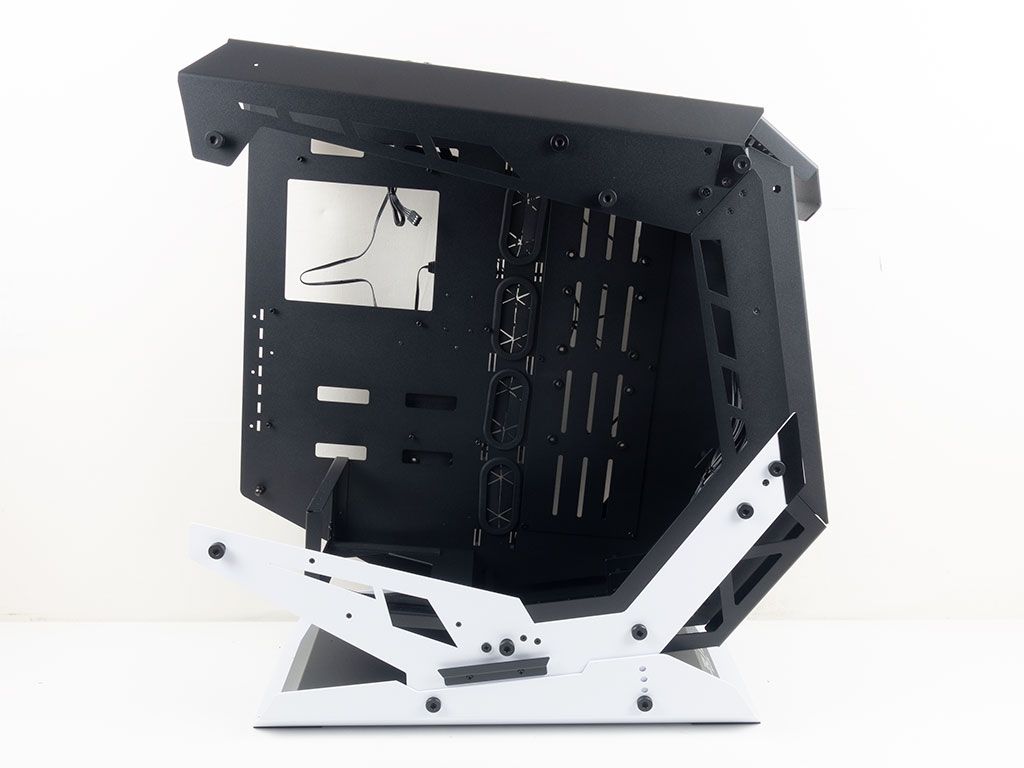
Taking a look inside the Sharkoon Elite Shark CA700, it quickly becomes apparent that the general layout is that of traditional cases. The PSU is below the motherboard, with active cooling above the board's edge. On the opposite side, that trend continues, with storage possibilities, cable management hooks, and an opening to get to the CPU cooler mounting bracket.
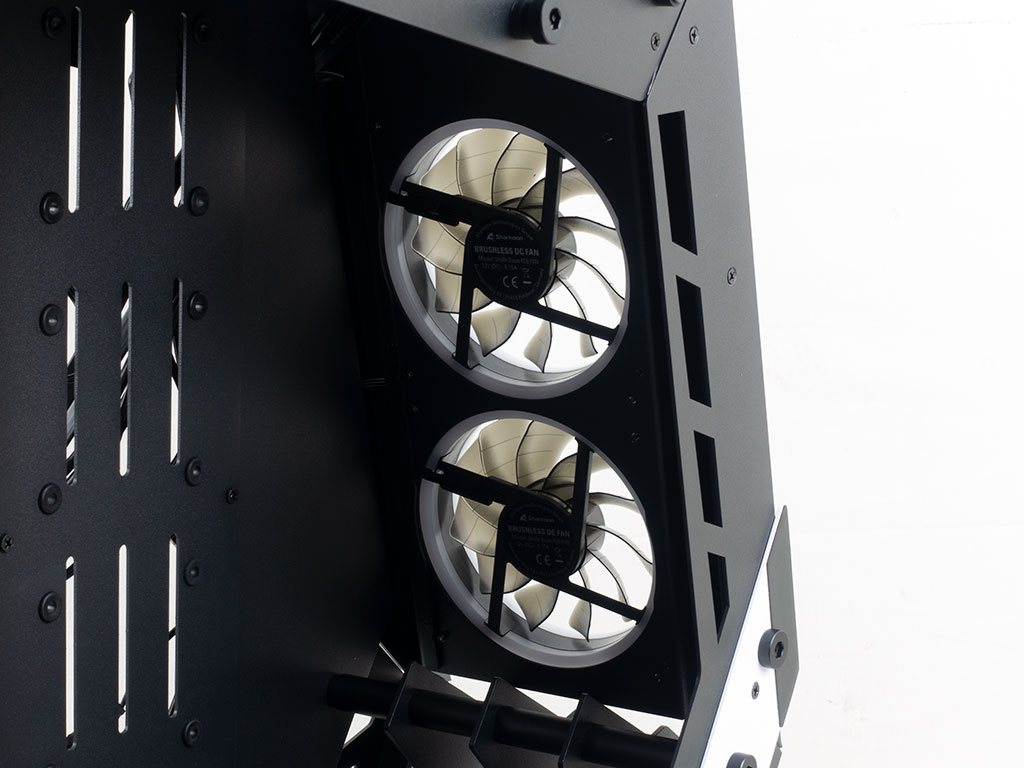
In the front, the two intake fans are at an angle to the board, and there is nothing obstructing their airflow in any way. To the right of that, on the solid motherboard tray, is a plate covering an opening for up to three 120 mm fans or a single radiator of up to 360 mm. Alternatively, you could opt to install such liquid cooling in the ceiling and use the pre-installed plate for additional storage with three 2.5-inch units or to mount reservoirs instead. Four grommets along its left edge give you all the cable-management possibilities you need to keep things clean.
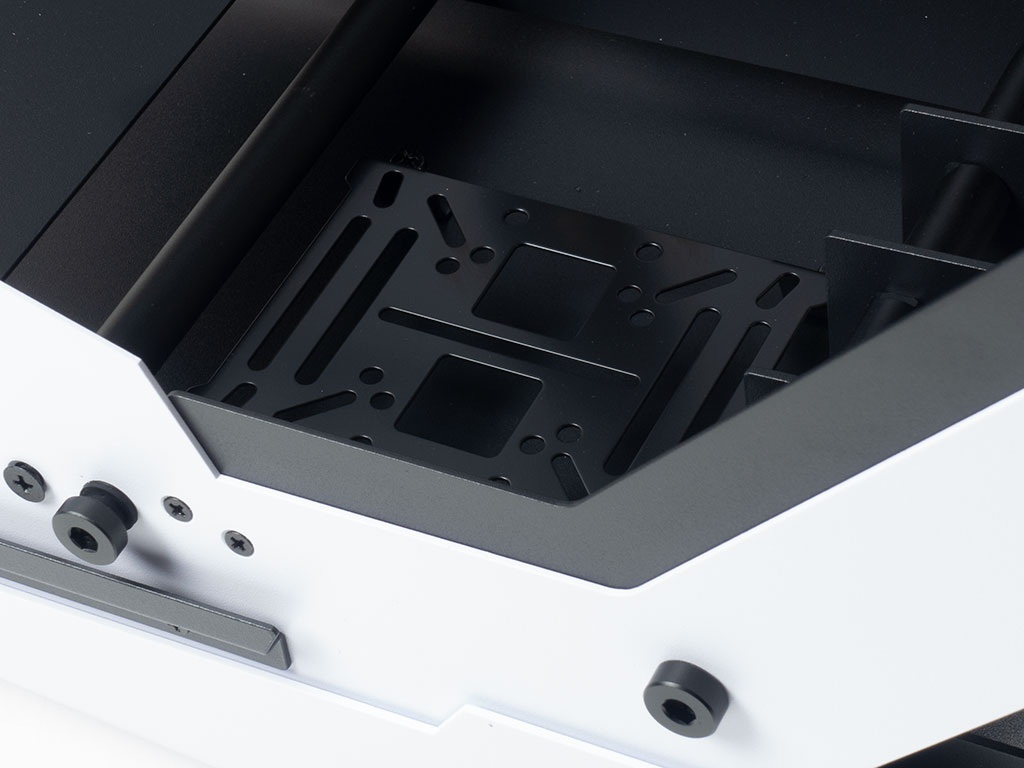
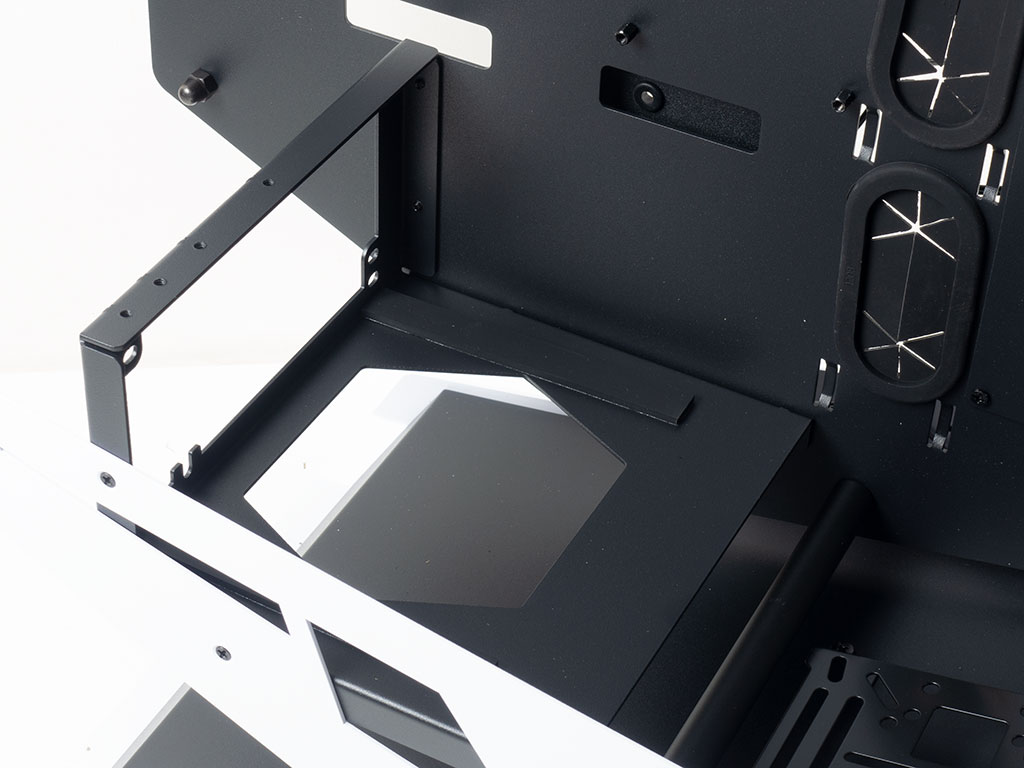
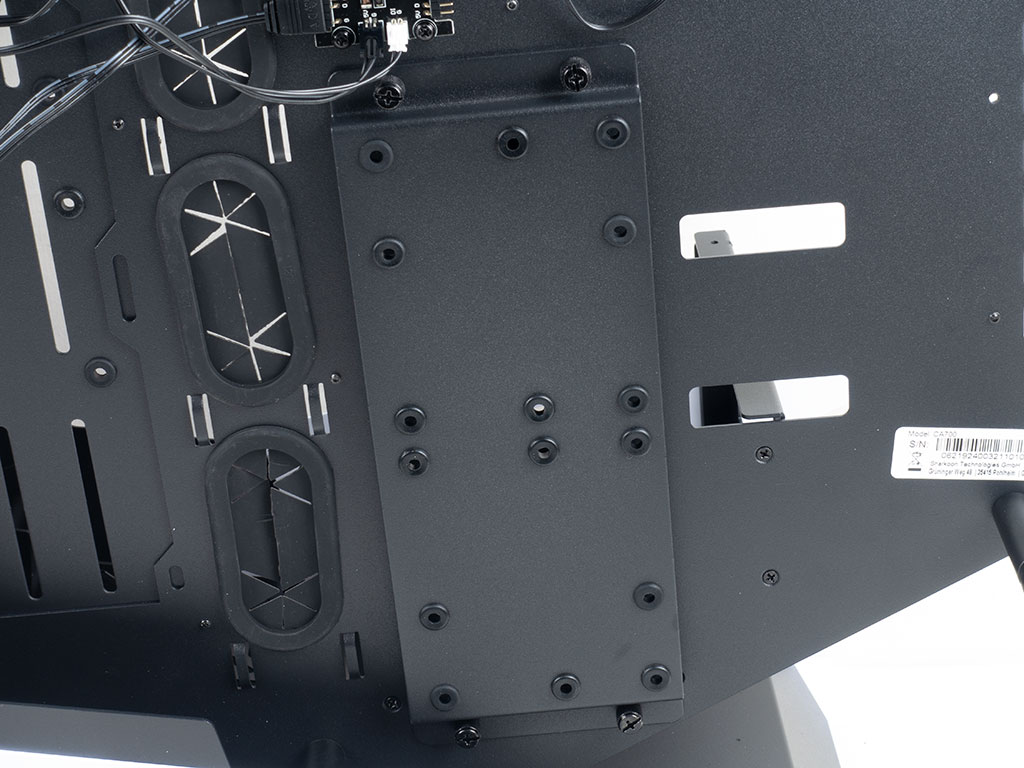
There is another mounting plate on the floor of the Sharkoon Elite Shark CA700, which may be used for a pump, reservoir or single 2.5-inch drive. In the rear, the ATX PSU bay is simple but effective, with rubber lining for your unit to rest on as an anti-vibration measure. A hexagonal opening gives way to fresh air for the power supply fan as well.
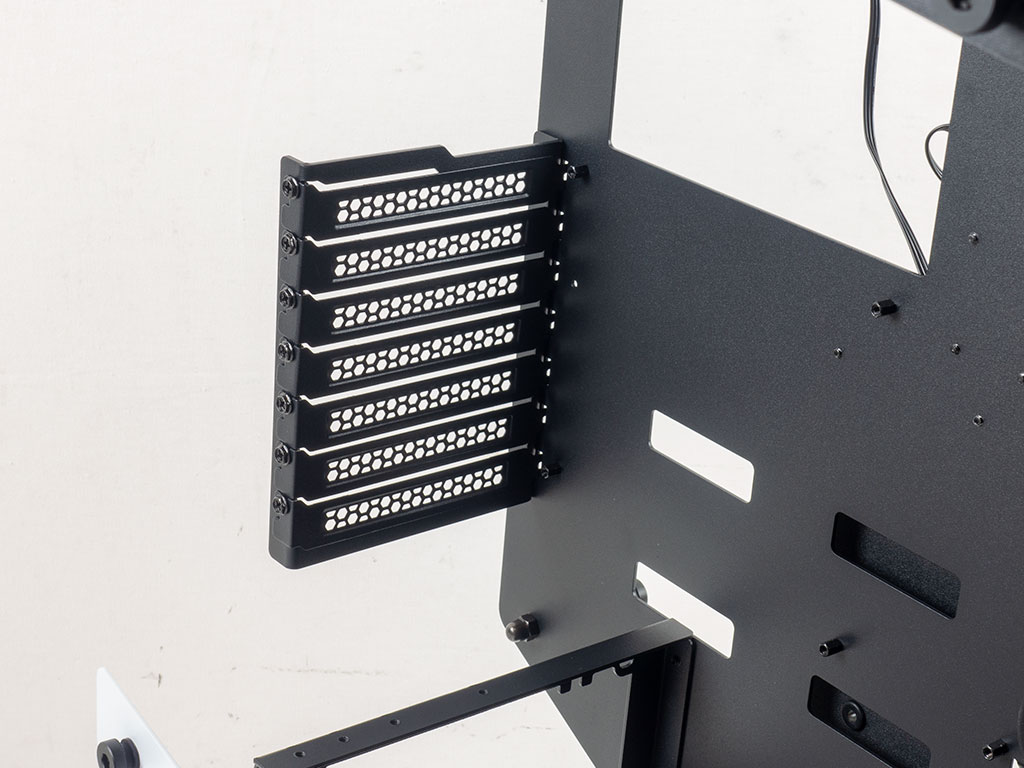

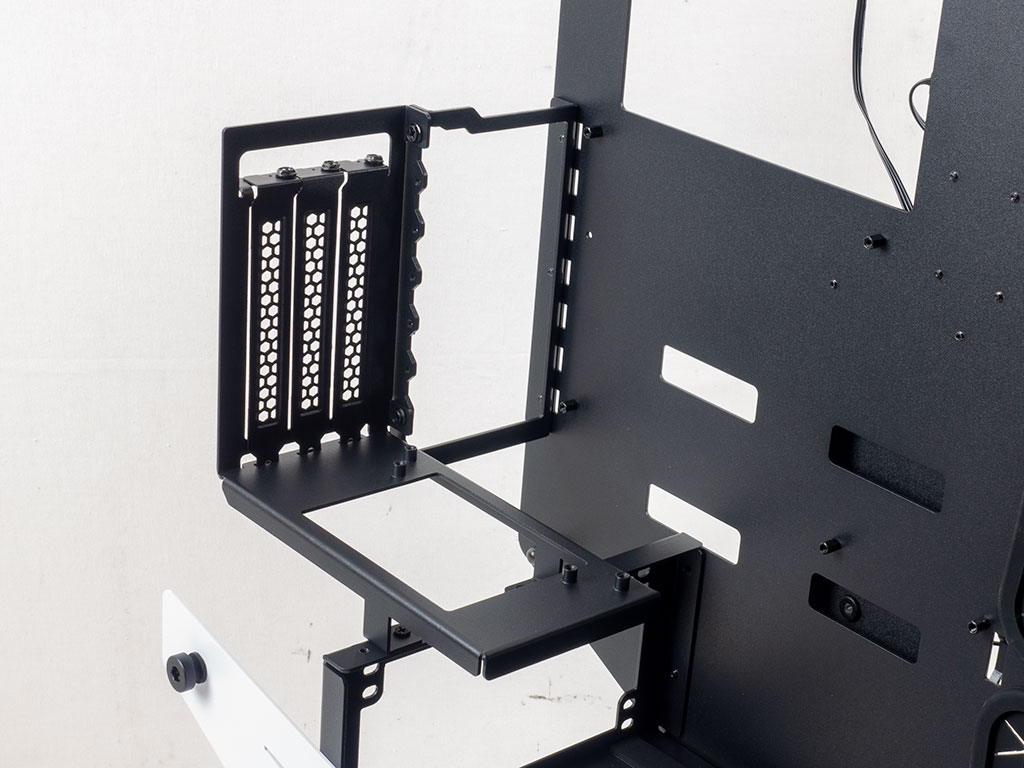
Before installing the motherboard, you may want to decide on the expansion-slot layout by either going for the classic seven horizontal slots or attaching an additional two vertical ones to its side. Alternatively, there is also the option for three vertical slots for even the thickest GPUs out there. However, in that configuration, you are limited to low-profile cards for anything else vertically.
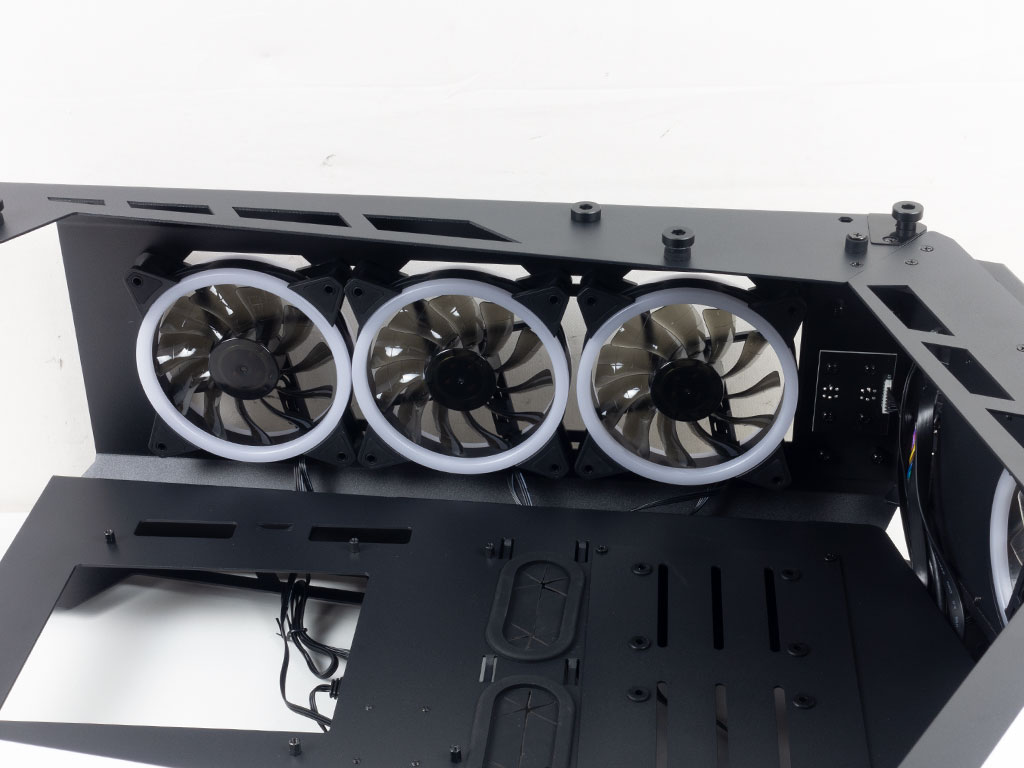
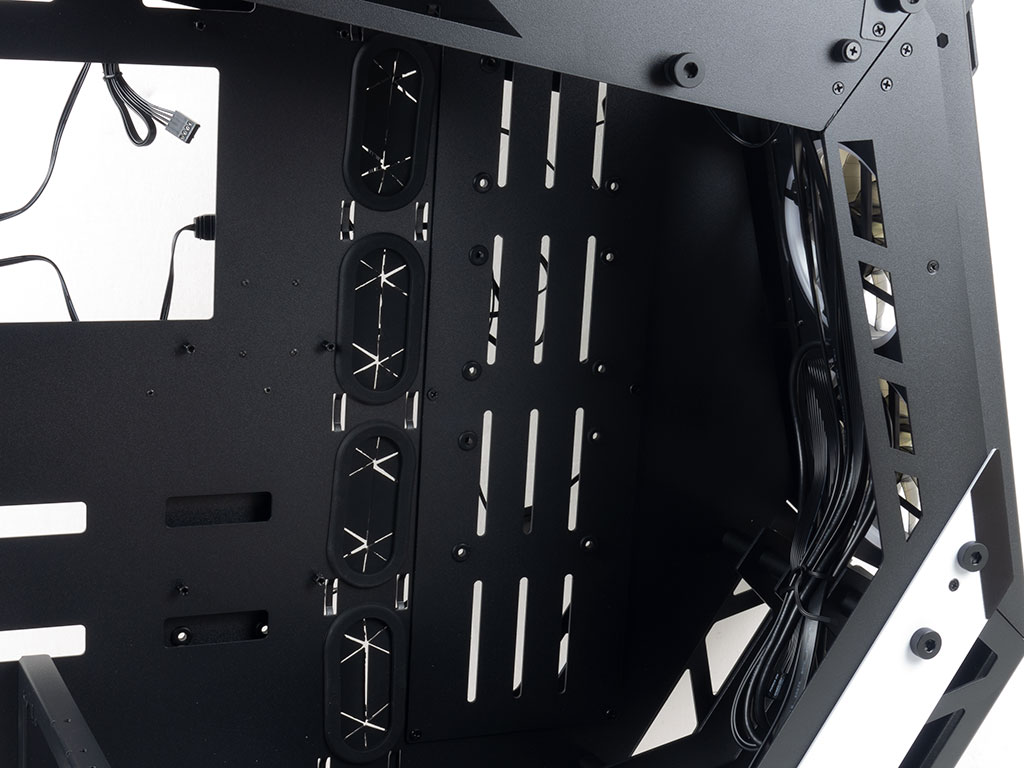
Taking a quick look at the ceiling, you can see that the three fans are set to push air out the top of the chassis. The cables are routed behind the top edge of the motherboard tray, so none of that mess will be visible in the end.
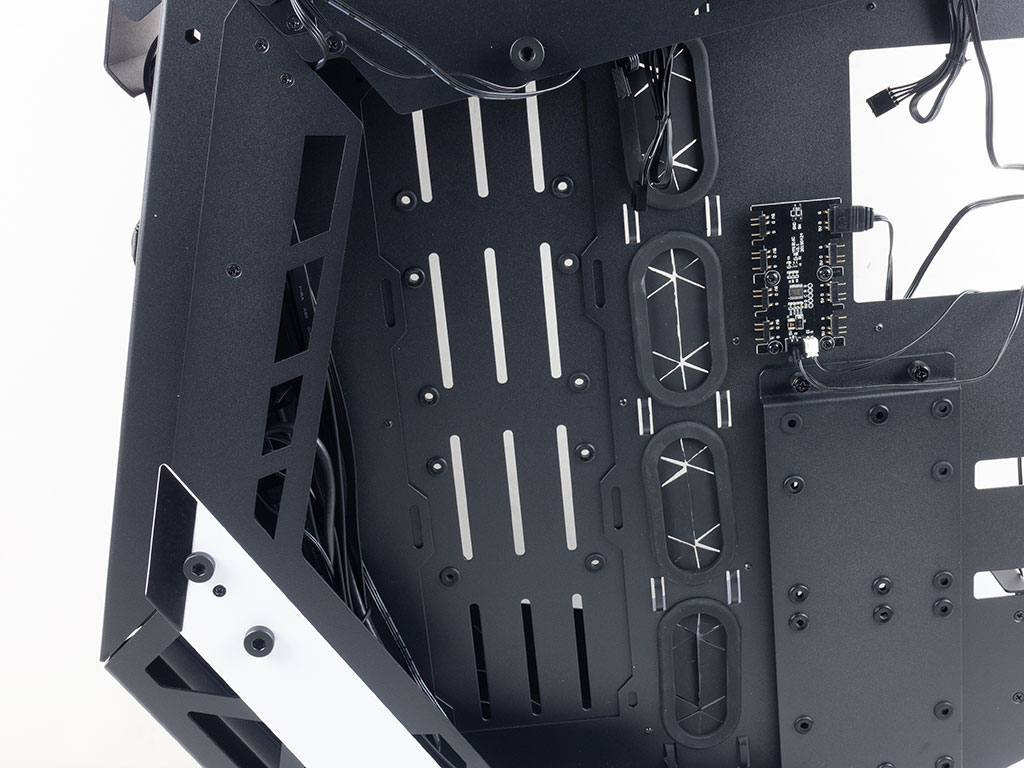
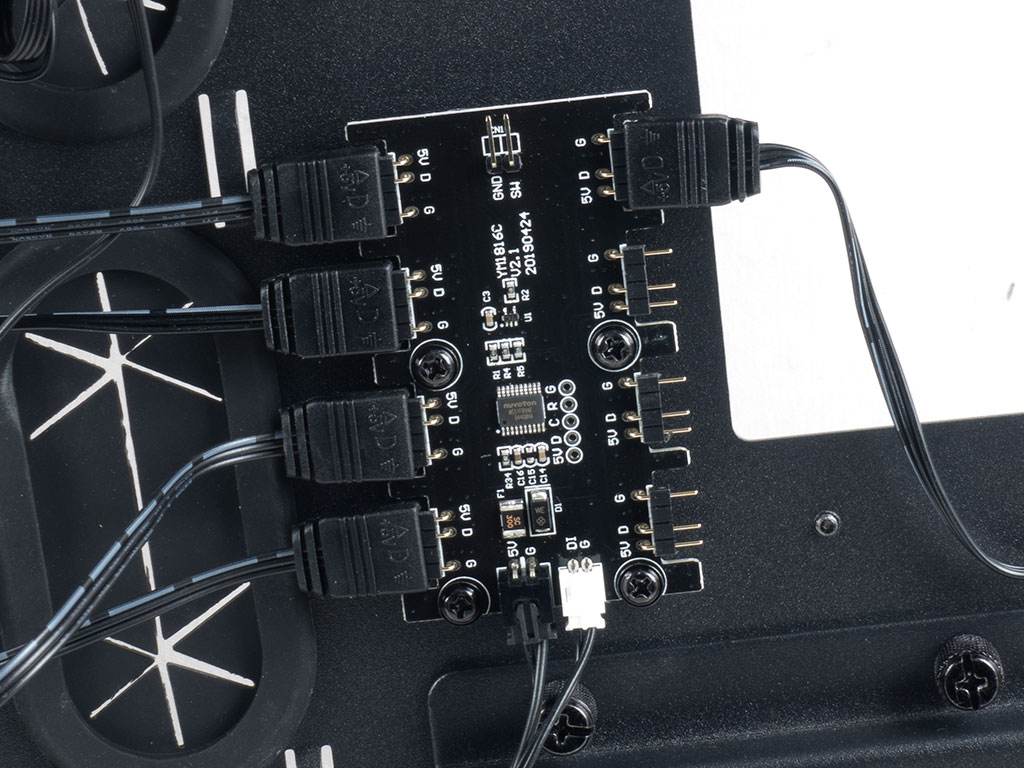
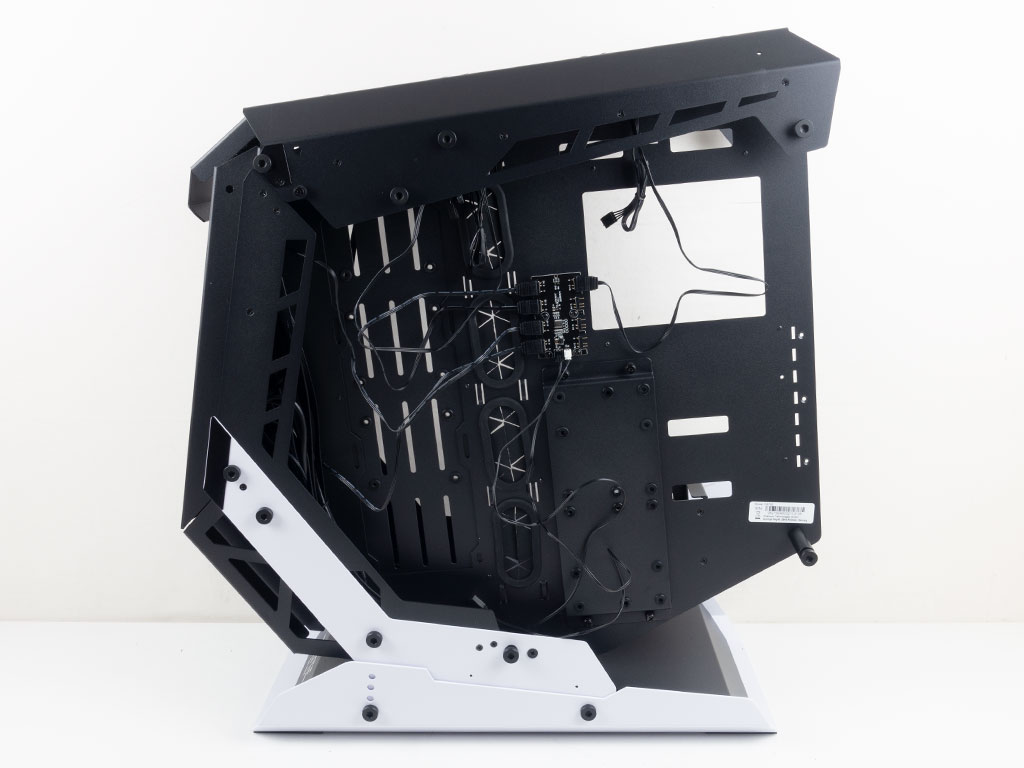
Turning the Sharkoon Elite Shark CA700 around, you can clearly see the fan or radiator mounting holes behind that previously mentioned cover plate. Sharkoon also placed another hard-drive plate on the backside of the motherboard tray, held in place by four bulky thumb screws. This plate uses the same drive-mounting method as the plate and can hold two hard drives of either format. Lastly, there is a generic and universal 8-port ARGB controller PCB. You may use the embedded case button to control the ARGB or allow for motherboard header control. A nice element is that you may disconnect any unnecessary cables to reduce the already considerable cable clutter just ever so slightly.
Feb 26th, 2025 05:48 EST
change timezone
Latest GPU Drivers
New Forum Posts
- MSI H110 and 10.gen i9 fun project. (0)
- New build advice (10)
- TPU's Nostalgic Hardware Club (20001)
- Is the ROPs and TMUs information of B570 in gpuz wrong? (1)
- Samsung 870 EVO - Beware, certain batches prone to failure! (1240)
- RTX 50 Series silently removed 32-bit PhysX support. (54)
- Proposal to abolish votes on the Case Mod Gallery page (2)
- Dune: Awakening benchmark - post your results (27)
- What are you playing? (23031)
- TPU's GPU Database Portal & Updates (387)
Popular Reviews
- Corsair Xeneon 34WQHD240-C Review - Pretty In White
- ASUS GeForce RTX 5070 Ti TUF OC Review
- Corsair Virtuoso MAX Wireless Review
- MSI GeForce RTX 5070 Ti Ventus 3X OC Review
- MSI GeForce RTX 5070 Ti Vanguard SOC Review
- MSI GeForce RTX 5070 Ti Gaming Trio OC+ Review
- darkFlash DY470 Review
- AMD Ryzen 7 9800X3D Review - The Best Gaming Processor
- Gigabyte X870 Aorus Elite WiFi 7 Review
- Gigabyte GeForce RTX 5090 Gaming OC Review
Controversial News Posts
- NVIDIA GeForce RTX 50 Cards Spotted with Missing ROPs, NVIDIA Confirms the Issue, Multiple Vendors Affected (495)
- AMD Radeon 9070 XT Rumored to Outpace RTX 5070 Ti by Almost 15% (304)
- AMD Plans Aggressive Price Competition with Radeon RX 9000 Series (273)
- AMD Radeon RX 9070 and 9070 XT Listed On Amazon - One Buyer Snags a Unit (247)
- Edward Snowden Lashes Out at NVIDIA Over GeForce RTX 50 Pricing And Value (241)
- NVIDIA Investigates GeForce RTX 50 Series "Blackwell" Black Screen and BSOD Issues (241)
- AMD Denies Radeon RX 9070 XT $899 USD Starting Price Point Rumors (239)
- AMD Radeon RX 9070 and 9070 XT Official Performance Metrics Leaked, +42% 4K Performance Over Radeon RX 7900 GRE (185)