 0
0
Sharkoon SKILLER SGK30 Keyboard Review
Software »Disassembly


Disassembly of the SKILLER SGK30 is relatively simple even knowing this is a two-piece plastic case construction. The two pieces are held together not by interlocking tabs as is usually the case, but, rather, the ten Phillips head screws accessible from the back. Once done, the top piece can easily be removed and separated from the rest of the keyboard.
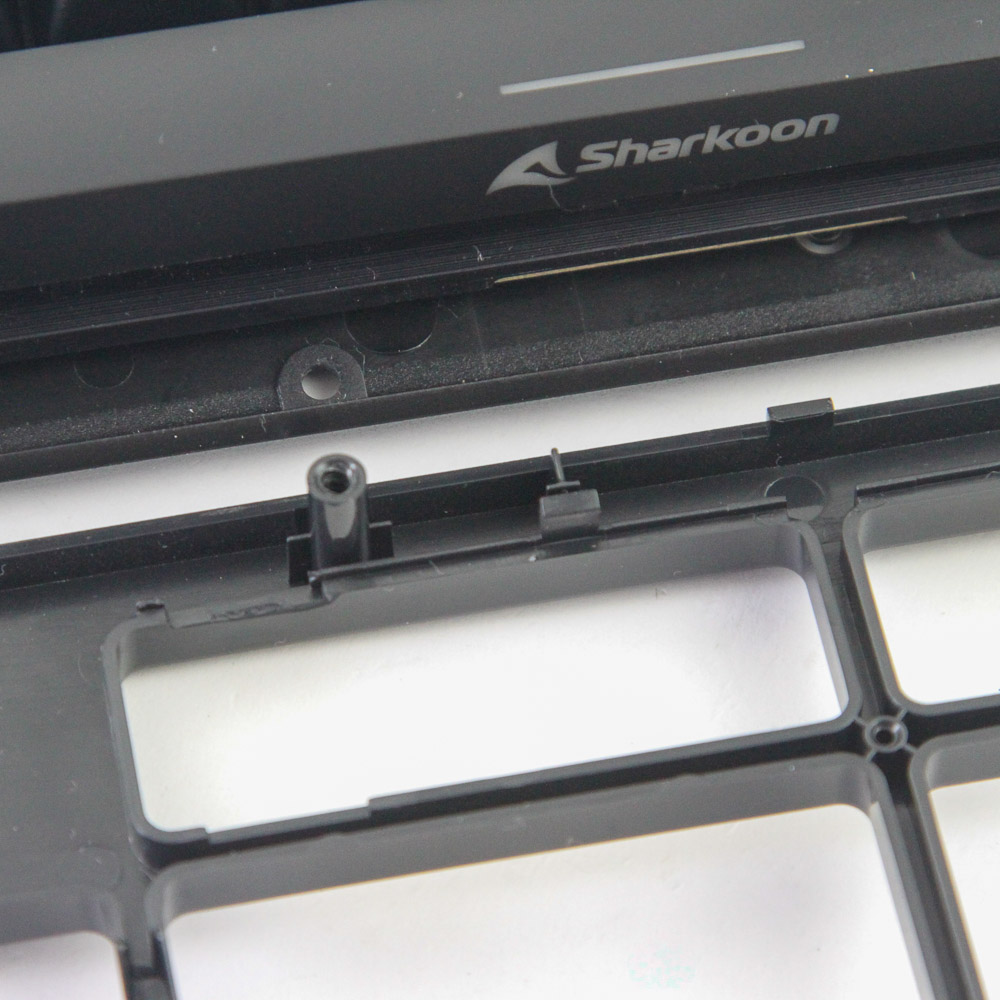
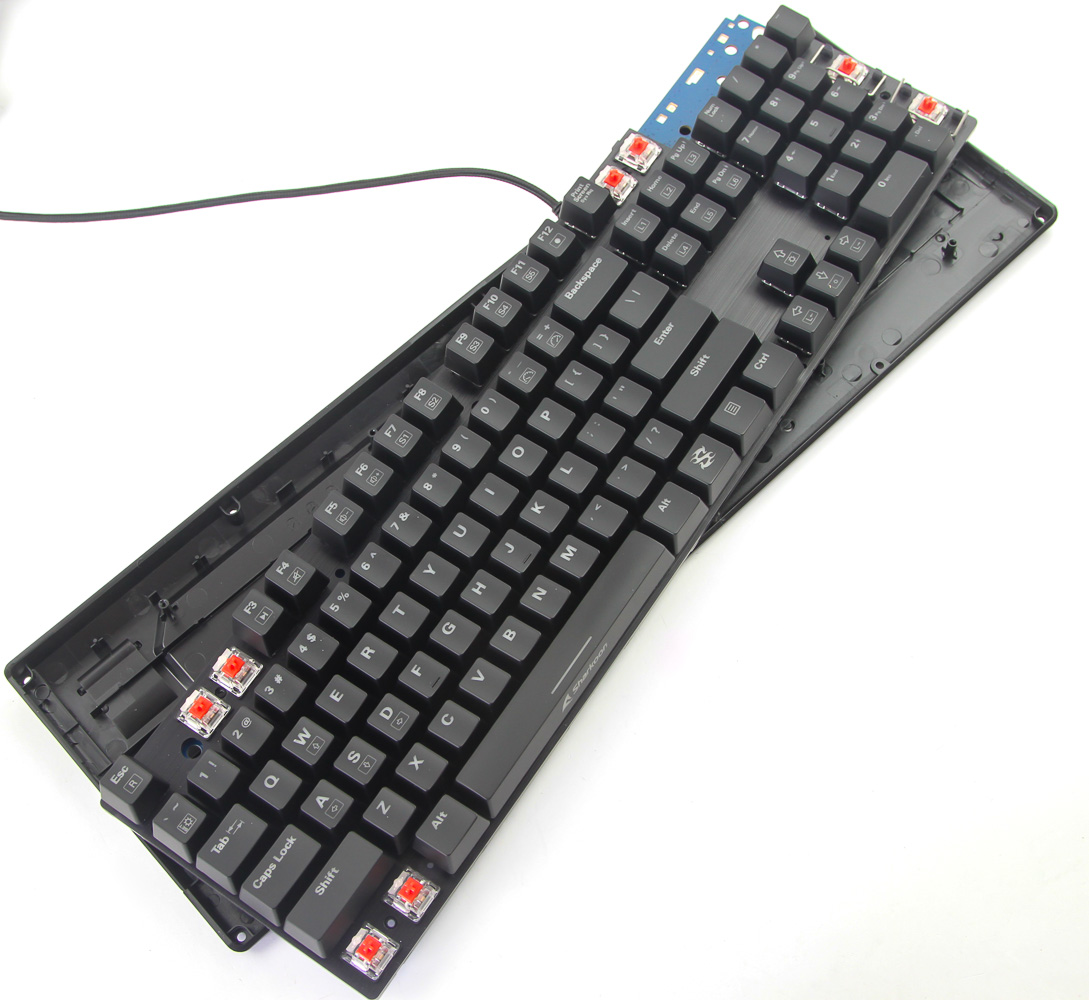


We can now better see the plastic posts that guide the top panel in place, and these posts are threaded for the screws to catch into. Further disassembly requires removing four more screws, this time on the top and underneath some keycaps. Remove them as seen above—a precision Phillips screwdriver comes in handy here. At this point, you can lift the middle piece up far enough to access the internal USB cable connecting the PCB to the bottom panel. Dislodge it, and we get a better look at the ABS plastic bottom panel.


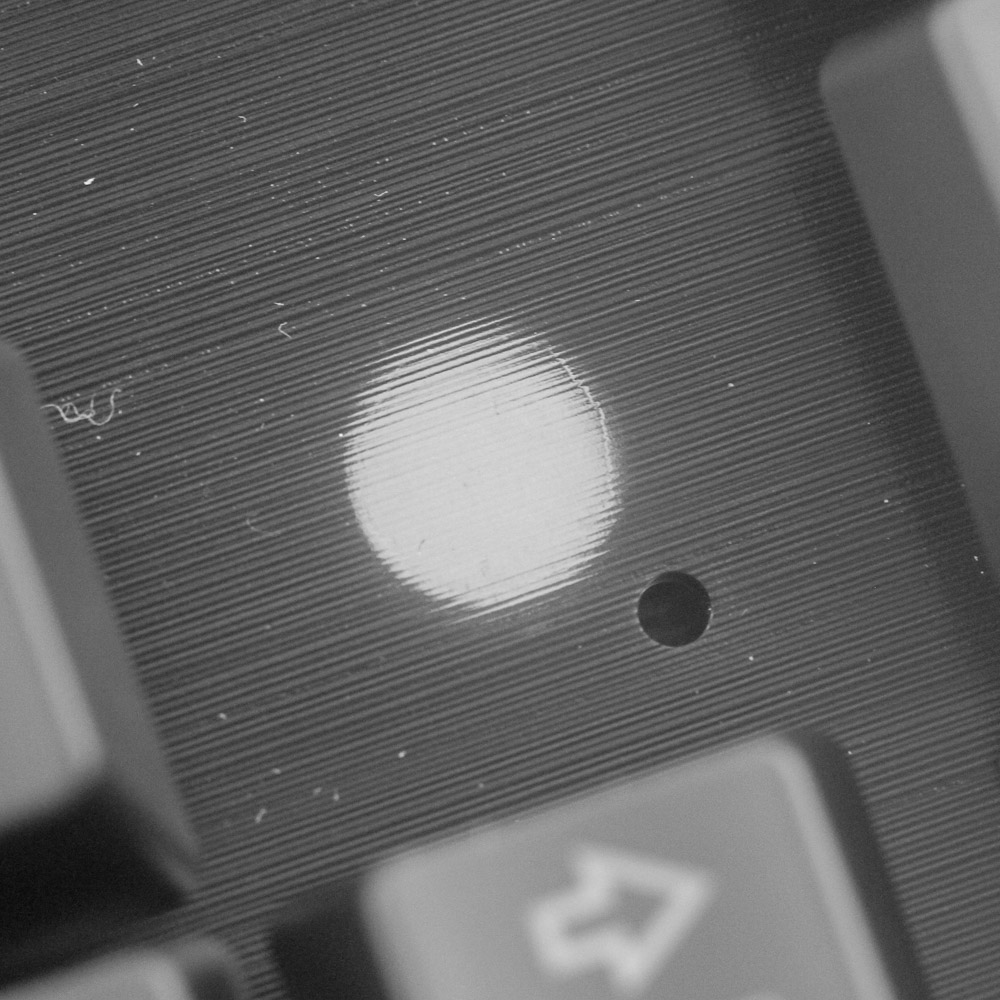
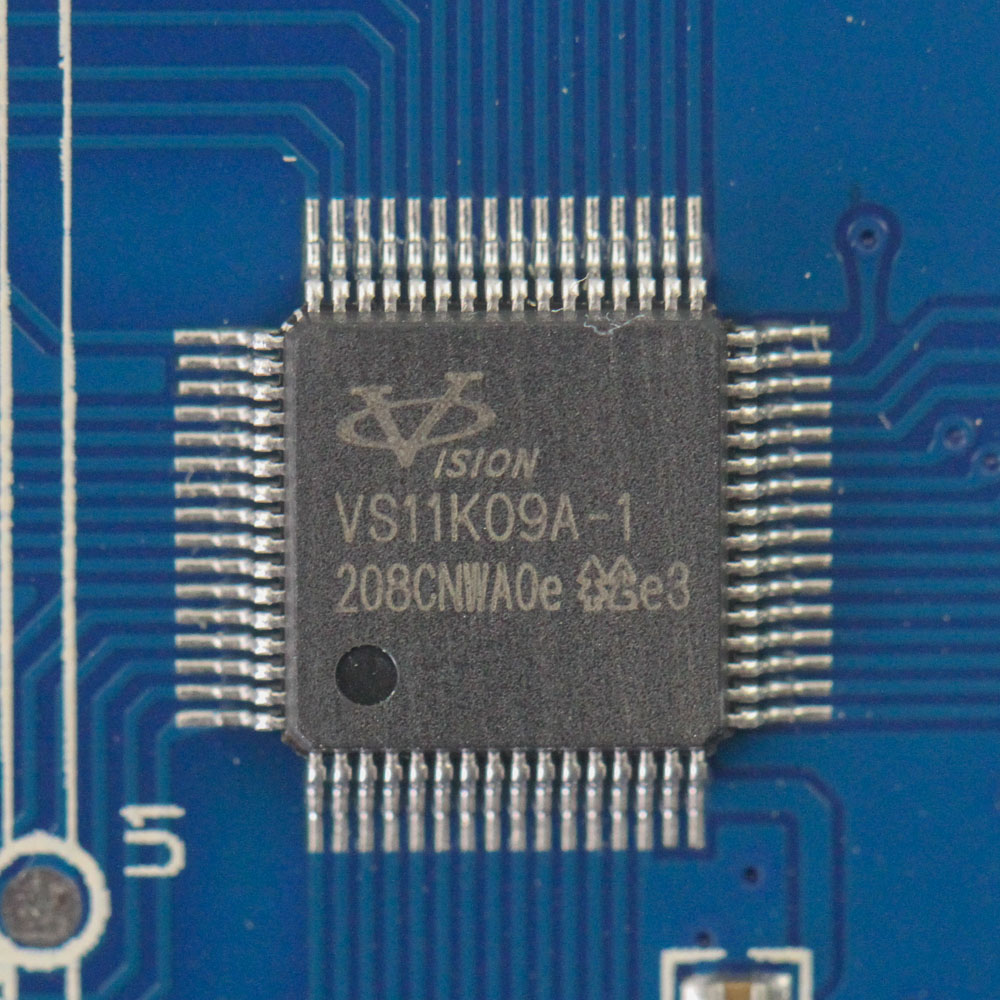
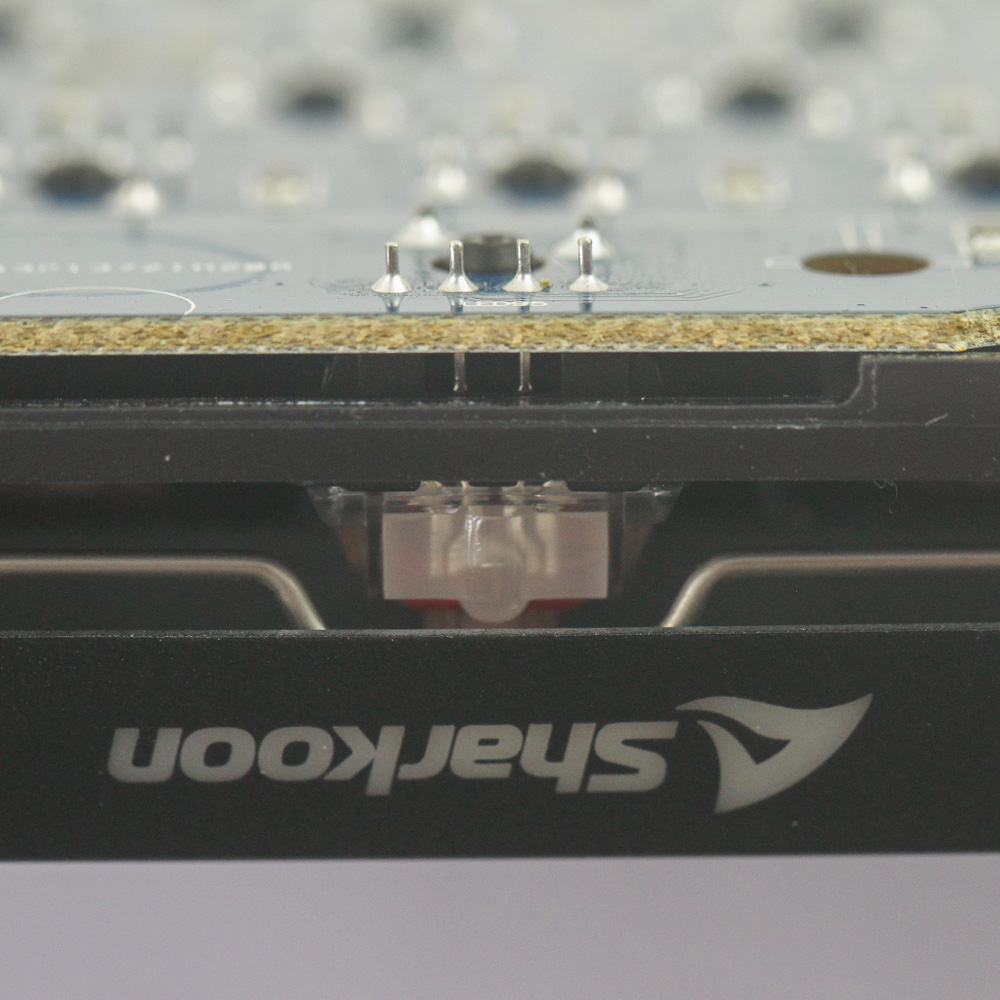
The PCB is a matte blue in color, and solder quality is generally good. I am still not sure why there is a massive goop above some of the solder points, as the case is plastic and there is no worry of electrical shorting, but the PCB also does not touch the case. Regardless, it was at this point that I noticed that the steel plate actually had a see-through cover with a textured brushed finish. Powering the keyboard is a Vision VS11K09A USB microcontroller, and there's another module in the Vision VS01. There's no useful information to be found online for either of these, unfortunately. As is the norm, all the components are soldered onto a multi-layer PCB.
Before we move on, be advised that disassembly may void the warranty and that TechPowerUp is not liable for any damages incurred if you decide to go ahead and do so anyway.
Jul 1st, 2025 22:41 CDT
change timezone
Latest GPU Drivers
New Forum Posts
- PCMA2305 Phase Change Metal Alloy (PCMA) (7)
- Best motherboards for XP gaming (18)
- What would you buy? (32)
- Is my m2 possibly fake ? and possible laptop hardware damage ? (28)
- HP Zbook 15 G2 GPU Upgrade (4)
- Help me overclocking my GSkill Ripjaws 3200MHz CL 16 DDR4 RAMs. (20)
- MACPRO 3,1 booting windows (0)
- My PCIe5 SSD is slow. Samsung 9100 PRO (29)
- Steering wheels, I think I had a mea culpa! (0)
- My PSU died.. (1)
Popular Reviews
- ASUS ROG Crosshair X870E Extreme Review
- Crucial T710 2 TB Review - Record-Breaking Gen 5
- Sapphire Radeon RX 9060 XT Pulse OC 16 GB Review - An Excellent Choice
- AVerMedia CamStream 4K Review
- Upcoming Hardware Launches 2025 (Updated May 2025)
- AMD Ryzen 7 9800X3D Review - The Best Gaming Processor
- Lexar NQ780 4 TB Review
- Sapphire Radeon RX 9070 XT Nitro+ Review - Beating NVIDIA
- AMD Ryzen 9 9950X3D Review - Great for Gaming and Productivity
- NVIDIA GeForce RTX 5060 8 GB Review
TPU on YouTube
Controversial News Posts
- Intel's Core Ultra 7 265K and 265KF CPUs Dip Below $250 (288)
- NVIDIA Grabs Market Share, AMD Loses Ground, and Intel Disappears in Latest dGPU Update (208)
- Some Intel Nova Lake CPUs Rumored to Challenge AMD's 3D V-Cache in Desktop Gaming (140)
- NVIDIA GeForce RTX 5080 SUPER Could Feature 24 GB Memory, Increased Power Limits (112)
- Microsoft Partners with AMD for Next-gen Xbox Hardware (105)
- NVIDIA Launches GeForce RTX 5050 for Desktops and Laptops, Starts at $249 (105)
- Intel "Nova Lake‑S" Series: Seven SKUs, Up to 52 Cores and 150 W TDP (100)
- NVIDIA DLSS Transformer Cuts VRAM Usage by 20% (91)