 0
0
Shuttle Fanless Slim-PC DS437T Review
BIOS Walkthrough & Performance »A Closer Look - Inside
Like with the DS47, taking the DS437T apart wasn't an easy task, but we managed to get the job done.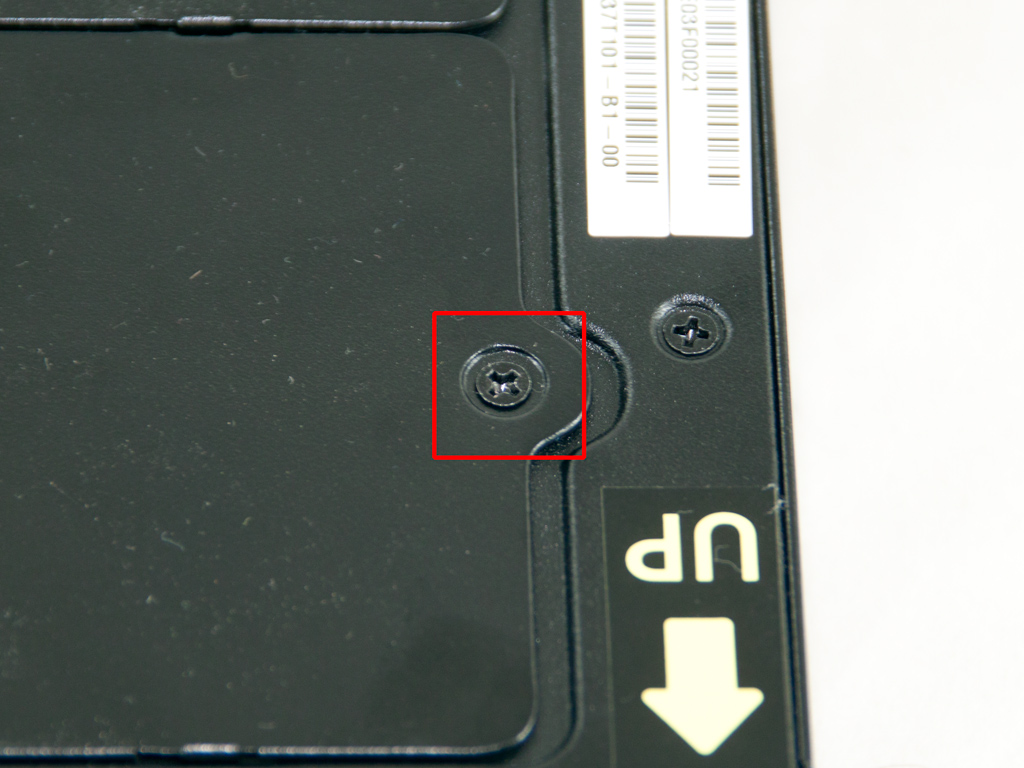

If you want to install/upgrade the HDD/SDD and the memory, you only have to remove two screws to access the DS437T's internals.
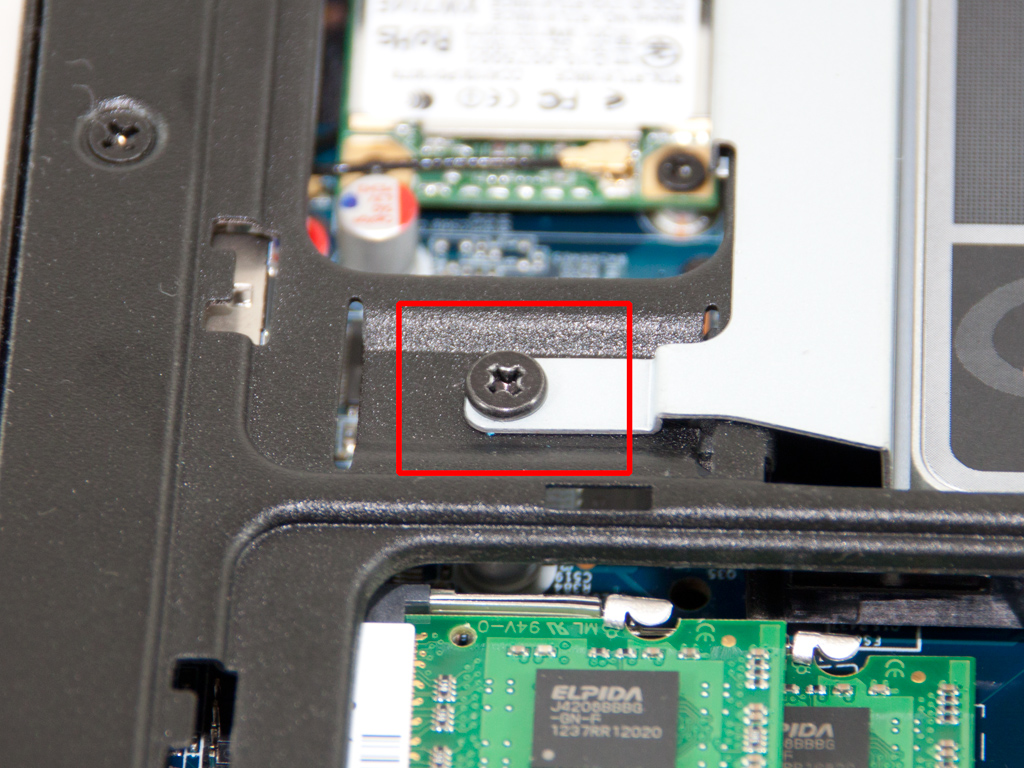
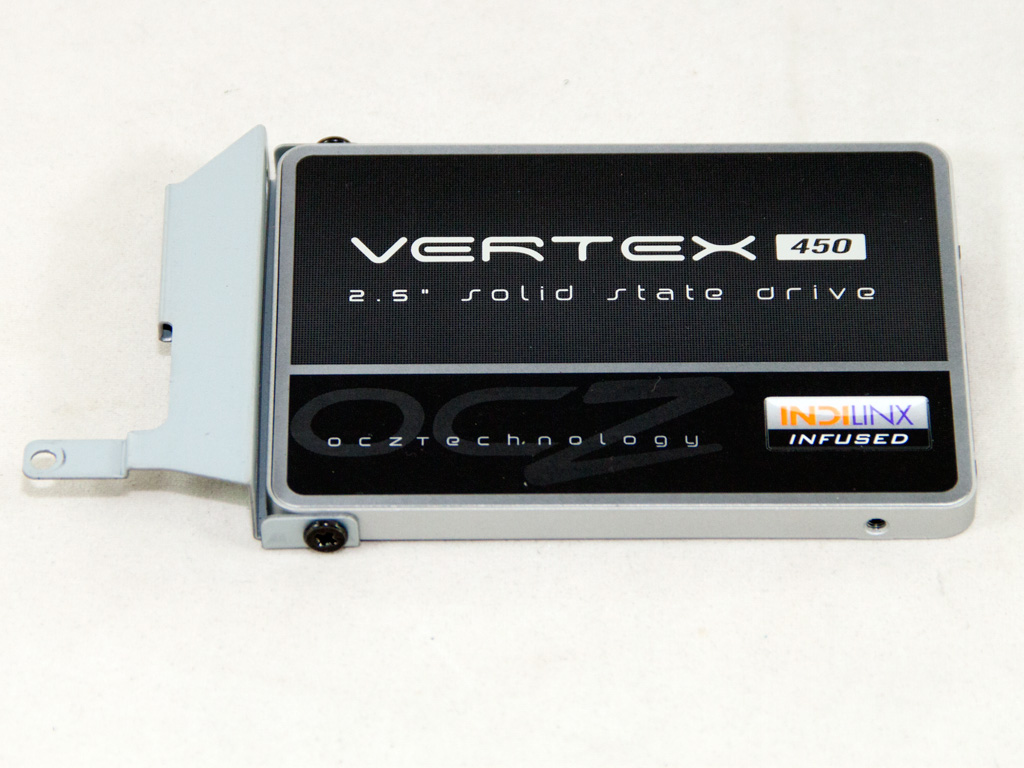
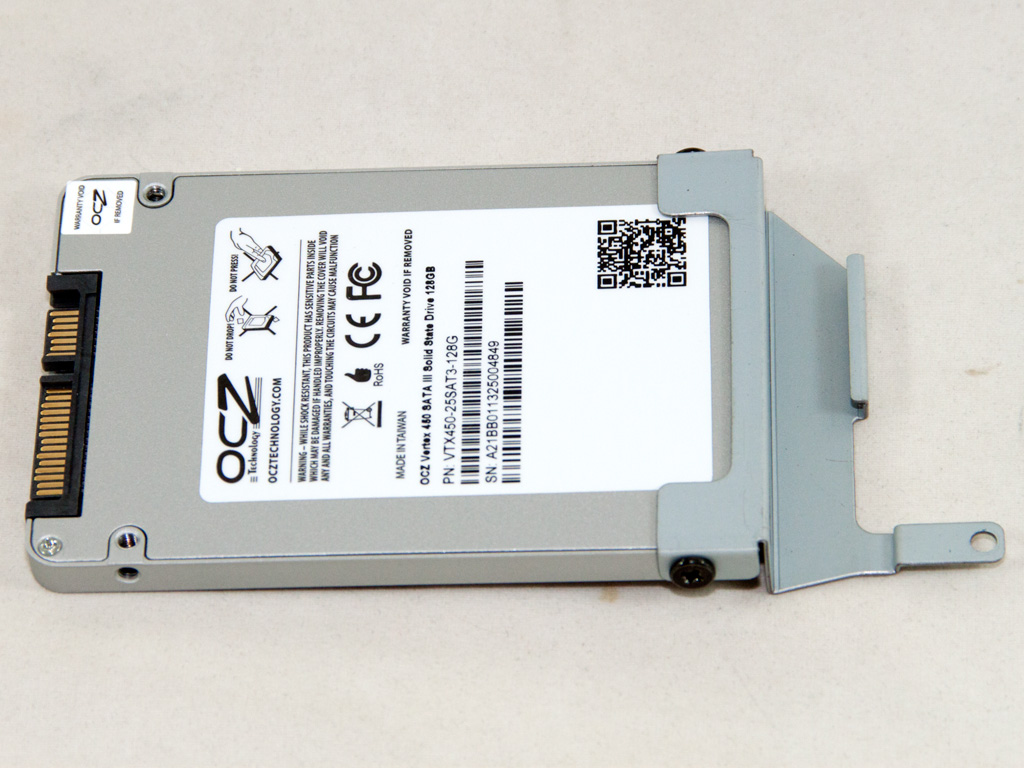
The SSD is held in place by a single screw and another two screws mount the drive to its corresponding adapter.
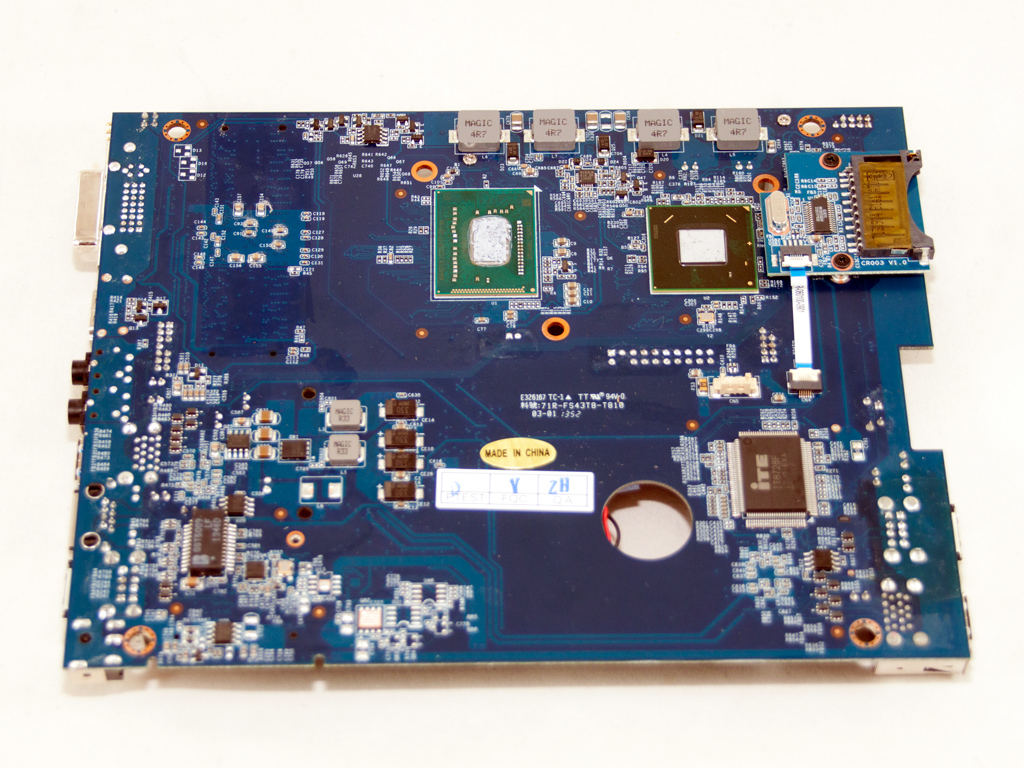
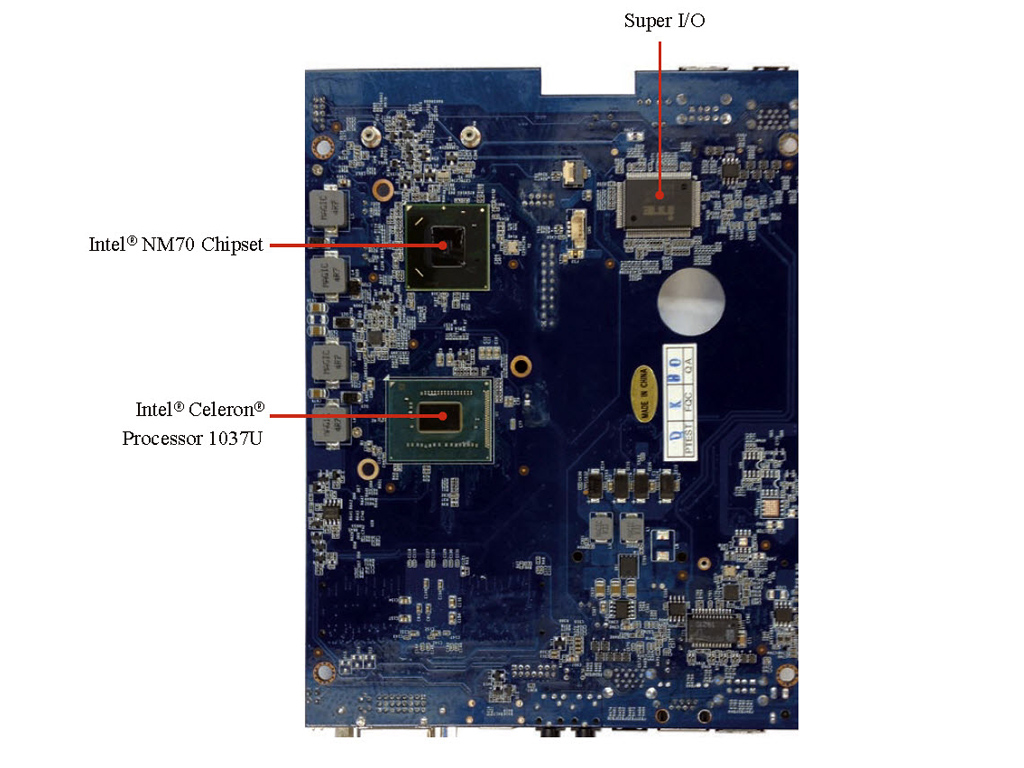
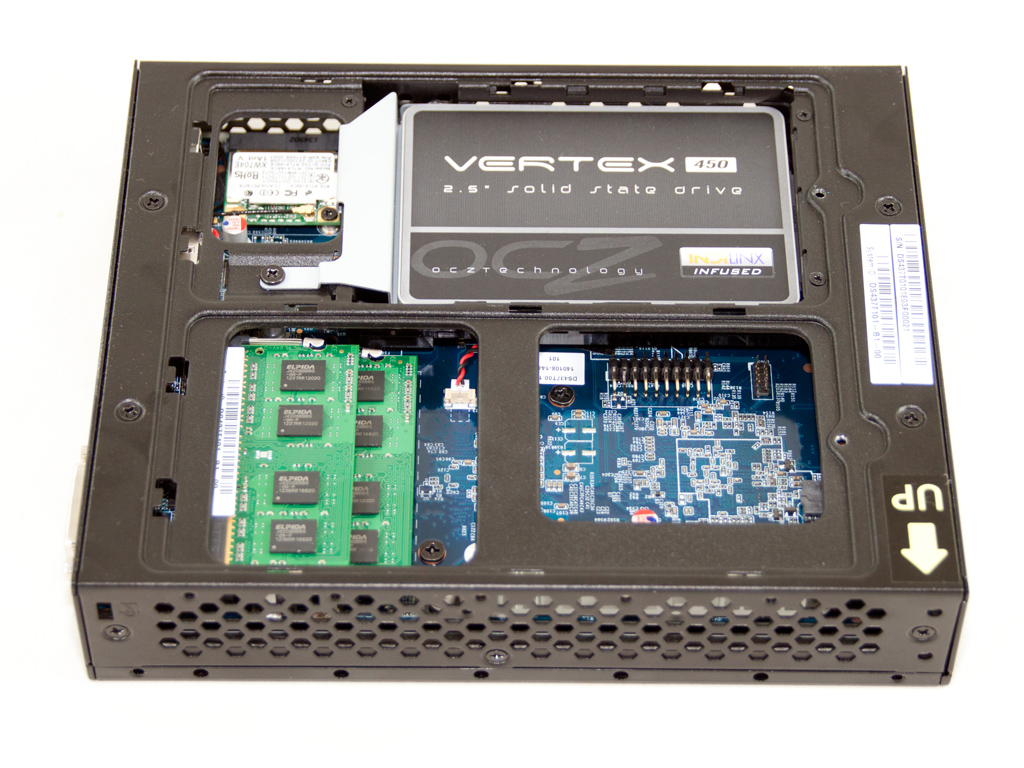
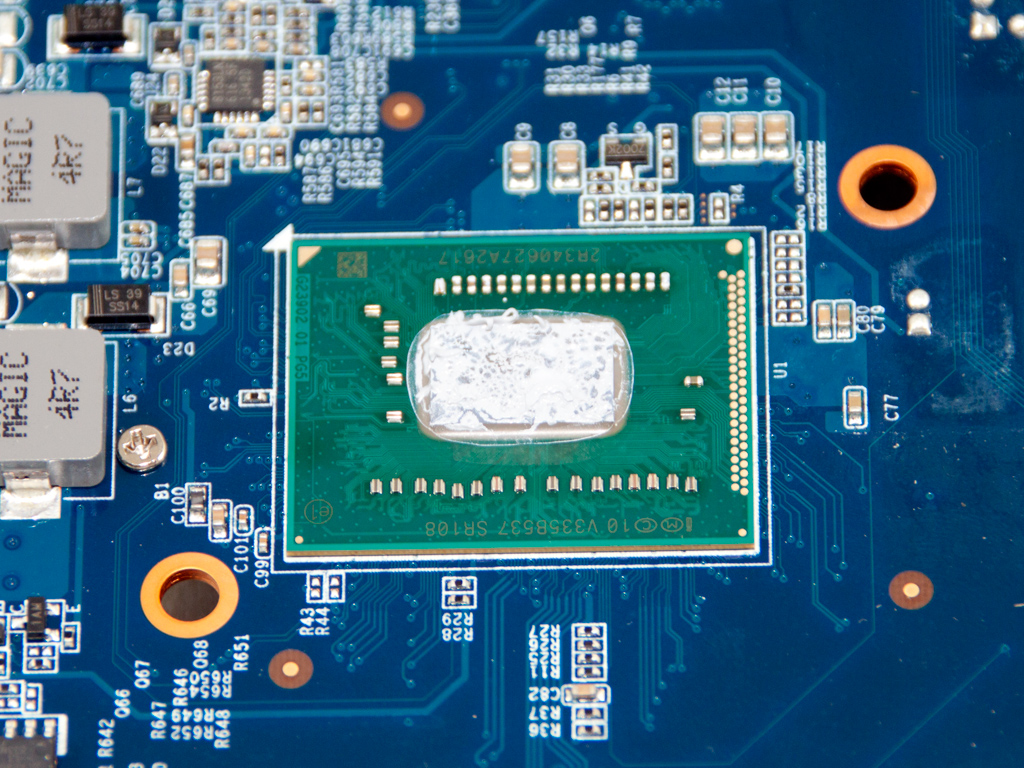
Both sides of the mainboard host interesting components. The CPU and chipset are installed to the solder side of the mainboard, which allows the enclosure to cool both passively.
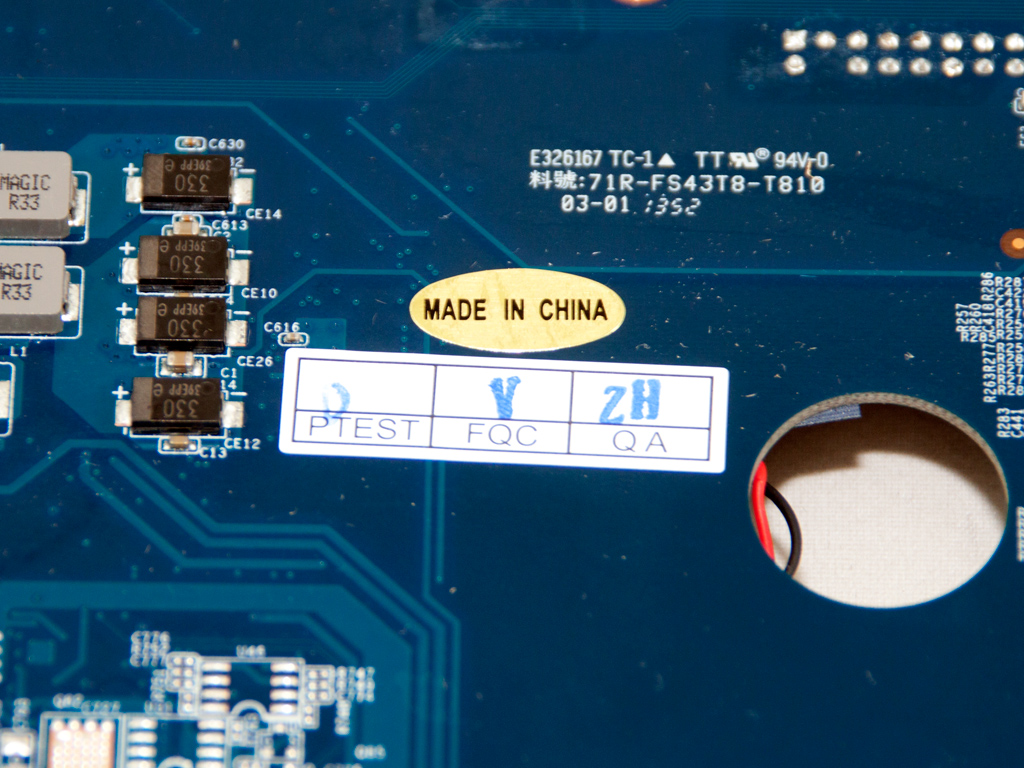
The mainboard's origin is clearly depicted on this sticker.
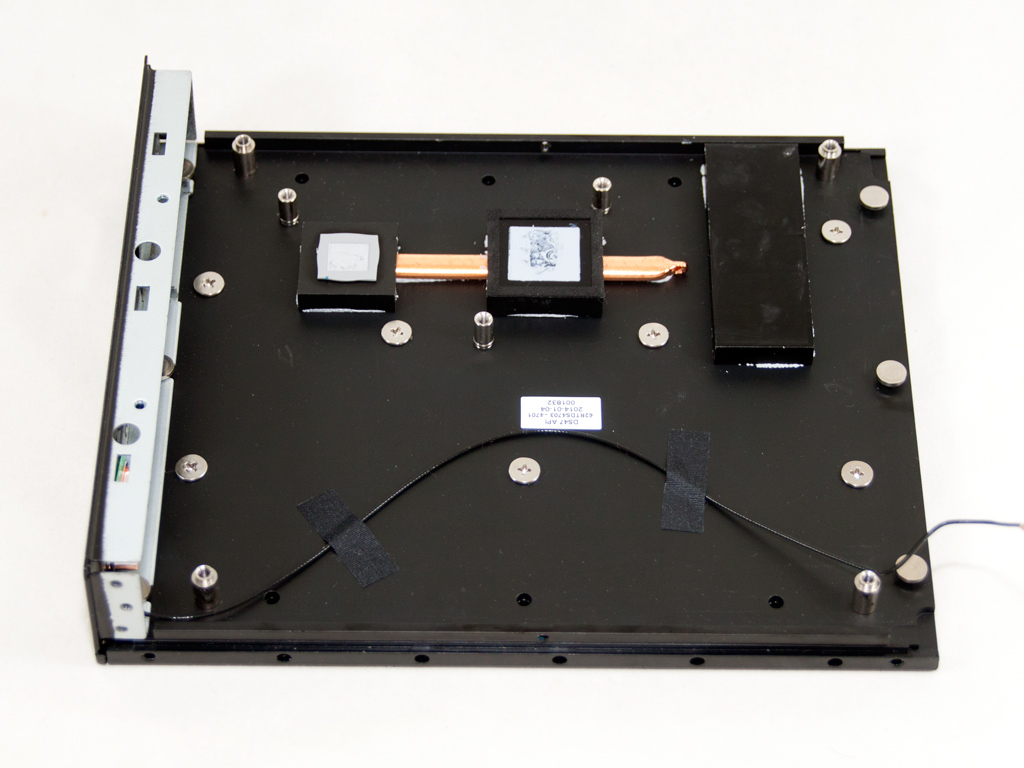
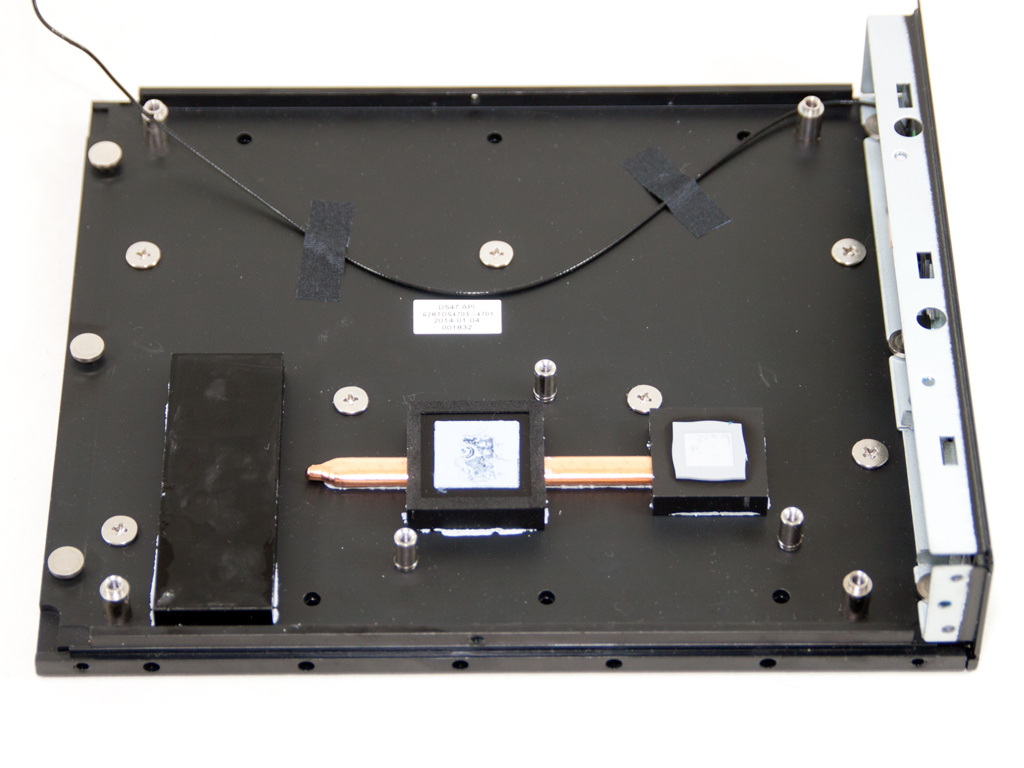
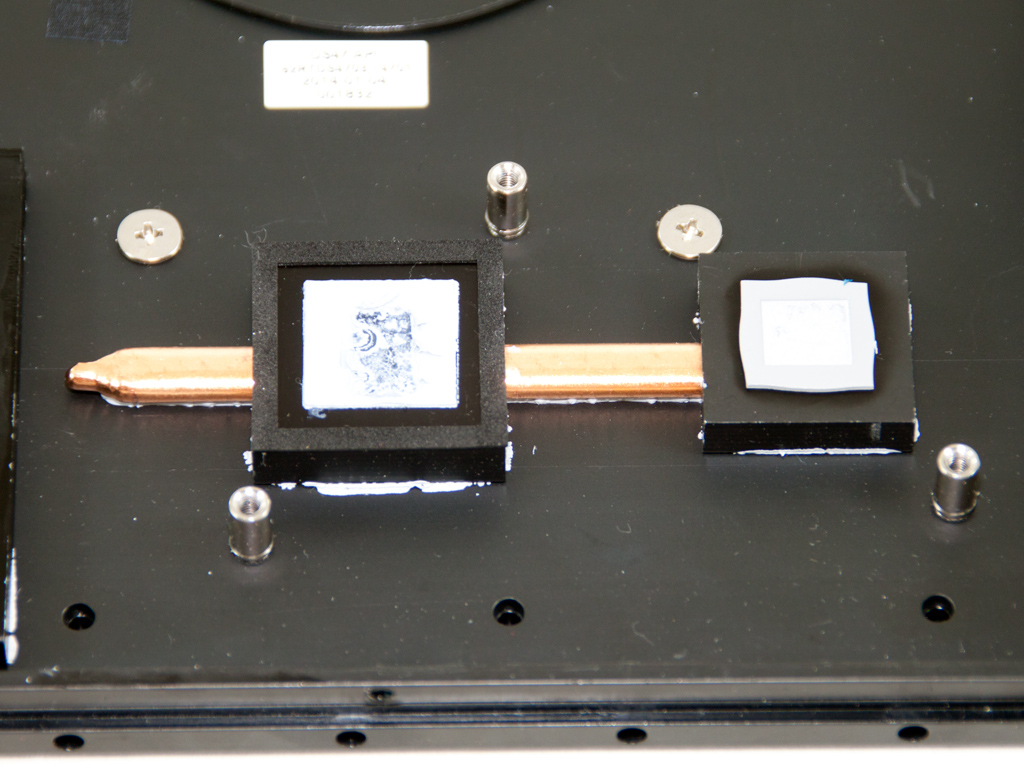
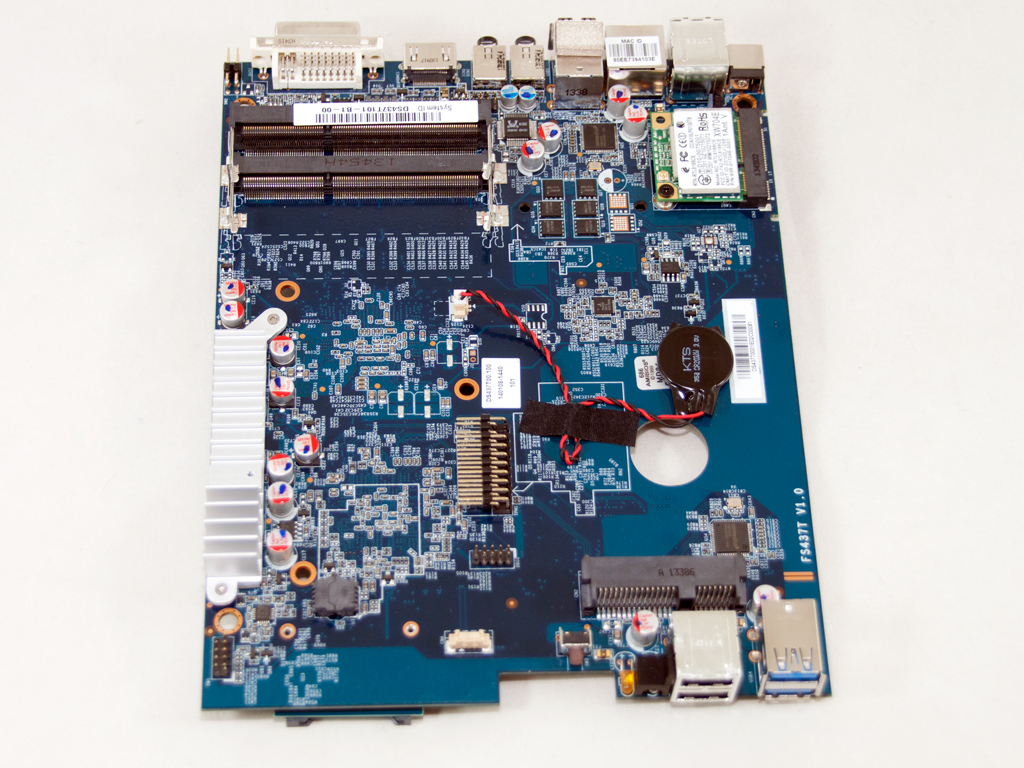
A single heatpipe connects the heatsinks cooling the CPU to those of the chipset. Acting as a huge heatsink, both connect directly to the case.
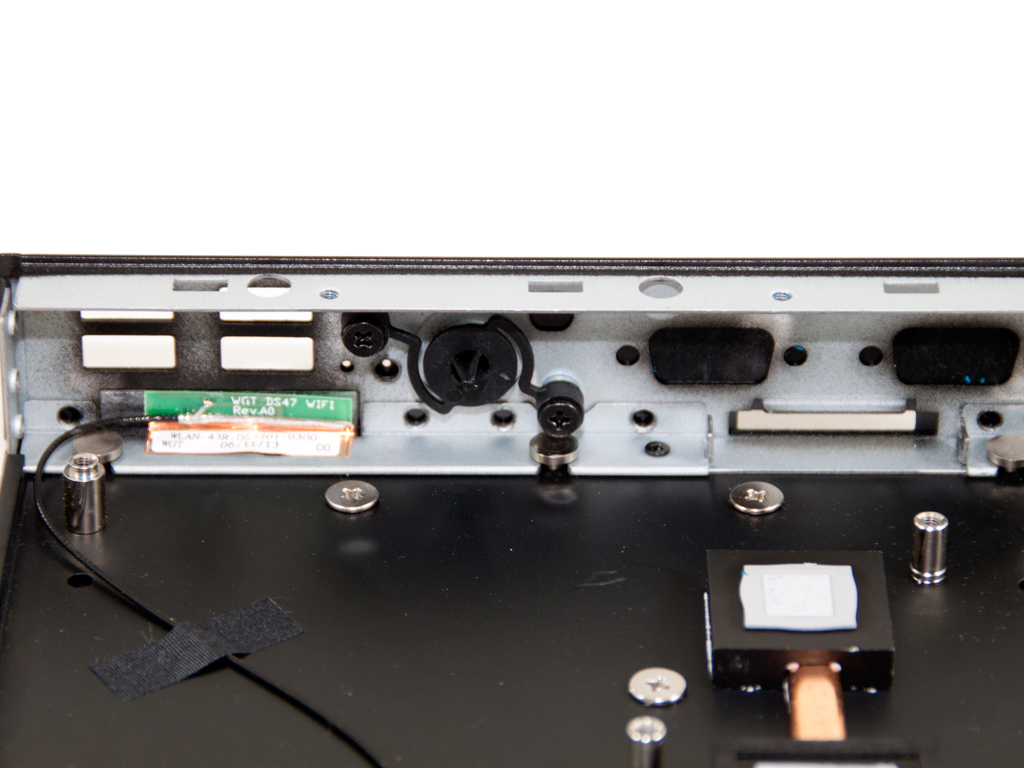
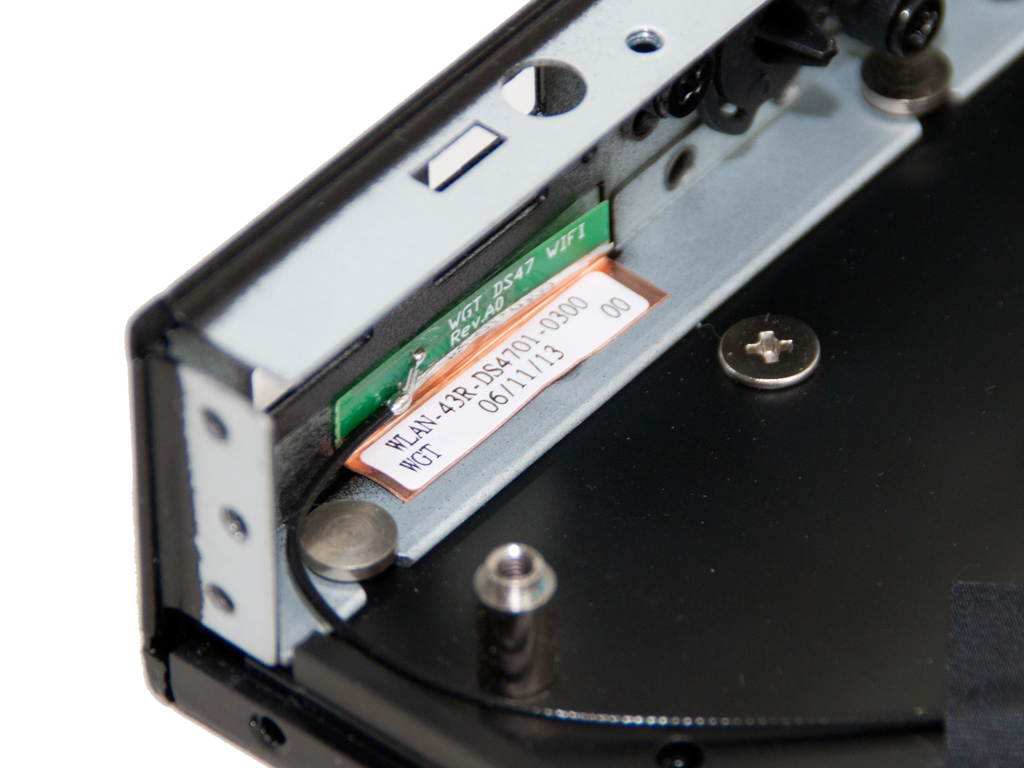
The antenna of the embedded wifi card is installed to the case's front.
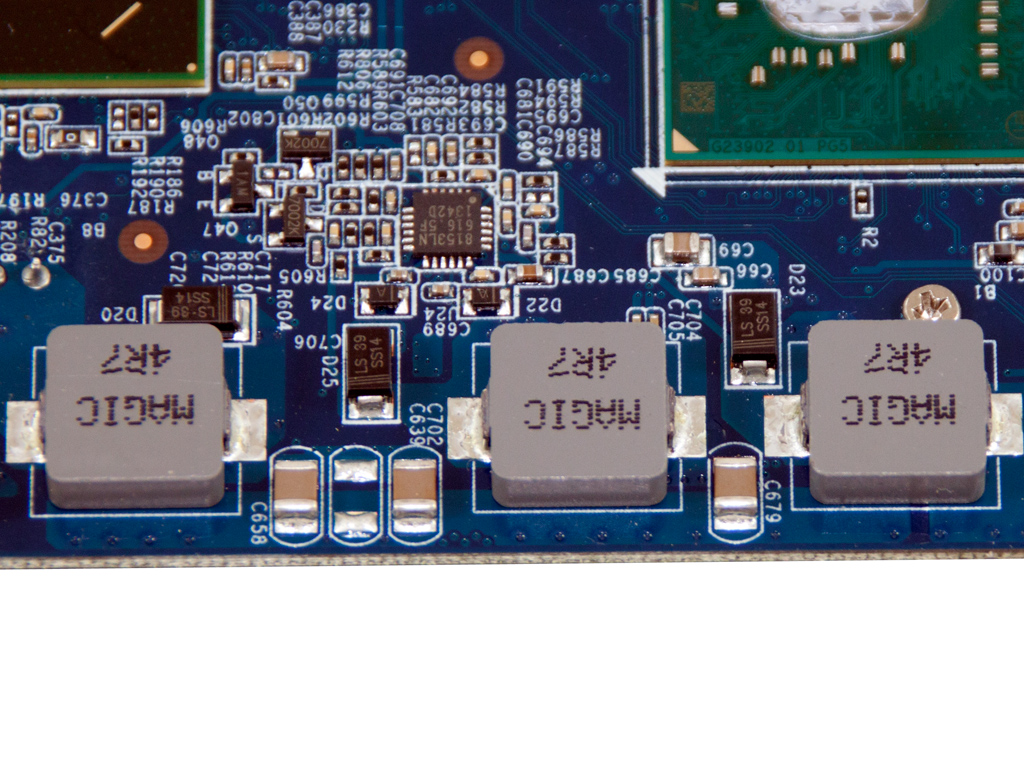
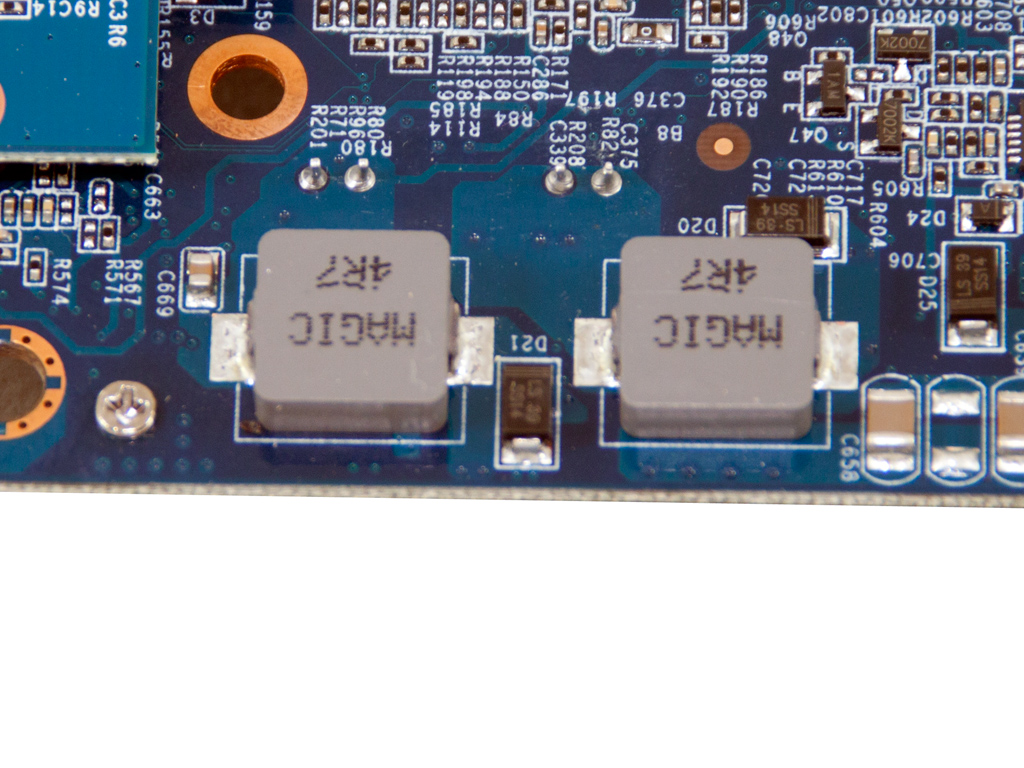
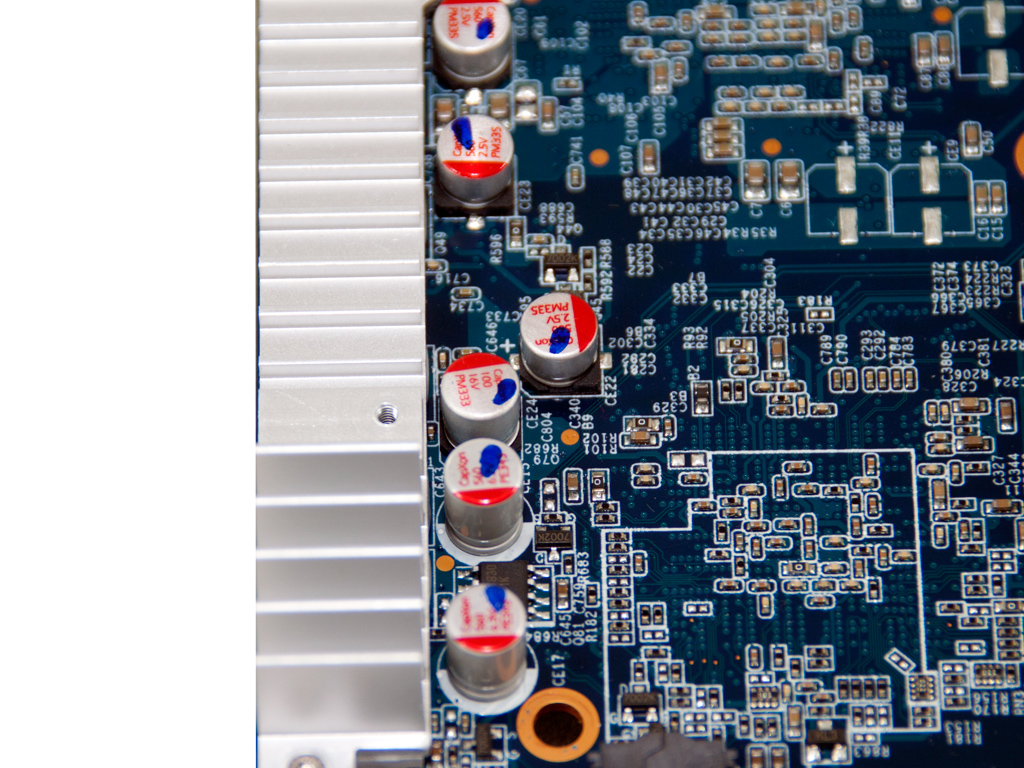
The CPU's voltage regulating circuit consists of four phases. The VRM mosfets are on the mainboard's other side and are cooled by a small heatsink. The last picture also shows several polymer CapXon caps. These are used for ripple-filtering purposes.
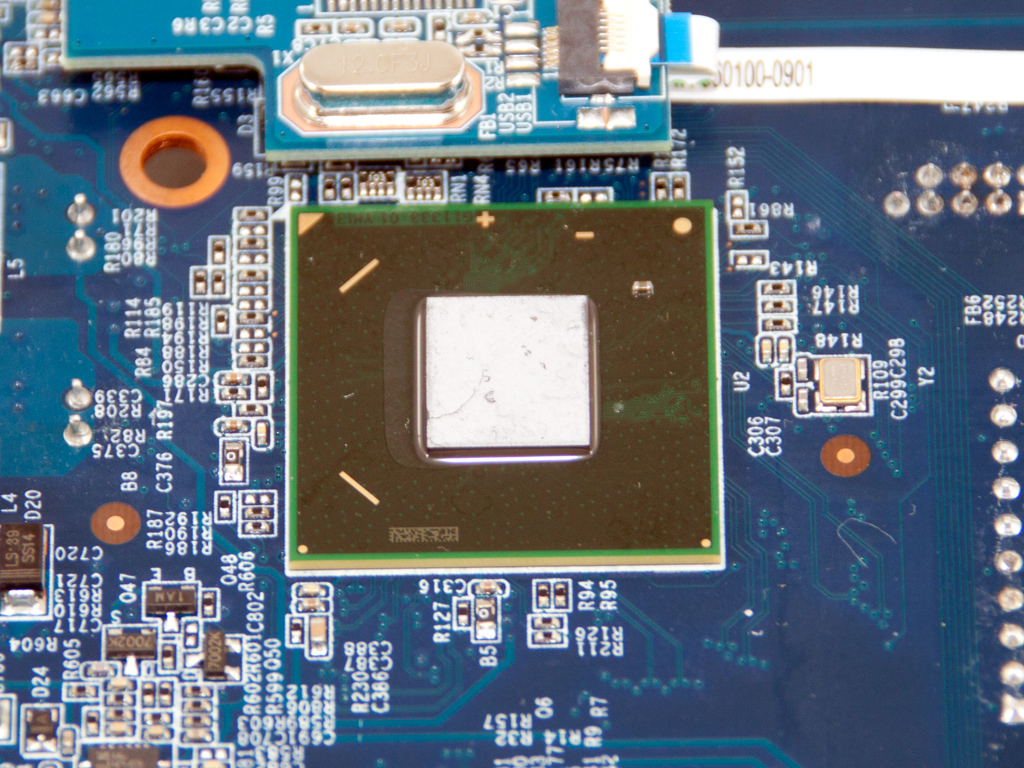
This mainboard's Intel NM70 chipset.
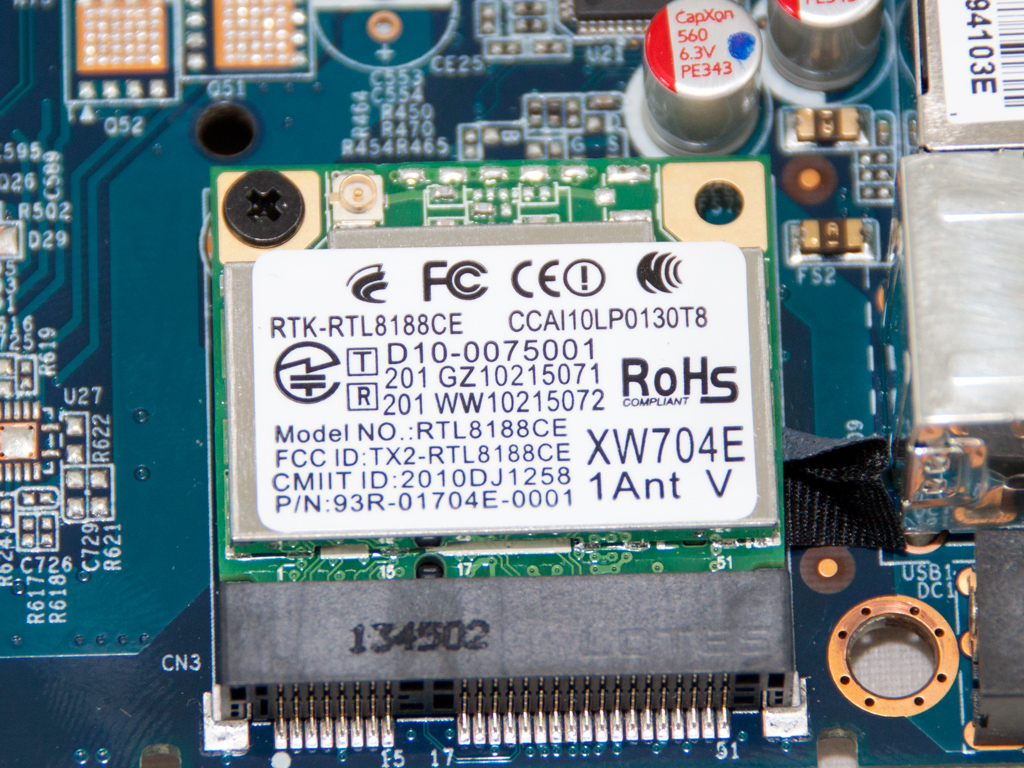
A Realtek RTL8188CE WLAN controller is installed into the mainboard's half-sized Mini-PCIe slot.
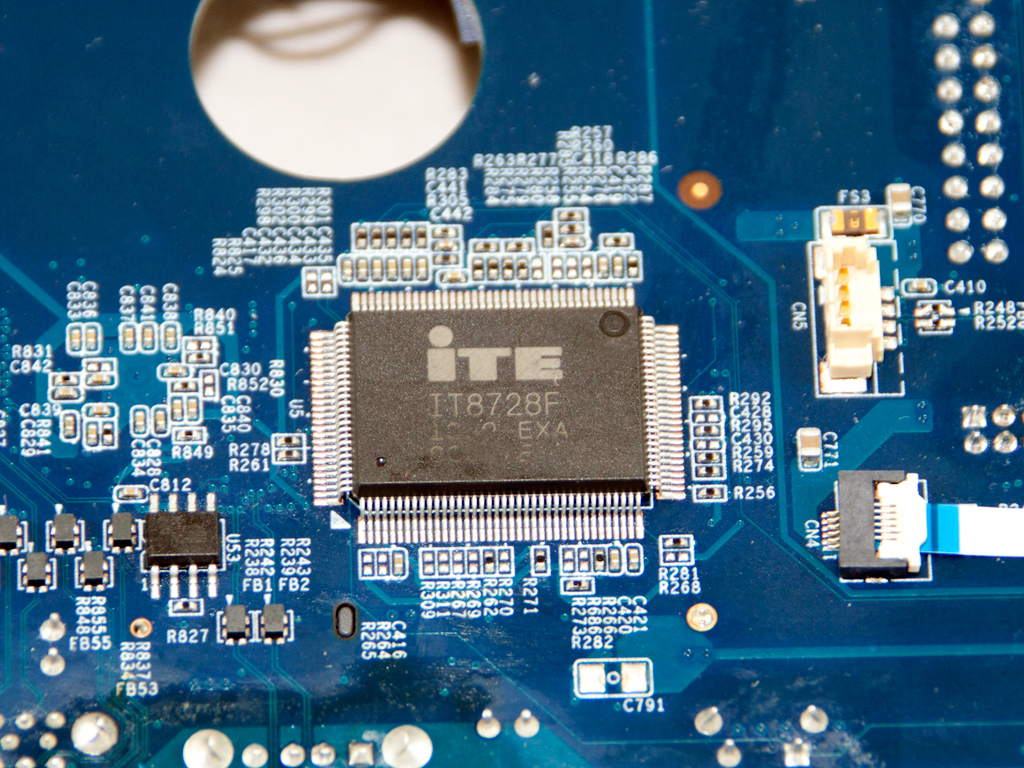
Hardware monitoring duties are handled by an ITE IT8728F IC.
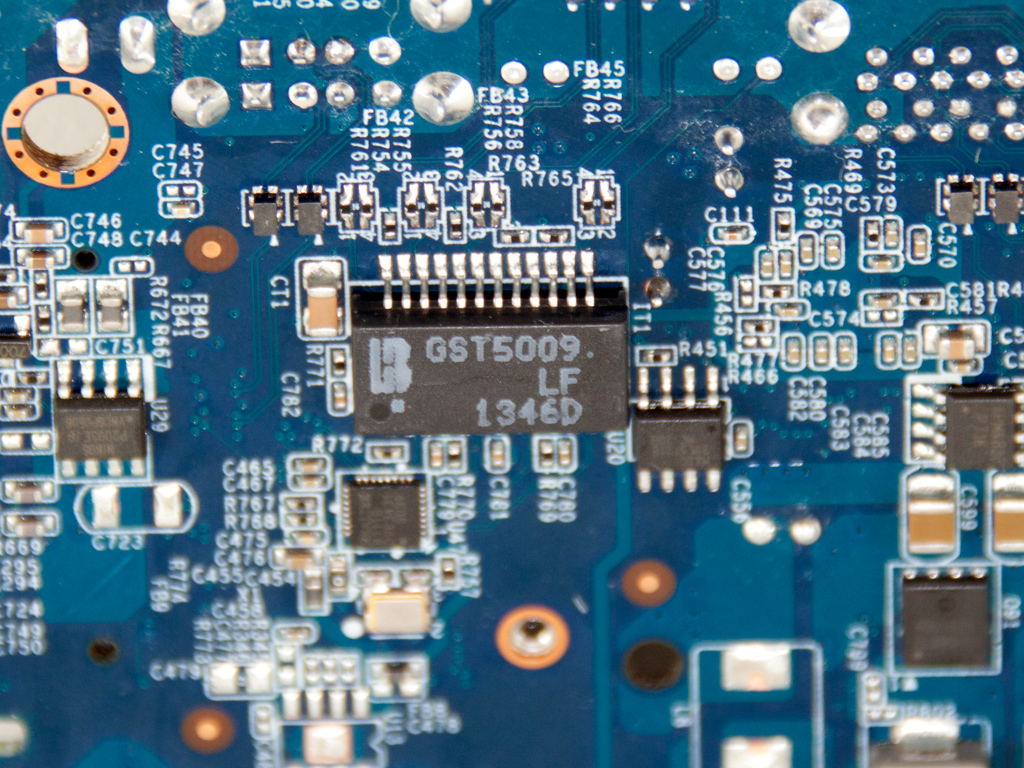
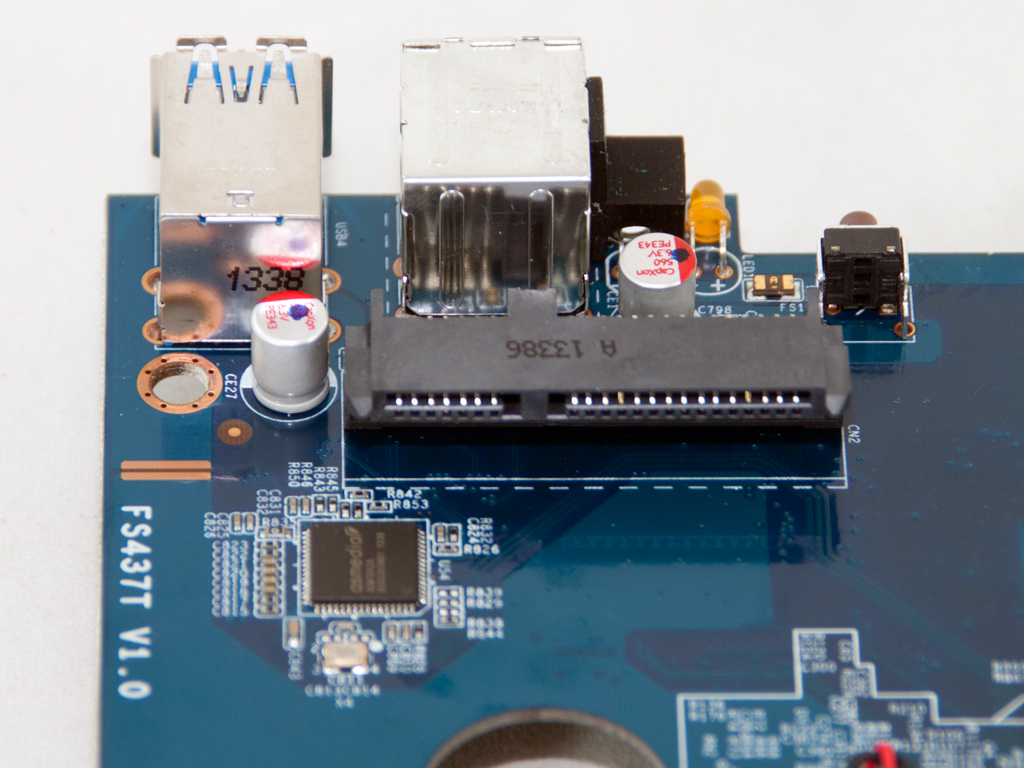
A single GST5009 magnetic module isolates the Ethernet port.
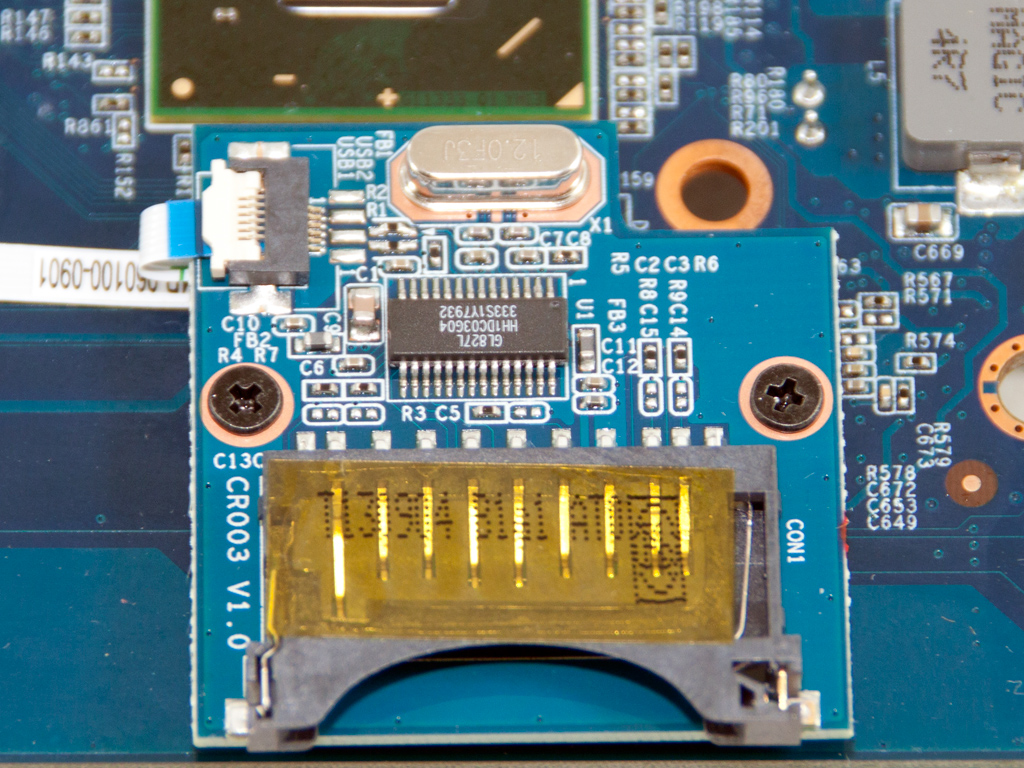
The bundled SD card reader and its bundled GL827L controller.
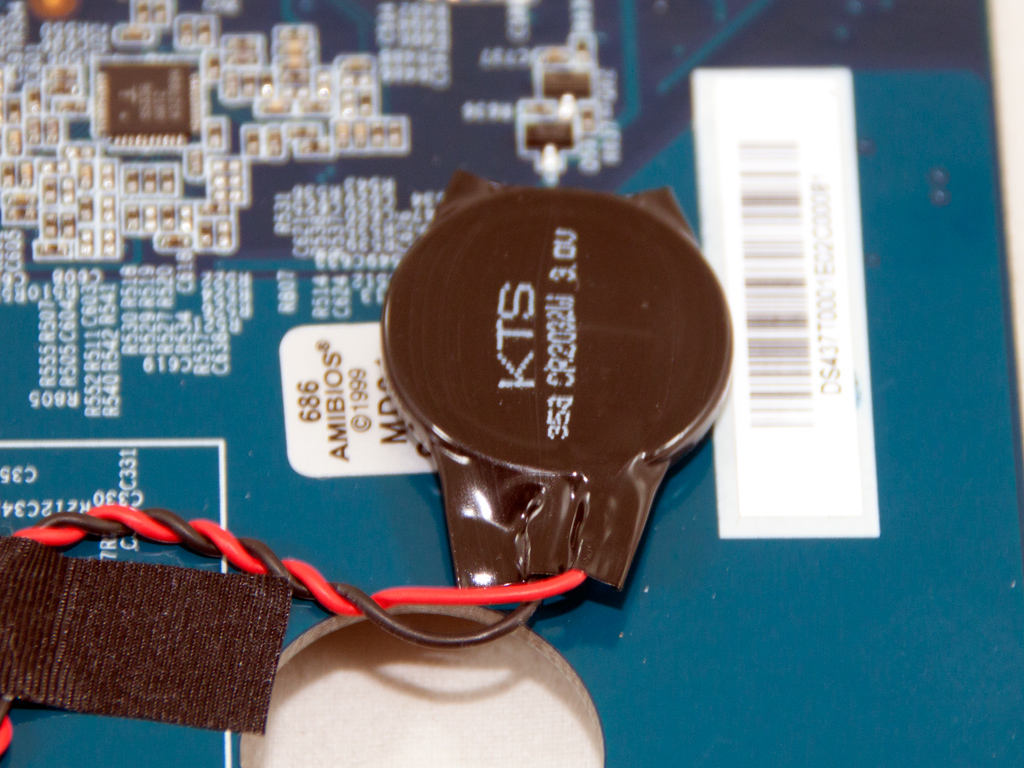
The CMOS battery is glued to the mainboard.
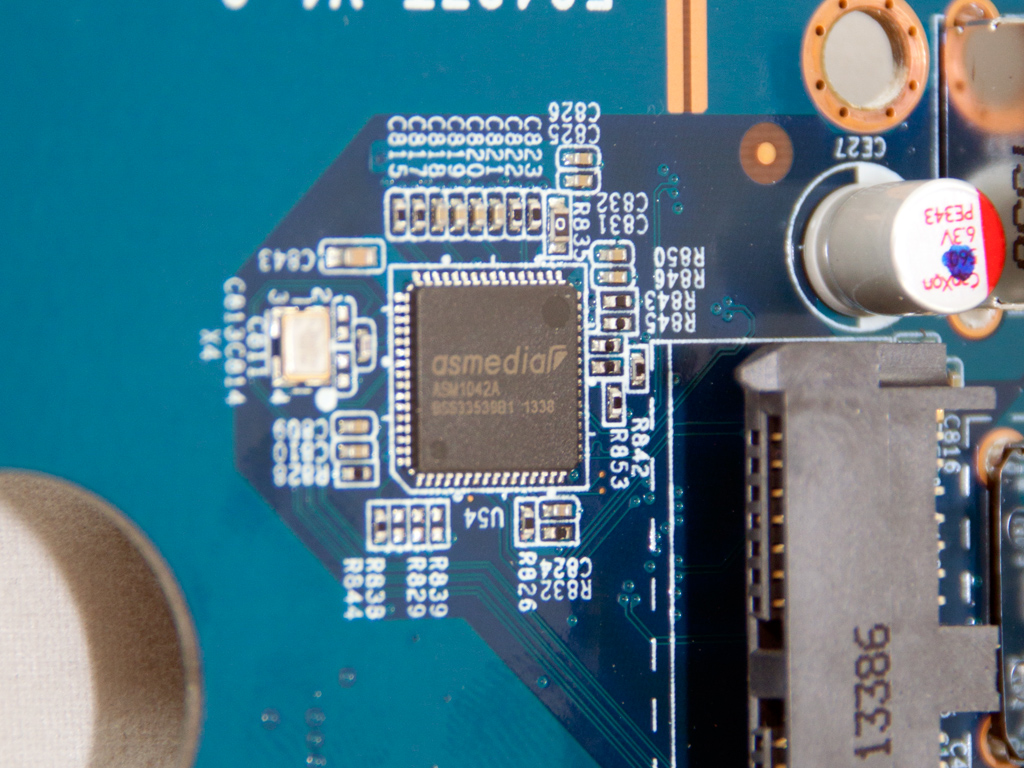
Both USB 3.0 ports at the front are handled by an ASM1042A USB 3.0 controller.
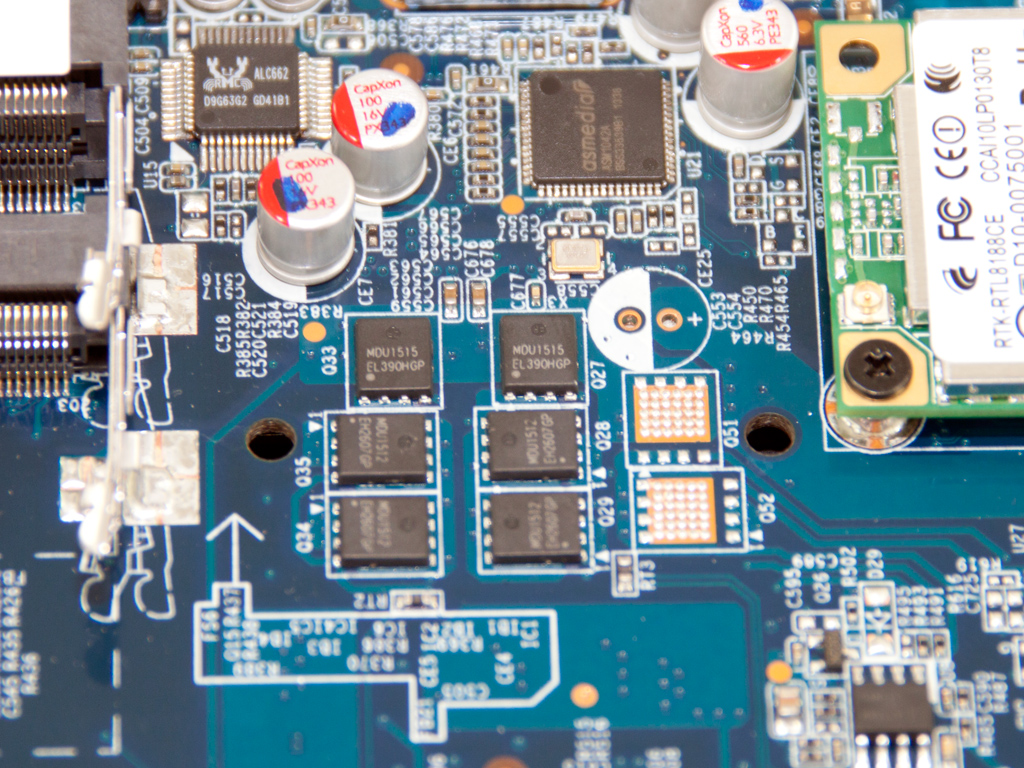
An ASM1042A USB 3.0 controller handles the rear USB 3.0 ports, and a Realtek ALC662 5.1 Channel High Definition Audio Codec is installed nearby. We also spotted six Magnachip MDU1515 fets here.
Feb 27th, 2025 07:37 EST
change timezone
Latest GPU Drivers
New Forum Posts
- WB actually did it...They closed Monolith. :( (21)
- graphics card rops question, can someone help me understand? (0)
- Asus Strix 13 GZ301ZE GPU Wattage increase - Help! (4)
- Used Seagate HDDs scandal? (4)
- AM3 build, uses in 2025 (17)
- I7-7700hq laptop edition (0)
- Windows 11 General Discussion (5716)
- Amd rx570 sapphire nitro 8gb+ not detected (4)
- Proposal to abolish votes on the Case Mod Gallery page (7)
- 9800 x3d overheating what is the stock voltage (28)
Popular Reviews
- Corsair Xeneon 34WQHD240-C Review - Pretty In White
- ASUS GeForce RTX 5070 Ti TUF OC Review
- Corsair Virtuoso MAX Wireless Review
- Montech HyperFlow Silent 360 Review
- Gigabyte X870 Aorus Elite WiFi 7 Review
- MSI GeForce RTX 5070 Ti Ventus 3X OC Review
- MSI GeForce RTX 5070 Ti Vanguard SOC Review
- AMD Ryzen 7 9800X3D Review - The Best Gaming Processor
- MSI GeForce RTX 5070 Ti Gaming Trio OC+ Review
- Montech TITAN PLA 1000 W Review
Controversial News Posts
- NVIDIA GeForce RTX 50 Cards Spotted with Missing ROPs, NVIDIA Confirms the Issue, Multiple Vendors Affected (497)
- AMD Radeon 9070 XT Rumored to Outpace RTX 5070 Ti by Almost 15% (304)
- AMD Plans Aggressive Price Competition with Radeon RX 9000 Series (274)
- AMD Radeon RX 9070 and 9070 XT Listed On Amazon - One Buyer Snags a Unit (247)
- NVIDIA Investigates GeForce RTX 50 Series "Blackwell" Black Screen and BSOD Issues (244)
- Edward Snowden Lashes Out at NVIDIA Over GeForce RTX 50 Pricing And Value (241)
- AMD Denies Radeon RX 9070 XT $899 USD Starting Price Point Rumors (239)
- AMD Mentions Sub-$700 Pricing for Radeon RX 9070 GPU Series, Looks Like NV Minus $50 Again (215)