 6
6
Silverstone Precision PS06 Review
Value & Conclusion »Assembly

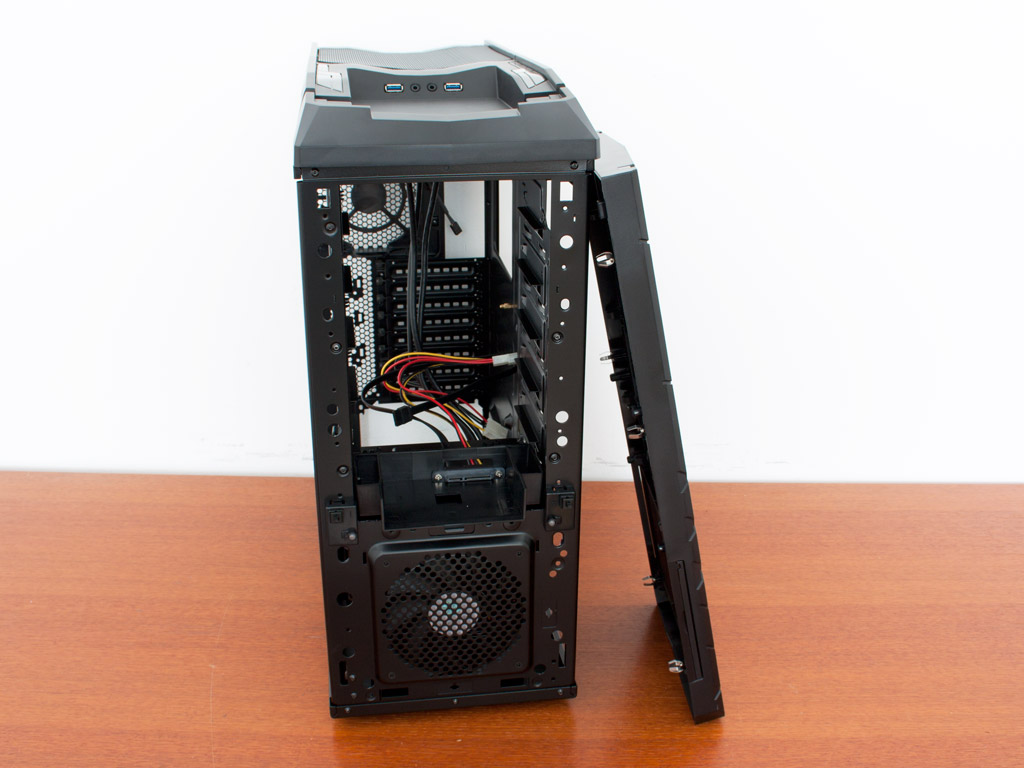
Installing the motherboard is an easy task. Simply place the board on the bumpers of the backplate. You may have to place one or two of the traditional spacers, depending on which board you use. Secure it with the included black screws and that is it. There is plenty of space around the CPU cooler area and even though the chassis is not very wide, the fairly large Prolimatech Super Mega easily fits within the chassis. As you can see, I have to run the audio cable across the board as it would not reach the connector otherwise. On top of that the USB 3.0 lead is too short as well. The only reason I was able to hide it properly is because I used the 2.0 adapter which adds another 10 cm to the cable length. This is something that Silverstone needs to fix.
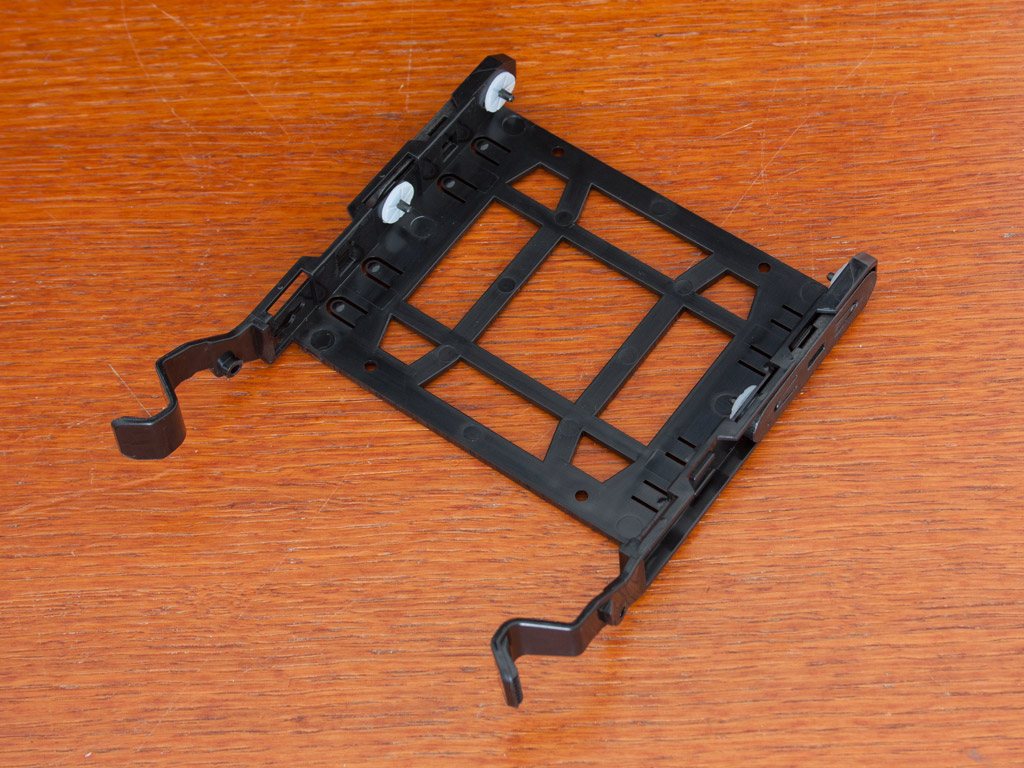
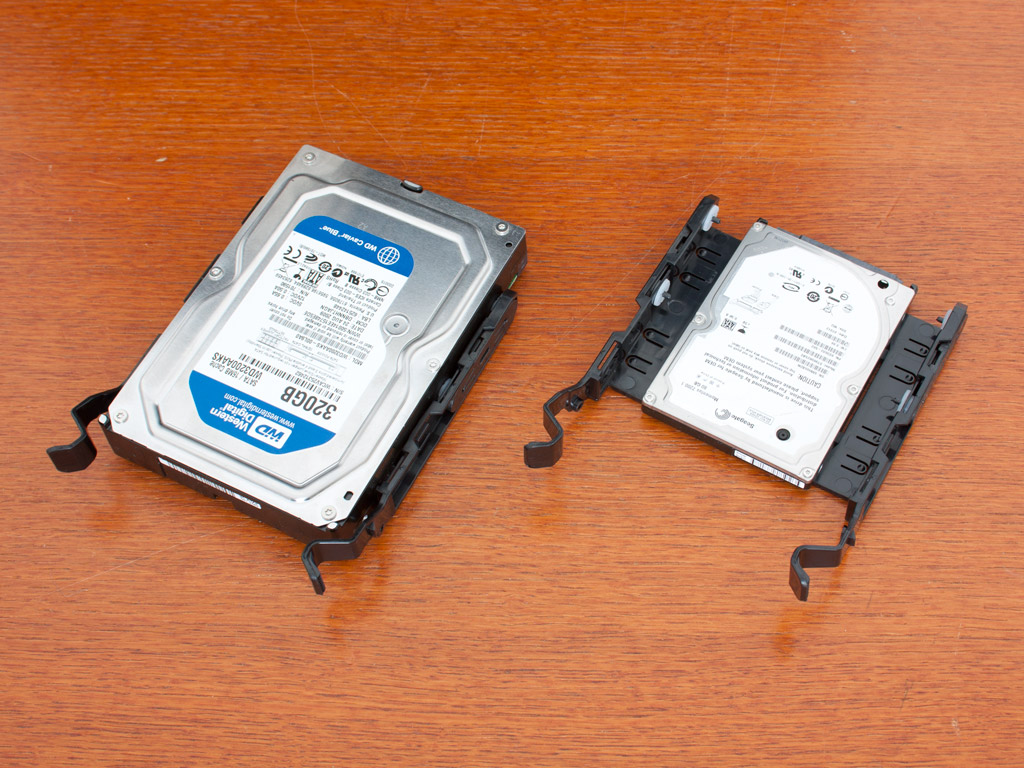
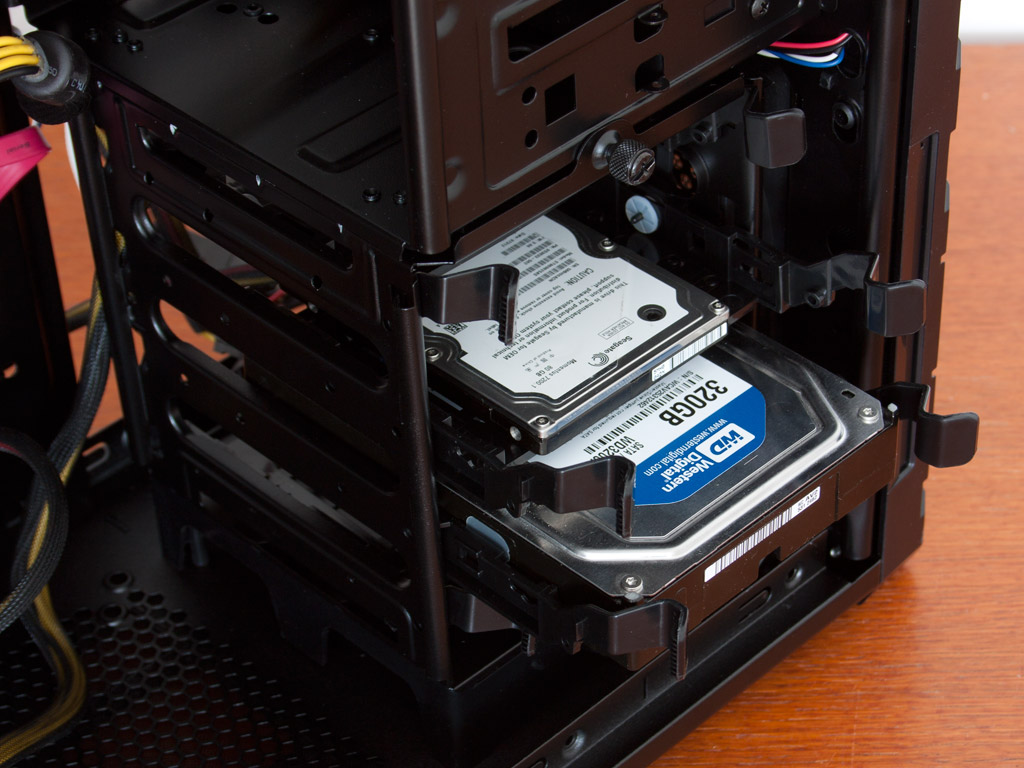
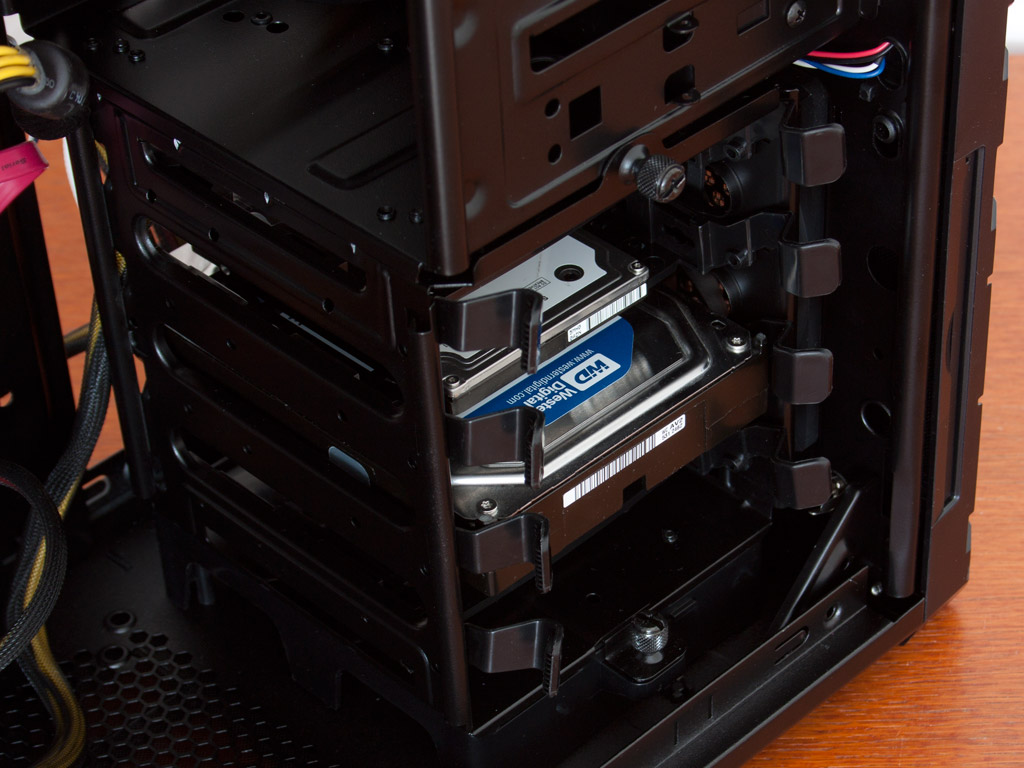
The four hard drives are installed using flexible plastic trays. You will have to use traditional screws when applying a 2.5" drive, but the usual 3.5" variant does not require any tools at all. Once on the tray, simply slide them into the bay until they snap into place.
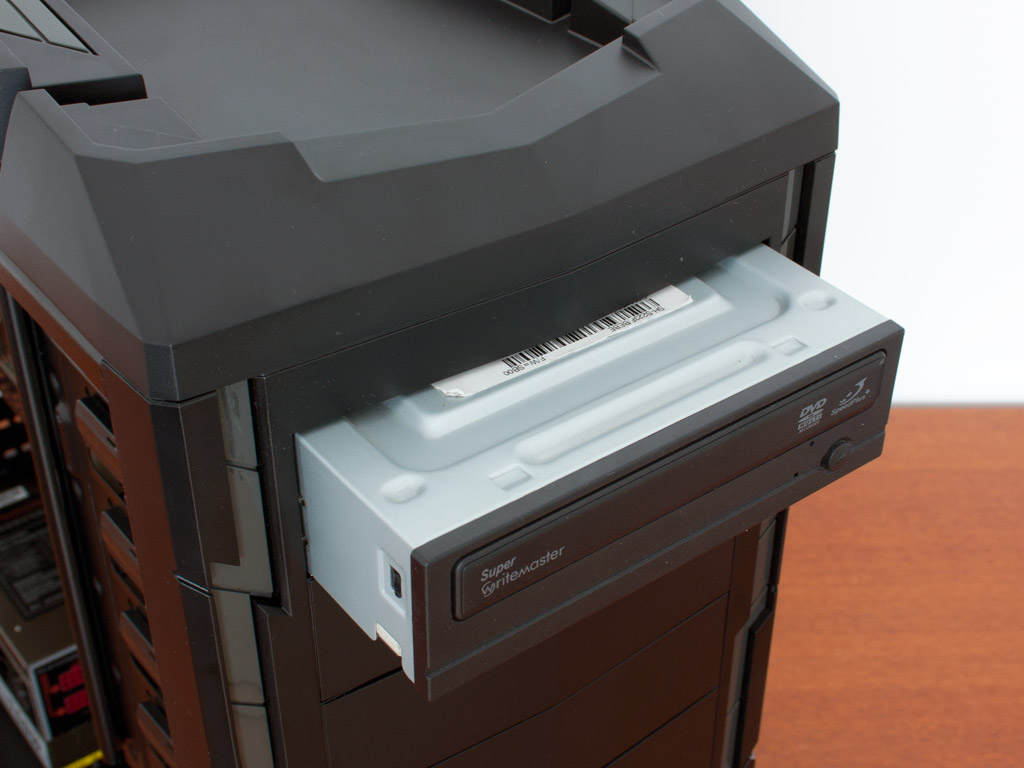
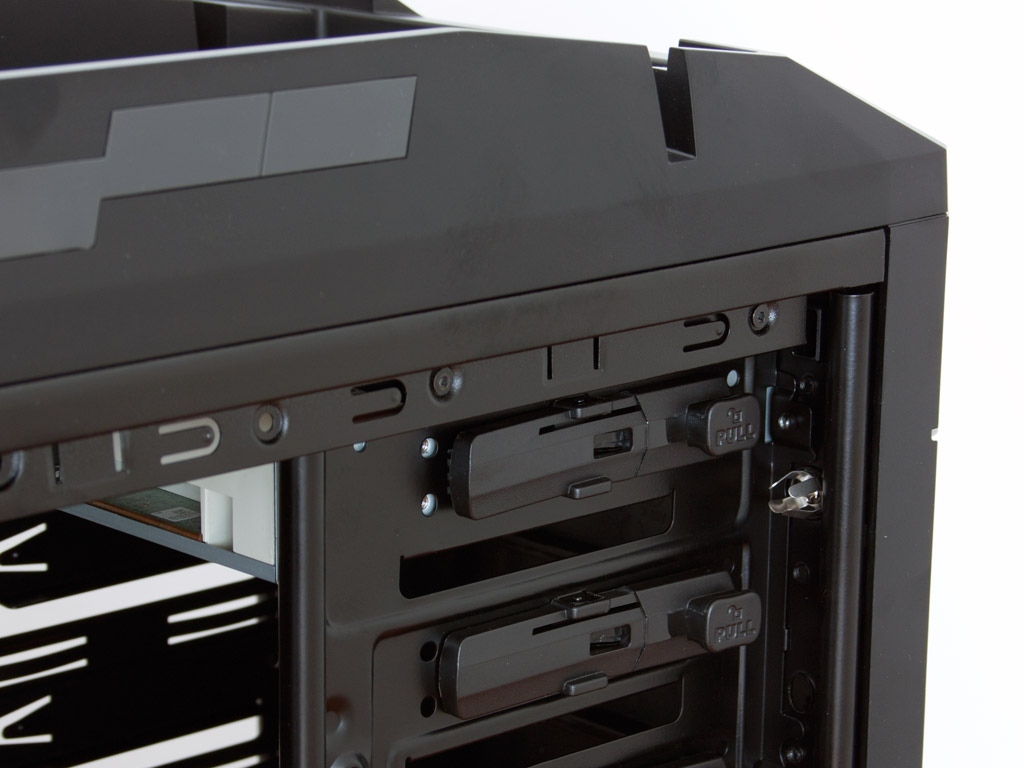
To install an optical drive, you first have to free the drive bay. Doing so means you have to pull off the entire front and remove a drive cover. This also reveals the hot-swap bay, which is more like a tray. I would have expected it to be completely encased. On top of that there are no guides in place so you have to make sure the drive you use aligns properly before pushing down, or you may end up damaging the bay or the drive connectors. Once the optical drive is pushed in properly it will snap into place on its own. The plastic locks do hold the drive quite well so I do not see any reason for traditional screws.
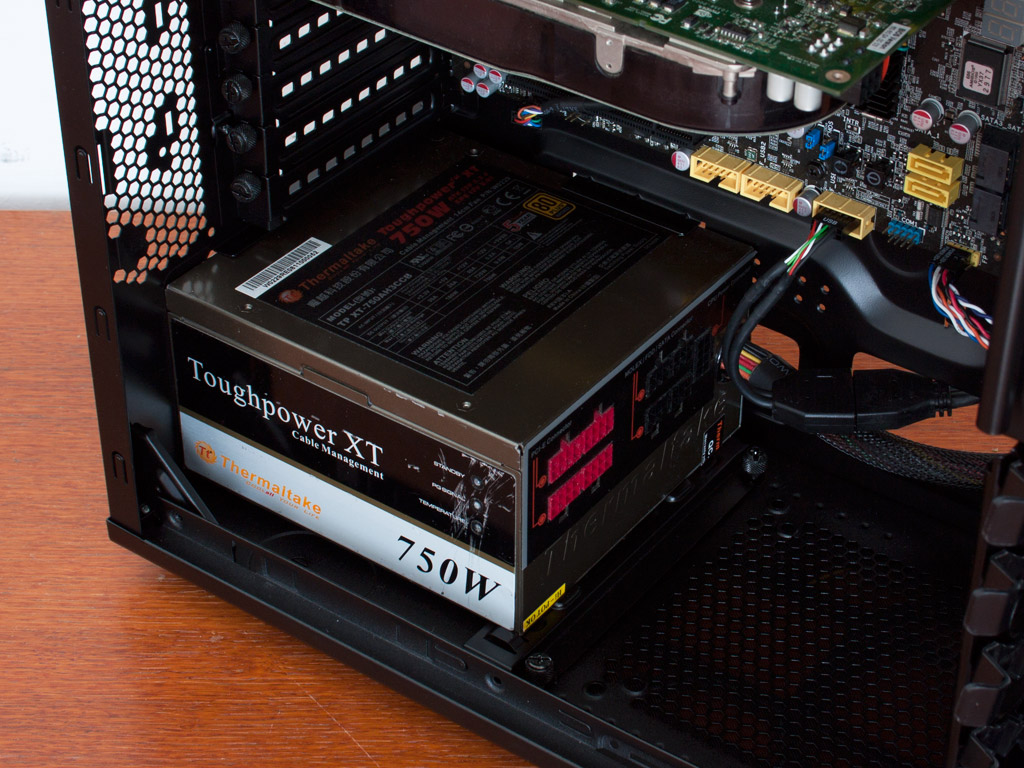
The power supply is secured using traditional screws once you have aligned the crossbeam properly. This means that only this and the mainboard really require any tools, while all other aspects are handled by locking mechanisms or thumb screws.

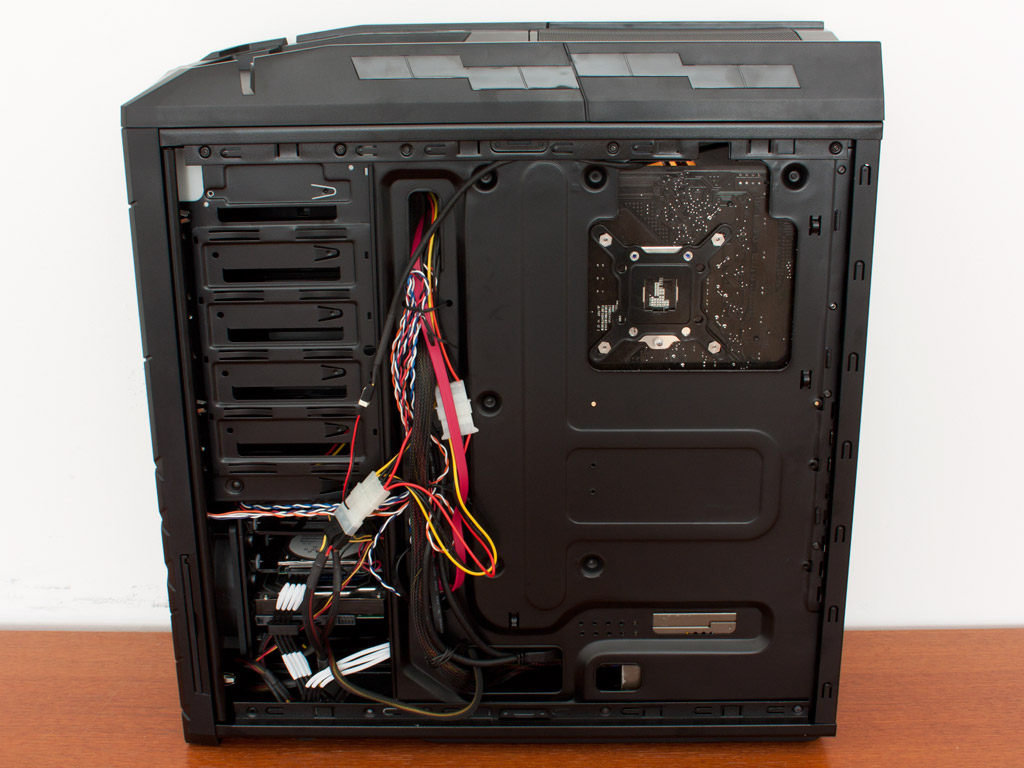
Once everything is installed, the chassis makes a good, clean impression. Having all black cables would have been a nice touch, as the many different colors are obvious. To be fair, I ended up using red SATA cables as well, which adds to this aspect. As you can see, the cable routing and the possibilities to pin cables down on the underside of the mainboard are plentiful. This results in a very clean look - even in this area.
Finished Looks
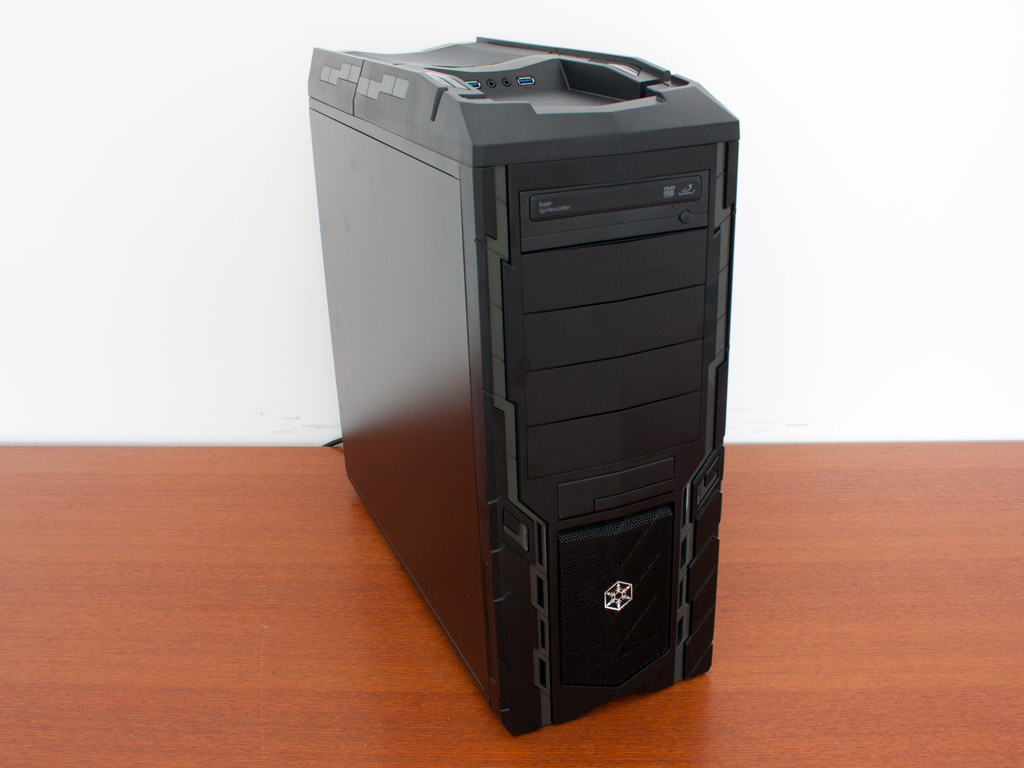
All side panels can be placed unto the system quite easily. The Precision PS06 makes a great impression and the Air Penetrator fan is nice and quiet on low speed, but really gets quite loud when hitting the switch for full power. On top of that the fan in our sample had a noticeable wobble to it, which resulted in a unusual sound emission. While this is most likely just our (lack of) luck, it should be mentioned.

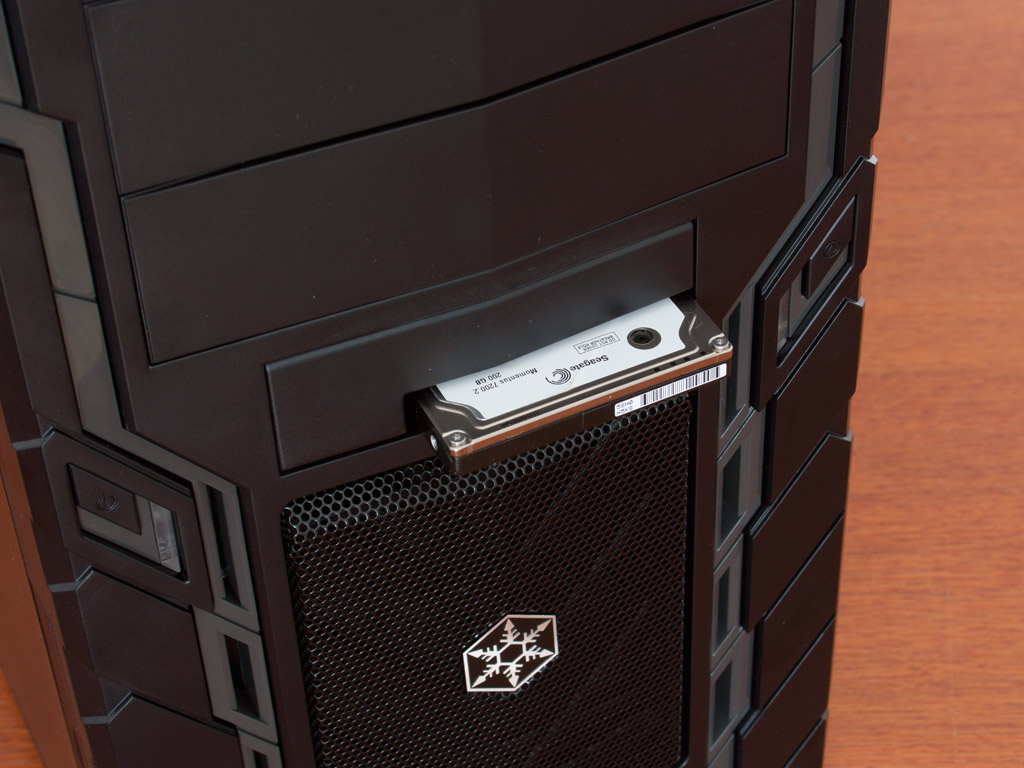
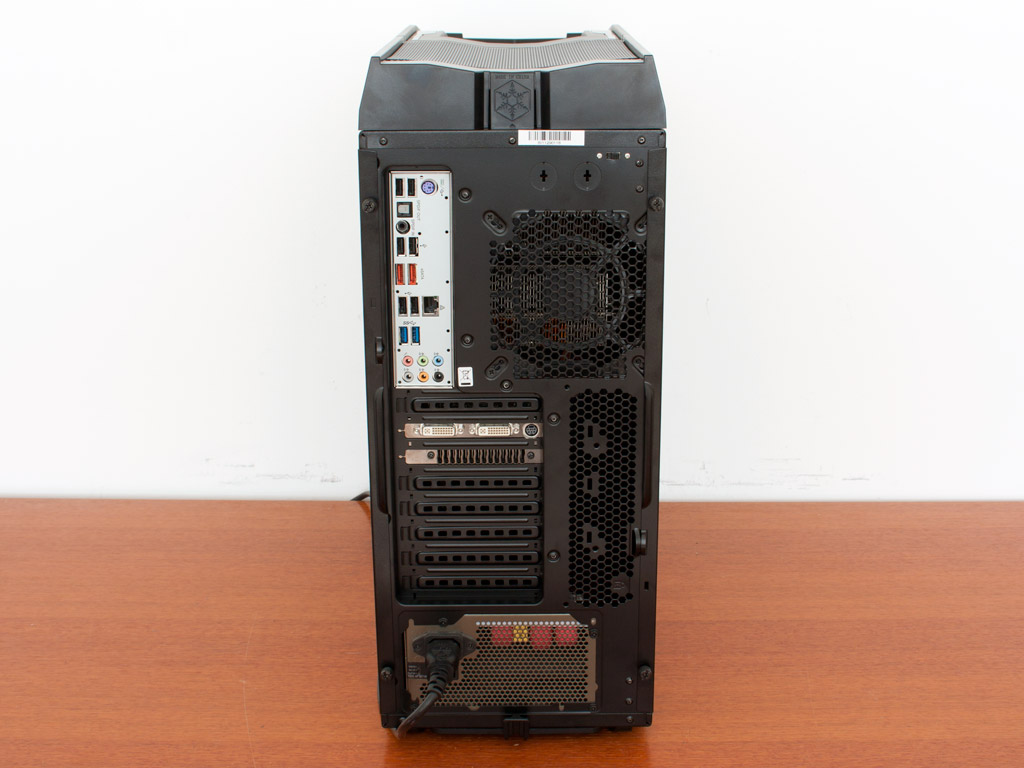
The black optical drive looks good, and even though the front of the PS06 is not shaped flat, the drive does not look out of place. As I mentioned before, the hot-swap bay is simple, but works quite well if you make sure the drive is aligned properly before really pushing down. As there is no eject button you just have to pull on the storage unit to remove it from the bay. In the rear of the case, everything is where it should be - no surprises here.
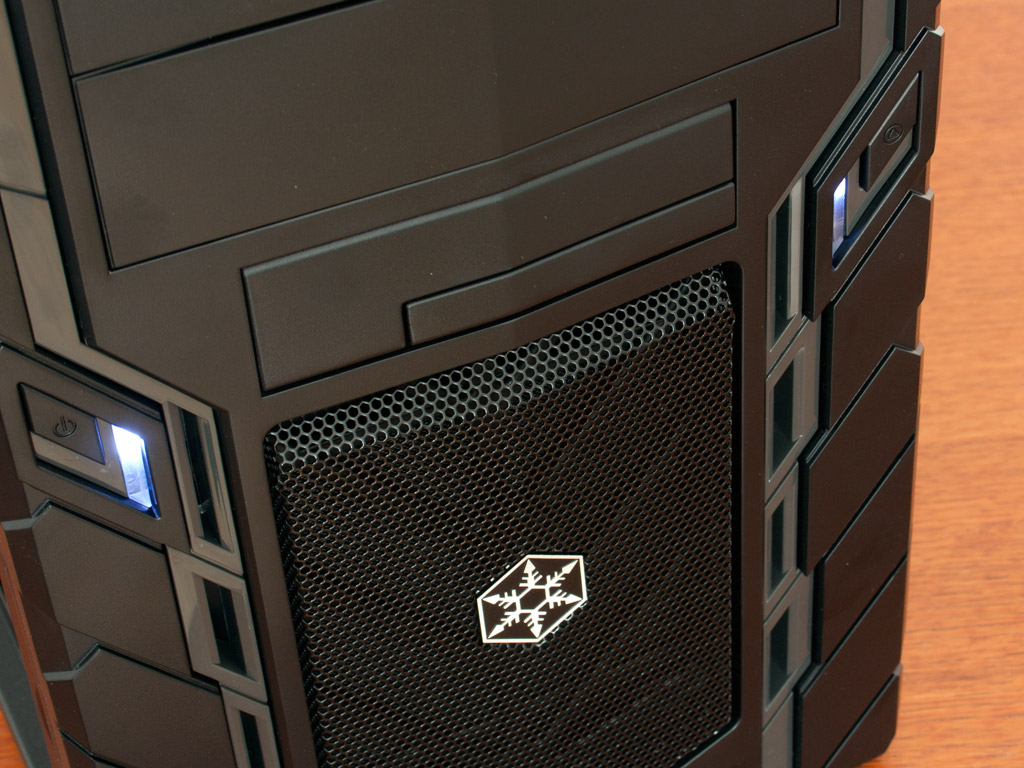

Both the power and the hard drive activity LEDs are white, which is a wise choice for this chassis. I have also placed an external hard drive on top of the chassis to illustrate the benefits of such a compartment. The cable is too long and thick, but it is still better than nothing and you won't have to worry about the drive slipping off the top and falling down.
Jul 5th, 2025 23:18 CDT
change timezone
Latest GPU Drivers
New Forum Posts
- Help Watercooling my PC (8)
- Will you buy a RTX 5090? (627)
- RX 9000 series GPU Owners Club (1128)
- 9800x3d temps (3)
- Last game you purchased? (862)
- TPU's Rosetta Milestones and Daily Pie Thread (2375)
- What are you playing? (23897)
- Folding Pie and Milestones!! (9607)
- Do you game on a handheld console? (98)
- TPU's Nostalgic Hardware Club (20486)
Popular Reviews
- NVIDIA GeForce RTX 5050 8 GB Review
- Fractal Design Scape Review - Debut Done Right
- Crucial T710 2 TB Review - Record-Breaking Gen 5
- ASUS ROG Crosshair X870E Extreme Review
- Sapphire Radeon RX 9060 XT Pulse OC 16 GB Review - An Excellent Choice
- PowerColor ALPHYN AM10 Review
- Upcoming Hardware Launches 2025 (Updated May 2025)
- AMD Ryzen 7 9800X3D Review - The Best Gaming Processor
- Sapphire Radeon RX 9070 XT Nitro+ Review - Beating NVIDIA
- NVIDIA GeForce RTX 5060 8 GB Review
TPU on YouTube
Controversial News Posts
- Intel's Core Ultra 7 265K and 265KF CPUs Dip Below $250 (288)
- NVIDIA Grabs Market Share, AMD Loses Ground, and Intel Disappears in Latest dGPU Update (212)
- Some Intel Nova Lake CPUs Rumored to Challenge AMD's 3D V-Cache in Desktop Gaming (140)
- NVIDIA GeForce RTX 5080 SUPER Could Feature 24 GB Memory, Increased Power Limits (115)
- Microsoft Partners with AMD for Next-gen Xbox Hardware (105)
- NVIDIA Launches GeForce RTX 5050 for Desktops and Laptops, Starts at $249 (105)
- AMD Radeon RX 9070 XT Gains 9% Performance at 1440p with Latest Driver, Beats RTX 5070 Ti (102)
- Intel "Nova Lake‑S" Series: Seven SKUs, Up to 52 Cores and 150 W TDP (100)