 7
7
SilverStone SETA H1 Review
Assembly & Finished Looks »A Closer Look - Inside
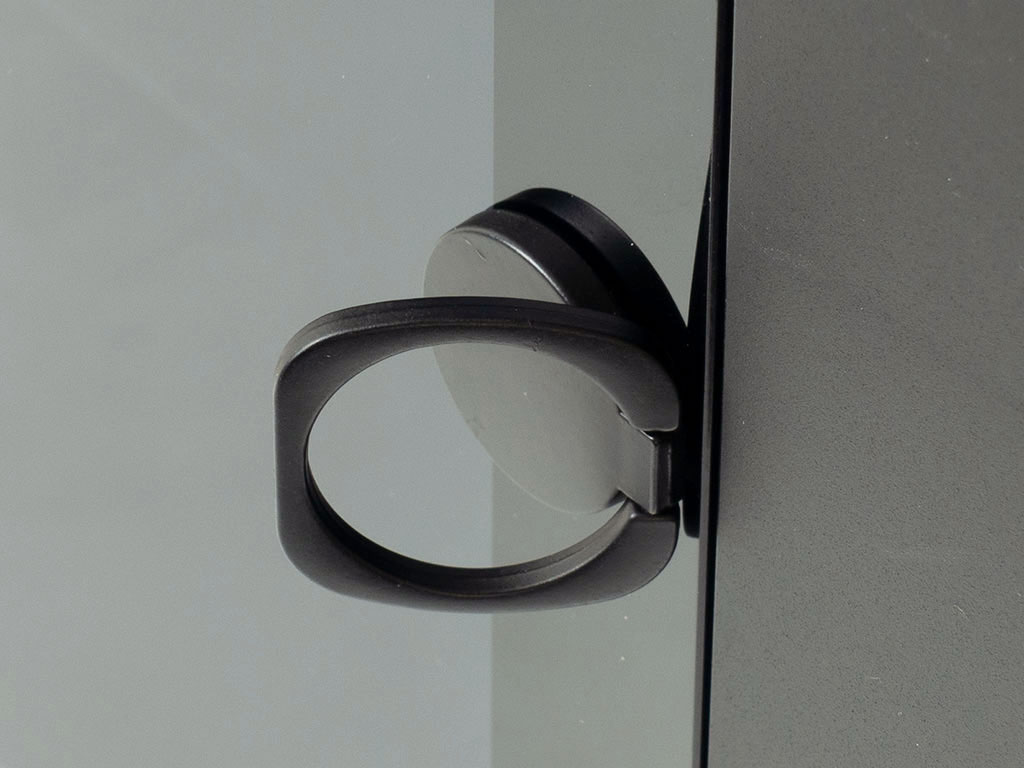
The main side panel may be opened by pulling on the metal reinforced & plastic lined ring to lift it away from the magnets holding it in place. Once opened, you may pull it off its hinges to remove it completely.
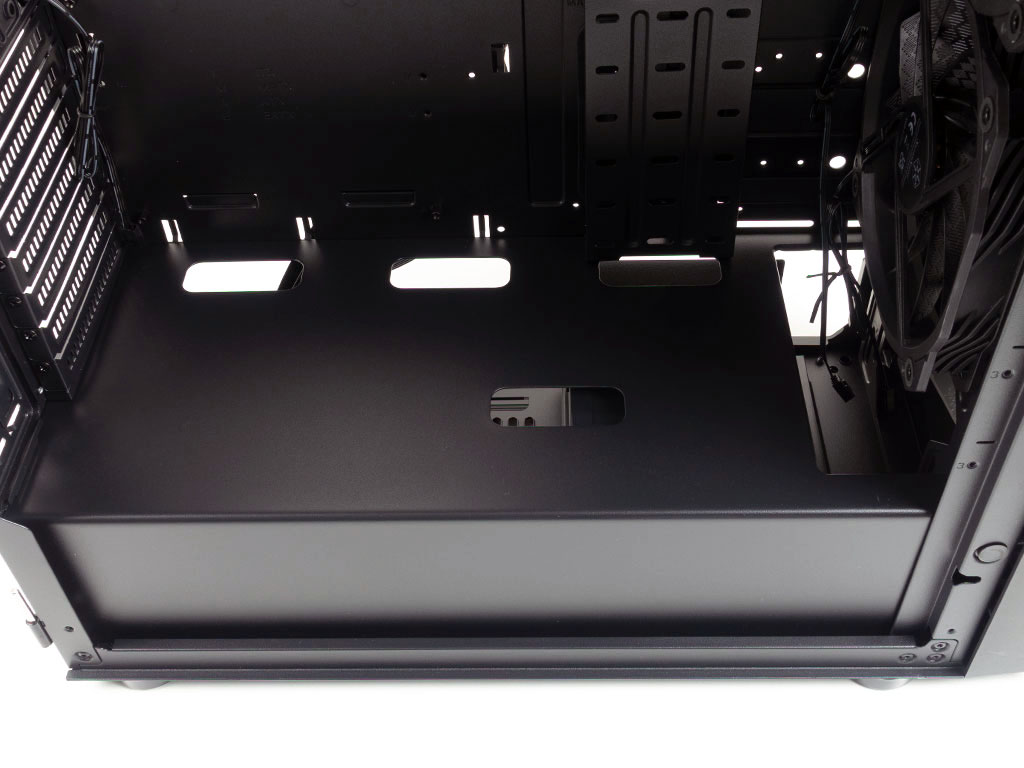
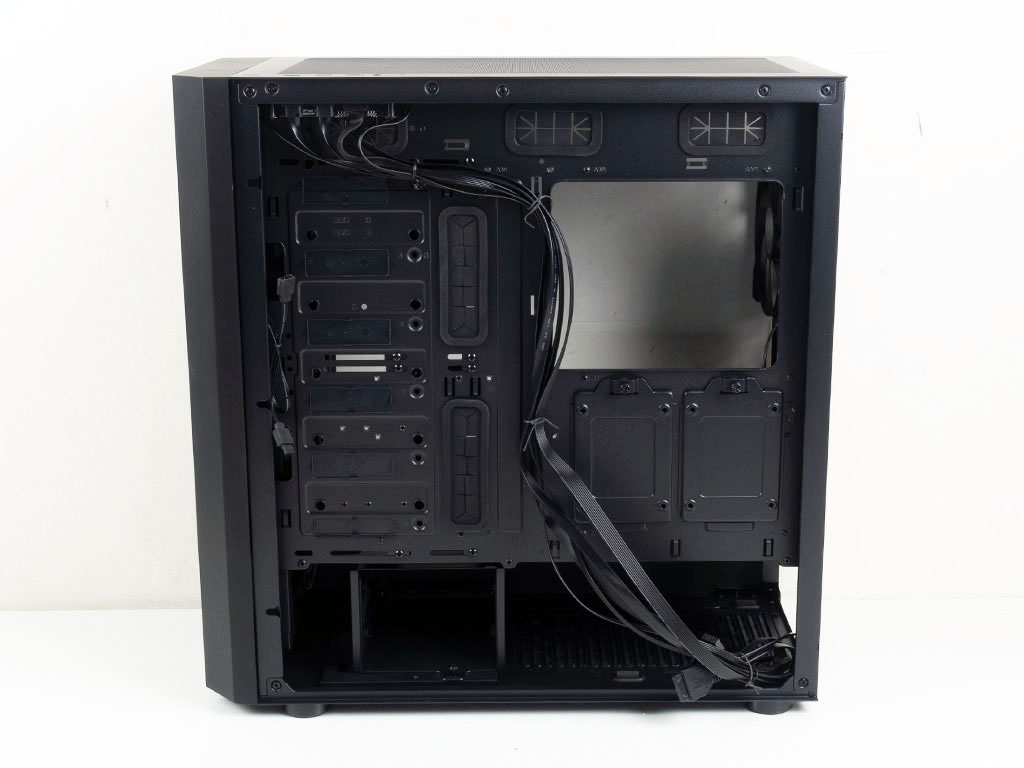
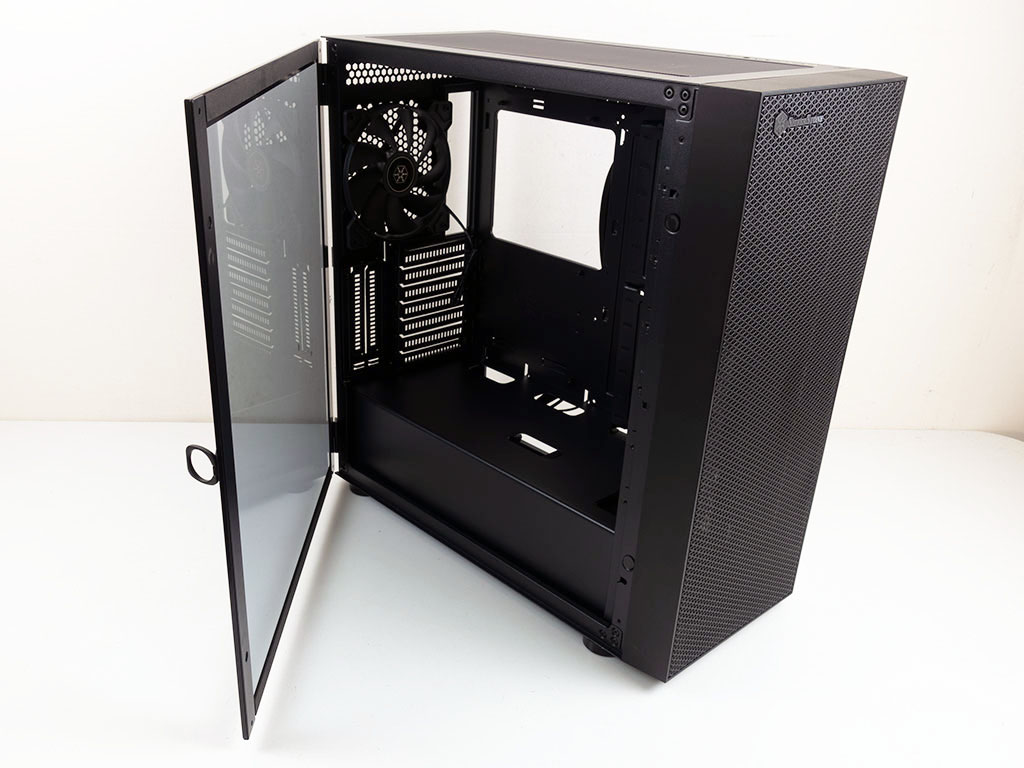
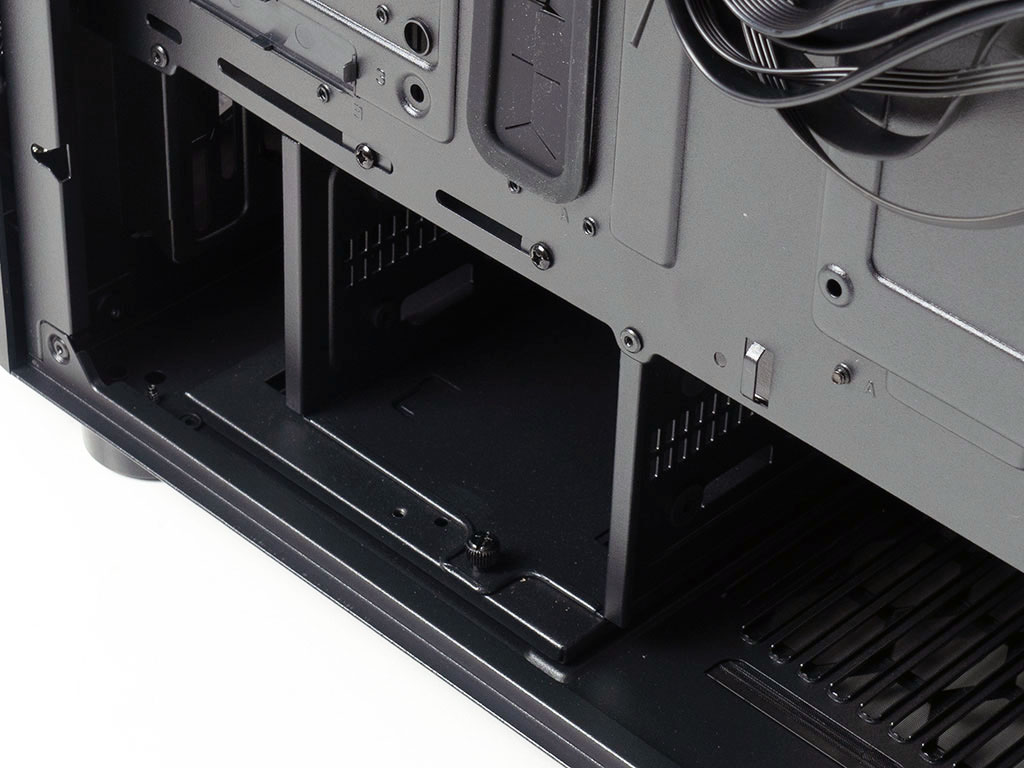
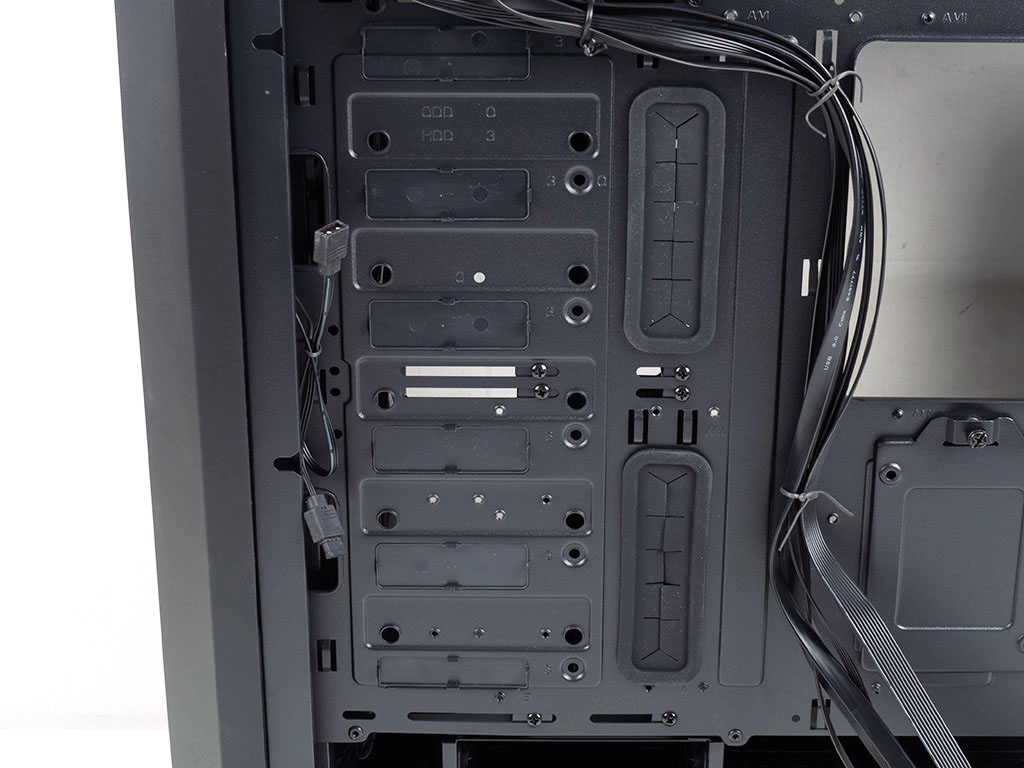
The interior of the SilverStone SETA H1 looks pretty traditional with a solid metal shroud on the bottom to hide your PSU and 3.5" storage drives. It also features a few cutouts, including an opening through which you may easily route the PCIe power leads. SilverStone could have included mounting possibilities for an additional storage drive here, which would have been handy for professional workstation users more than enthusiasts. You can also clearly see the five grommets covering the major cable-routing holes on the back of the motherboard tray, along with several plastic covers on the front edge.
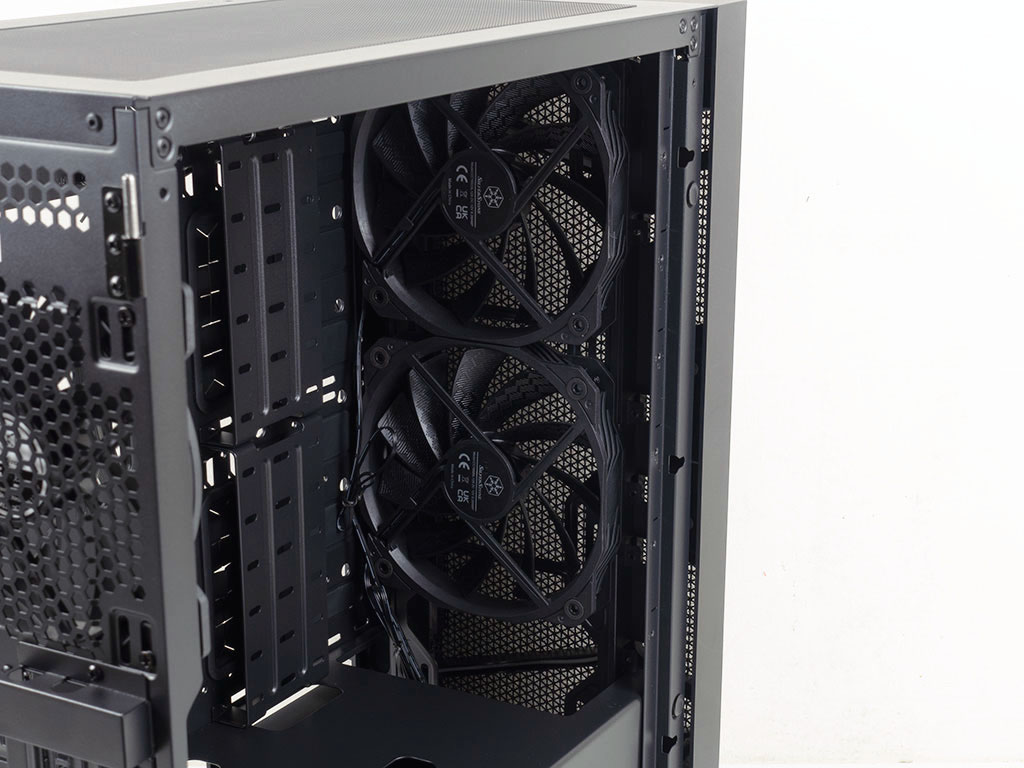
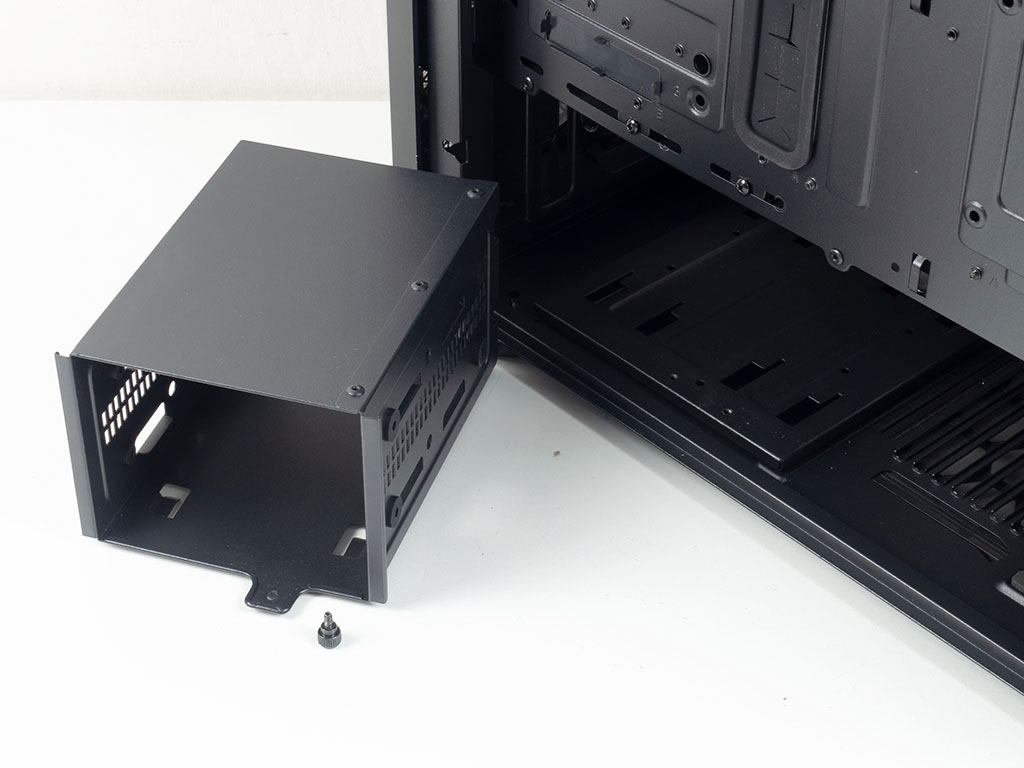
In the front, at the bottom, is a fairly tall 3.5" hard-drive cage. While tall, it may hold two such drives. Above that are the two previously mentioned 160 mm intake fans. Noticeable from this angle is that the cutout in the shroud is not big enough, so SilverStone had no choice but to place the cooling units where they are.

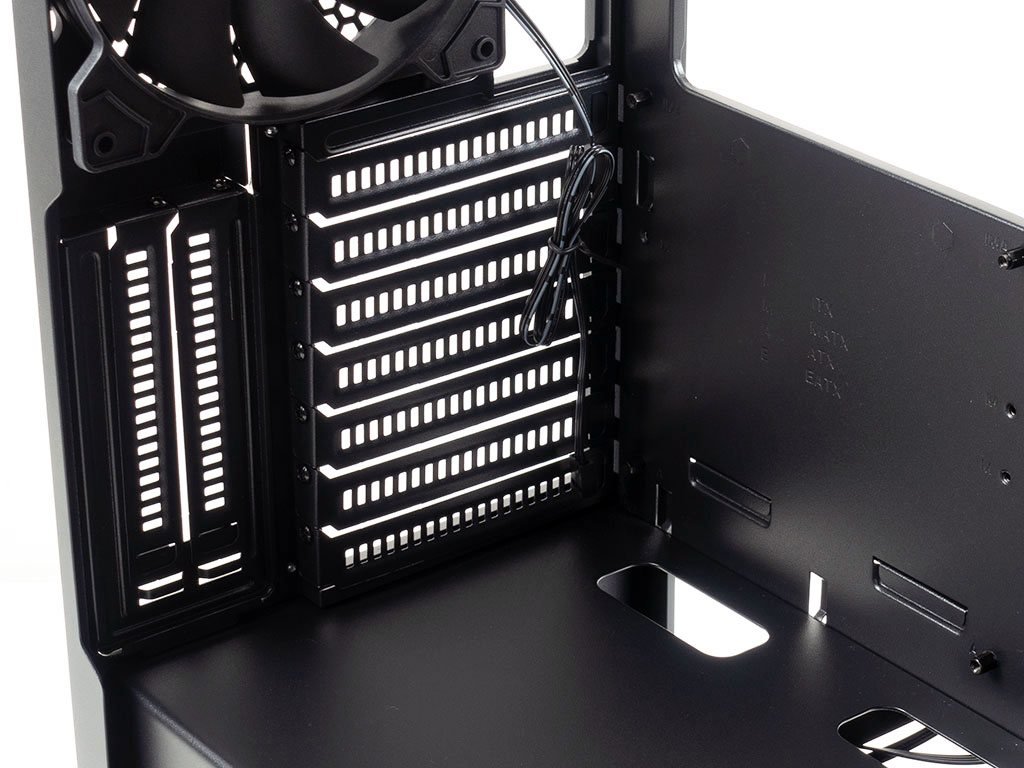

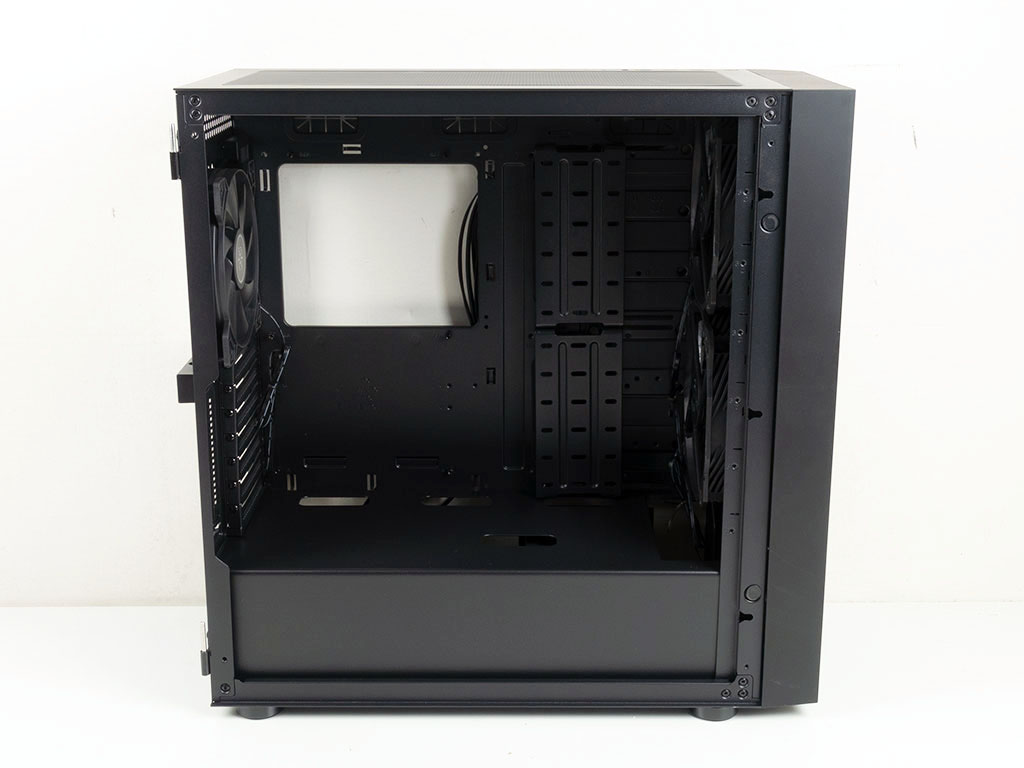
In the rear, starting at the bottom, is the large PSU bay, which can easily hold a PSU of up to 225 mm in length—ample room for high-capacity units, it further underlines the target audience of heavy-duty professional users. Above that, the 7+2 expansion slots come with individual, reusable covers. Each is held in place by a domed screw, which is a departure from the classic hexagonal case screws or thumb screws we have seen in the past. In the very top is that third 140 mm fan with a 3-pin connector just like the two in the front. Nowadays, fans without ARGB tend to opt for PWM for these types of cases; unfortunately, those within the SETA H1 do not.
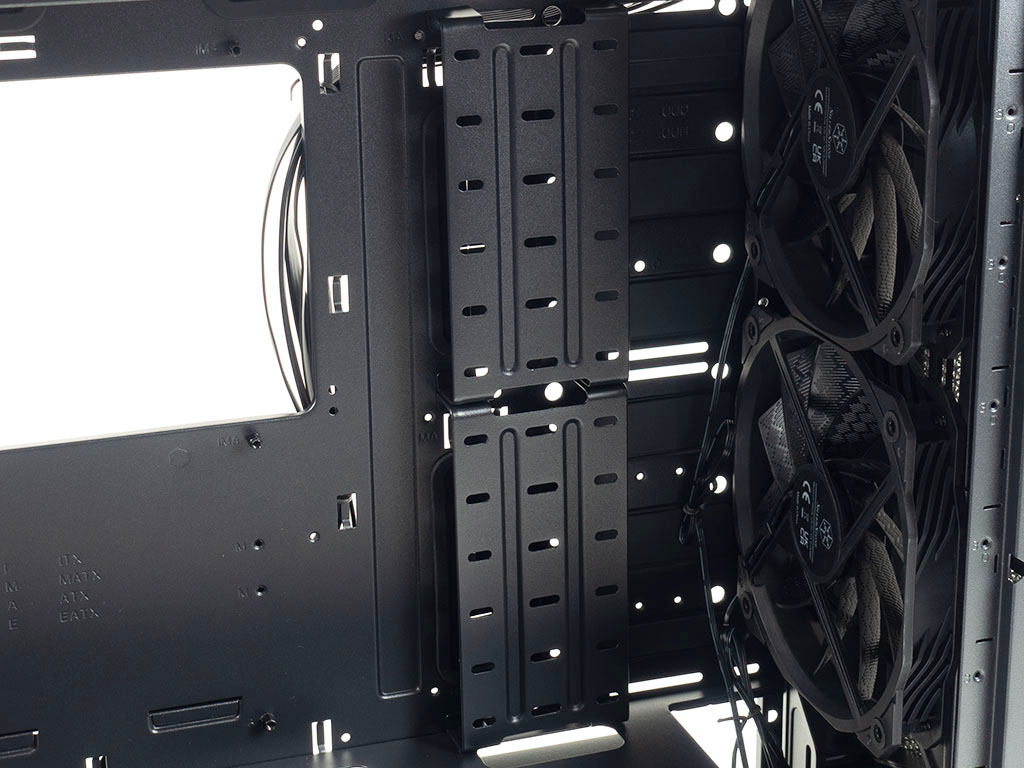
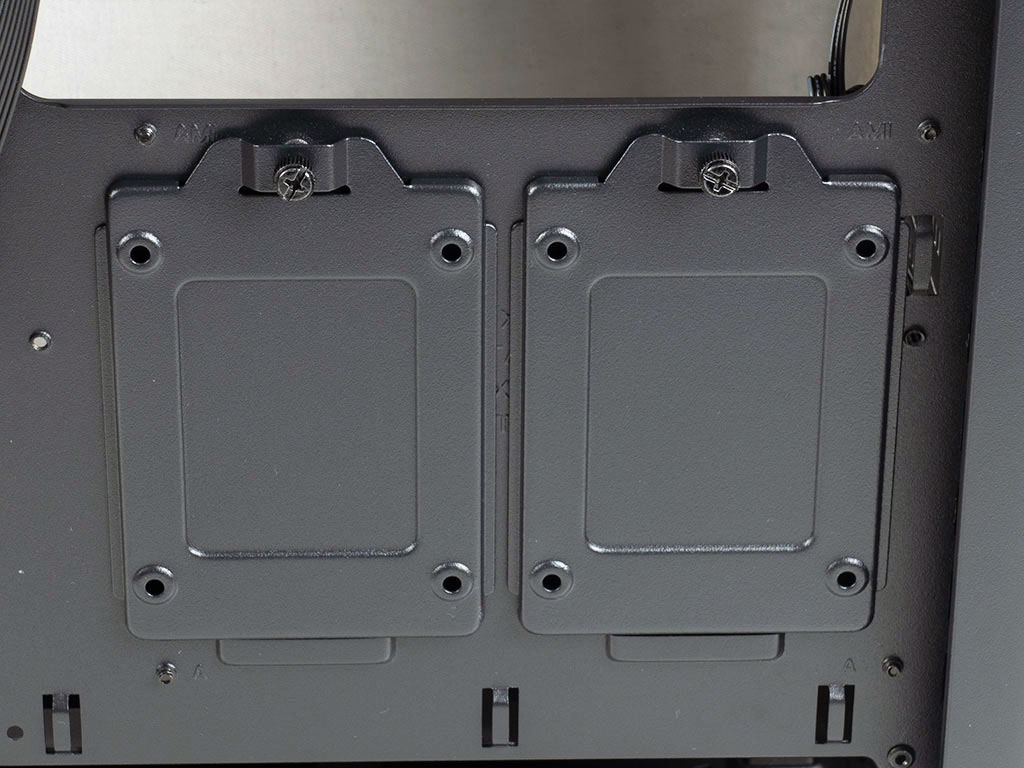
SilverStone placed two movable covers next to where the motherboard will go. You may loosen their screws and slide them forward to give you the room you need for an E-ATX board. If you go for the SSI form factor, you will have to remove these covers. The domed screws these are attached to are very tight, and frequent loosening and tightening with a screw driver will eventually wear down the heads. Using thumb screws, or at least classic hexagonal-shape case screws, would be an improvement. Each cover may also hold various components, like pumps or an SSD. There are two classic 2.5" hard-drive mounting plates below the large CPU cooler backplate opening of the tray.
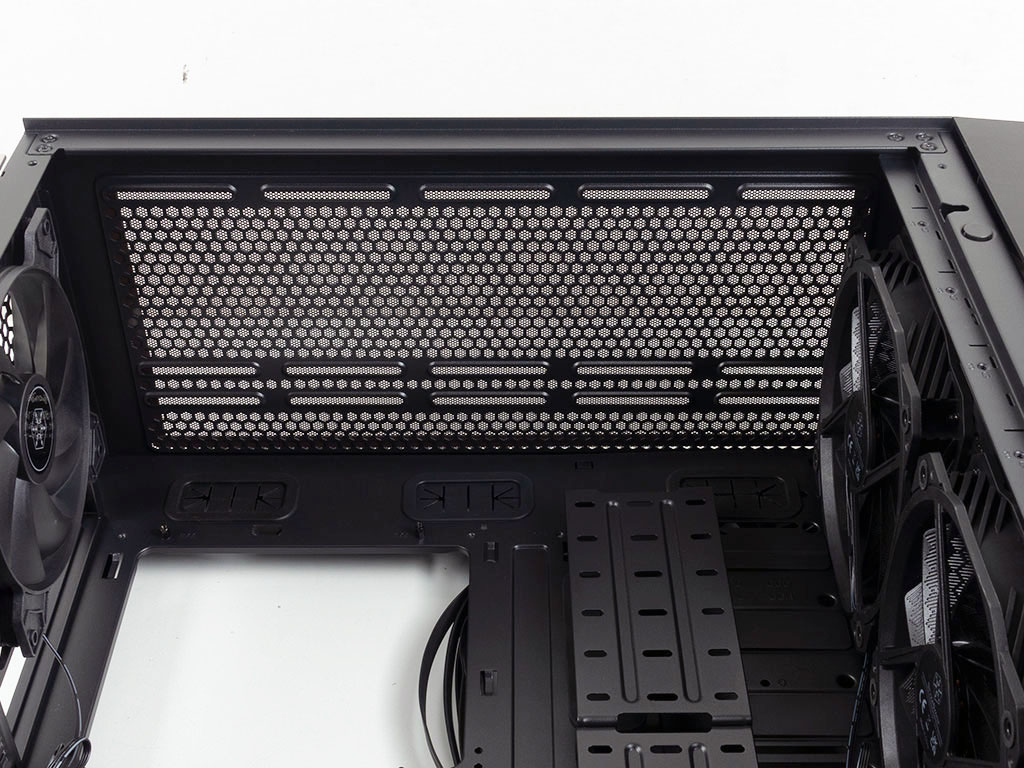
Taking a peek at the ceiling, there is heaps of space for an AIO of classic thickness. You won't have to worry about it interfering with your motherboard in any way.
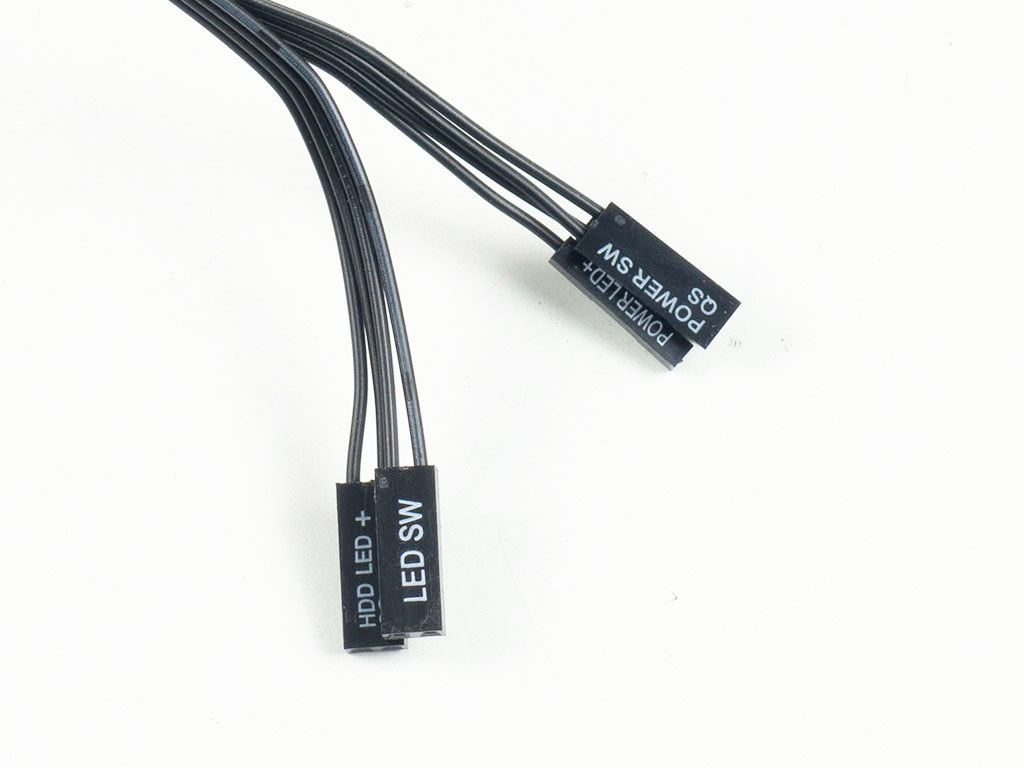
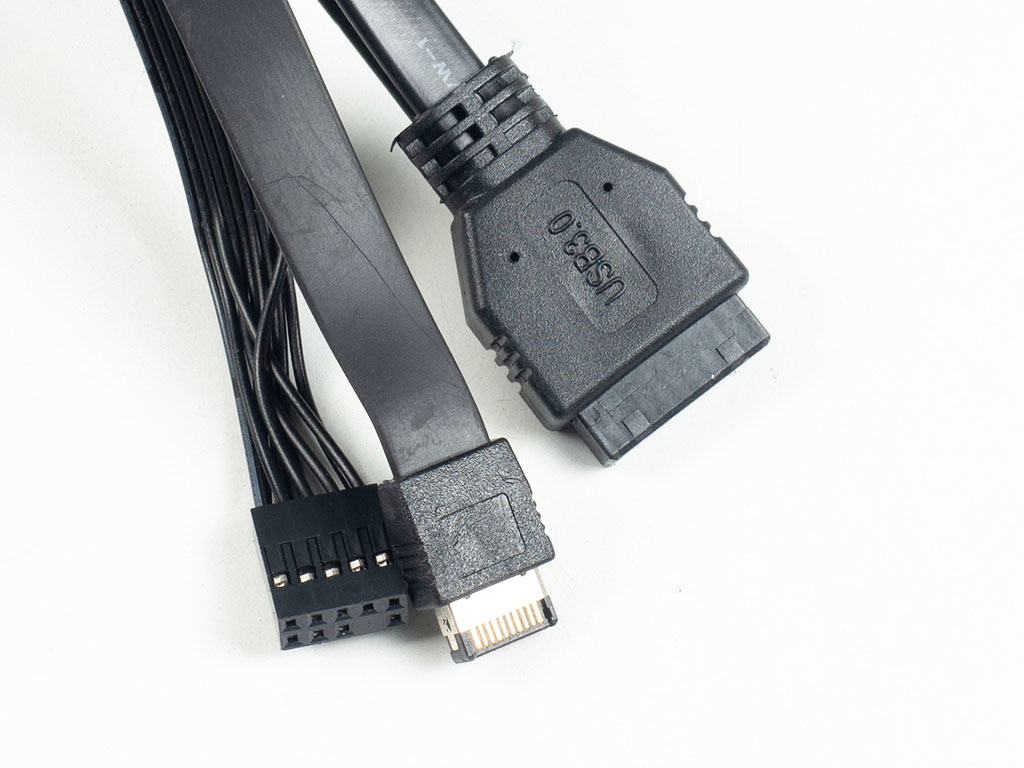
All the leads within the SilverStone SETA H1 are sleeved black. Noteworthy is that all of them utilize flat cables, which makes for easier cable routing.
Feb 22nd, 2025 12:30 EST
change timezone
Latest GPU Drivers
New Forum Posts
- Folding Pie and Milestones!! (9395)
- Nvidia's GPU market share hits 90% in Q4 2024 (gets closer to full monopoly) (492)
- Keep a 4080s or take a 5070ti? (7)
- PC Turns Off Immediately After Pressing Power Button--Must be Held Down to Power On (7)
- Advice needed for buying a new PSU (3)
- Is ARC SLI friendly? (1)
- Protection against backdoor in Gigabyte motherboards (12)
- Should I make a thermal maintenance on my GPU? (75)
- March Benchoff - socket 754 AMD - PiFast (0)
- Technical Issues - TPU Main Site & Forum (2025) (56)
Popular Reviews
- MSI GeForce RTX 5070 Ti Ventus 3X OC Review
- Gigabyte GeForce RTX 5090 Gaming OC Review
- Galax GeForce RTX 5070 Ti 1-Click OC White Review
- ASUS GeForce RTX 5070 Ti TUF OC Review
- Ducky One X Inductive Keyboard Review
- MSI GeForce RTX 5070 Ti Vanguard SOC Review
- MSI GeForce RTX 5070 Ti Gaming Trio OC+ Review
- darkFlash DY470 Review
- AMD Ryzen 7 9800X3D Review - The Best Gaming Processor
- Palit GeForce RTX 5070 Ti GameRock OC Review
Controversial News Posts
- NVIDIA GeForce RTX 5090 Spotted with Missing ROPs, NVIDIA Confirms the Issue, Multiple Vendors Affected, RTX 5070 Ti, Too (339)
- AMD Radeon 9070 XT Rumored to Outpace RTX 5070 Ti by Almost 15% (302)
- AMD Plans Aggressive Price Competition with Radeon RX 9000 Series (269)
- AMD is Taking Time with Radeon RX 9000 to Optimize Software and FSR 4 (256)
- AMD Radeon RX 9070 and 9070 XT Listed On Amazon - One Buyer Snags a Unit (247)
- Edward Snowden Lashes Out at NVIDIA Over GeForce RTX 50 Pricing And Value (241)
- AMD Denies Radeon RX 9070 XT $899 USD Starting Price Point Rumors (239)
- New Leak Reveals NVIDIA RTX 5080 Is Slower Than RTX 4090 (215)