 7
7
SilverStone SETA H1 Review
Thermal Stress Test »Review System
| System Parts for Case Reviews | |
|---|---|
| Processor: | ATX: Intel Core i5-11600K mATX/ITX: Intel Core i5-10600K Provided by: Intel |
| Motherboards: | ATX: Gigabyte Z590 AORUS PRO AX ITX: Gigabyte Z590I Vision D Provided by: Gigabyte mATX: ASRock B560M Steel Legend Provided by: ASRock |
| Graphics Card: | Gigabyte Radeon RX 6600 Eagle Provided by: Gigabyte ZOTAC GAMING GeForce RTX 3060 Ti Twin Edge OC Provided by: Zotac |
| Memory: | 16 GB XPG SPECTRIX D50 3200 MHz 16 GB XPG SPECTRIX D60G DDR4 3000 MHz 16 GB XPG GAMMIX D20 DDR4 3200 MHz Provided by: ADATA |
| HDD: | Toshiba MG08ADA400E 7200 RPM SATA III Provided by: Toshiba |
| SSD: | ATX:XPG SPECTRIX S20G 500 GB mATX: XPG GAMMIX S50 Lite 1 TB ITX: ADATA Falcon 512 GB ADATA Ultimate SU800 512 GB ADATA Ultimate SU720 500 GB Provided by: ADATA |
| Power Supply: | SilveStone Strider SST-ST1000-PTS - 1000 W ATX 80 Plus Platinum Provided by: Fractal Design |
| Cooling: | SilverStone PF120 ARGB AIO Provided by: SilverStone |
Assembly

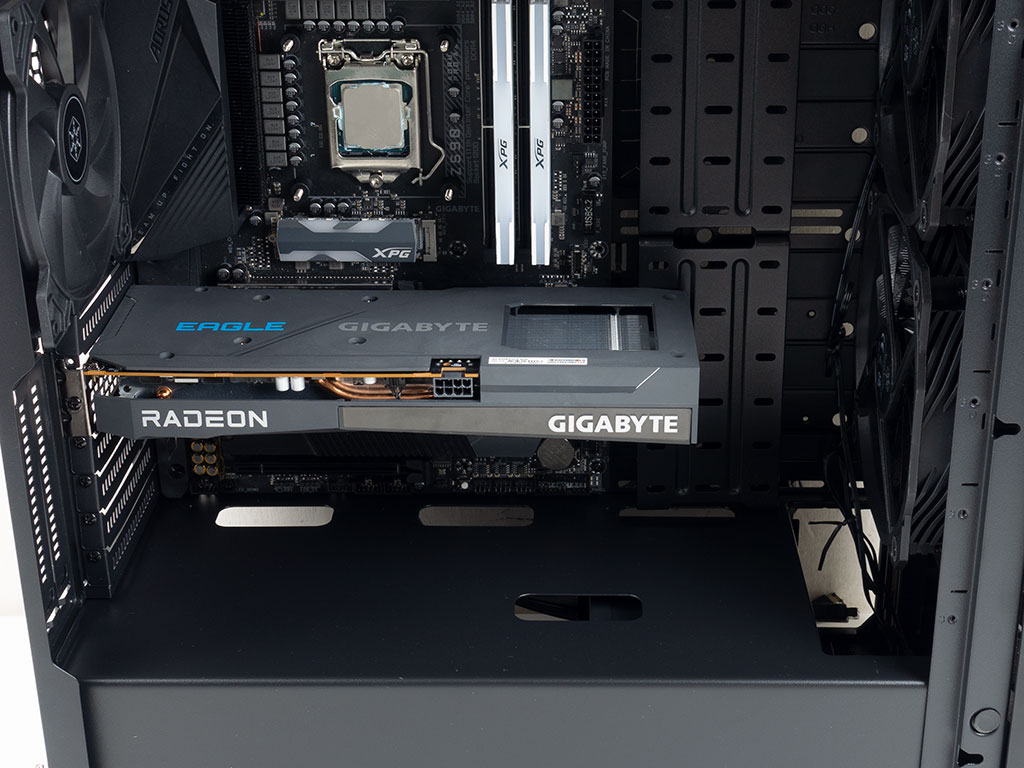
Installing the motherboard is done using screws and spacers. Several of the spacers have edges to hold the motherboard in position as it is screwed down. There is plenty of space above the top and forward-facing edge of the board, while the openings in the shroud are well-placed for keeping the visible cable mess to a minimum. With ATX boards, you will have to move the covers over a little bit to give you the room you need to route cables through the grommet-covered holes to the side of the motherboard. The SilverStone SETA H1 should easily be able to house any GPU you can throw at it with the fans in the front since there is ample room even with the Gigabyte RX 6600 Eagle.
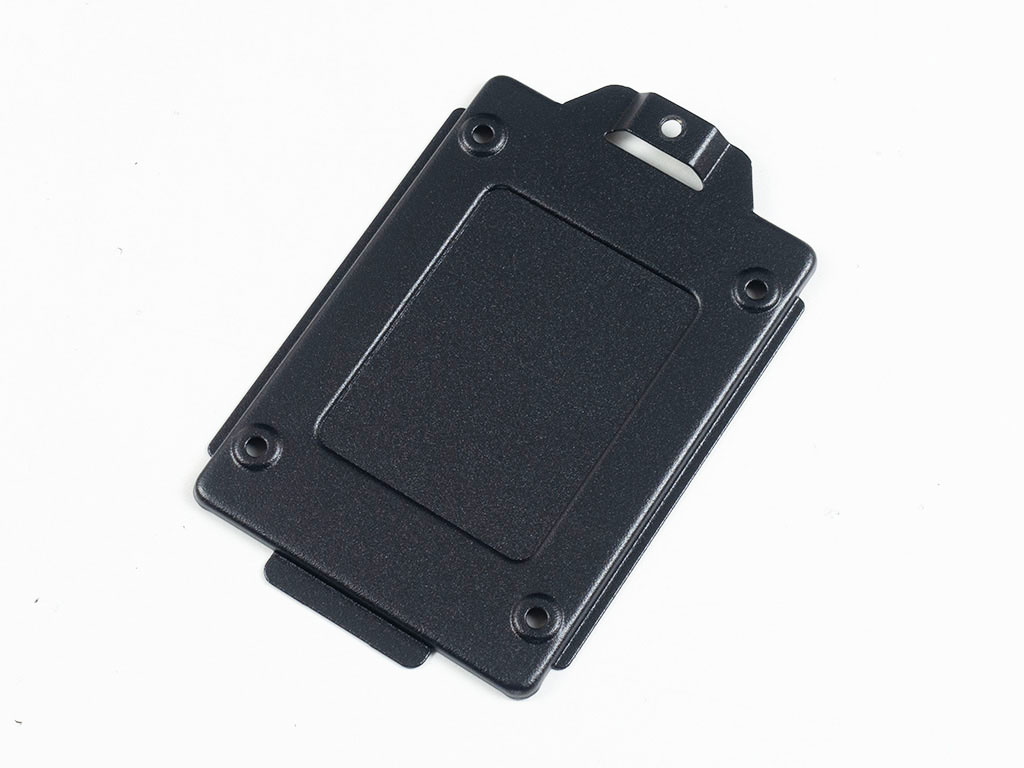

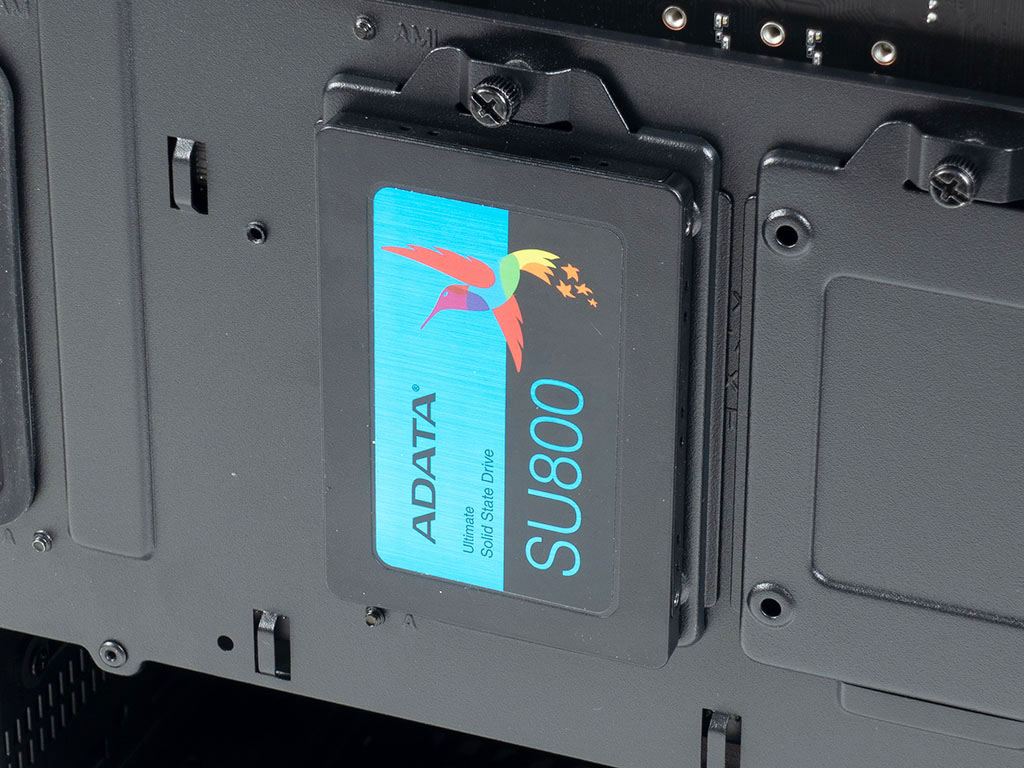
Adding an SSD to the build is done by detaching the plate, installing the drive, and putting it back by securing the whole thing with a thumb screw. When installing a drive on the internal cover, the steps are essentially the same.
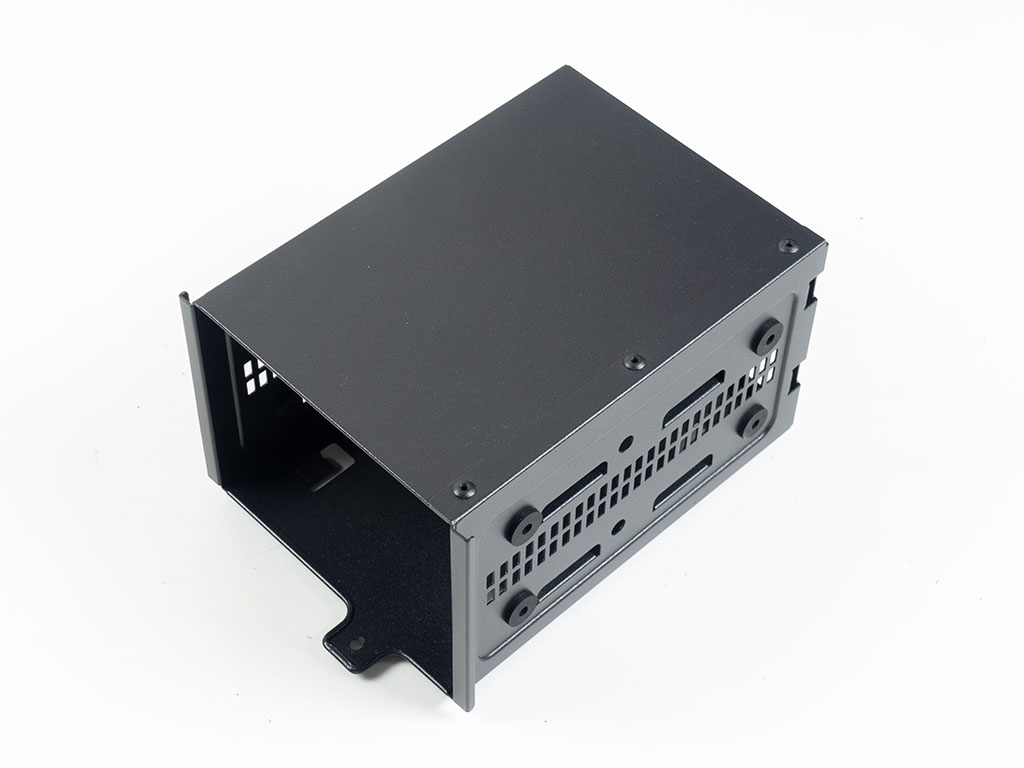
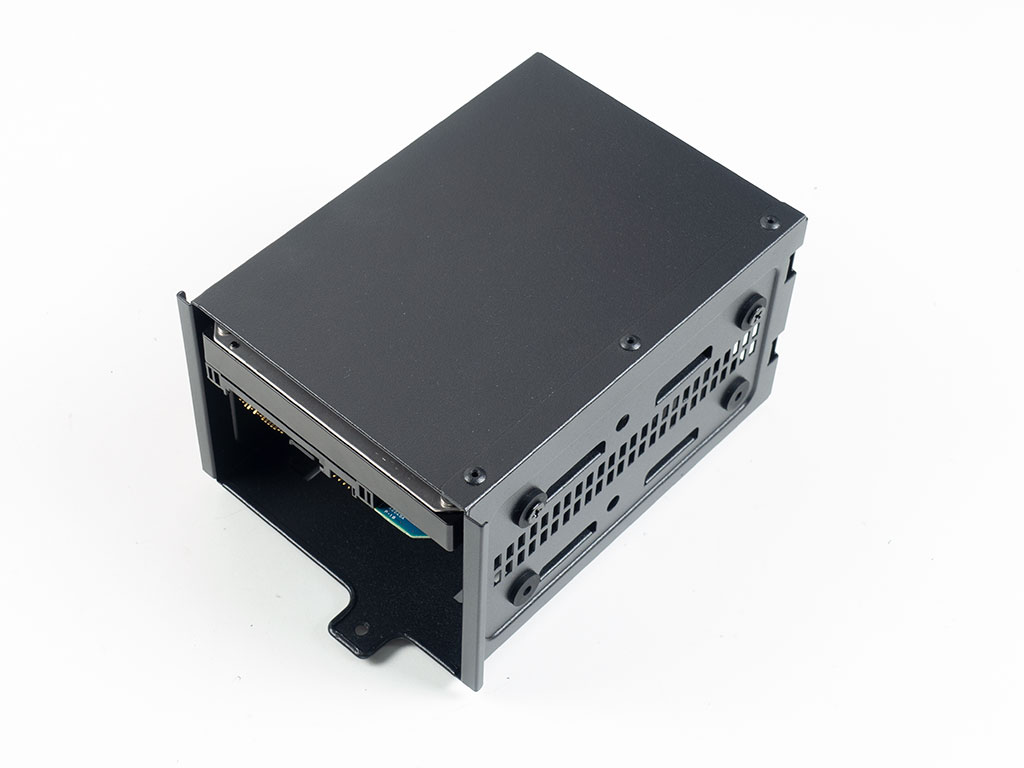
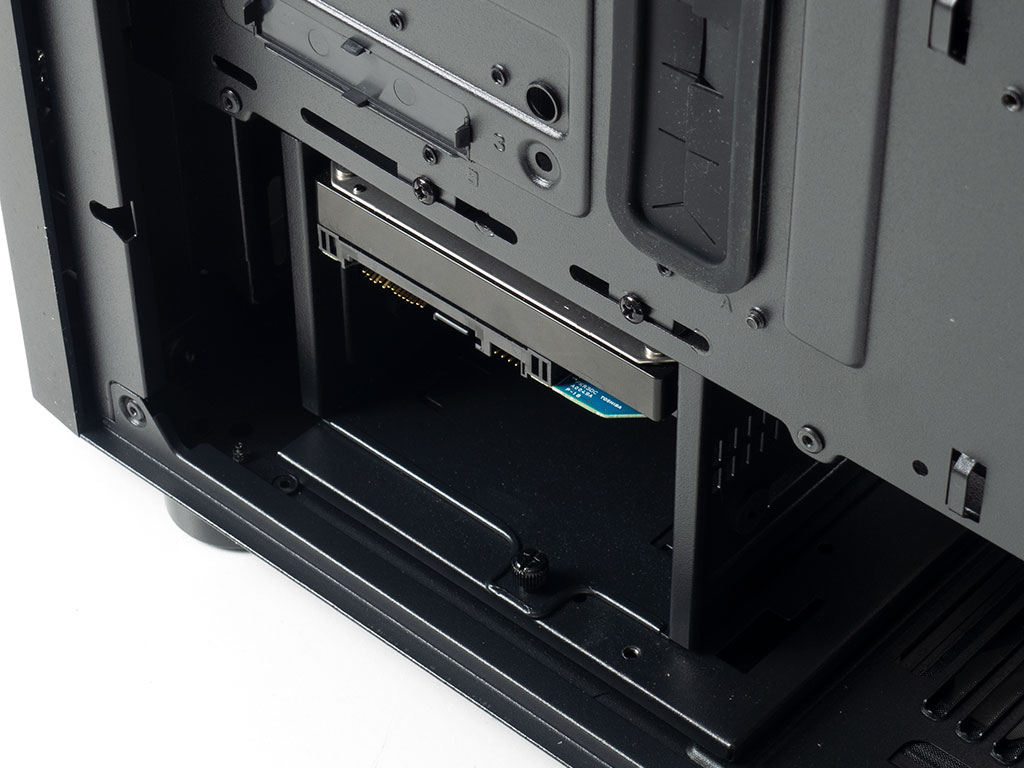
To add a 3.5" drive, first detach the cage and pull it out from underneath the shroud. Doing so reveals two possible placements for the cage if in need of additional room for the PSU. Each drive rests on screws with rubber rings, which hold it in place securely. Once filled, simply slide the whole cage back into place and secure it with a thumb screw.
Lastly, installing the PSU is pretty straightforward. There is lots of room to get it in and out of the shroud even with cables routed through to connect things like the front audio or fans. As you can see, you could throw all but the most extreme power supplies at the SETA H1.
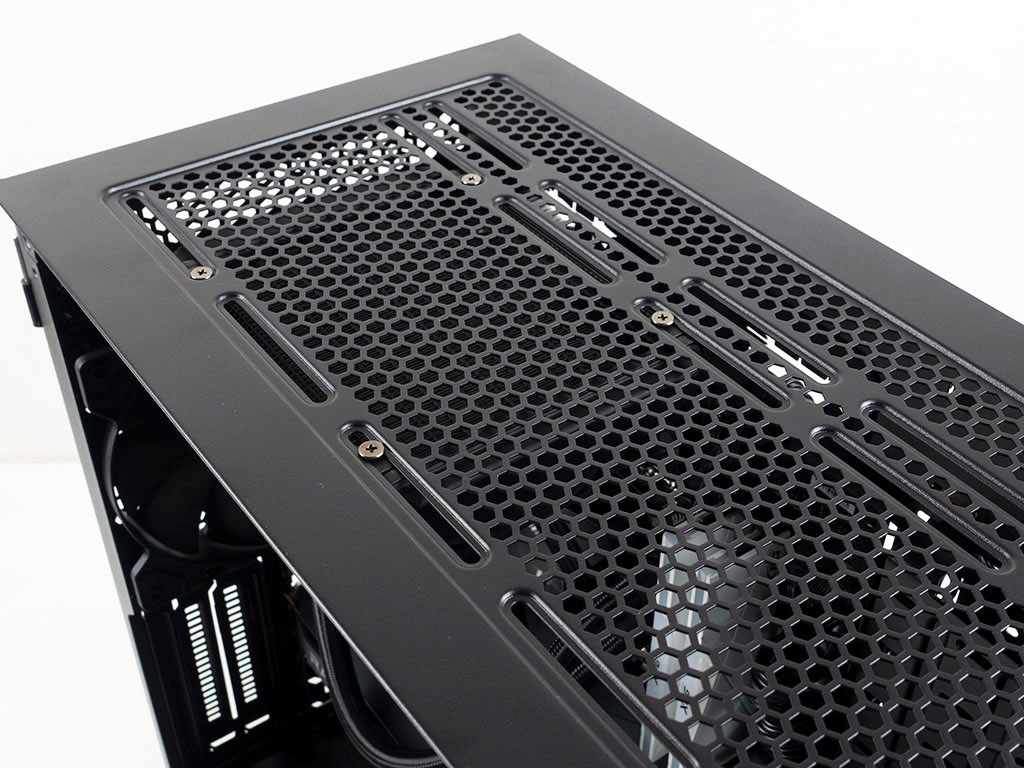
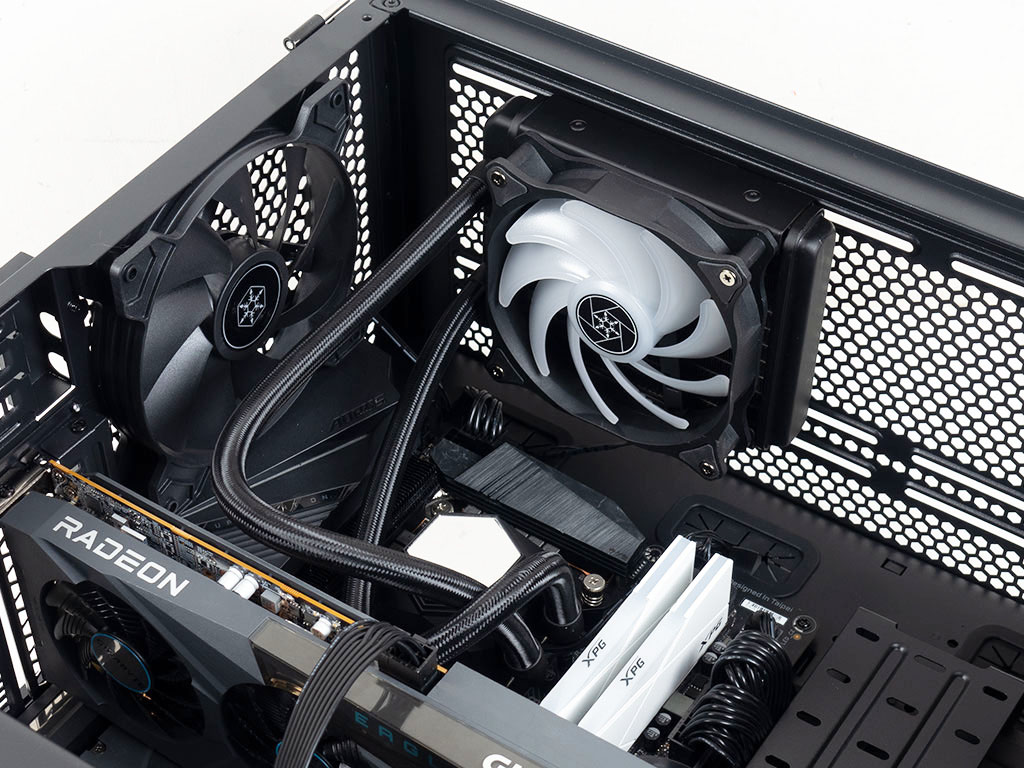

Adding any AIO in the ceiling is done using classic screws. As SilverStone had provided their PF120 AIO for a past review, we went ahead and used it in the SETA H1. Alternatively, you may install an AIO of up to 360 mm into the front and top of the case, which we have also tried out, of course, but since the SETA H1 comes with two pre-installed fans in the front, we chose the ceiling instead. Thanks to the offset mounting holes, there is lots of space between the motherboard and AIO—you won't have to worry about any hardware colliding with it. A big AIO may even slot in above the rear fan, maximizing the whole area for cooling.
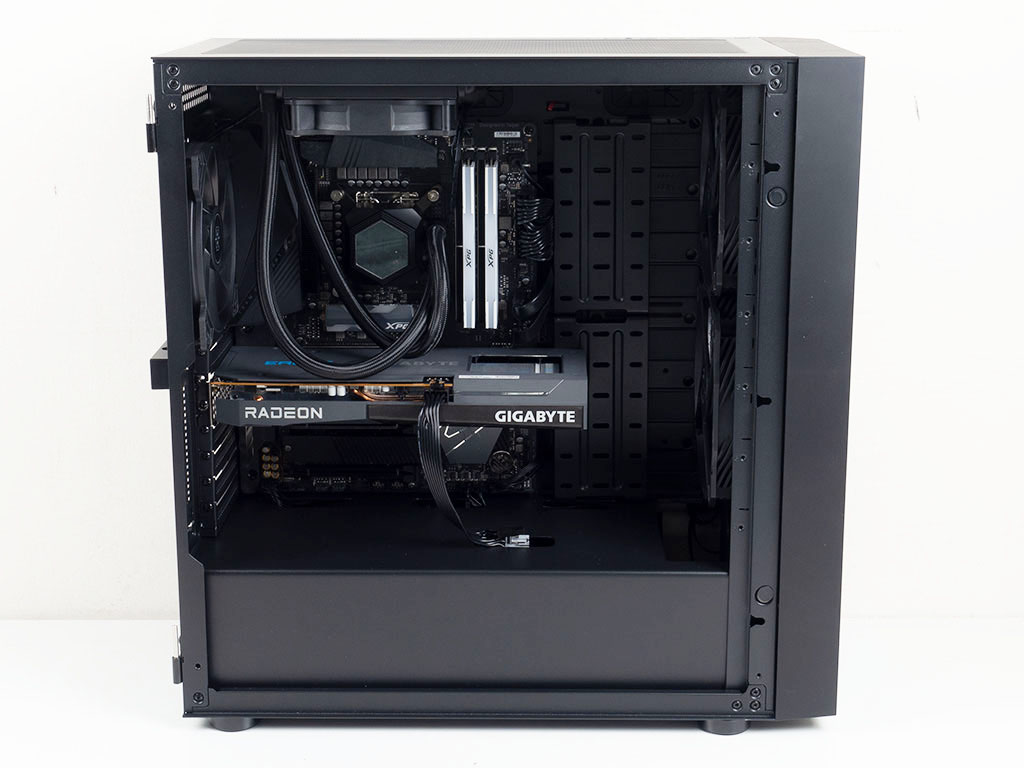
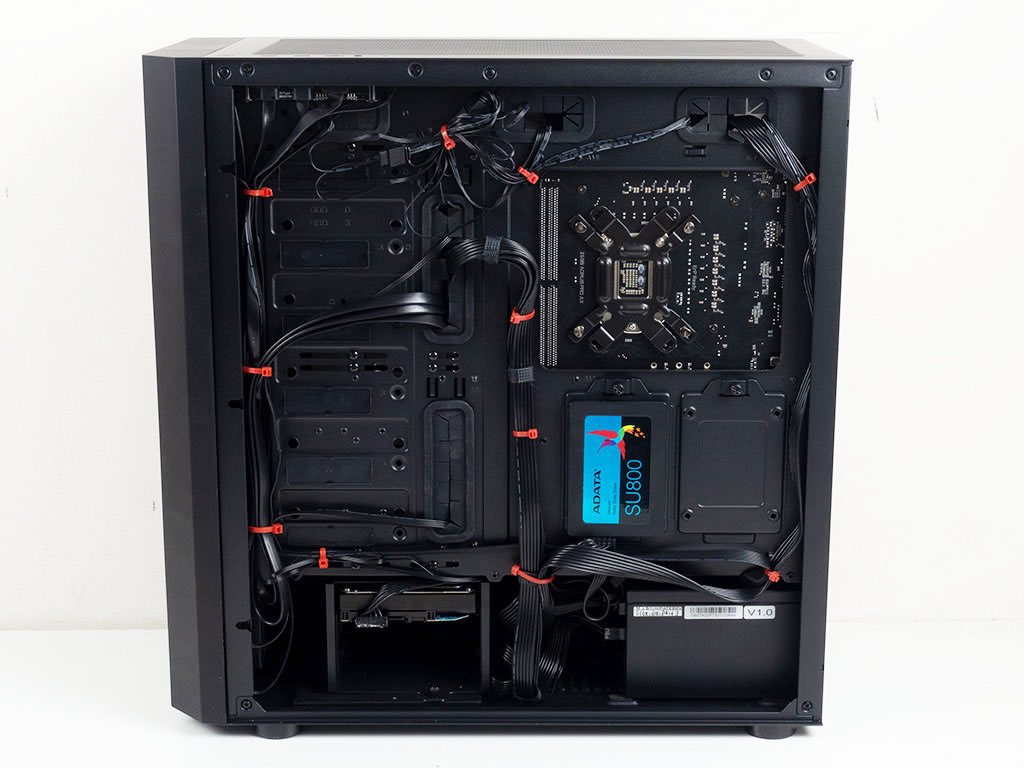
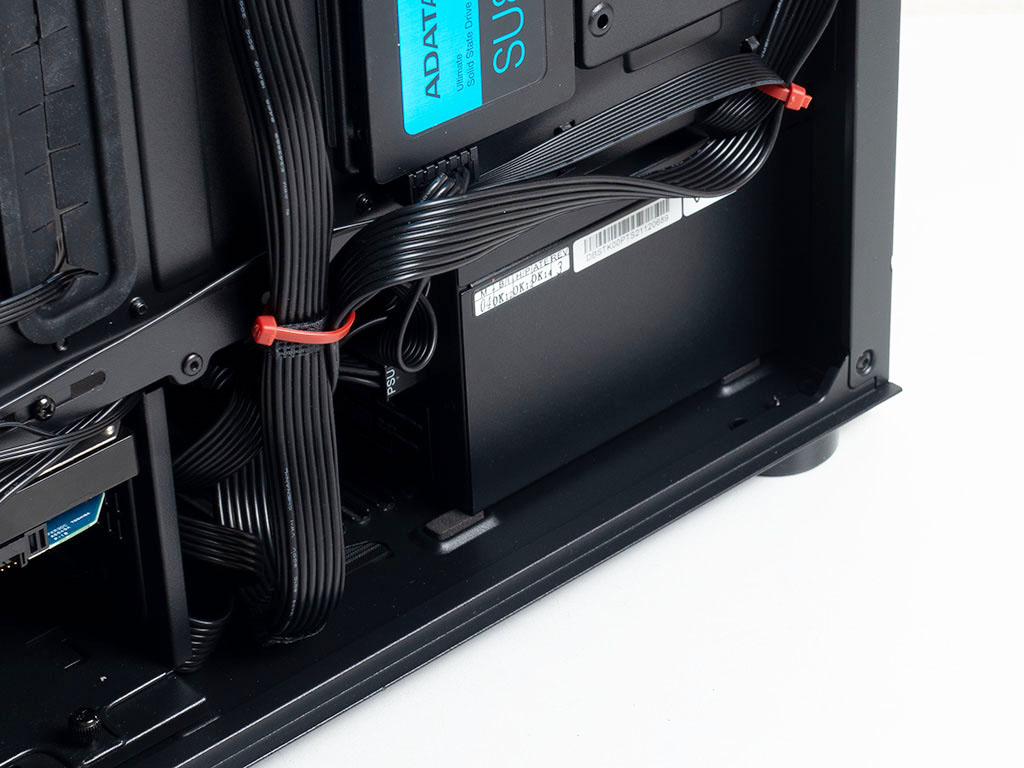
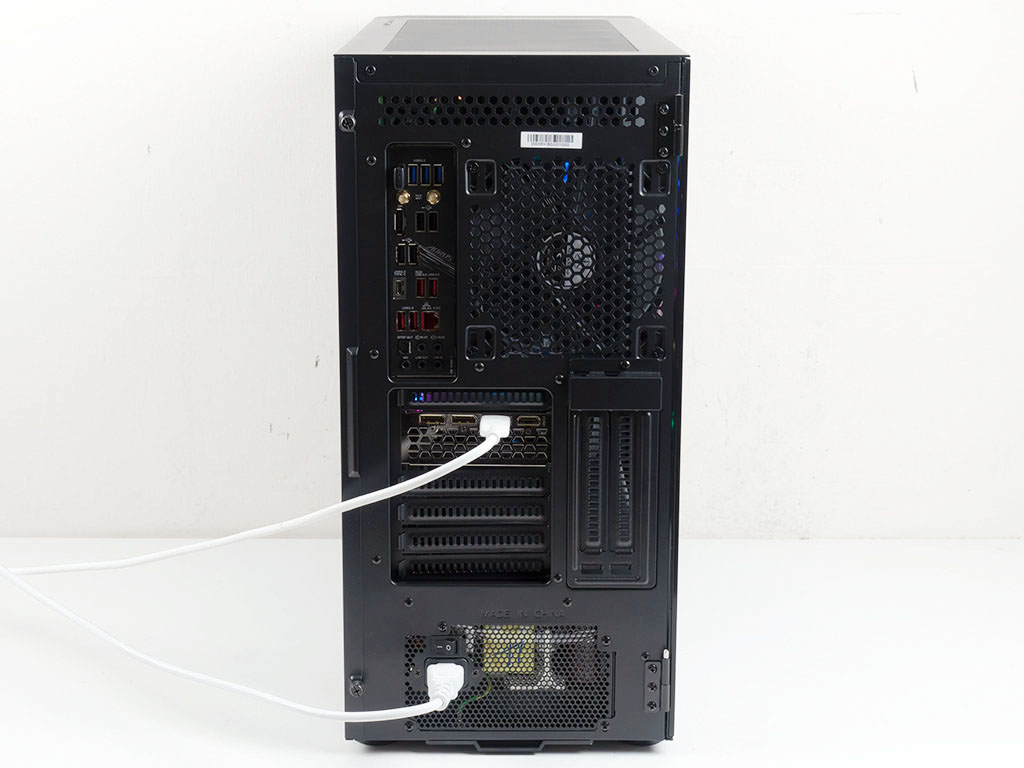
With everything installed, the interior and backside of the SilverStone SETA H1 make an excellent, clean impression. Thanks to the many hooks for zip ties and well-placed, grommet-covered openings, keeping things nice and tidy is easily done. The special steel covers in the interior also help a little bit. If using an SSI form factor motherboard, you will still have horizontal openings that are currently covered to wire cables through, thus making the H1 uniquely capable of tidy setups even in that scenario.
Finished Looks
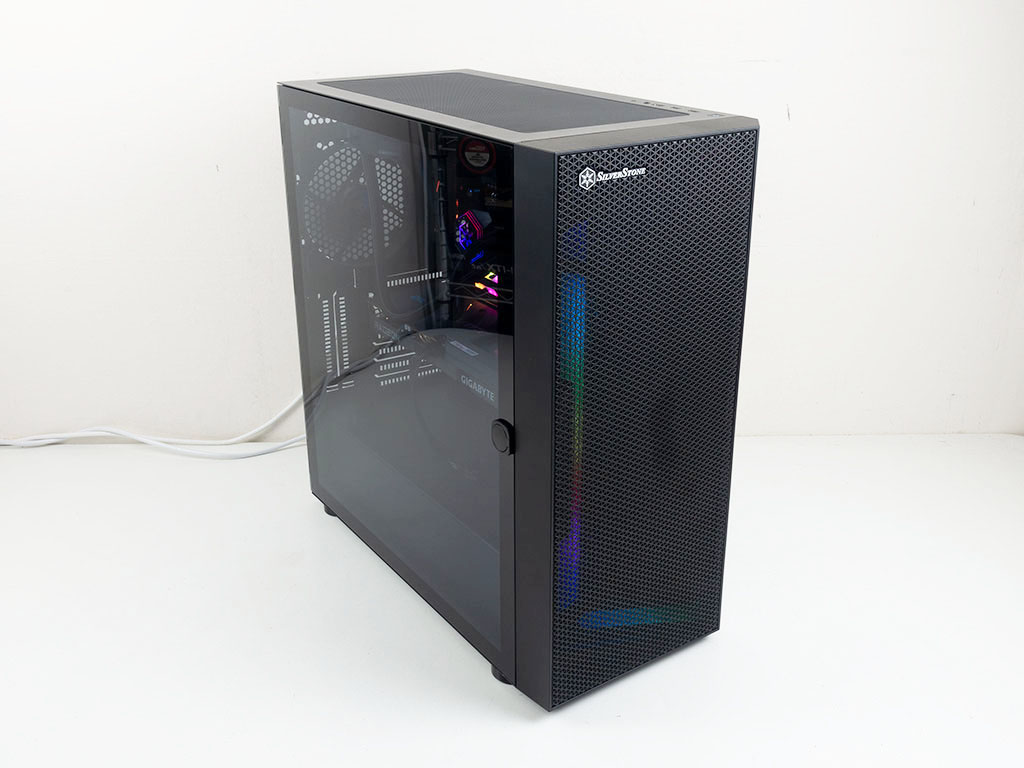
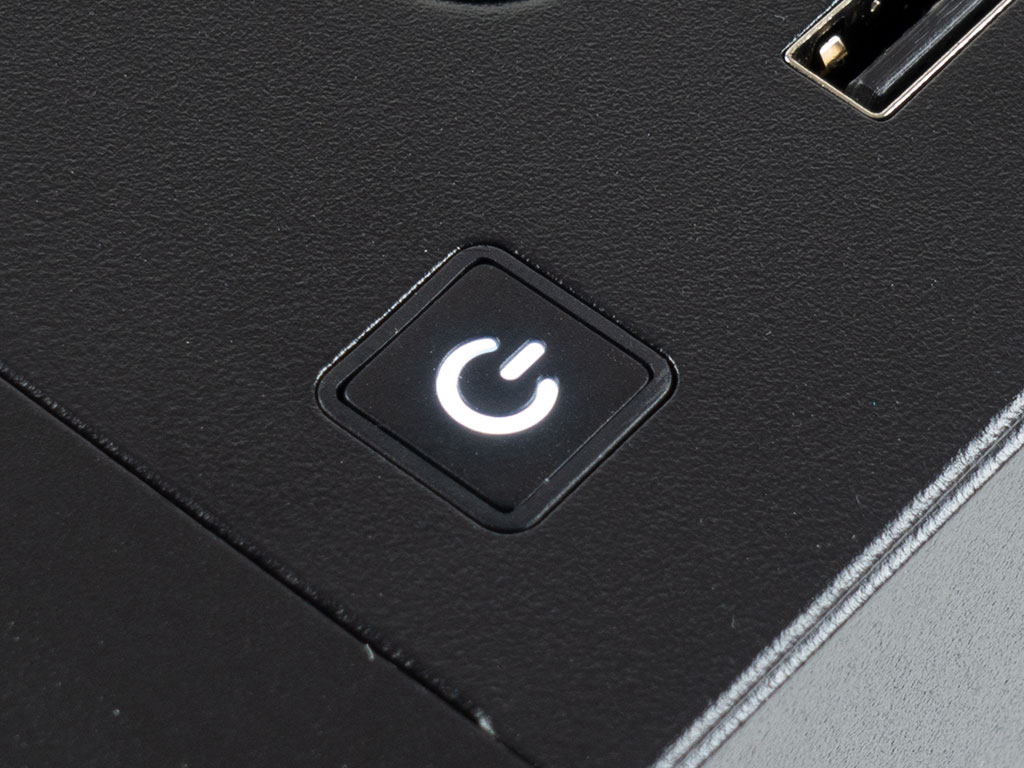
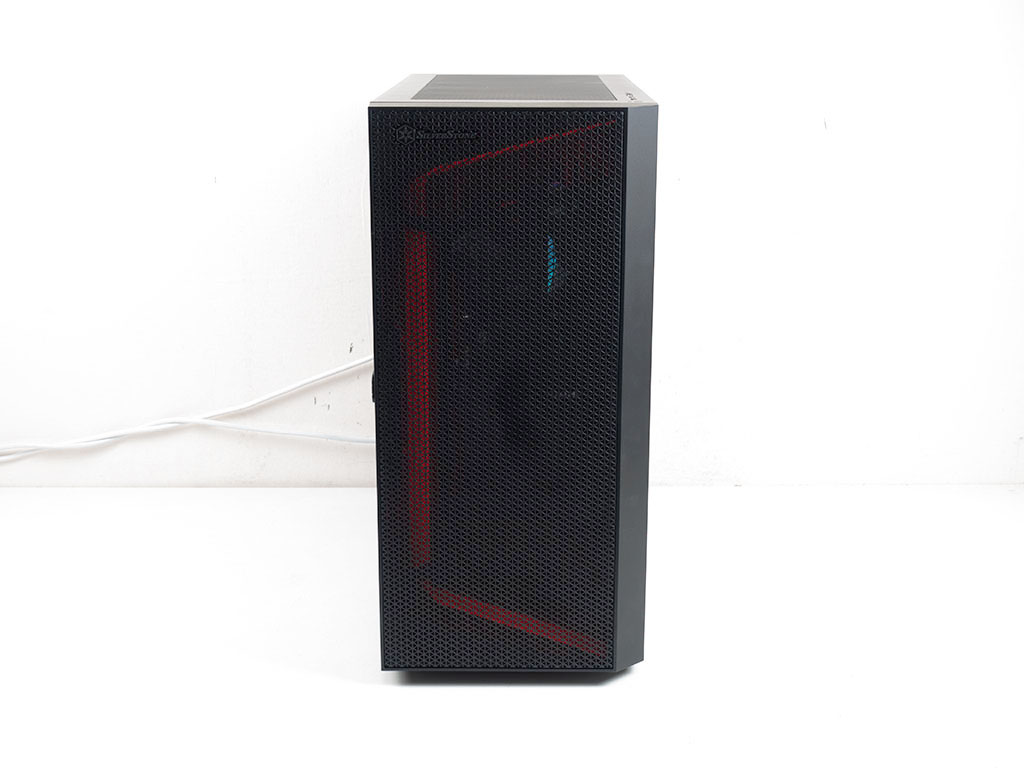
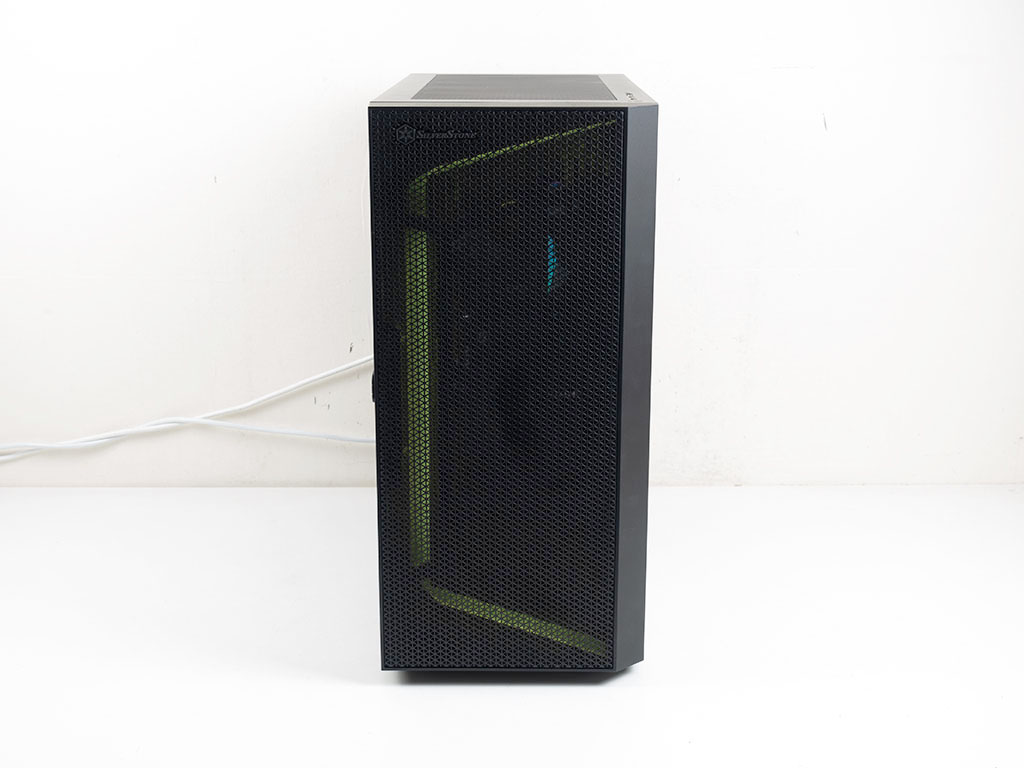
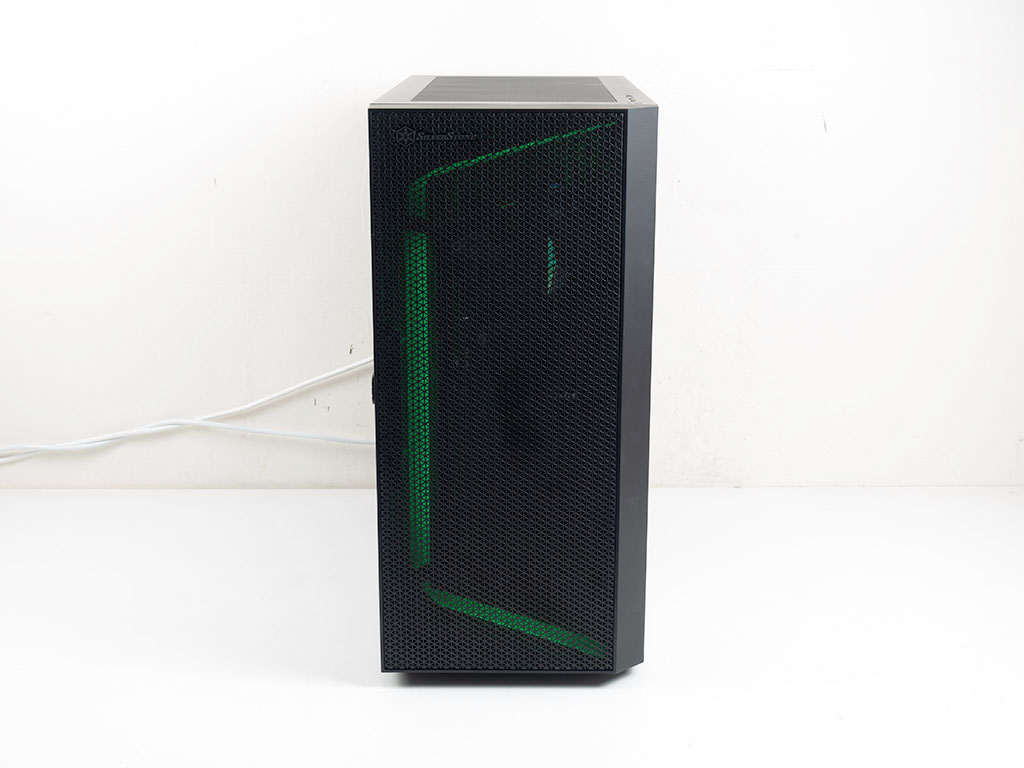
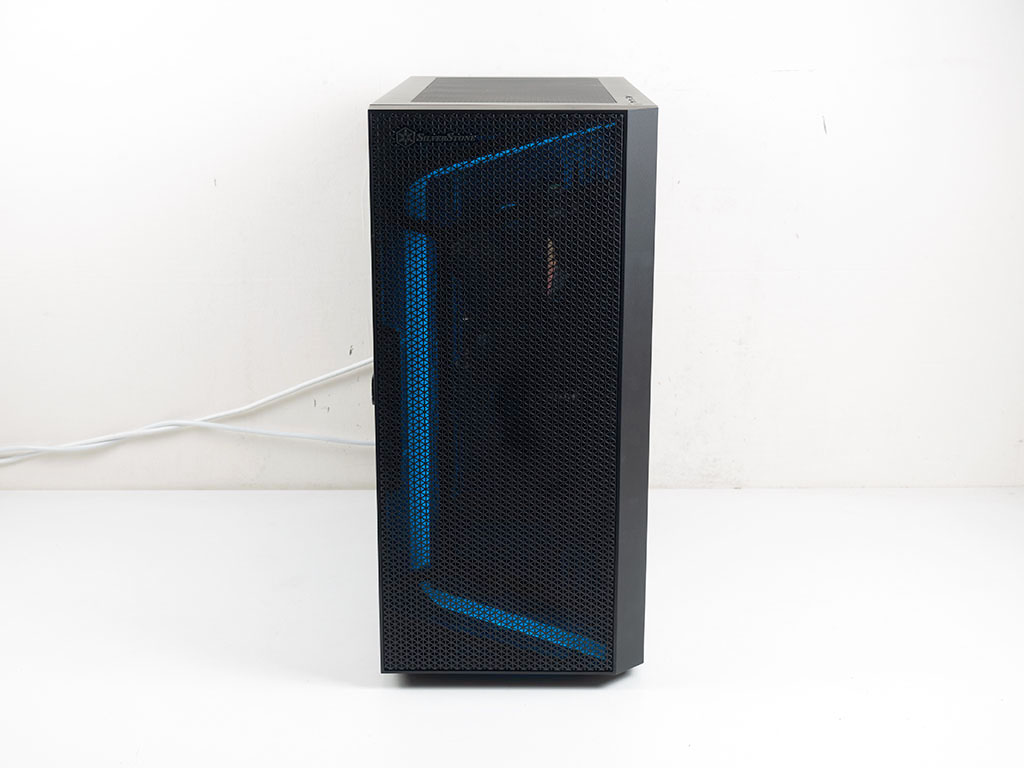
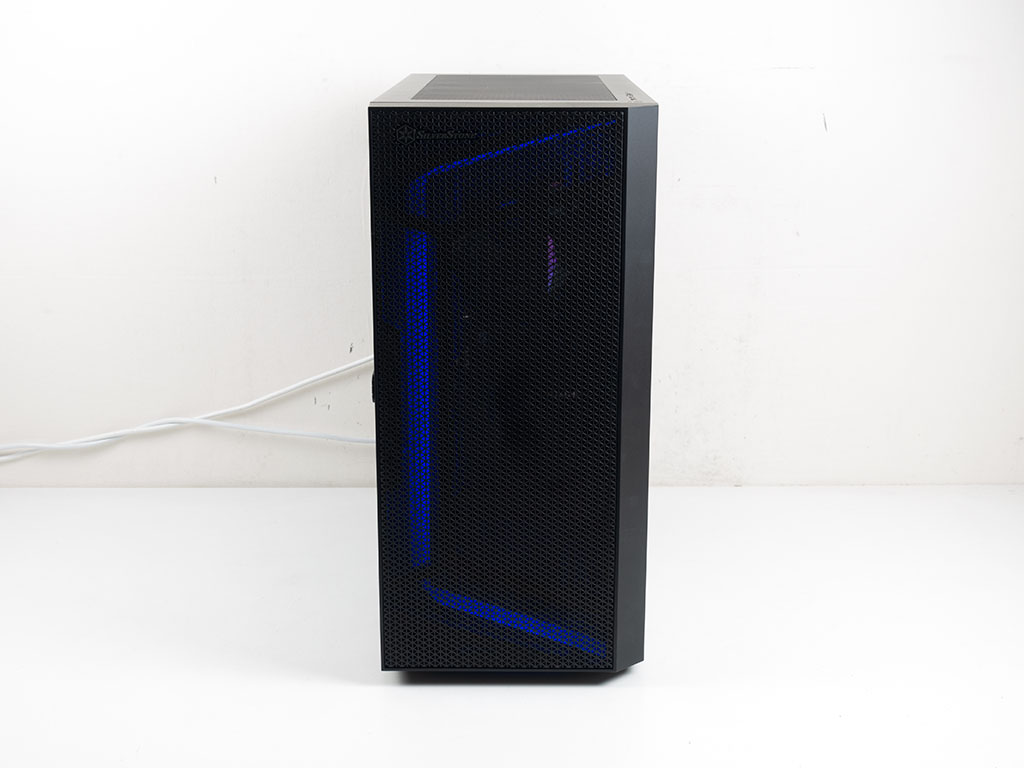
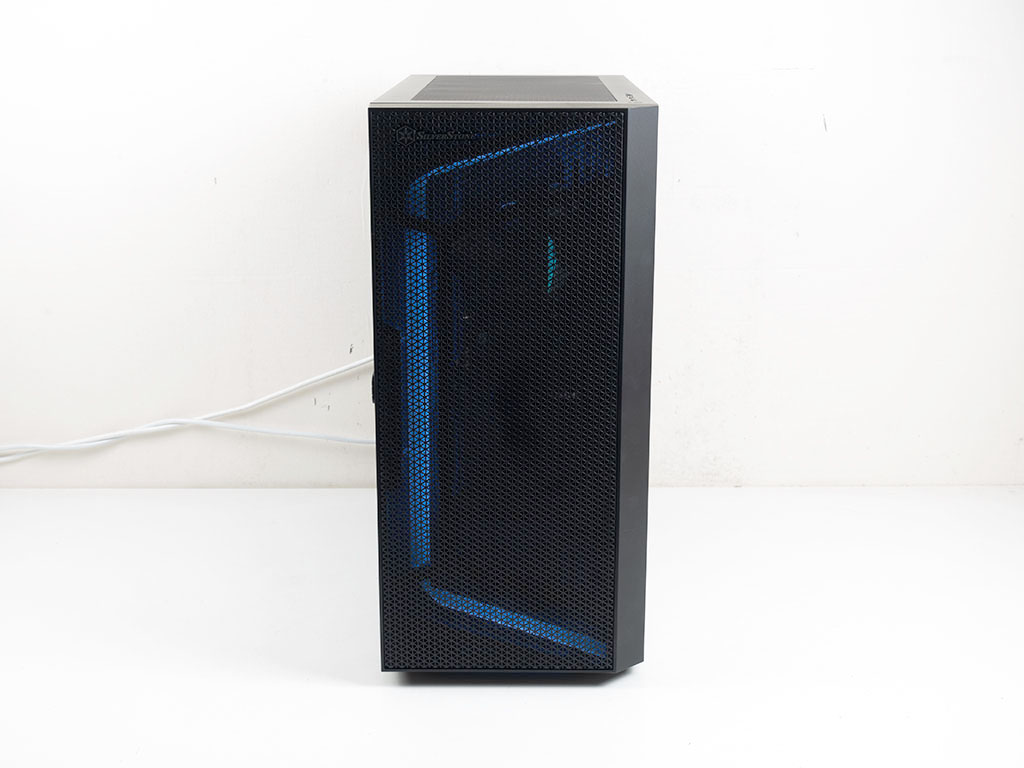
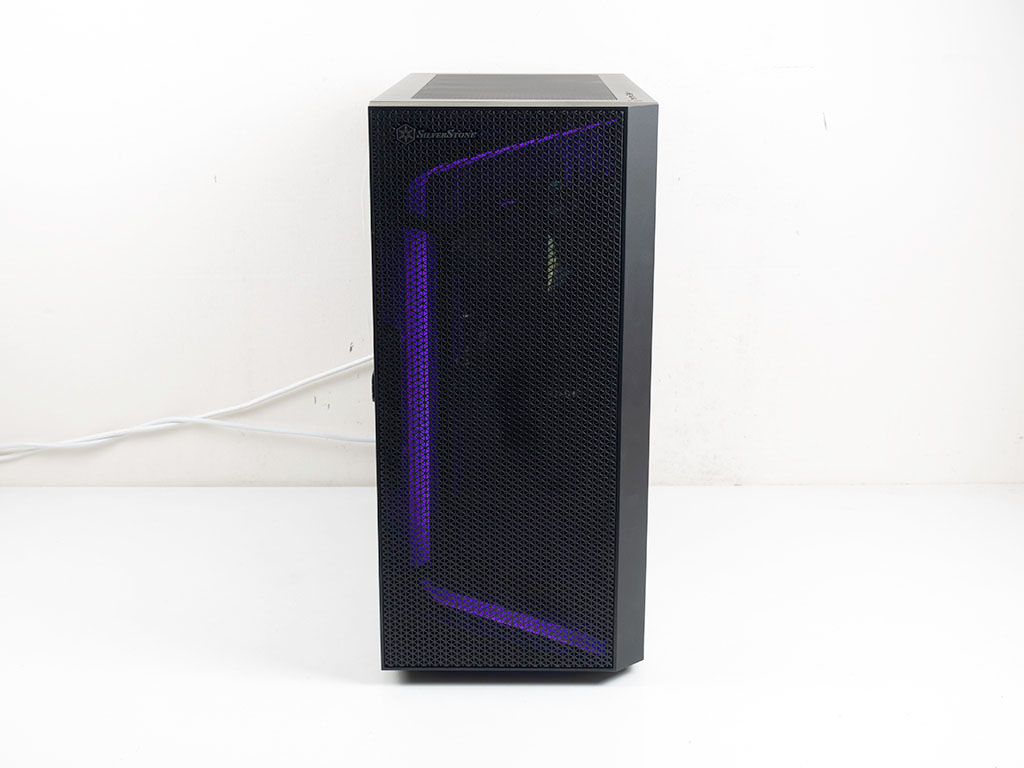
With the system turned on, the ARGB strip in the front lights up alongside a white LED underneath the power button. The fans are rather noticeable even in idle. This bodes well for cooling, but at the cost of a better balance between idle noise vs. temperatures.
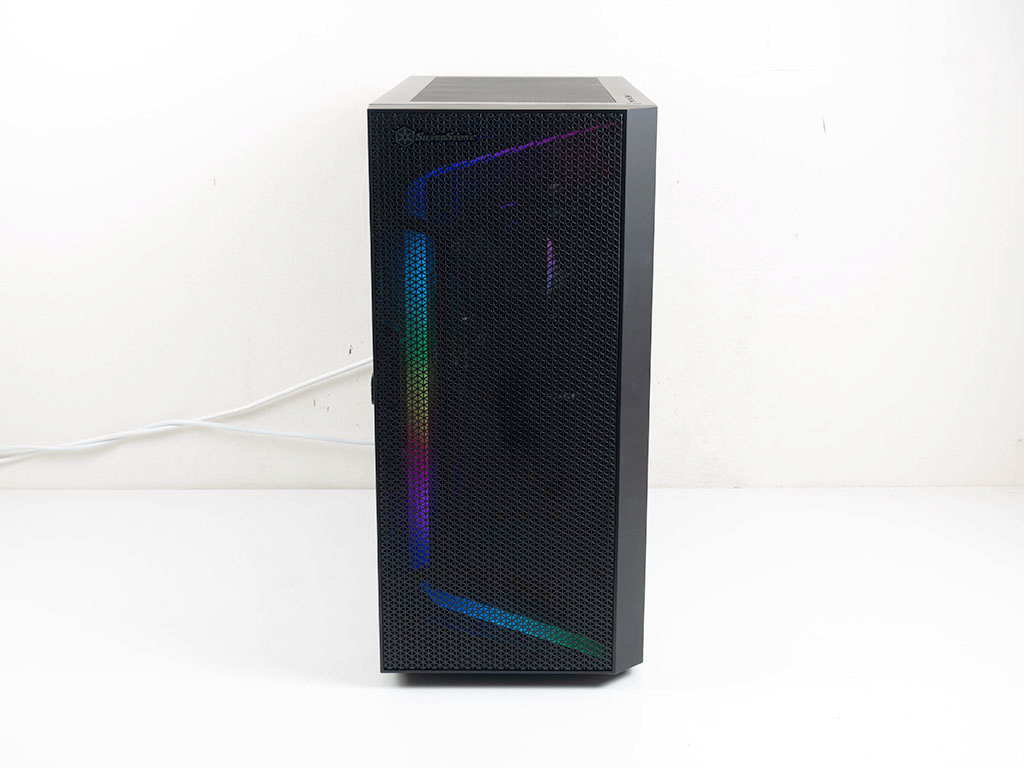
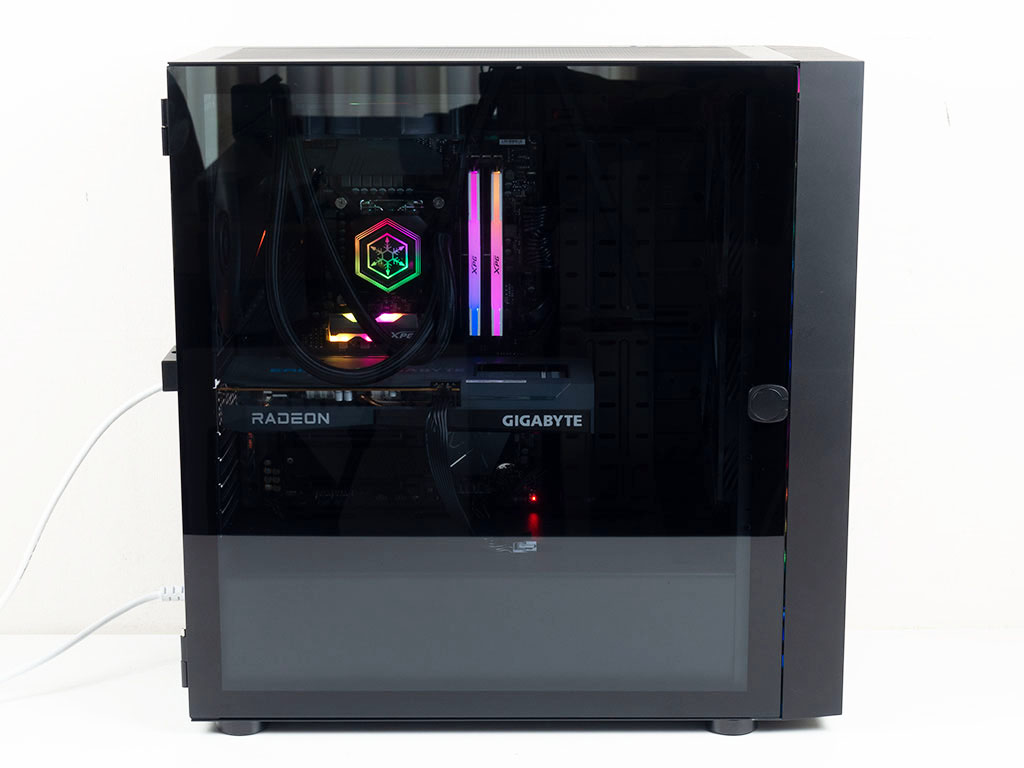
Looking at the front, you can see how the ARGB strip bounces light off the diffuser bar. It is visible but not as bright as direct lighting, and the flow is broken up by the support structure behind the metal mesh cover. The clean glass window gives you a nice view of all your cool hardware as there is no tint, and everything in the rear is where you would expect it in a modern ATX enclosure.
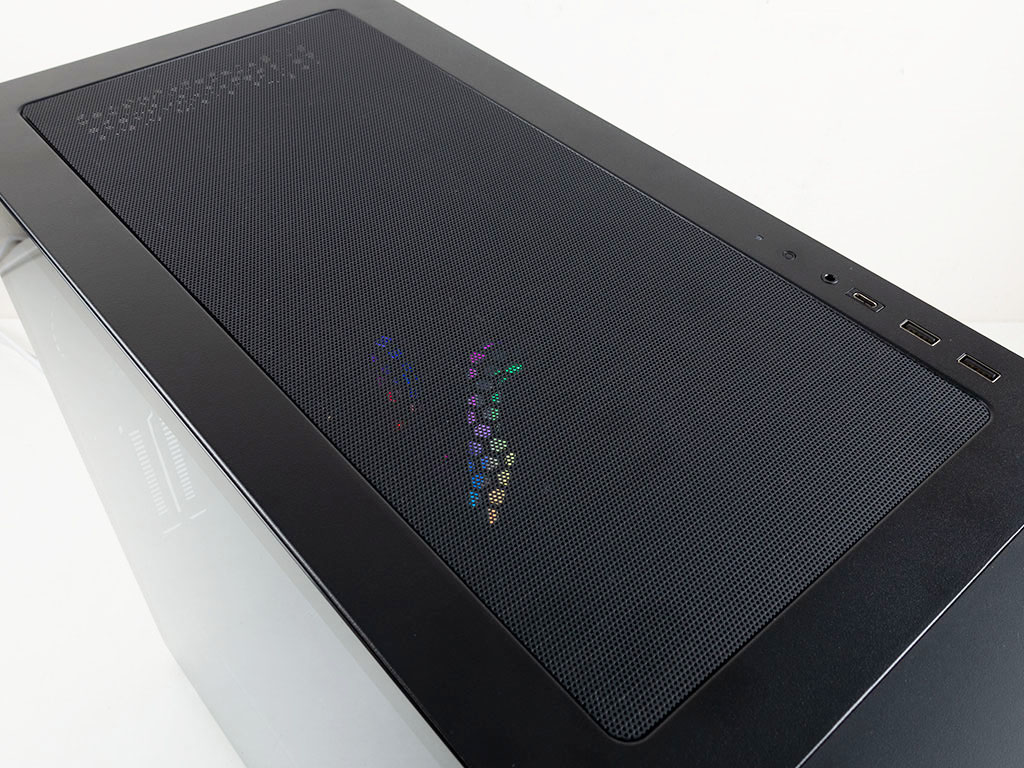
Looking through the top, you can see the ARGB lighting from your components, which is a good sign for airflow.
The SilverStone supplied ARGB controller can be wired up to the reset button to toggle through several animations as well as a set of solid colors you may feast your eyes upon below.
Jan 5th, 2025 23:33 EST
change timezone
Latest GPU Drivers
New Forum Posts
- B580 tanks performance with low end CPUs (98)
- Your favorite cpu (141)
- Next Gen GPU's will be even more expensive (1016)
- AM4 mobo upgrade to B550 Tomahawk (6)
- What's your latest tech purchase? (22795)
- GIGABYTE RTX 2060 SUPER WindForce OC sometimes lags and stutters... (31)
- "Old"Xeon 2697 V2 and Xeon 2650 V2"Overclocked"and Benchmarked!!! (9)
- Anime Nation (12926)
- X299 Owners Club (135)
- TECHPOWERUP HWBOT Contest Submissions List (5)
Popular Reviews
- DDR5 Thermal Testing & Analysis
- SCYROX V8 Review
- Klevv Genuine G560 2 TB Review
- ASUS ROG Falchion Ace HFX Hall Effect Keyboard Review
- AMD Ryzen 7 9800X3D Review - The Best Gaming Processor
- INTUAURA Lakeview In-Ear Monitors Review - The Power of DSP!
- GPU Test System Update for 2025
- Intel Arc B580 Review - Excellent Value
- HIFIMAN Arya Unveiled Headphones Review - The Next Best?
- Arrow Lake Retested with Latest 24H2 Updates and 0x114 Microcode
Controversial News Posts
- AMD Radeon RX 9070 XT Alleged Benchmark Leaks, Underwhelming Performance (204)
- NVIDIA GeForce RTX 5090 Features 575 W TDP, RTX 5080 Carries 360 W TDP (184)
- Potential RTX 5090 and RTX 5080 Pricing in China Leaks (173)
- 32 GB NVIDIA RTX 5090 To Lead the Charge As 5060 Ti Gets 16 GB Upgrade and 5060 Still Stuck With Last-Gen VRAM Spec (173)
- AMD Radeon RX 9070 XT Boosts up to 3.10 GHz, Board Power Can Reach up to 330W (167)
- NVIDIA GeForce RTX 5070 Ti Leak Tips More VRAM, Cores, and Power Draw (161)
- NVIDIA GeForce RTX 5070 and RTX 5070 Ti Final Specifications Seemingly Confirmed (152)
- AMD Radeon "RDNA 4" RX 9000 Series Will Feature Regular 6/8-Pin PCI Express Power Connectors (133)