 16
16
Streacom DA2 Review - What a Beautiful SFF Case
Optional Accessories in Action »A Closer Look - Inside

To access the interior, simply apply up or downward pressure to an edge of the side panel and pull the other edge away from the enclosure. On the main side, a large metal mesh dust filter utilizes magnetic strips to hold in place on the metal frame within the Streacom DA2.
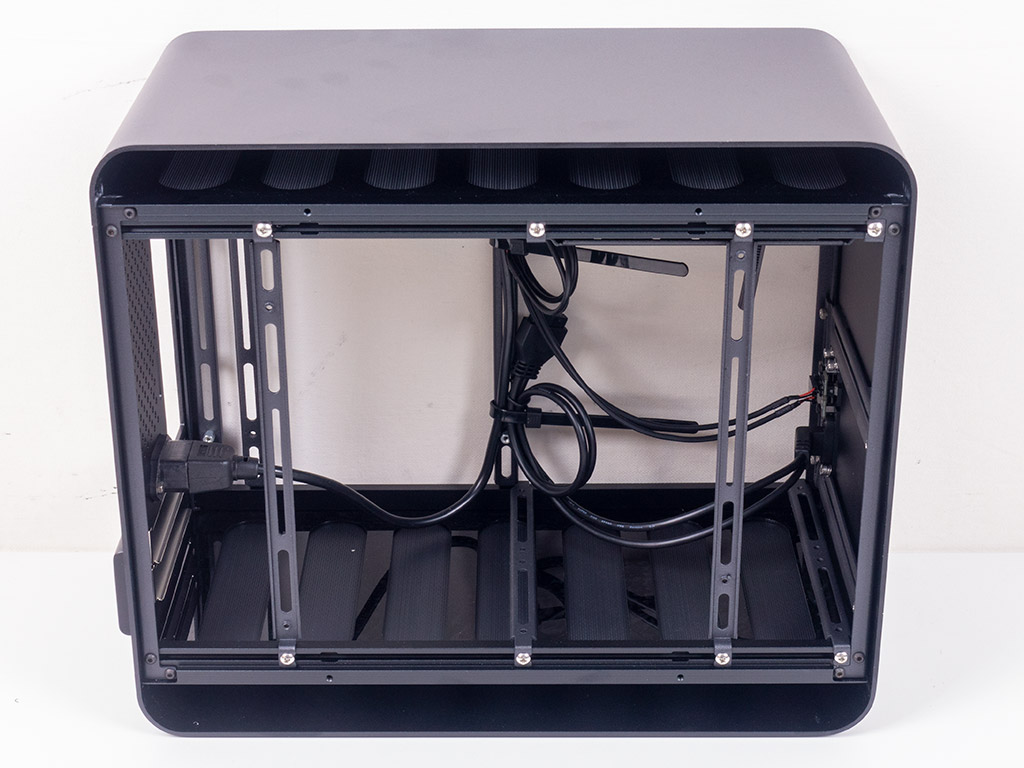


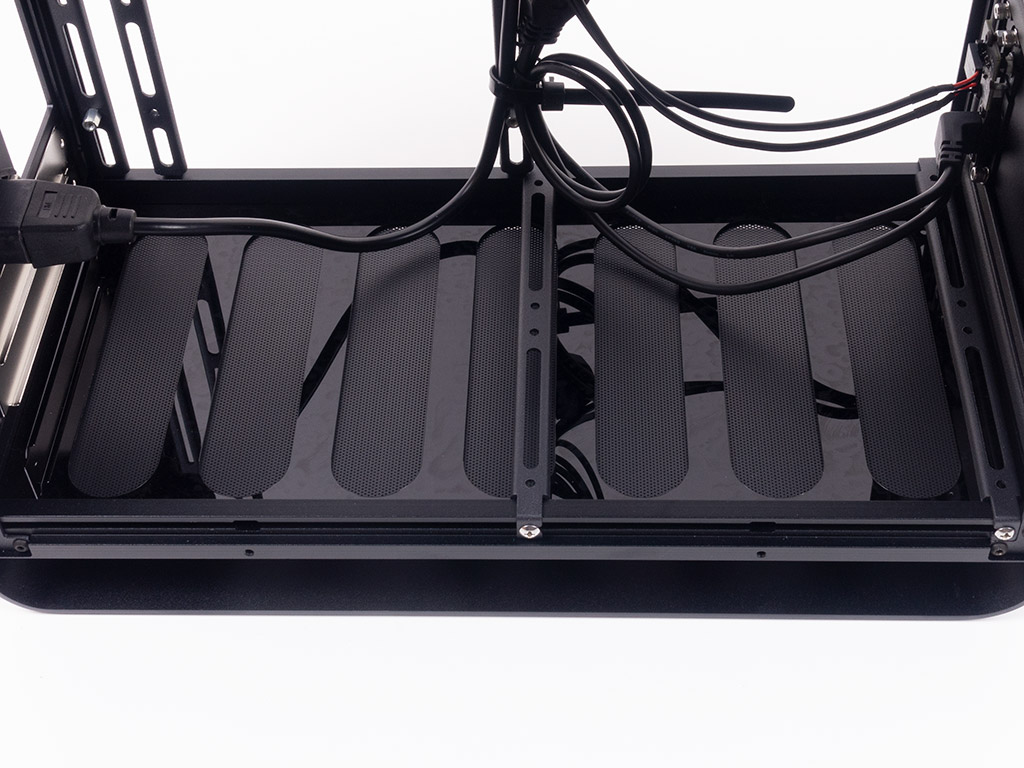
Once both sides are removed, you can clearly spot the inner skeleton the panels wrap around. All of the functional elements within the Streacom DA2 utilize their universal mounting bars. These can be aligned along that inner frame of the case to line up with essentially any fans, radiators, pumps, 2.5" or 3.5" drives, and so on. Even the ITX board is to be screwed onto two of these, but unlike any of the others those are affixed in place.
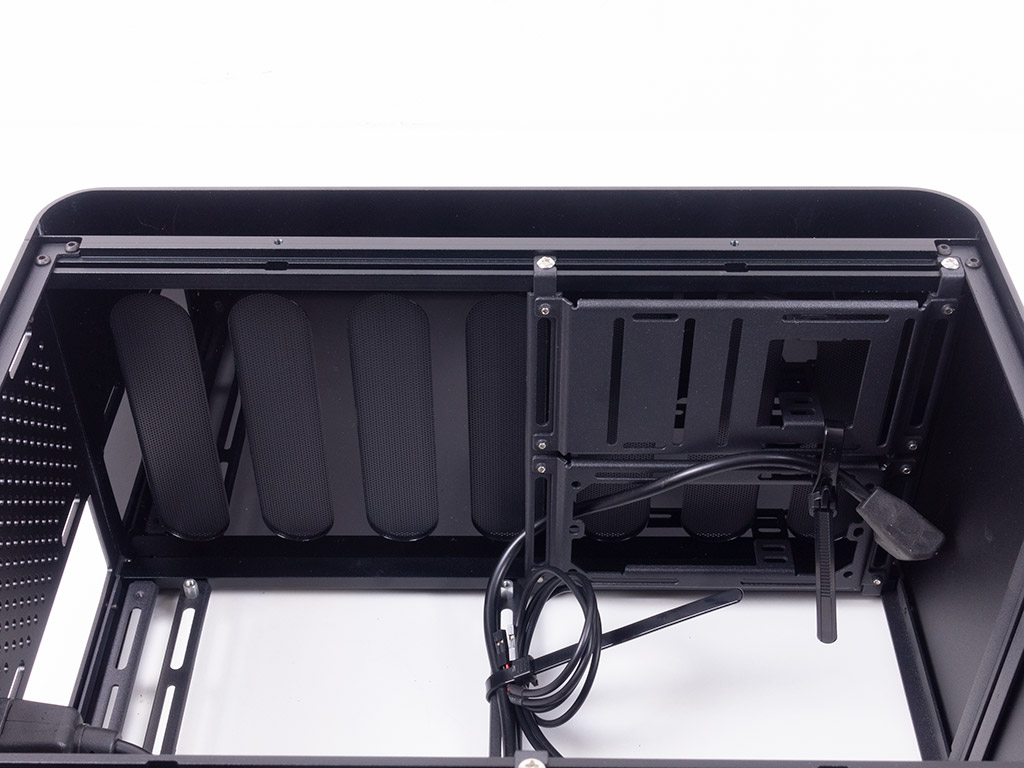
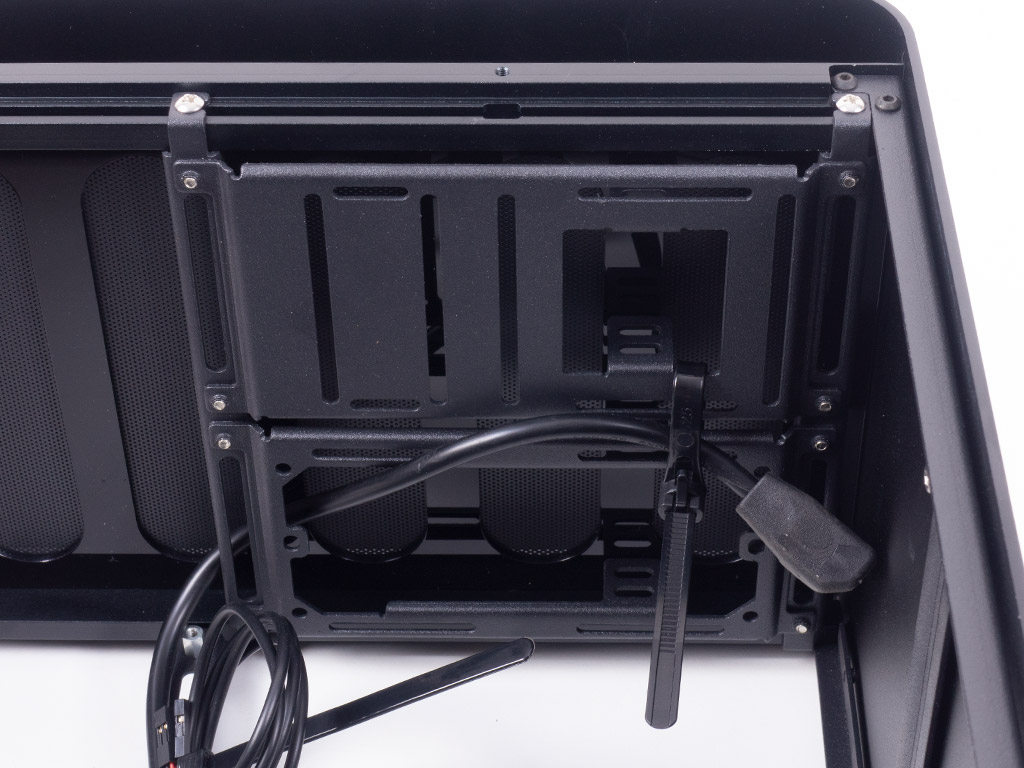
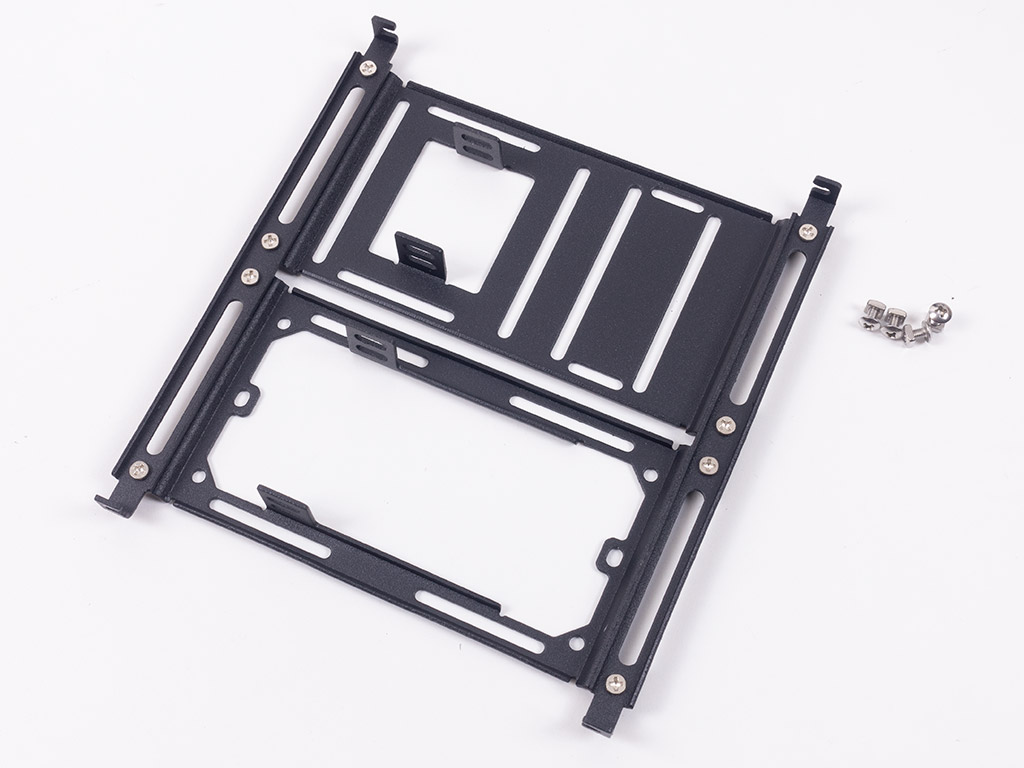
If you look at the top, you can see the same bars holding two separate plates towards the front of the chassis, while the ceiling is made up of a 3-layer mix of acrylic and metal mesh. As mentioned before, these are the ones you would replace when wanting to mount fans in the top or floor of the DA2. The two brackets in the ceiling can easily be taken out for easy assembly of your system. Streacom has engineered them such that one may be used for an SFX or SFX-L PSU while the other may either hold three 3.5" mechanical drives or up to six 2.5" SSDs. Alternatively, you could also use a full-size ATX PSU here, but doing so limits both your storage and the room for your GPU.

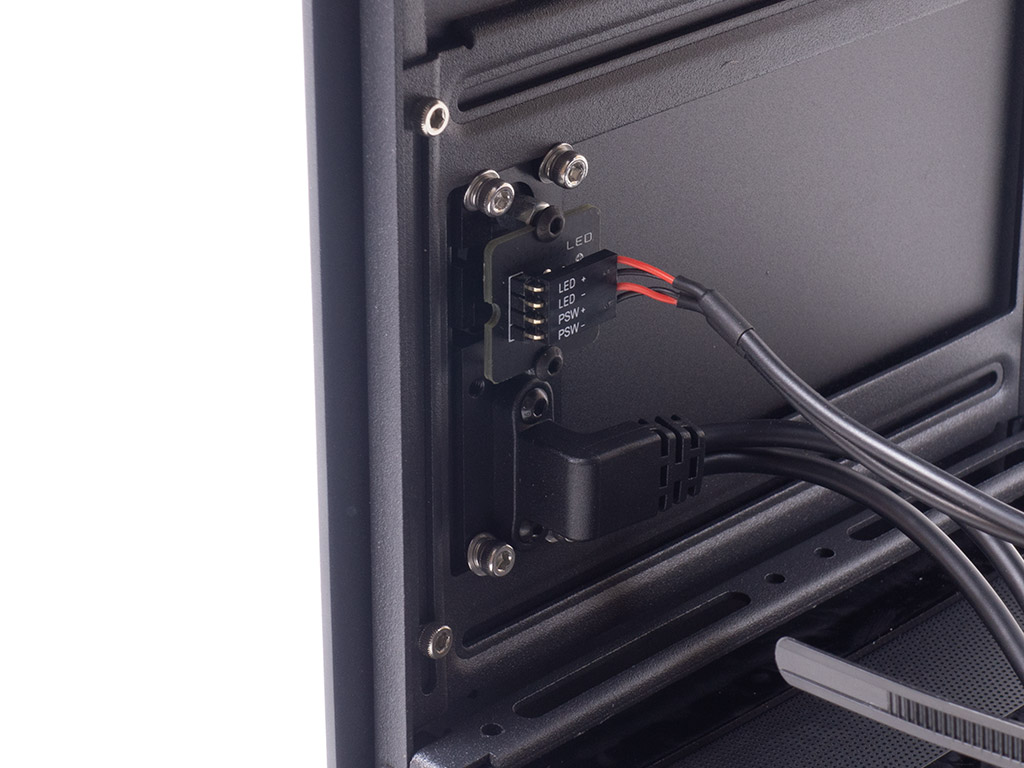
Looking at the front, Streacom also employs rails to realize any of the functionality, including the I/O. You could absolutely pull off the entire aluminium exterior to gain access to all the sides of the interior if you wanted to go all out and mount something like a reservoir here, for example.
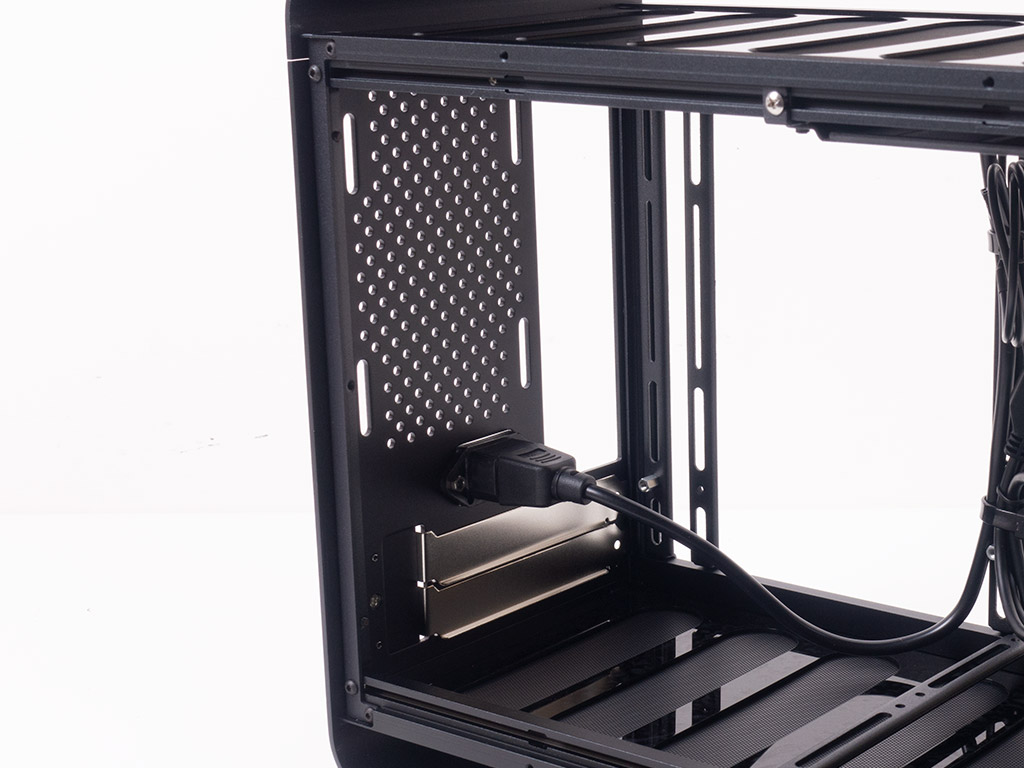
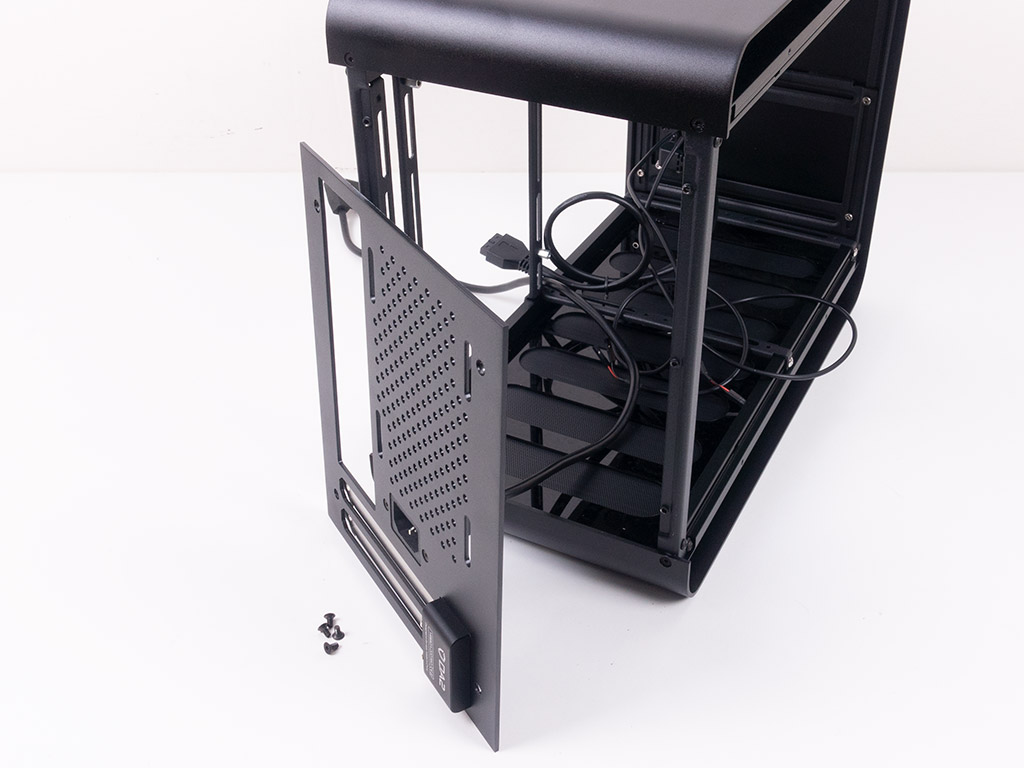
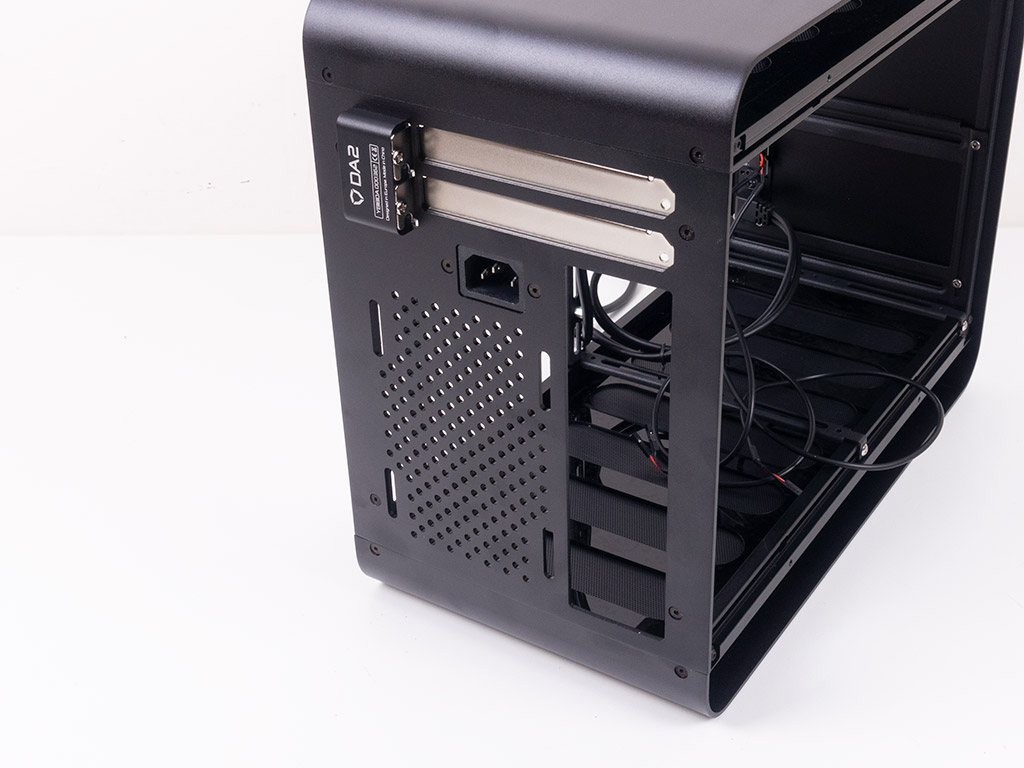
In the rear, things are a bit less eventful as it consists of the expansion slots and that fan mounting. The interesting bit here is that you could rotate the motherboard to mount it upside down. While I just flipped the backplate, another step is to move the mounting for the motherboard to the right spot as well. On top of this layout, Streacom offers an optional backplate that allows for horizontal GPU placement alongside a flexible PCIe ribbon cable.
Looking at the floor, there are two additional mounting bars, so you could install additional storage or cooling components if you happen to go for a short GPU or an integrated solution.
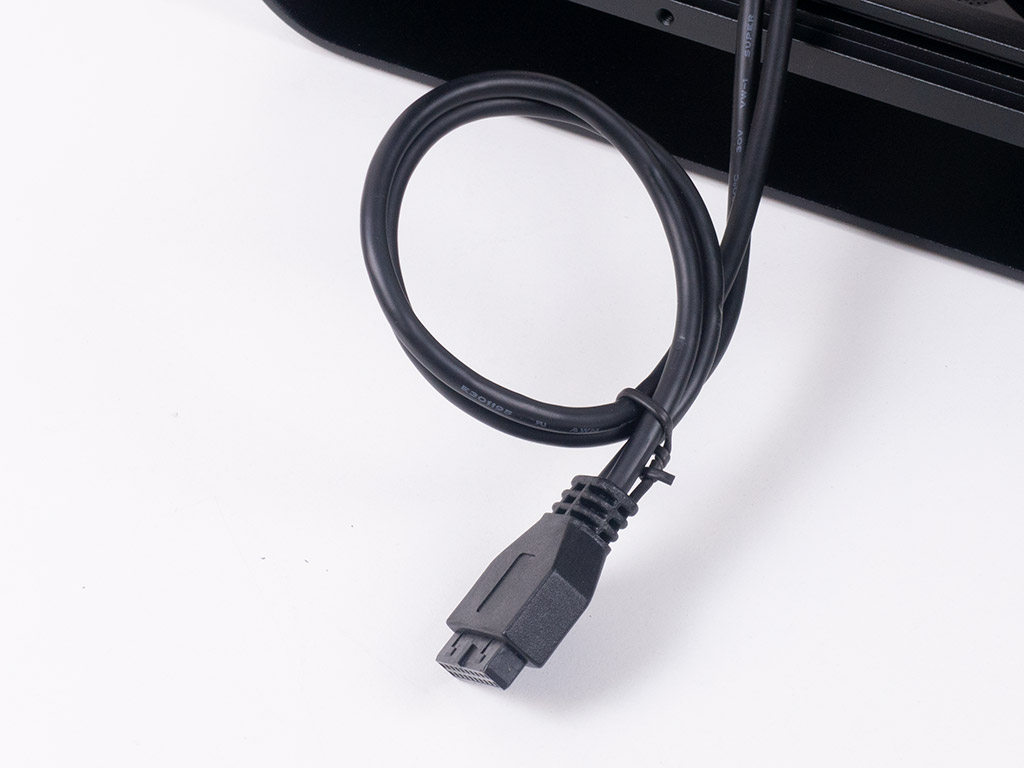
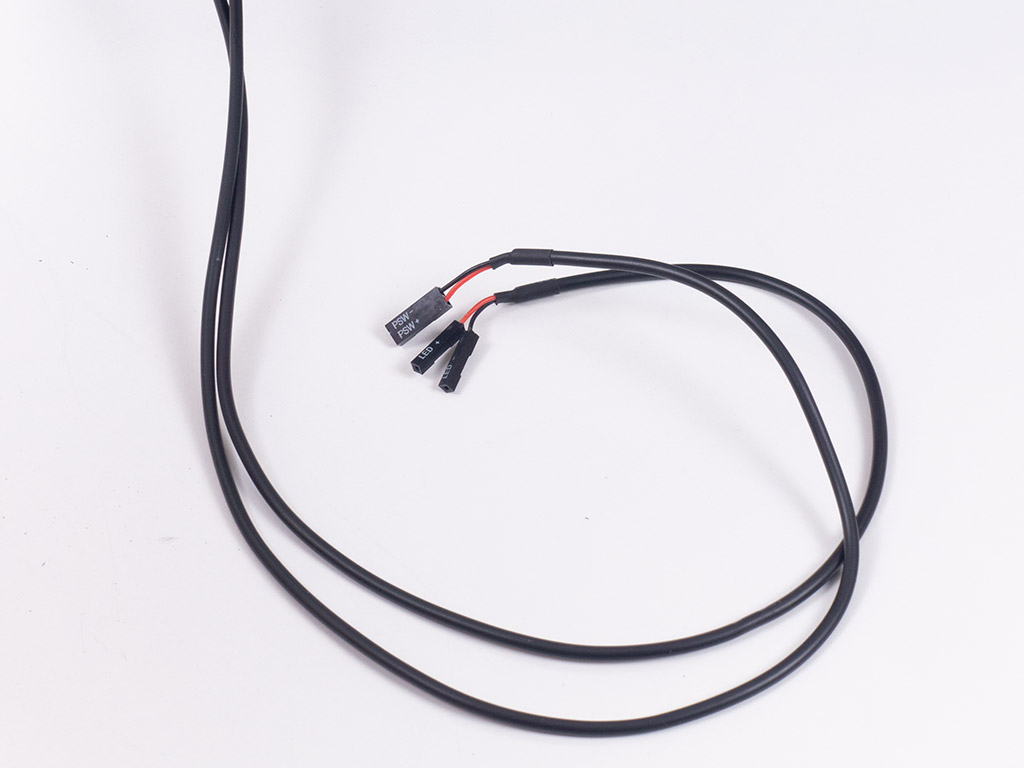
In terms of cables, there is not much to tell as the I/O revolves around a single USB port and power button. Streacom decided to forgo audio plugs or a reset button to keep the design as undisturbed as possible.
Jan 8th, 2025 21:16 EST
change timezone
Latest GPU Drivers
New Forum Posts
- Are people planning an upgrade? (13)
- All RTX 5090s only have 1x 16-pin connector (39)
- What are you playing? (22540)
- Help me understand the direction of VR and its decisions (7)
- Technical Issues - TPU Main Site & Forum (2024) (505)
- NVIDIA has revealed the prices for the RTX 5090, 5080 and 5070 (153)
- Flashing 4090 MSI Ventus 3x E OC (1)
- AMD Phenom II X6 1090T - Upgrade AM4 / AM5 / Intel Advice - Keep the 1080ti. (33)
- TPU's Nostalgic Hardware Club (19756)
- Overclocking My System Advice for CPU, RAM, and GPU (26)
Popular Reviews
- ASUS ROG Strix B850-F Gaming WiFi Review
- AMD Ryzen 7 9800X3D Review - The Best Gaming Processor
- DDR5 Thermal Testing & Analysis
- GPU Test System Update for 2025
- Call of Duty: Black Ops 6 Performance Benchmark Review - AMD FTW
- Upcoming Hardware Launches 2024 (Updated Nov 2024)
- SCYROX V8 Review
- Intel Arc B580 Review - Excellent Value
- Klevv Genuine G560 2 TB Review
- HEDDphone TWO GT Air Motion Transformer Headphones Review
Controversial News Posts
- NVIDIA 2025 International CES Keynote: Liveblog (434)
- AMD Debuts Radeon RX 9070 XT and RX 9070 Powered by RDNA 4, and FSR 4 (318)
- NVIDIA GeForce RTX 5090 Features 575 W TDP, RTX 5080 Carries 360 W TDP (208)
- AMD Radeon RX 9070 XT Alleged Benchmark Leaks, Underwhelming Performance (204)
- Potential RTX 5090 and RTX 5080 Pricing in China Leaks (173)
- 32 GB NVIDIA RTX 5090 To Lead the Charge As 5060 Ti Gets 16 GB Upgrade and 5060 Still Stuck With Last-Gen VRAM Spec (173)
- AMD Radeon RX 9070 XT Boosts up to 3.10 GHz, Board Power Can Reach up to 330W (167)
- NVIDIA GeForce RTX 5070 Ti Leak Tips More VRAM, Cores, and Power Draw (161)