 16
16
Streacom DA2 Review - What a Beautiful SFF Case
Assembly & Finished Looks »Optional Accessories in Action
Front I/O
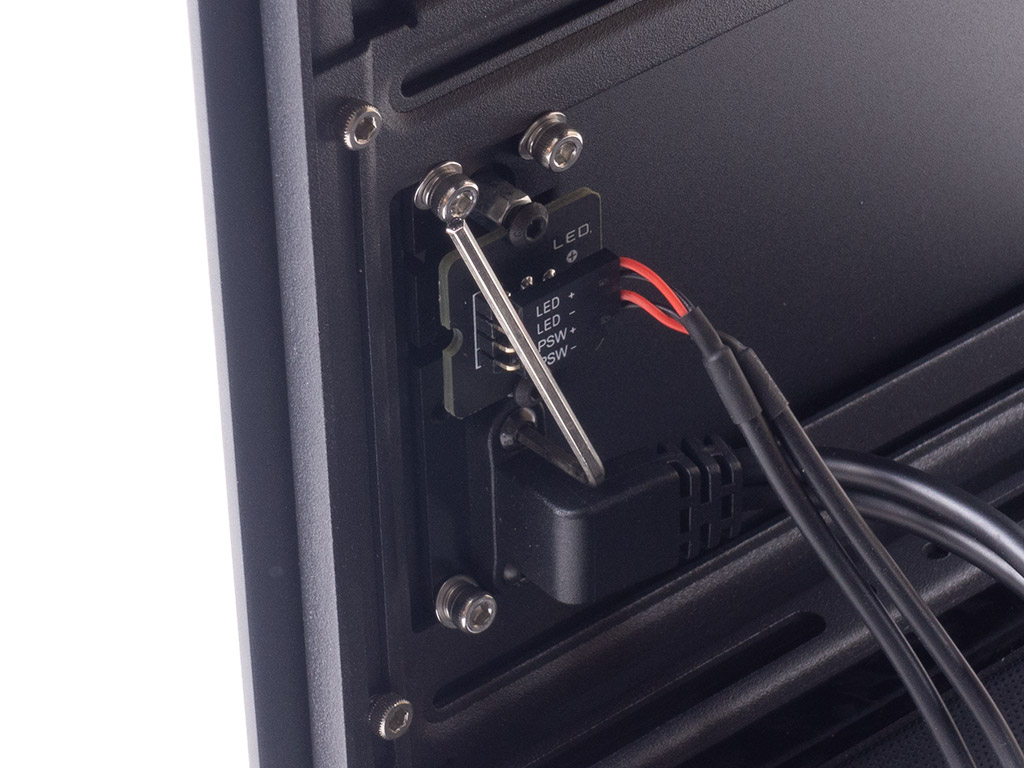

While we usually dive into the assembly process of the system at this stage of our case review, it is best if we showcase the various accessories in action first. As the DA2 ships with a 20-pin USB-C connector, those few who have an ITX board with a Gen2 Type-C plug can unscrew the lead easily to attach the optional one. The cables only vary in the way they are terminated. Overall, I am happy that Streacom stuck to the 20-pin as a default as most ITX boards don't offer the luxury of a Gen2 Type-C.
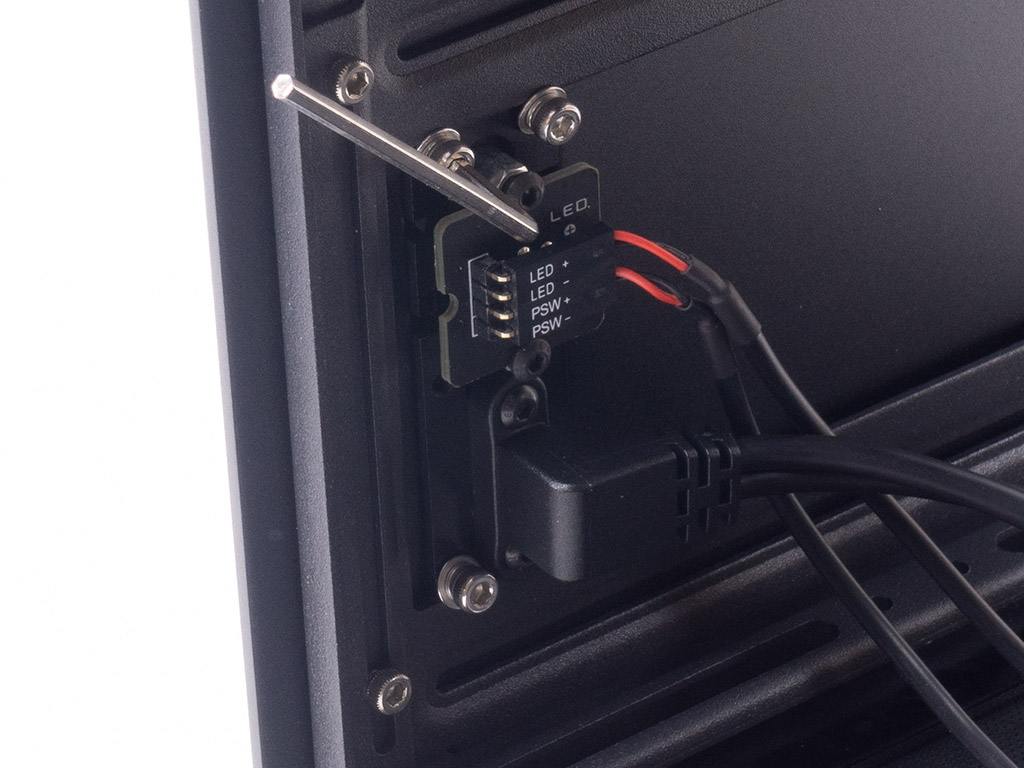
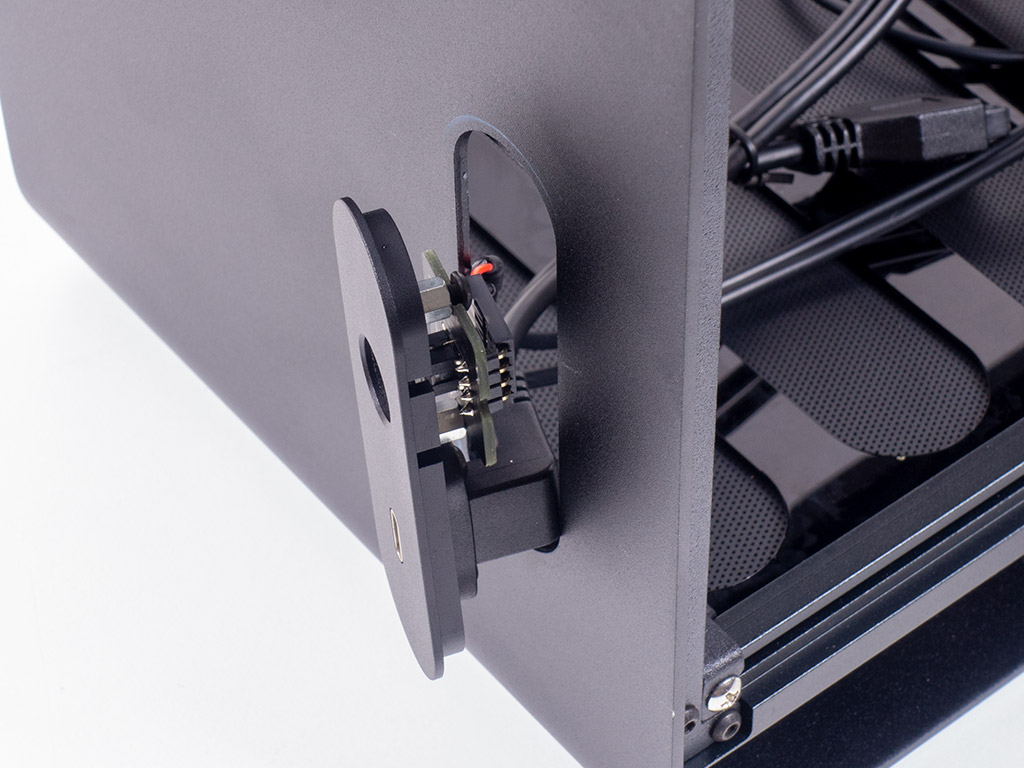
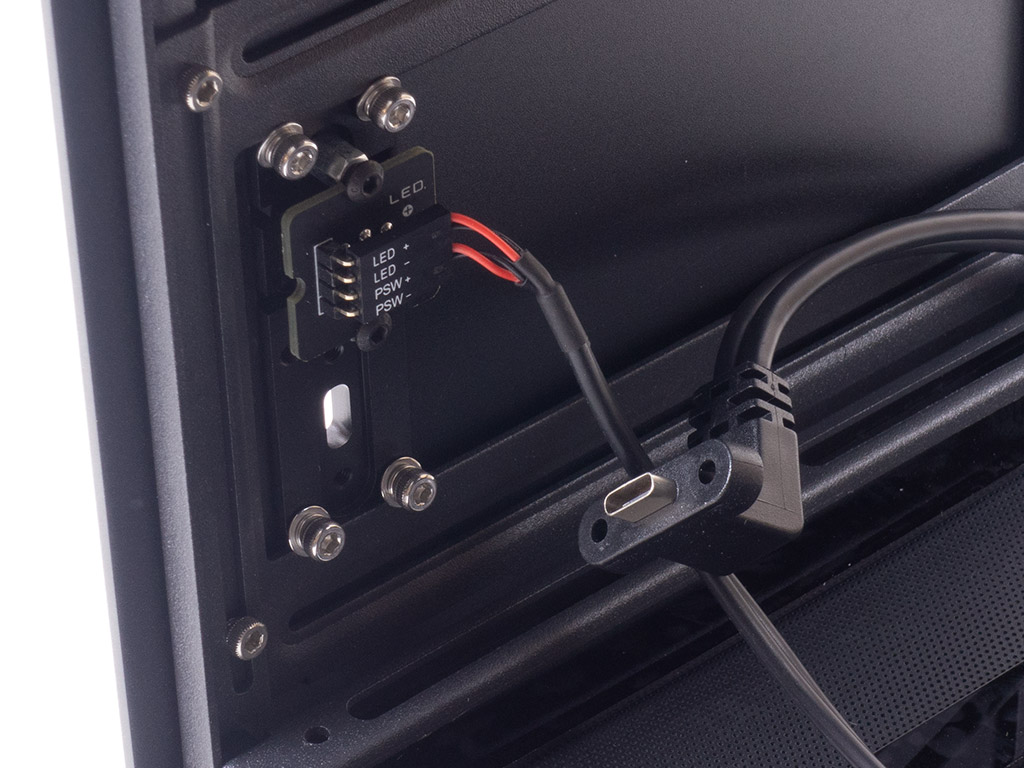
The other I/O accessory we received changes the outward-facing USB-C interface to a proper USB 3.0 Type-A plug. As that also requires a different cutout in the small panel, Streacom simply sells it all as a complete kit. This means you just detach the four hex screws with the provided tool and insert the unit of your choice instead.
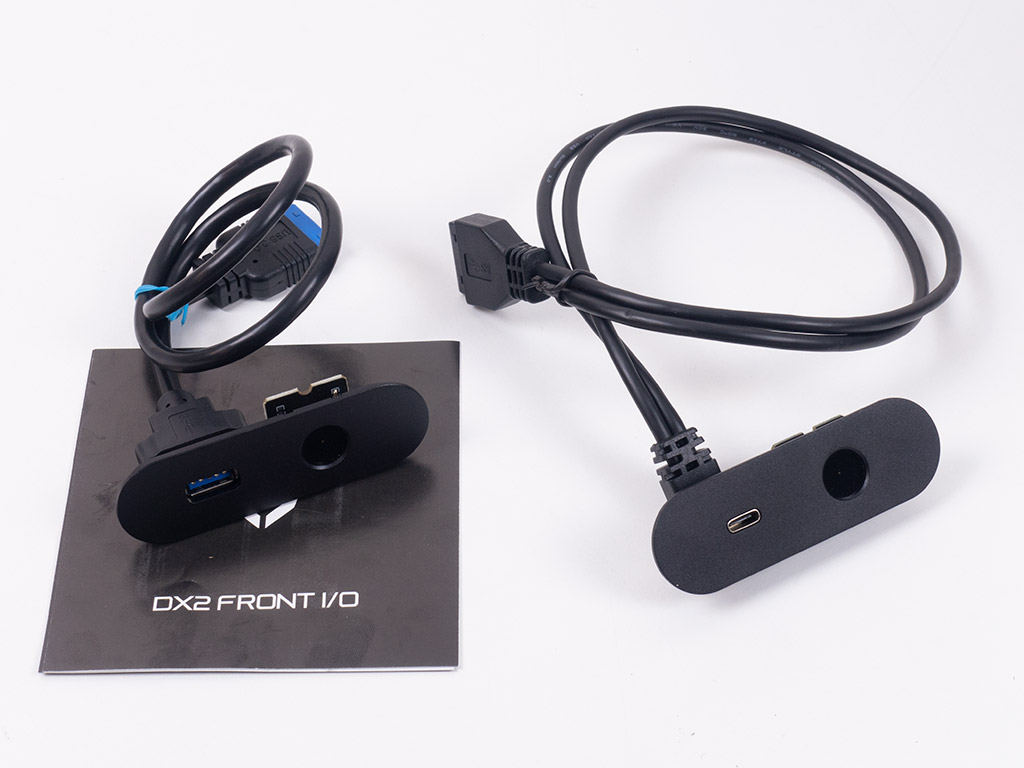
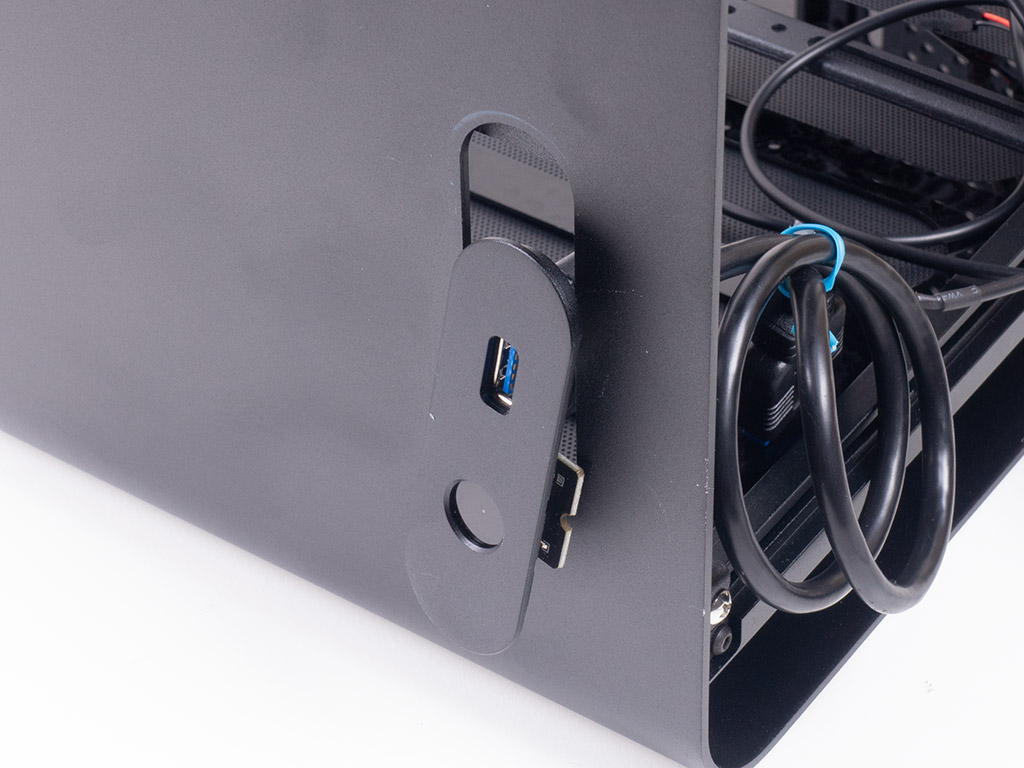
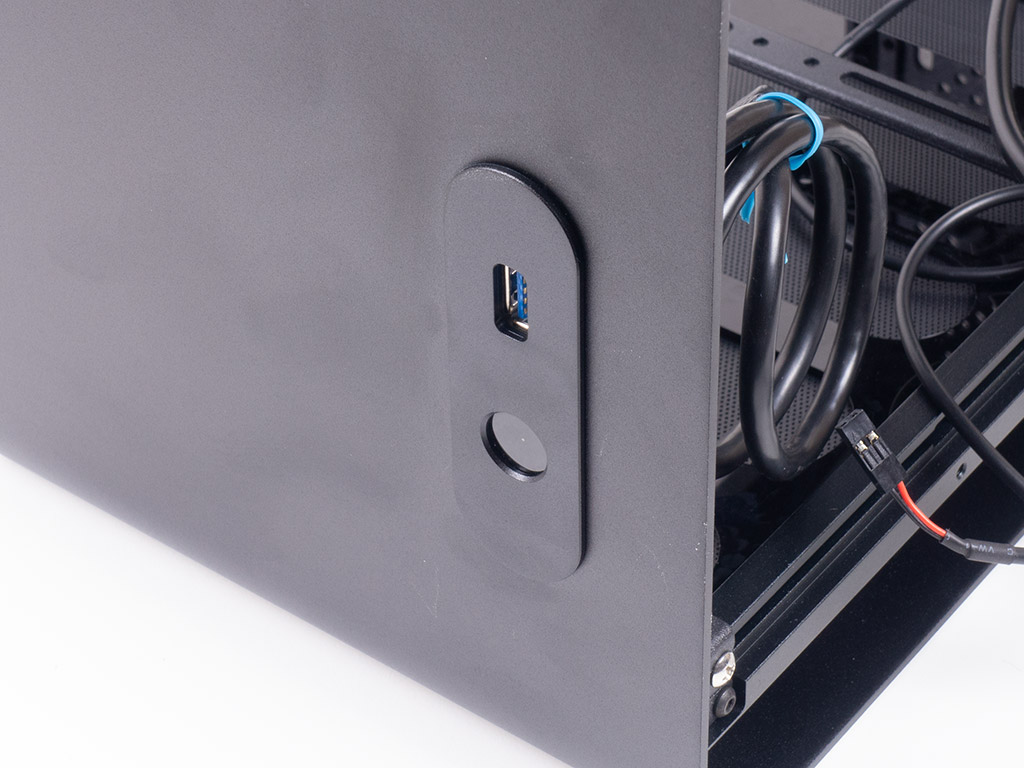
Once removed, you can simply replace it with the optional accessory and screw it into place with the same hex screws. Fun fact here is that you may install the whole contraption upside down if you feel like it. The only noteworthy structural difference between the original and optional accessory besides the different plug is the fact that the Type A plug itself is straight.
Structural Accessories

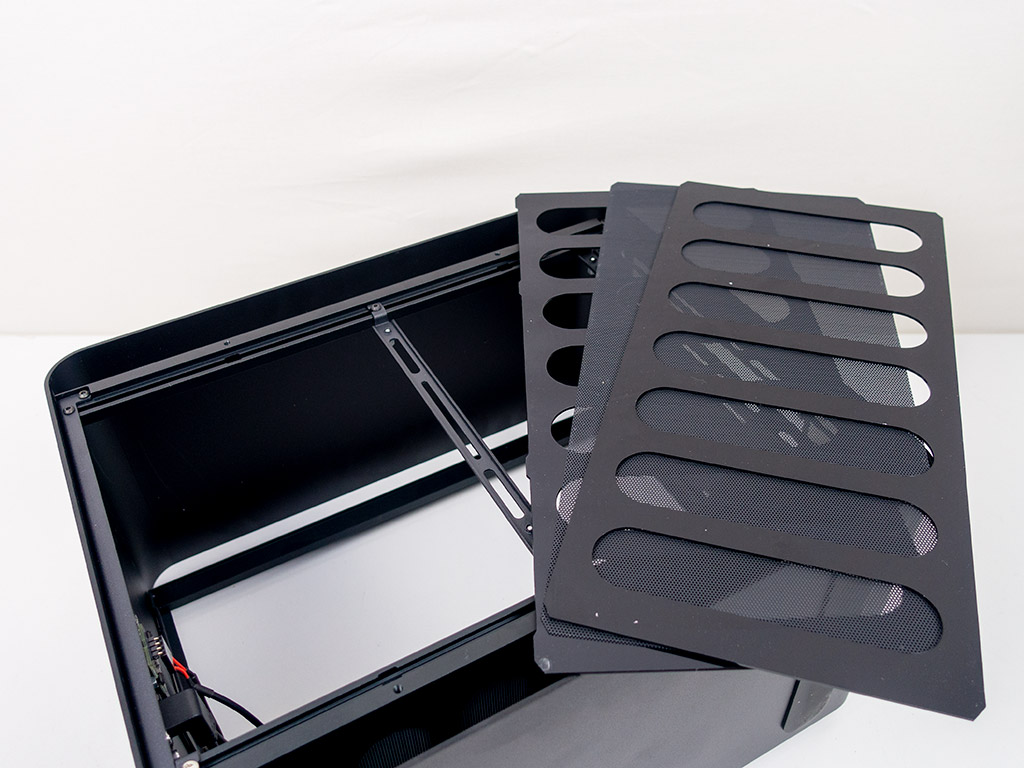
For those wanting to place active cooling inside the chassis, utilize the acrylic panels which offer the right mounting holes. Streacom advises using thin 120 mm fans, especially if you need space for a GPU on the floor, but technically, as long as your setup fits, you could do whatever you want.
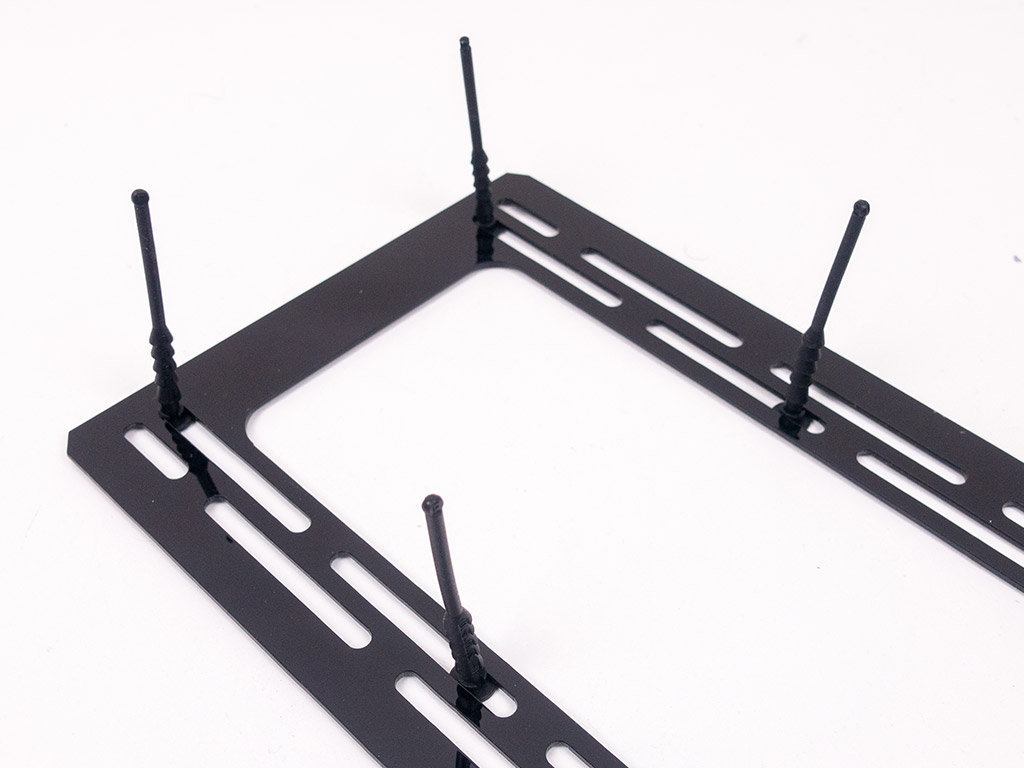
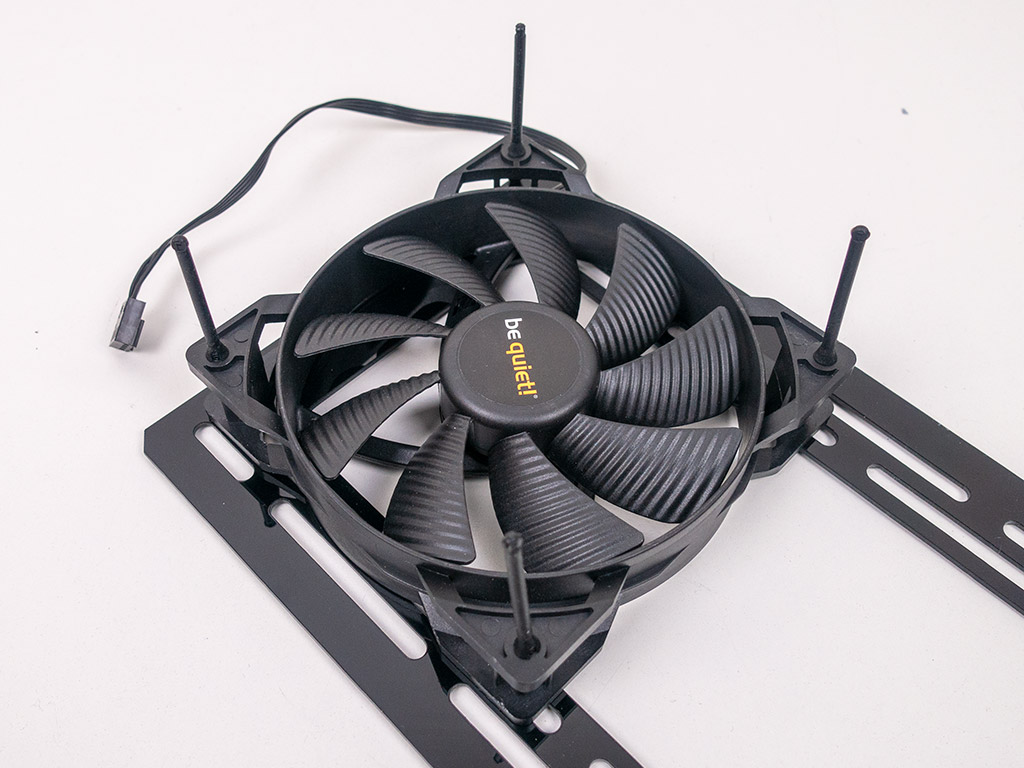
Before installing the panel, simply put the rubber pins in place. You can then attach a fan of your choosing. Unfortunately, we do not have a thin fan at our immediate disposal, but for demonstration purposes, a traditional one will certainly do.
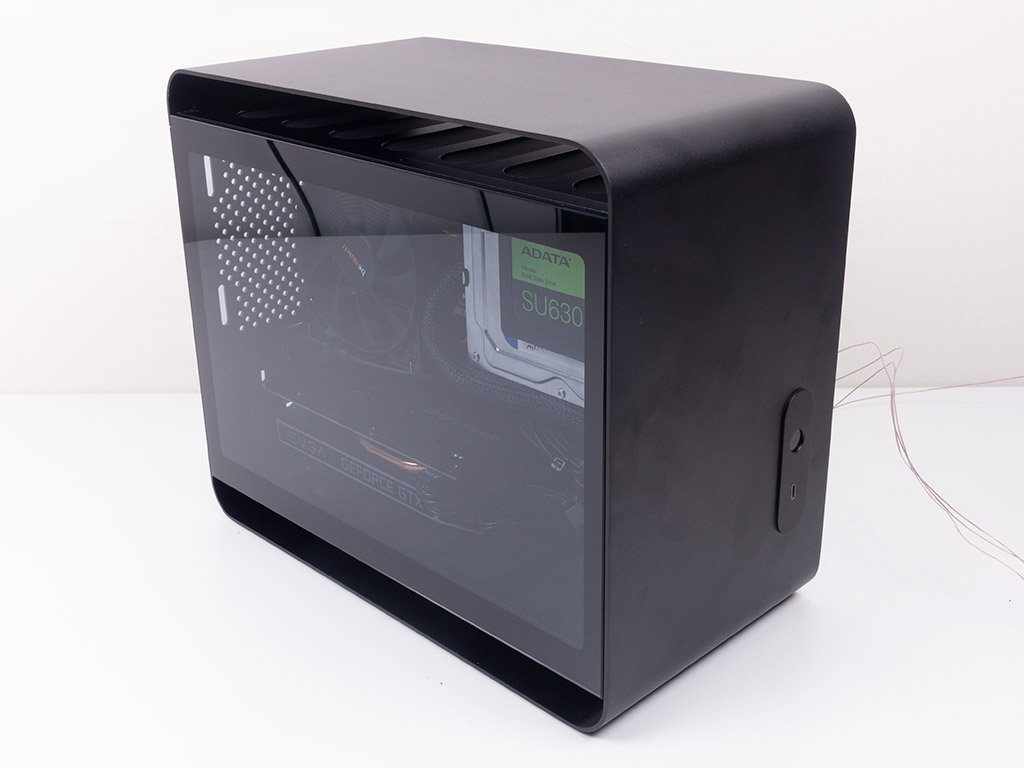
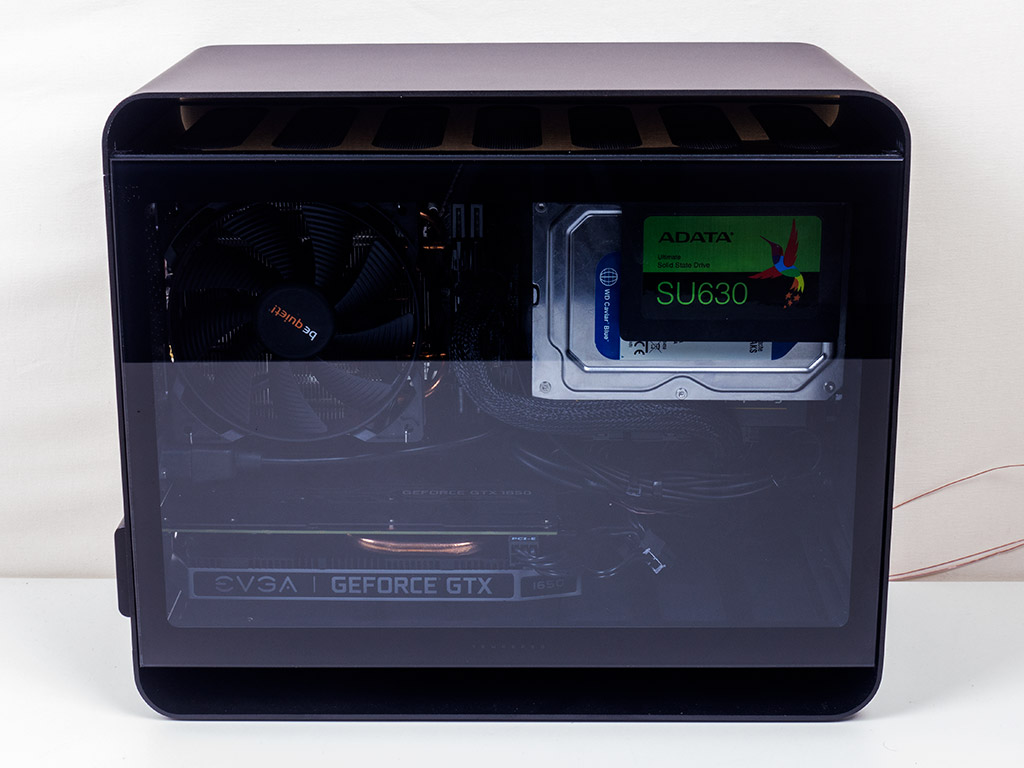
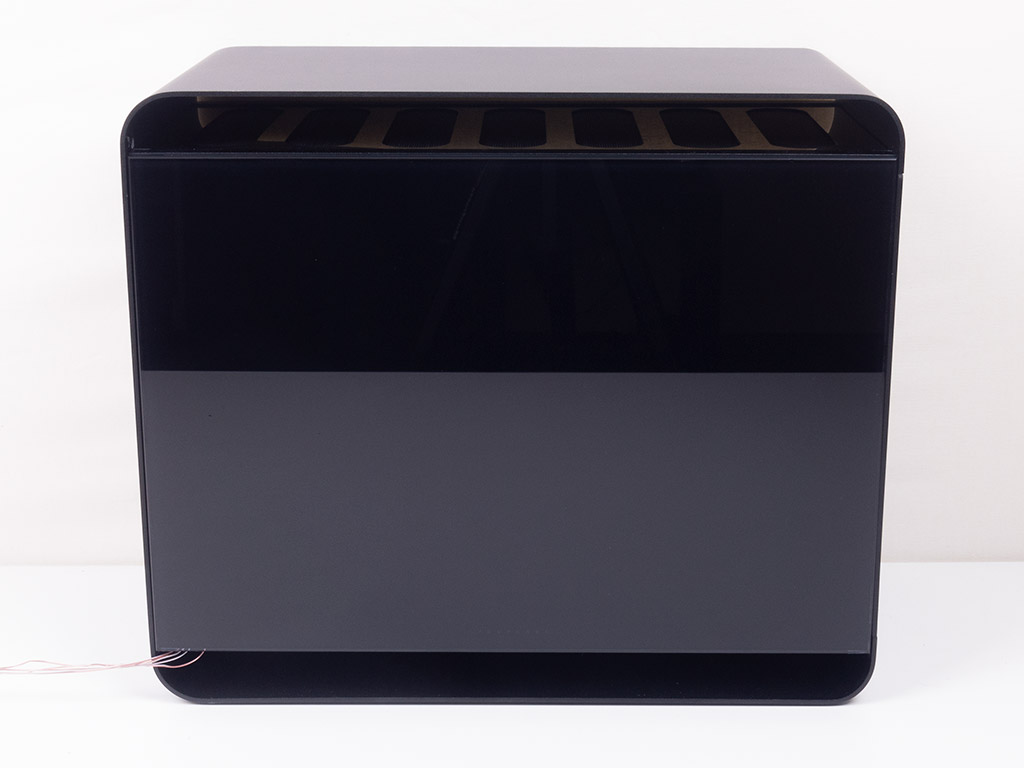
For the glass panels, you will get a sneak peek at the finished system, so you may truly gauge their tint and looks. As you can see, the main panel is fairly see-through, while the other is essentially black.
Jan 8th, 2025 22:24 EST
change timezone
Latest GPU Drivers
New Forum Posts
- TPU nVidia 5000 series YT Shorts (0)
- Are people planning an upgrade? (26)
- SSD, compact.exe saves filesize %, what about over-provision ? (1)
- Technical Issues - TPU Main Site & Forum (2024) (506)
- Nvidia drivers versus AMD drivers on Wayland (25)
- Best time to sell your used 4090s is now. (156)
- What Speakers Are You You Using For Your Computer (90)
- AMD Phenom II X6 1090T - Upgrade AM4 / AM5 / Intel Advice - Keep the 1080ti. (34)
- All RTX 5090s only have 1x 16-pin connector (40)
- What are you playing? (22540)
Popular Reviews
- ASUS ROG Strix B850-F Gaming WiFi Review
- AMD Ryzen 7 9800X3D Review - The Best Gaming Processor
- DDR5 Thermal Testing & Analysis
- GPU Test System Update for 2025
- Call of Duty: Black Ops 6 Performance Benchmark Review - AMD FTW
- Upcoming Hardware Launches 2024 (Updated Nov 2024)
- SCYROX V8 Review
- Intel Arc B580 Review - Excellent Value
- Klevv Genuine G560 2 TB Review
- HEDDphone TWO GT Air Motion Transformer Headphones Review
Controversial News Posts
- NVIDIA 2025 International CES Keynote: Liveblog (435)
- AMD Debuts Radeon RX 9070 XT and RX 9070 Powered by RDNA 4, and FSR 4 (318)
- NVIDIA GeForce RTX 5090 Features 575 W TDP, RTX 5080 Carries 360 W TDP (208)
- AMD Radeon RX 9070 XT Alleged Benchmark Leaks, Underwhelming Performance (204)
- Potential RTX 5090 and RTX 5080 Pricing in China Leaks (173)
- 32 GB NVIDIA RTX 5090 To Lead the Charge As 5060 Ti Gets 16 GB Upgrade and 5060 Still Stuck With Last-Gen VRAM Spec (173)
- AMD Radeon RX 9070 XT Boosts up to 3.10 GHz, Board Power Can Reach up to 330W (167)
- NVIDIA GeForce RTX 5070 Ti Leak Tips More VRAM, Cores, and Power Draw (161)