 1
1
Sunbeam UFO Acrylic Cube Case Review
Installation »Assembly

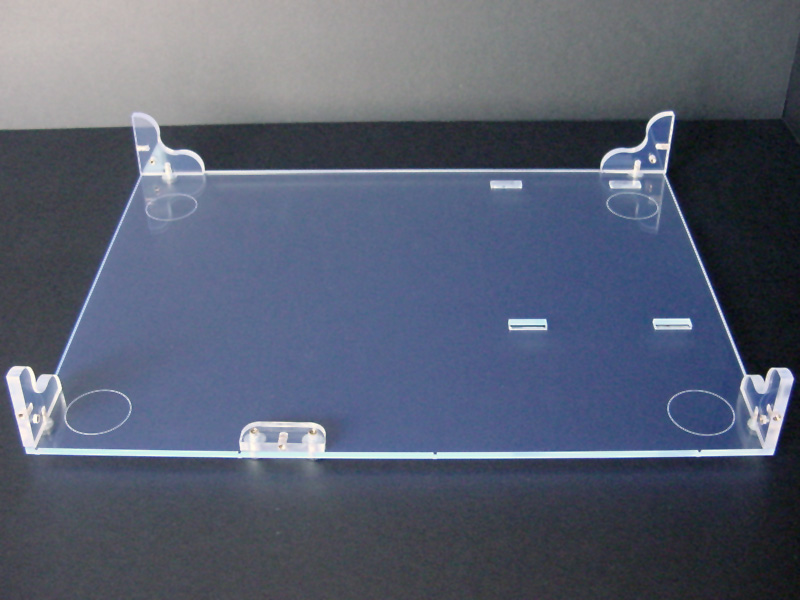
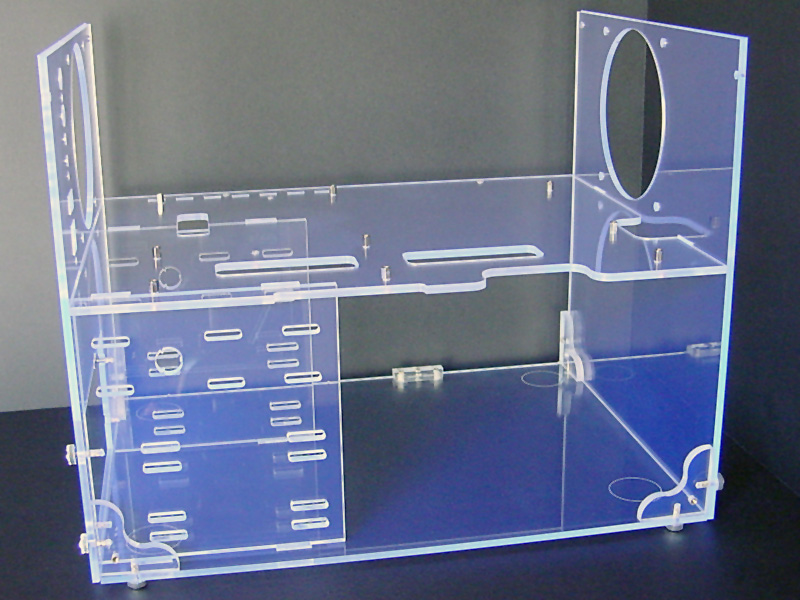
As stated before, the panels for the UFO Cube Case are individually wrapped in soft white foam. To start the installation, follow the manual carefully and unwrap only the parts needed for the current step. Lay them on top of the foam to keep them clean and lint-free. The assembly starts with the bottom panel and adding four L-shaped brackets and then one PSU support bracket. When adding the thumbscrews, be sure to not tighten them all the way. This will give you a little bit of slack to work with and make small adjustments easier.
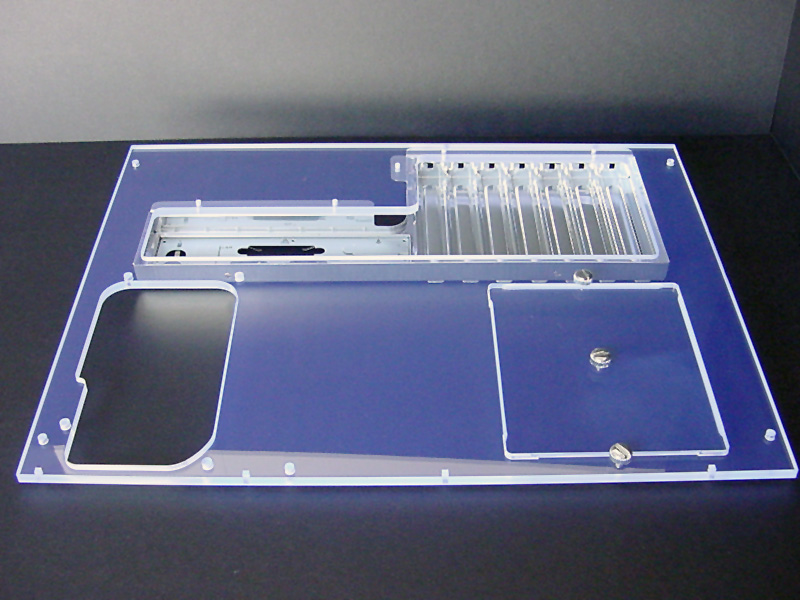
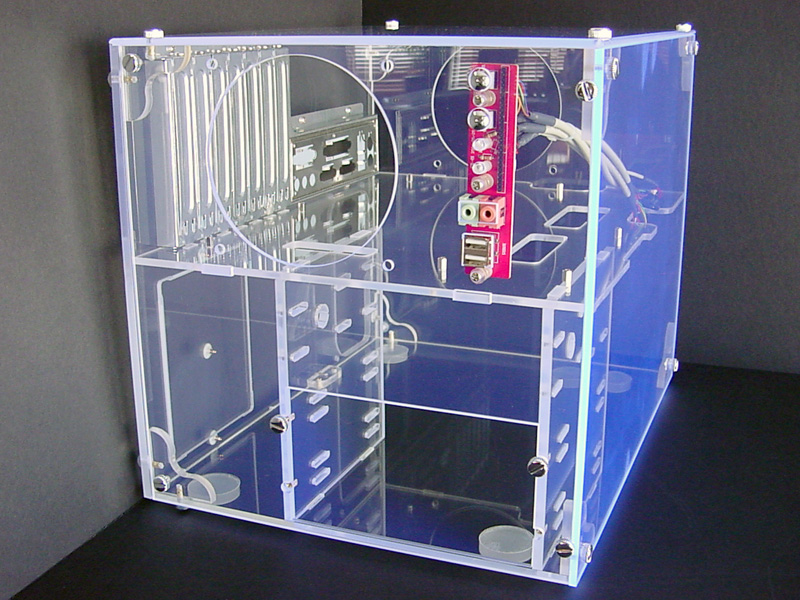
Next the metal expansion panel was added to the rear acrylic panel and the thumbscrews are added to the access panel. This small panel can be removed to allow the user to swap out or add drives and bay devices. This is a great improvement over other plastic cases that need a lot of disassembly to perform basic upgrades.
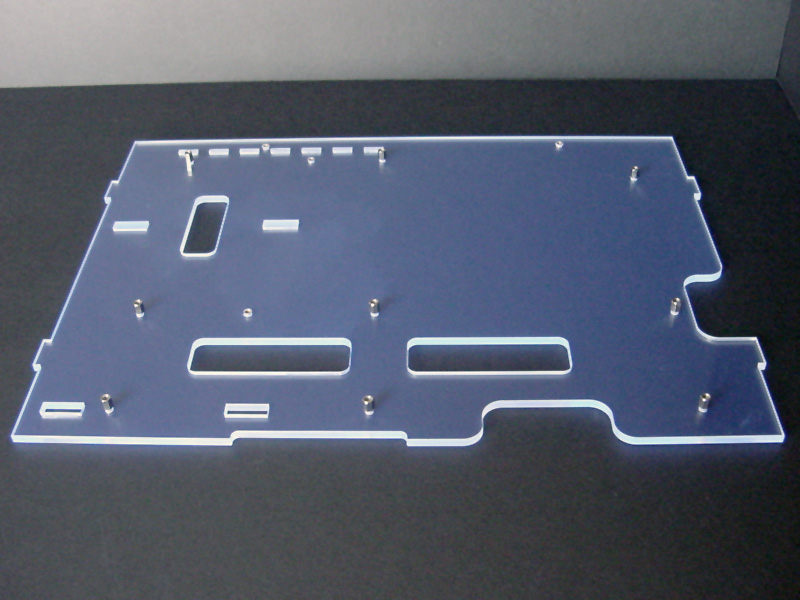
The motherboard tray has three holes and three notches to allow wires and cables to run between the top and bottom portions of the case. Sunbeam has done a great job of making sure these are in the right place to keep the cables neat. There are also slots and tabs in various places on the tray to help provide a little extra support for the case where it is needed most.

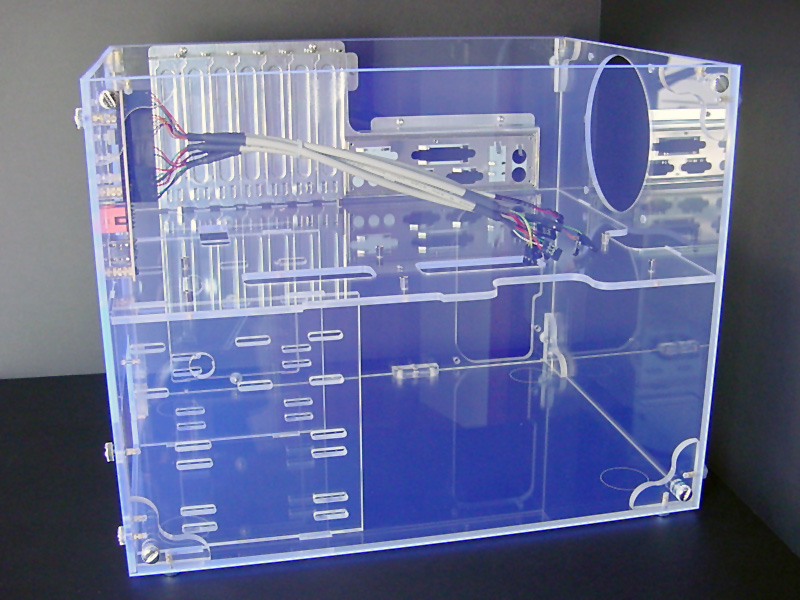
There are two sides to the drive cage which have tabs that fit into slots on the bottom and the motherboard tray. Once assembled these tabs and the drives installed actually help to hold everything in place. This unique approach keeps unnecessary hardware out of the case, and simplifies the assembly. The whole process of putting the case together takes about an hour, and that is with taking time and using great care to keep the case panels neat and smudge-free.
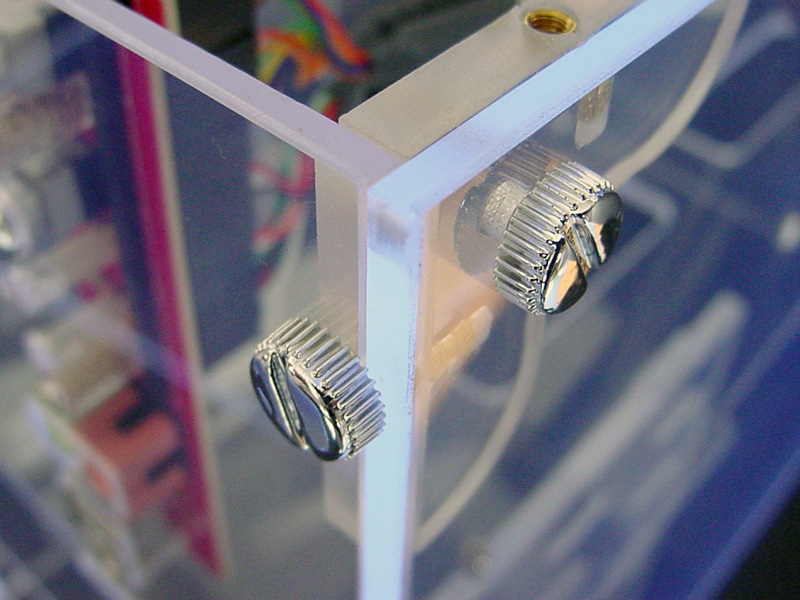
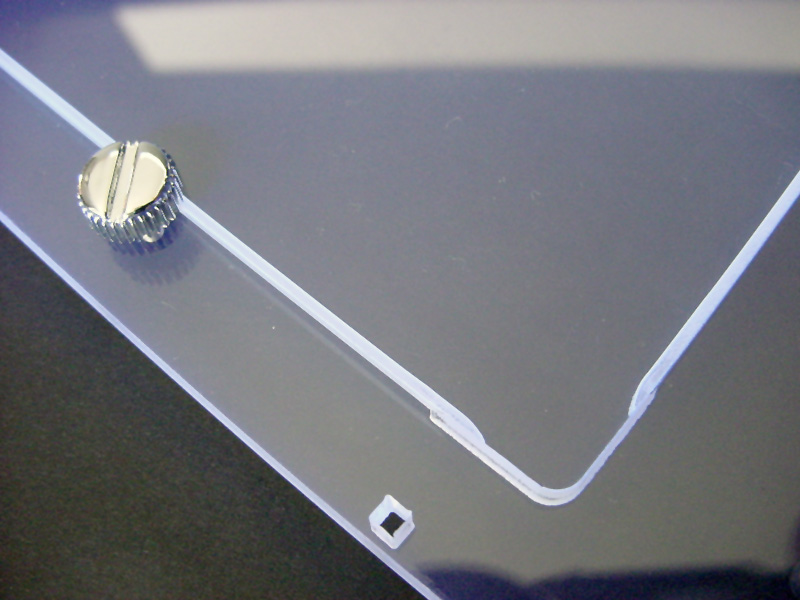
Here the corner is shown to help understand how the parts fit together. One L-bracket is used on each corner to connect all three panels. Each thumbscrew goes into a threaded insert, which is much stronger than just going into a threaded hole in the plastic. This does add to the cost of the case, but greatly increases the construction quality.
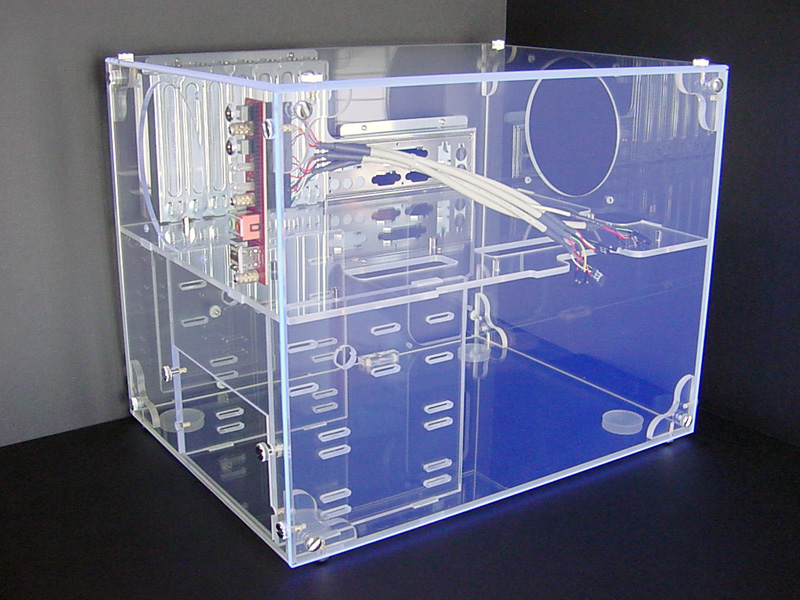

The final step is to add the front I/O ports and add the top. Two things missing from the instructions were the installation of the front ports and the fans. However, anyone buying a case like this who has the skills to put it together should have no trouble figuring out how to do so and which screws to use.
Jan 22nd, 2025 14:15 EST
change timezone
Latest GPU Drivers
New Forum Posts
- Game of the year 2024 (88)
- Will an RTX 3080 Run on a 600W PSU with Only 2 PCIe 8-Pin Connectors? (15)
- RDNA4 Prediction Time!!! (50)
- FAN control software (15)
- 5800x (and other Zen 3 chips) PBO settings/Temperature fix (981)
- Last game you purchased? (629)
- RX580 not stable... (14)
- Silent mode bios doesnt work after flashing (5600xt) (8)
- Is the Ryzen 8700G good for AutoCAD and SketchUp? (8)
- AM5 board recommendation (131)
Popular Reviews
- NVIDIA GeForce RTX 5090 Founders Edition Unboxing
- NZXT C1500 Review
- Montech Heritage Pro Review - The Leather Case
- Fosi Audio K7 Gaming Desktop DAC/Headphone Amplifier Review
- NVIDIA GeForce RTX 50 Technical Deep Dive
- AMD Ryzen 7 9800X3D Review - The Best Gaming Processor
- ASRock Arc B570 Challenger OC Review
- Pwnage StormBreaker Max CF Review
- PowerColor Alphyn AH10 Review
- be quiet! Light Loop 360 mm AIO Review
Controversial News Posts
- NVIDIA 2025 International CES Keynote: Liveblog (468)
- AMD Debuts Radeon RX 9070 XT and RX 9070 Powered by RDNA 4, and FSR 4 (349)
- AMD Radeon RX 9070 XT & RX 9070 Custom Models In Stock at European Stores (226)
- NVIDIA GeForce RTX 5090 Features 575 W TDP, RTX 5080 Carries 360 W TDP (217)
- AMD Radeon RX 9070 XT Alleged Benchmark Leaks, Underwhelming Performance (204)
- AMD's Radeon RX 9070 Launch Faces Pricing Hurdles (173)
- Potential RTX 5090 and RTX 5080 Pricing in China Leaks (173)
- AMD Radeon RX 9070 XT Tested in Cyberpunk 2077 and Black Myth: Wukong (169)